The Conversation (0)
Sign Up
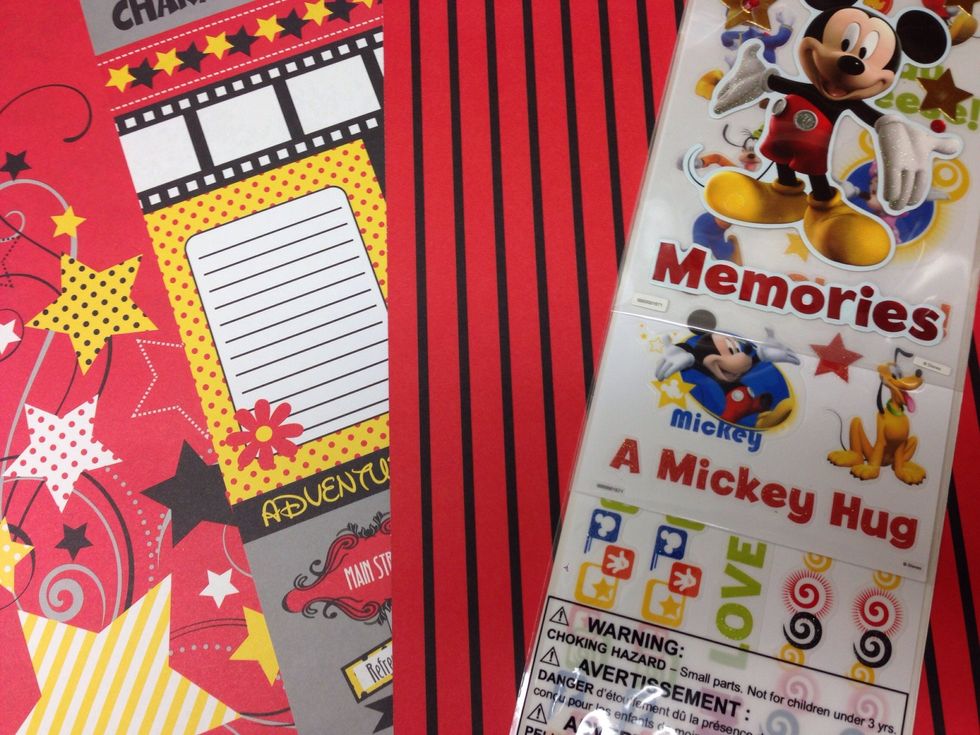
Choose paper and embellishments that complement the theme for your album. We're making a spring break Disney vacation themed album.
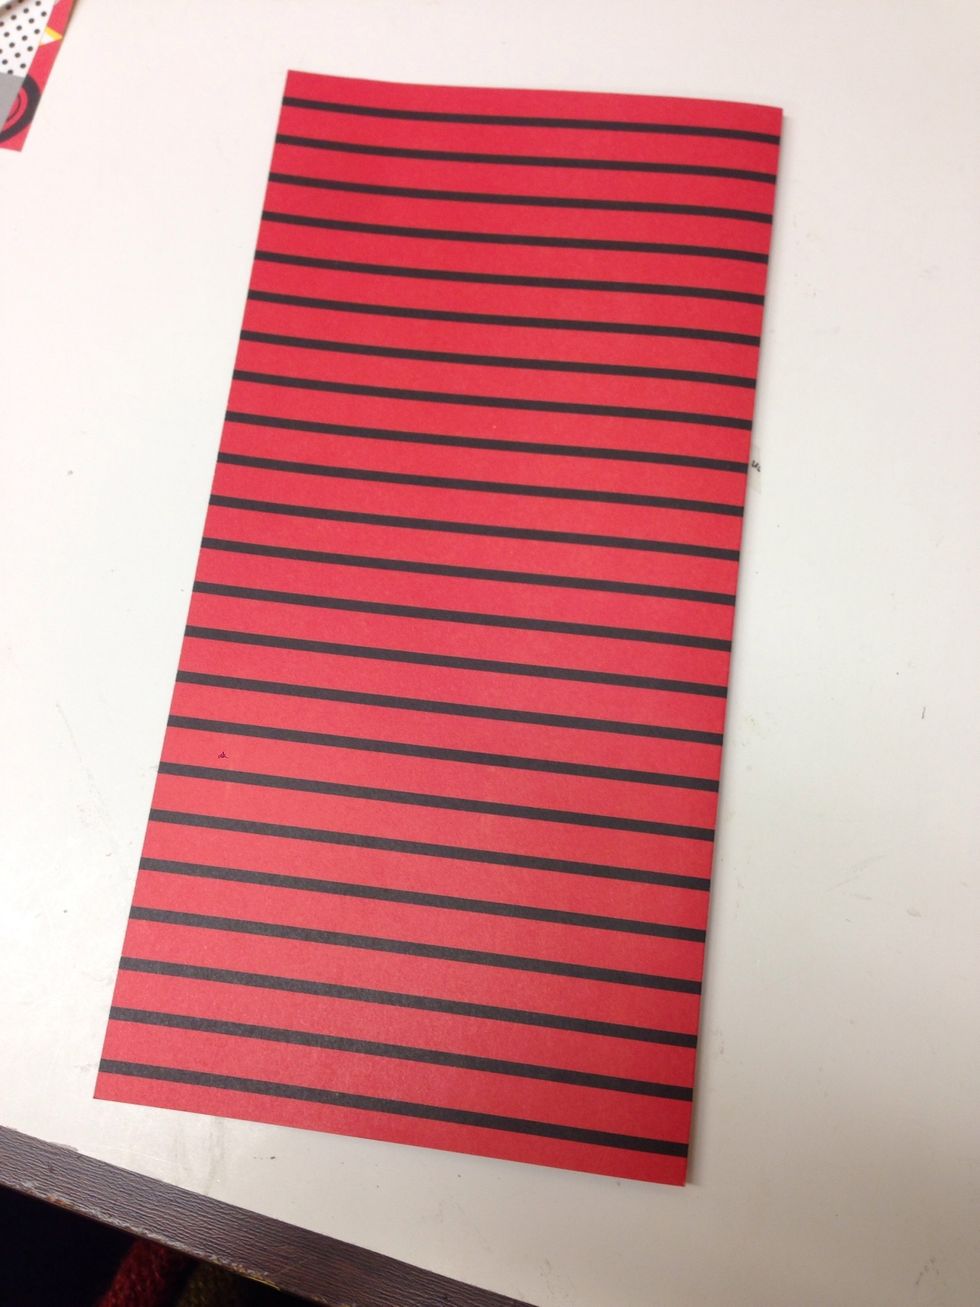
Choose the paper for the cover of your album, fold in half and crease well.
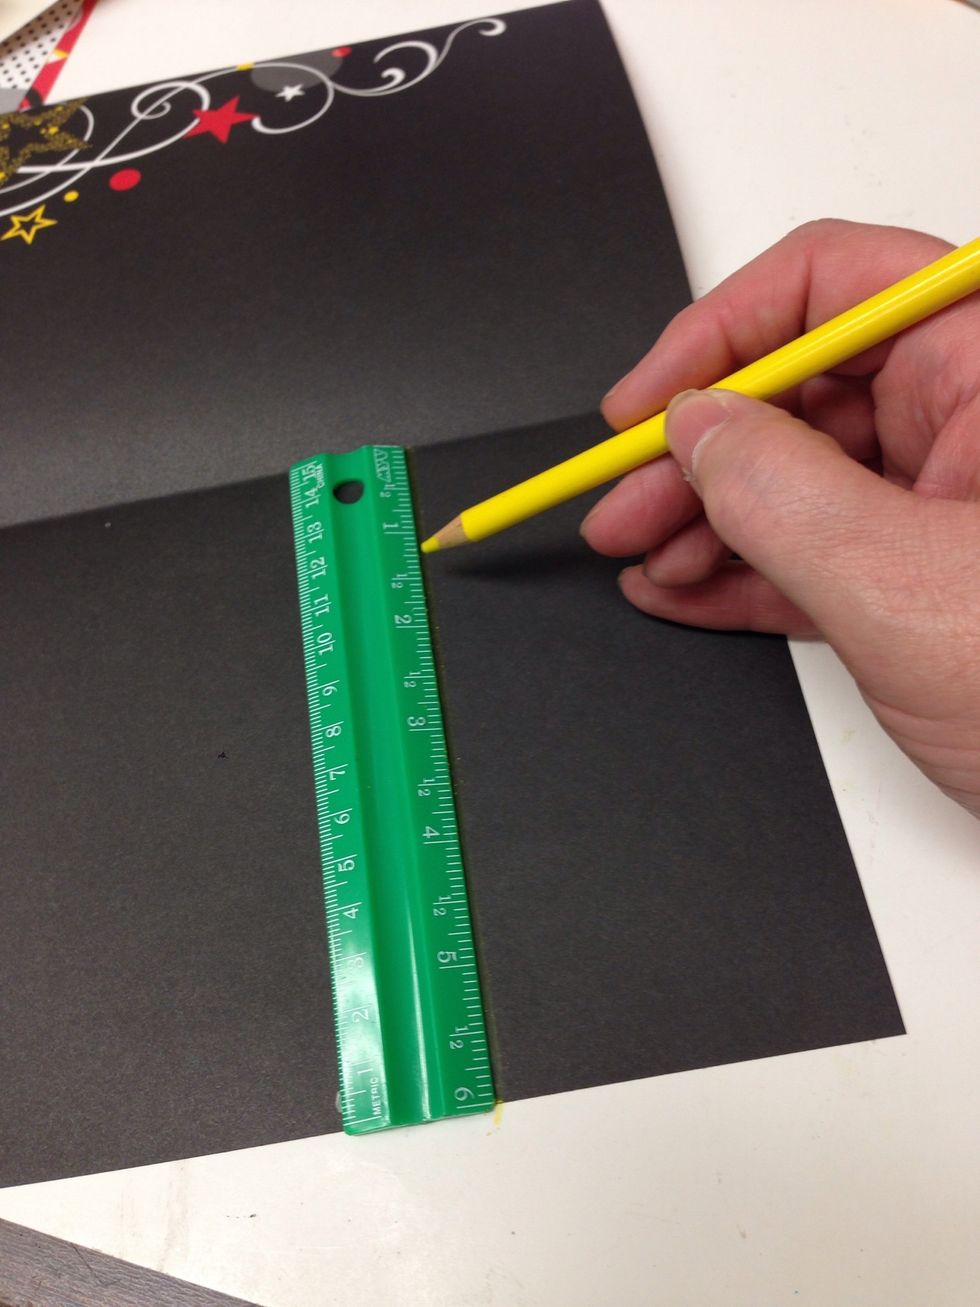
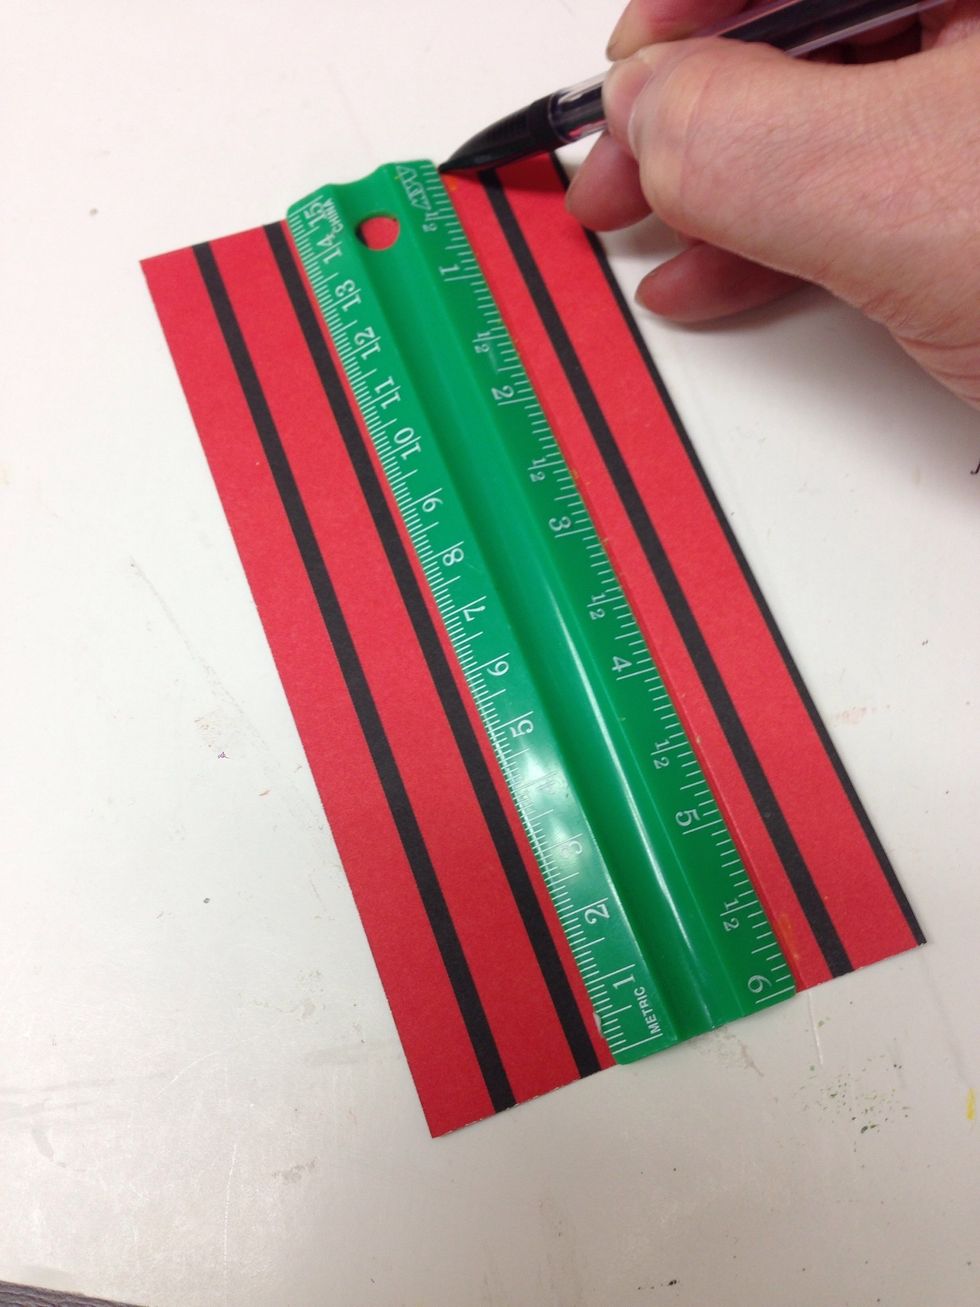
Measure and mark a 3 inch strip on both sides of the lower half of your card stock. You may also use our template to trace the cutting lines. Download here: http://goo.gl/AAipCZ

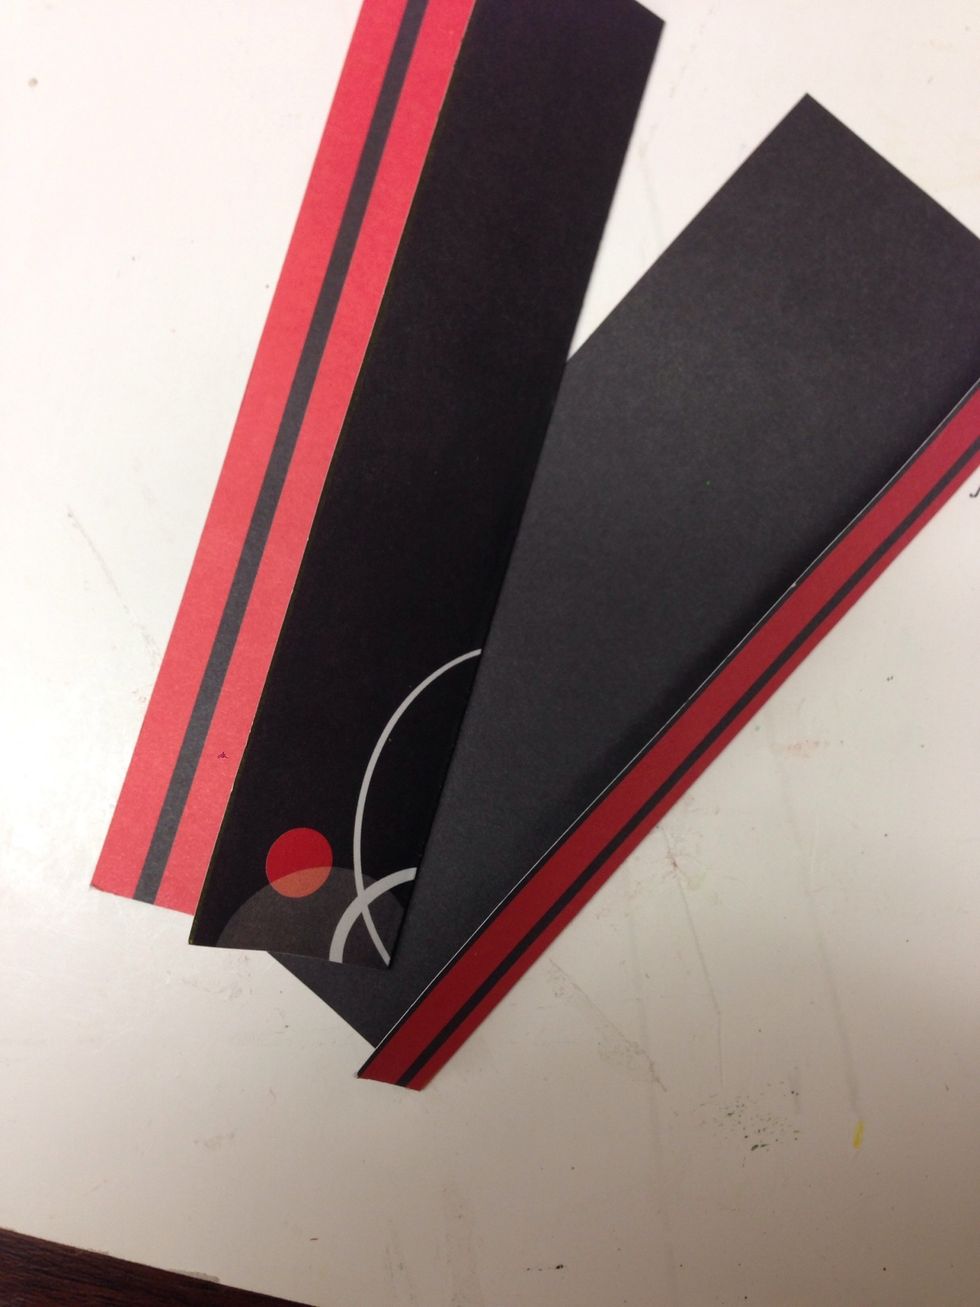
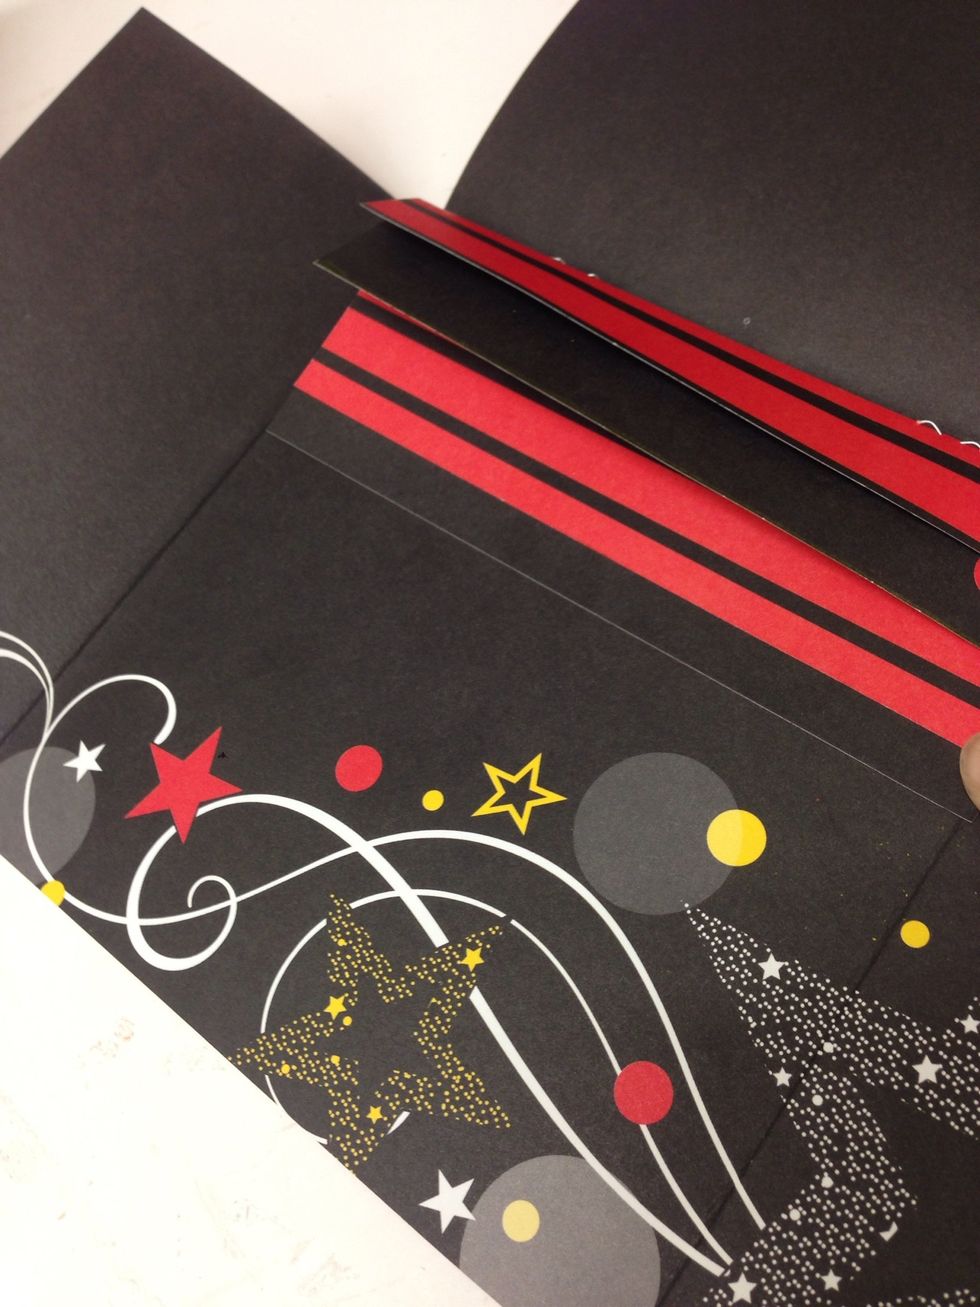
Cut away the marked strips and your paper will now look like this. Save the strips, you'll use them later.
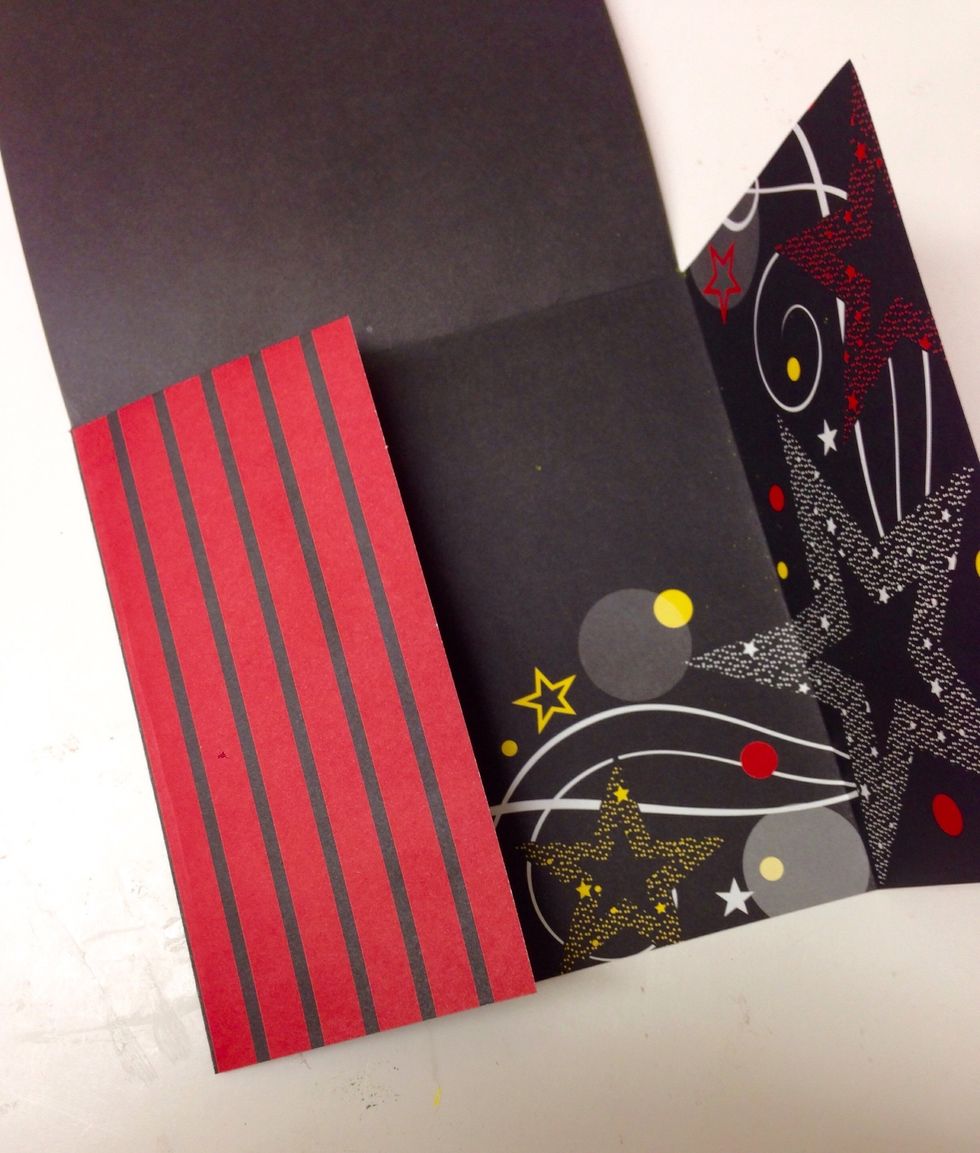
Fold the remaining flaps in so they meet in the middle and crease well. This establishes the basic structure of your book.
Score one of the 3 inch strips 3/4 inch from the right edge. Score the second 3 inch strip 1 1/4 inches from the right edge.
You may want to use our template to mark the fold lines instead. Download here: http://goo.gl/AAipCZ
Fold on the crease lines, folding one flap to the front side of the paper and the other flap to the backside of the paper.
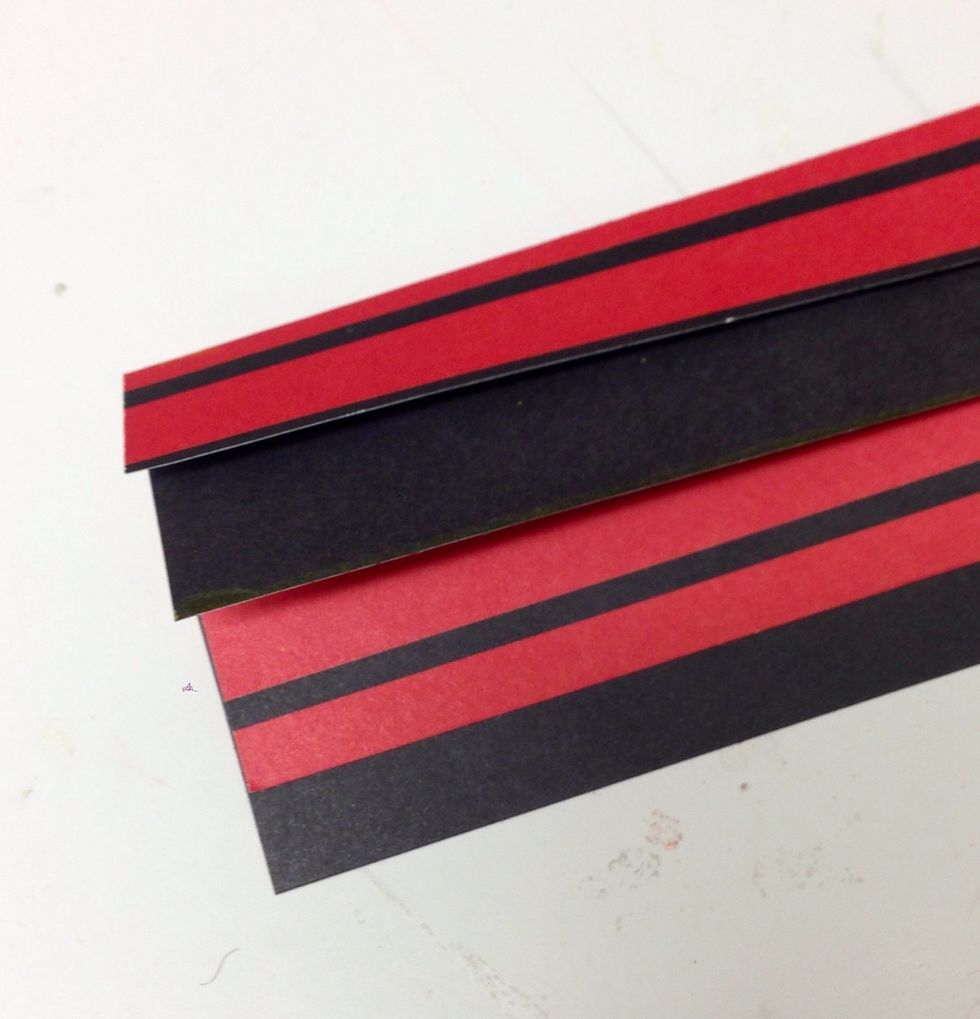
Stack the strips so they form an overlapping cascade of flaps.
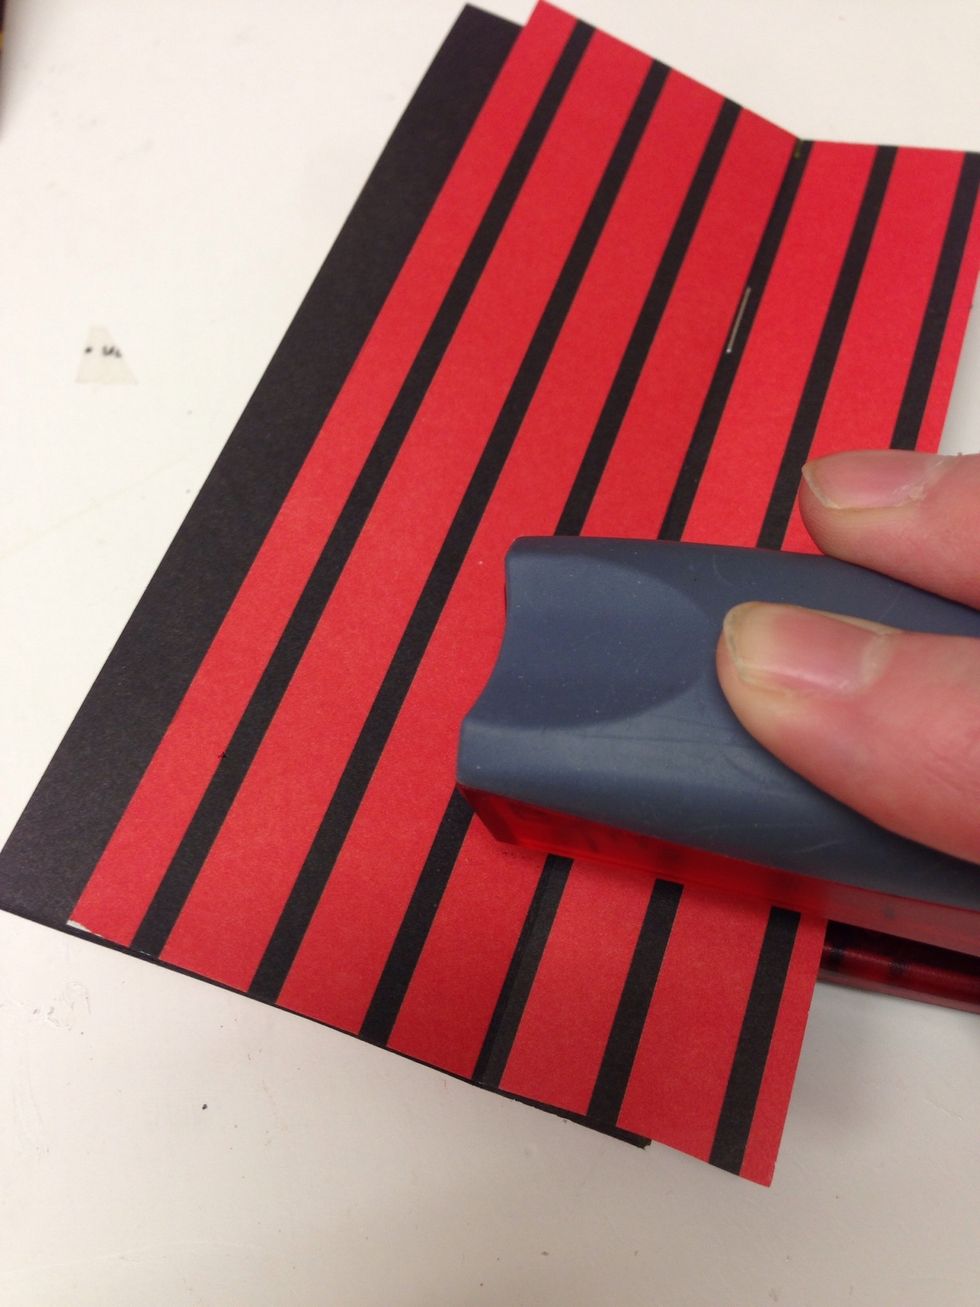
Staple together along the crease to form the spine of your album.
Lay the spine in place on the back cover and test to make sure it fits when the flaps are closed. Trim the edges if necessary. Adhere the back side of the spine to the back cover of your album.
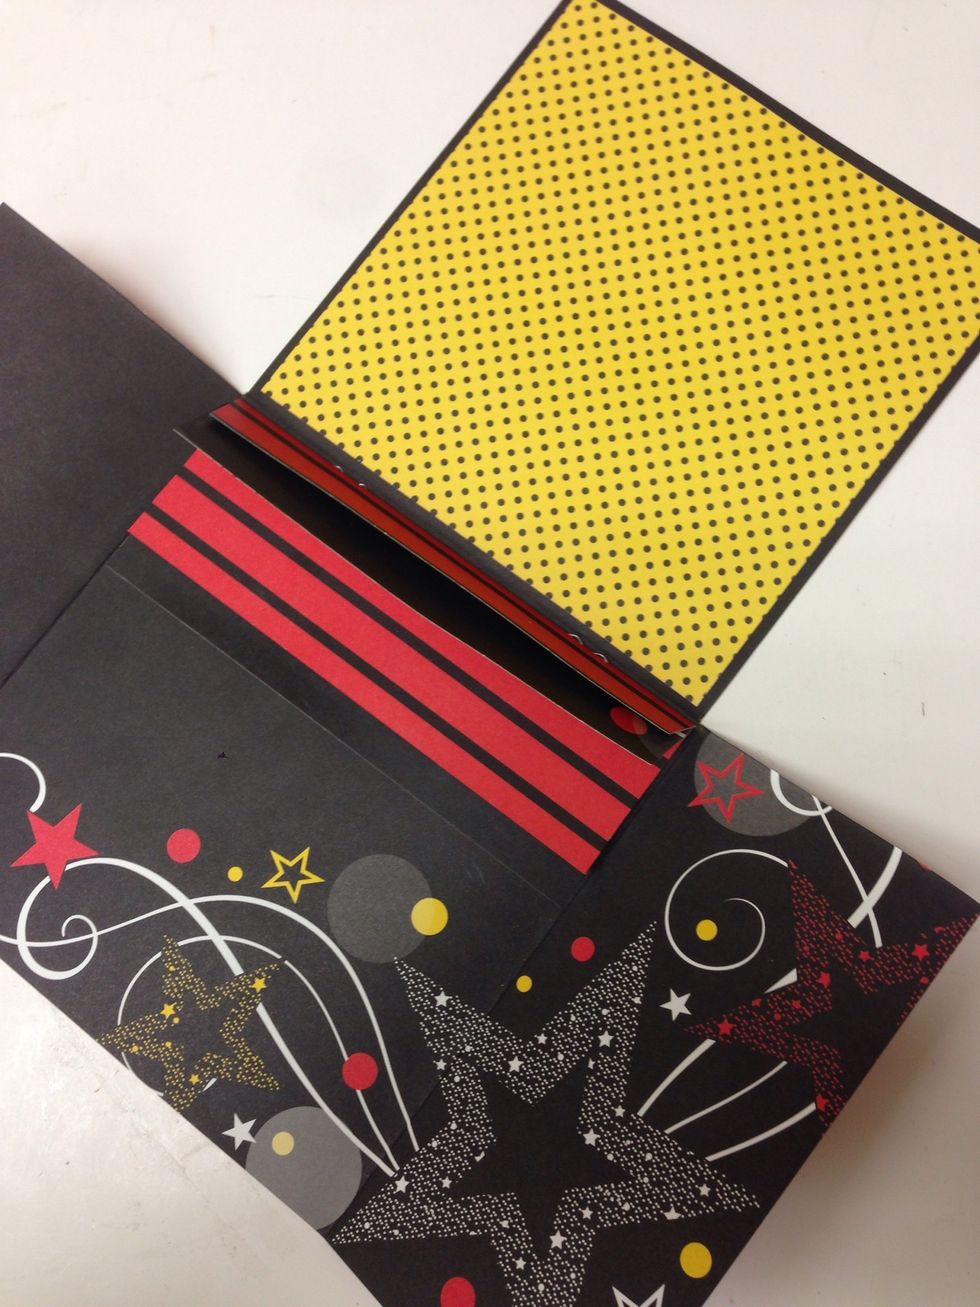
If desired, glue a 5-3/4 inch square piece of paper to the top cover to make it sturdier.

Embellish with stickers and paper strips as desired.
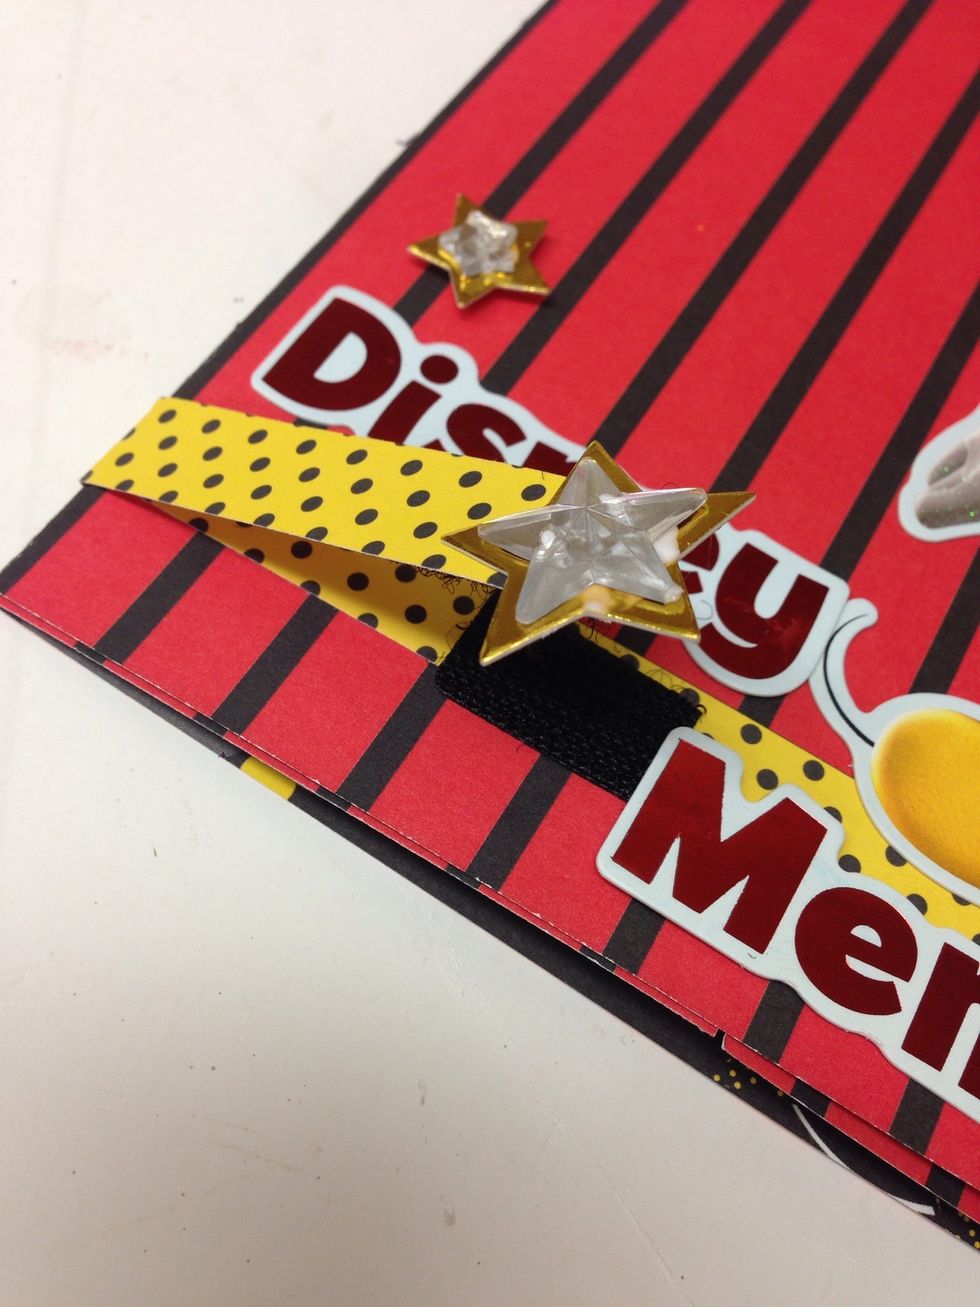
We added a 1/2 inch strip of paper to the back of the album with the extra overlapping the front, then added Velcro to make a closure.
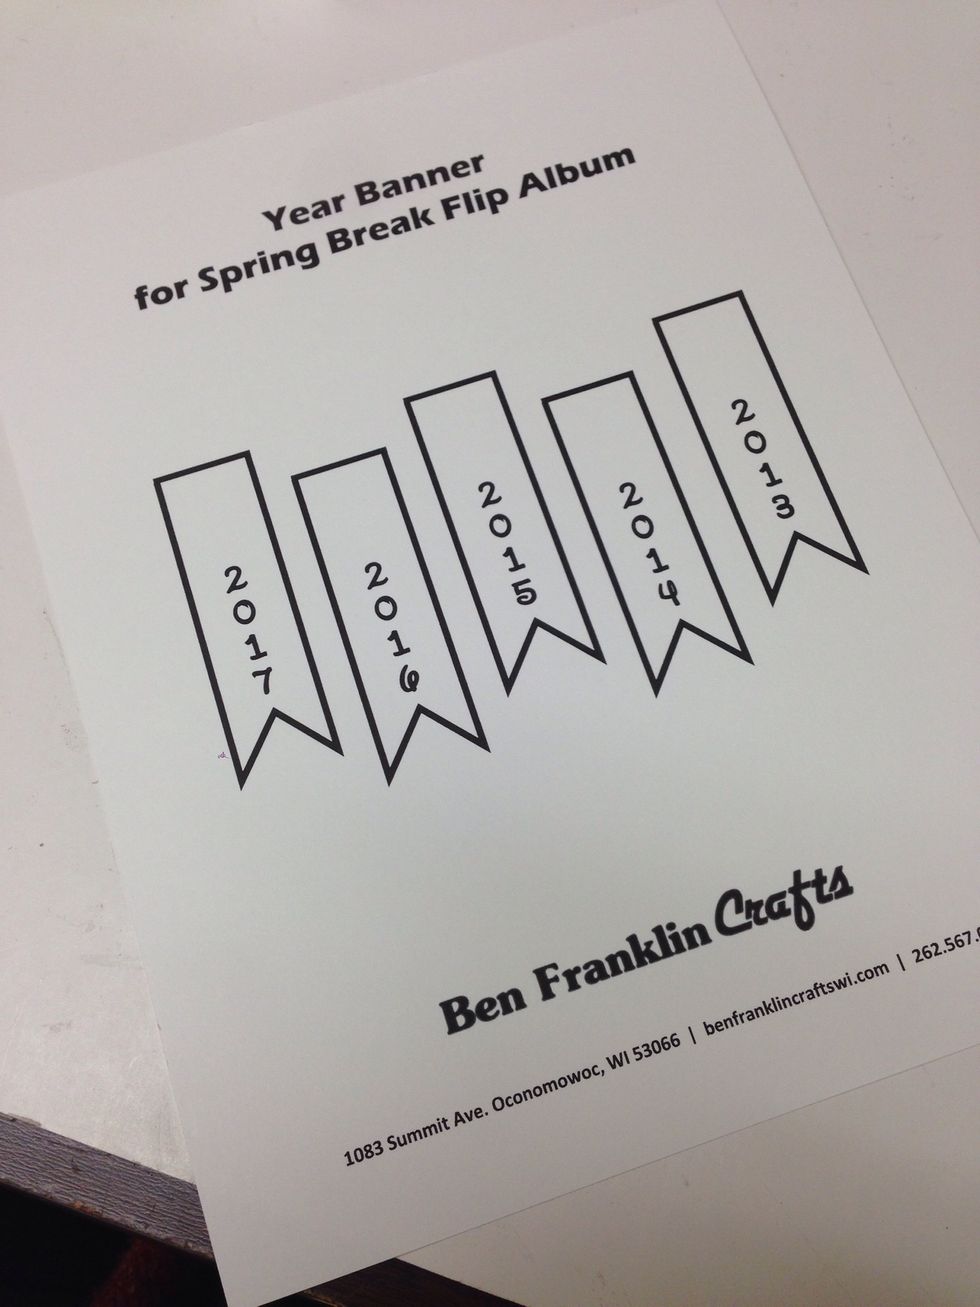
We've provided a FREE printable download if you would like to add a year banner like ours. Download it here: http://goo.gl/FfWQzc, then print and cut out the desired year.
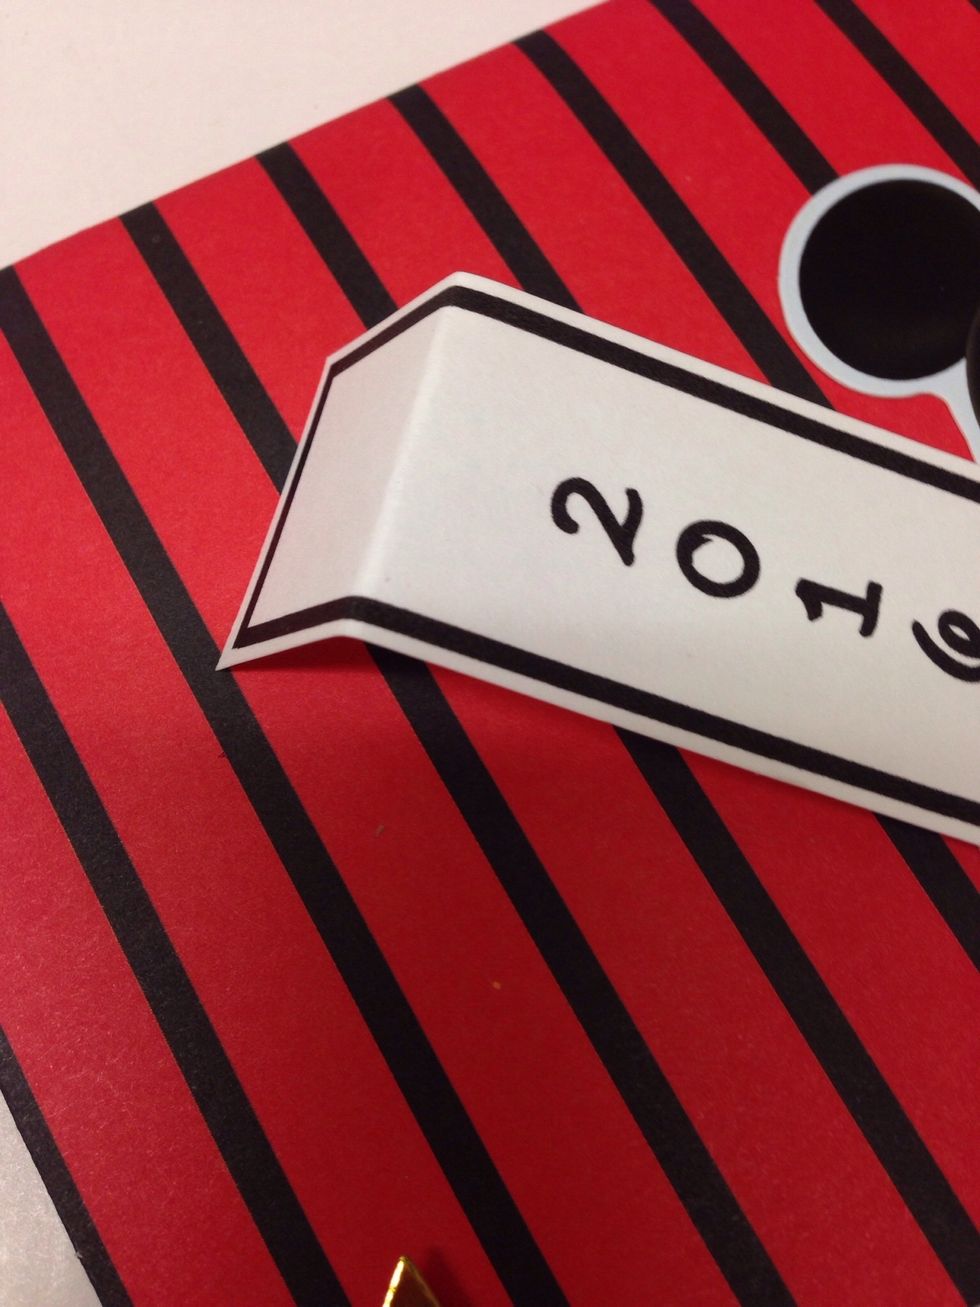
Fold under about 3/4 of an inch on the top of the banner.
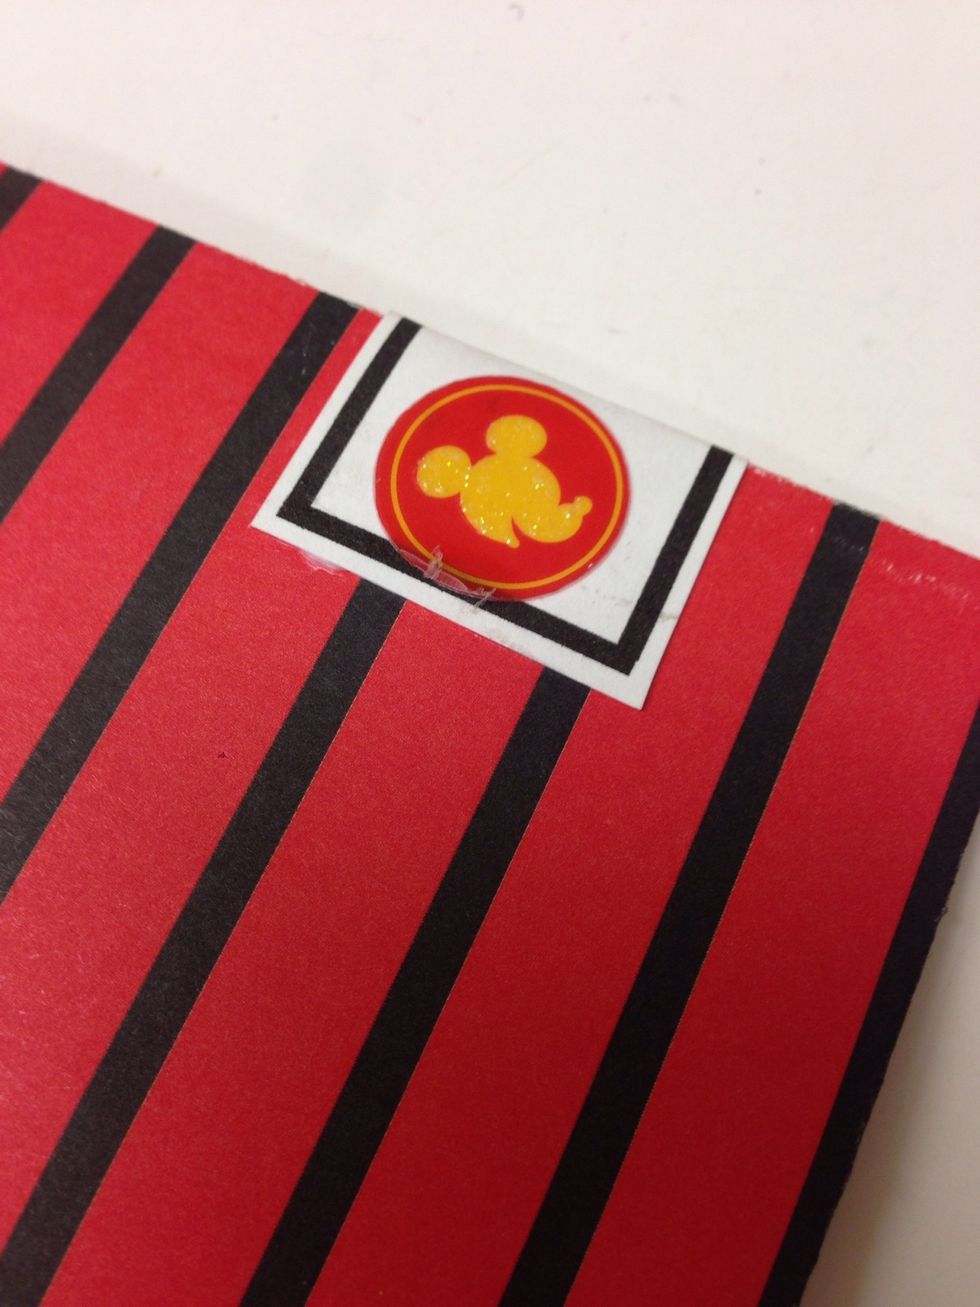
You can add a little sticker to the back side of the banner to help tie it in with the rest of the album.
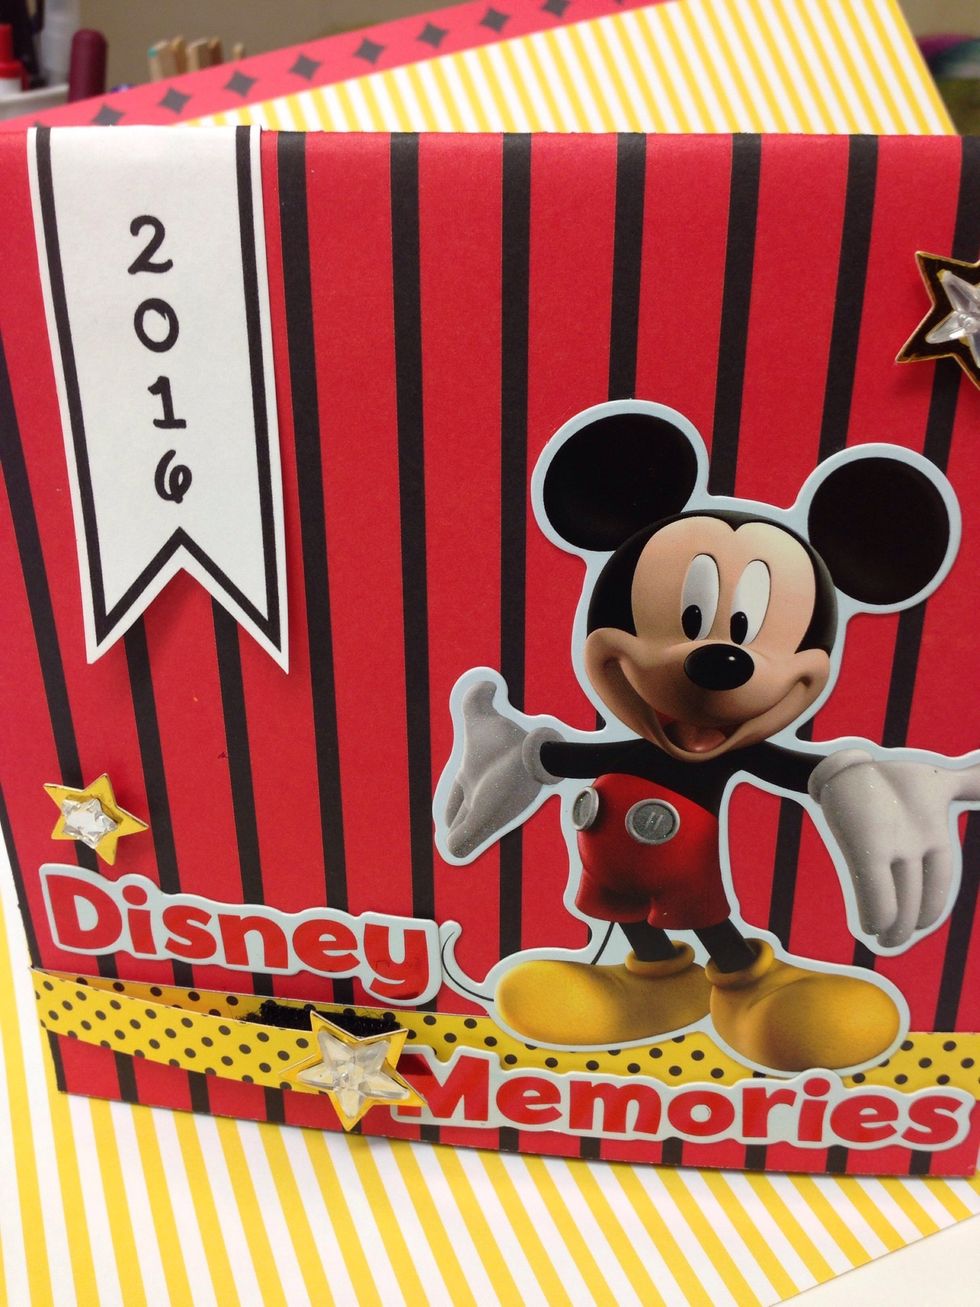
Take your album on your trip to save mementos or add fun photos when you get back. What a fun way to capture the memories from a special family vacation!
We would love to see YOUR completed Spring Break Mini Flip Album! Upload a photo to our Facebook page: on.fb.me/1L3o004