The Conversation (0)
Sign Up

Gather your supplies. This photo shows the items we used for our Lucky Door Hanger.
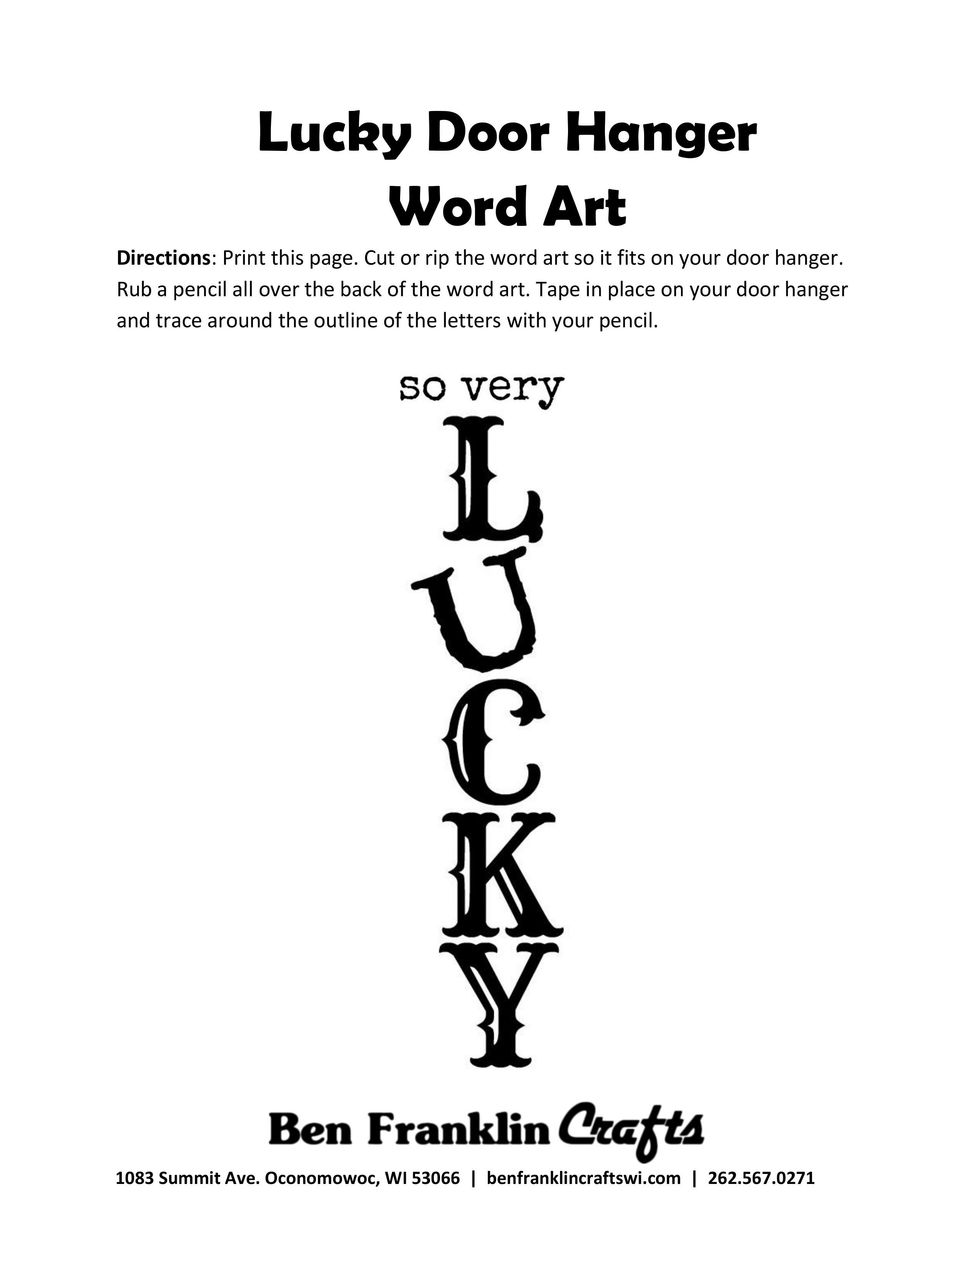
Download the FREE wordart we've created for you from http://bit.ly/1QJucGD.
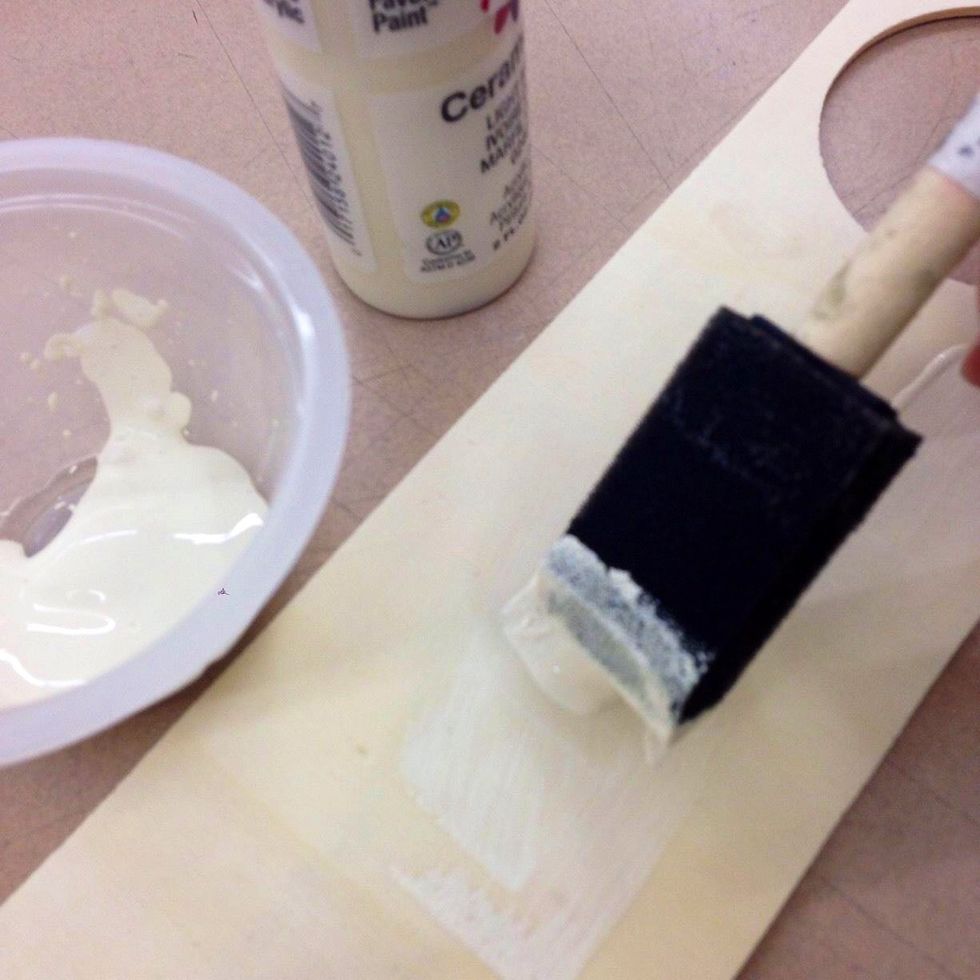
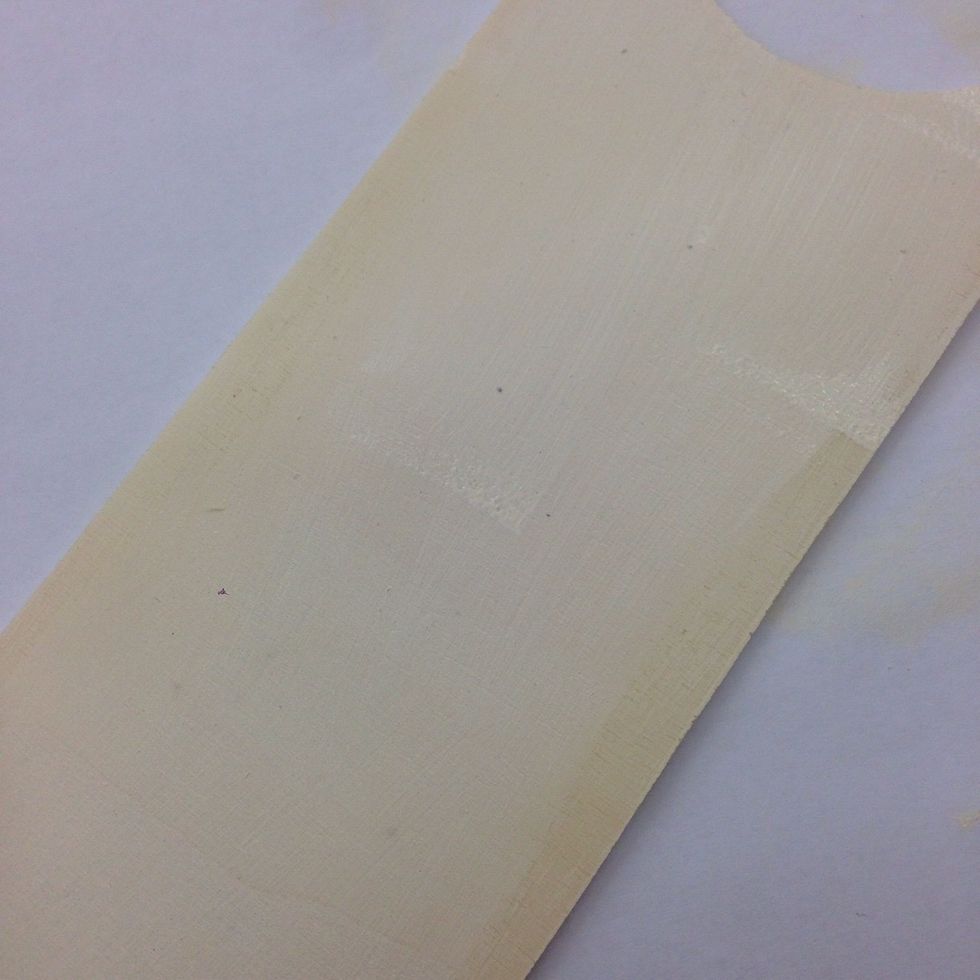
Paint the center area of your door hanger with ivory paint.
You'll be covering the edges with paper later, so don't worry too much about carefully painting them.
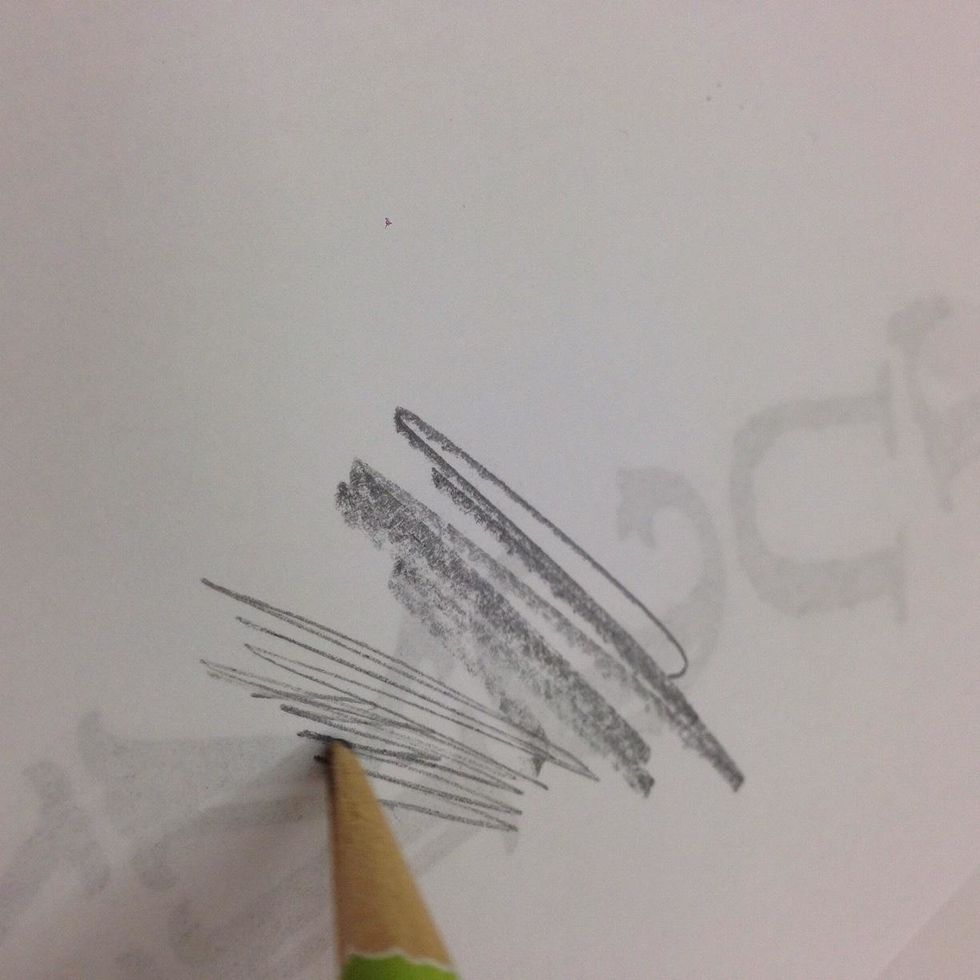
Cut or tear your word art so it will fit on your door hanger. Turn it over and scribble with a pencil all over the back.
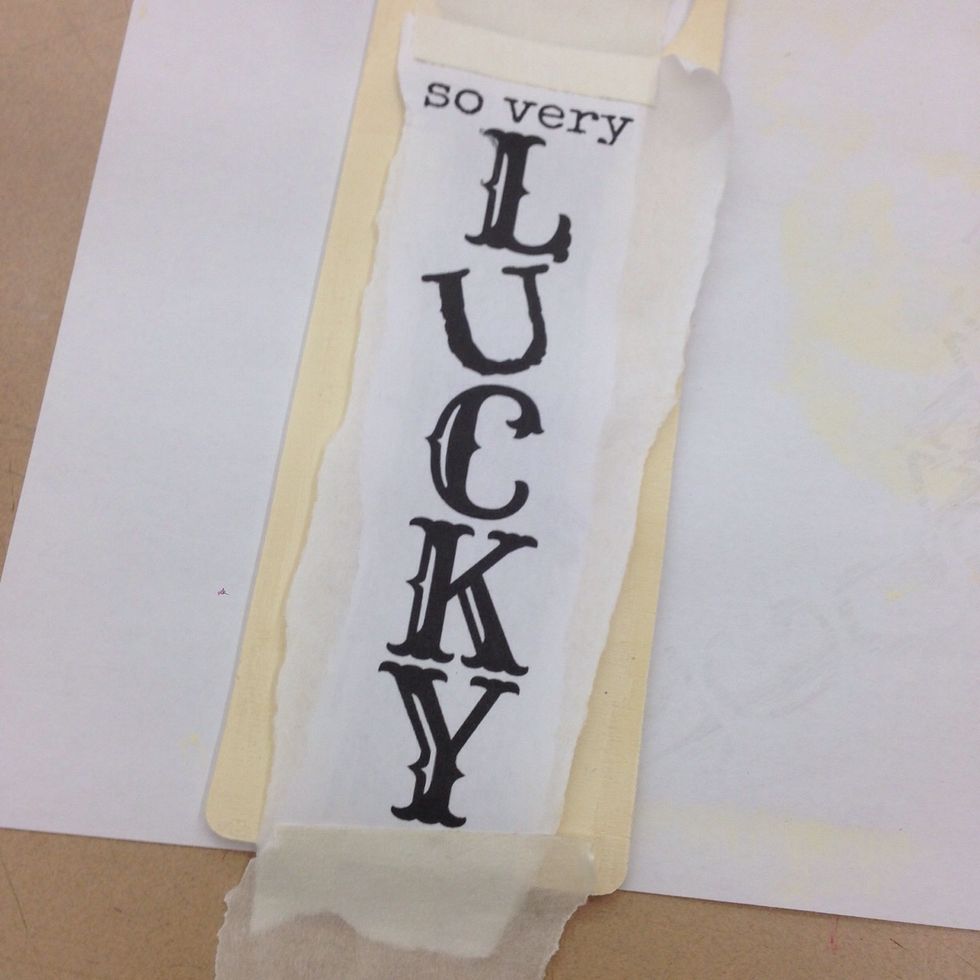
Tape the word art strip to the center area of your door hanger.
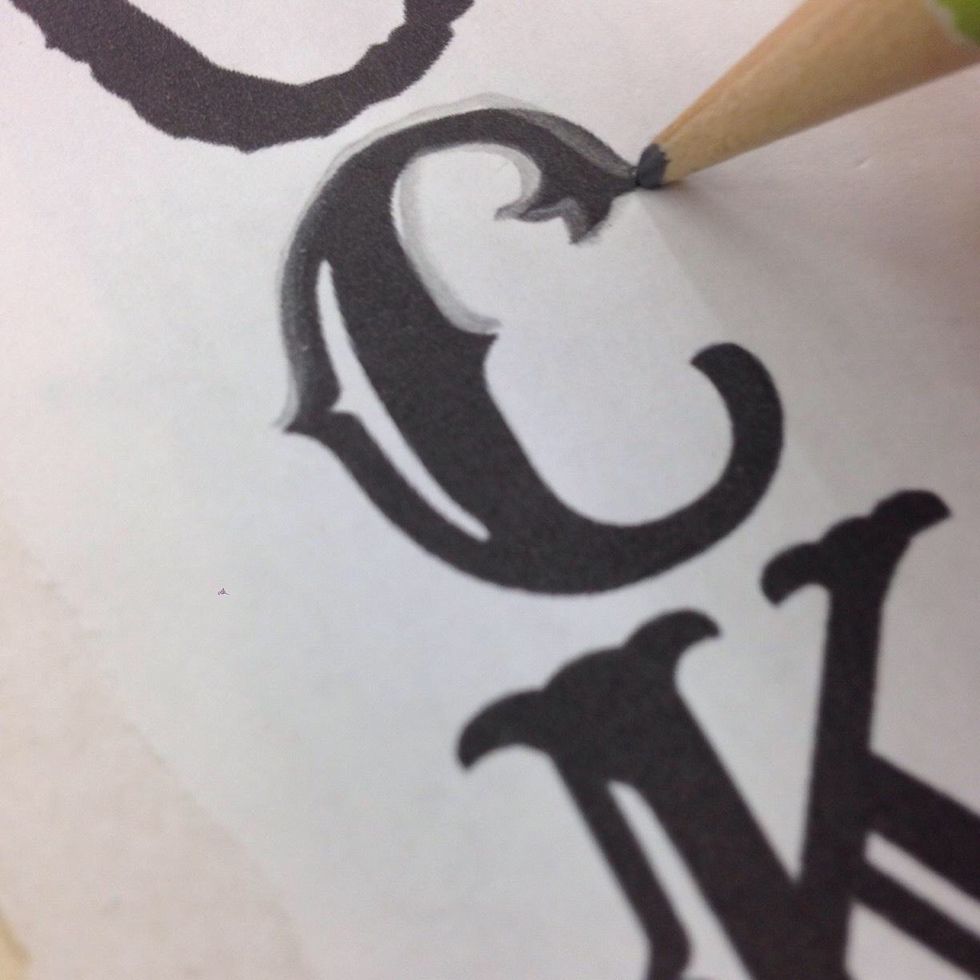
Use your pencil to trace around the outside edges of the letters. It's helpful to wait and add the white highlight sections later.
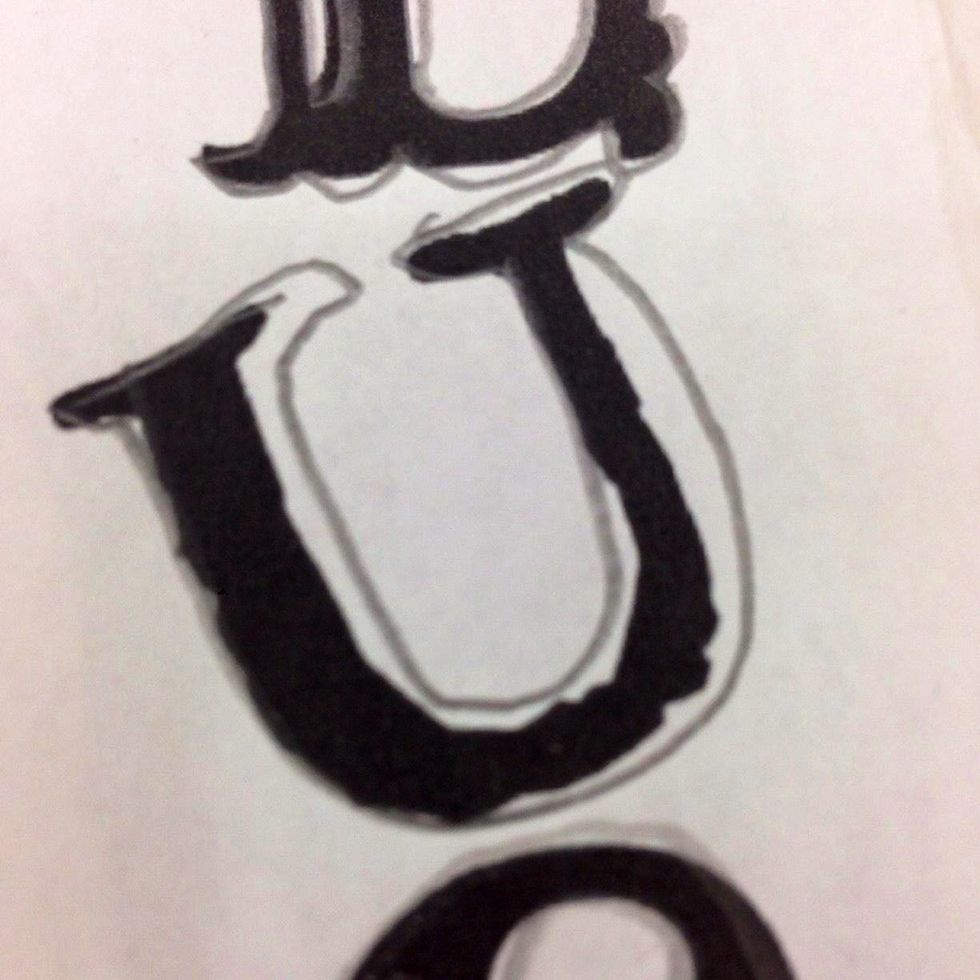
Be creative tracing the 'U'. Widen and curve the vertical sections of the letter so it looks more like a horse shoe.
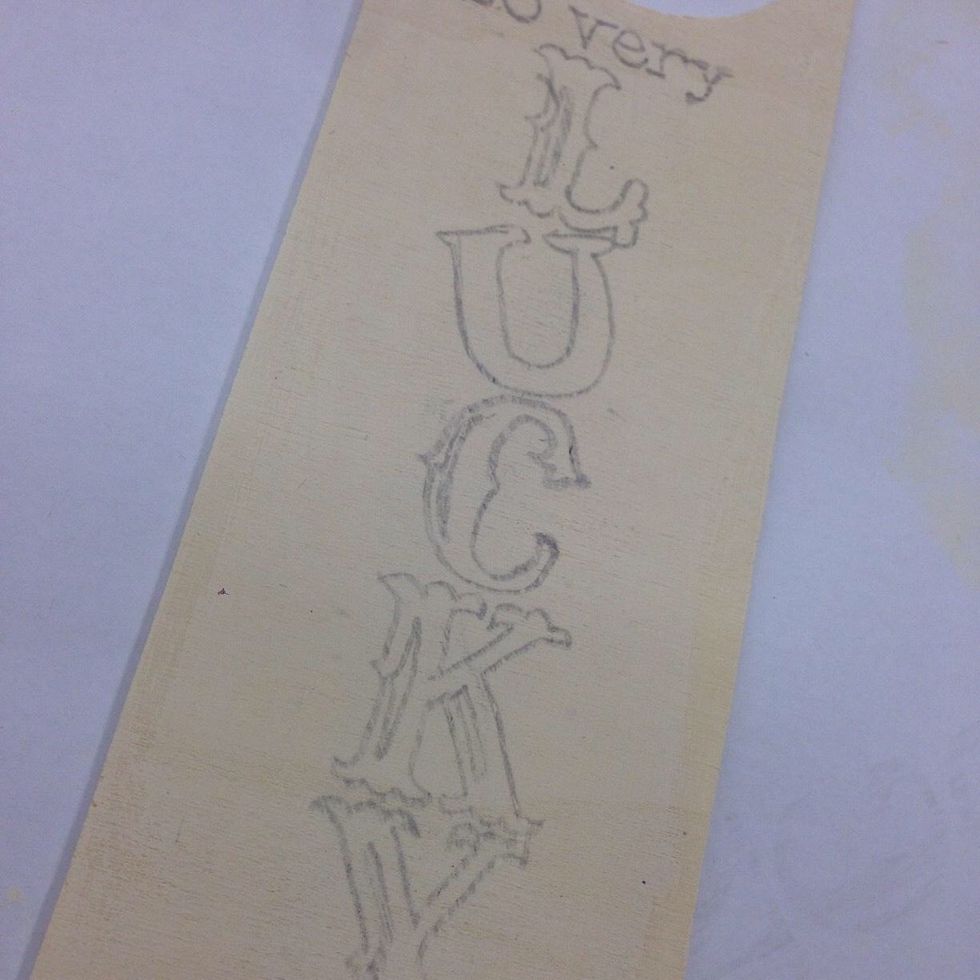
Remove the paper and you will see your letters in outline. We traced the highlighted portions, but quickly realized it was easier to add them in after filling the letters in with black paint.
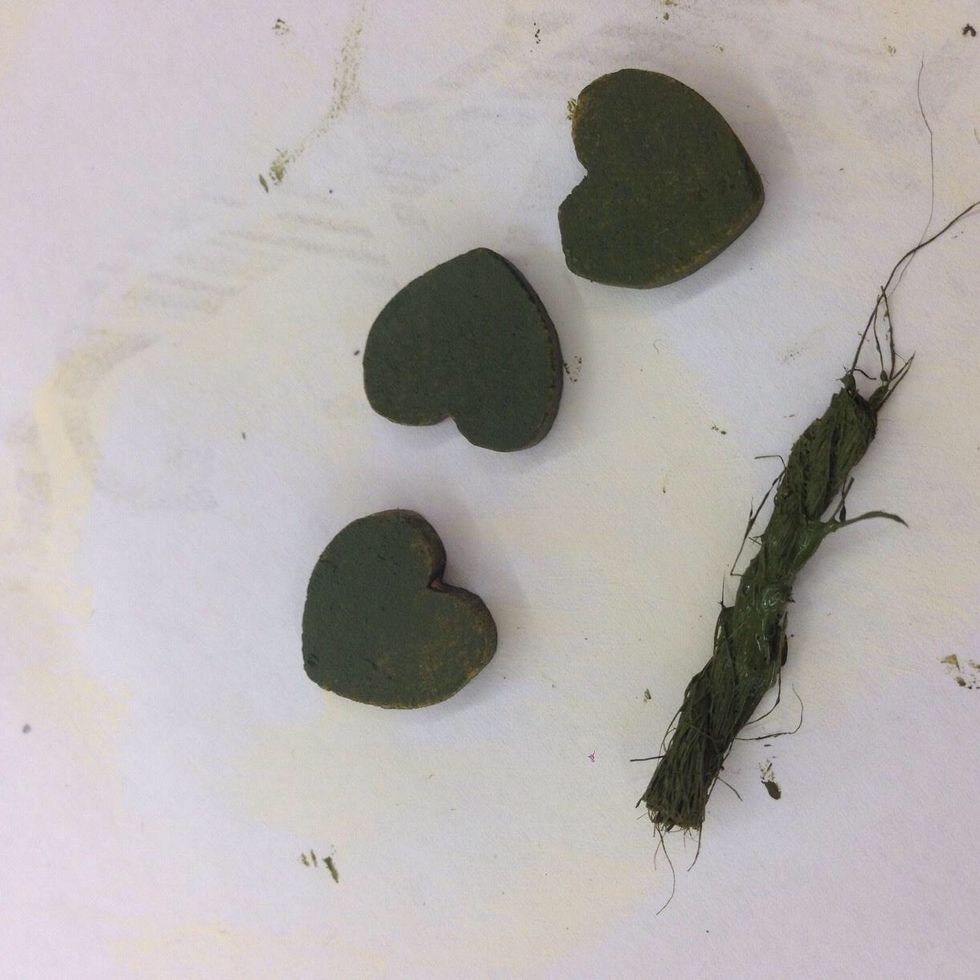
Use the green paint to coat the top and sides of the wooden hearts as well as a 1" piece of jute twine. Set aside to dry.
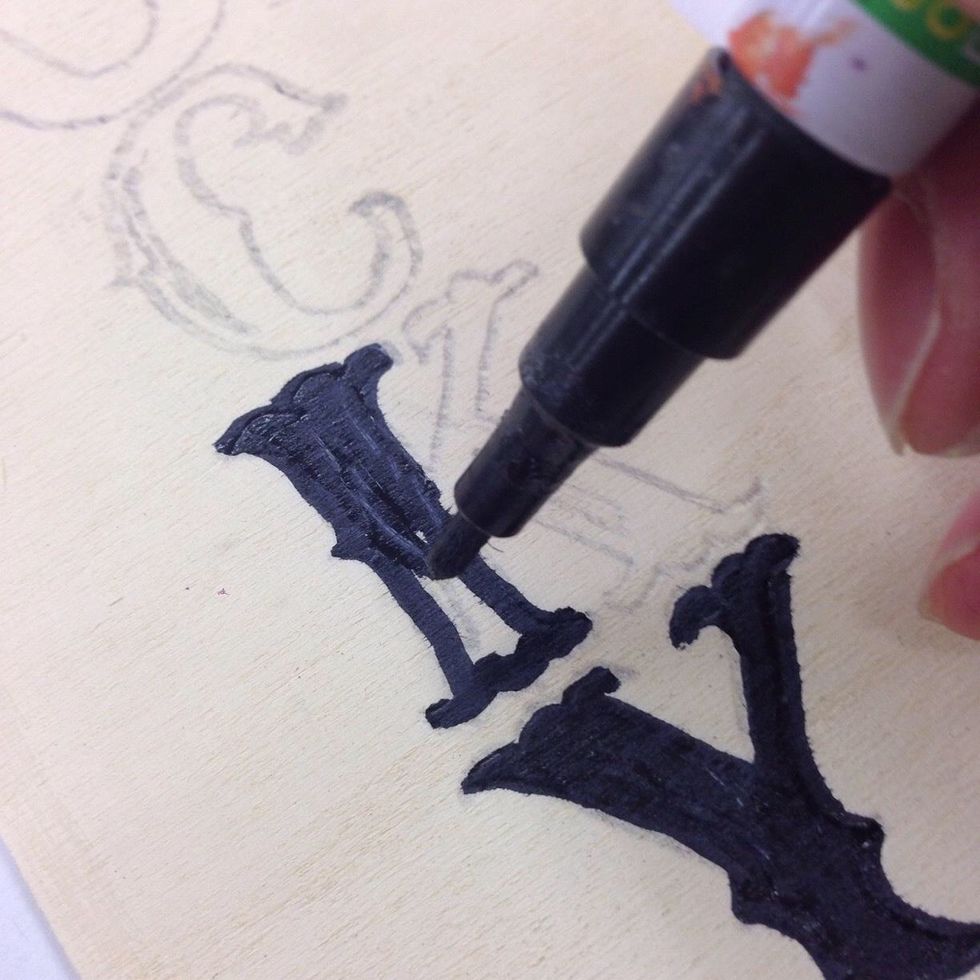
Fill in the traced L, C, K and Y with black paint. If you have steady hands, use a brush and black paint. Otherwise, a black paint pen works great for this part!
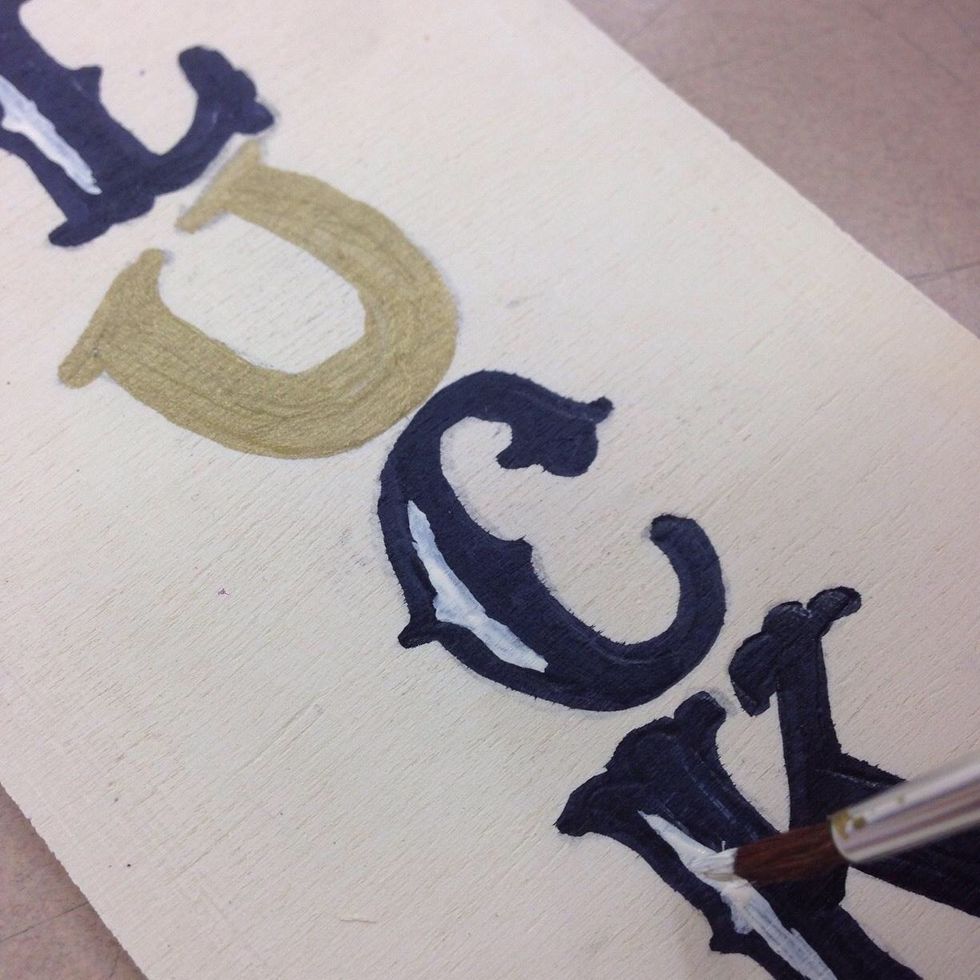
Paint the 'U' with metallic gold paint and add the letter highlights with light ivory. You may need to add another coat of light ivory for good coverage.
Cut 2 strips from each color of 12" wide scrapbook paper. The green strips should be 5/8" wide and the black strips should be 1/2" or narrower.
Lay the door hanger on the BACK side of the green paper strip. Trace the parts that will need to be cut away: top and bottom edges and the curved area as shown.
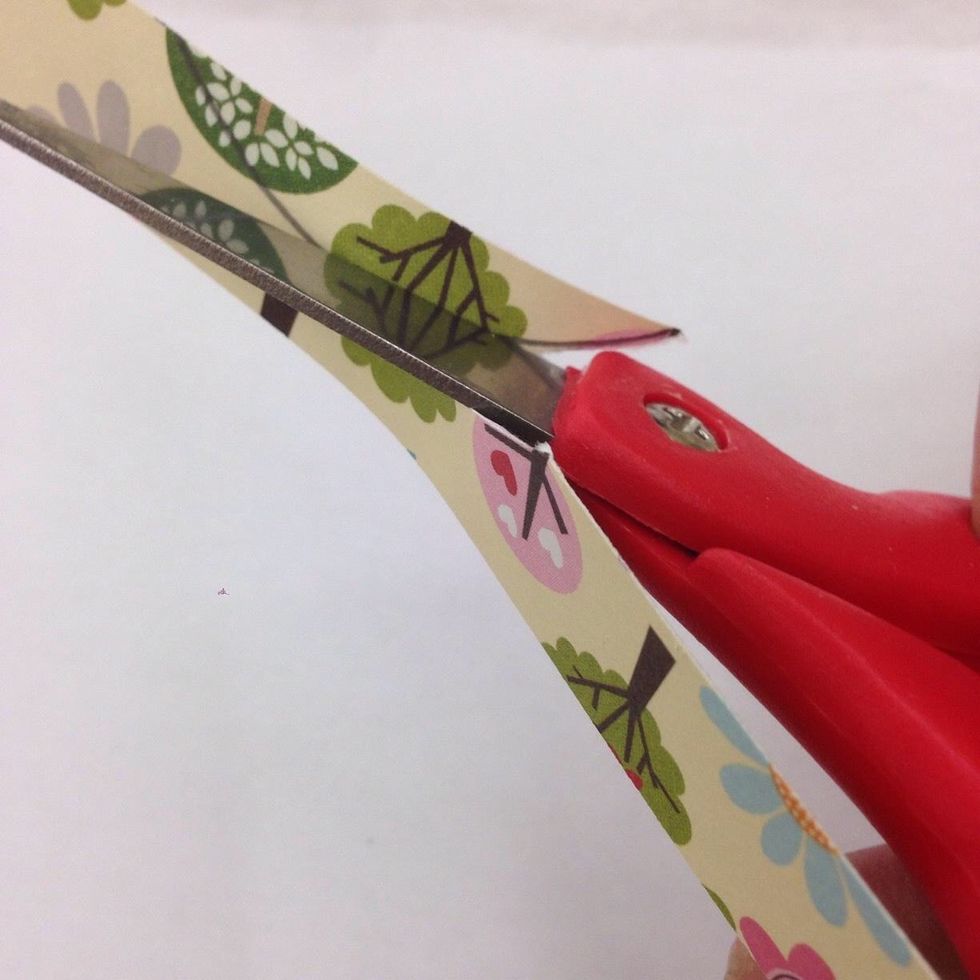
Trim away these pieces, cutting slightly outside of your tracing line so the edge matches nicely to the door hanger.
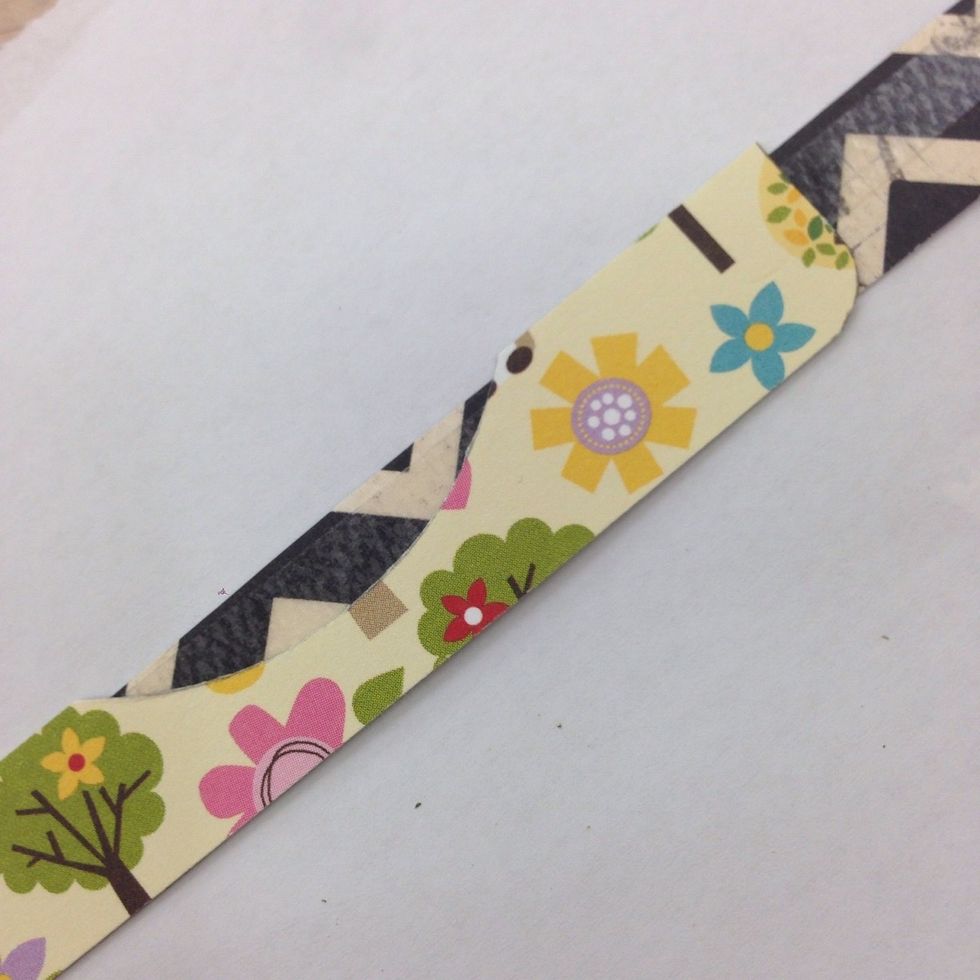
Repeat steps 14 and 15 with the second strip of green paper. This piece will need to be the reverse of the first strip. Lay the strips green sides together, then trace and cut.
Use double sided adhesive to layer black strip on top of green strip. Turn over and trim away the sections of the black strip strip that extend past the green strip: top and bottom edges, curved area.
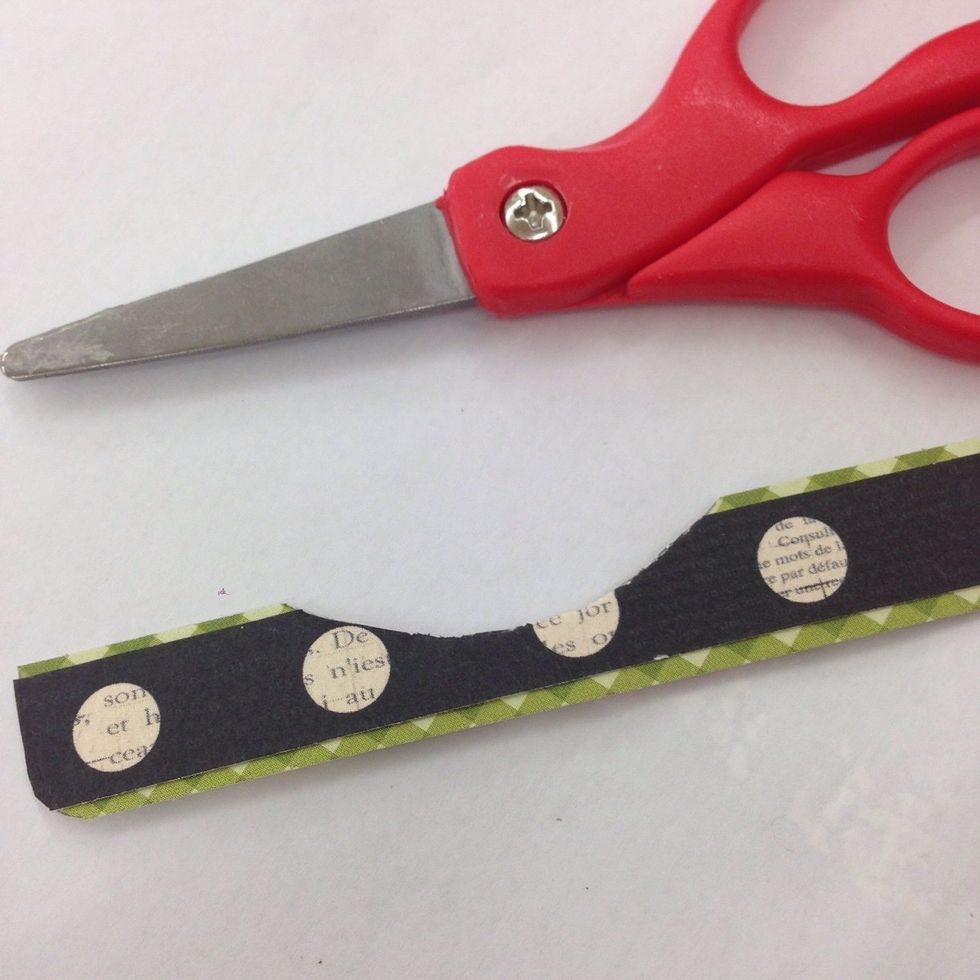
Your finished strip will look like this. Add double sided adhesive to the back, then adhere to the edges of the door hanger.
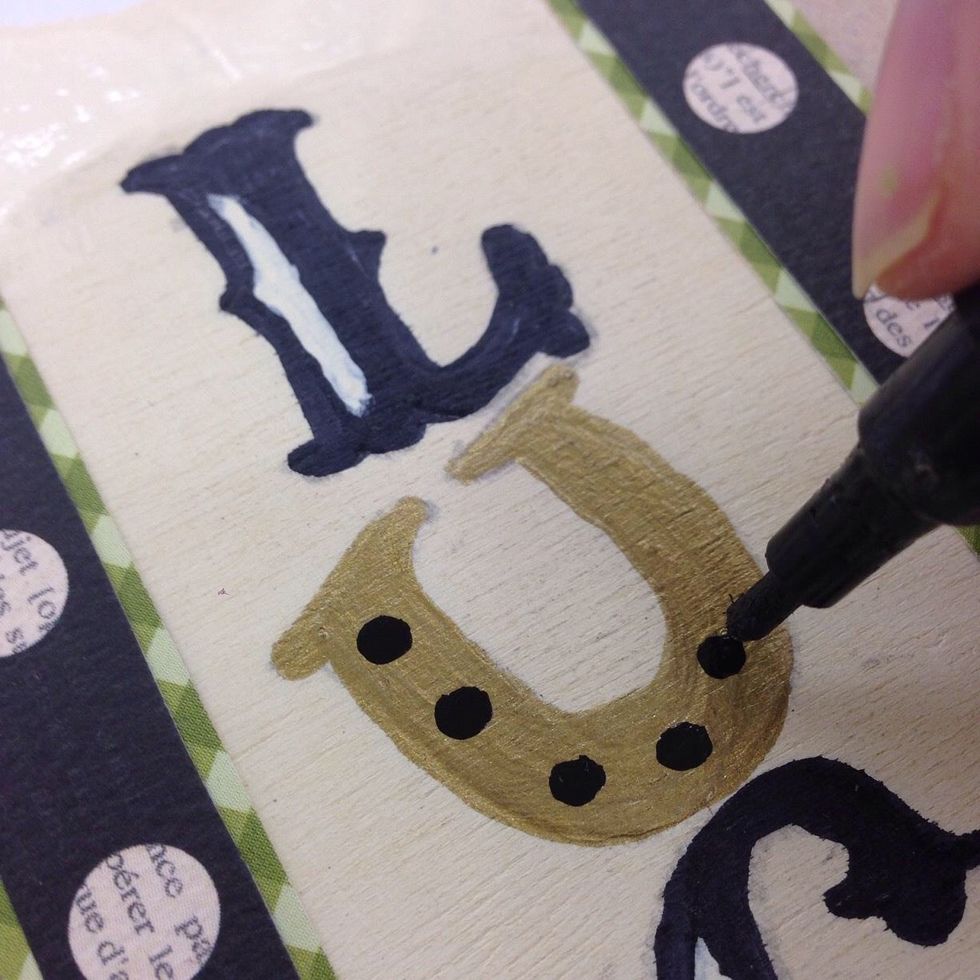
Use the black paint pen to add "nails" to the horse shoe U.
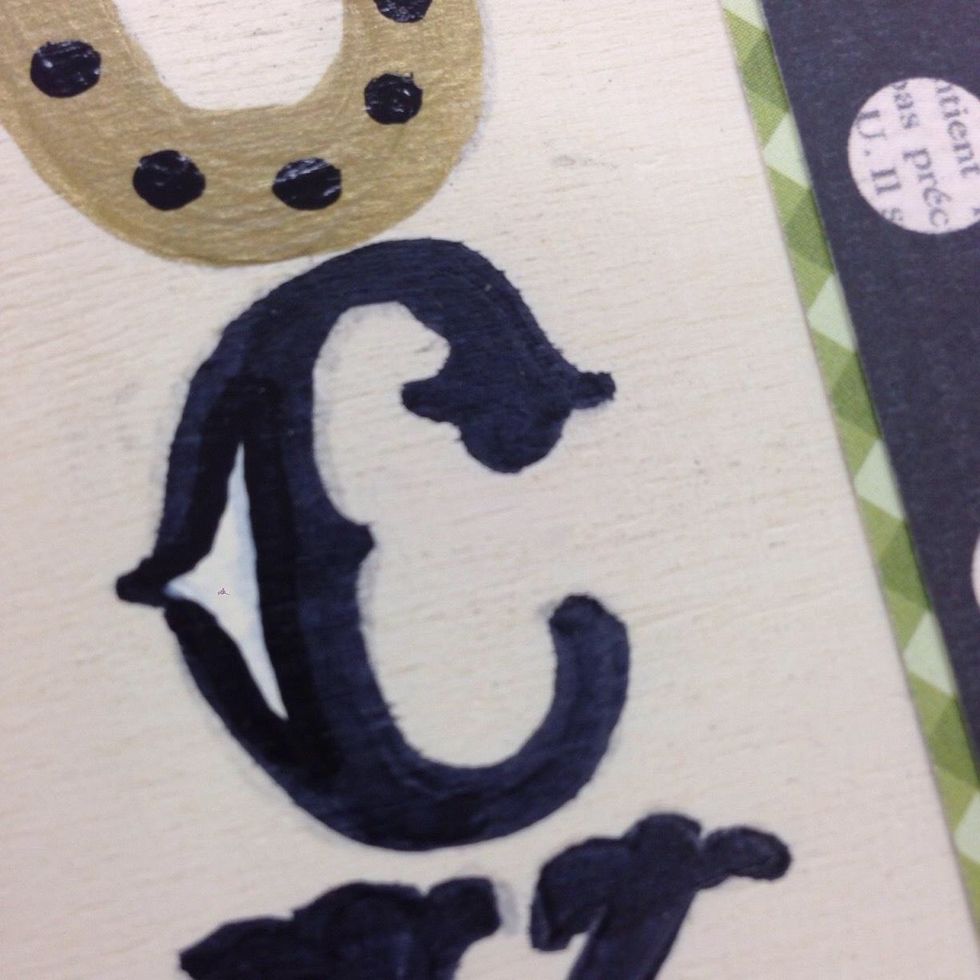
If your highlights look a little messy, you can carefully trace the edges with the black paint pen to neaten them up.
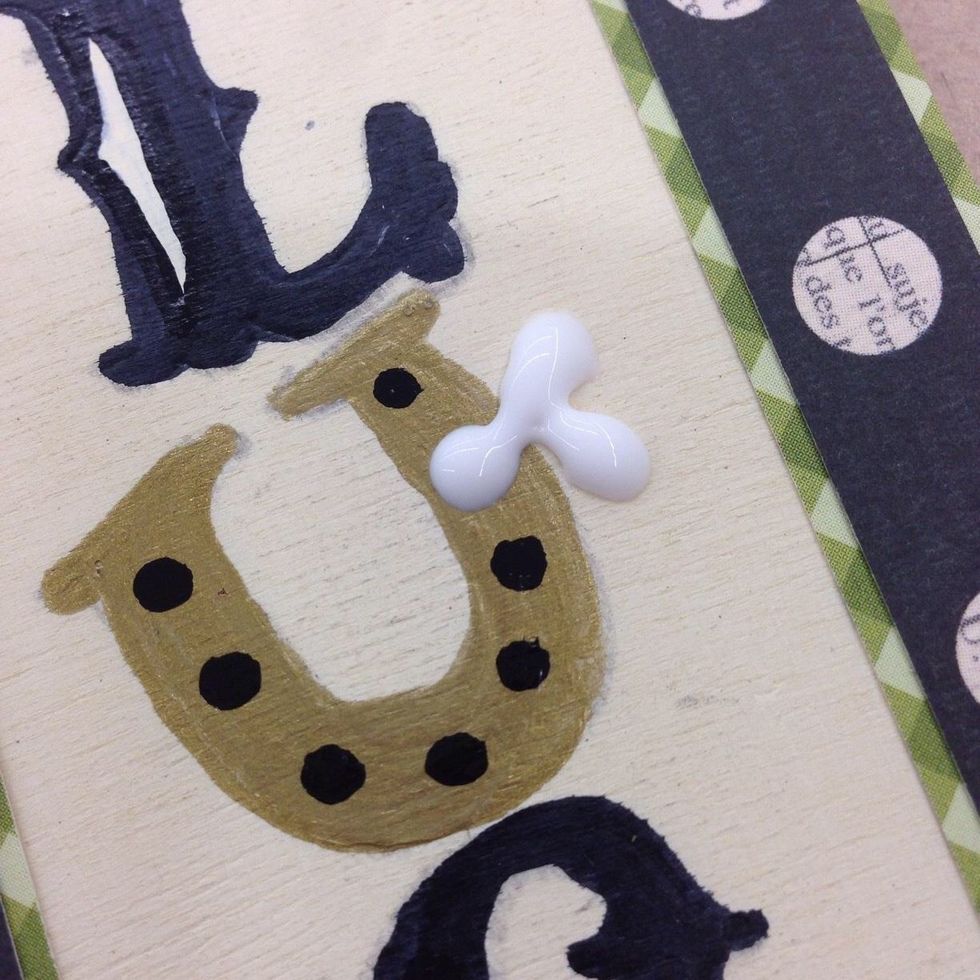
Drop 3 small spots of Tacky Glue near the top, outside edge of the horse shoe U.
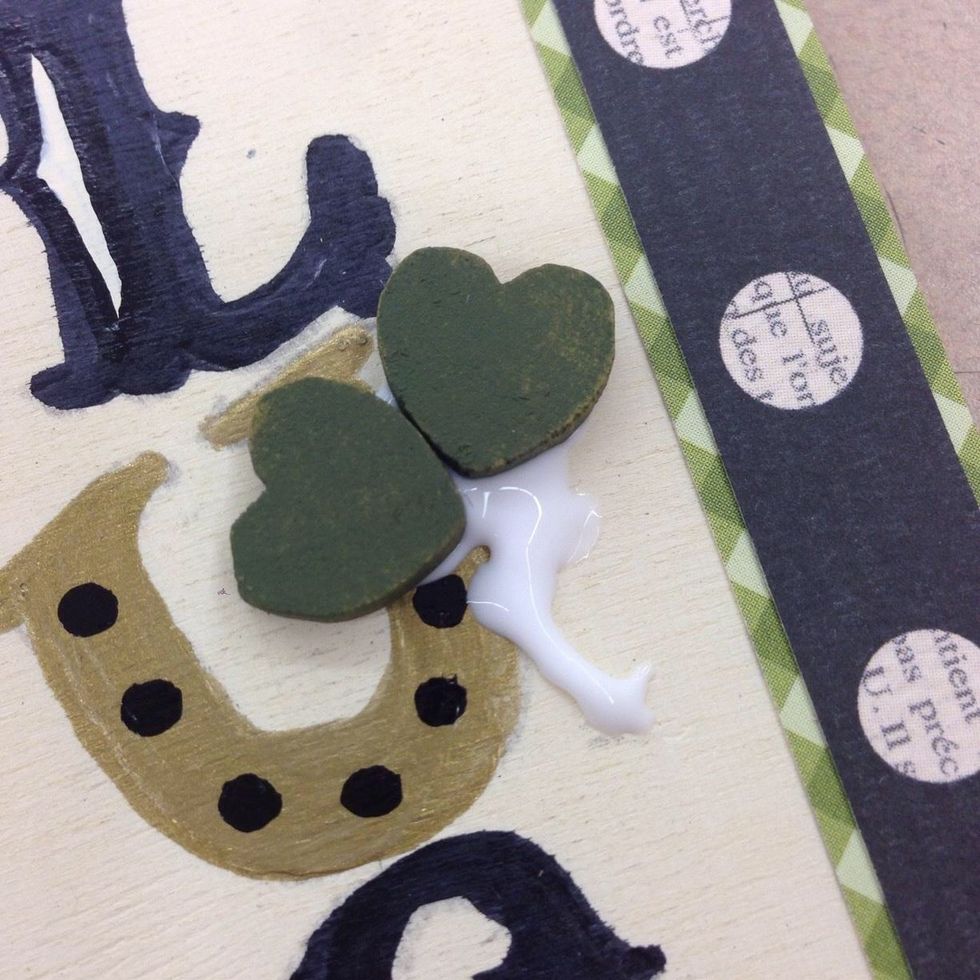
Put 2 hearts in place, then add a curve of Tacky Glue for the stem. The paint makes the jute flexible. Curve it gently and trim to the length you prefer. Lay it in place, then add the 3rd heart.
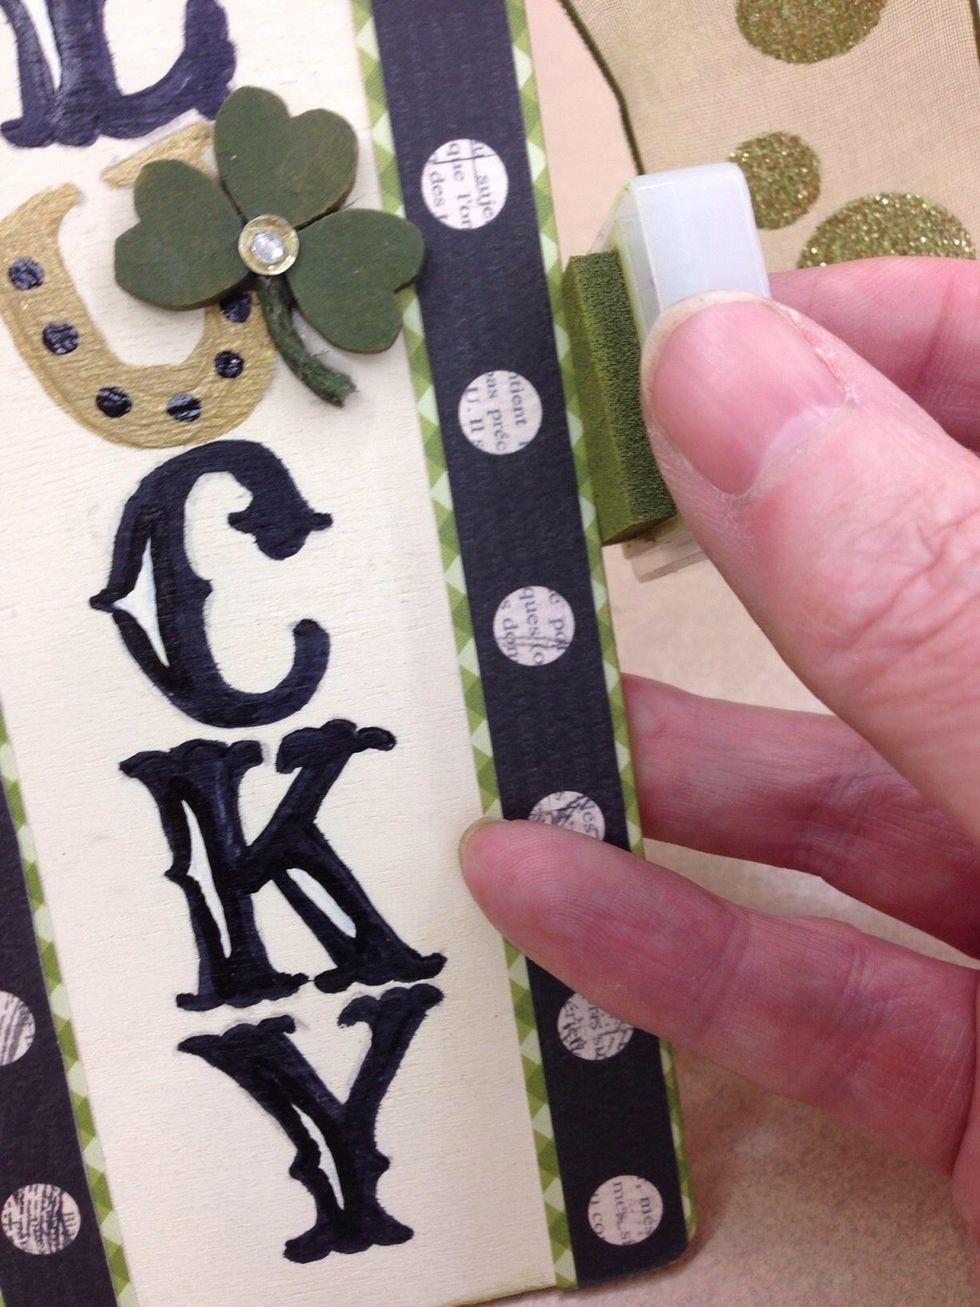
Layer and glue a sequin and rhinestone where the hearts meet. Rub the ink pad along the unfinished edges of the door hanger.
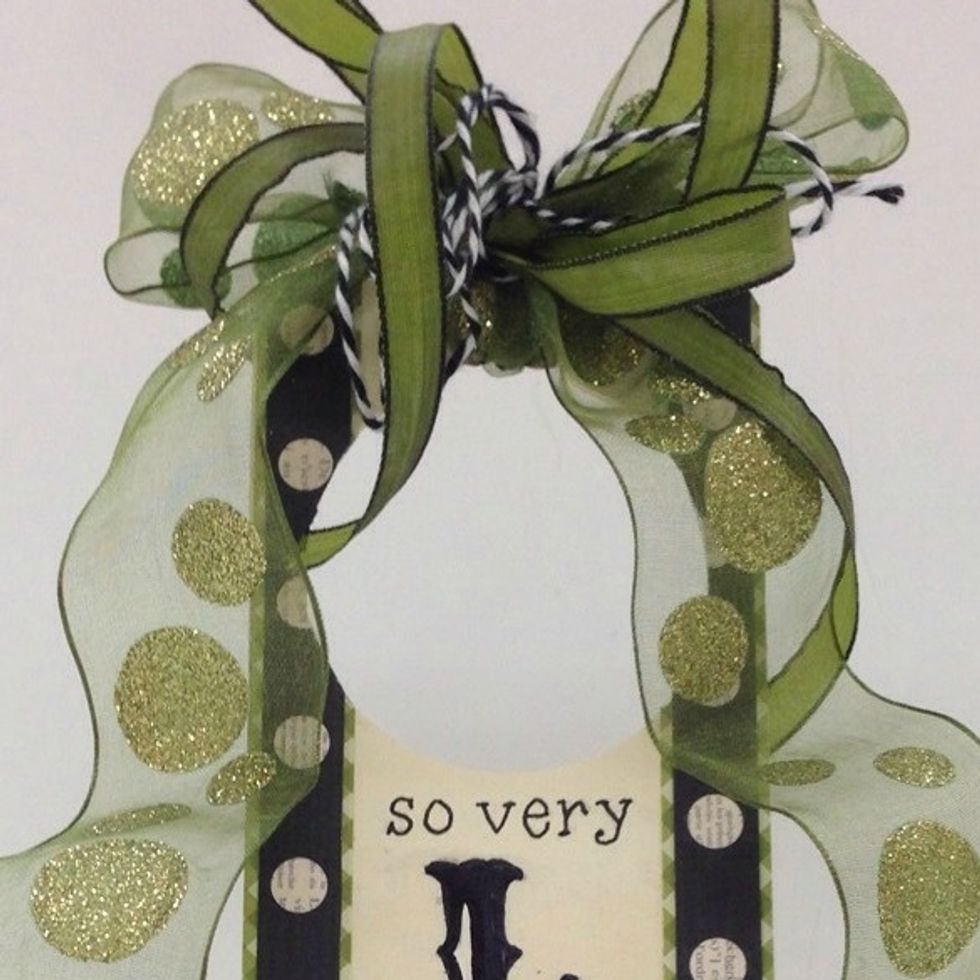
Bundle the ribbons and twine together and tie a bow at the top of the hanger.
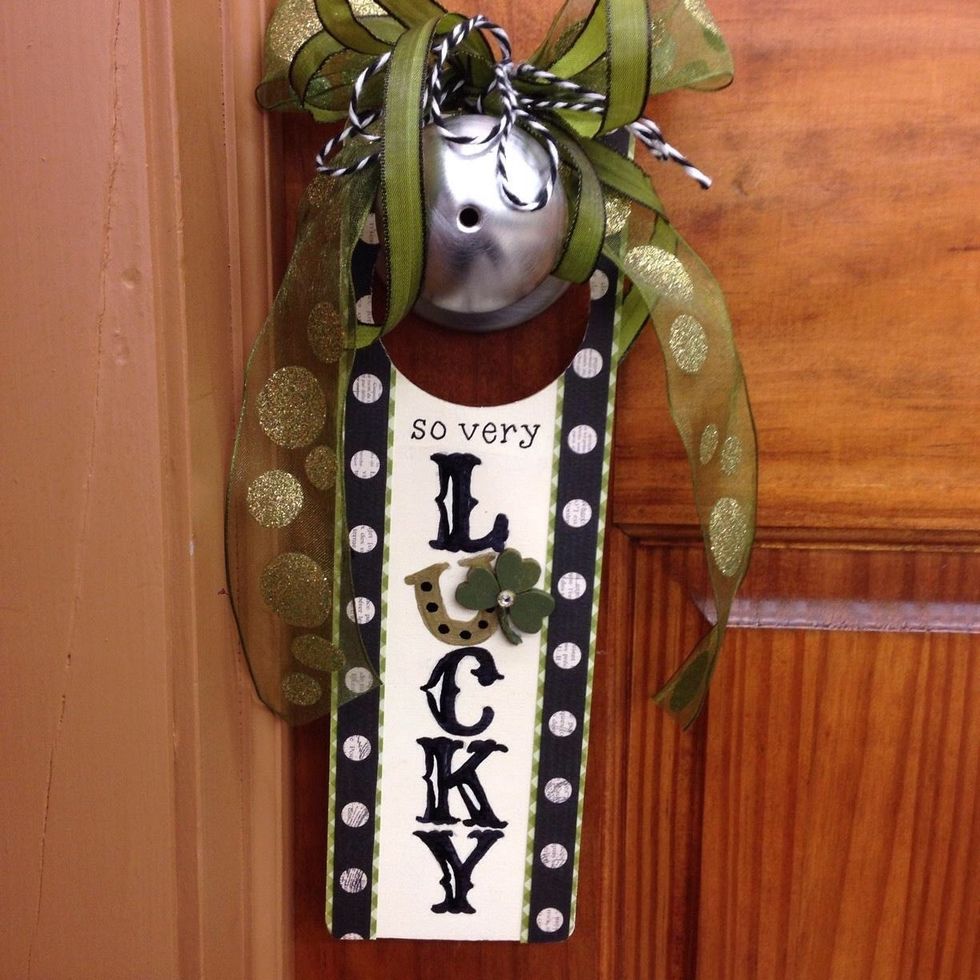
Pop your hanger on a doorknob so everyone knows how lucky you are!
We would love to see YOUR completed Lucky Door Hanger! Upload a photo to our Facebook page: http://on.fb.me/1L3o004