The Conversation (0)
Sign Up

Choose your Designer Paper and Wood Embellishment. Trace out the wood embellishment.

Use Scissors to cut out your Designer Paper.
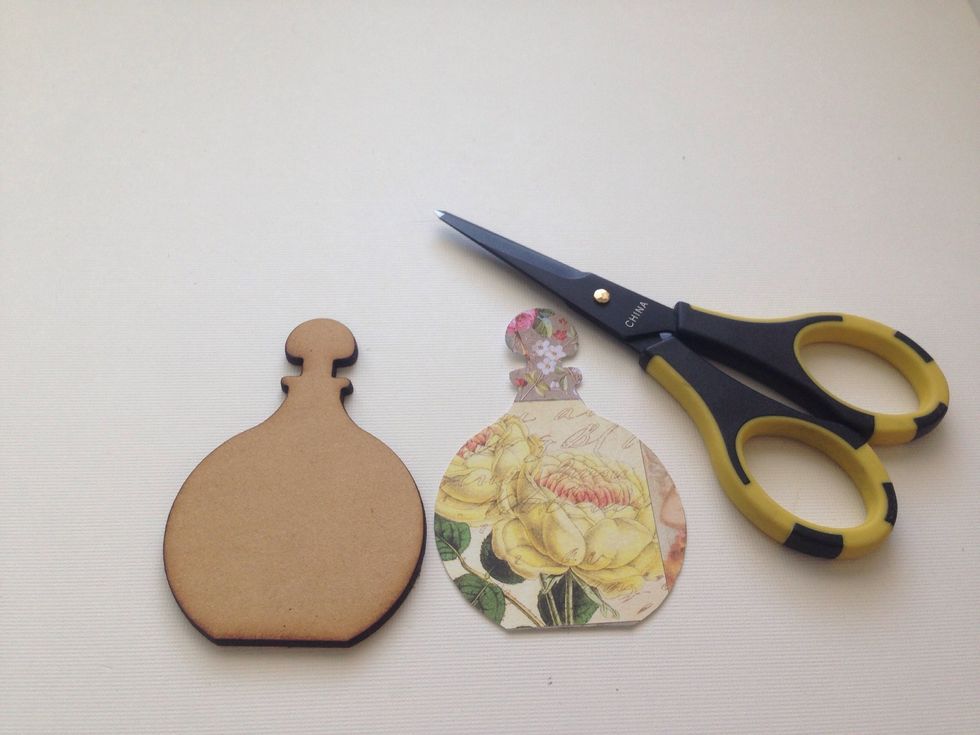
Choose the paper that will compliment the wood piece.
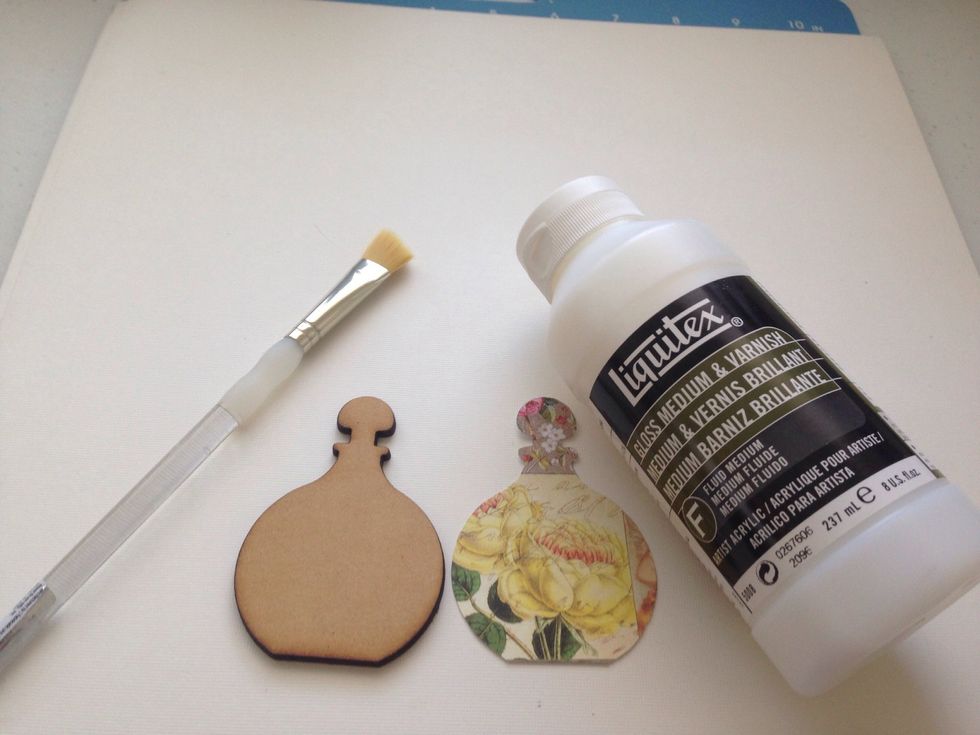
I use Liquitex Varnish to paste the paper to the wood piece. Don't varnish the designer paper. Varnish the back of the side of the wood piece.
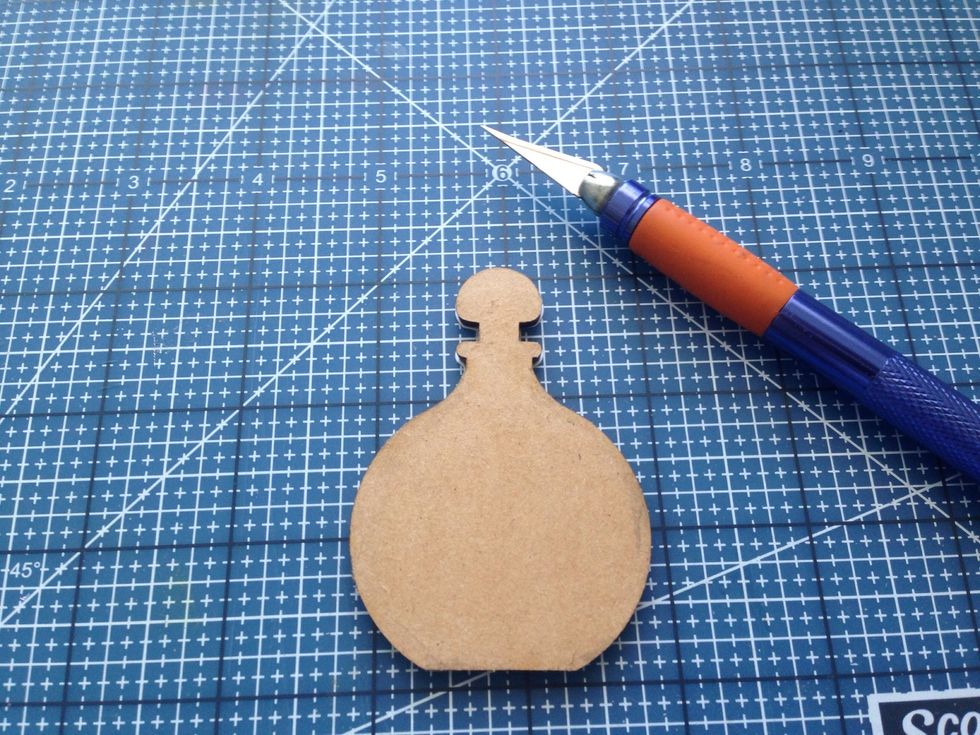
Once the varnish has dried, use the X-Acto knife to trim any over lap of designer paper from the wood piece.

Carefully sand any rough edges. Lightly sand in a downward motion.
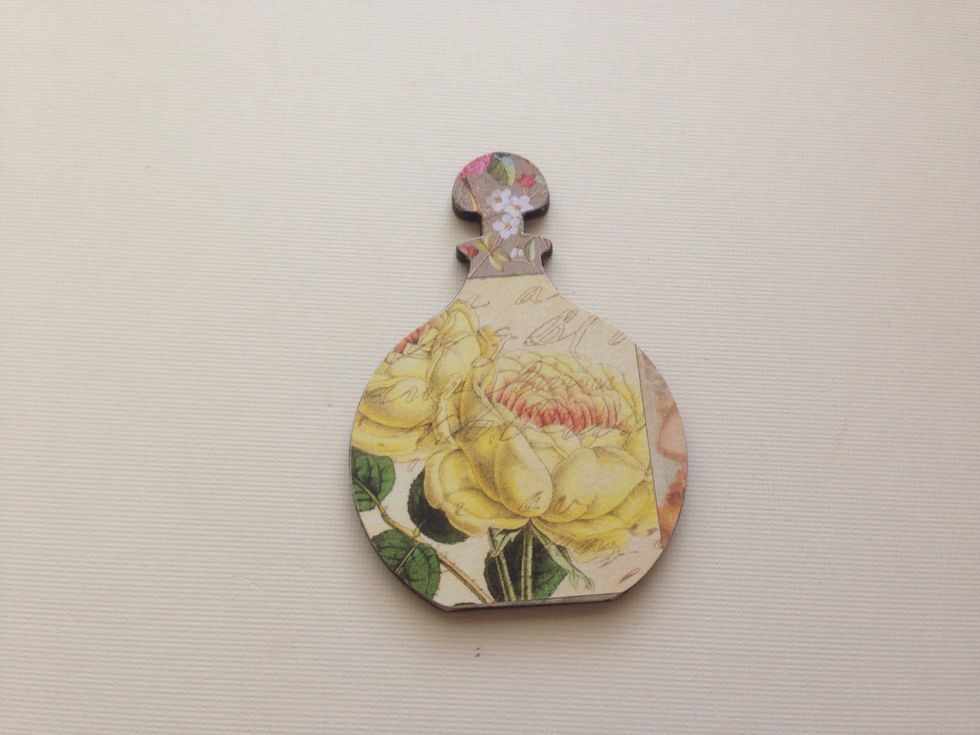
You are almost finish.
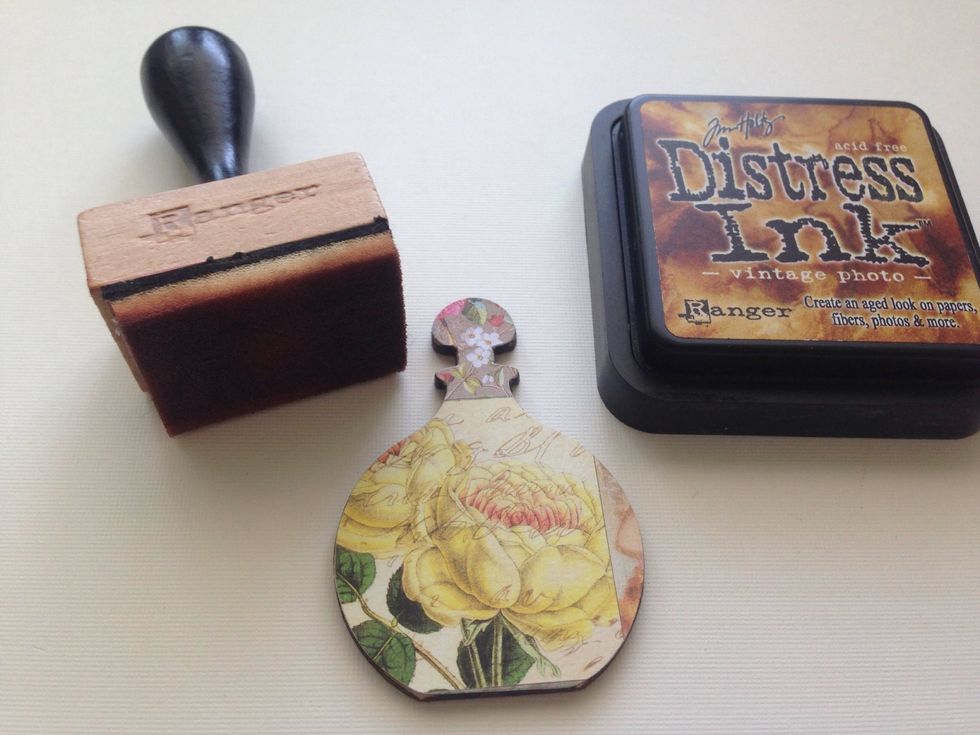
Use ink to blend the edges.
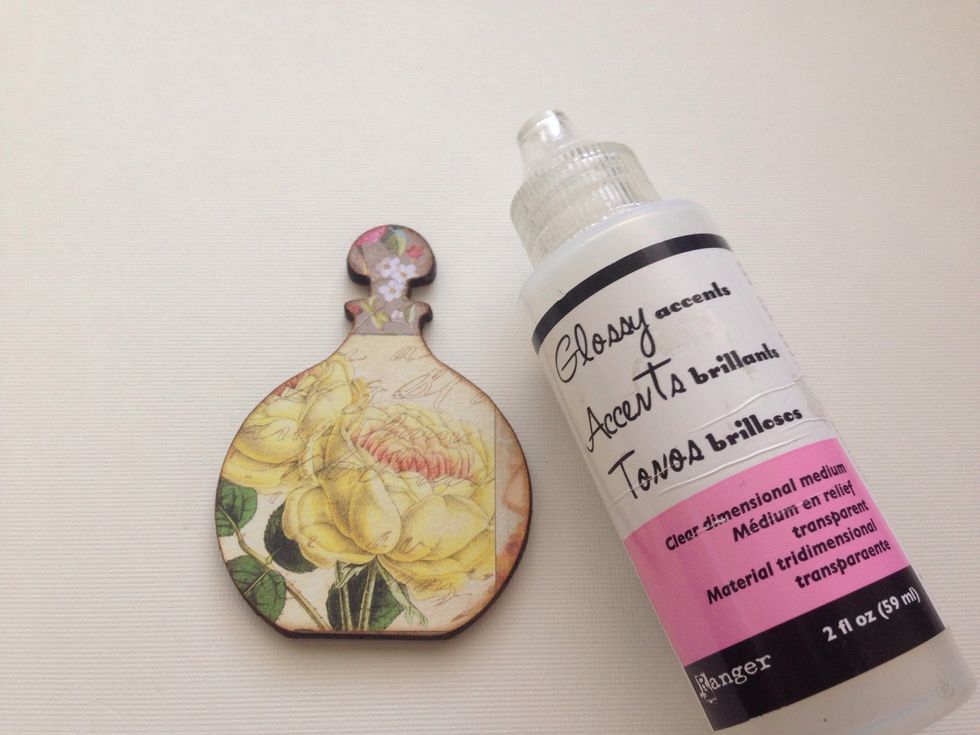
Cover entire wood embellishment with Glossy Accent.
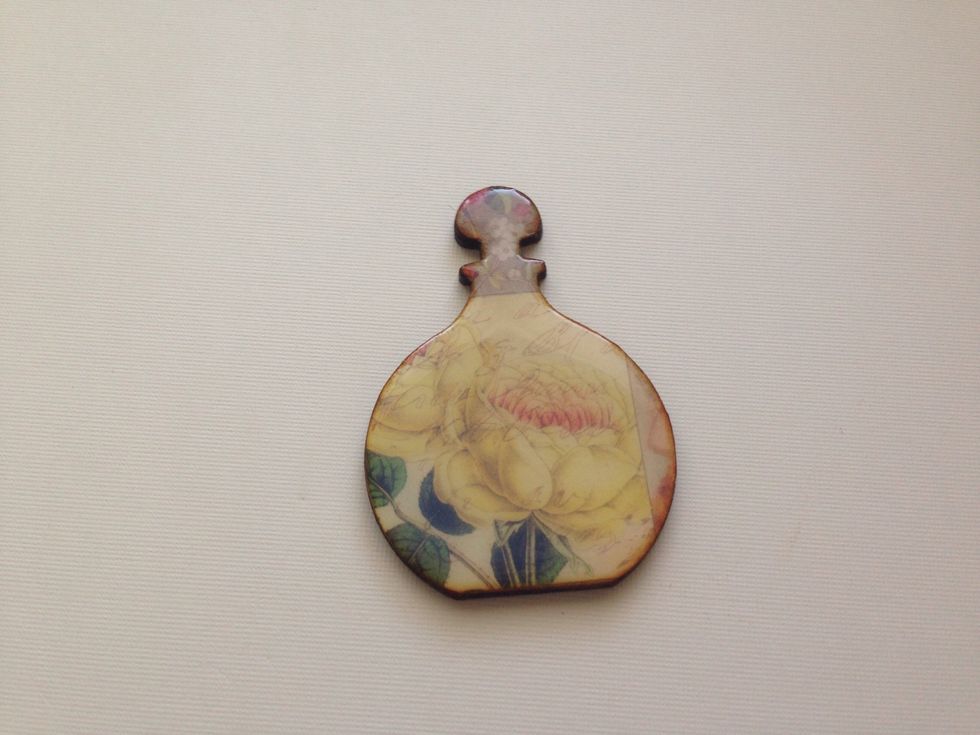
Let dry overnight and you will have a wonderful covered wood embellishment. Thank you for watching.