The Conversation (0)
Sign Up
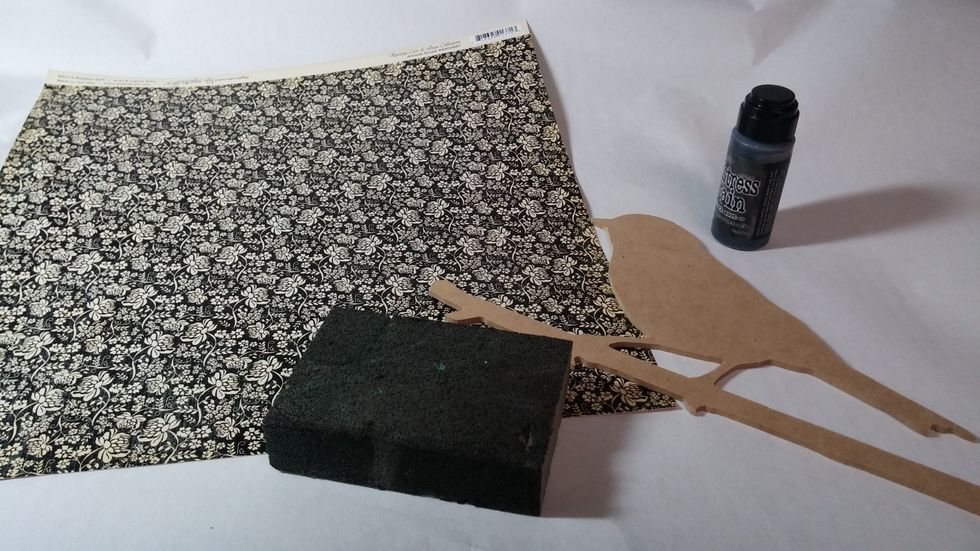
Begin by gathering your supplies.
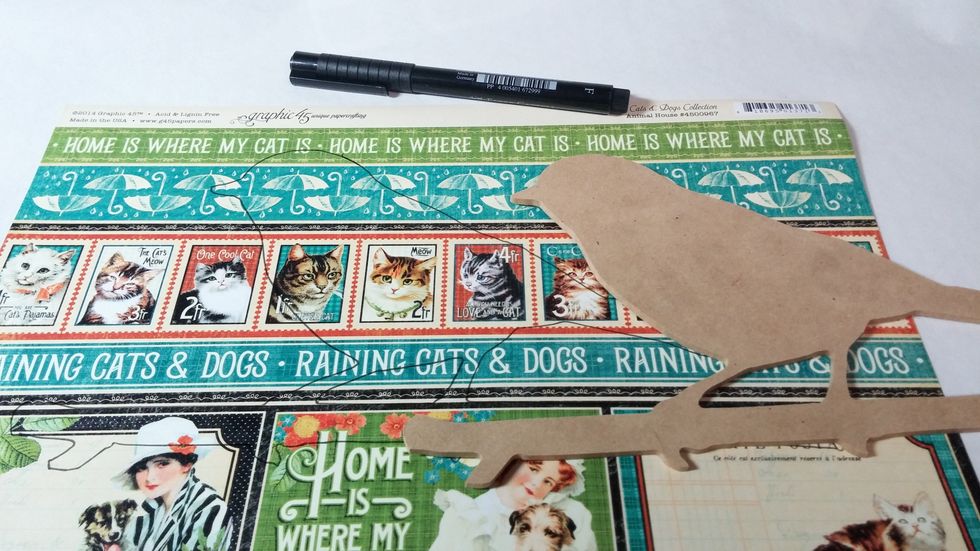
Using a pen or pencil trace your shape.
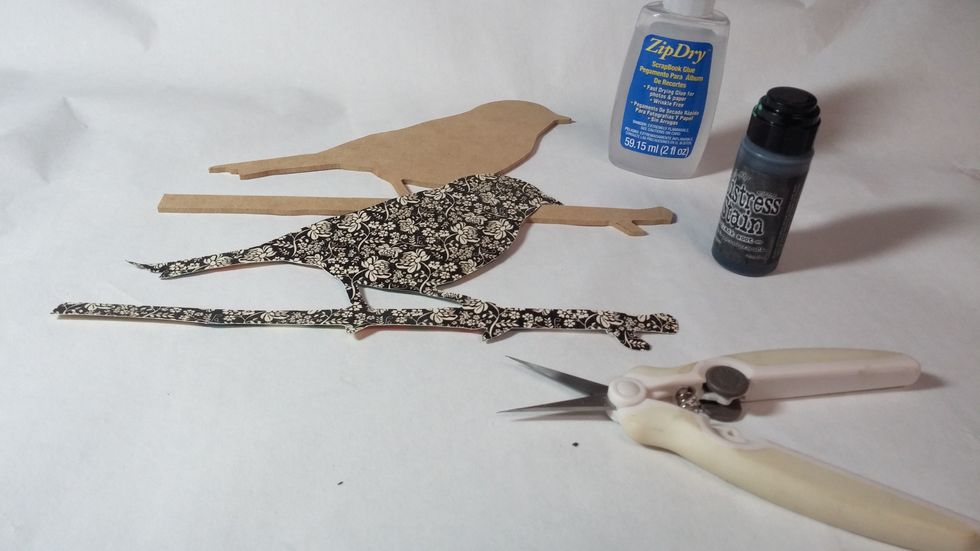
Use scissors to fussy cut your shape. Tip: I usually cut slightly on the inside of the traced line.
Glue the paper to the shape.
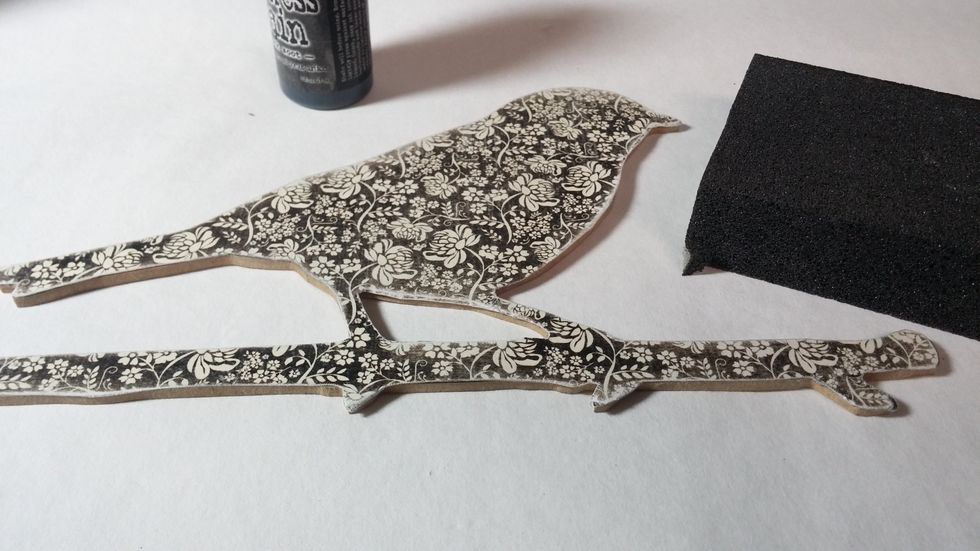
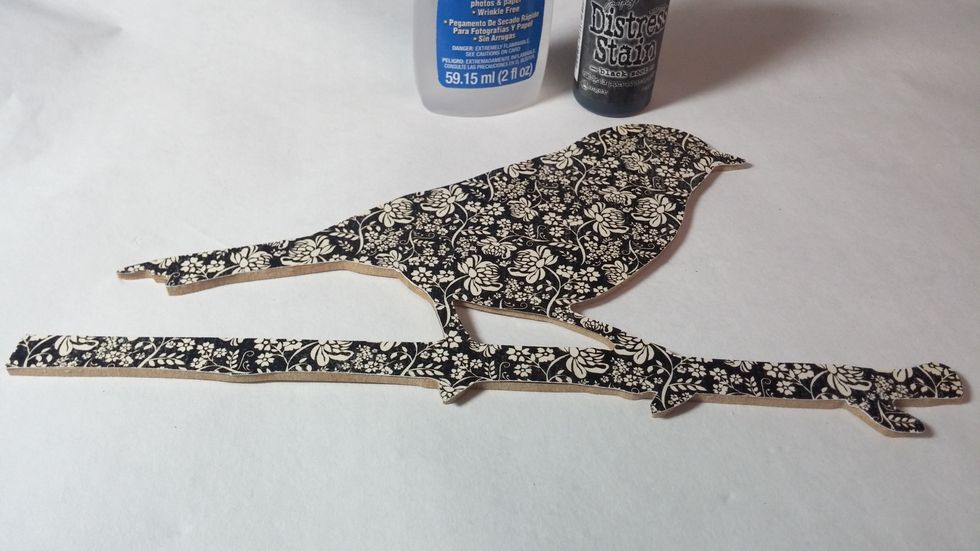
Use the sandpaper to clean up the edges. I also distress the paper a bit by sanding. This gives it a weathered look, which I really like.
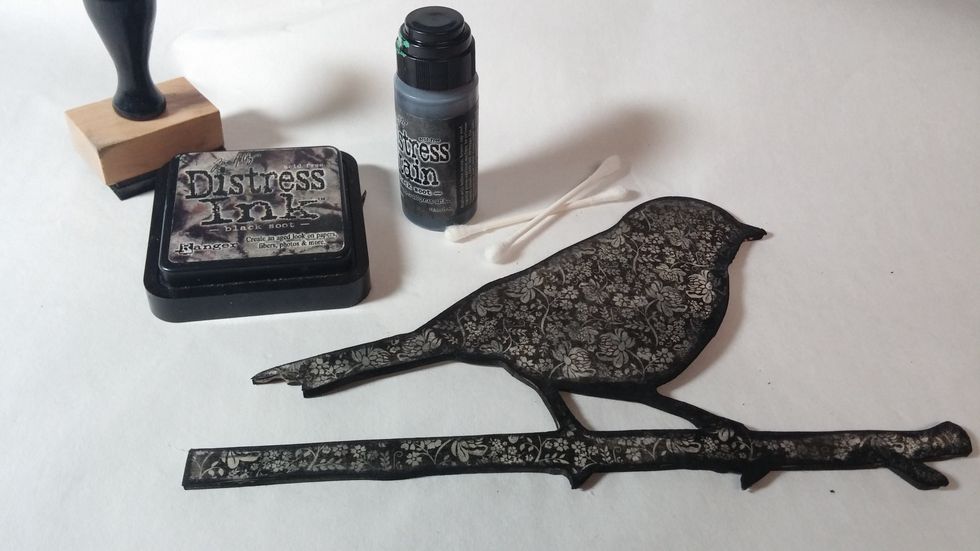
Use stain on all the edges. To get in tiny nooks and crannies, I used a q-tip. I also added a bit of ink to blend in the harsh stain lines.
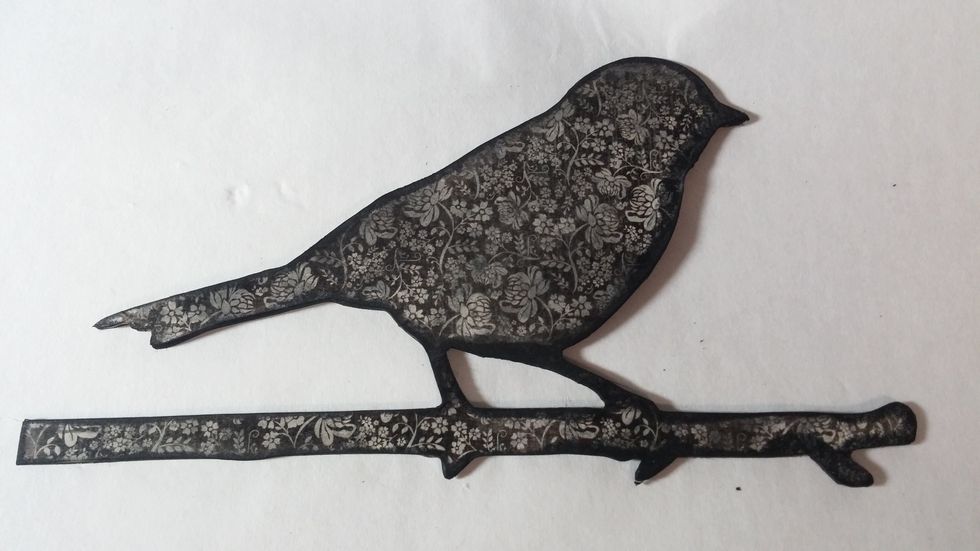
The stain and the sanding covers up any errors or extra bits of paper.
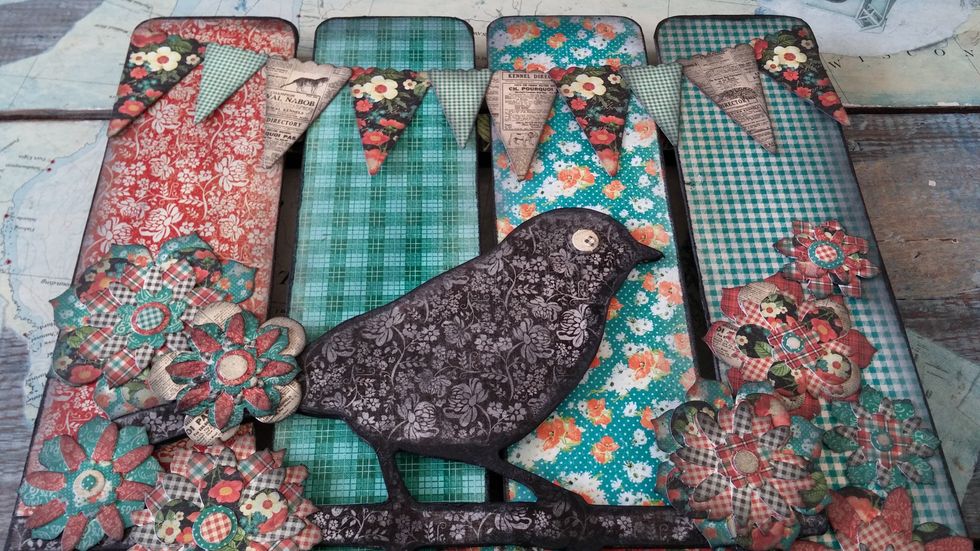
Add your to your project and enjoy!