The Conversation (0)
Sign Up
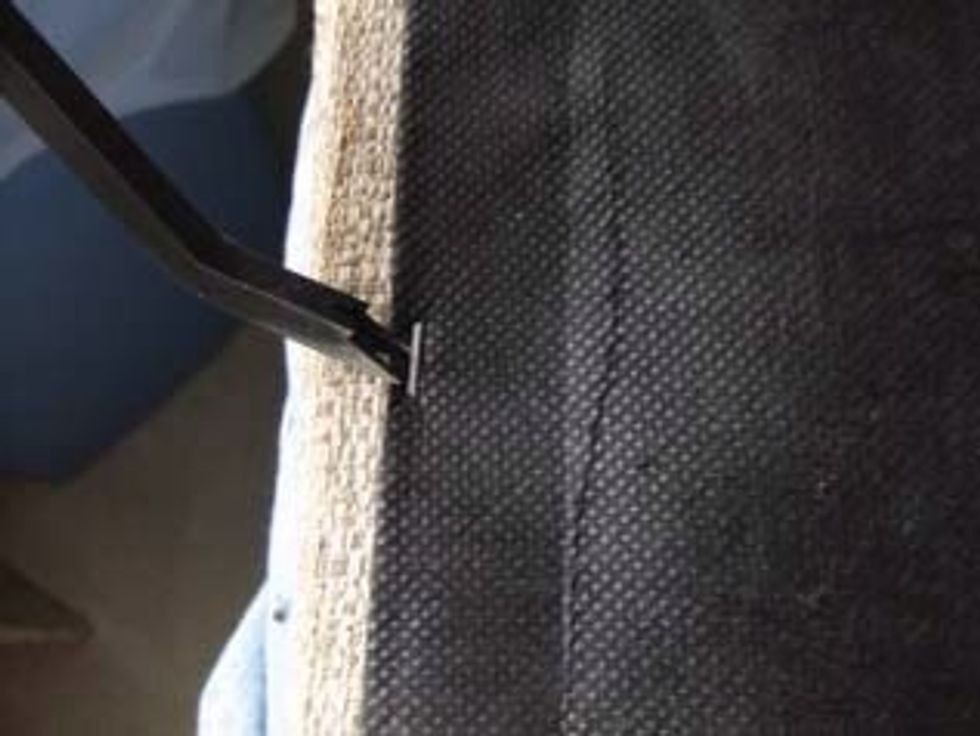
1. Remove the old dust covering from the bottom of the seat and face fabric. (Photo illustrates the removal of the Cambric and Photo 2 (next page) illustrates the removal of the fabric).
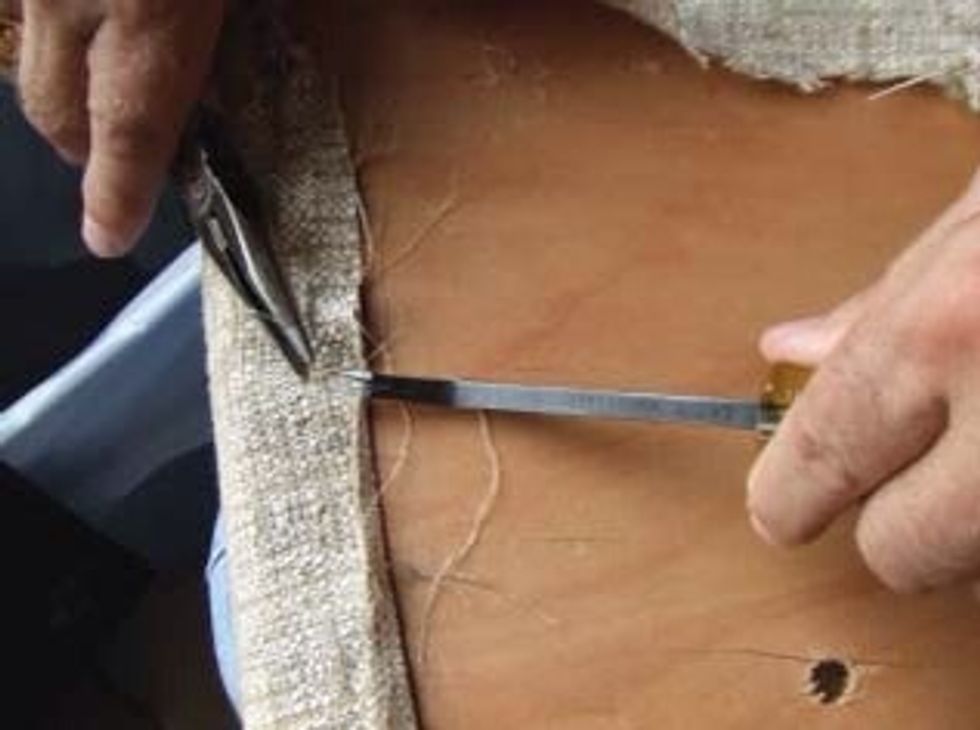
Removal of the fabric.
2. Remove and replace the old layer of batting. Cut a new piece of batting large enough to wrap the project, wrapping around to the bottom. Staple onto back, removing bulk at the corners.
DO NOT cover holes for screws. Place the fabric over the base, centering the pattern.
4. Flip the entire piece over and staple the face fabric to the base. Tack the fabric to the base at the top, the bottom and at the sides. Recheck pattern placement.
Complete securing the fabric to the base working top to bottom and side to side. Leave the corners to address last.
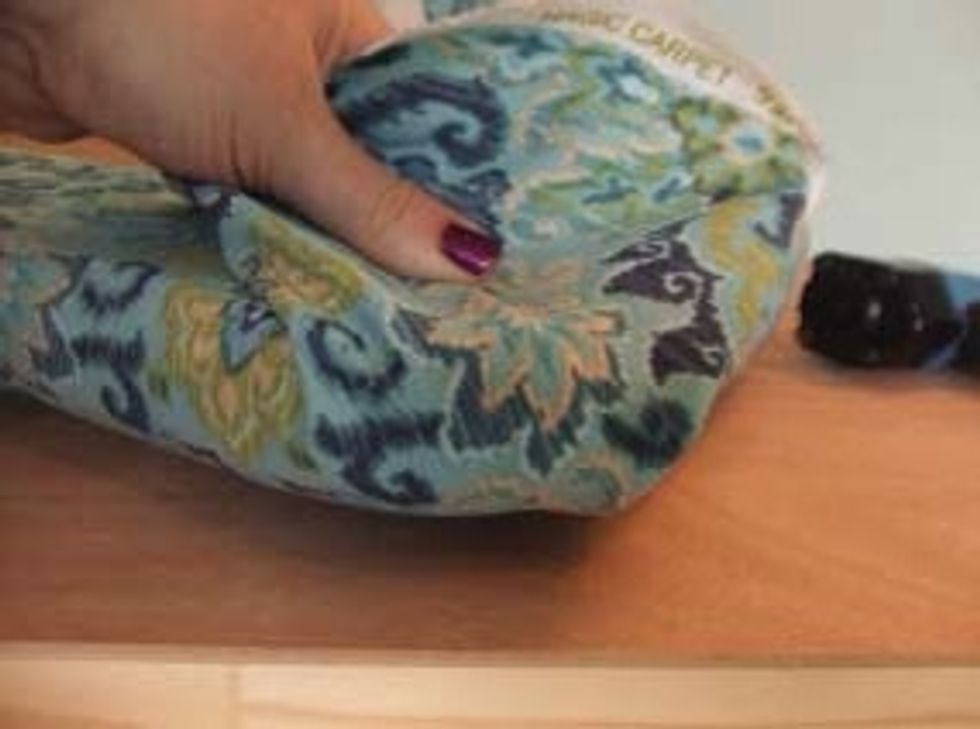
5. Pleat the corners. This chair has a rounded corner so the pleats will be stapled in from the center out. Pull the face fabric over the corner and staple in place.
Pull one side of the corner into place – this will make a small tuck in the fabric. Staple.
Pull the other side of the corner into place, making the same depth pleat. Staple.

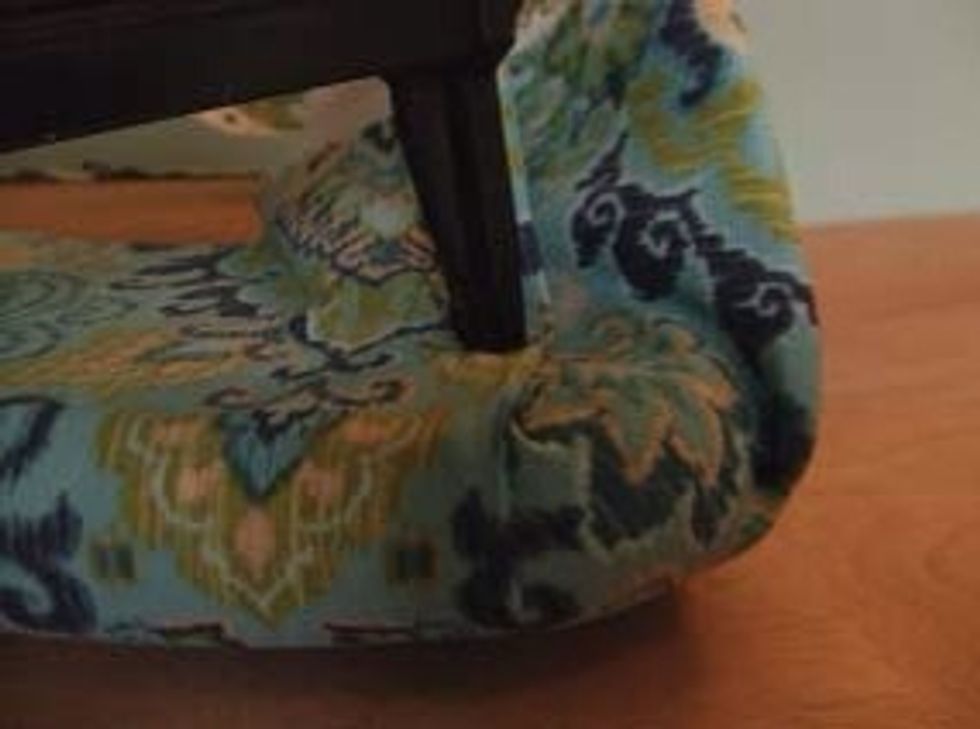
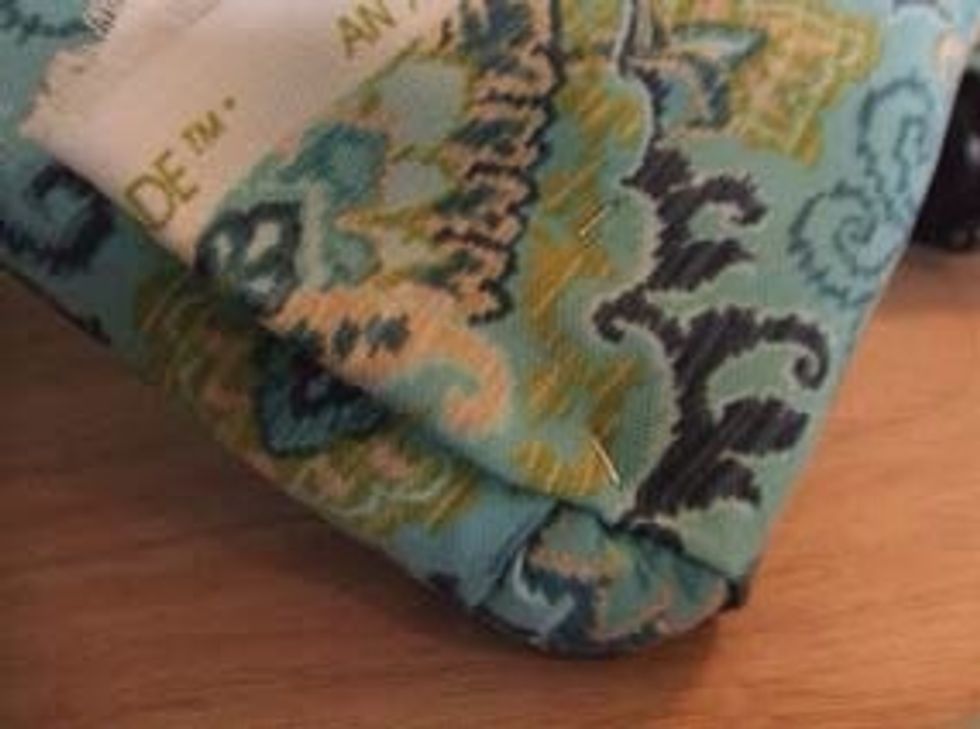
6. Fold the last fabric flap back onto itself and staple flat.
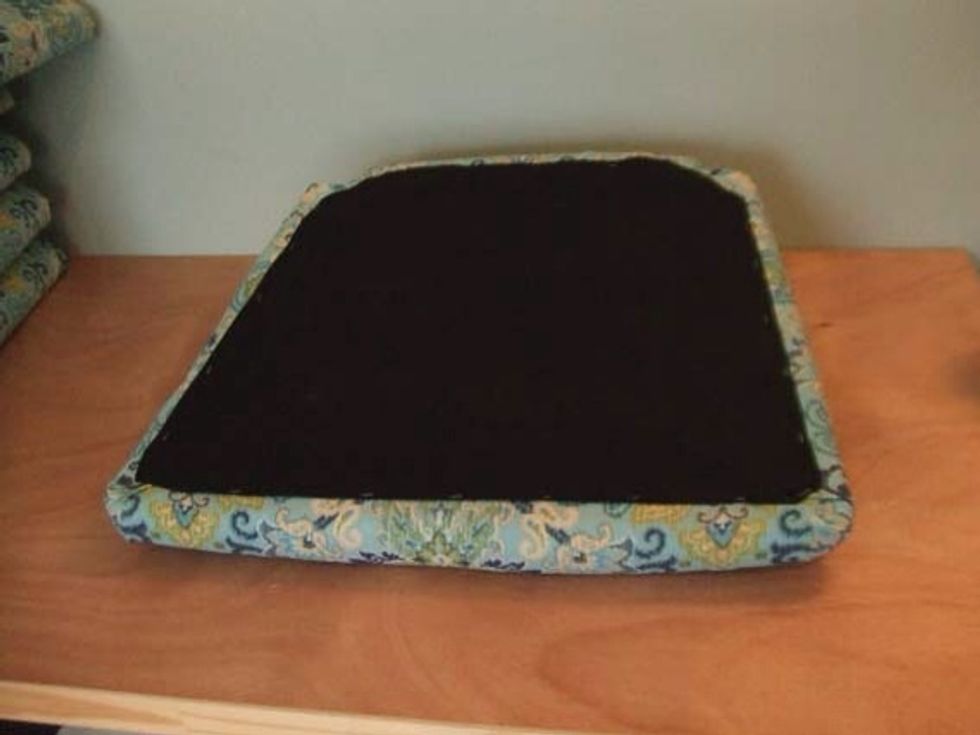
7. Trim off any excess fabric and/or bulk on the back. Cover the bottom with Cambric or black lining.
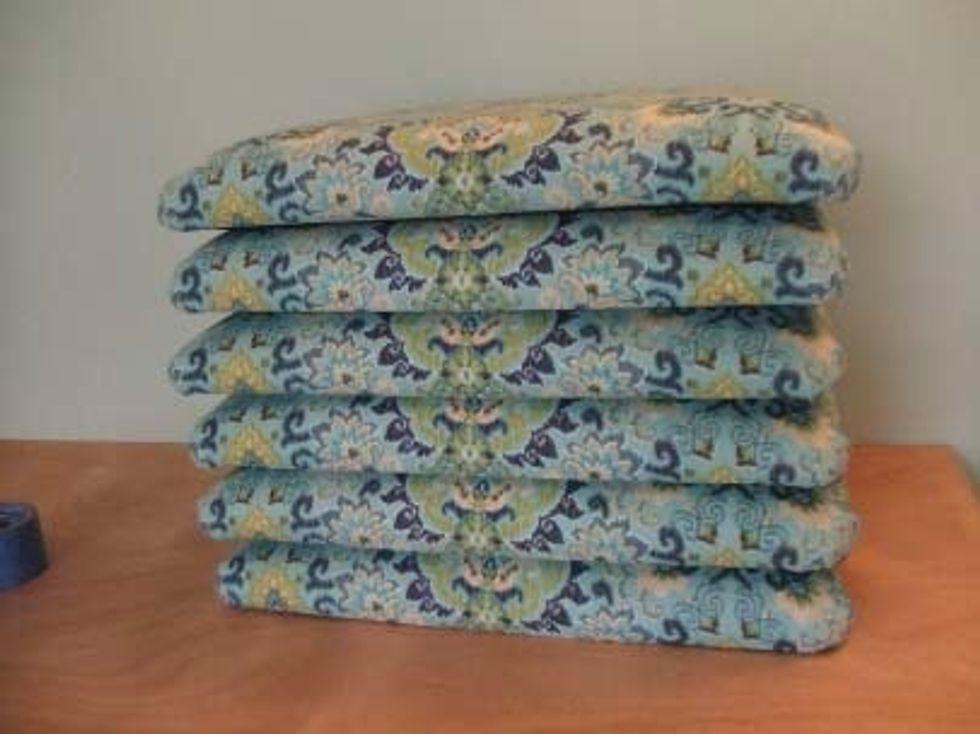
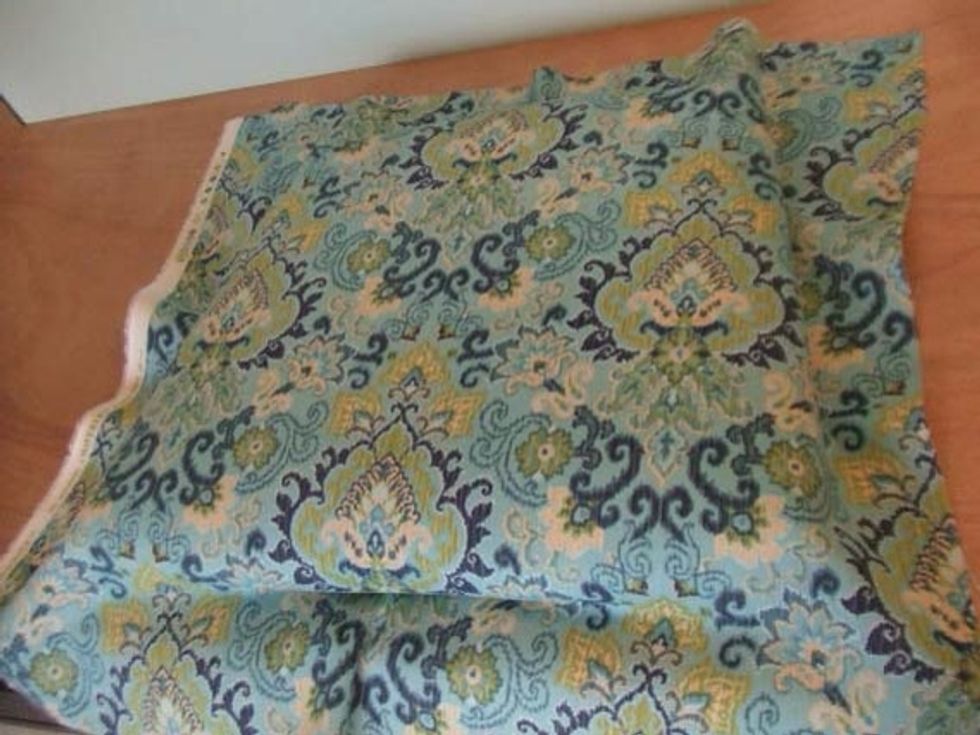
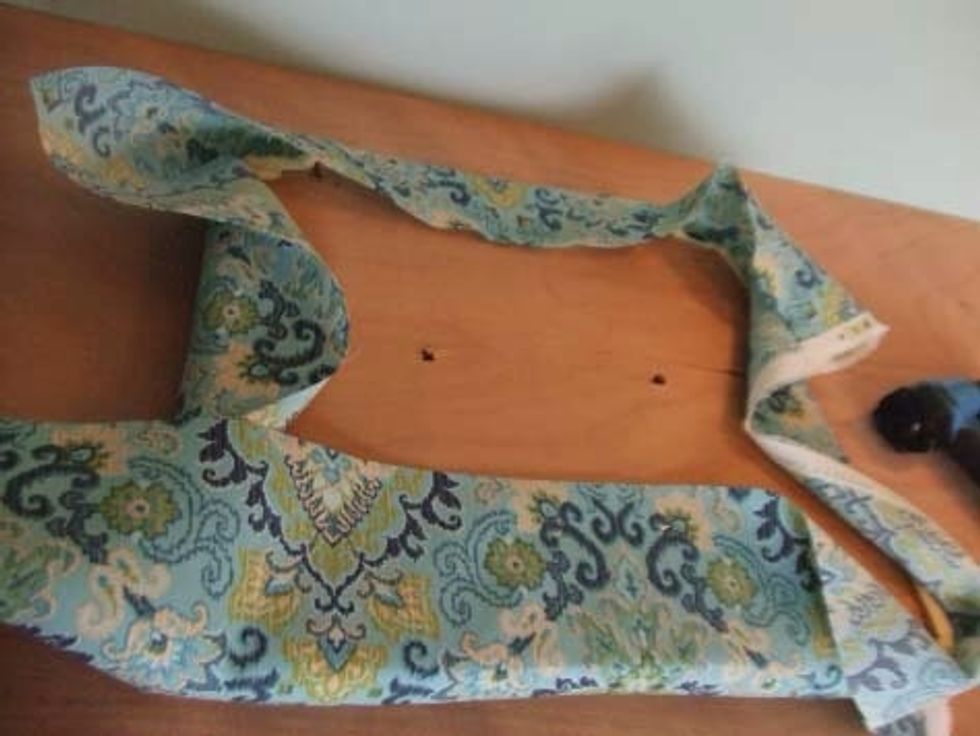
TIP 1. To make sure all the seat patterns match each other, use the first piece cut as a pattern for all the rest.(Photo) 2. Pay attention to the pattern as the fabric is pulled and stapled.

Download this project and more at www.RowleyDiy.com