The Conversation (0)
Sign Up
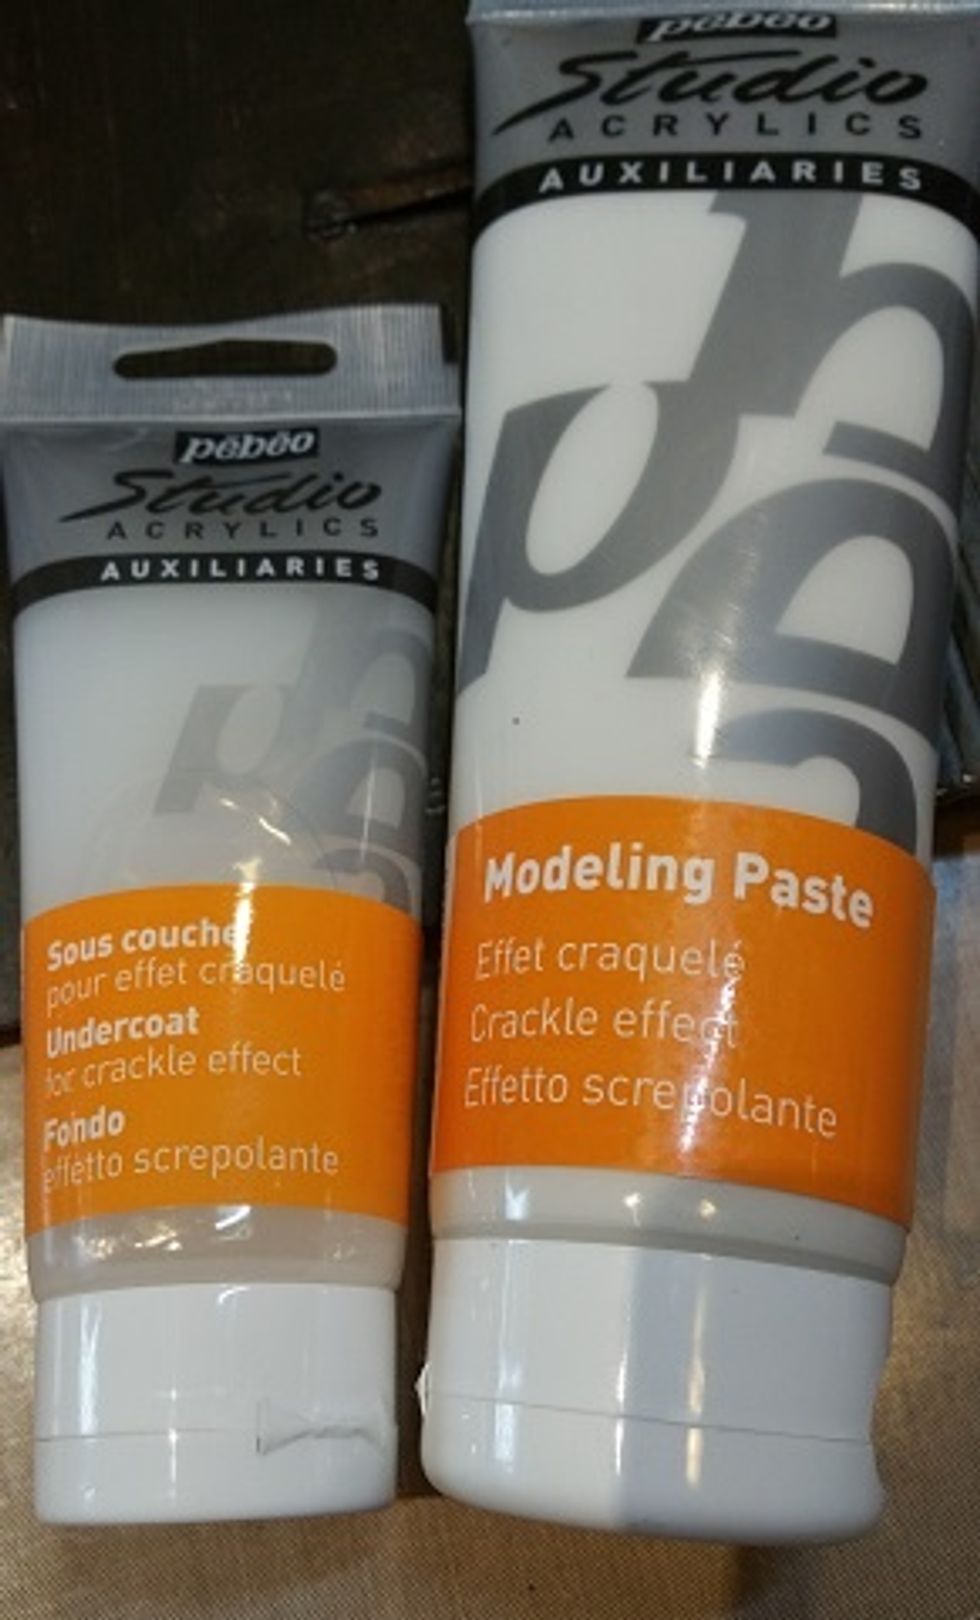
This project is using Pebeo crackle modelling paste. Available from Canson Australia and selected spotlight stores
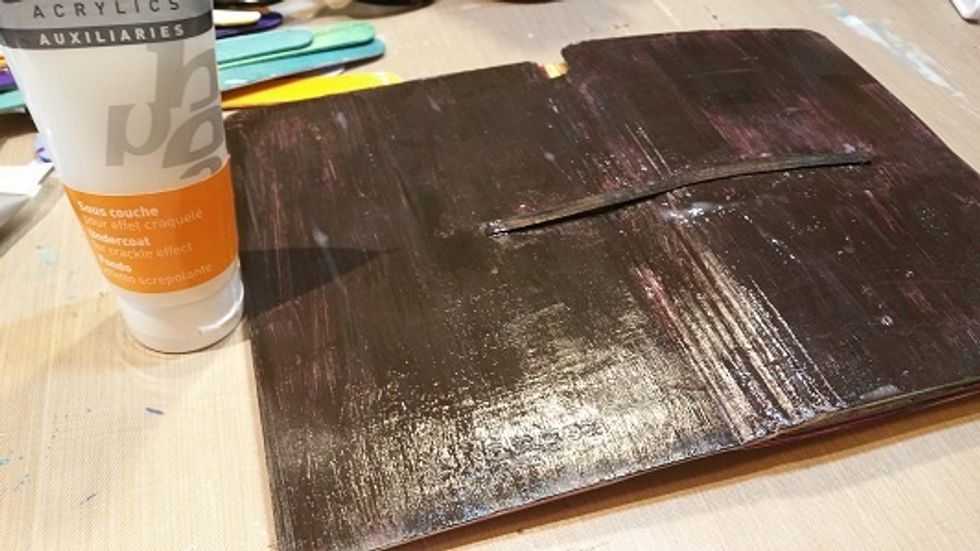
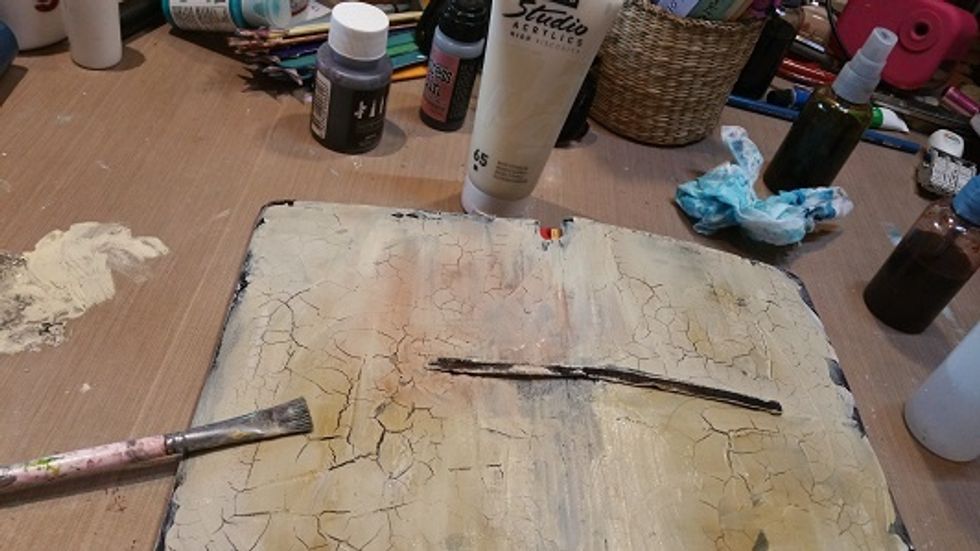
i painted the undercoat with burnt umber pebeo acrylic paint
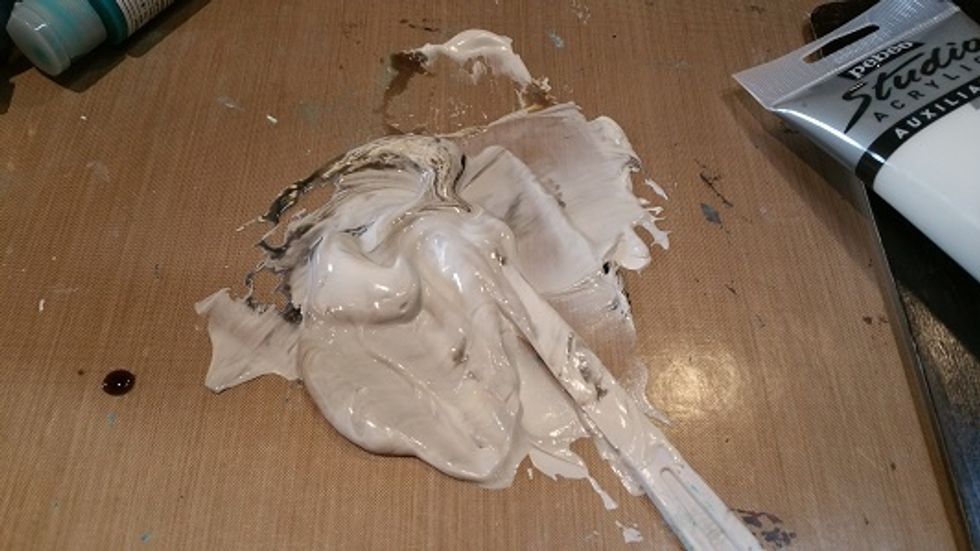
the modelling paste, i added a little sepia acrylic ink to it to colourise it for the coating
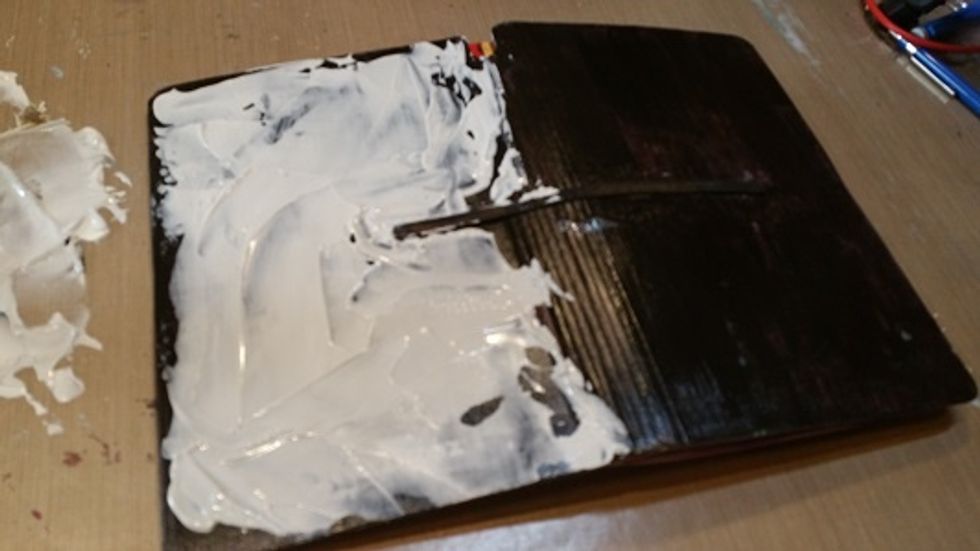
I applied firstly the undercoat and left that to cure for an hour. Then I have applied with a palette knife the modelling paste

I left some parts of the journal cover blank and looked after the elastic enclosure.
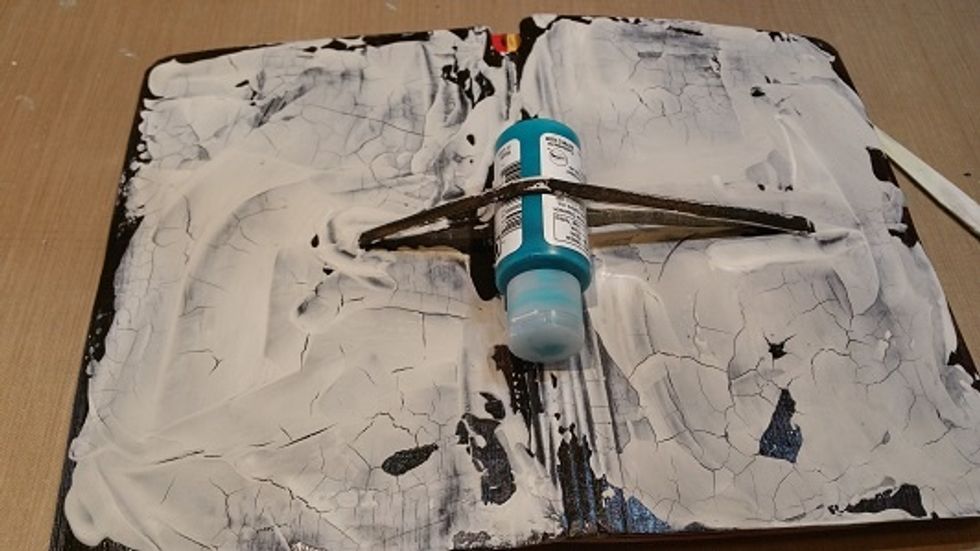
As the cracks start to appear i advise it's best to inset a small paint tube under the elastic to stop it adhering in the the modelling paste and paint
i used a combination of titanium buff, french blue and burnt umber paints in a palette where i could mix all three colours together to create an unique colour schemme and applied with a dry flat brush
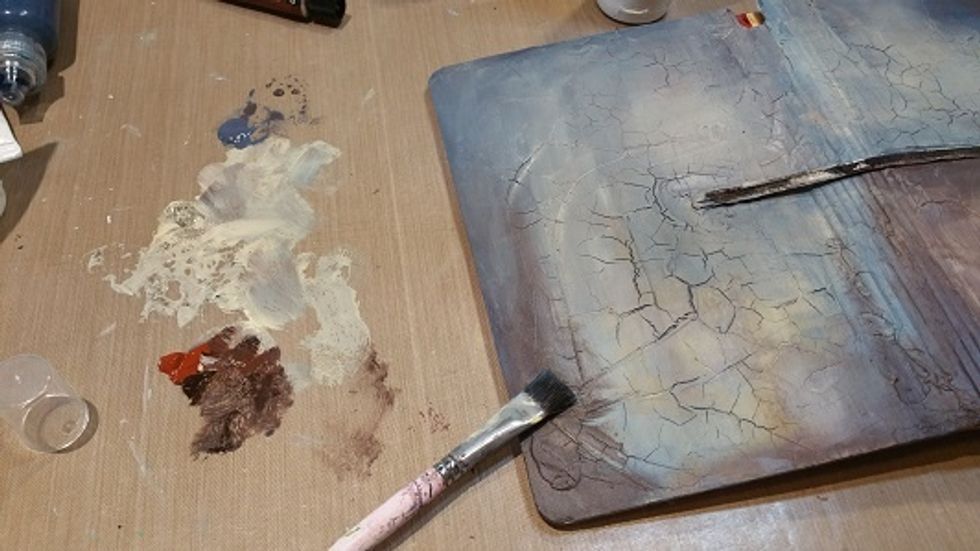
you can see i have blended and applied small amounts of paints and used the brush to blend together

after I've applied the first coat of acrylic paint, (making sure to not fill the cracks up) i decided to accent the paint with some alcohol inks. I dripped these on randomly and let dry
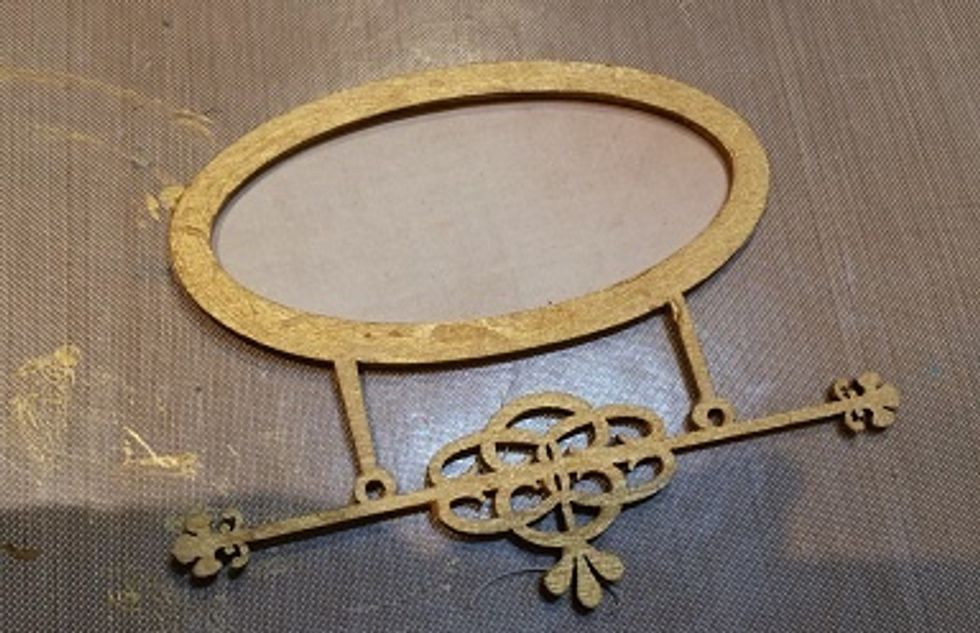
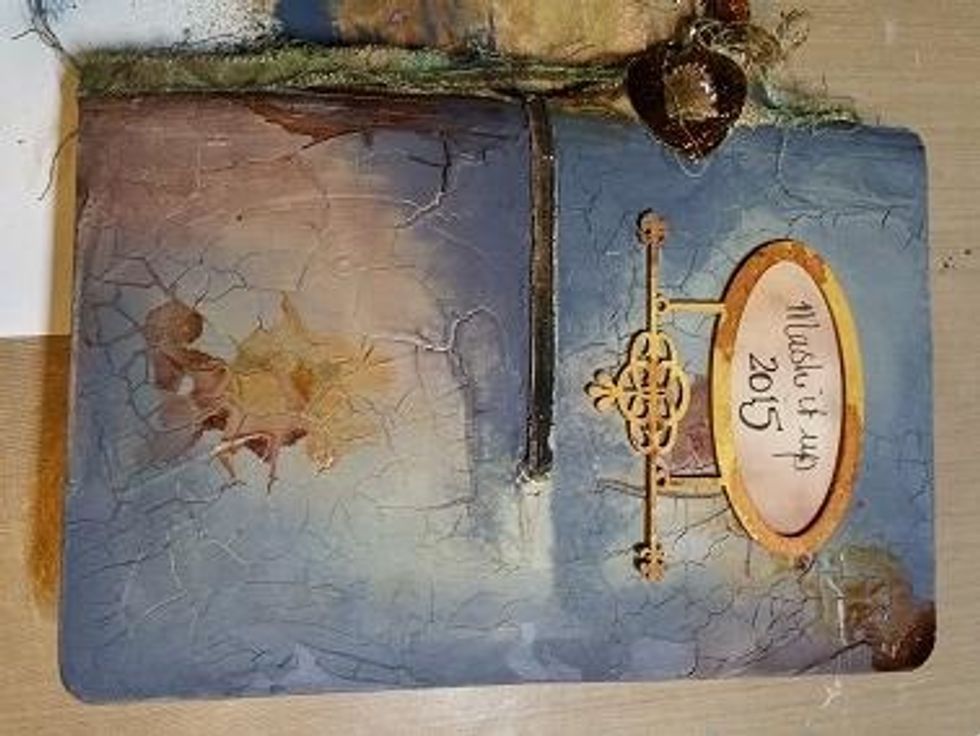
I had a wooden embellishment and decided it would make a nice title label for the journal. I painted it in gold paint and placed a piece of paper underneath. I inked the paper to age it.

At this point i used some alcohol ink to colourise some metal embellishments and even some of my paper beads.

here is what the journal looks like just before glueing on the label.

I cut a few strips of calico fabric and painted it in the same paints as the journal. I then added in the embellishments to accent the spine of the journal
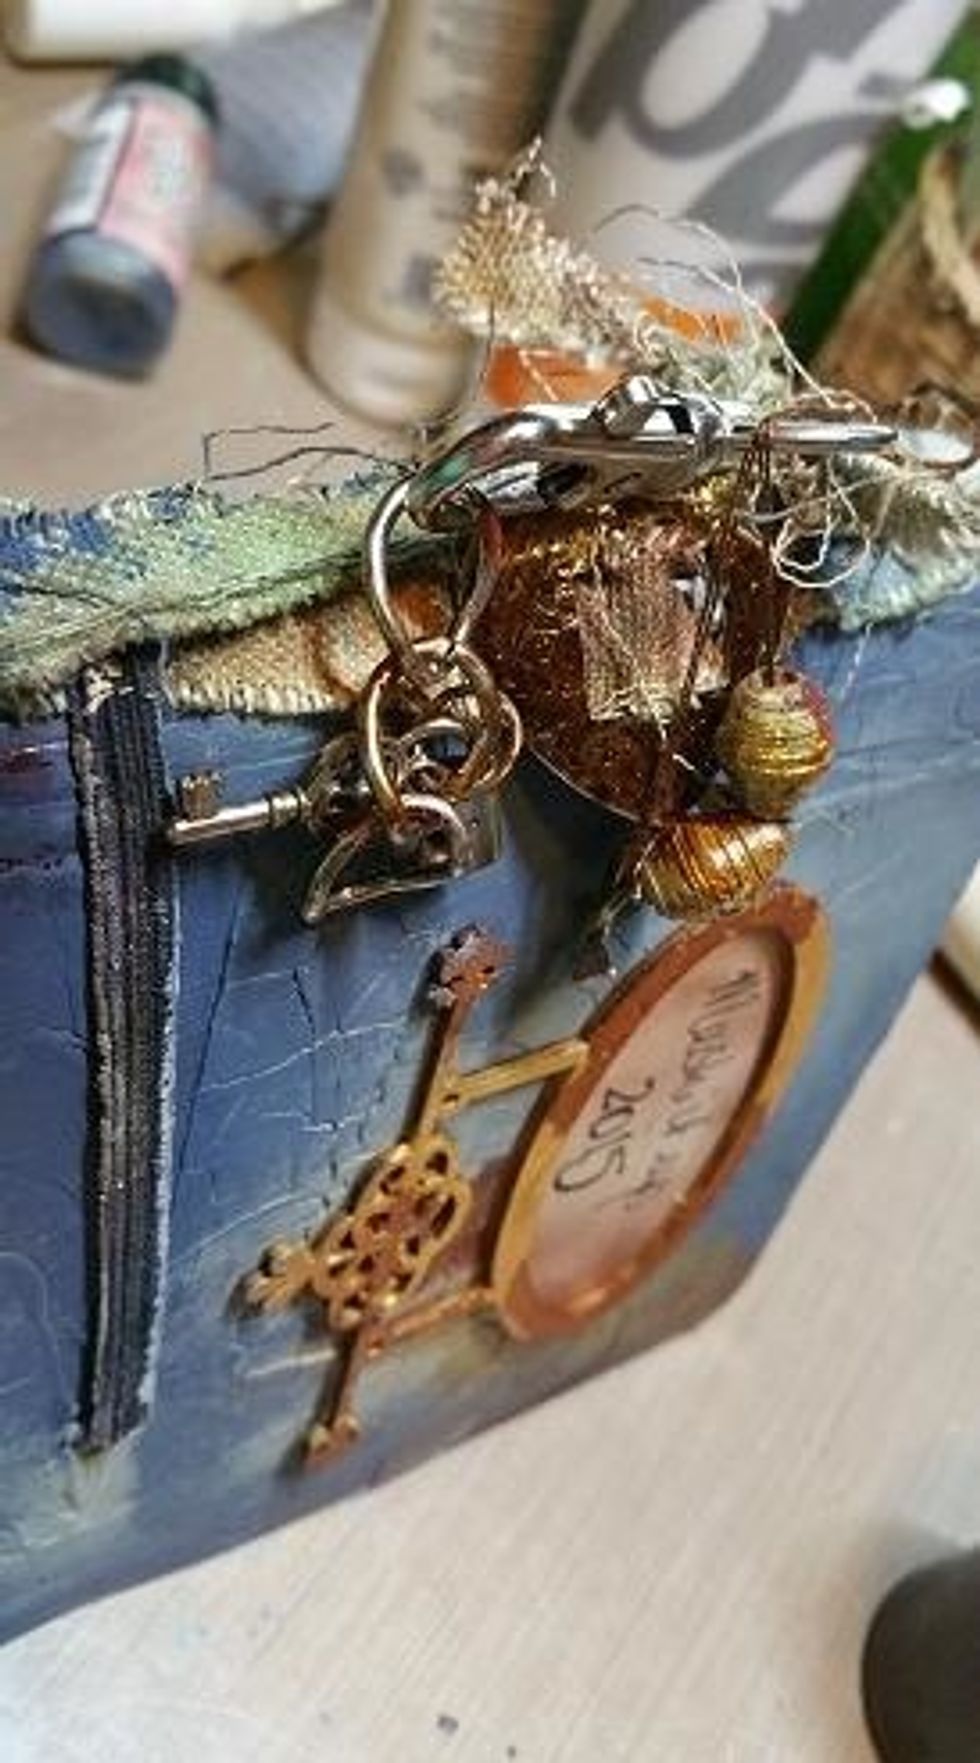
Here is the view from the spine of the front cover. I used a needle and some thread to help fix the embellisments to the fabric
and the finished product!
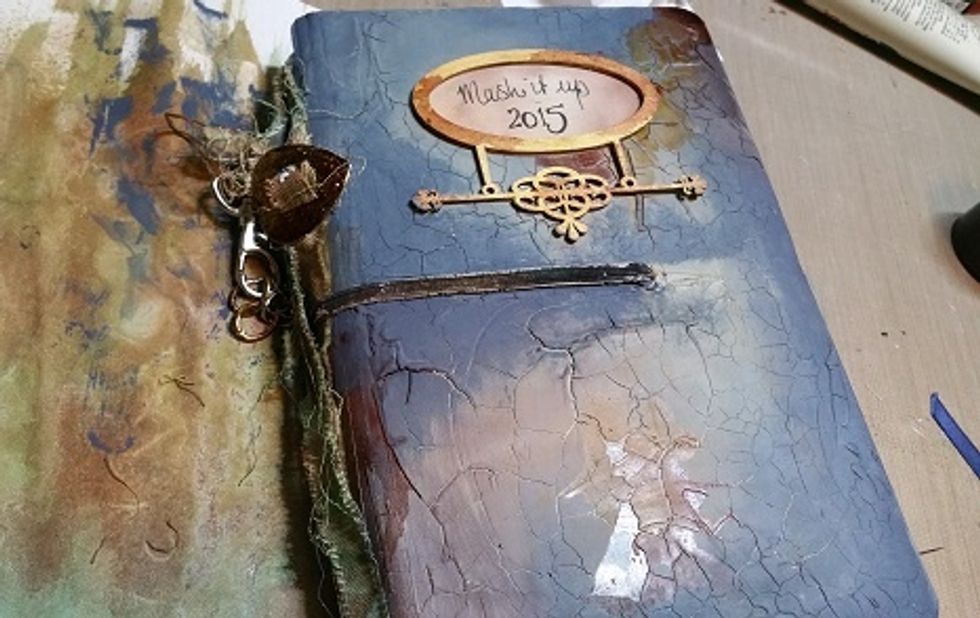
i love the way this turned out. I used a little bit of brown colour pencil at the end to shadow the wooden label. This was a relatively easy and fun process. Enjoy!