The Conversation (0)
Sign Up

Score piece on the 8 3/8 inch side at 3 5/8, 4, and 4 3/8 inches.
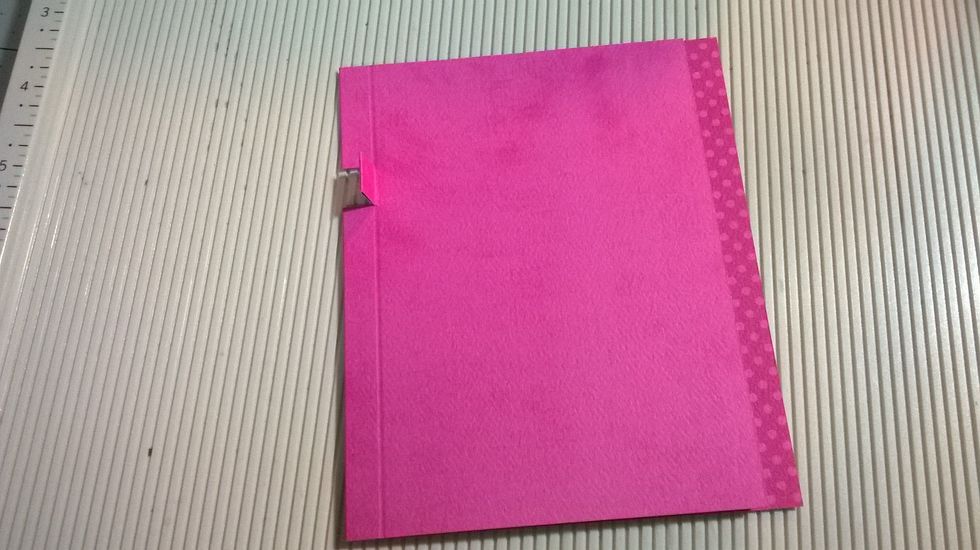
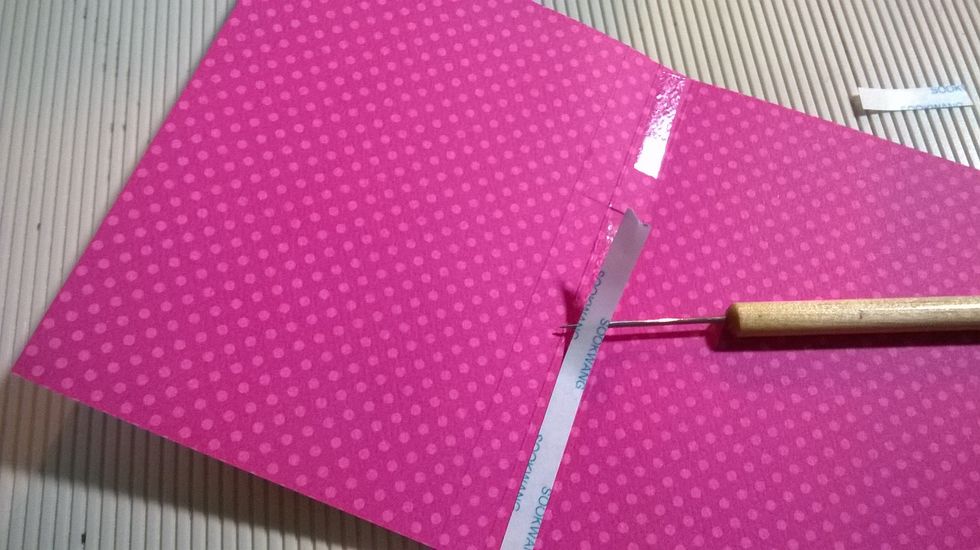
Cut from the edge to the middle score line about 1 1/2 inches from the top making a notch about 1/2 wide for the pen holder.
Open the cardstock and add scoretape between the middle and the last score line. DO NOT add tape between the cut lines. This if for the pen holder.
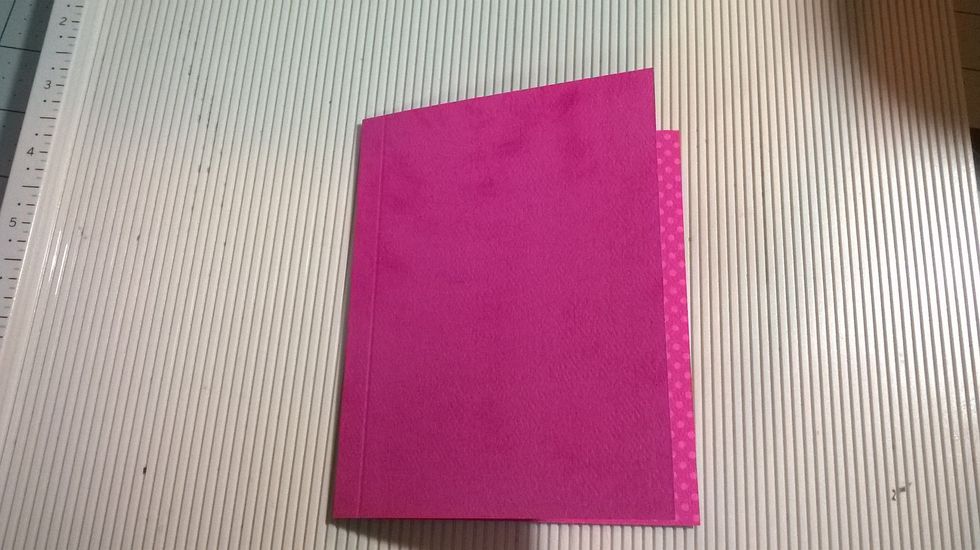
Fold the back cover over to the front cover on the last score line.
Open piece again and remove the score tape.
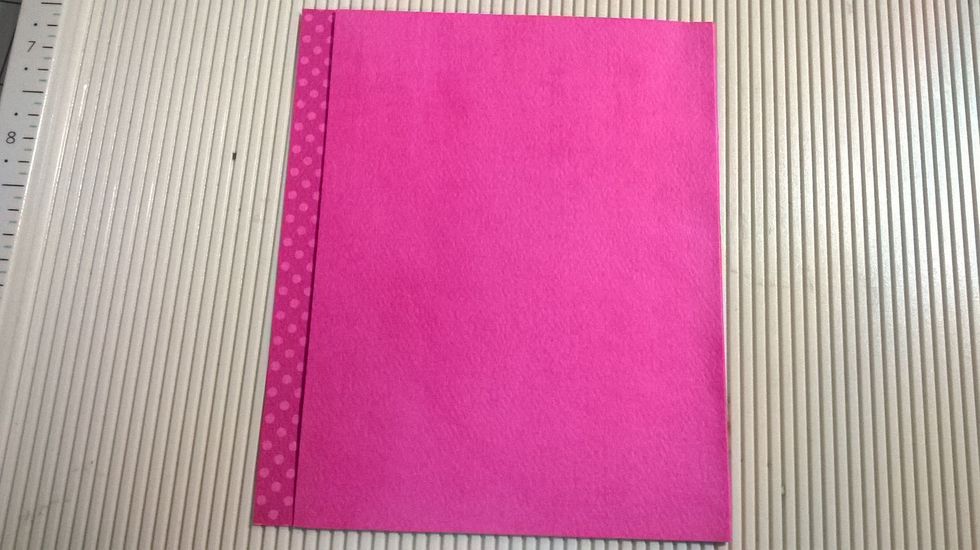
Fold over the back over to the front cover and burnish the adhesive.

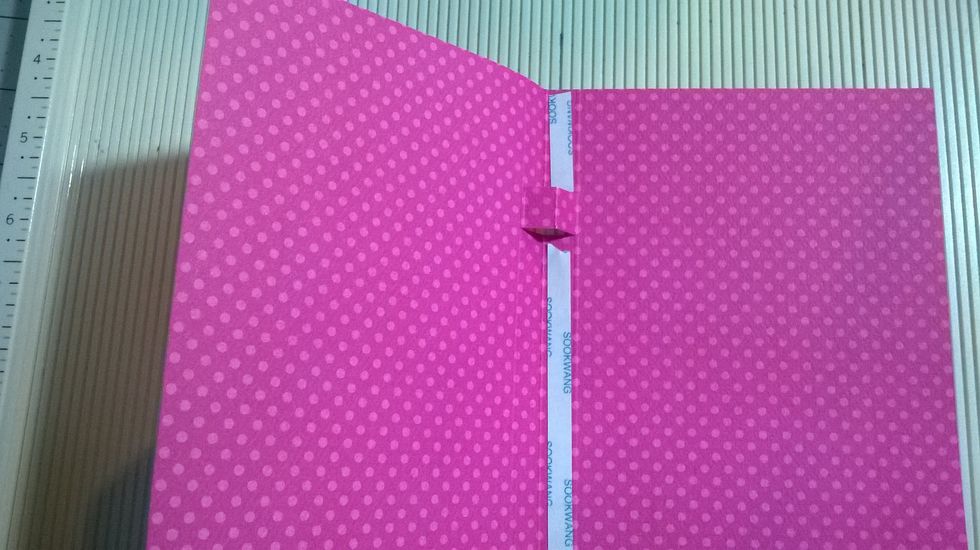
Open the card stock and it should look like this.
This piece is for the notepad holder that makes is removable.
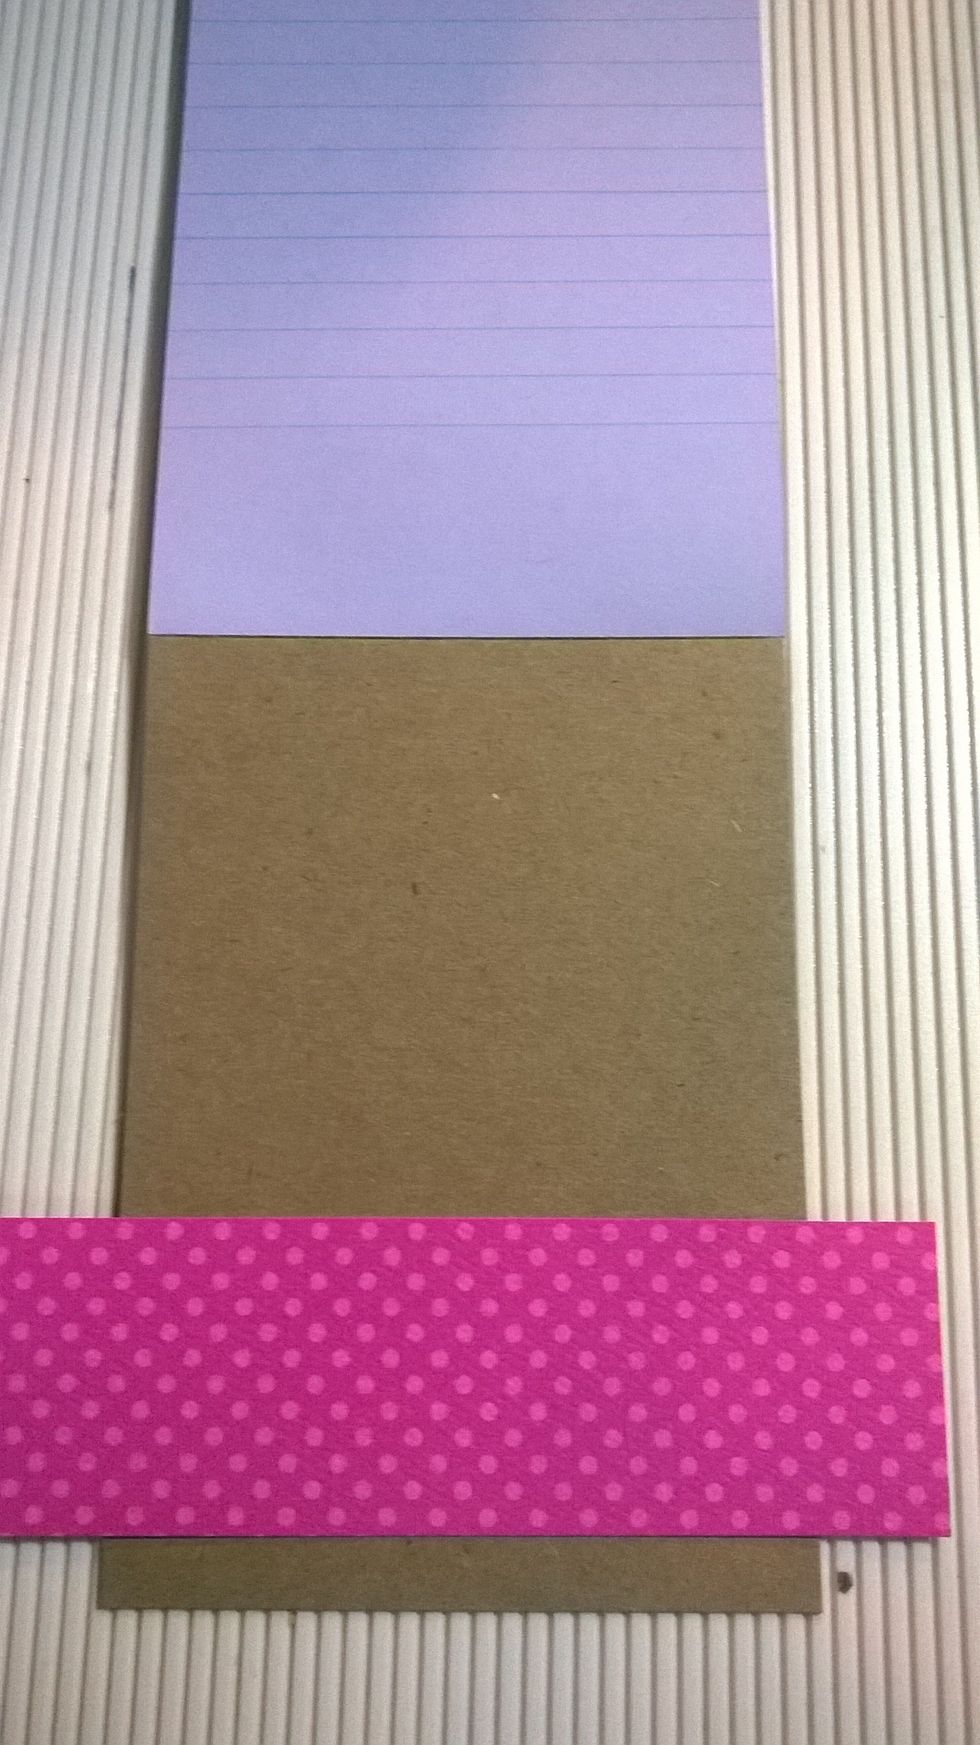
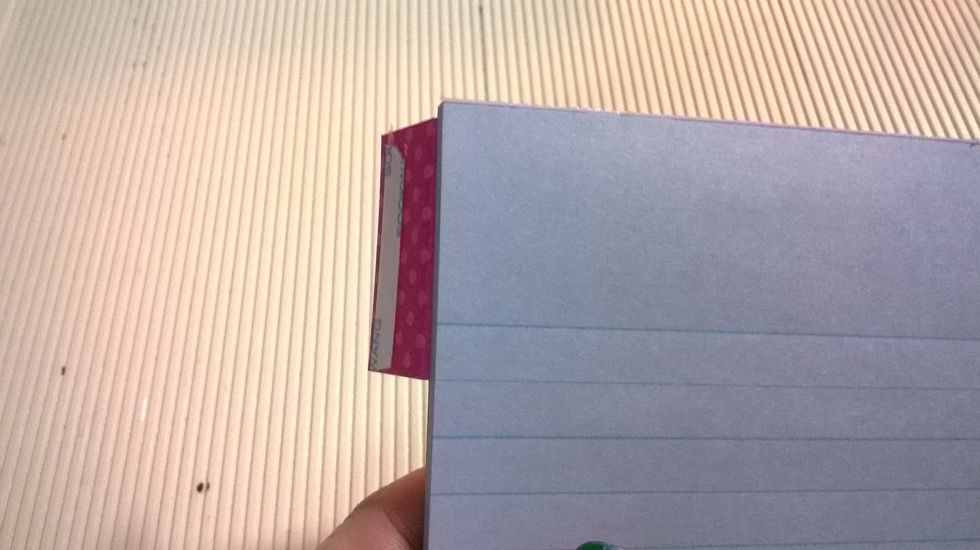
Add the cardstock at the bottom of the notepad and close the notepad on the cardstock.

Fold the edges of the paper to the back of the notepad.
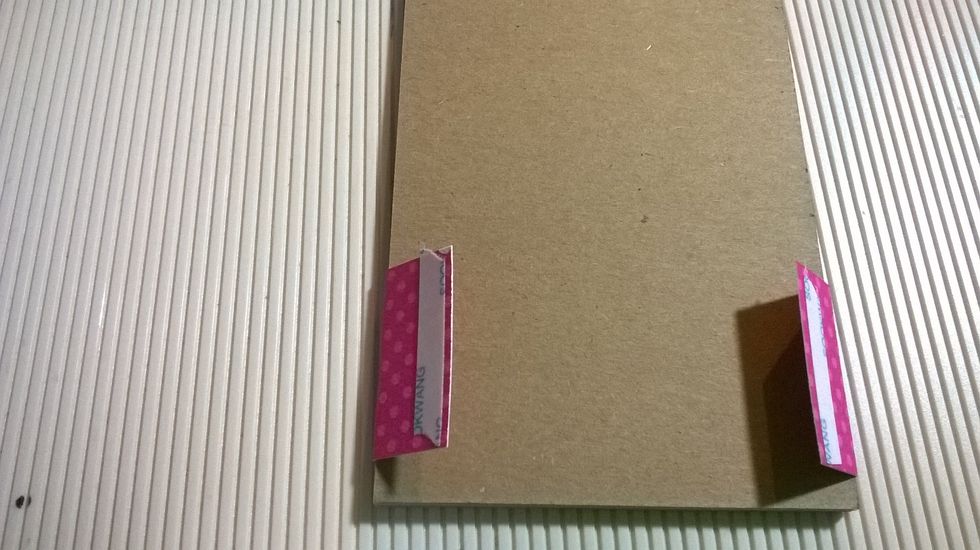
Add adhesive to the folded cardstock.
Slide Cardstock to the top of the notepad.
Remove the adhesive backing from the flaps you created.
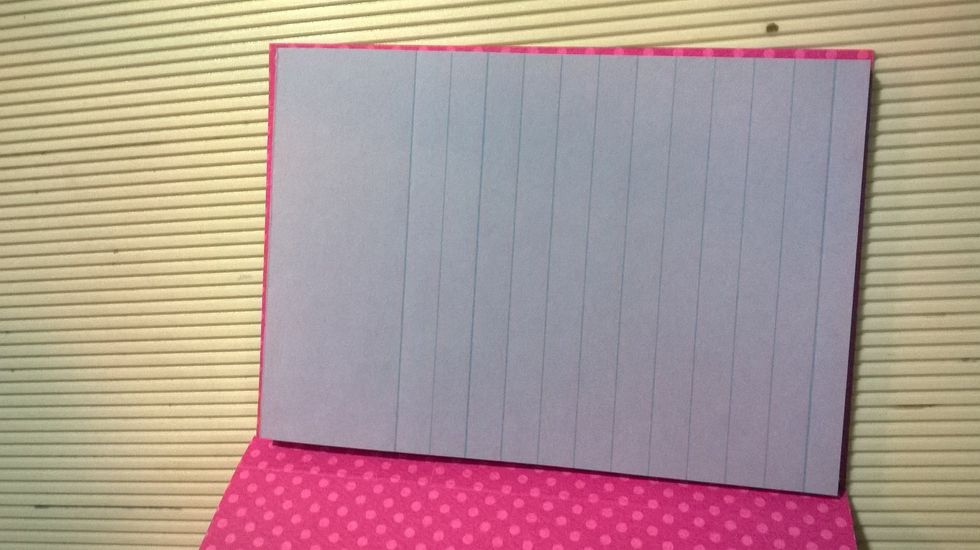
Adhere the Notepad centered into the back piece of the notepad cover. There should be about 1/8 inch boarder.

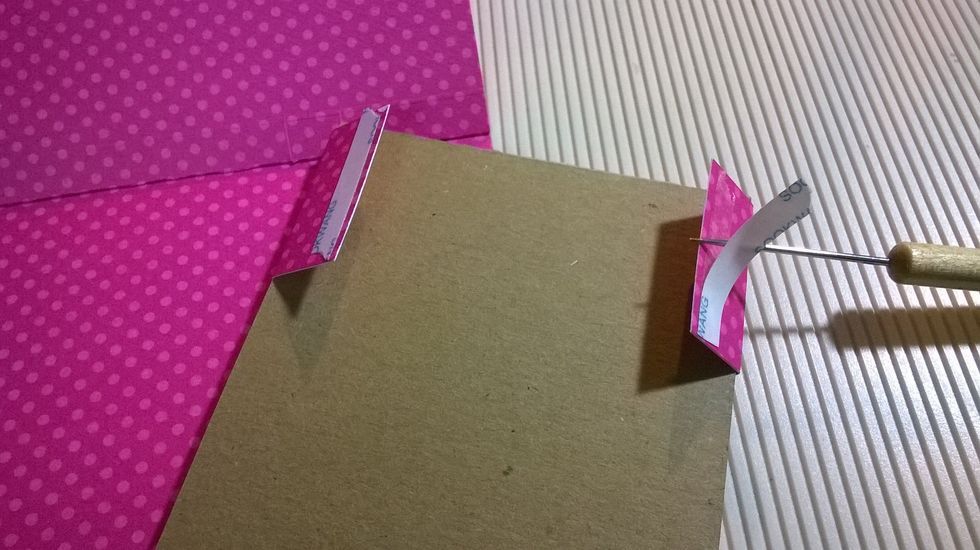
Using a blunt end of your paper piercer or pencil eraser gently push out the pen holder slot.
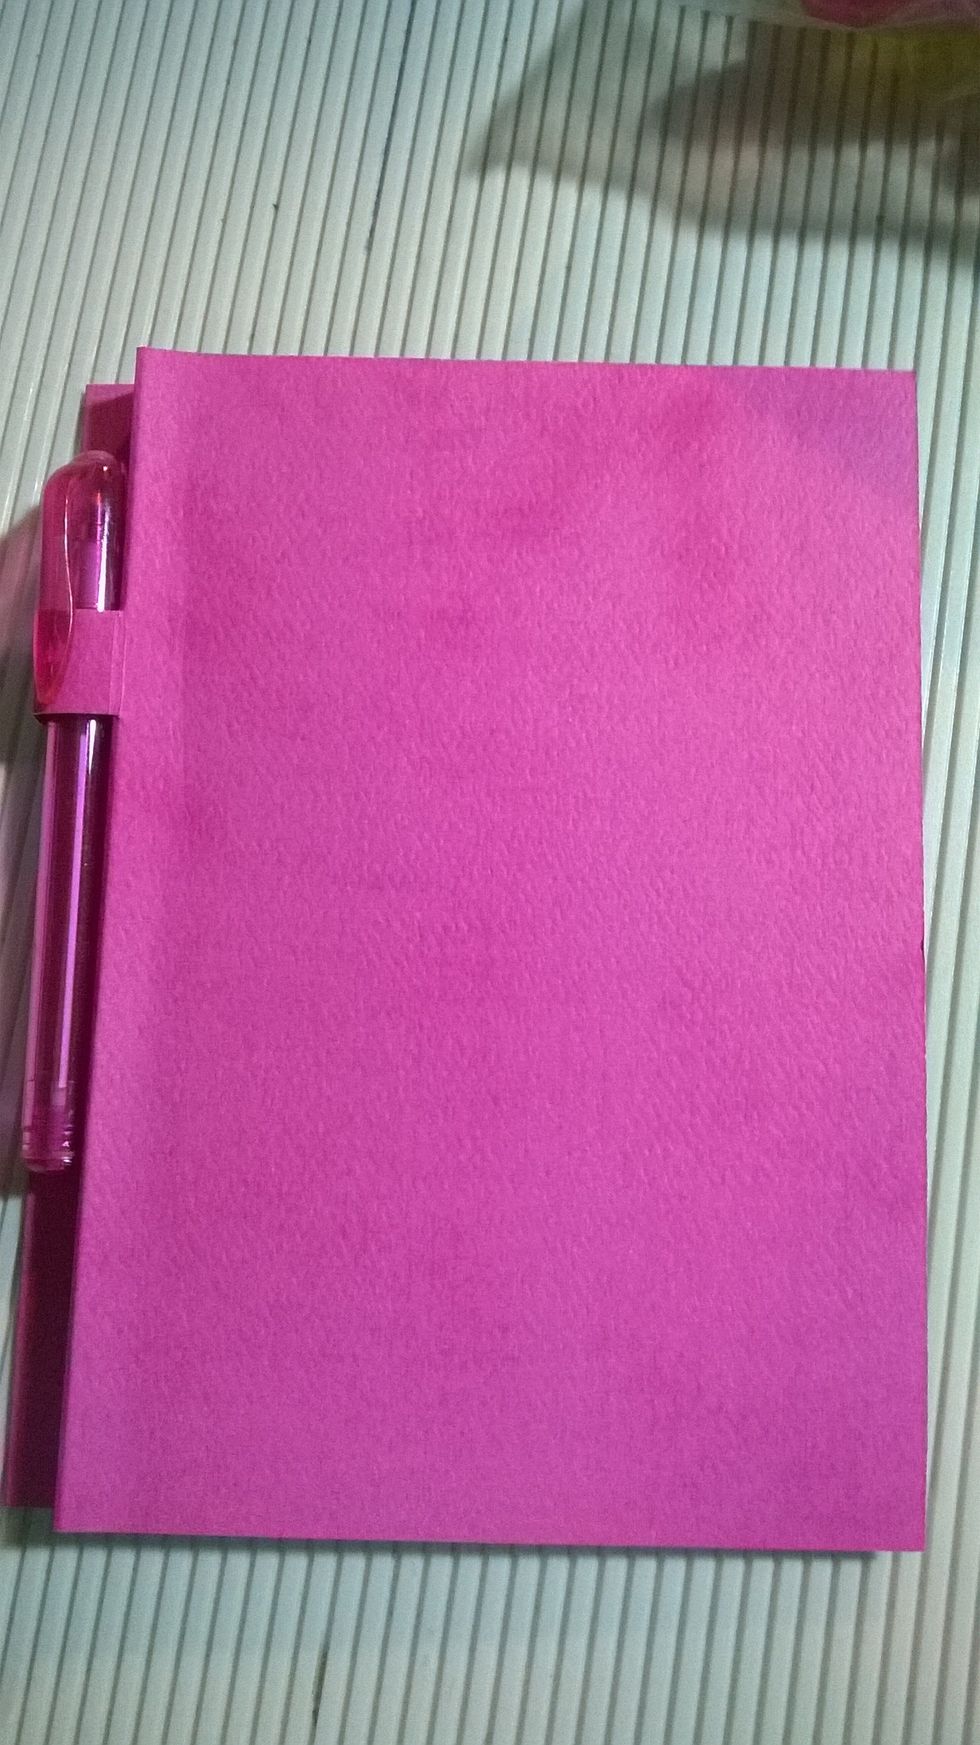
Crease the cardstock on the first score line to create the cover. Slip the pen into the notch created.
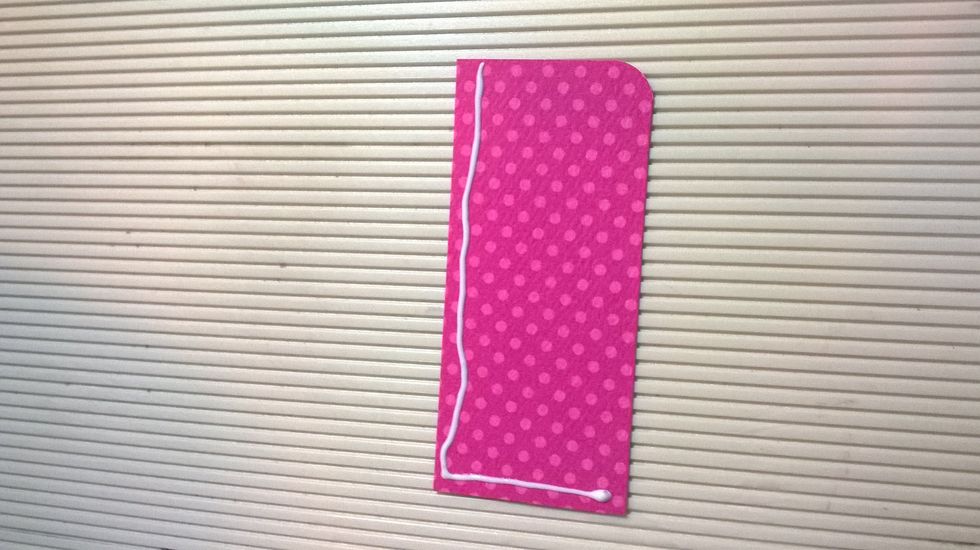
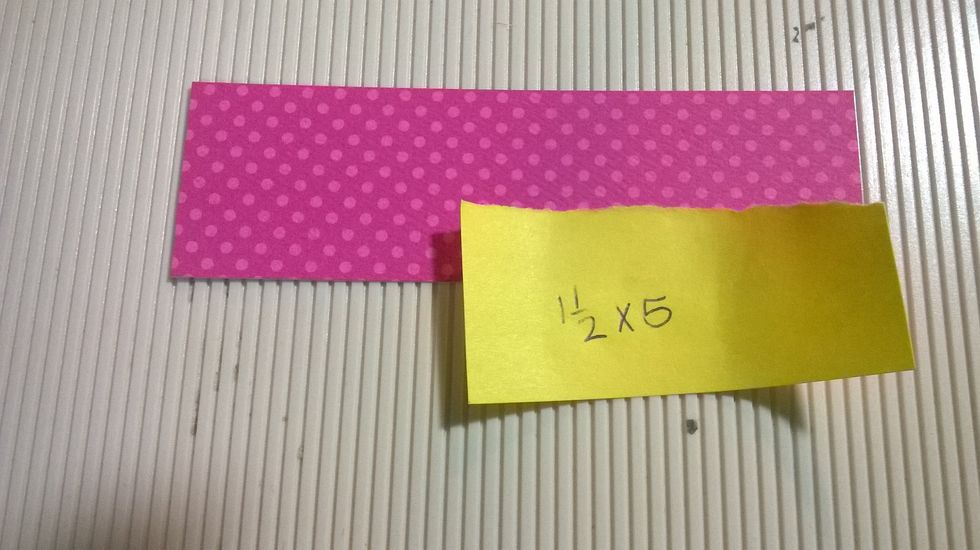
Round the corner on the 3 5/8 X1 1/2 inch piece of cardstock. Add liquid glue to one long side and one short side to create a pocket.
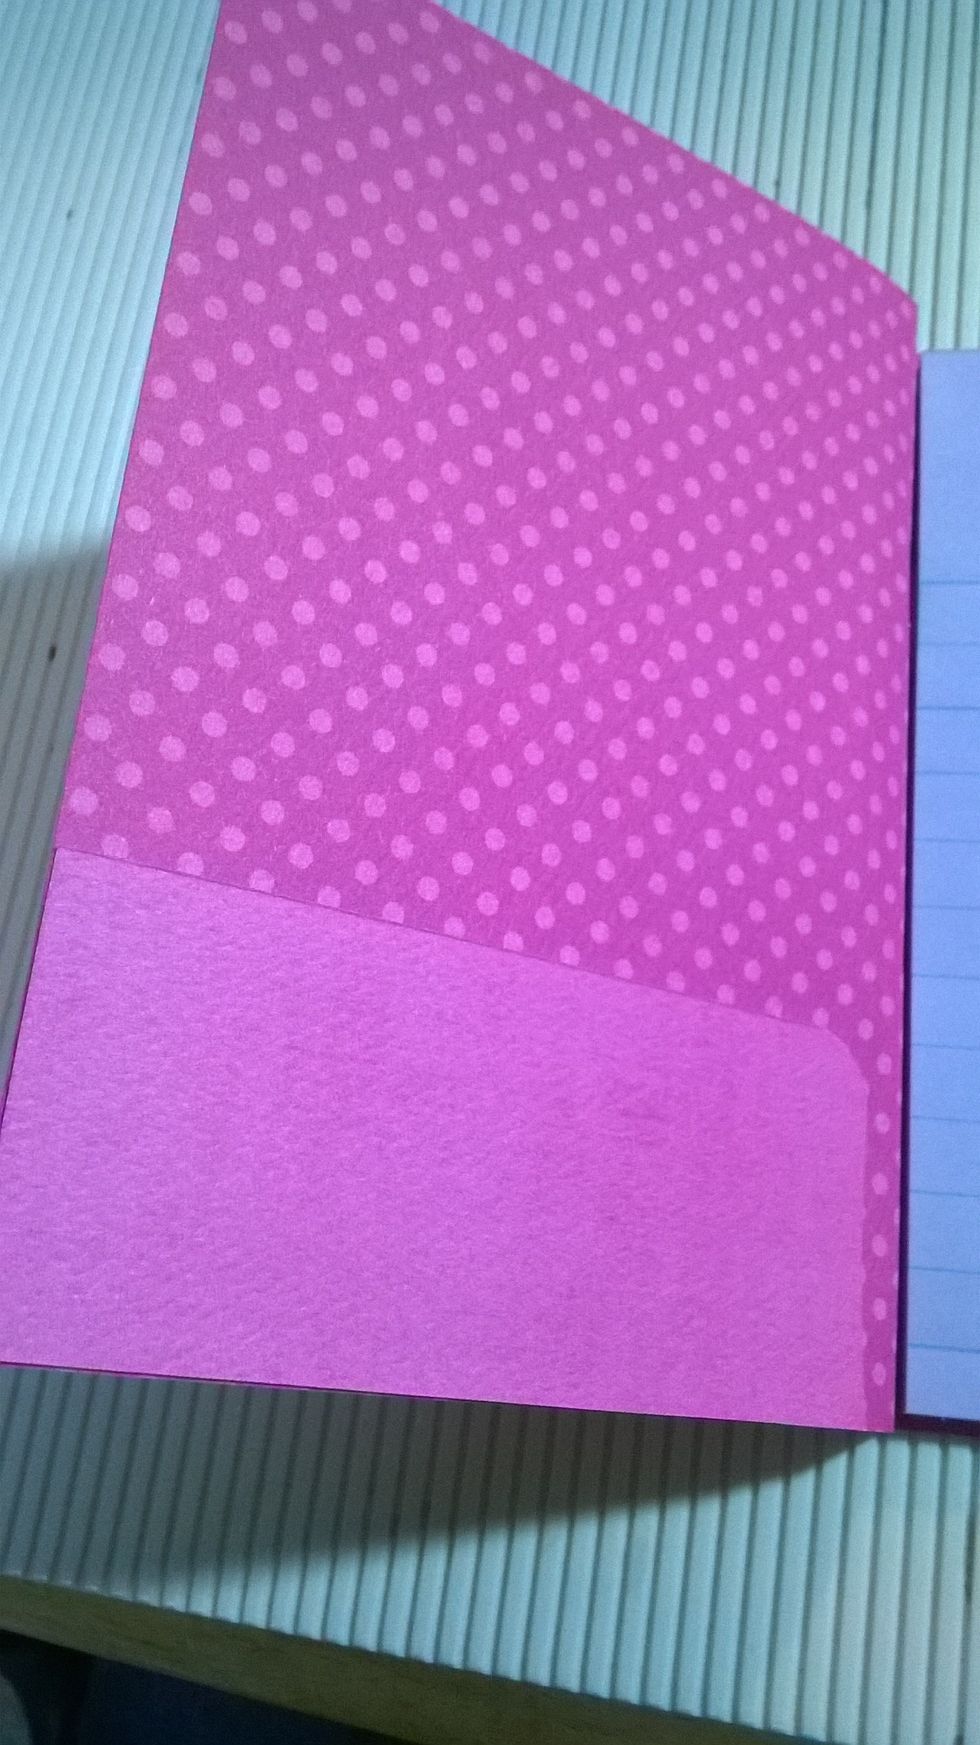
Adhere the pocket to the inside of the front cover
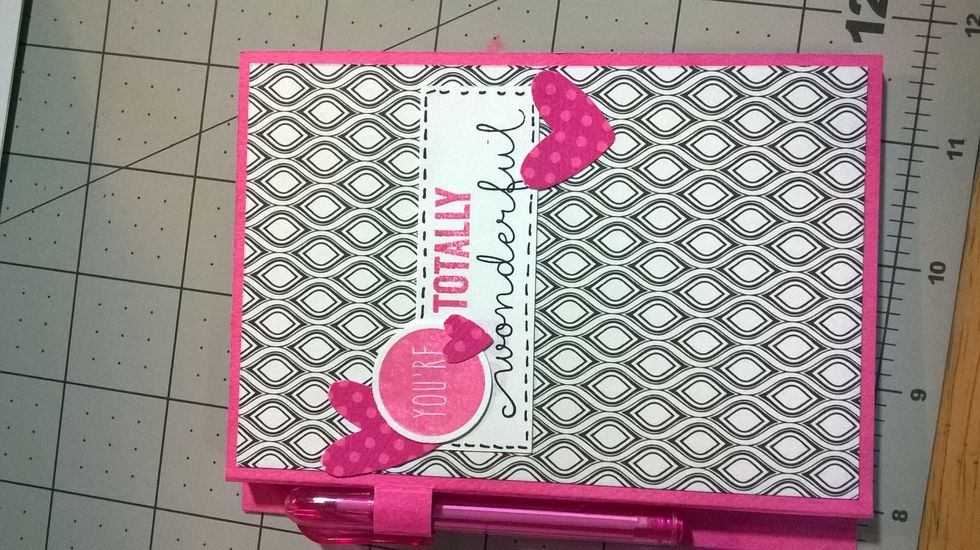
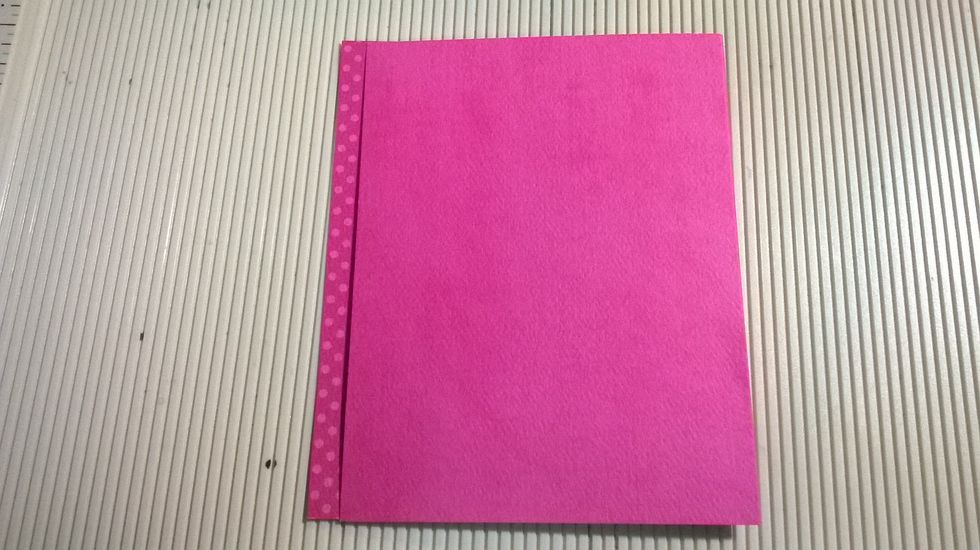
Decorate as desired.
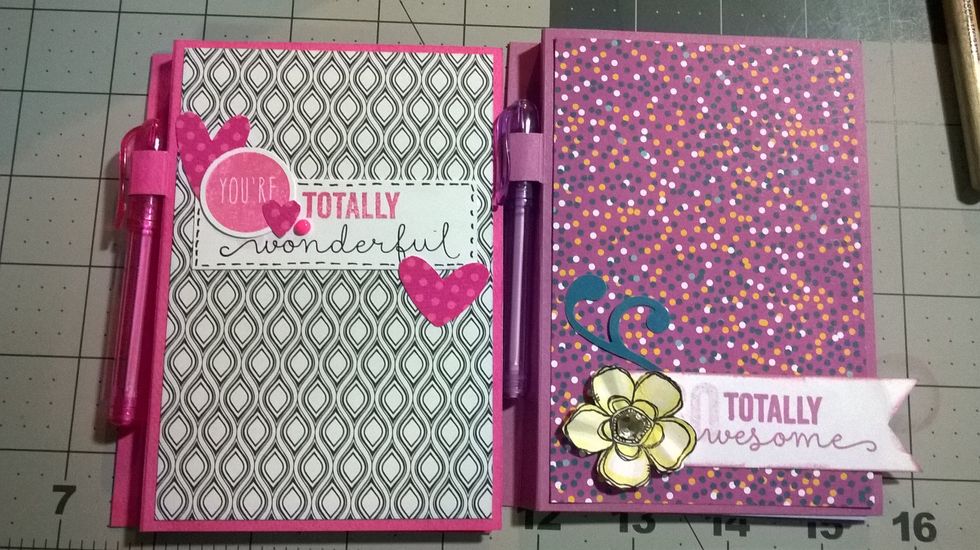
Finished Projects