How to cook perfect sushi rice without rice cooker
This is how we Japanese cook sushi rice without a rice cooker. If you are actually cooking sushi, please add dried Kelp when you start heating the rice. This recipe is for plain sticky Japanese rice.
3944
STEPS
INGREDIENTS
Cooking Japanese rice takes mainly 4 process- rinse, soak, boil and steam. Following is the time required for each process : Rinse 10min / Soak 20min~1hr / Boil 20min / Sit to steam 10min

Measure the rice precisely. The amount of water changes accordingly to how much rice you need. We measure rice with a unit of 180ml (=1 go). 1go will be a little short for 2 servings.

Process 1. RINCE - Put the rice in a strainer and place it on a pot or bowl to receive water.
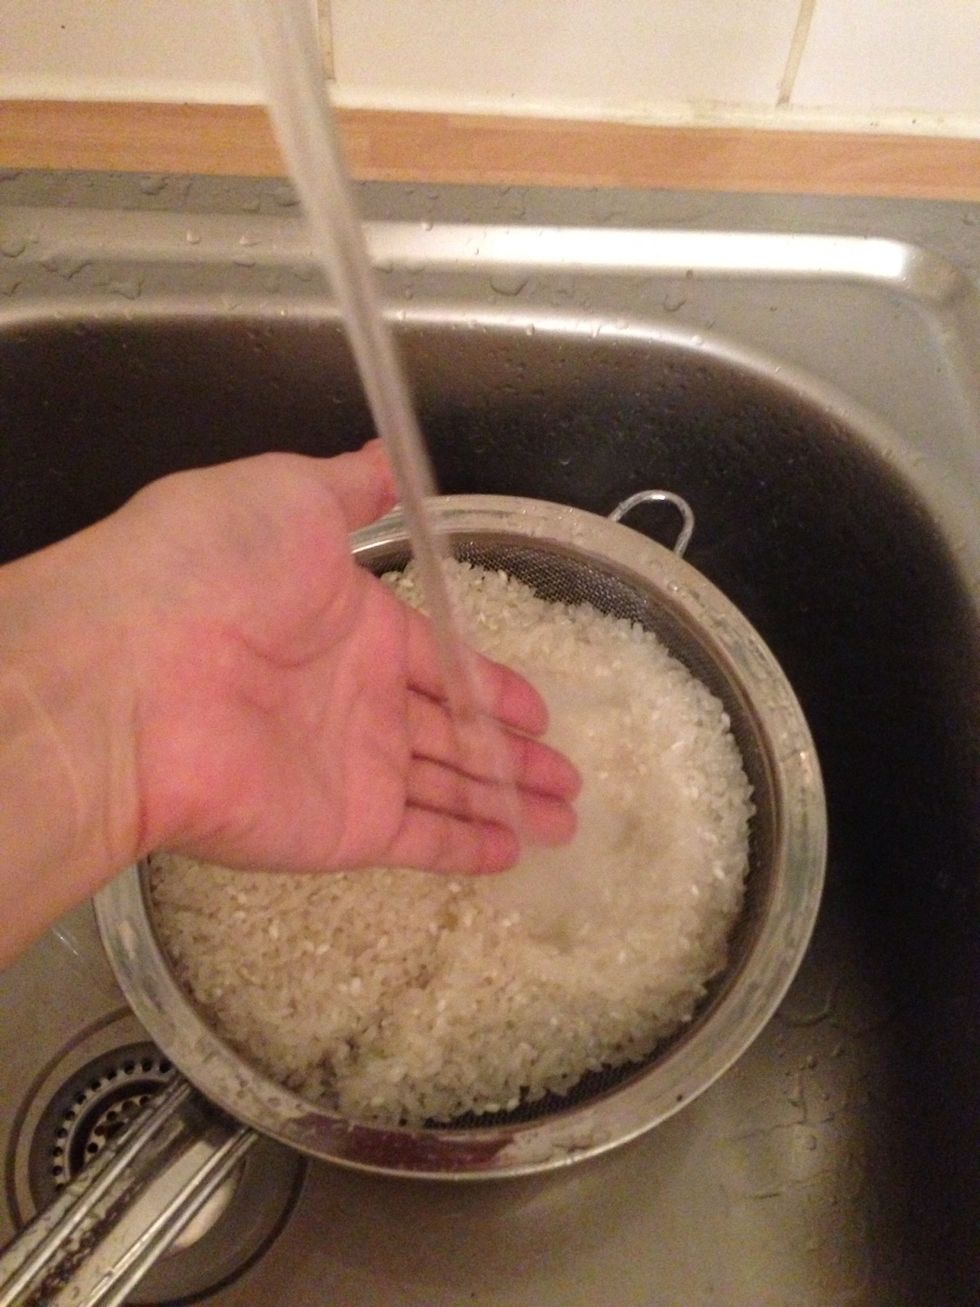
Pour some water enough to cover the rice. Put your hand over the rice to prevent the strong tap water hit rice directly - the rice may crack with water otherwise.
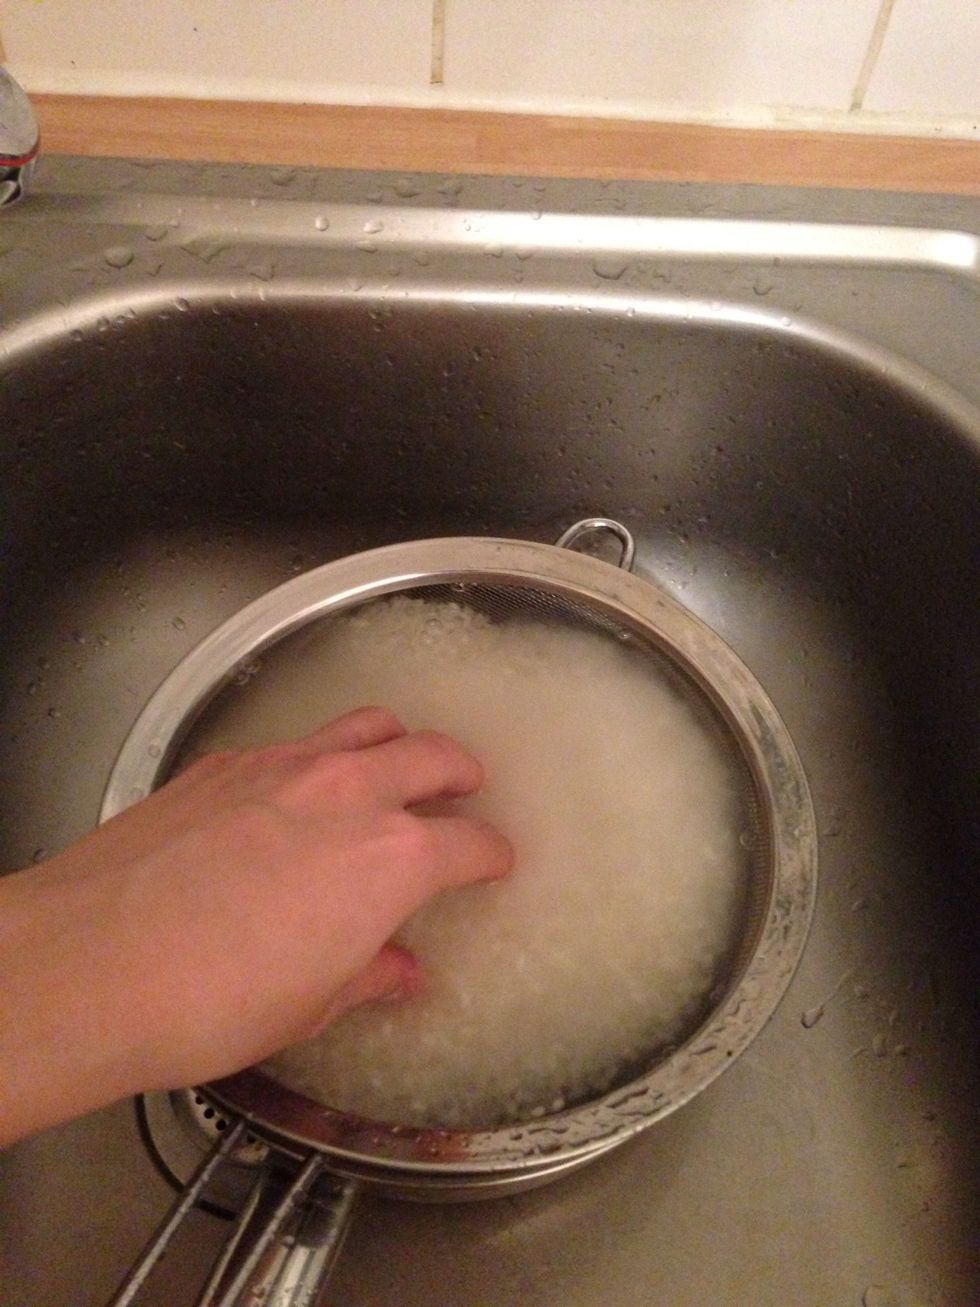
For the first rinse, stir only once and quickly lift the strainer from the water. This is to prevent the rice to soak up the smell of bran.
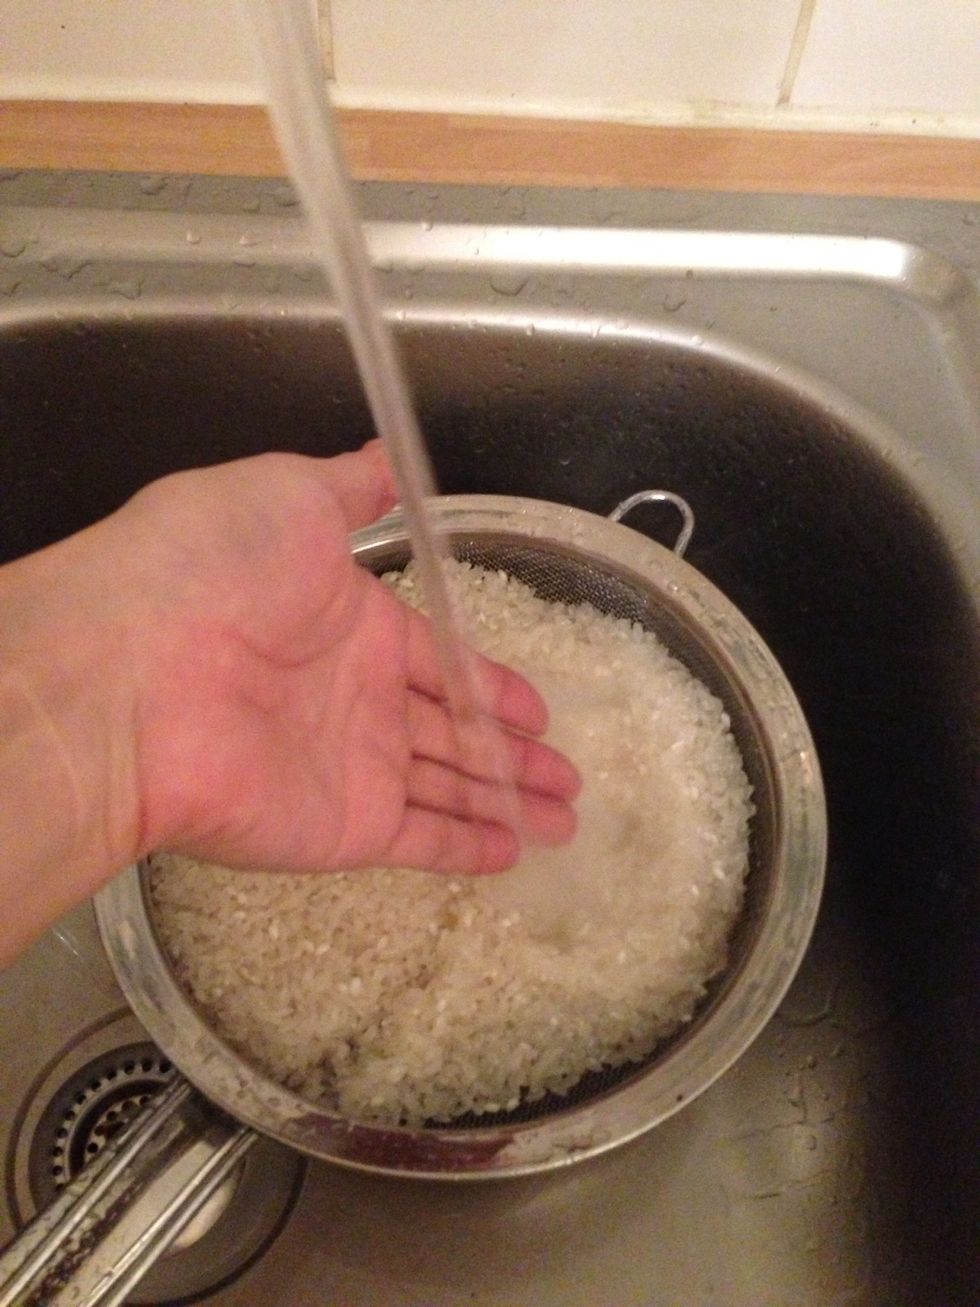
Repeat the step, but you can stir the rice longer from the second rinse.

Drain water - repeat the step 5, 6 & 7 for a couple of times until the water does not get too smoky.
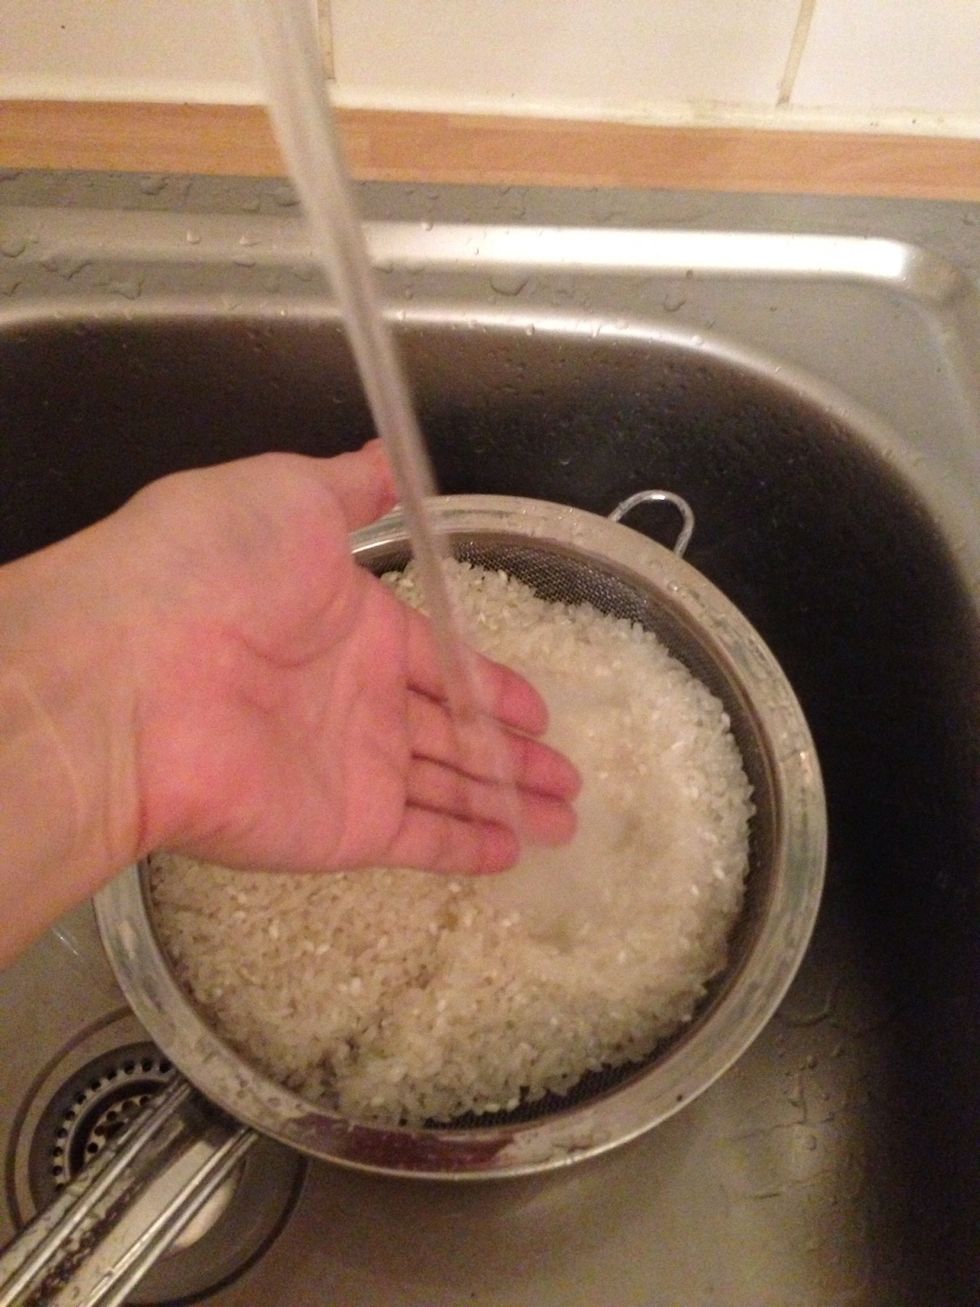
Pour water again.
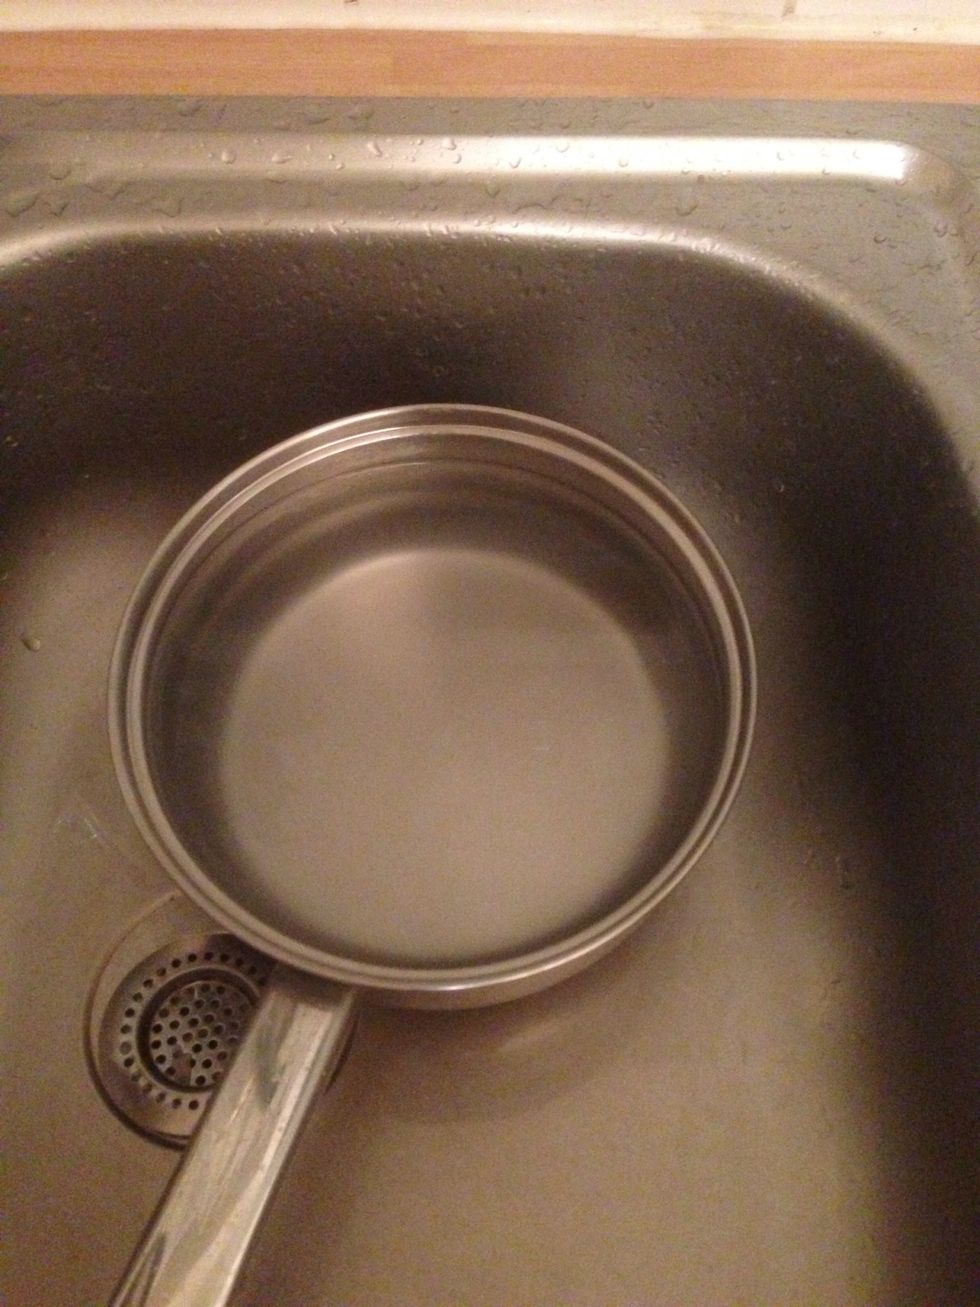
Repeat the process until the rinsing water is this clear.

Process 2. SOAK - Pour some water again - enough to cover the rice. Leave the rice in the water for 20min (summer) to 1 hour (winter) until the rice soaks up the water.
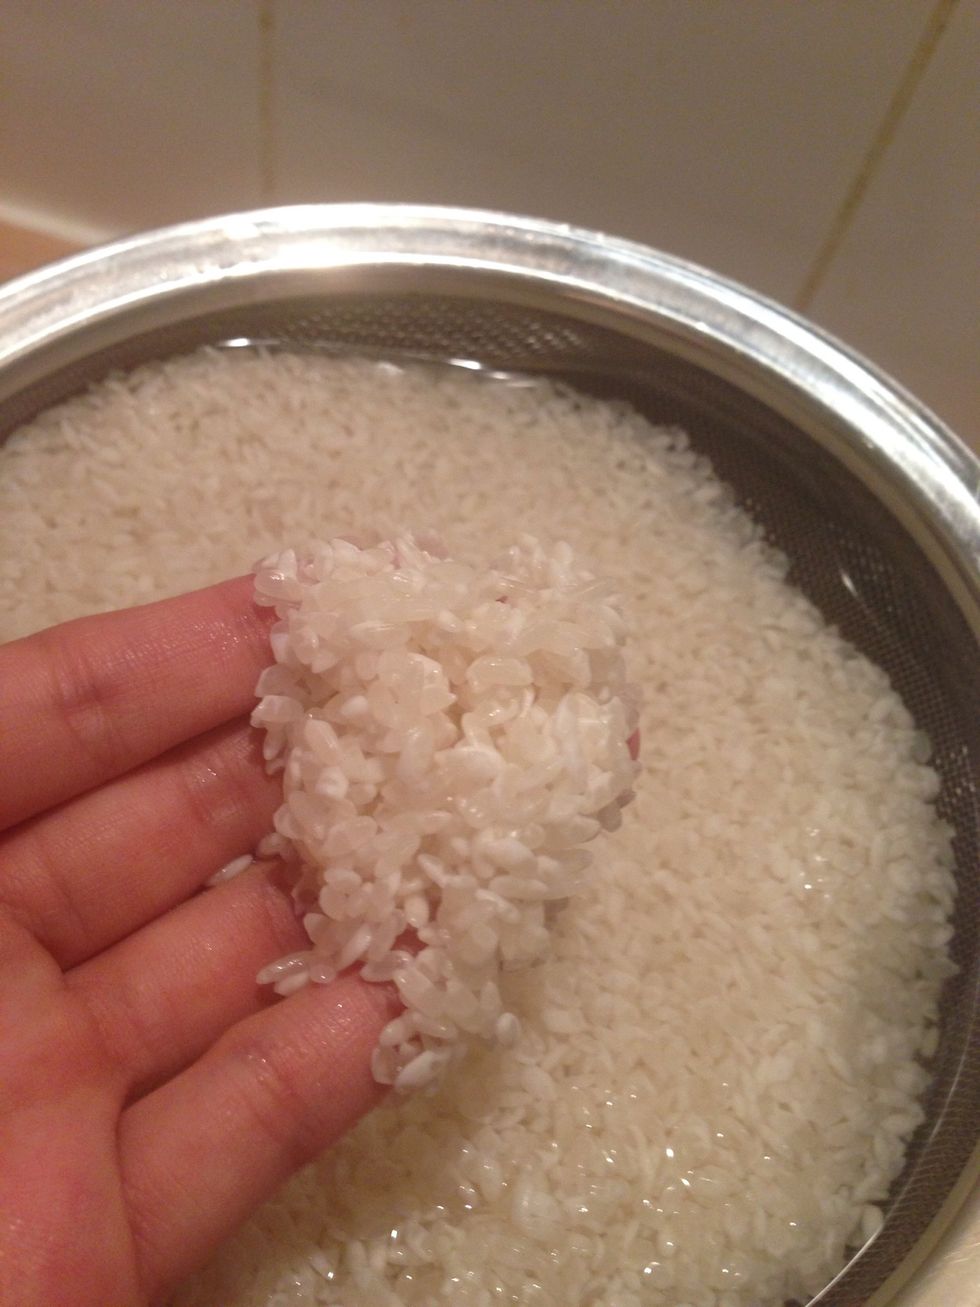
Check the colour of rice to see whether the rice is ready for cooking or not. This is when I started soaking the rice. You can see some part of the rice is transparent.
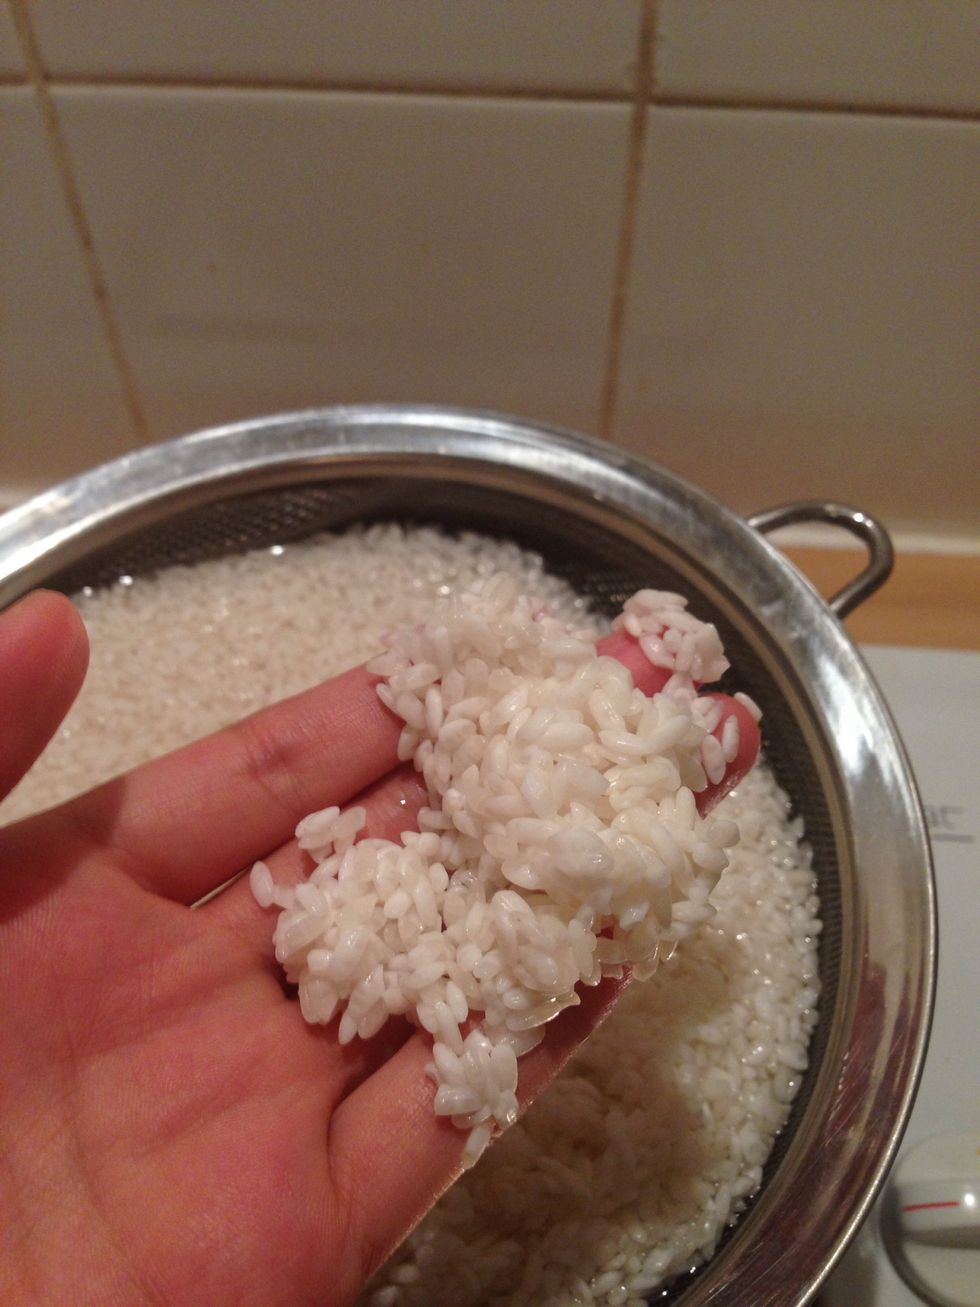
After 40min. You can see the rice is whiter and less transparent part in each of them. We are nearly there.
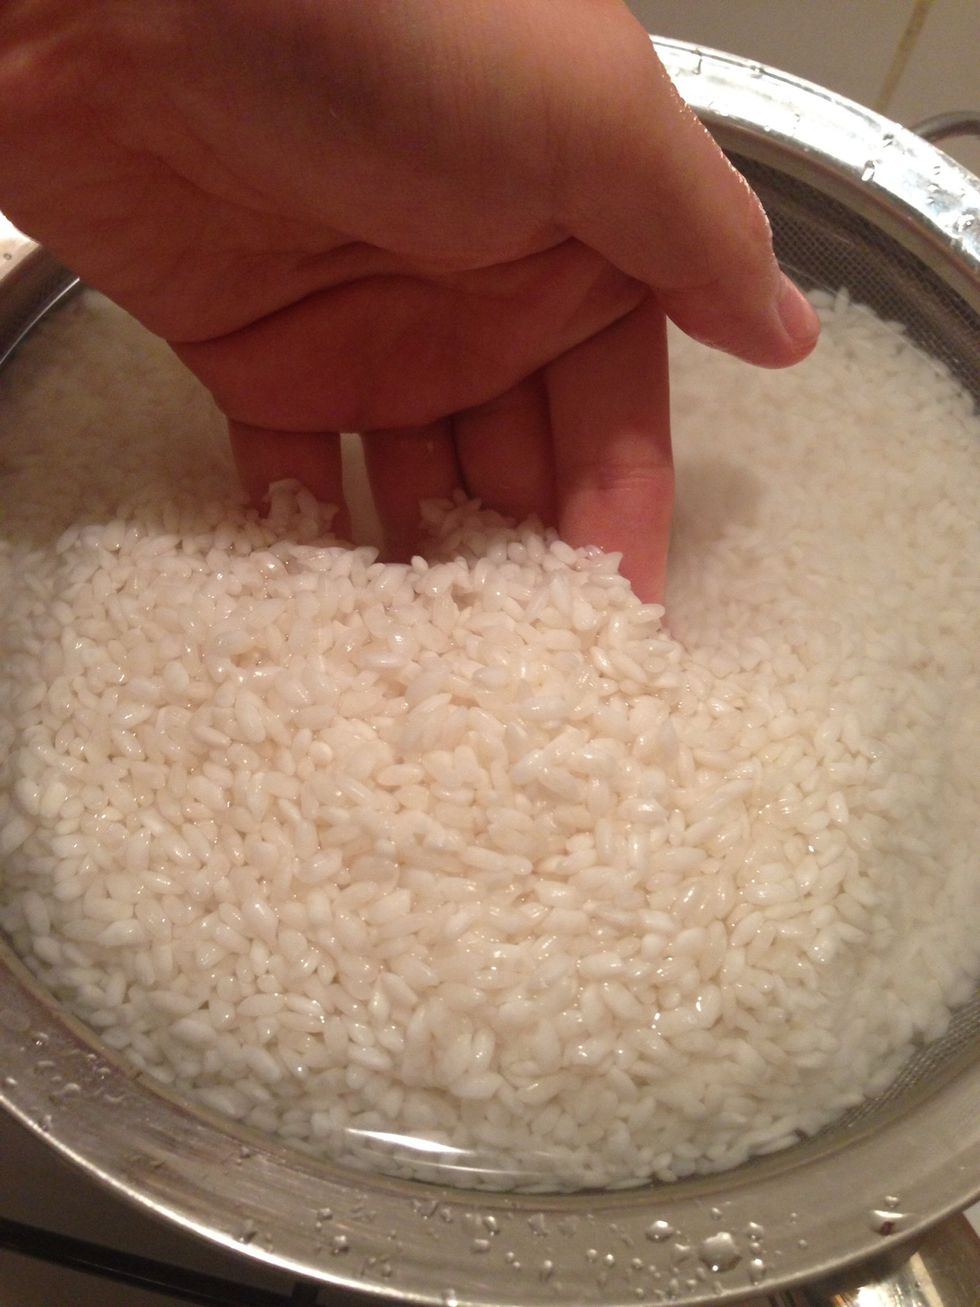
When the whole rice becomes white, it's ready to cook.
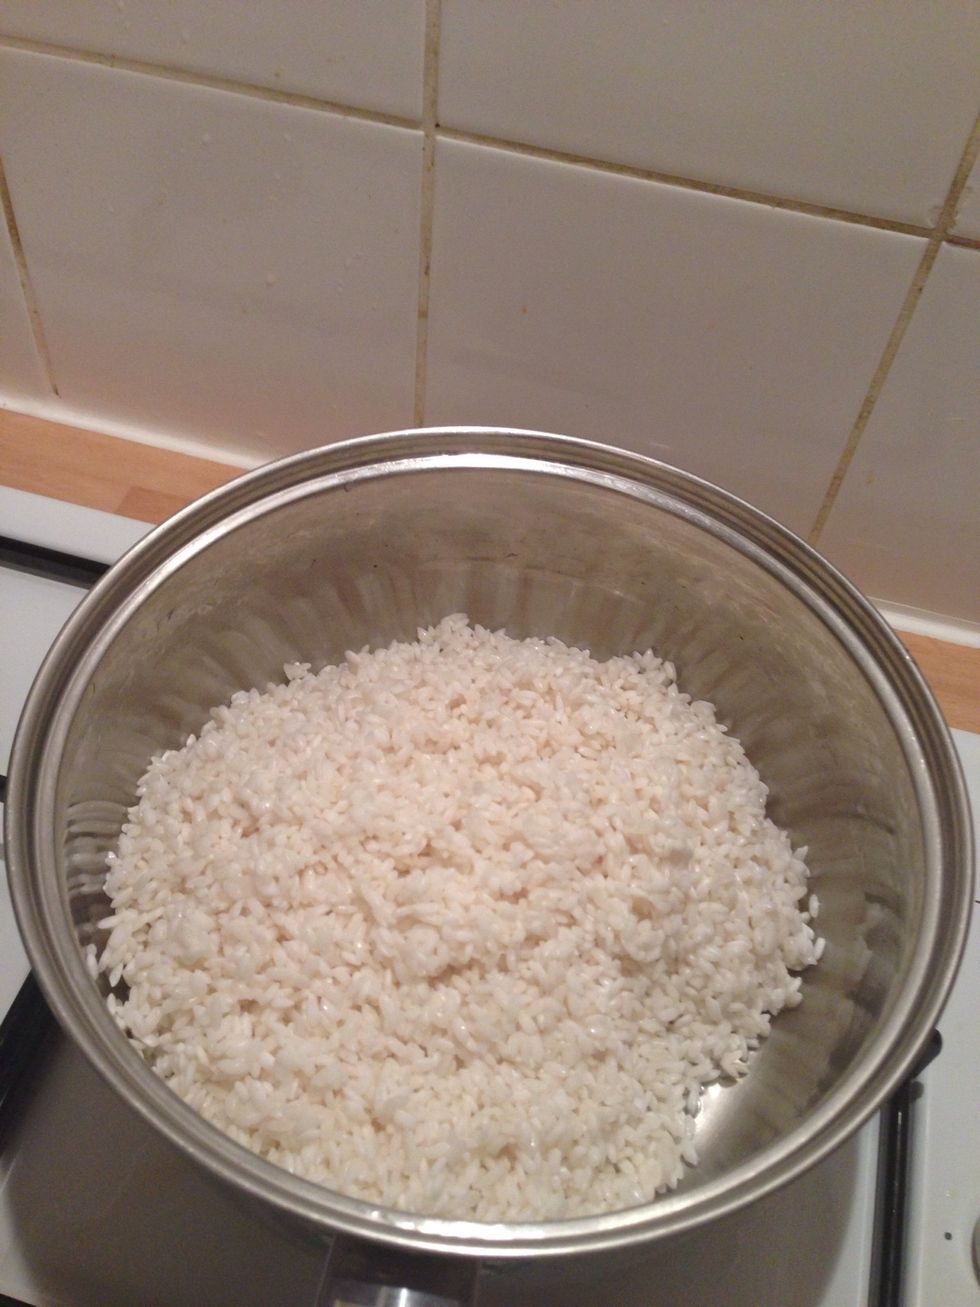
Process 3. BOIL - drain water as much as possible.
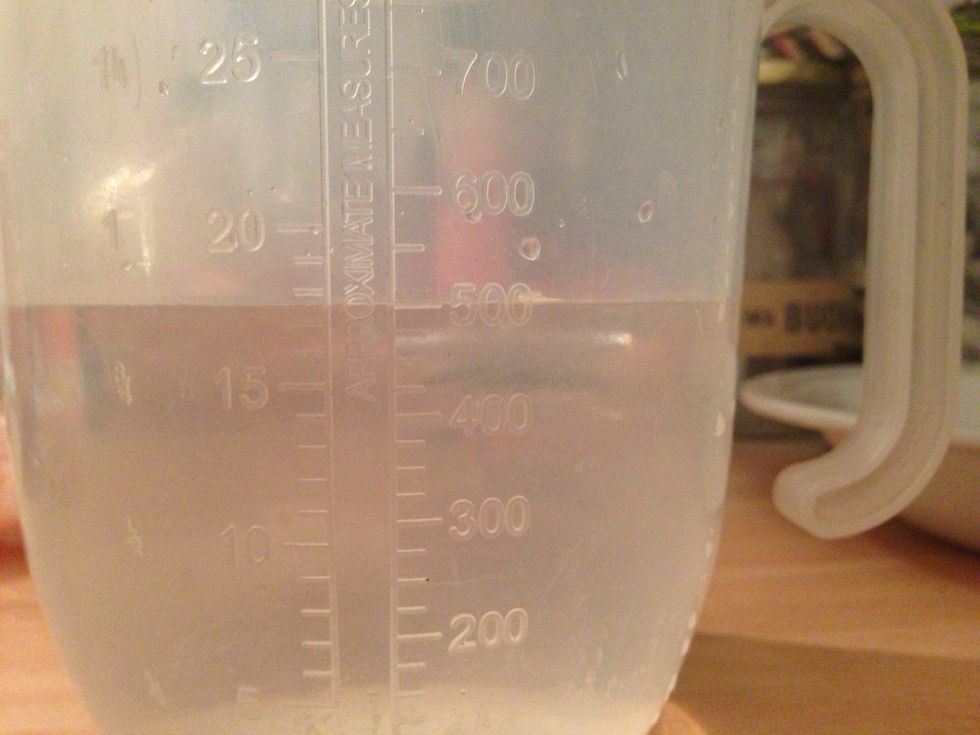
Measure the water precisely - I used 450ml of rice (=180ml x 2.5) so I need 500ml of water (=200ml x 2.5). There are other ways of deciding the amount of water but I find this one easier.
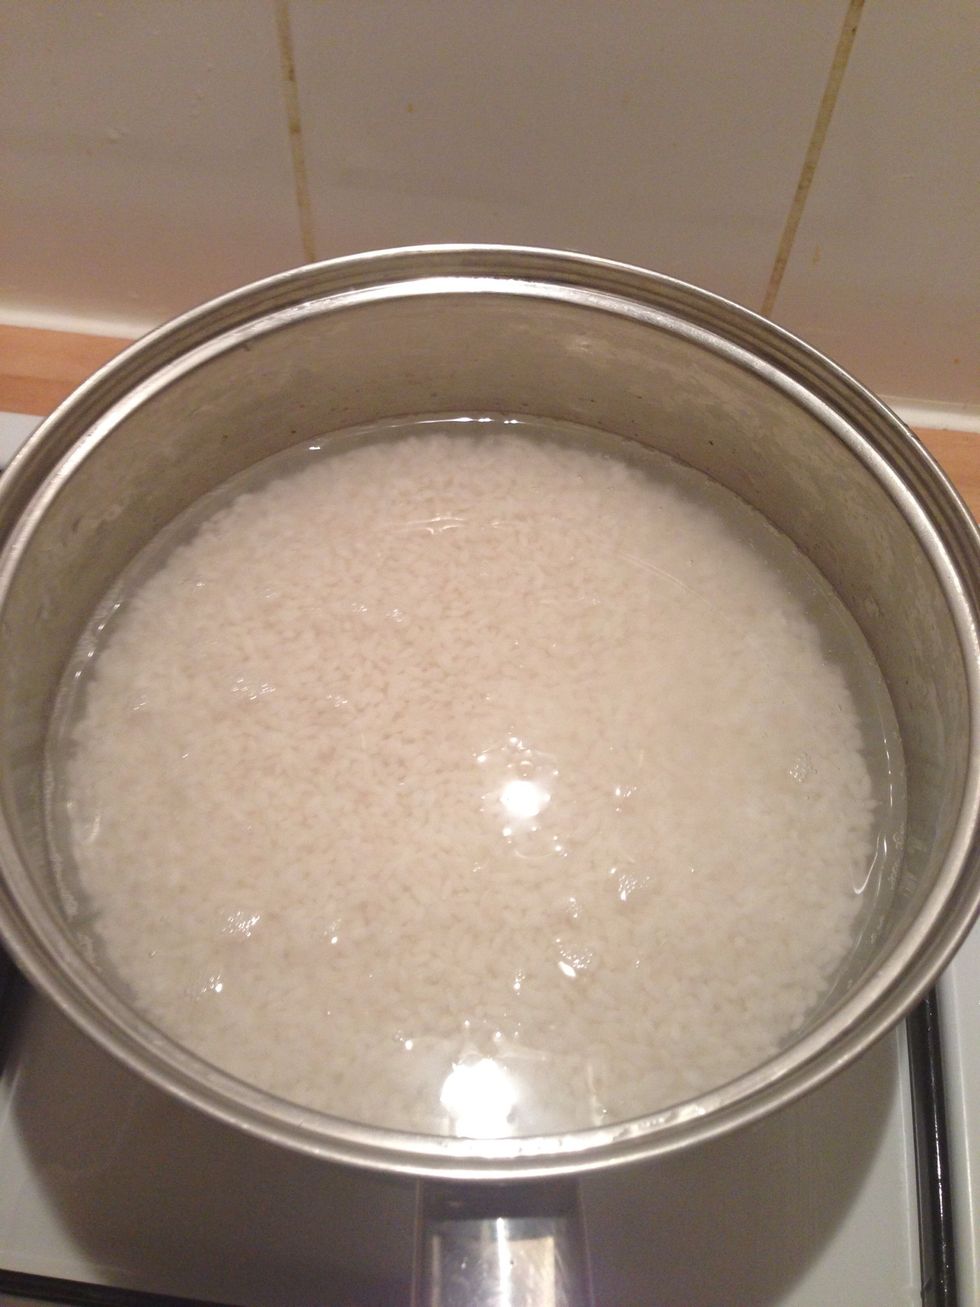
Pour the water into the drained rice. Shake the pod to flatten the rice. Add dried Kelp here if you are preparing rice for Sushi.
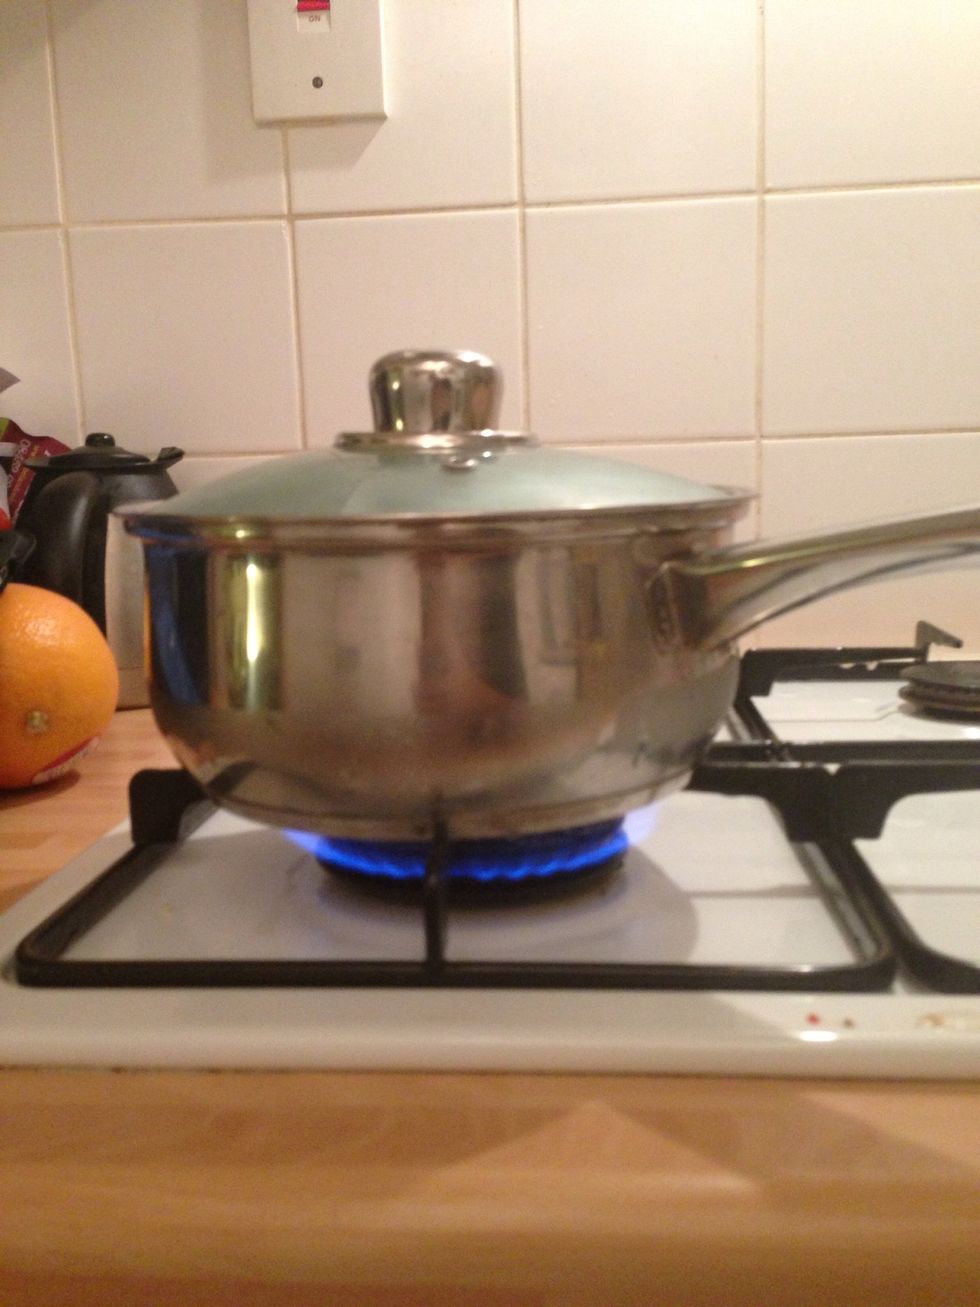
Cover the pot with lid and place on a high fire. Leave until it starts boiling.
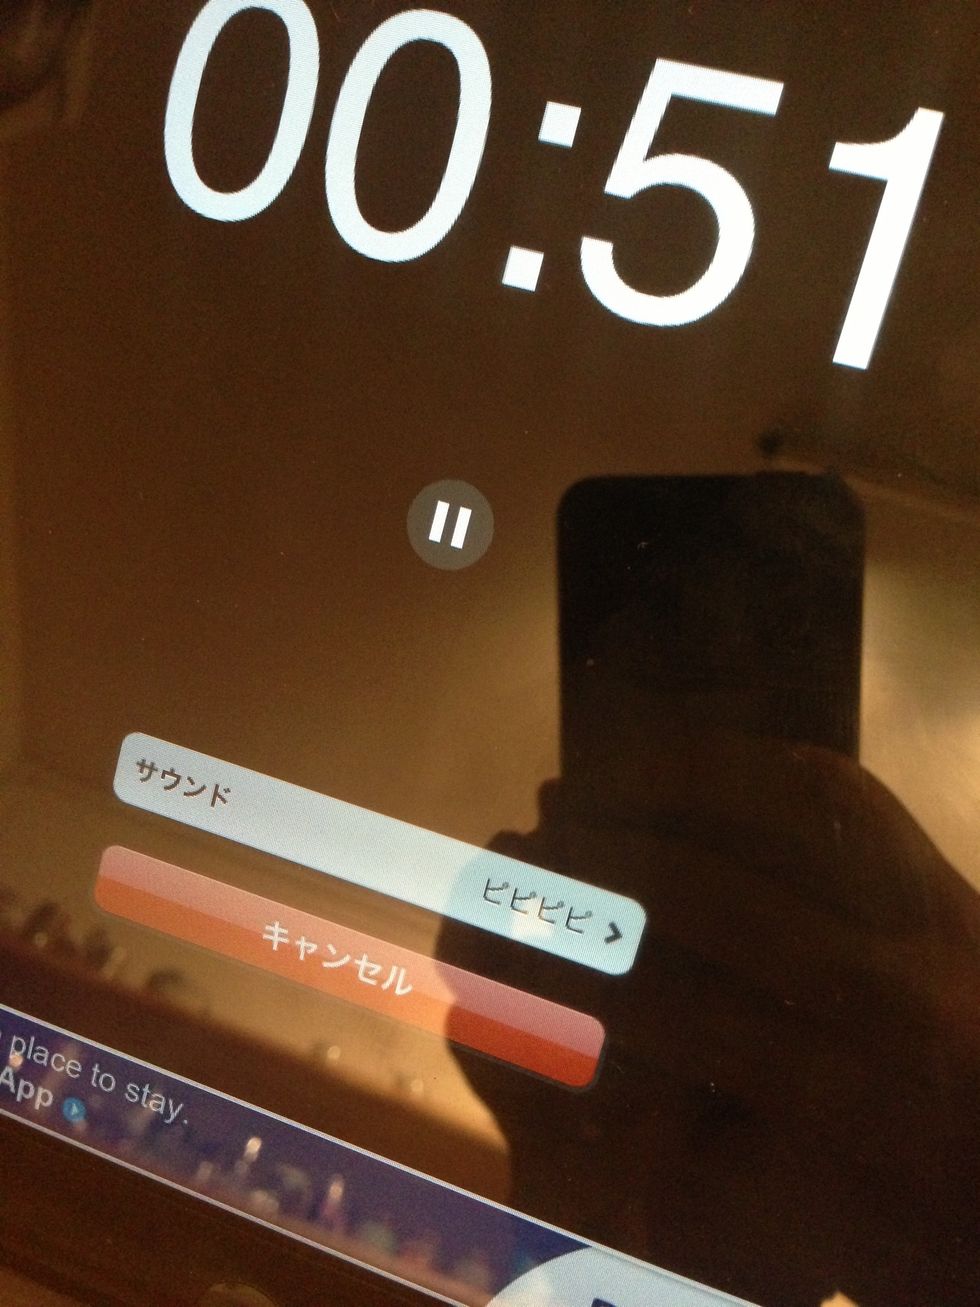
When it started boiling, set the timer and keep boiling with the high fire for another 2 minutes.

After 2 minutes, lower the heat to middle strength and simmer for 3 minutes. Use the timer again.

After 3 minutes, lower the heat to minimum heat and keep heating for 5 to 7 minutes, until all the water has gone.
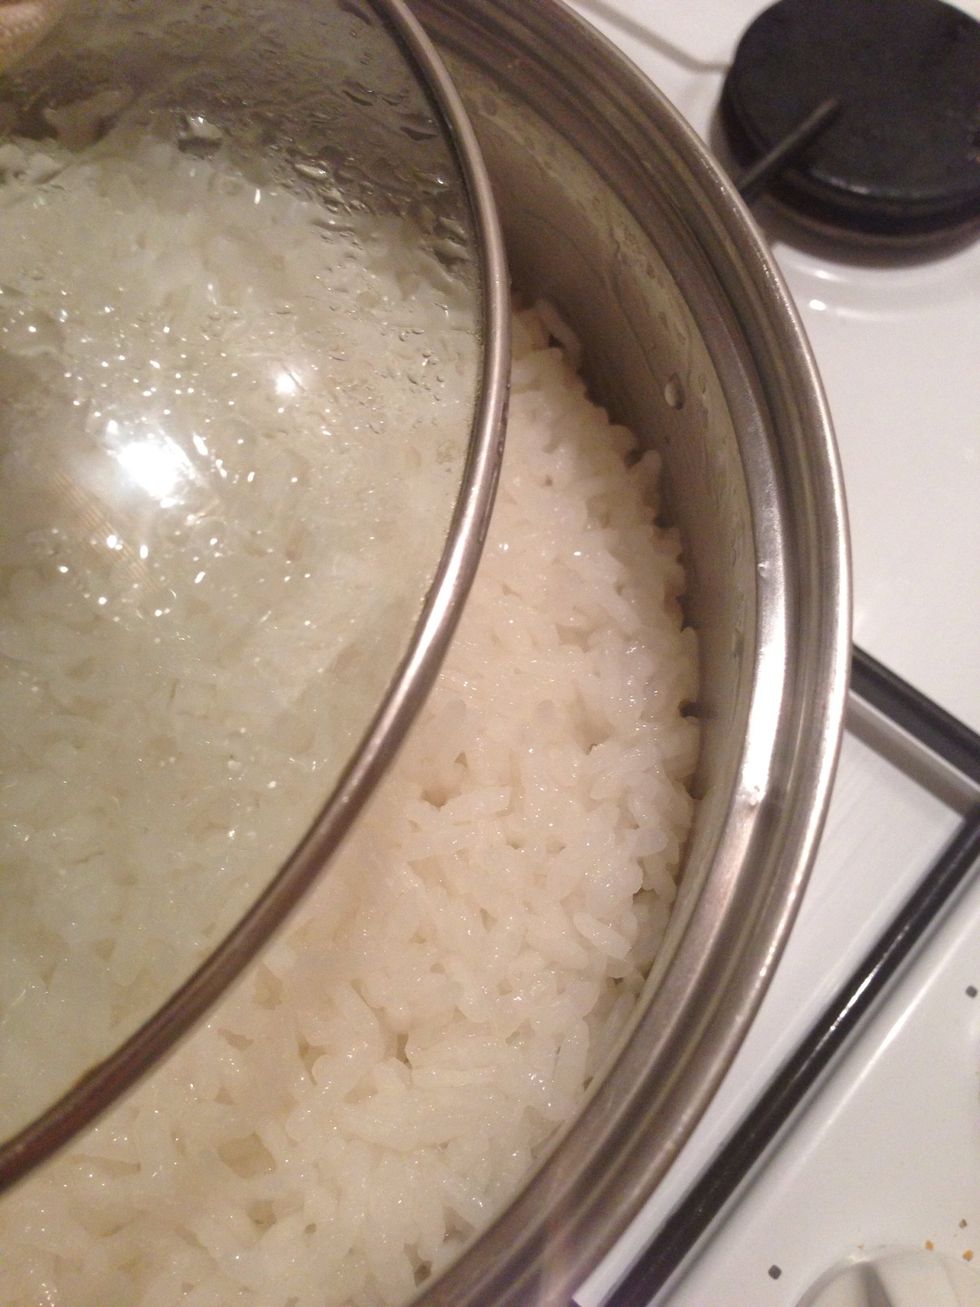
Check if all the water's evaporated after 5 minutes. The photo is a good example - go to the next step.
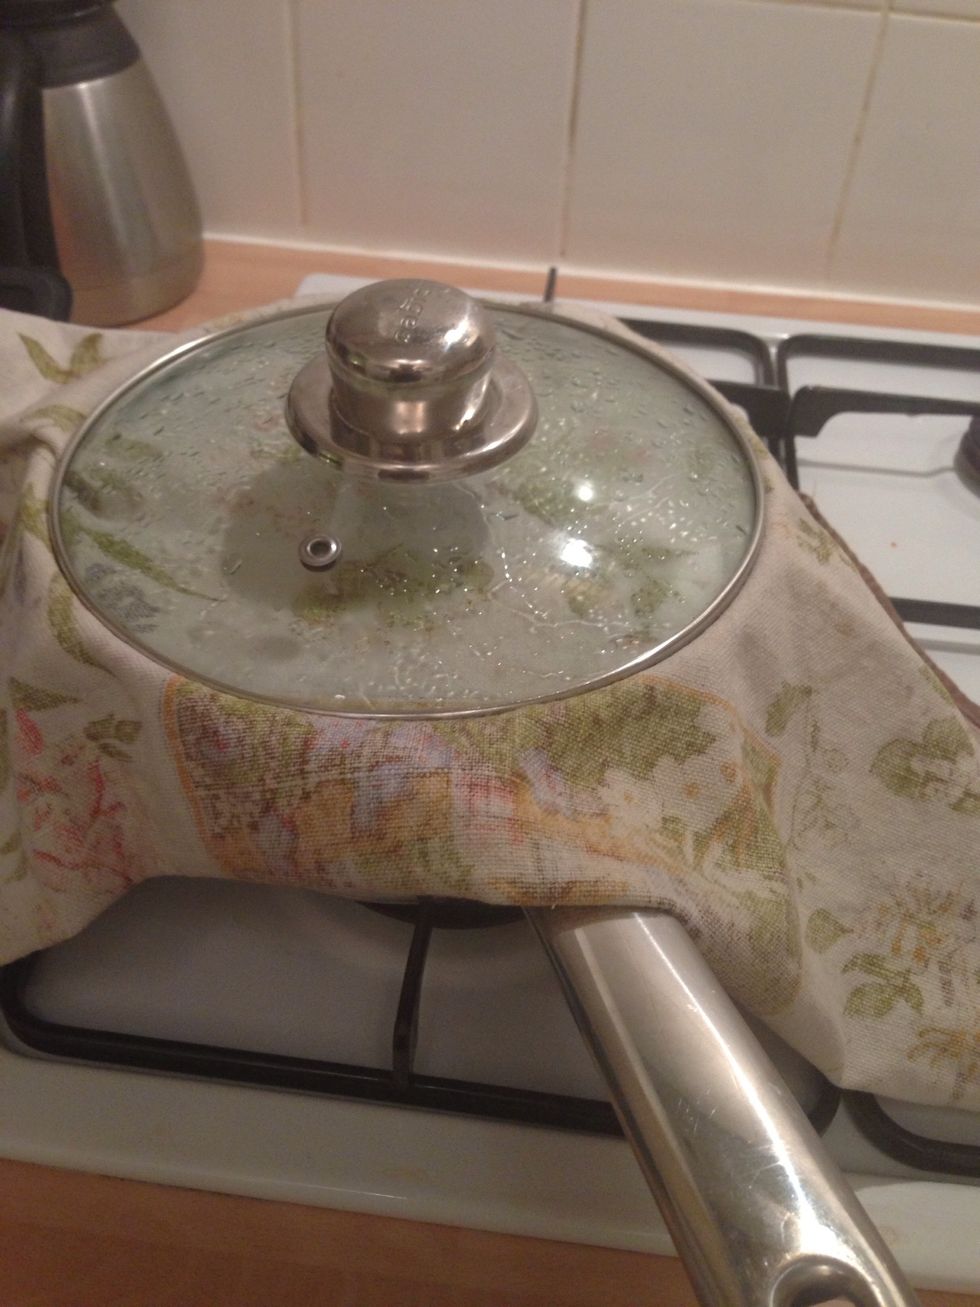
Process 4. STAND TO STEAM - Cover the pot with clean cloth and leave for 10 minutes to steam. The cloth is to prevent the water on the lid dropping on the rice.
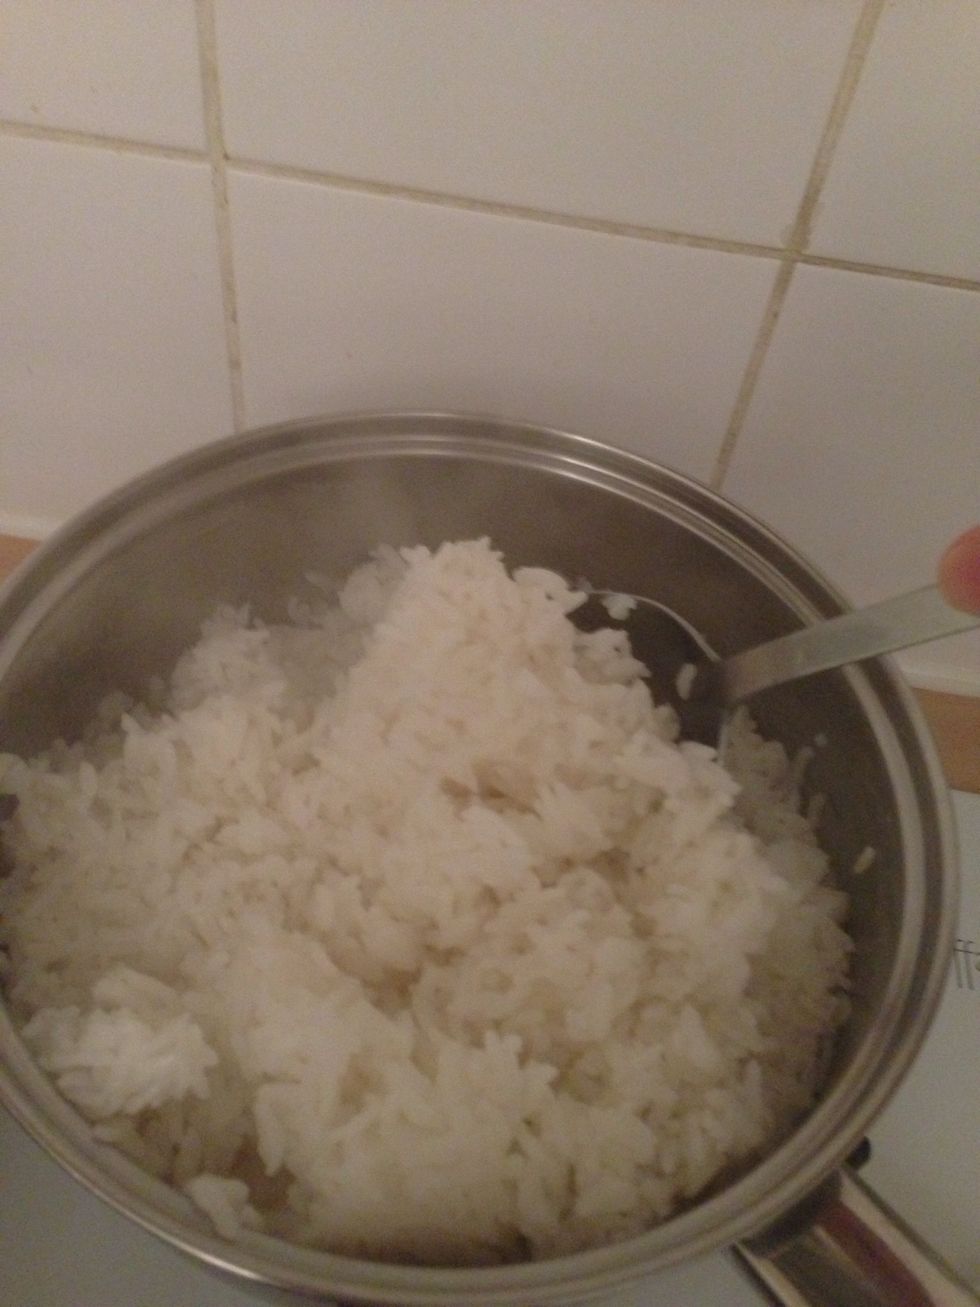
Dig in with a wet spoon - wooden one may be better - and turn them from the bottom.
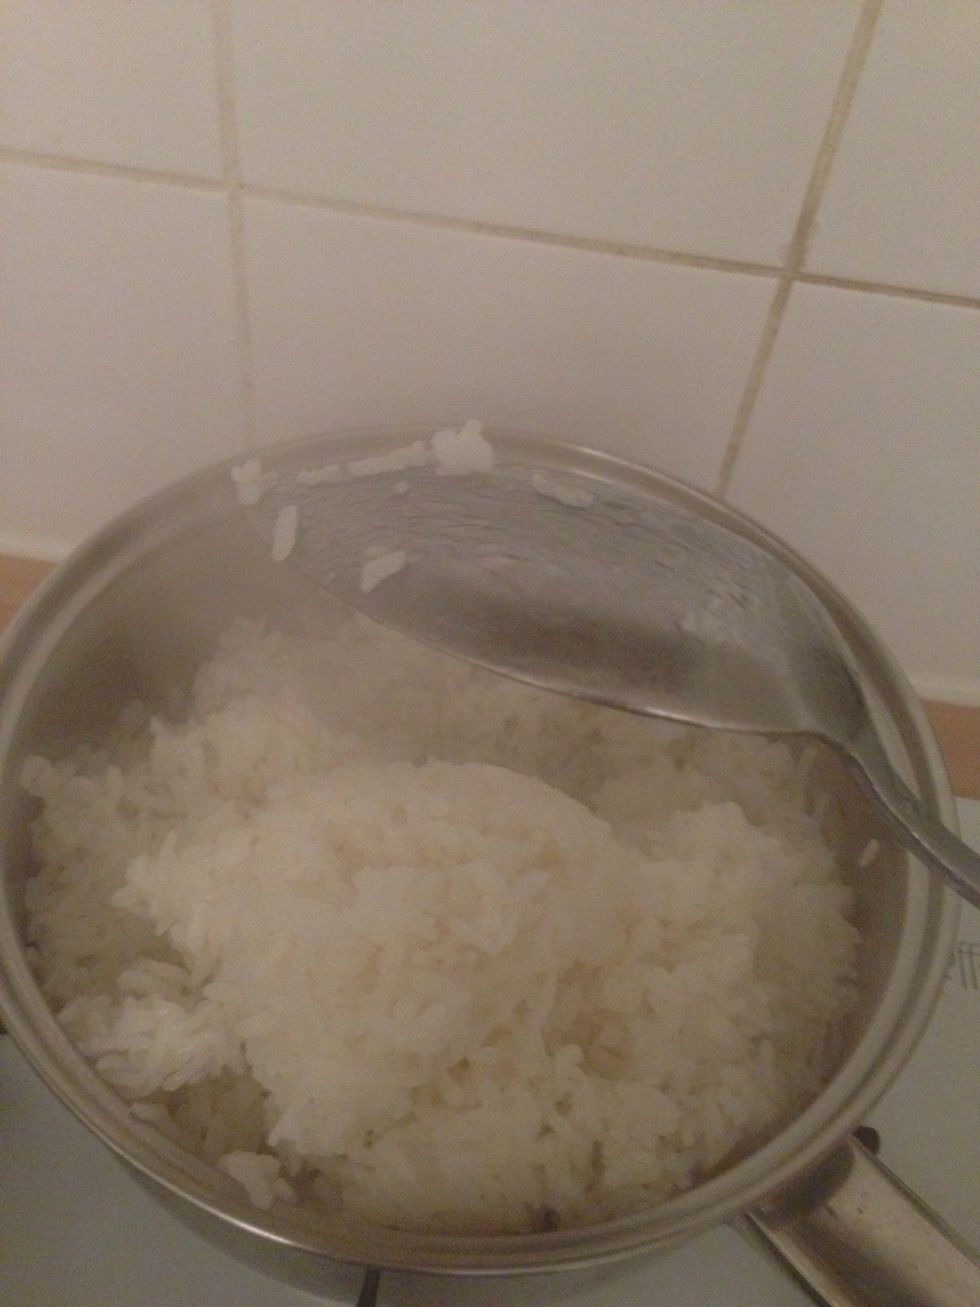
This is to release the steam inside.
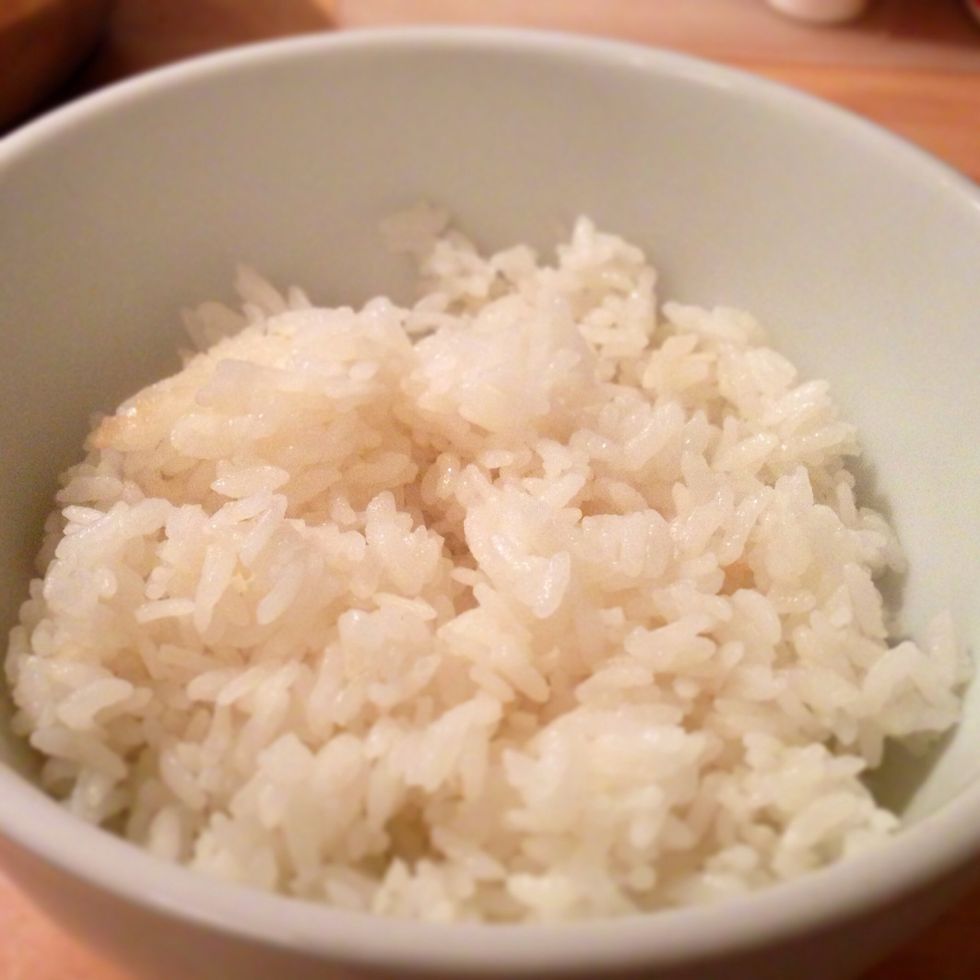
Serve it with Japanese, Chinese or Korean dishes. You can freeze the any remaining rice in a container and microwave for 1 min per serving.
- 180.0ml Rice (multiply as required)
- 200.0ml Water to cook the rice with (multiply as required)
- 1.0 Hob
- 1.0 A pot with lid
- 1.0 Strainer
- 1.0 Measuring cup
- Water to rinse the rice with
Mio Mitchinson
Experimenting this tool to create easy user-guide for my clients. Tips can be found elsewhere if you have sufficient IT literacies...
London
The Conversation (0)
Sign Up