The Conversation (0)
Sign Up
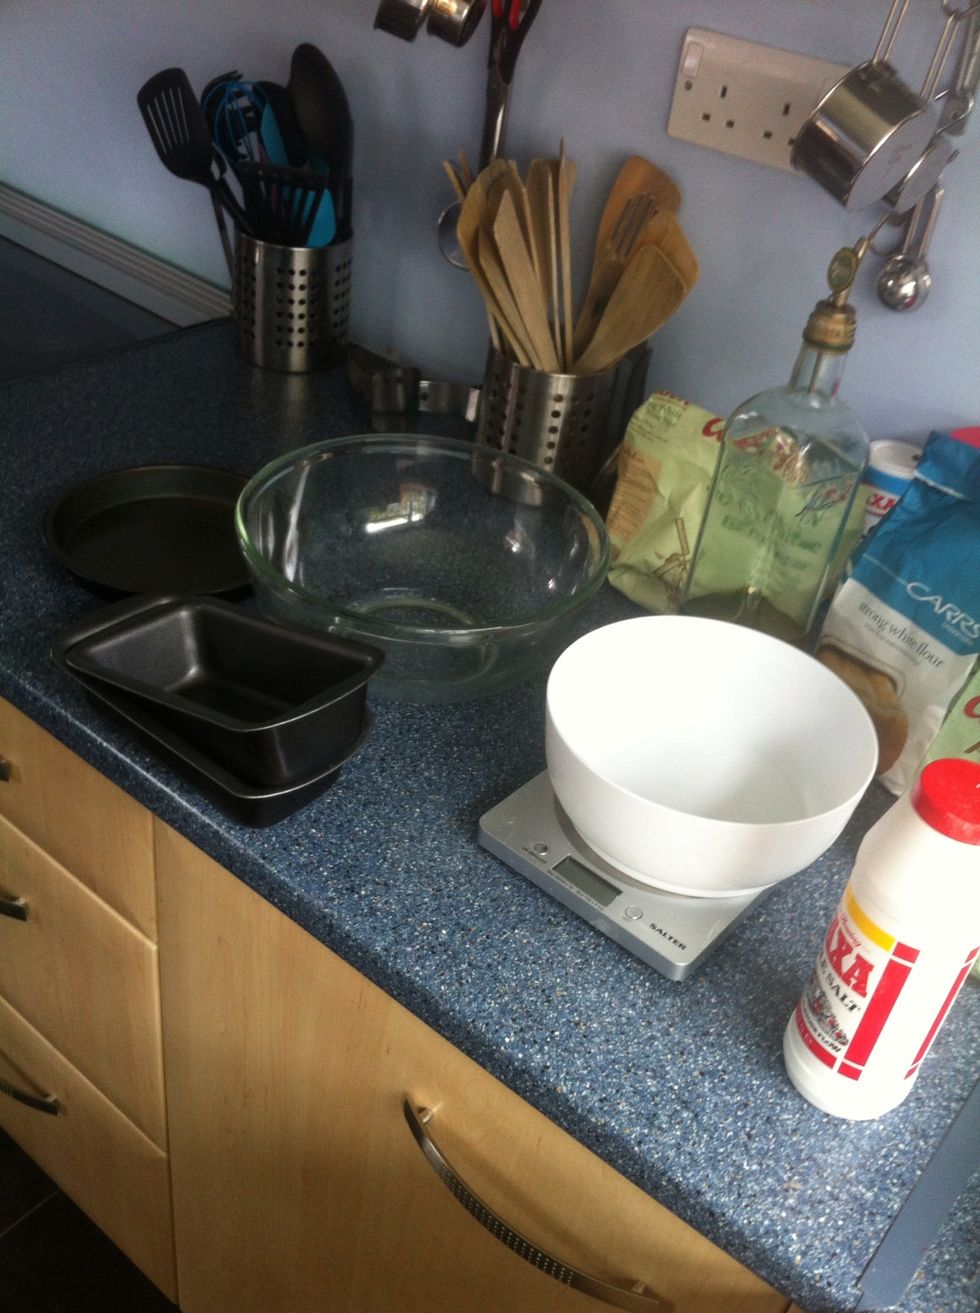
Mixing Bowles and ingredients at the ready.
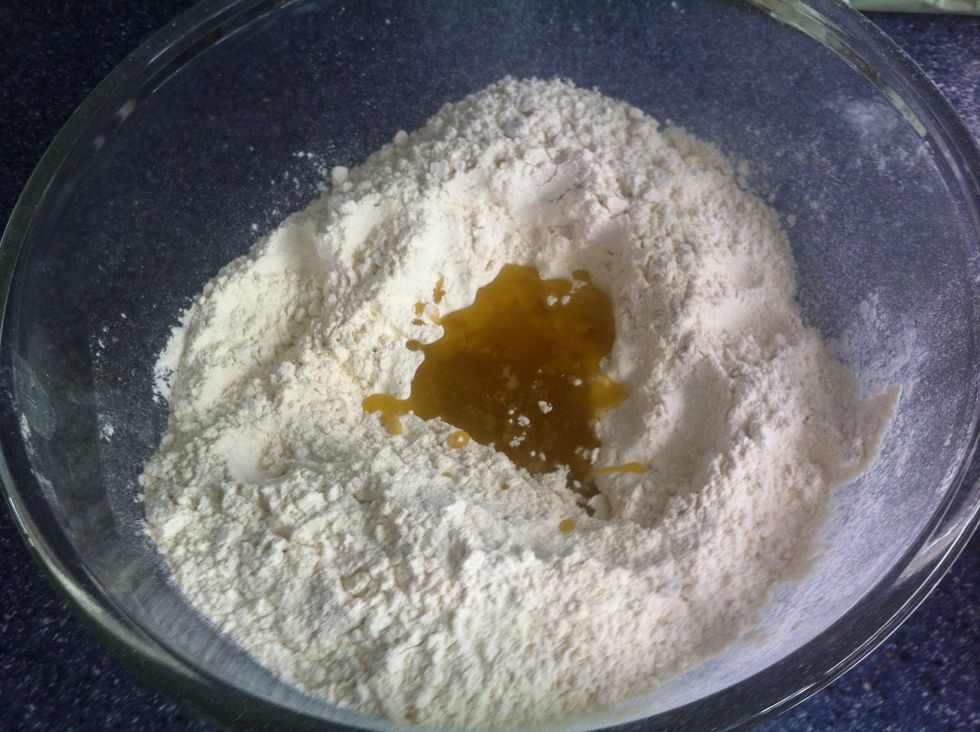
Add yeast, salt and Olive Oil to the Flour
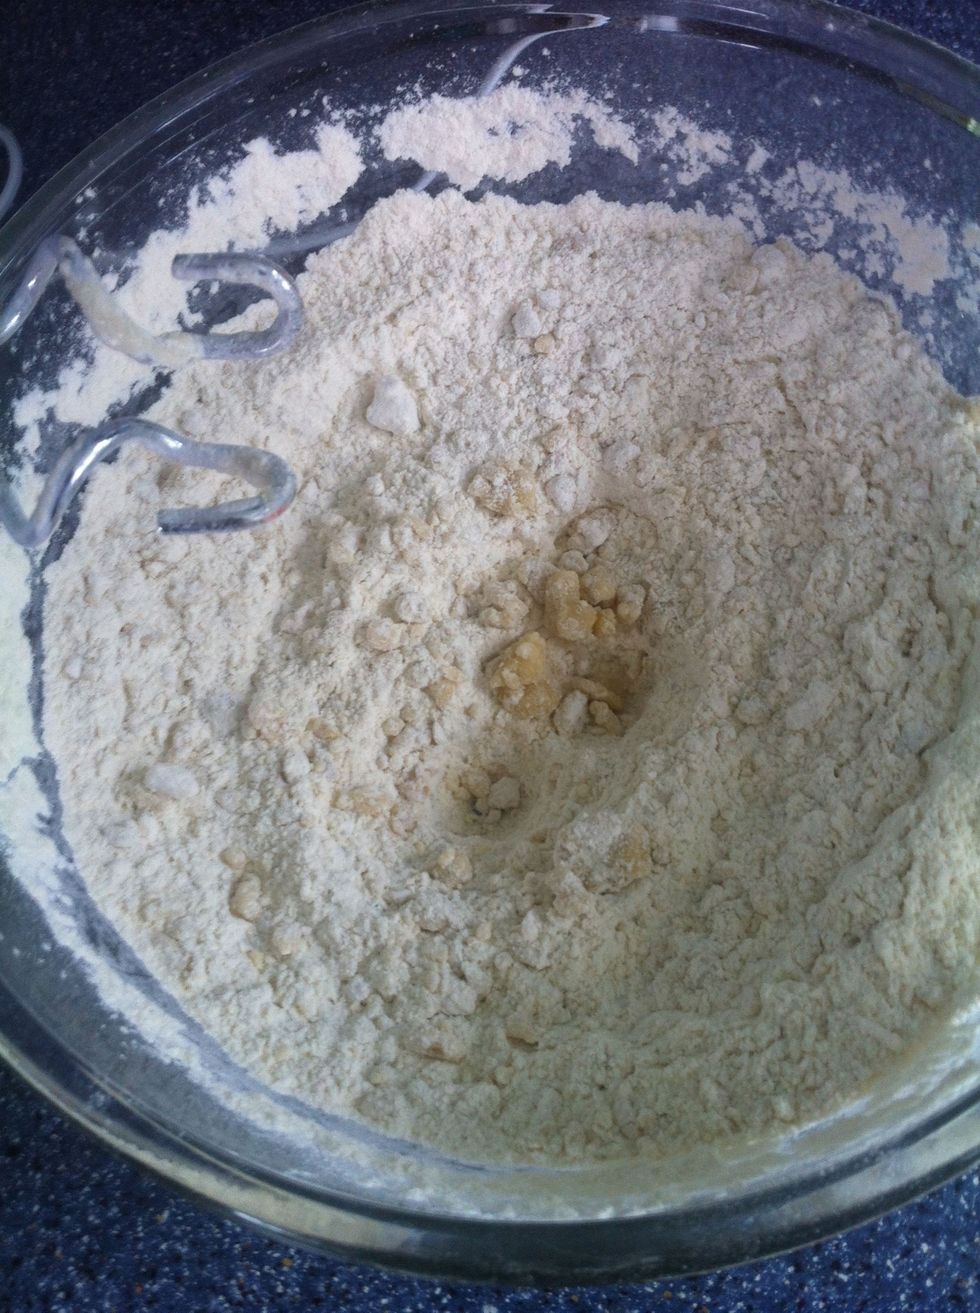
And mix.
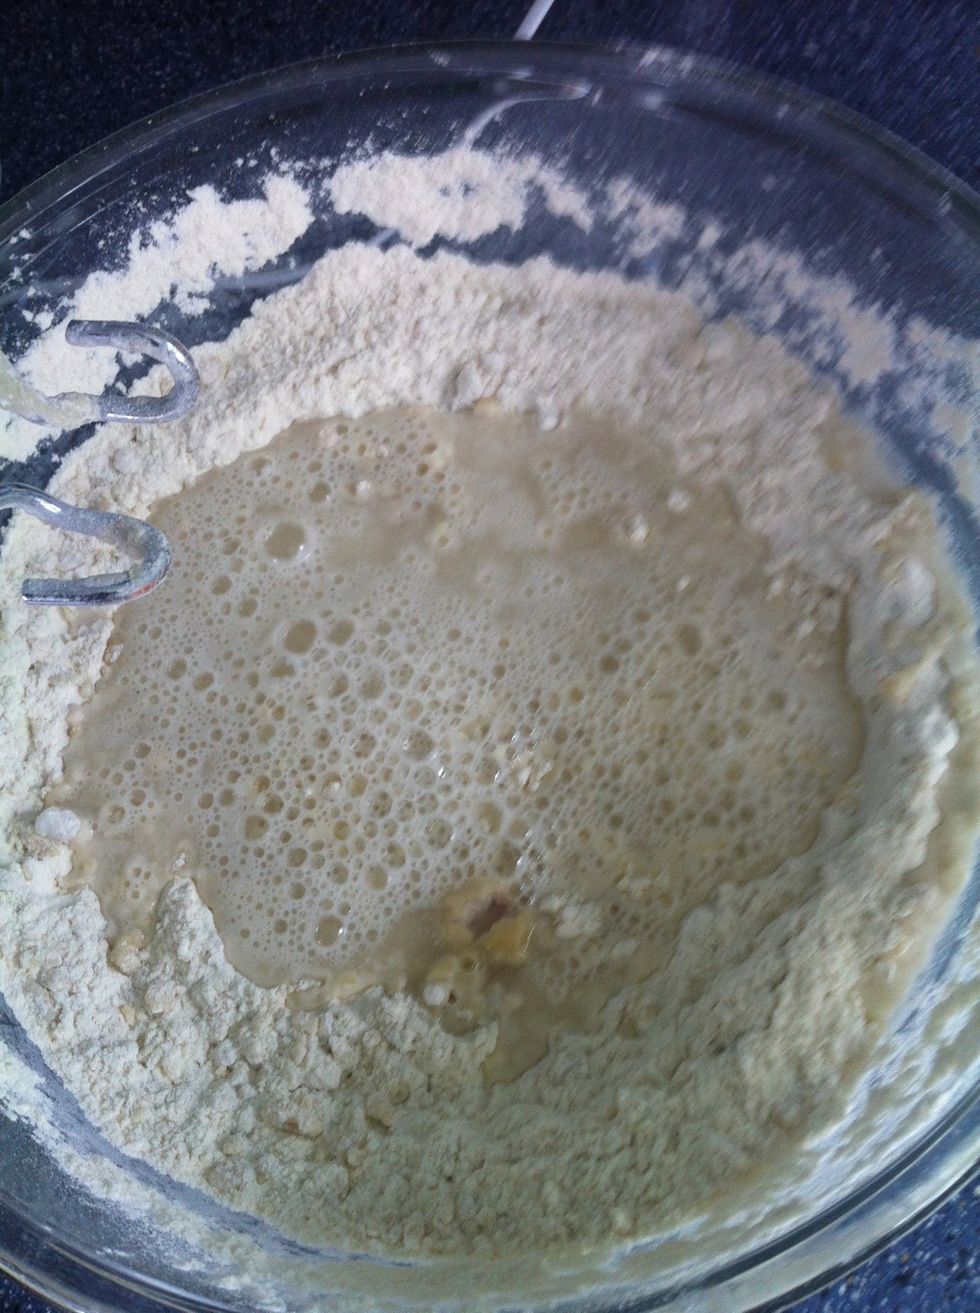
Add the warm water.
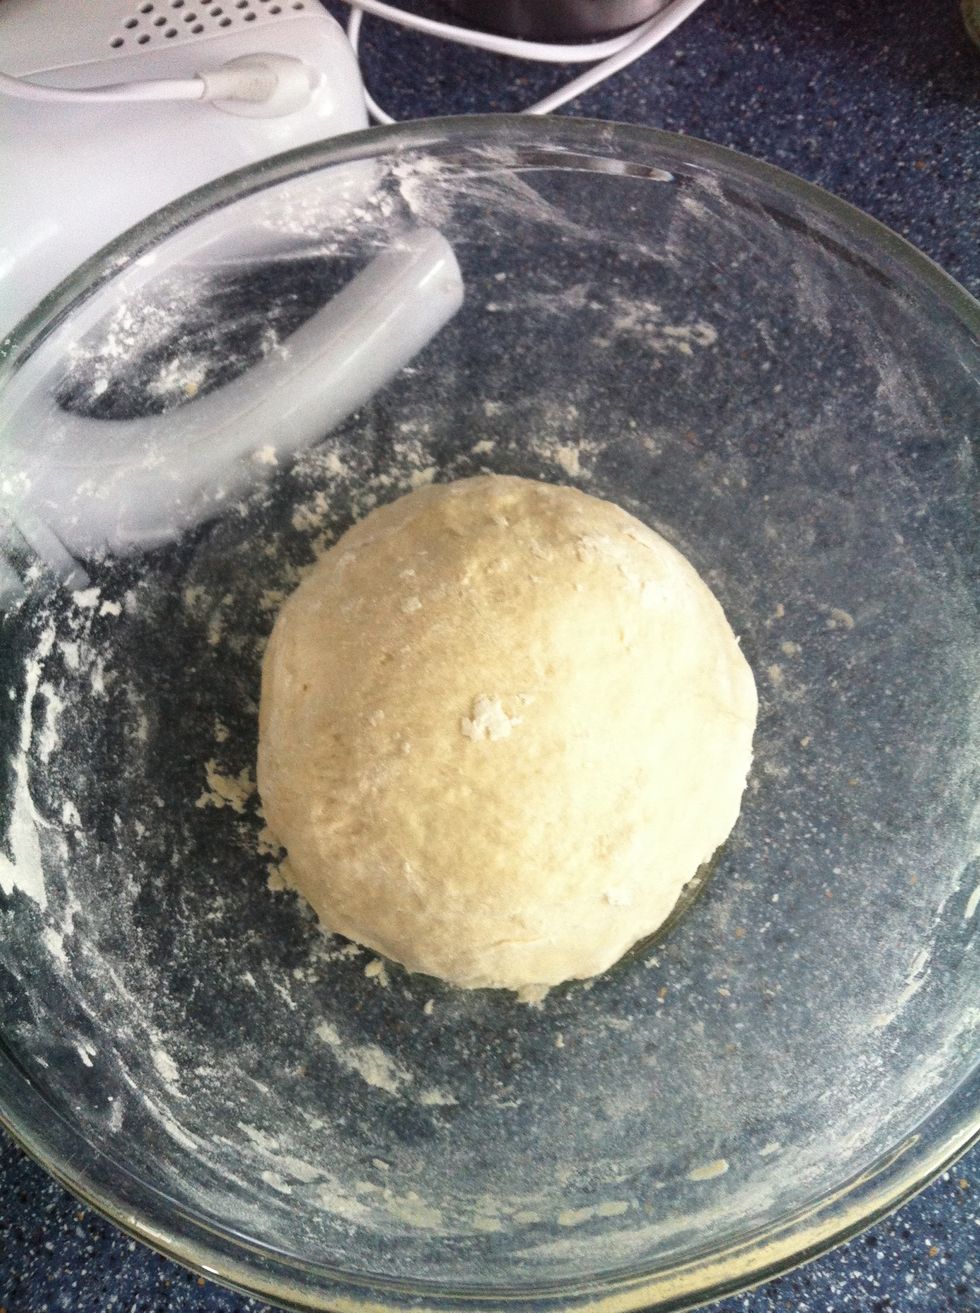
Knead and form into a ball when the dough is soft and light. I kneed in the mixing bowl as it creates less mess :)
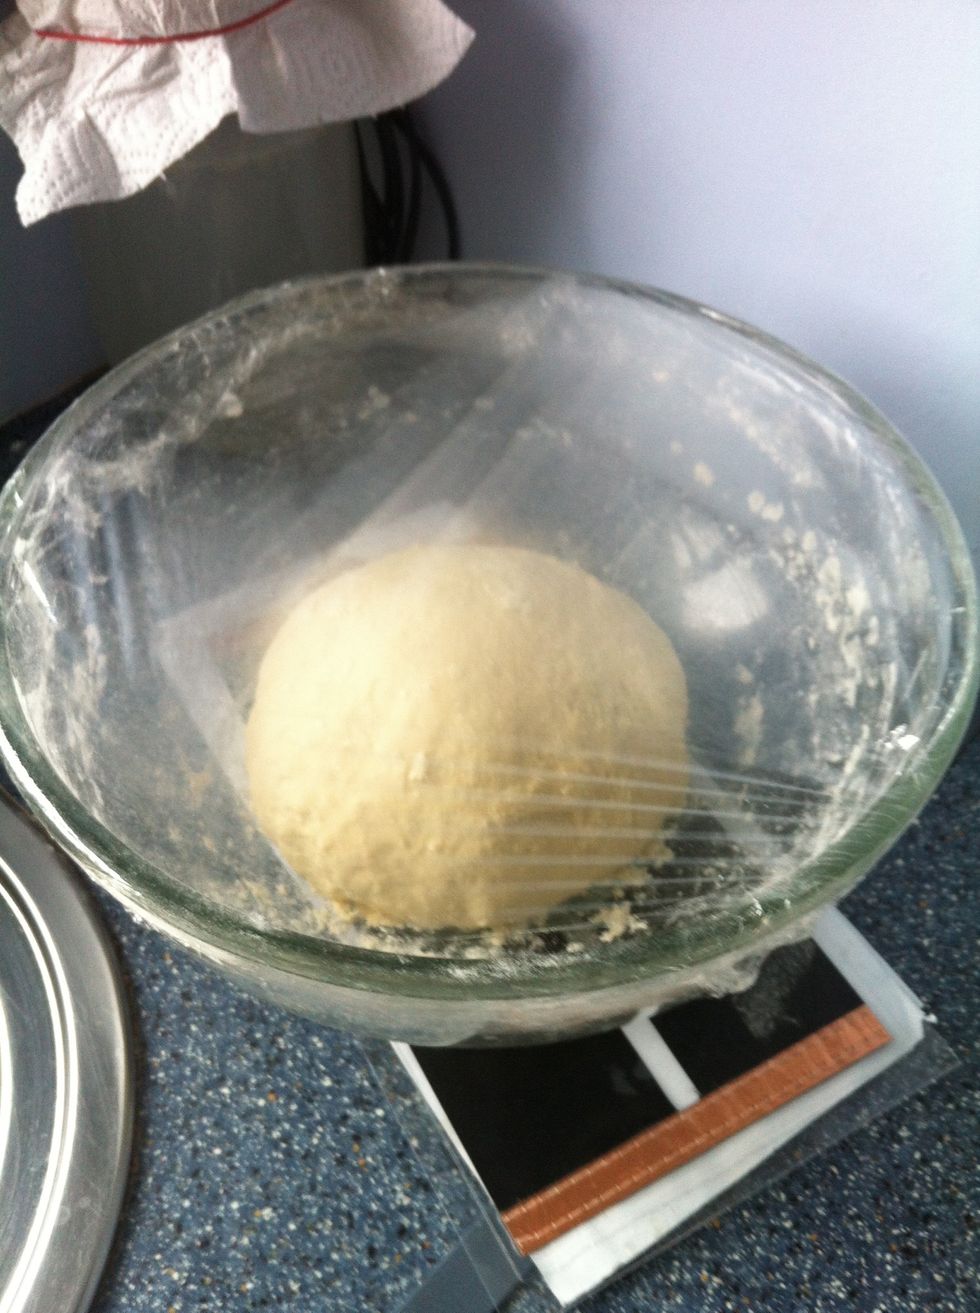
Cover with 'Cling Film' (plastic wrap) and place in a warm place. . See Tip 2 at the end of this guide

I've cleaned the kitchen &, been out to buy some ant killer (we have an infestation at the moment). The dough is rising well & the Ginger Beer in the background is nearly ready for racking off.
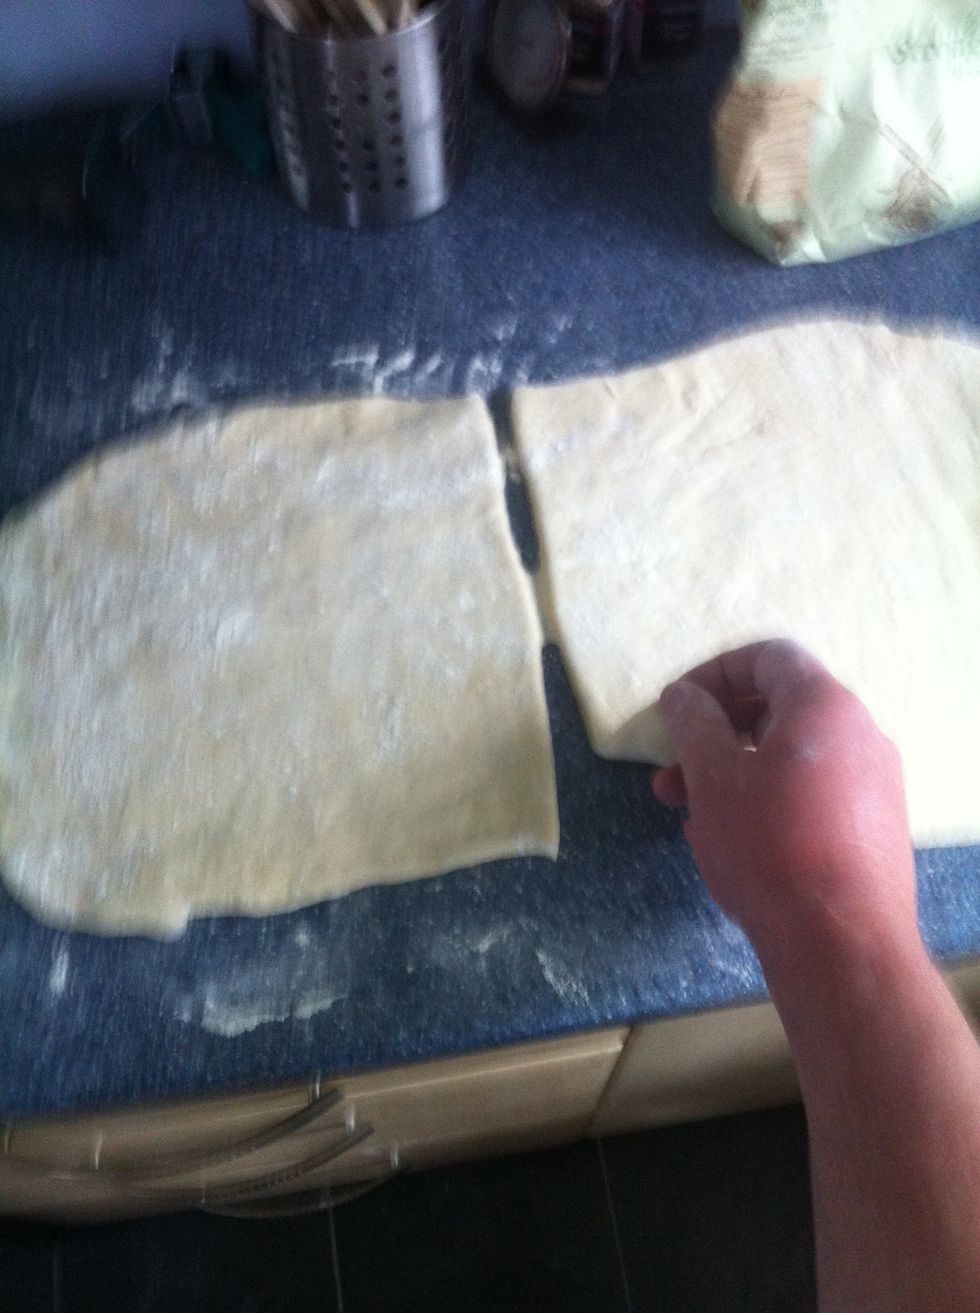
Roll out the dough on a floured surface.

Fold and roll each half of the dough

Folding the ends over to stretch in to a smooth shape.
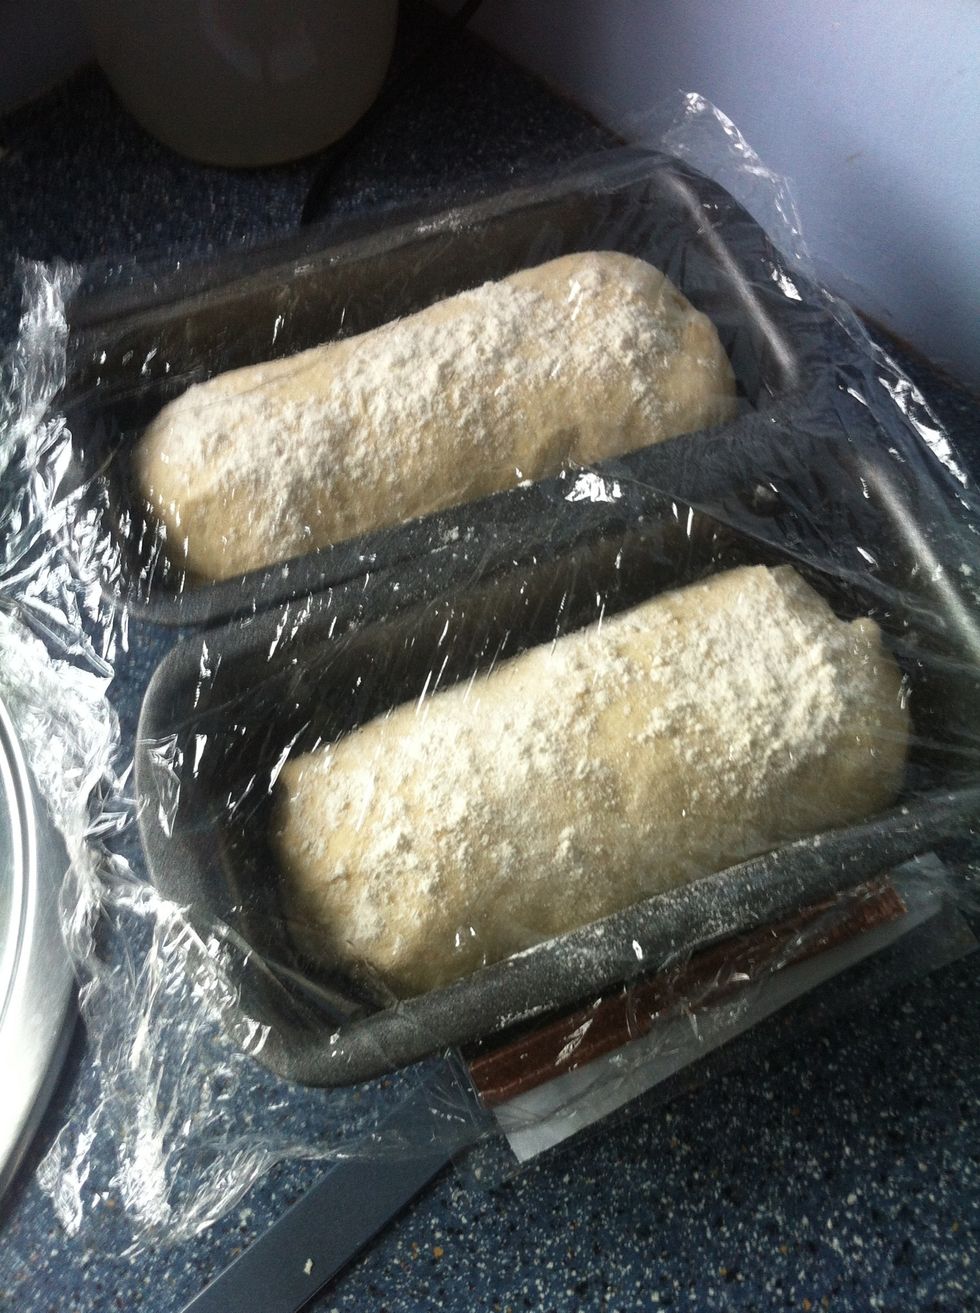
Flour and cover then leave to rise in a warm place. The flour is to stop the dough from sticking to the 'Cling Film'.
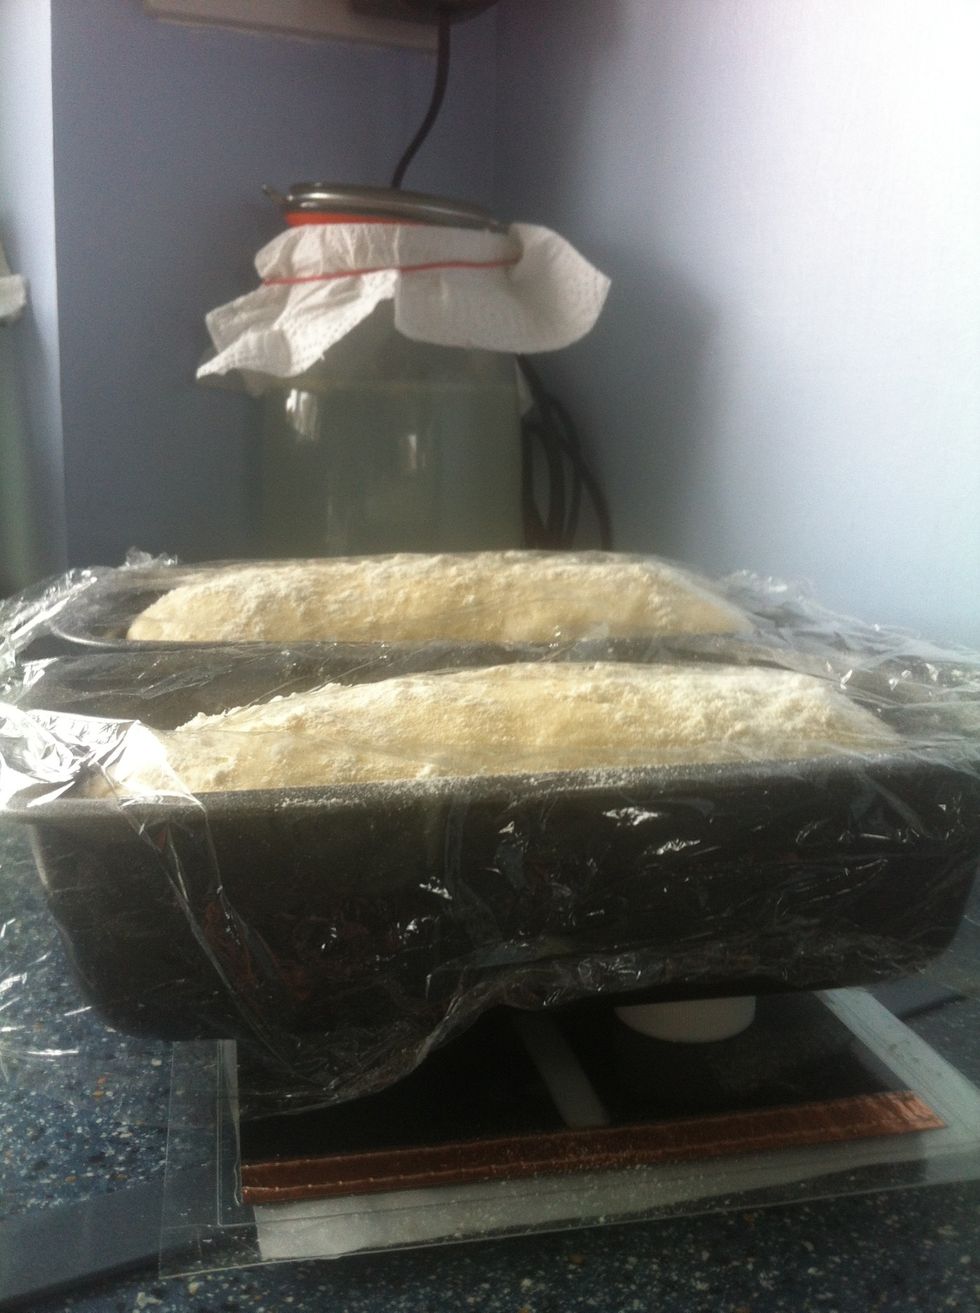
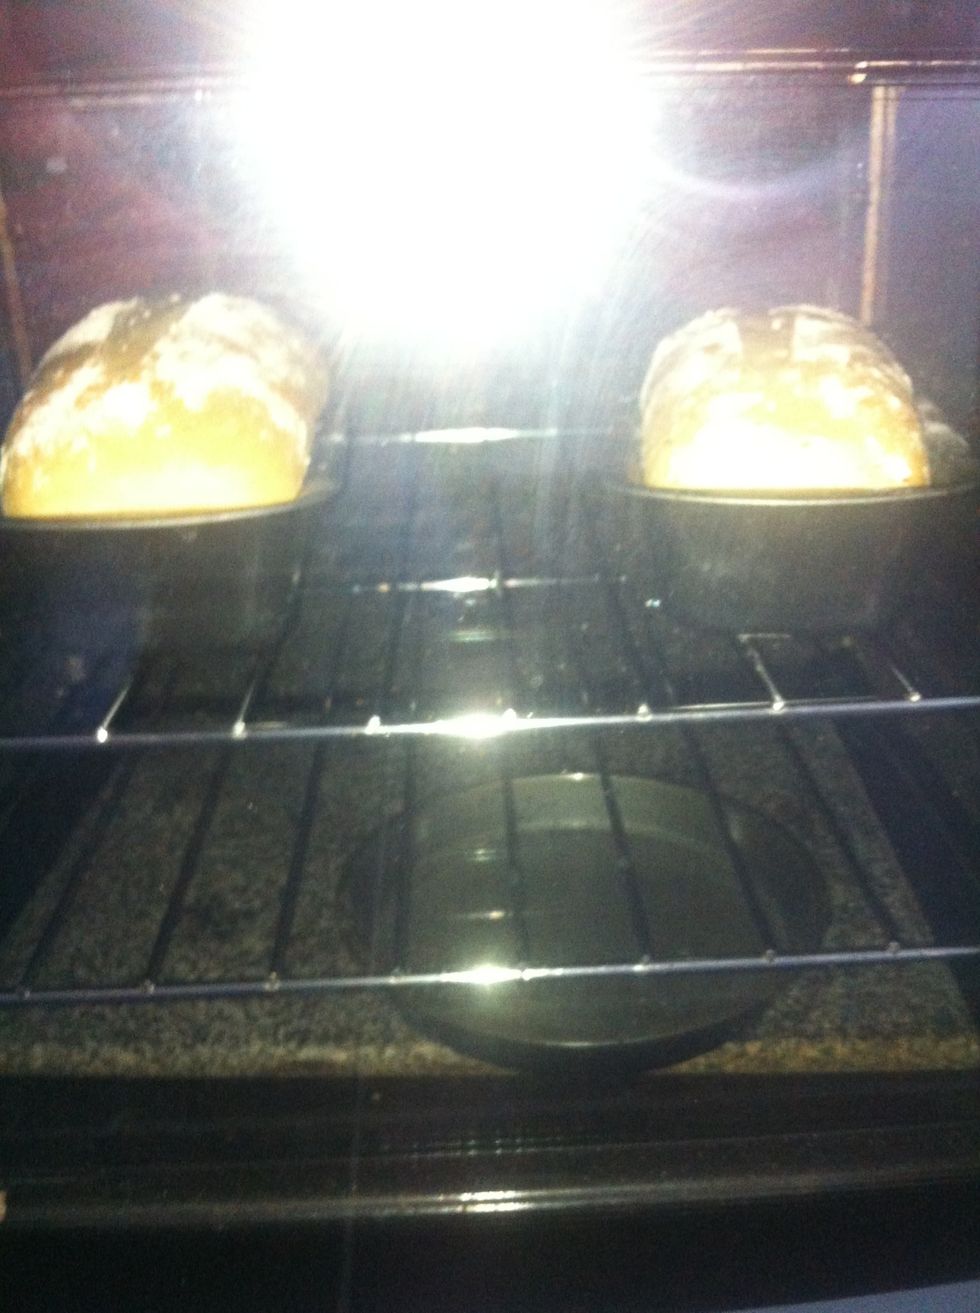
No, not Yet! Don't be tempted to start cooking too soon. Wait until the bread former is filled and the dough is above the sides of the tin.

Time to turn the oven on. 180C (350F Gas Mk 4). Place a metal tray in the bottom of the oven. See tip 4 Crust formation for an explication.
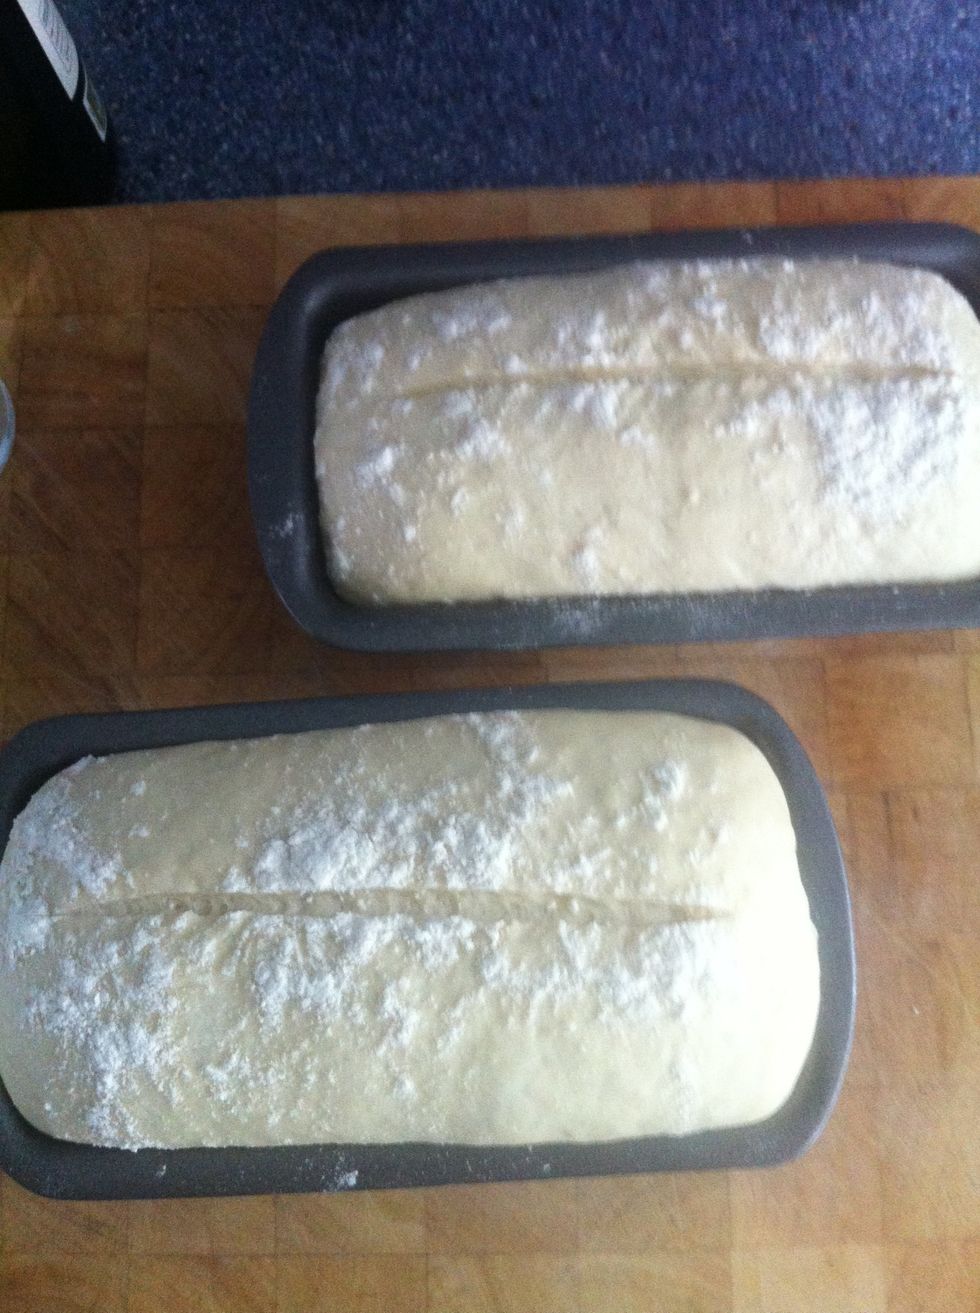
When risen and the oven's up to temperature, slice the top to allow the bread to expand
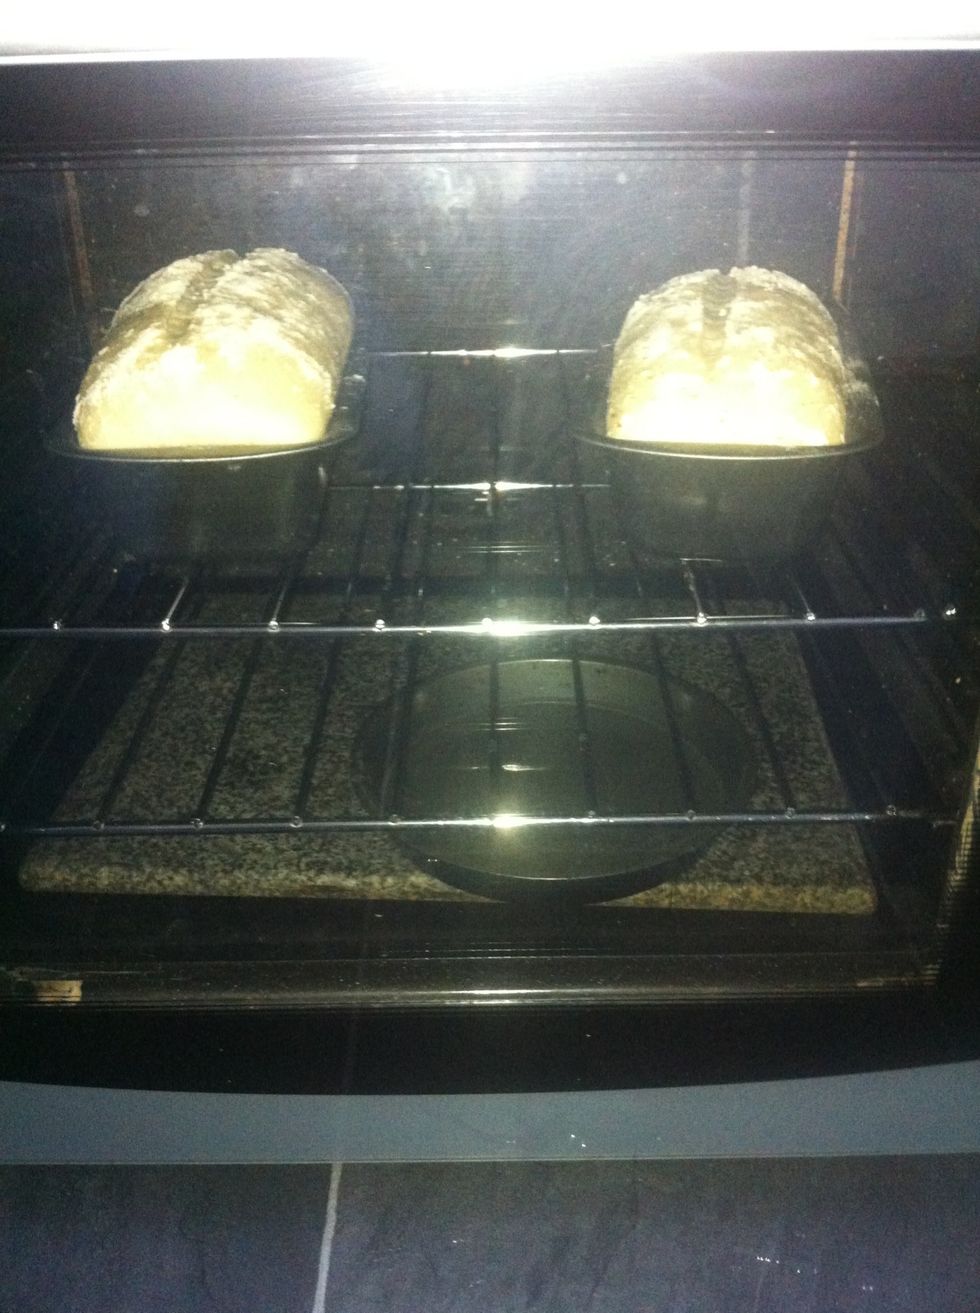
Place bread in oven and pour the half cup of cold watt into the metal tin.
As you see, after 4 minutes cooking the cut has opened up as the dough expands
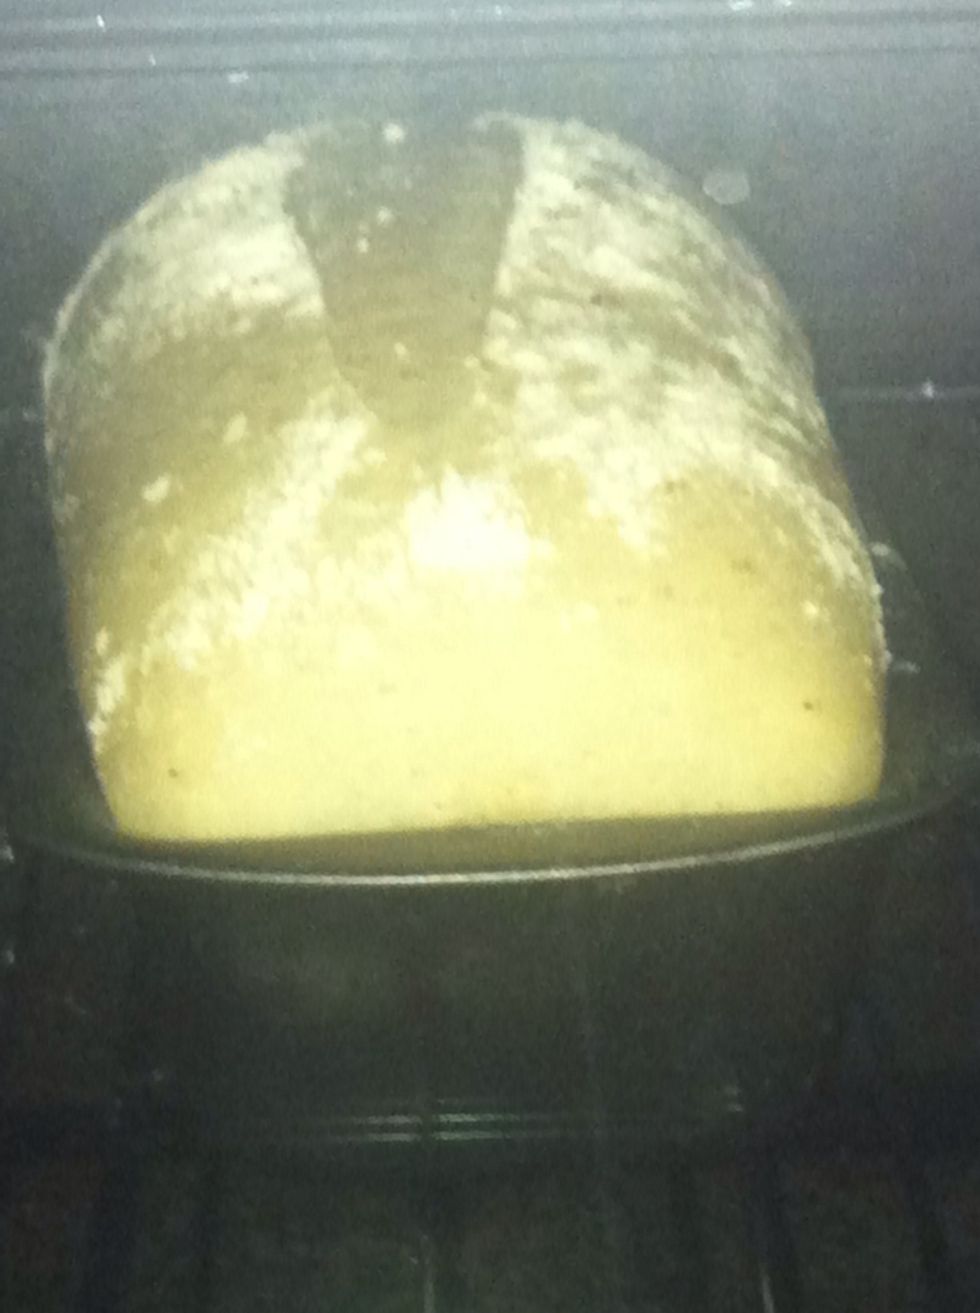
Just a few minutes more.
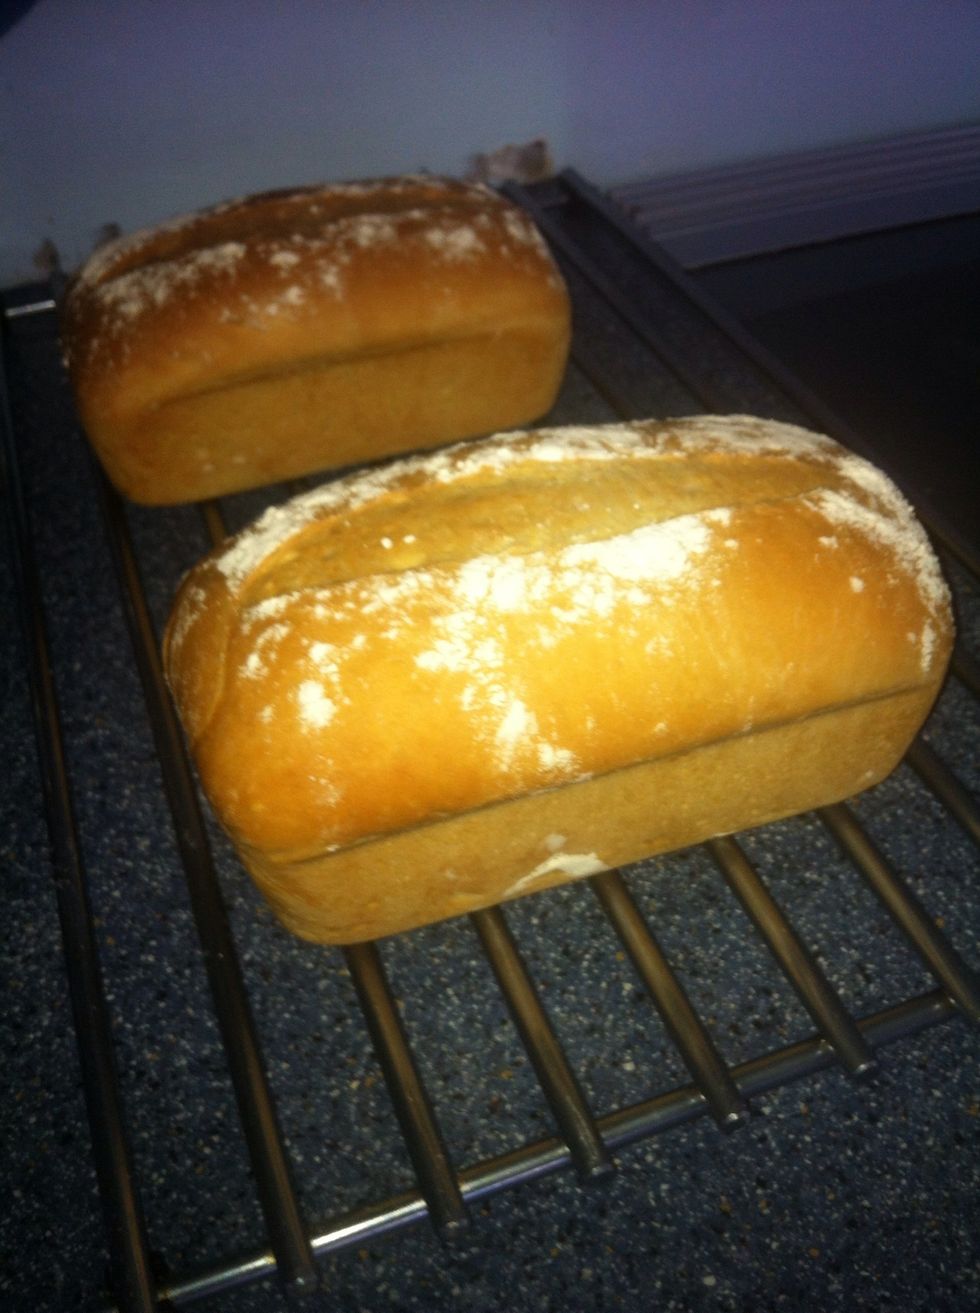
The finished loaf. Leave to cool before eating.
Tip 1: Fresh Yeast - This can be obtained anywhere you find a bakery. Just ask and see what happens, at worst they'll say no, at best you'll get given a block of bakers yeast for free :)
Tip 2: Heat Mat - As we live in the UK, and don't have the heating on at present, we have improvised a heat mat. This is a heat mat designed for under a reptile cage. See photo on the next page.
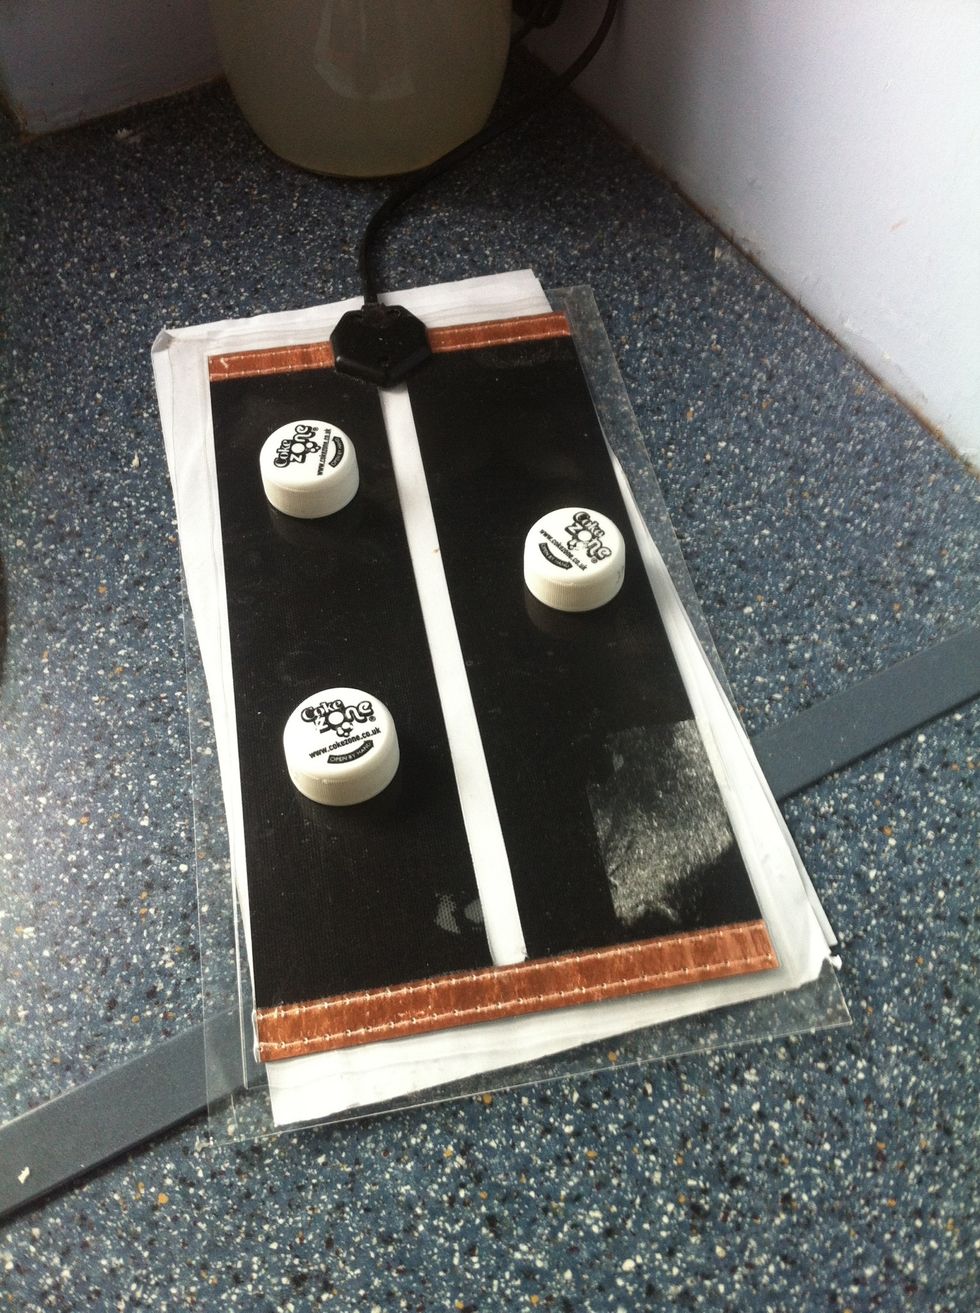
The Heat Mat - use old plastic bottle tops to lift the bowl away from the heat and a couple of sheets of paper to protect the work top.
Tip 3: Crust formation - to create a good crust, place an empty metal dish in the base of the oven before turning on. When the oven is hot and immediately after putting the bread in... continued
Tip 3 continued: ...pour the half a cup of cold water in to the hot metal dish. Do not add too much water as it has to all have evaporate before the bread is cooked or else you'll get a soft crust.
Tip 4: Bread tins - either lightly grease or flour the tins before adding the dough. This will make getting the loaf out after cooking easier.

Tip 5a: Cutting the Dough - just before the bread gets placed in the oven the top is cut to allow the dough to rise. If you use a blade (above) lightly oil it before use to stop it ripping the crust
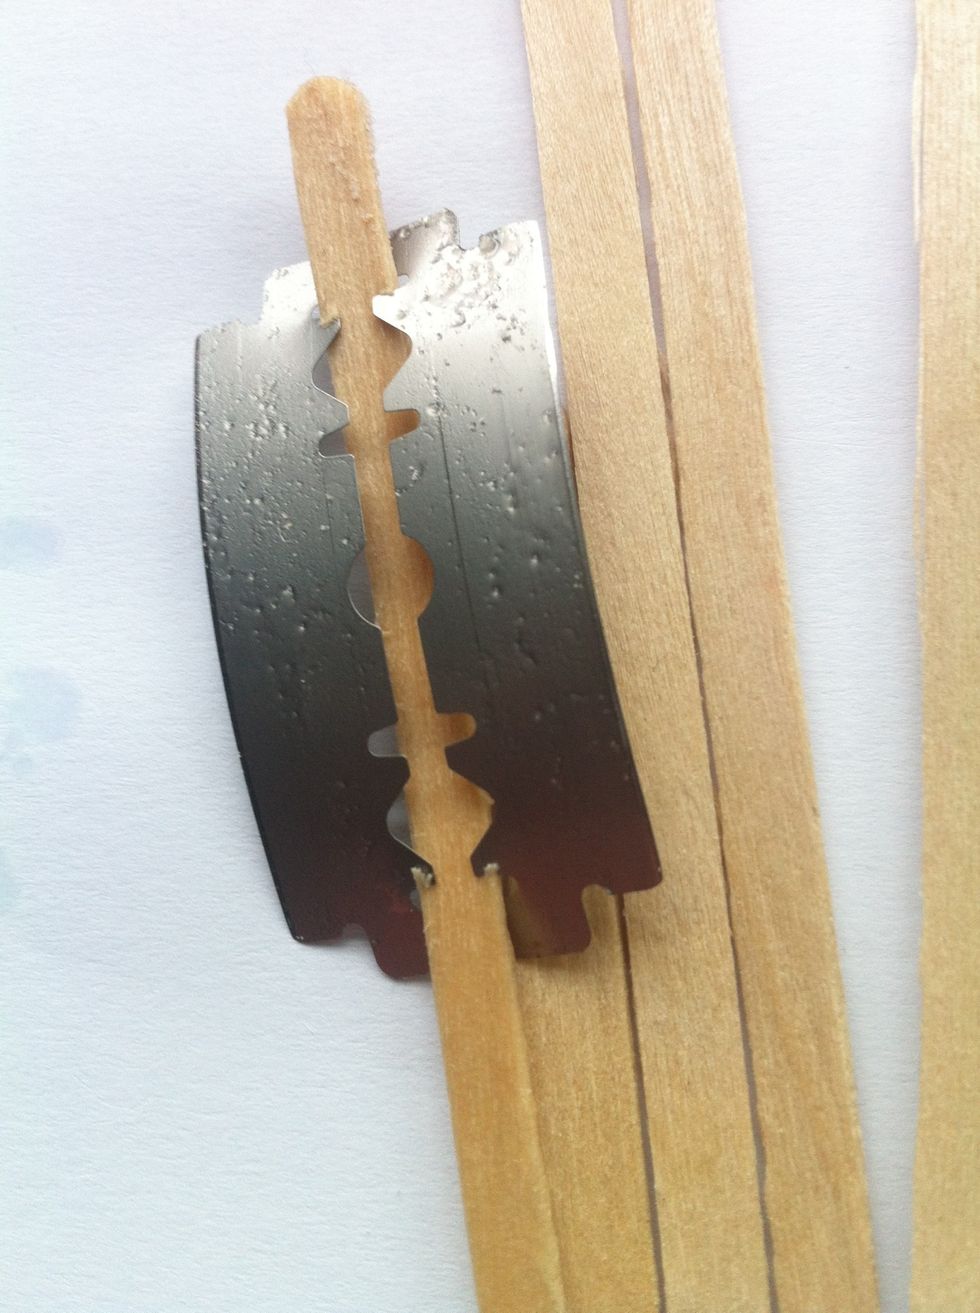
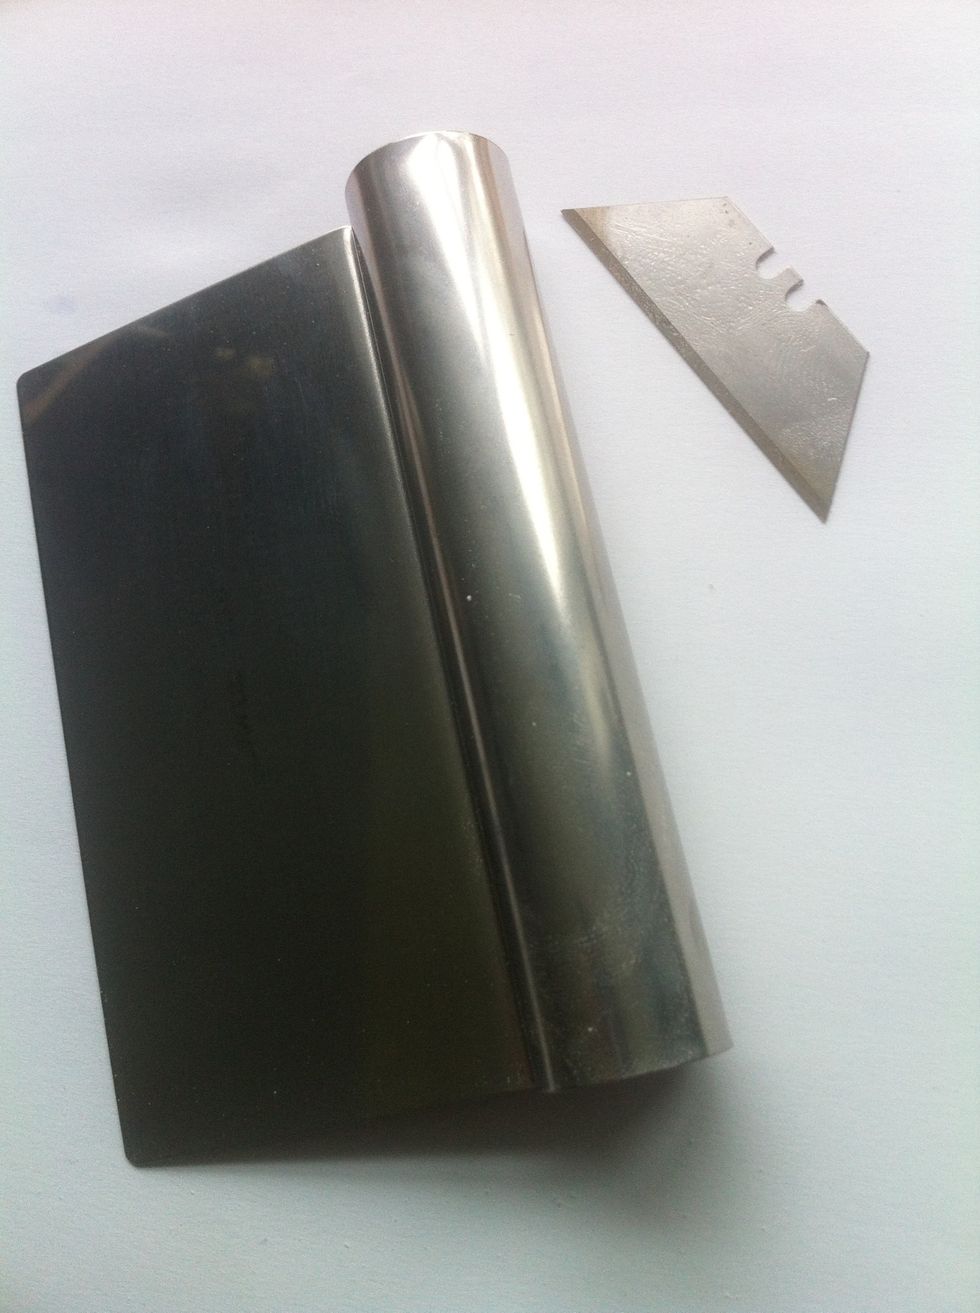
Tip 5b: Cutting the Dough - razor blade and Star Buck stirrers. Be careful fitting the blade to the stick, it's sharp!
Tip 6: Kneading -there are many ways of kneading dough. I use a hand held electric mixer with dough fittings. The dough blade above is great if you use the stretch and fold method.
Tip 7: Storage - The biggest problem I had when I first started making bread was how to store it &, after many tests, I bought a kilogram of brown paper bags off eBay the bread stays crusty & fresh.