The Conversation (0)
Sign Up
First give your sneakers a really good scrub if you like, before starting on this project.
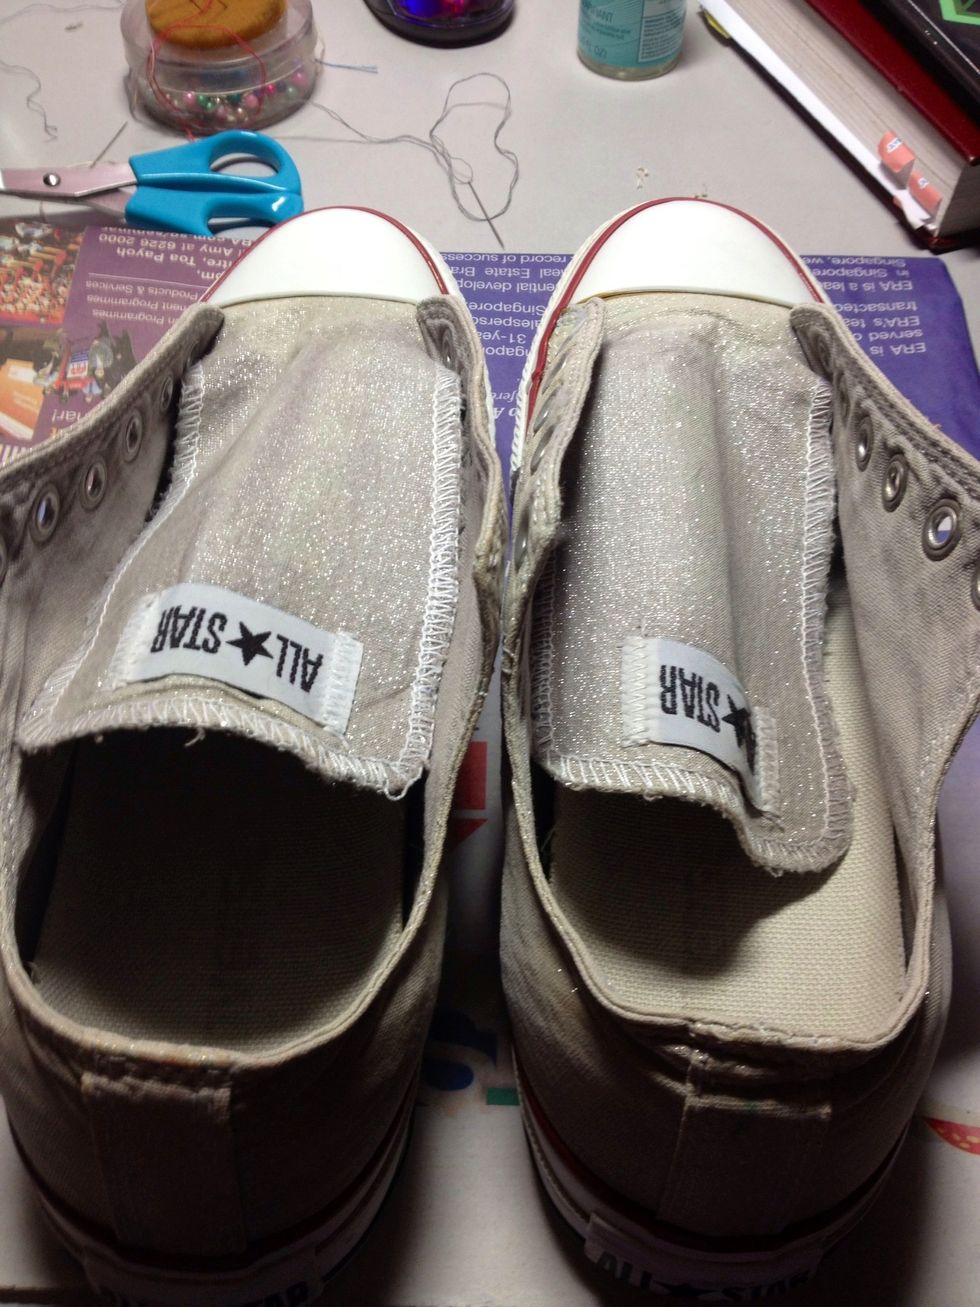
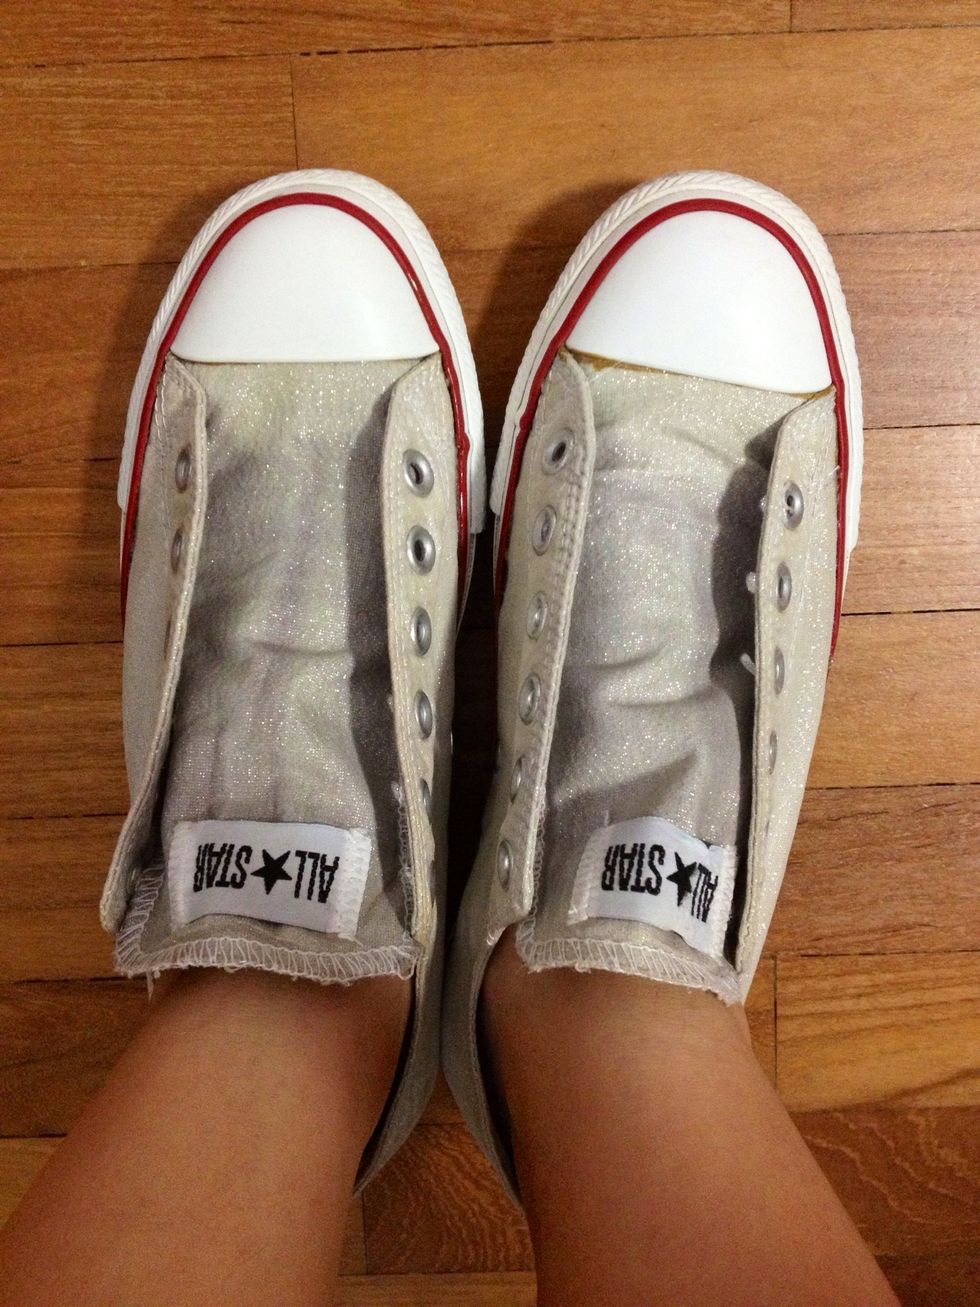
Then remove the product label attached to the shoe, or sew it onto the shoe flap so that it doesn't get into your way while sewing. My shoes were pretty old so I could just rip the product label away.
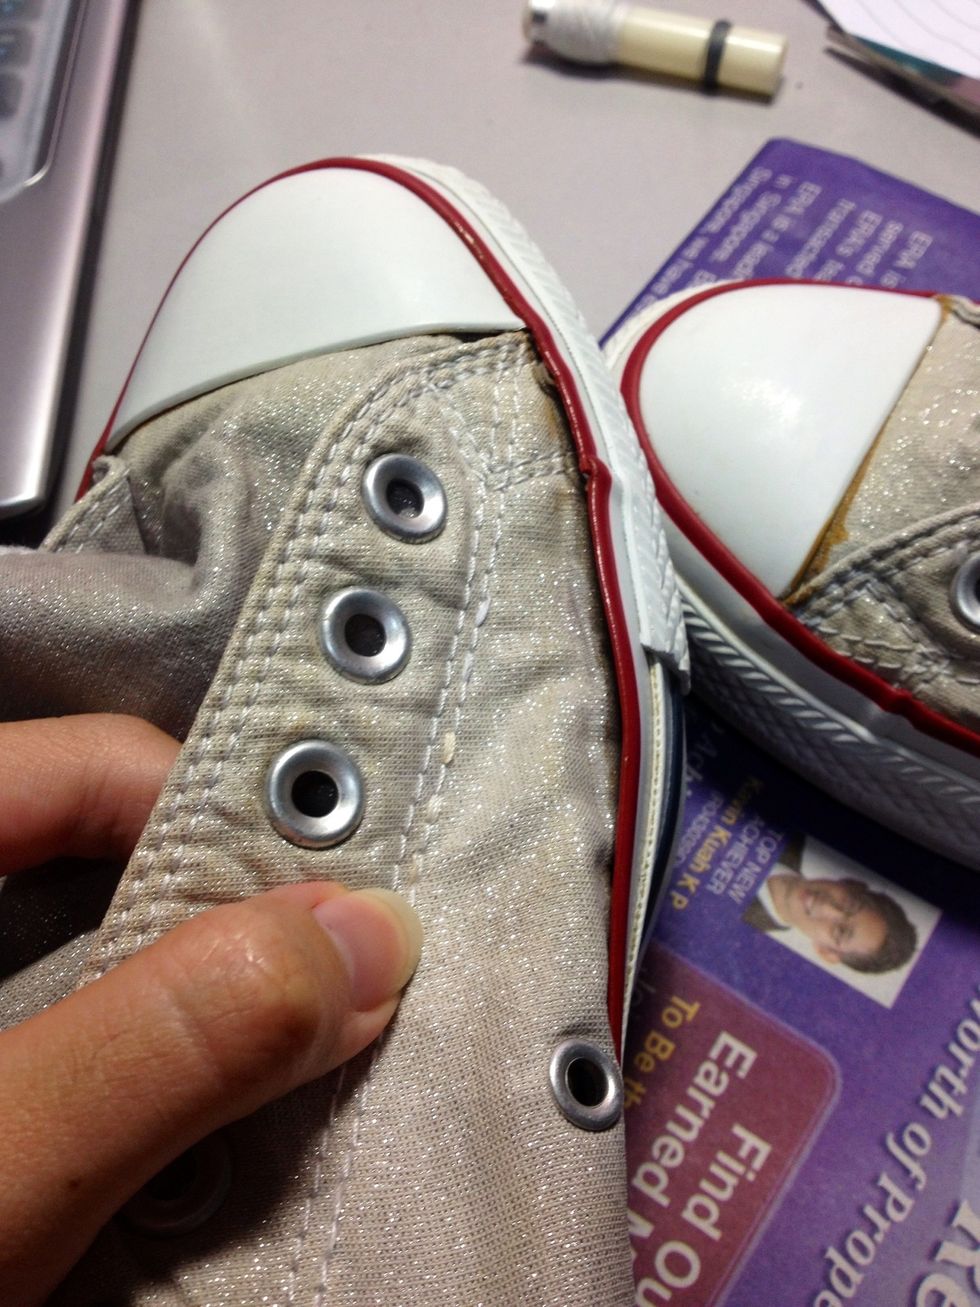
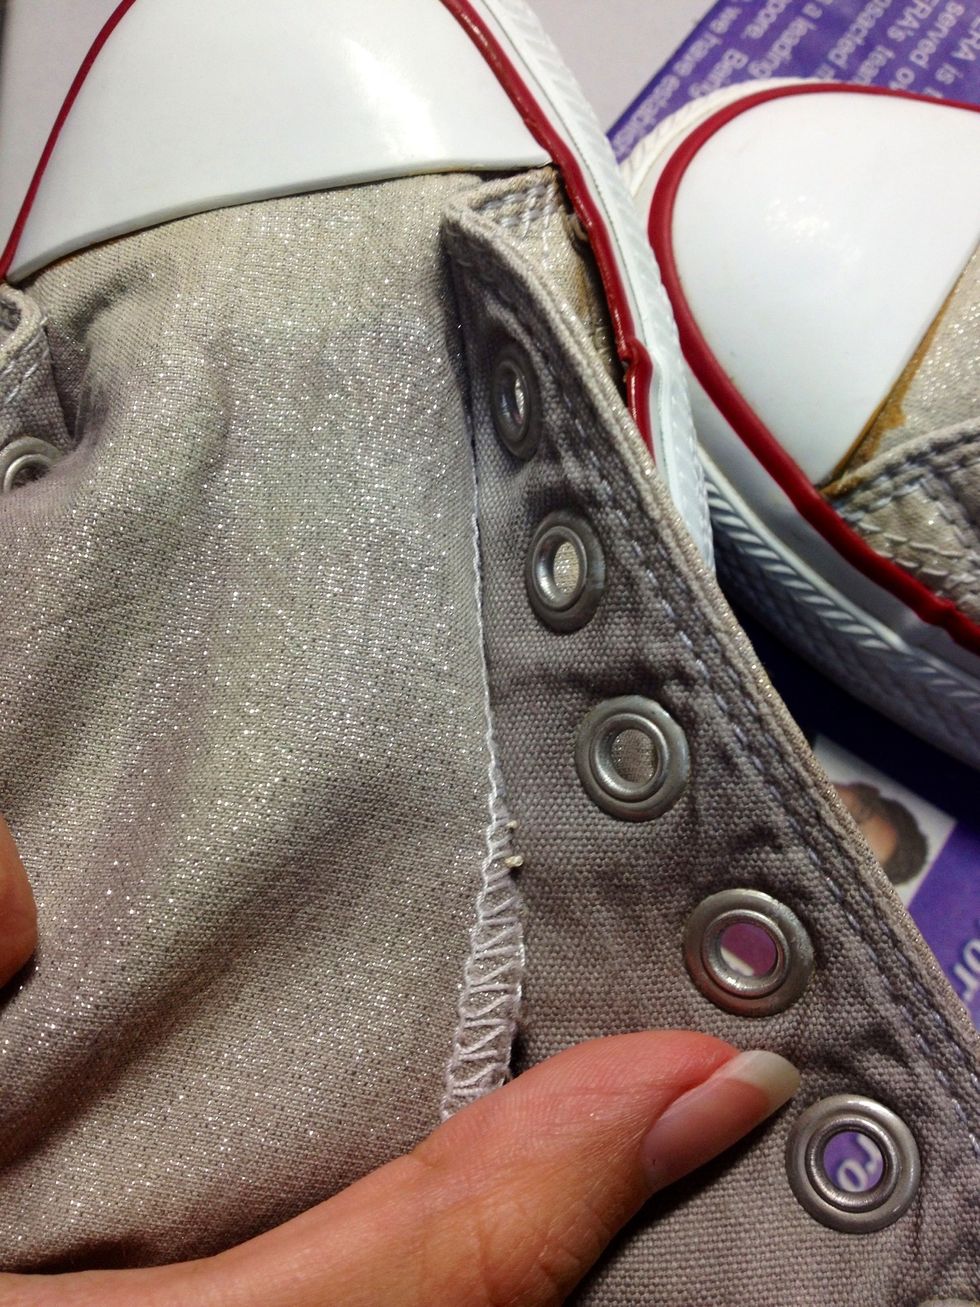
We will be sewing up till the third lacehole from the top. Do not sew the holes down together with the flap! I'll show you why at the end of this guide.
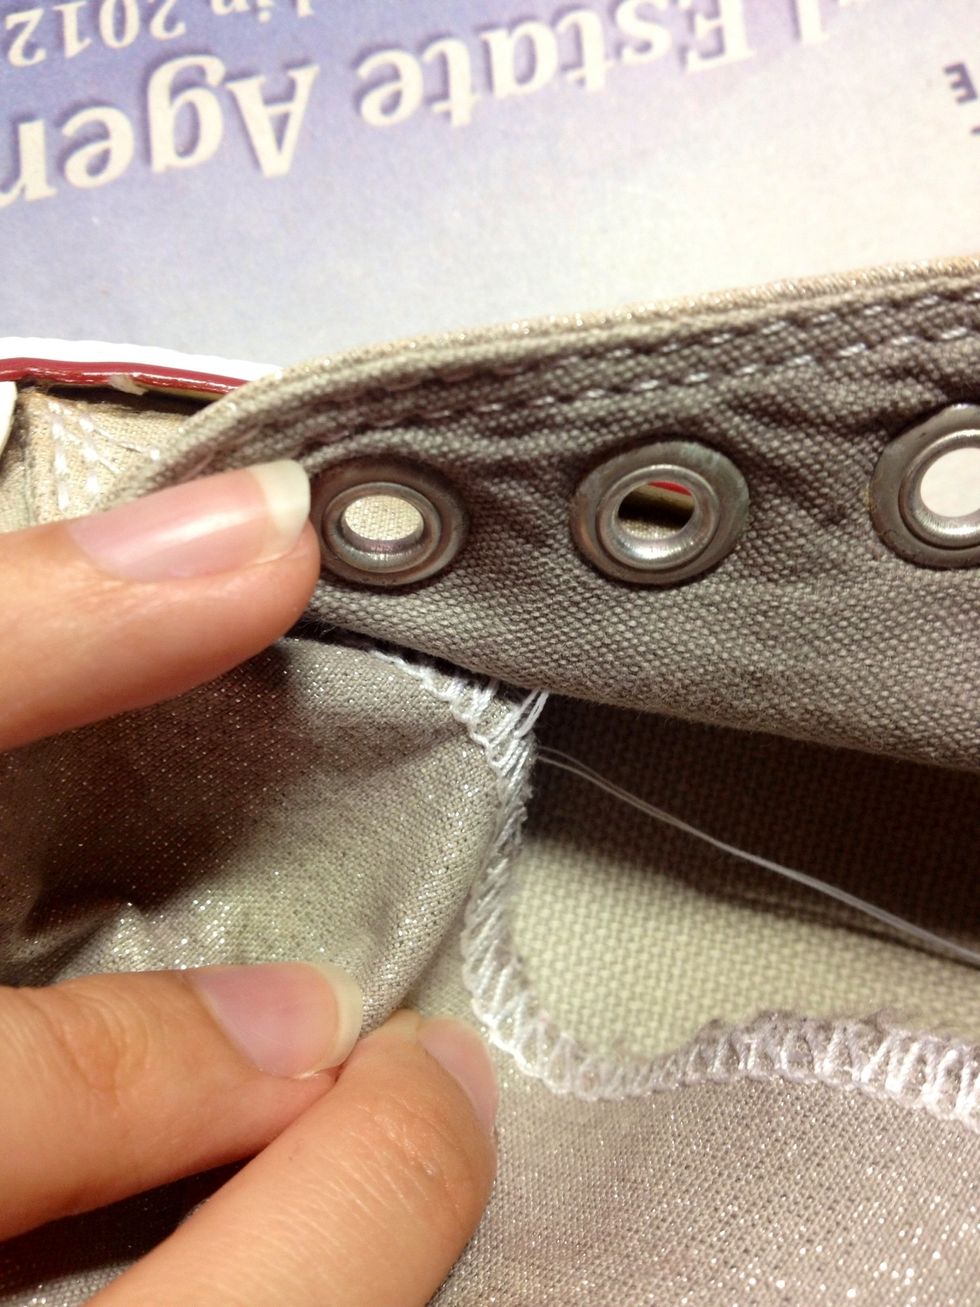
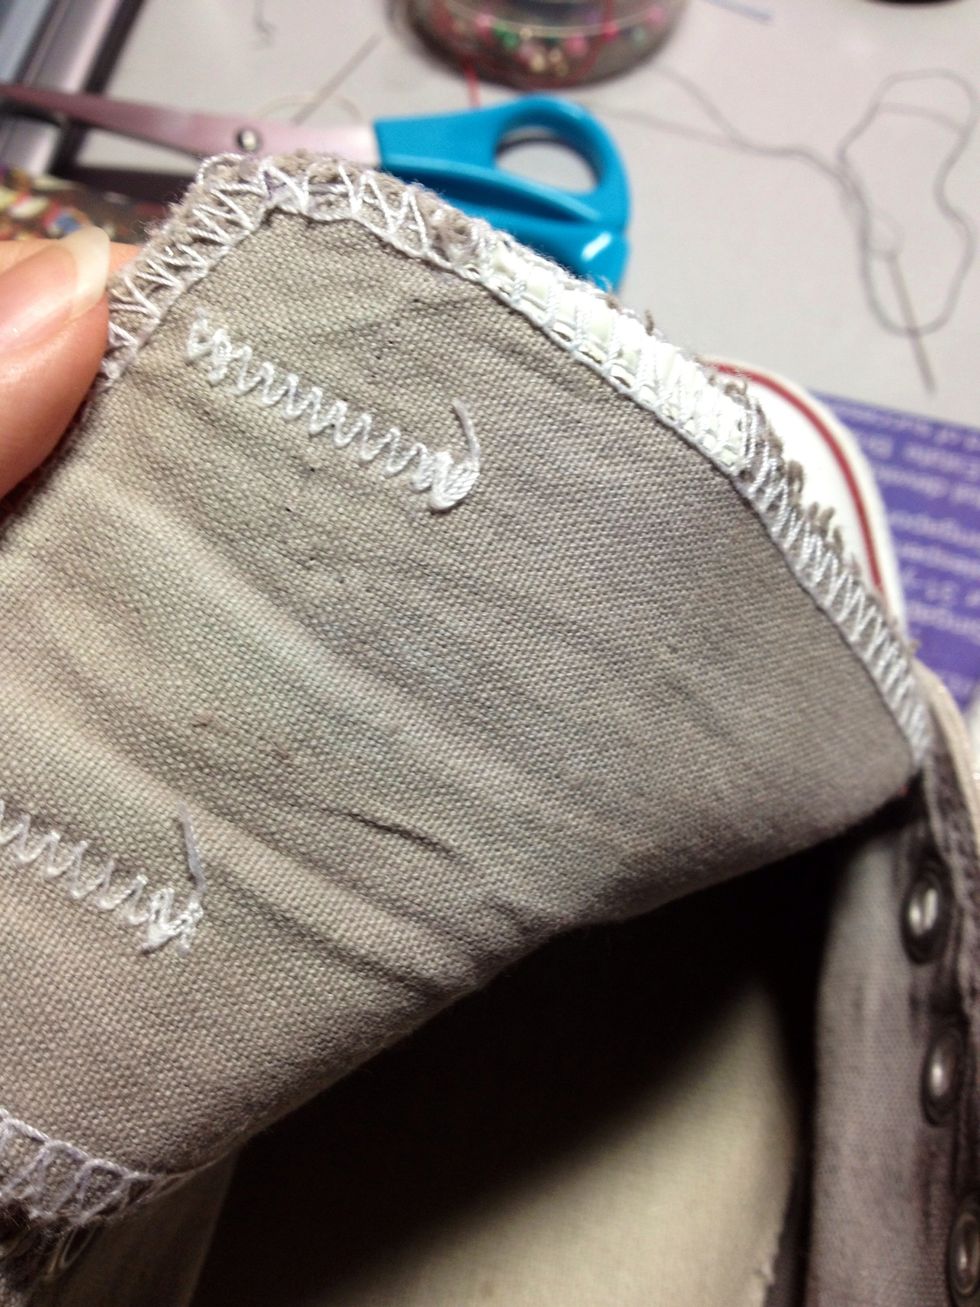
Instead, sew the edges of the flap to below the holes...
...like this. (See the extra thick thread?) Do so until the third hole.
This is how it should look like by the end of it.

The other side will be a bit harder because you need to pull the flap over, so it may help to mark with a chalk where you intend to sew the flap. Repeat for this side.

How it should look like by now!

Next you need to measure the amount of elastic you need for your ankle. Ideally it should be as tight as Mary-janes. Cut two pieces of elastic, of equal length, for both sides of the shoes.
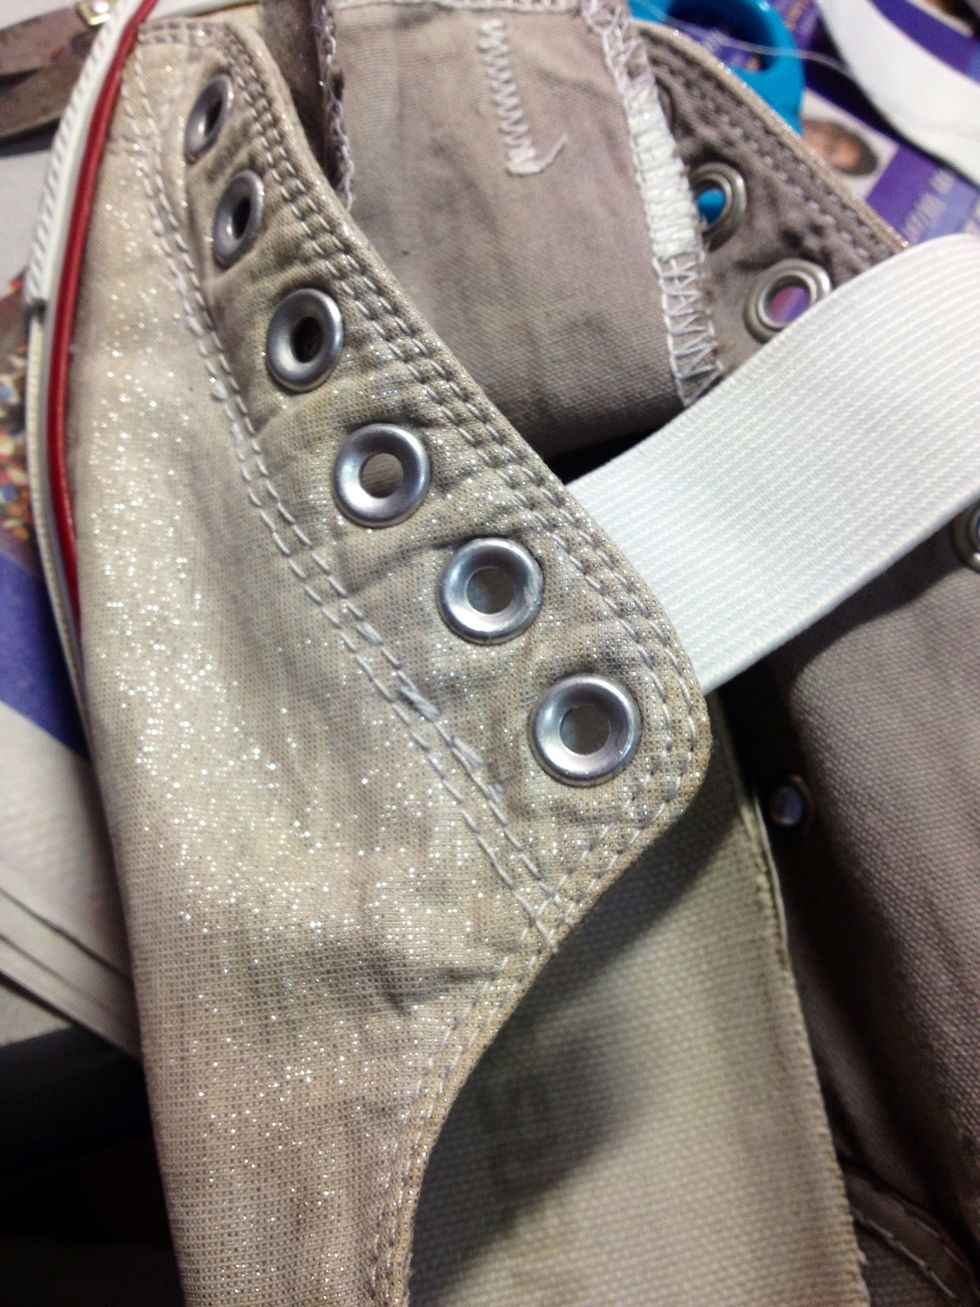
Sew it along the seams of the shoes (if you can see carefully- below the holes)

The first time round I did it it was too loose, as you can see here. When I walk my foot comes out.
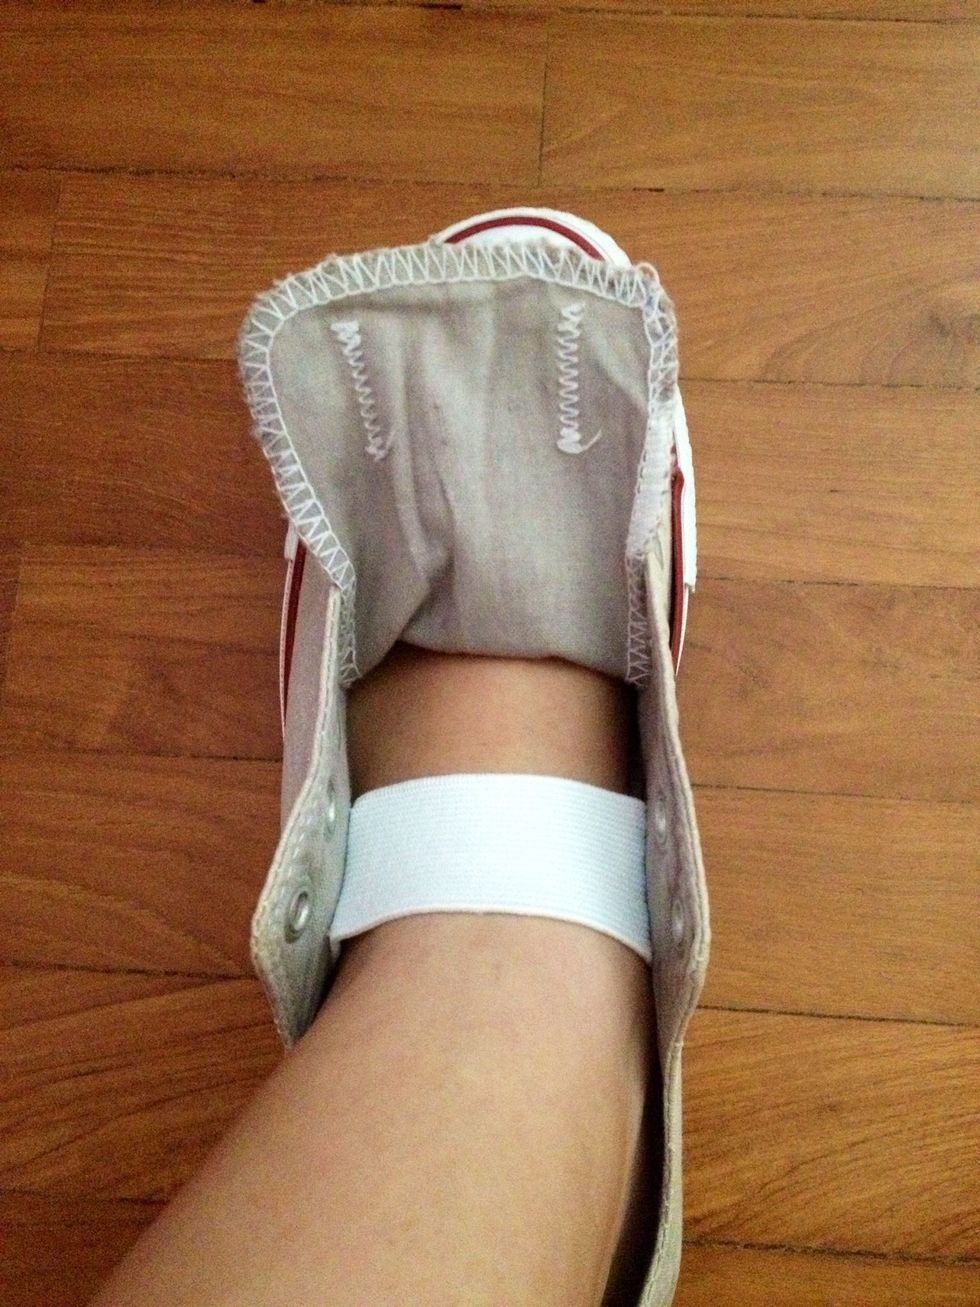
This was much better, tight like mary-janes.

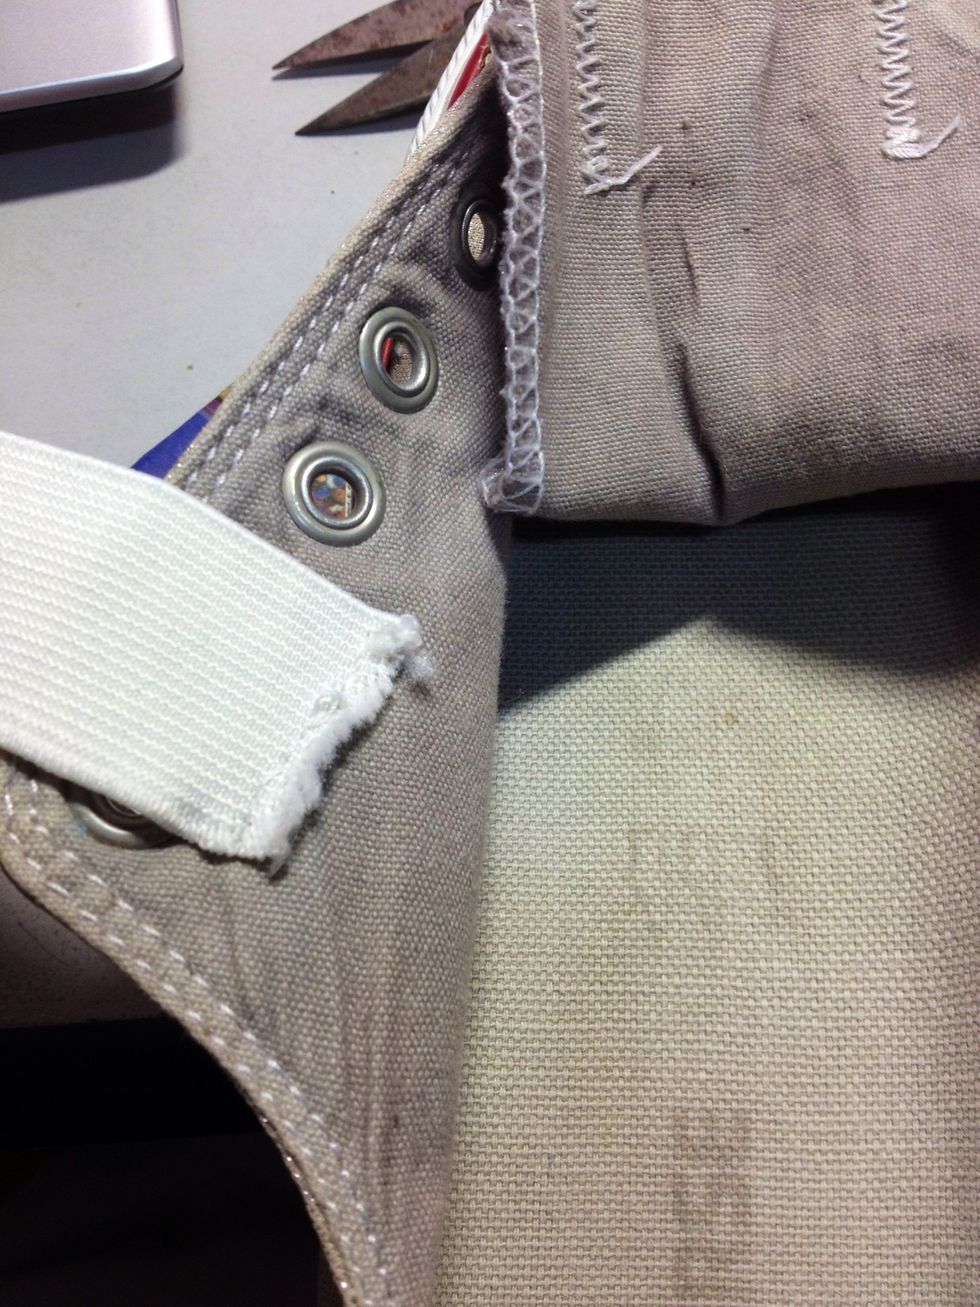
Next sew both edges of the flap to the elastic band (as seen above).
Repeat all of the steps, except cutting elastic pieces, for the right side of the shoe.
Say hello to your newly-revamped pair of shoes!! No need for laces.
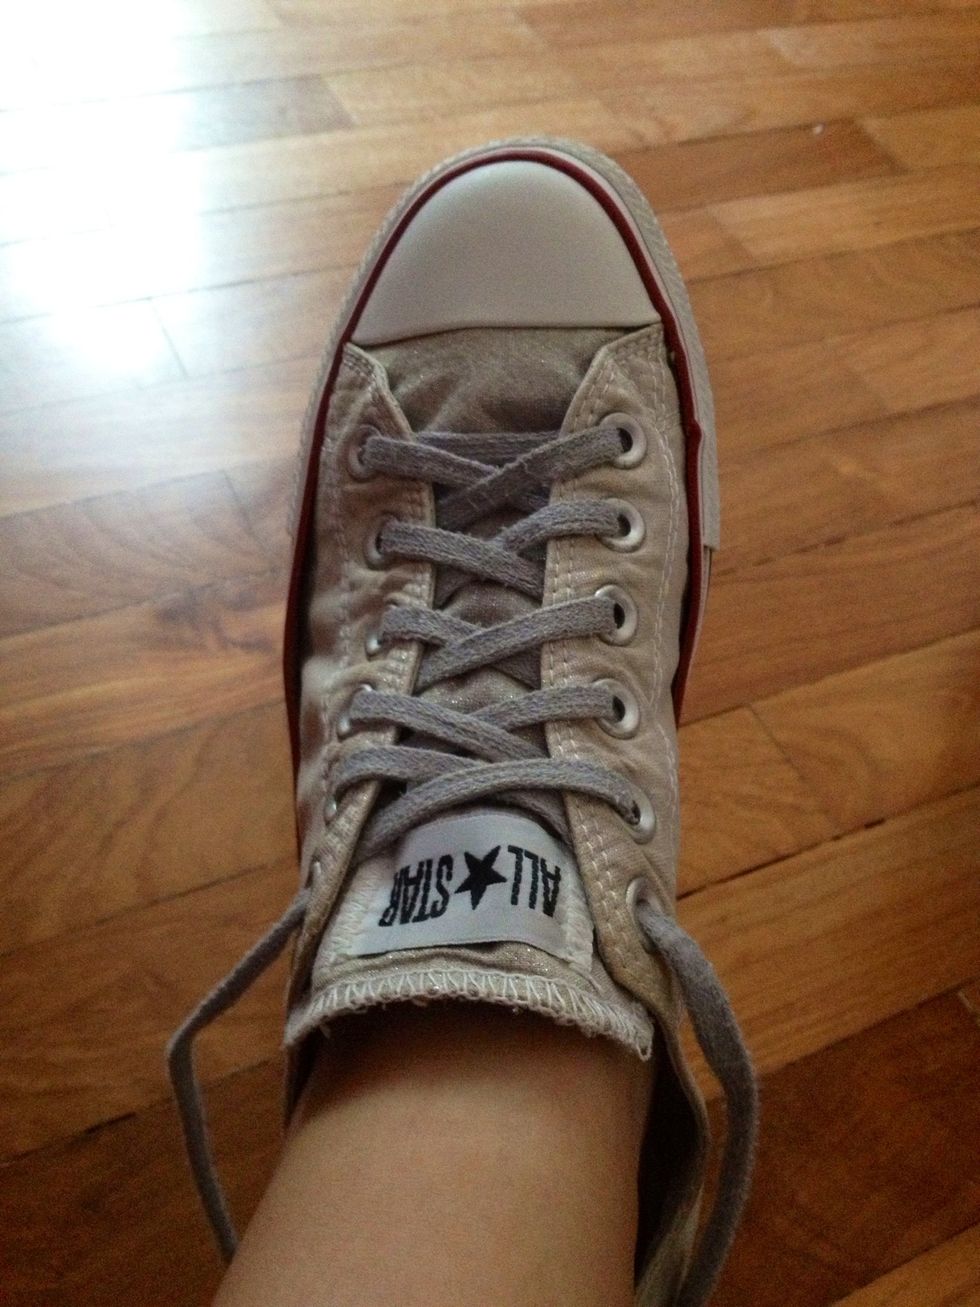
The reason why I said not to sew down the holes- you can easily lace up your shoes if you need to! And this project would have helped to keep the shoe in good shape as well.