The Conversation (0)
Sign Up
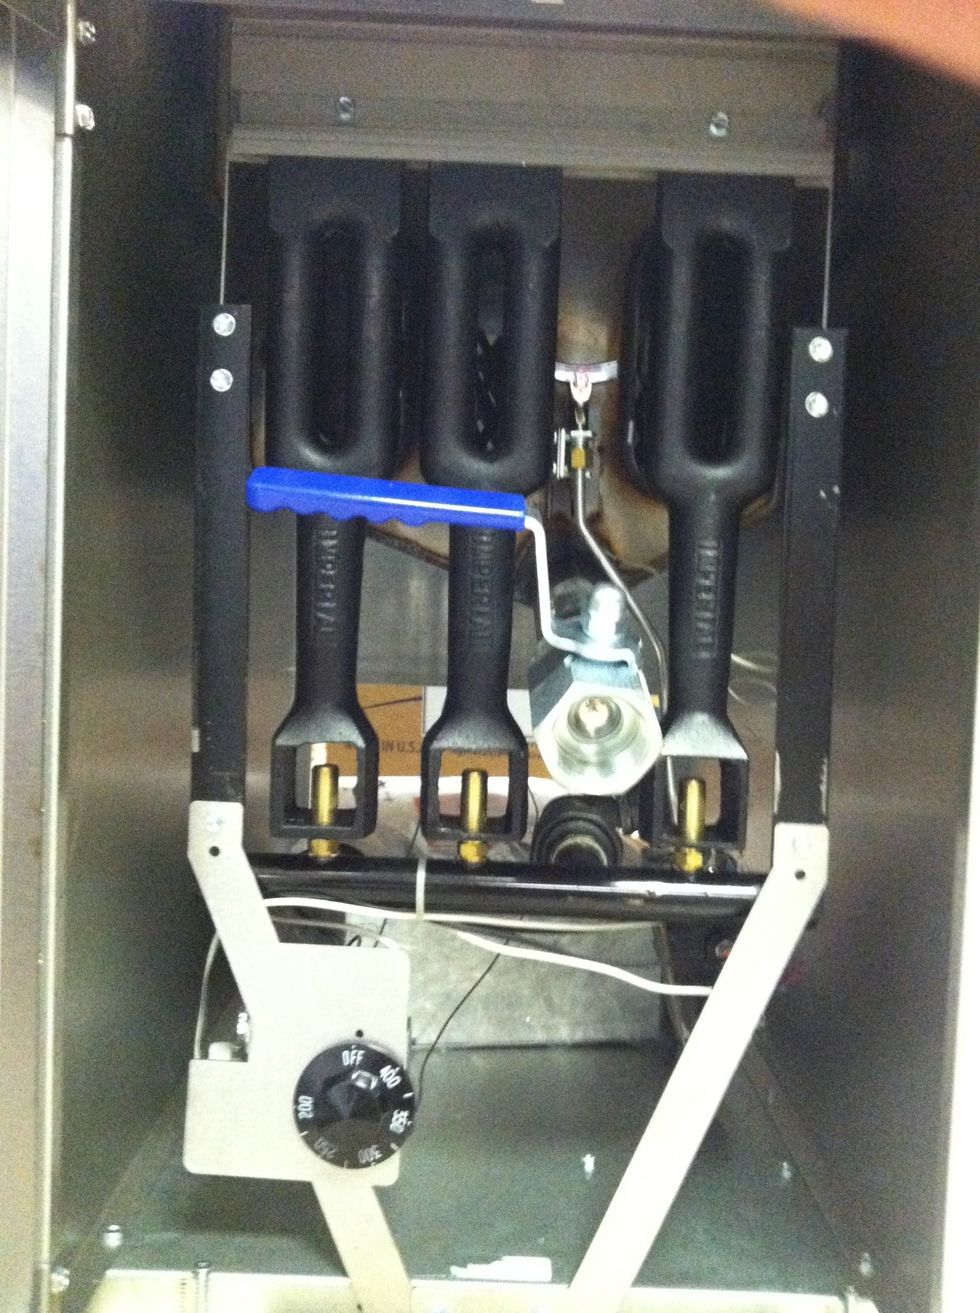
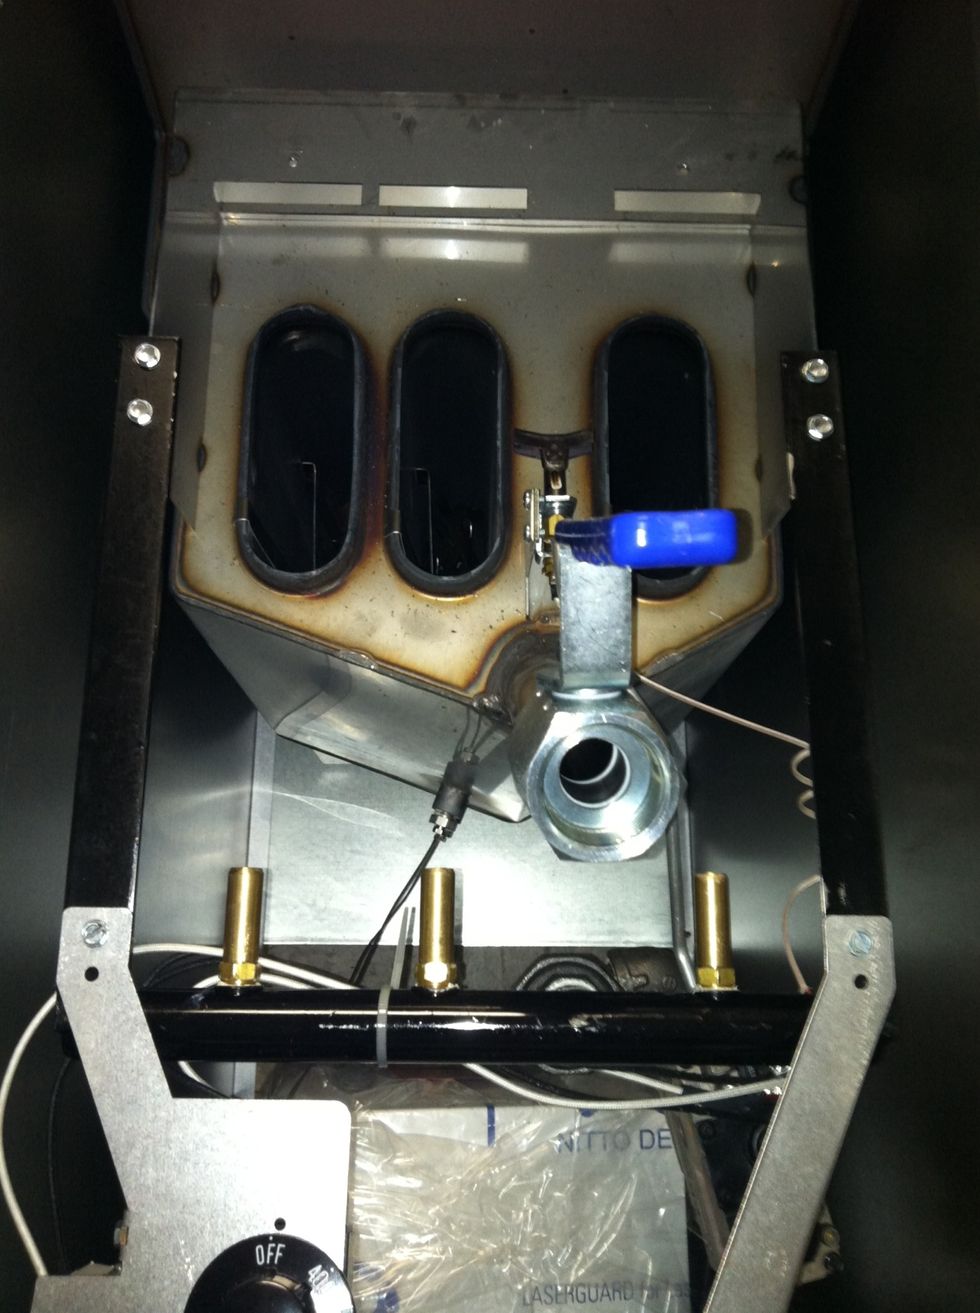
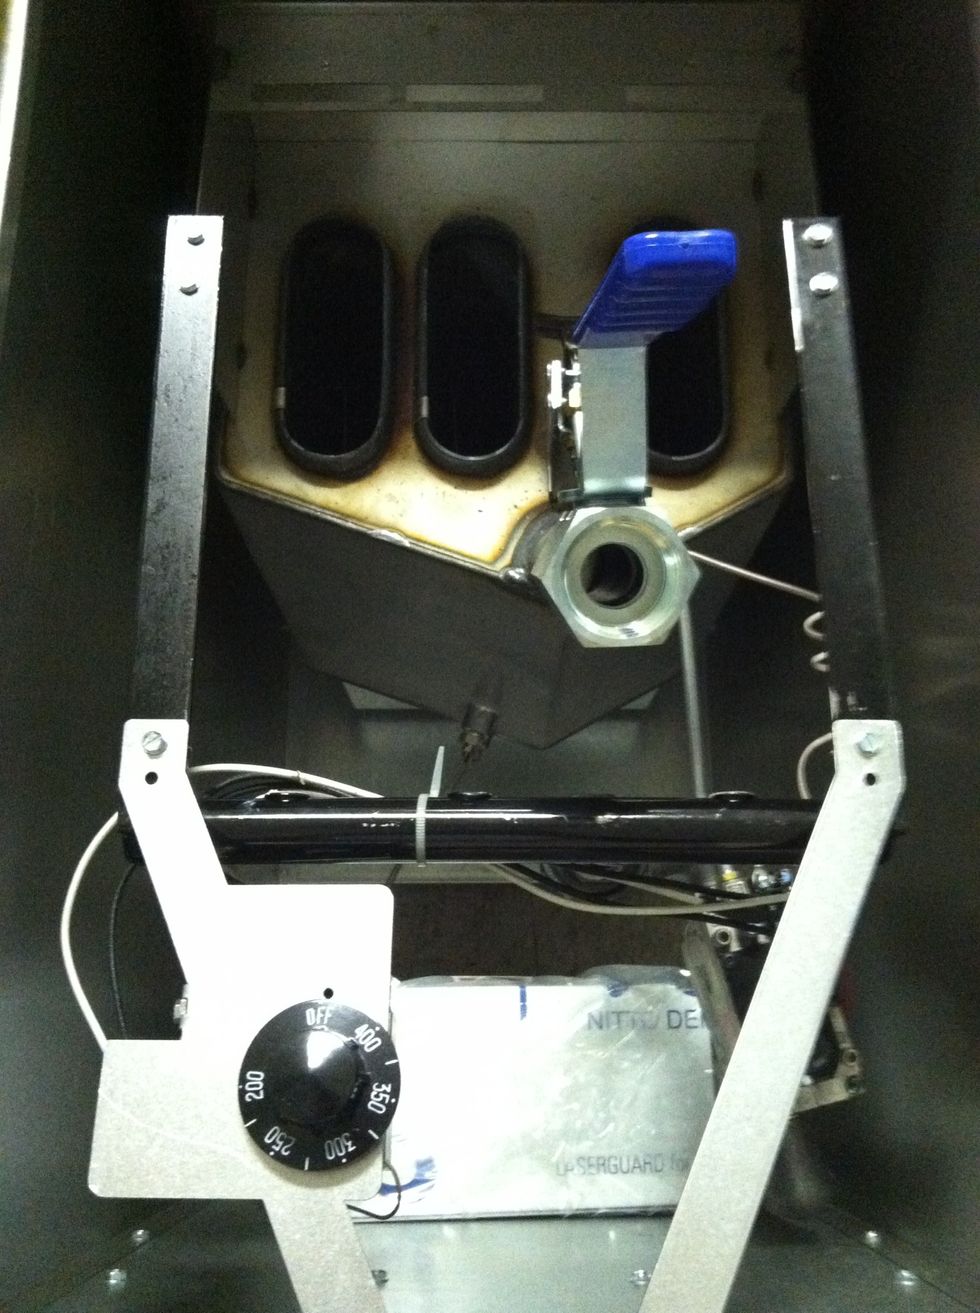
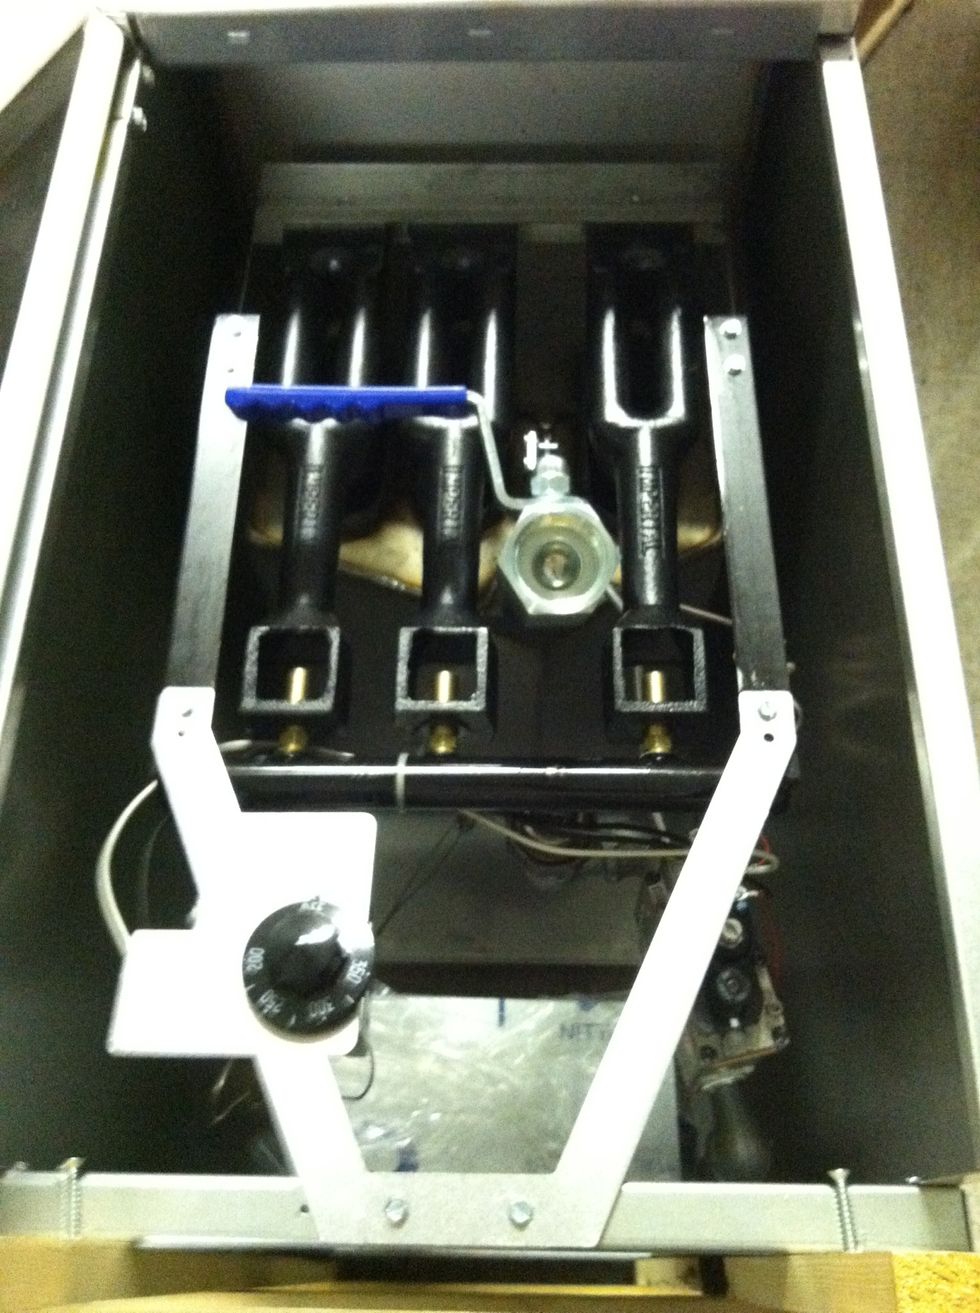
Open the bottom door of the fryer. This is what you should see.
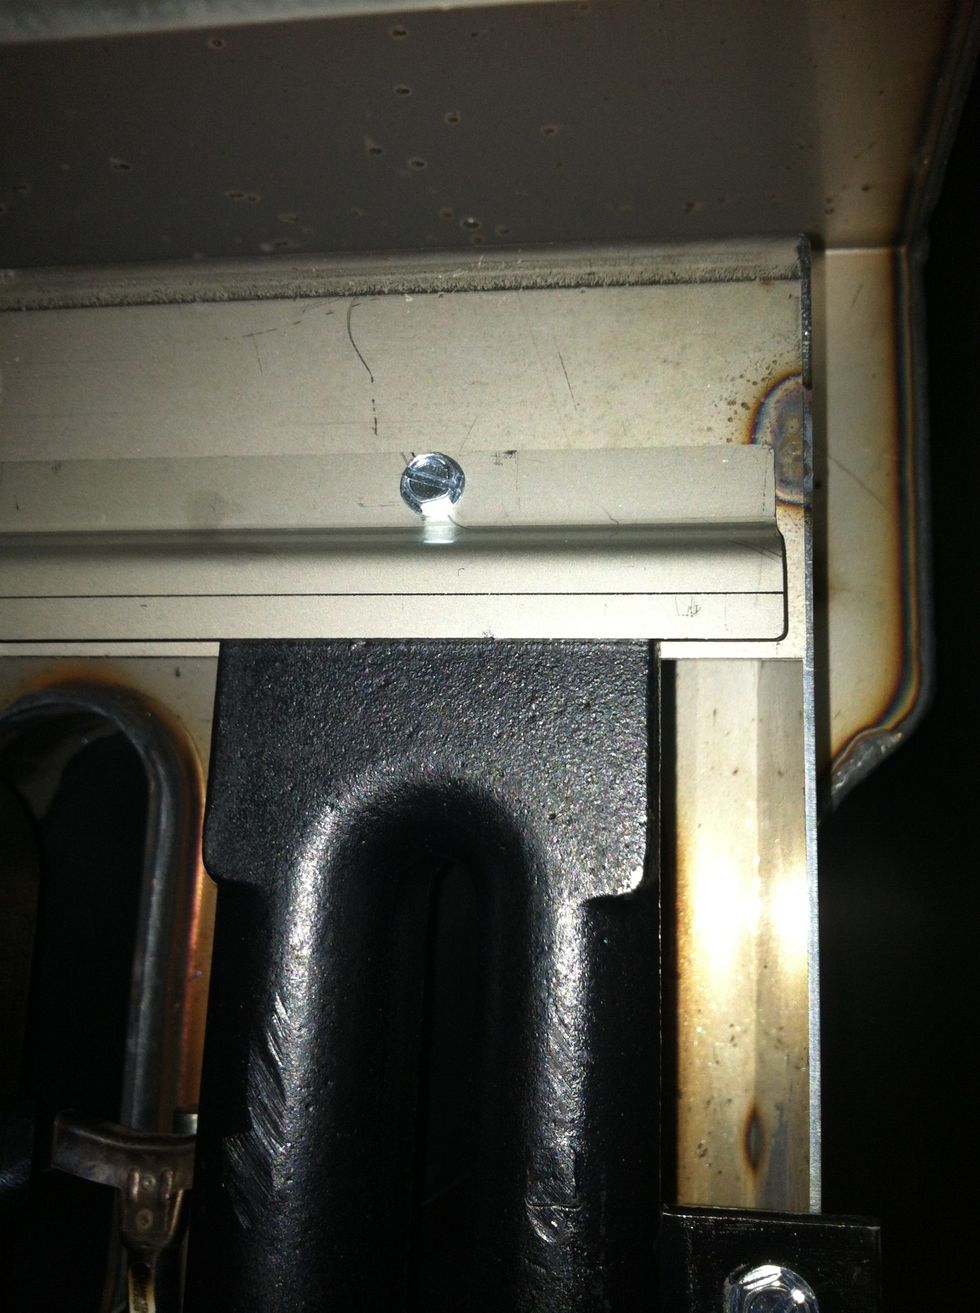
Loosen both of the screws above the burners using a 5/16 wrench or nut driver
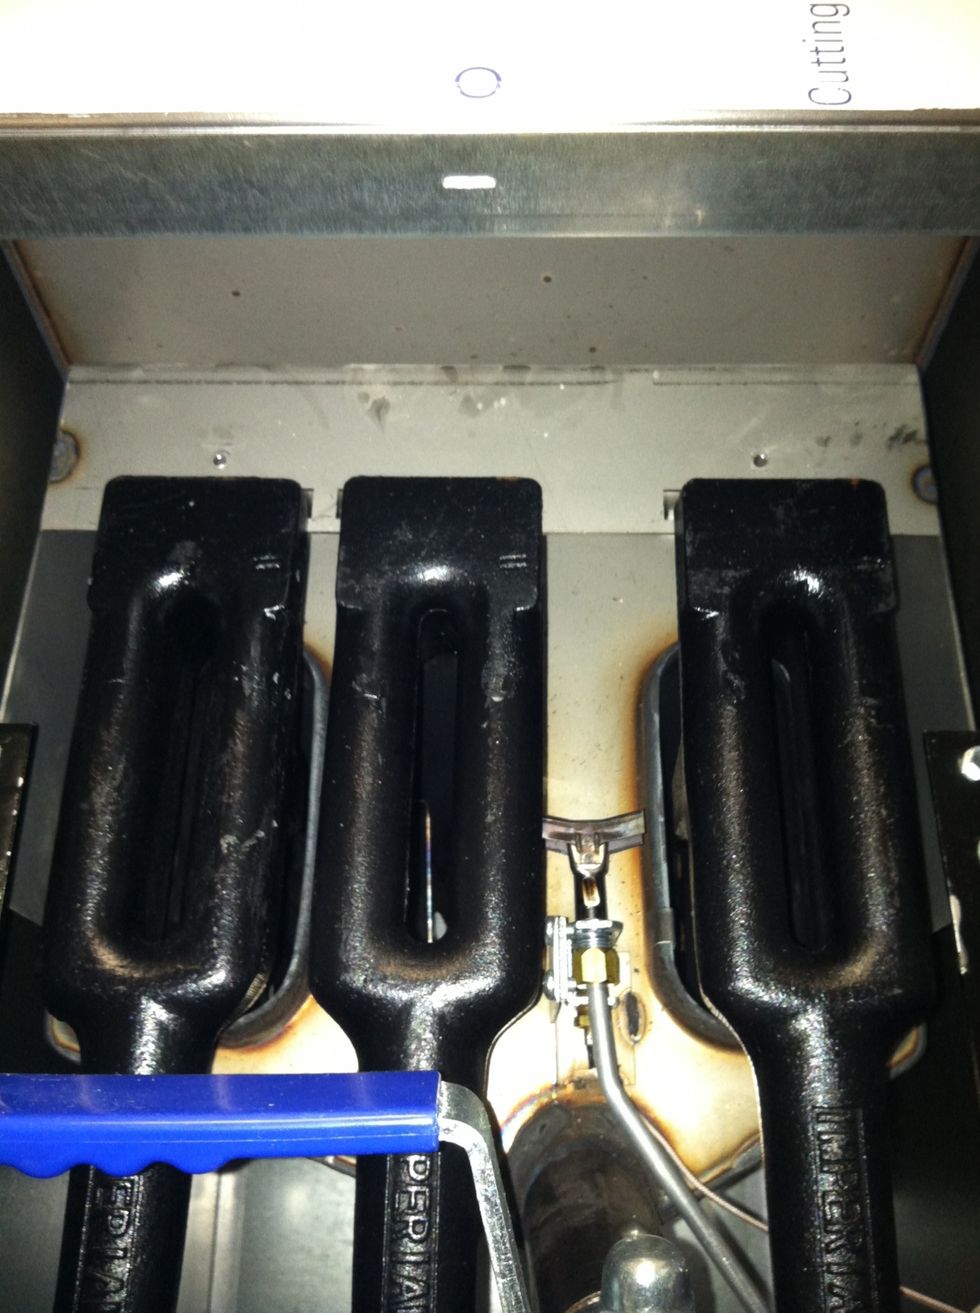
Remove the top plate that was secured by the screws
Remove the burners
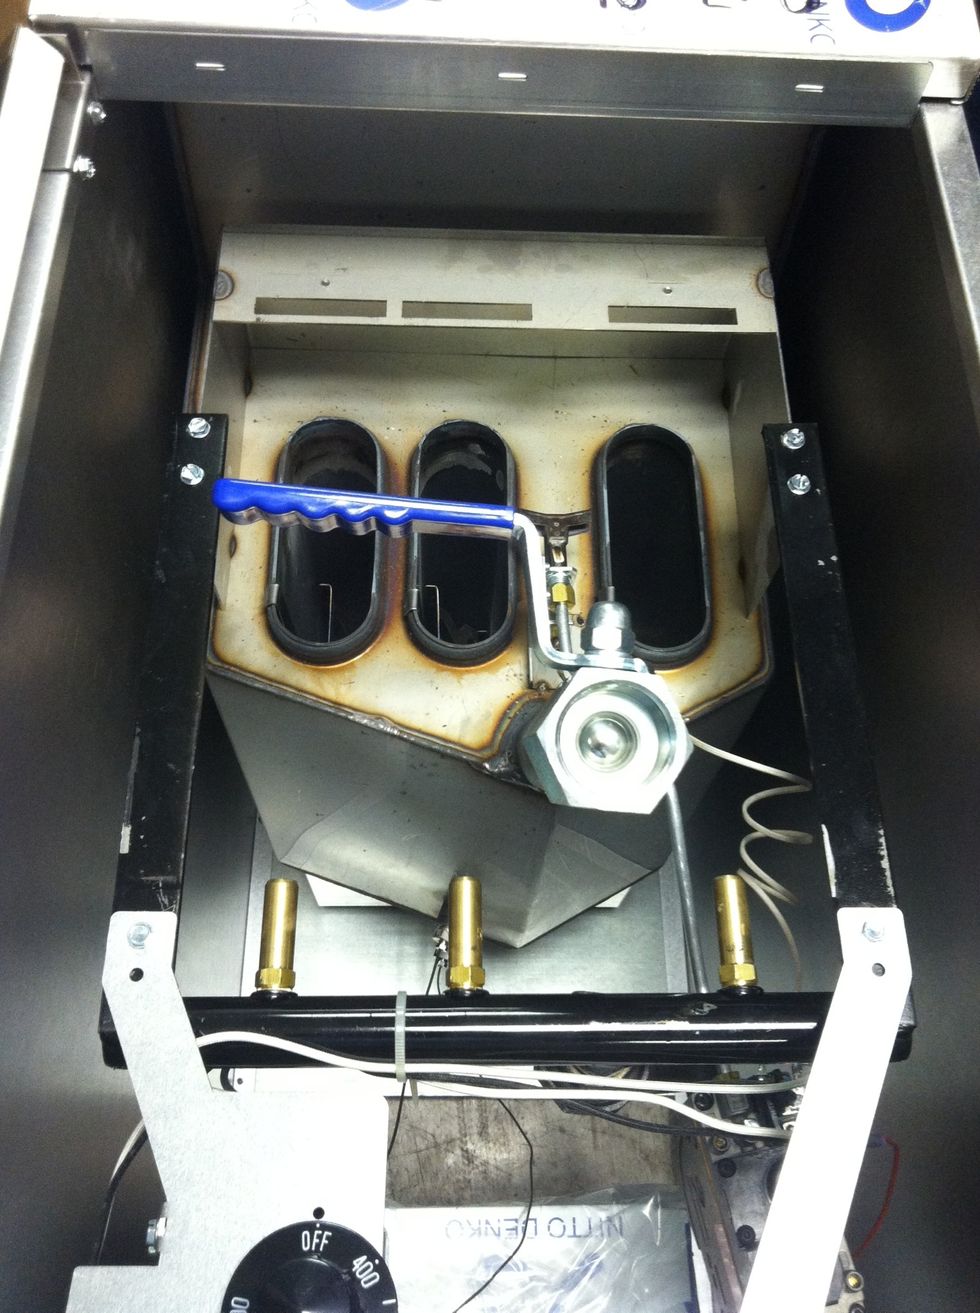
Open the drain valve with the blue handle

Place a screwdriver into the drain to prevent any material from falling inside

Use a 9/16 inch wrench to remove the orifice
Repeat for the remaining two orifices. This is how the unit should look.

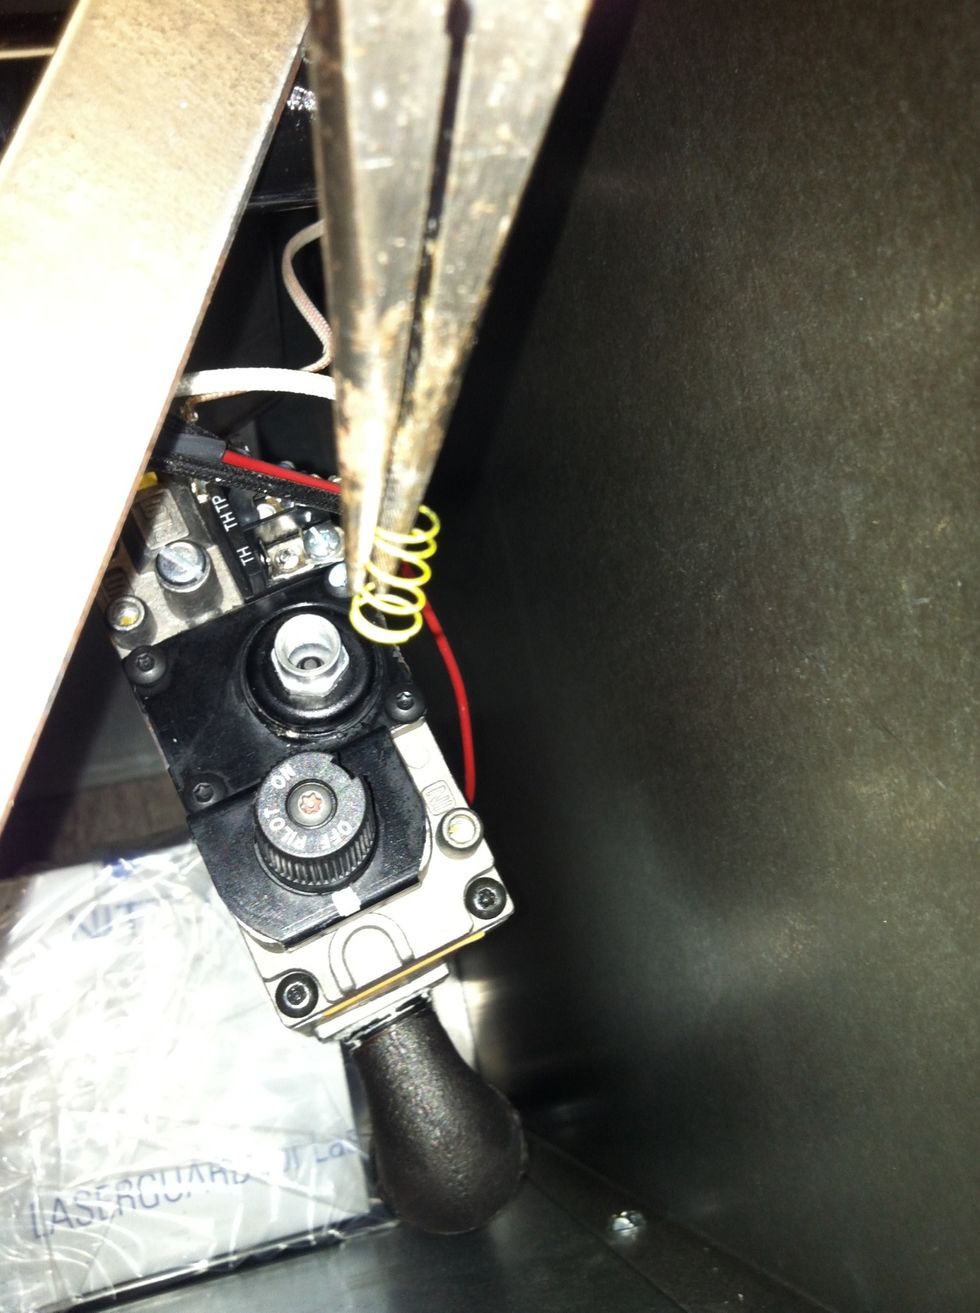
Use a 1/2 inch wrench to loosen the nut under the pilot assembly
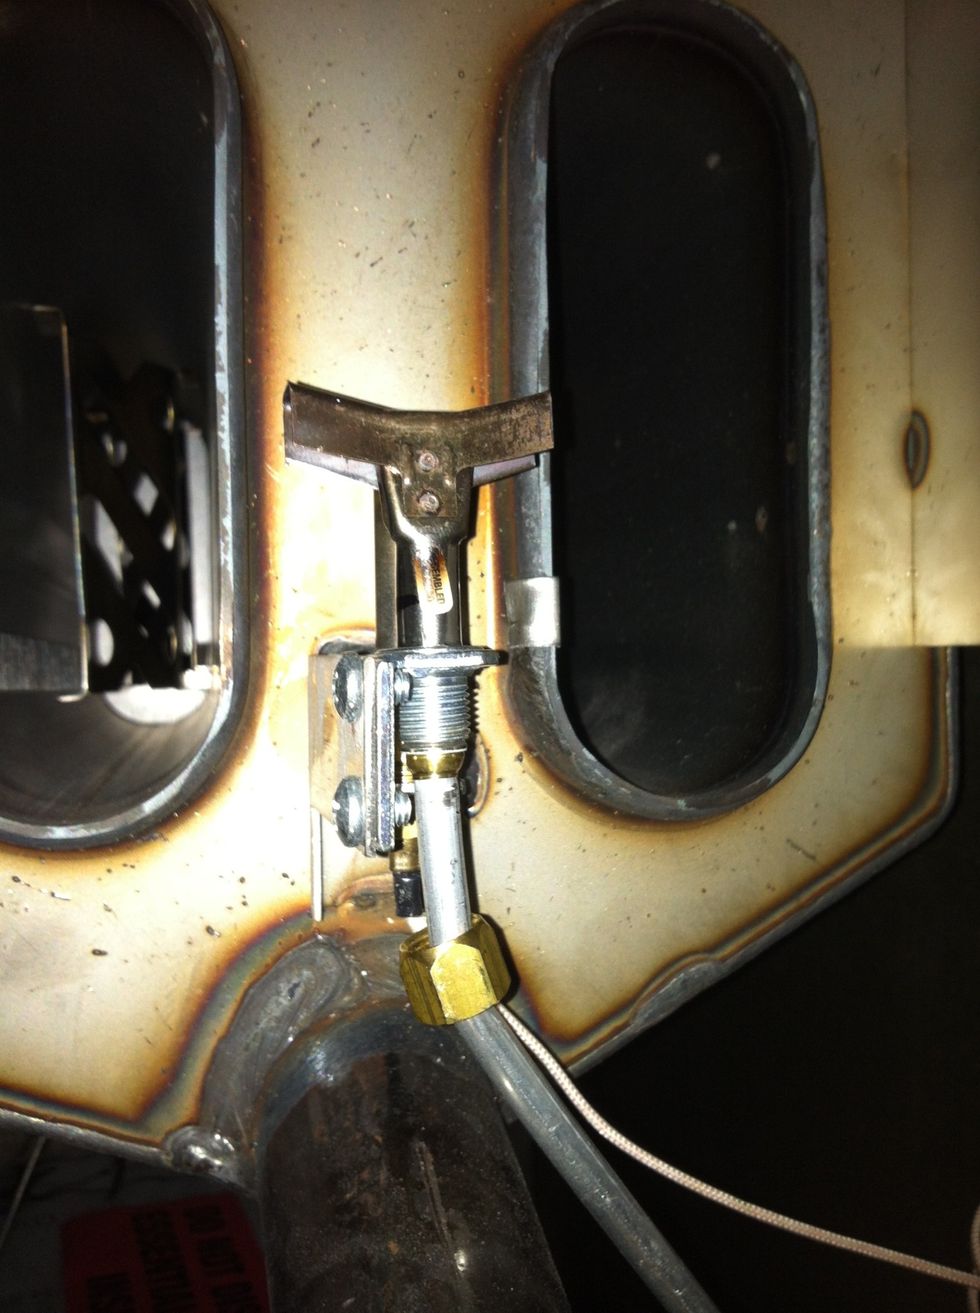
Slide to nut down

Use a Phillips screwdriver to remove the two screws that secure the pilot assembly to the bracket
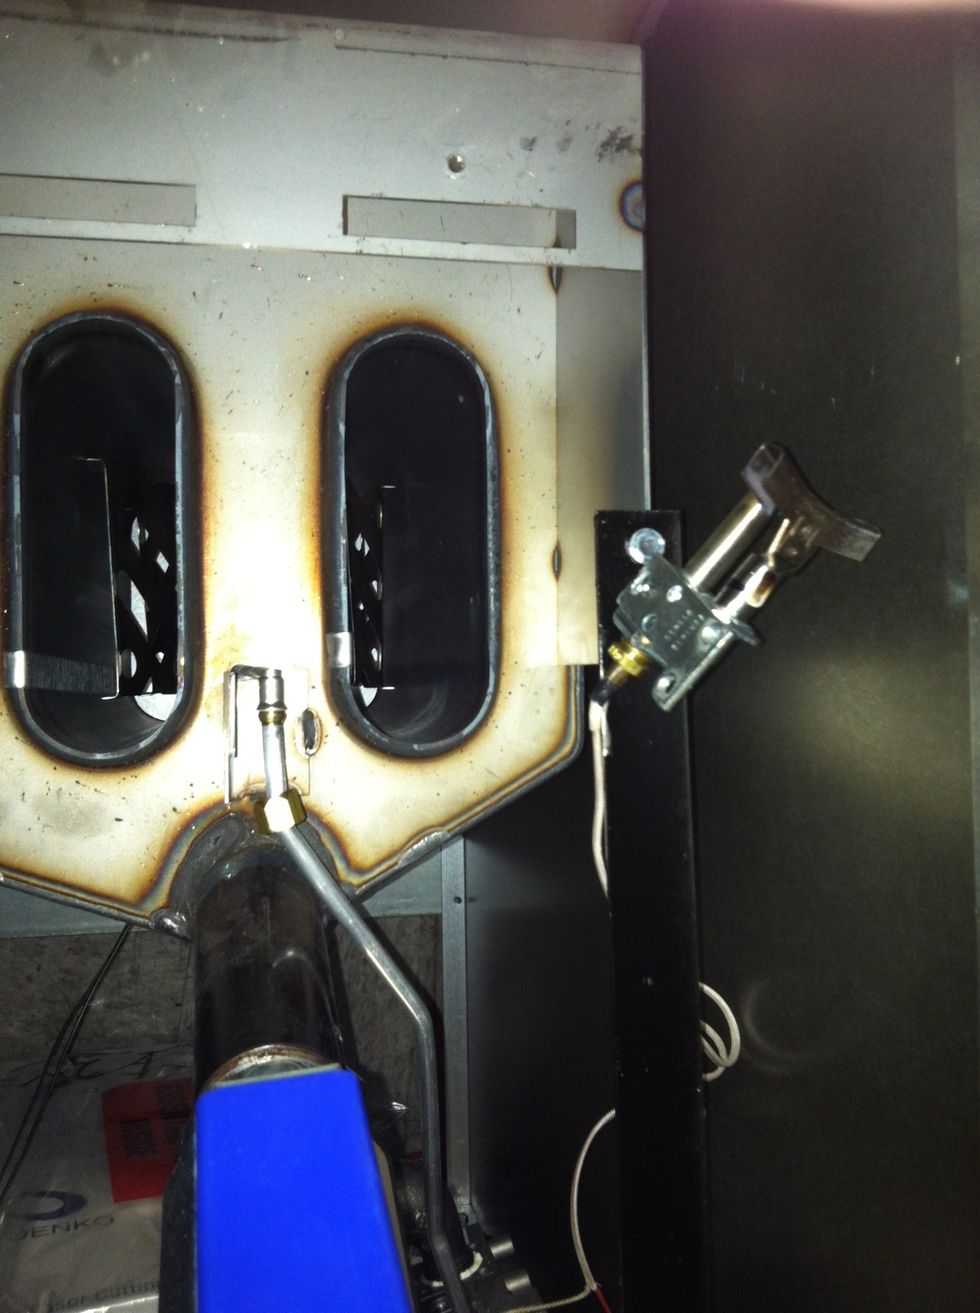
Carefully moved the pilot assembly off to the side
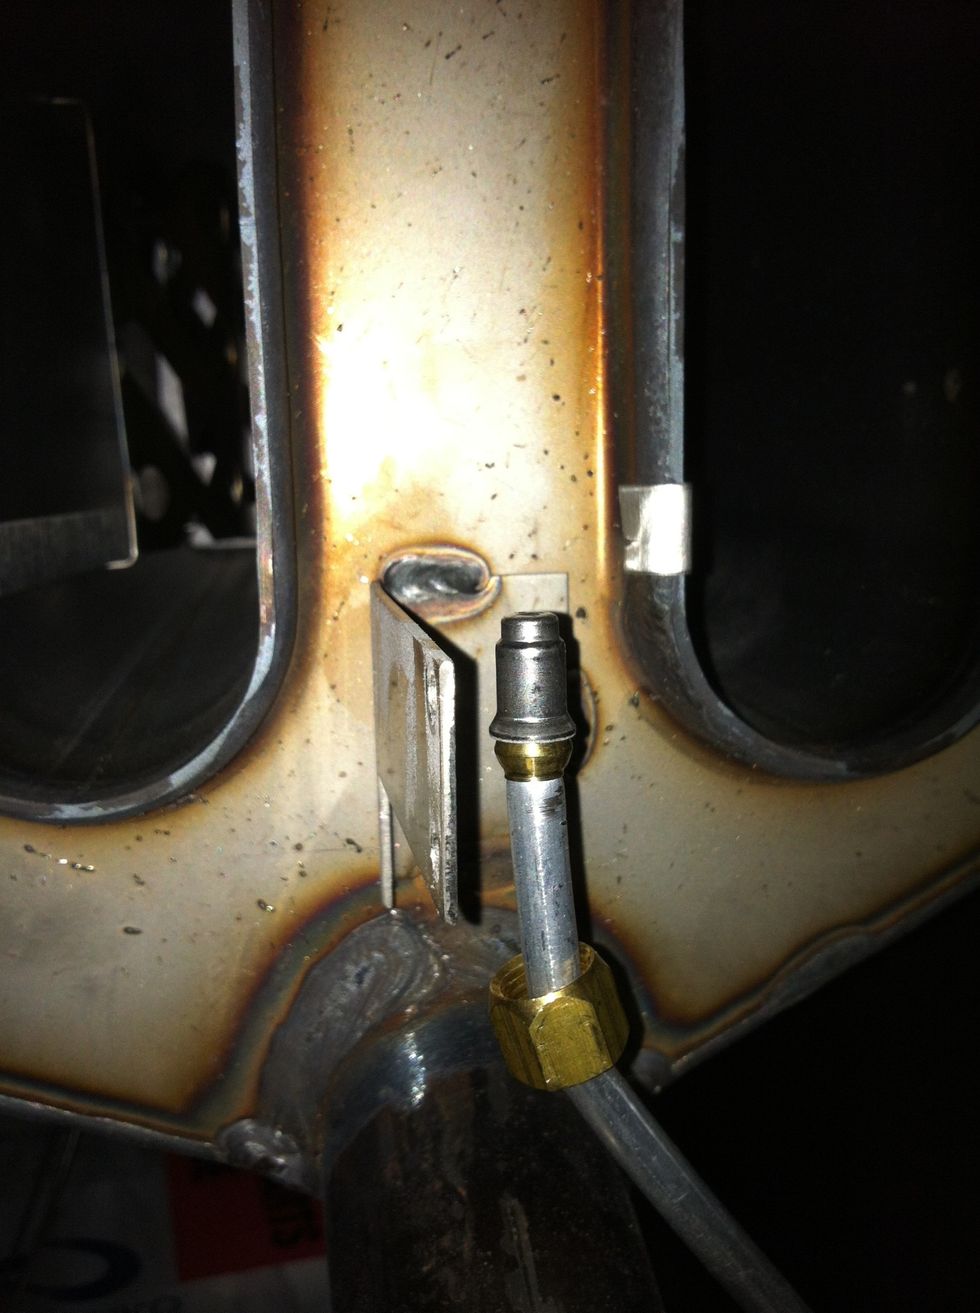
This is the pilot burner orifice. Carefully remove this without using any tools
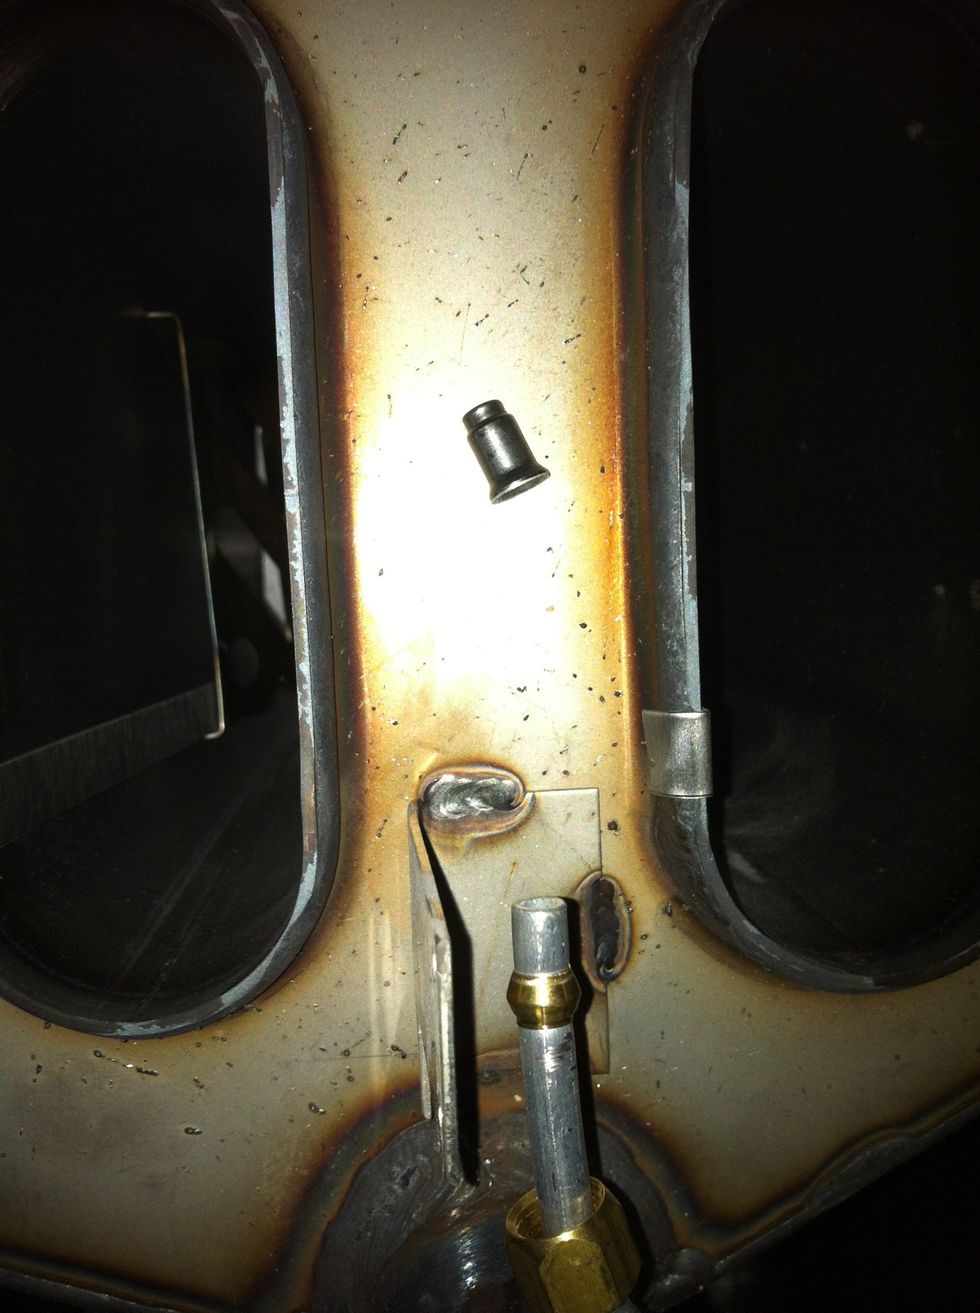
The pilot orifice simply sits right on the opening of the aluminum tube
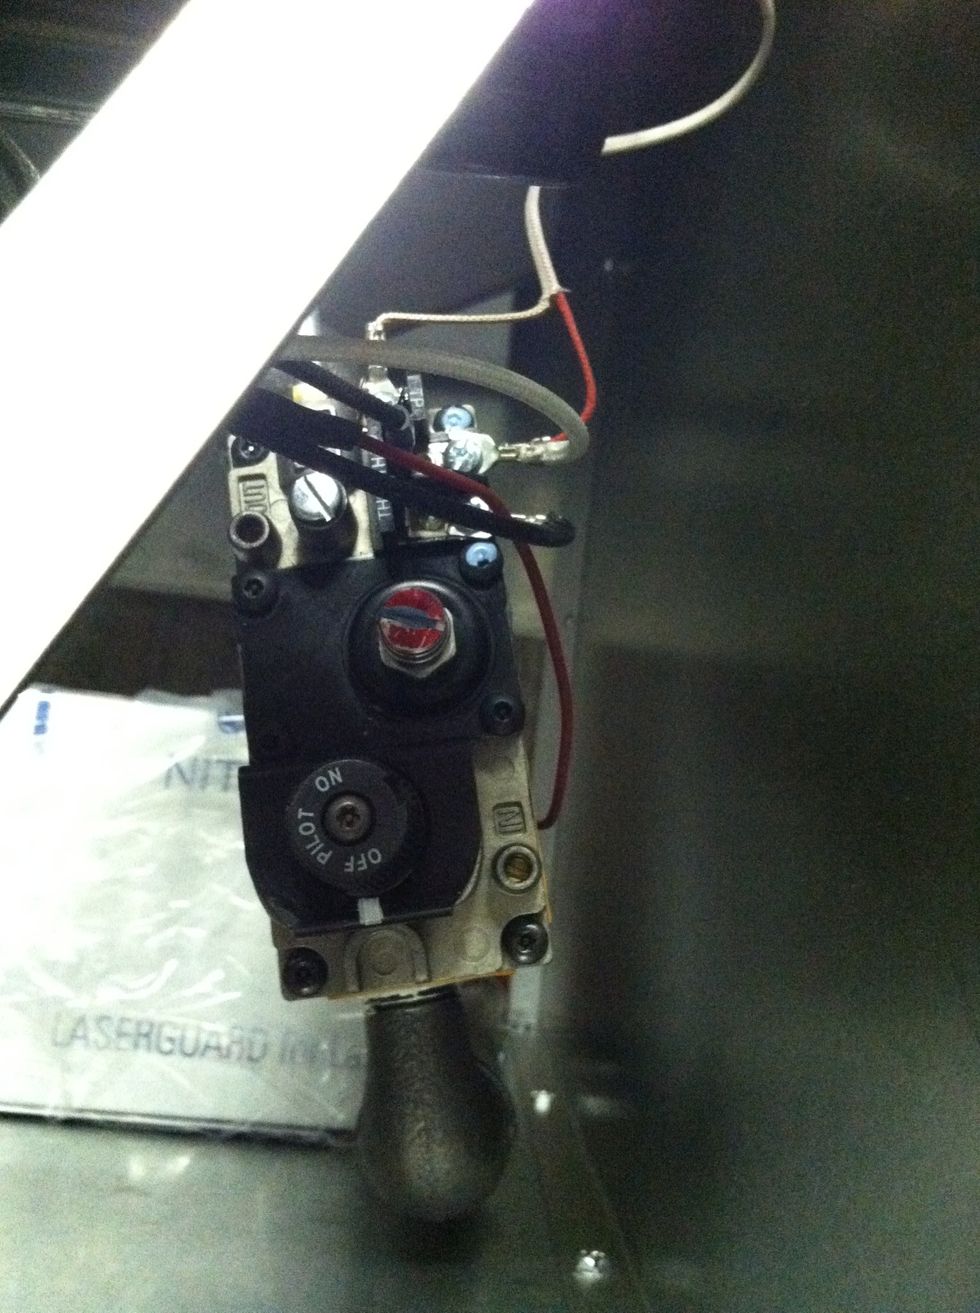
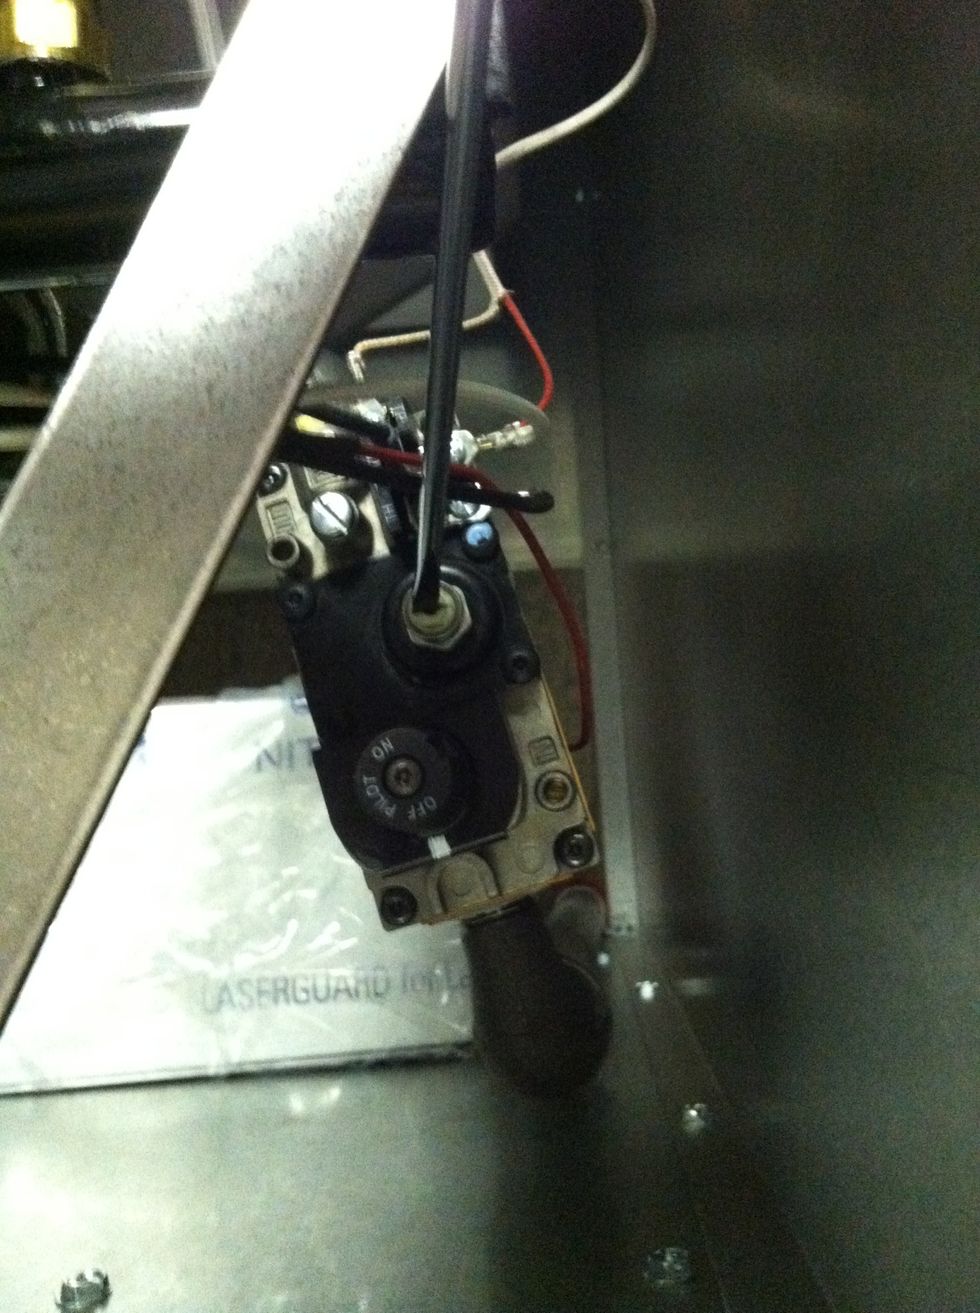
Remove the red screw on the gas valve
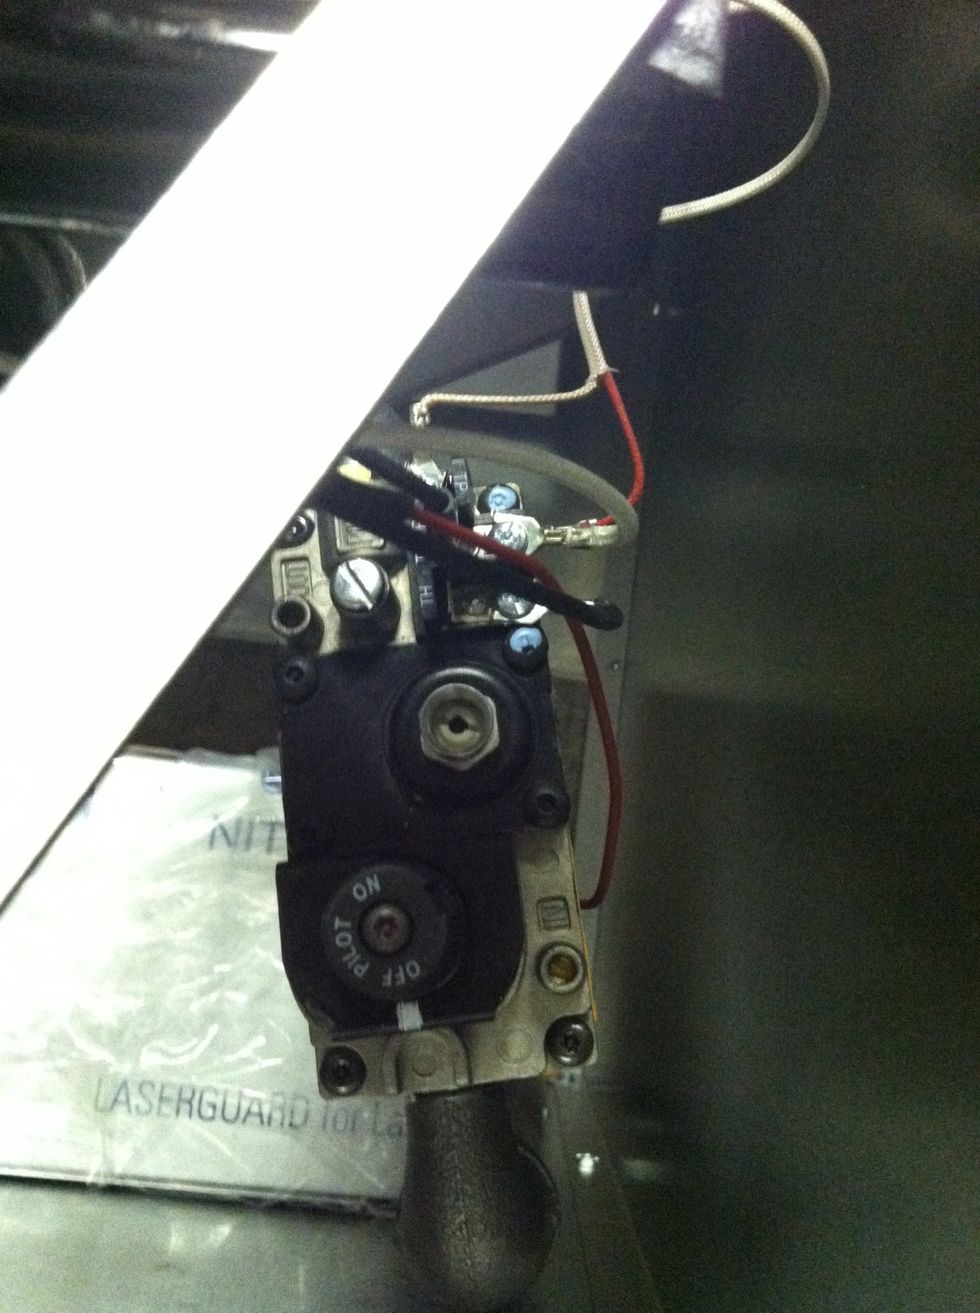
This is what you should be looking at now
Using a flat tipped screwdriver loosen the interior plastic retaining screw
Carefully remove the spring under the plastic retaining screw
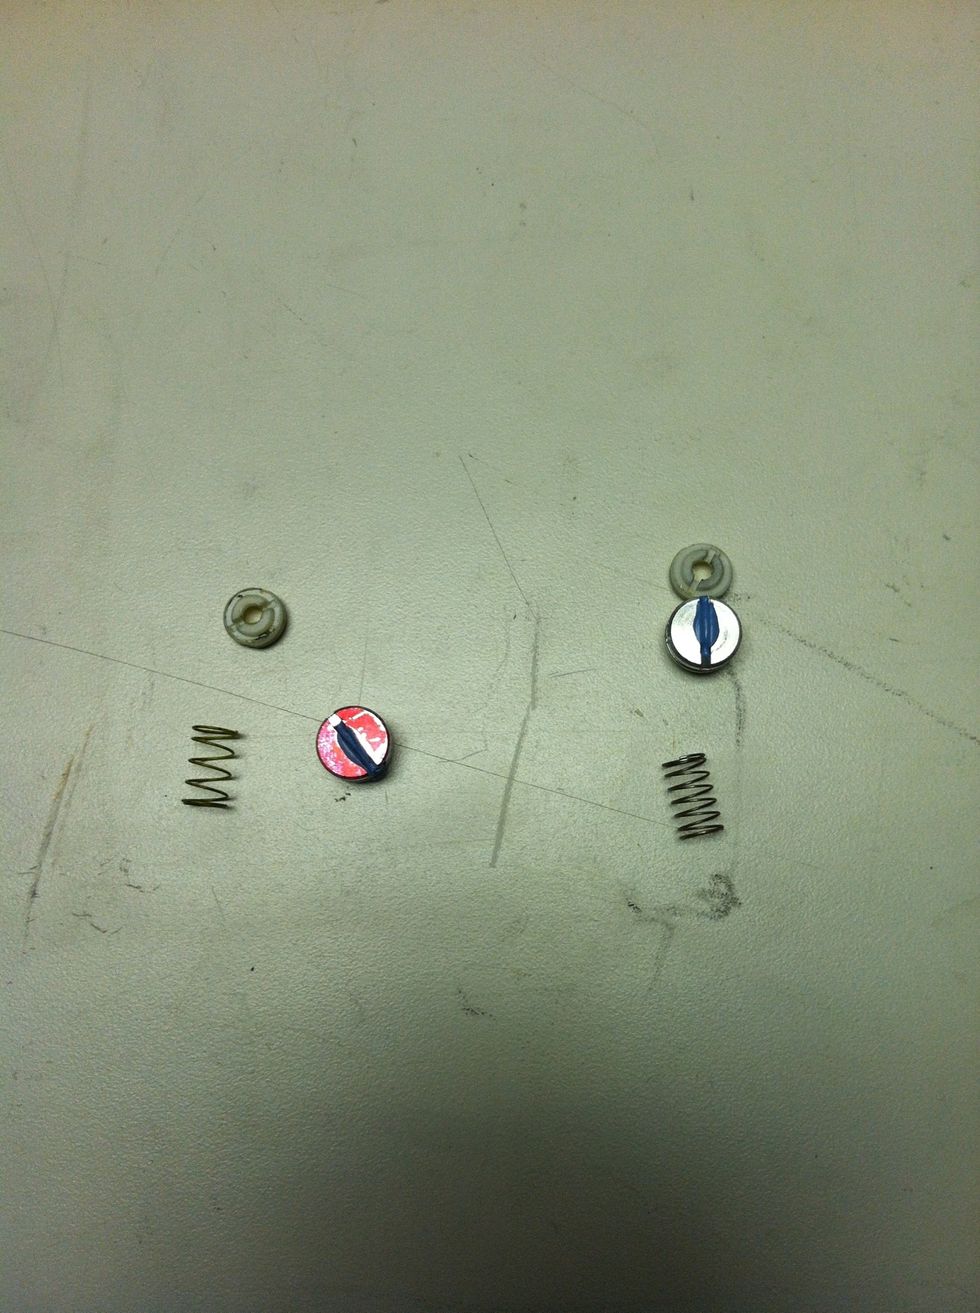
The LP parts are on the left. The natural gas parts are on the right

Replace the spring and plastic retaining screw
Replace the orifices and burner assemblies.
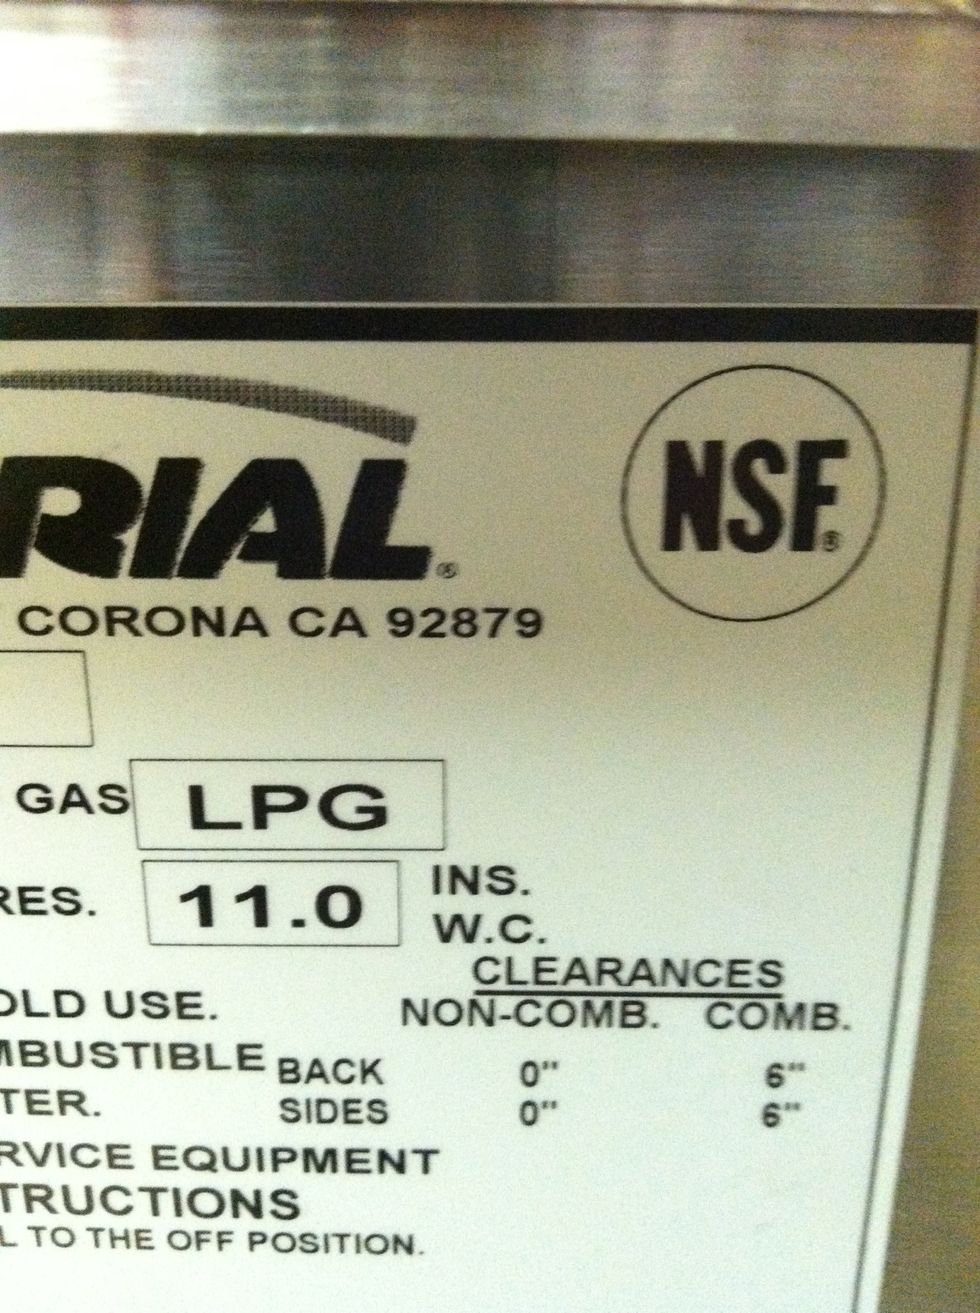
This is the data plate on the inside of the door.
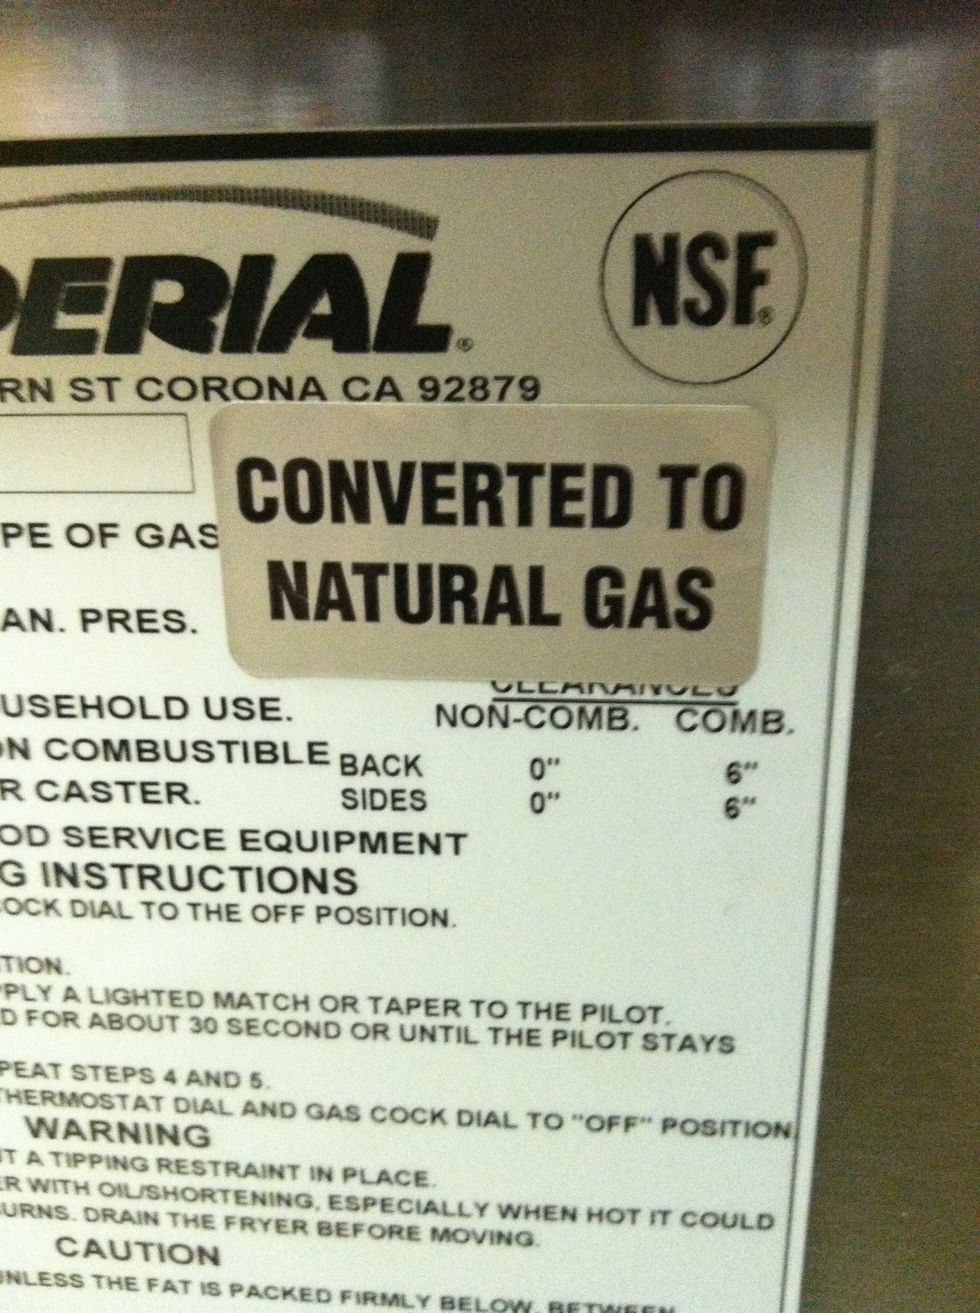
Please use the sticker provided in the kit to notate the conversion
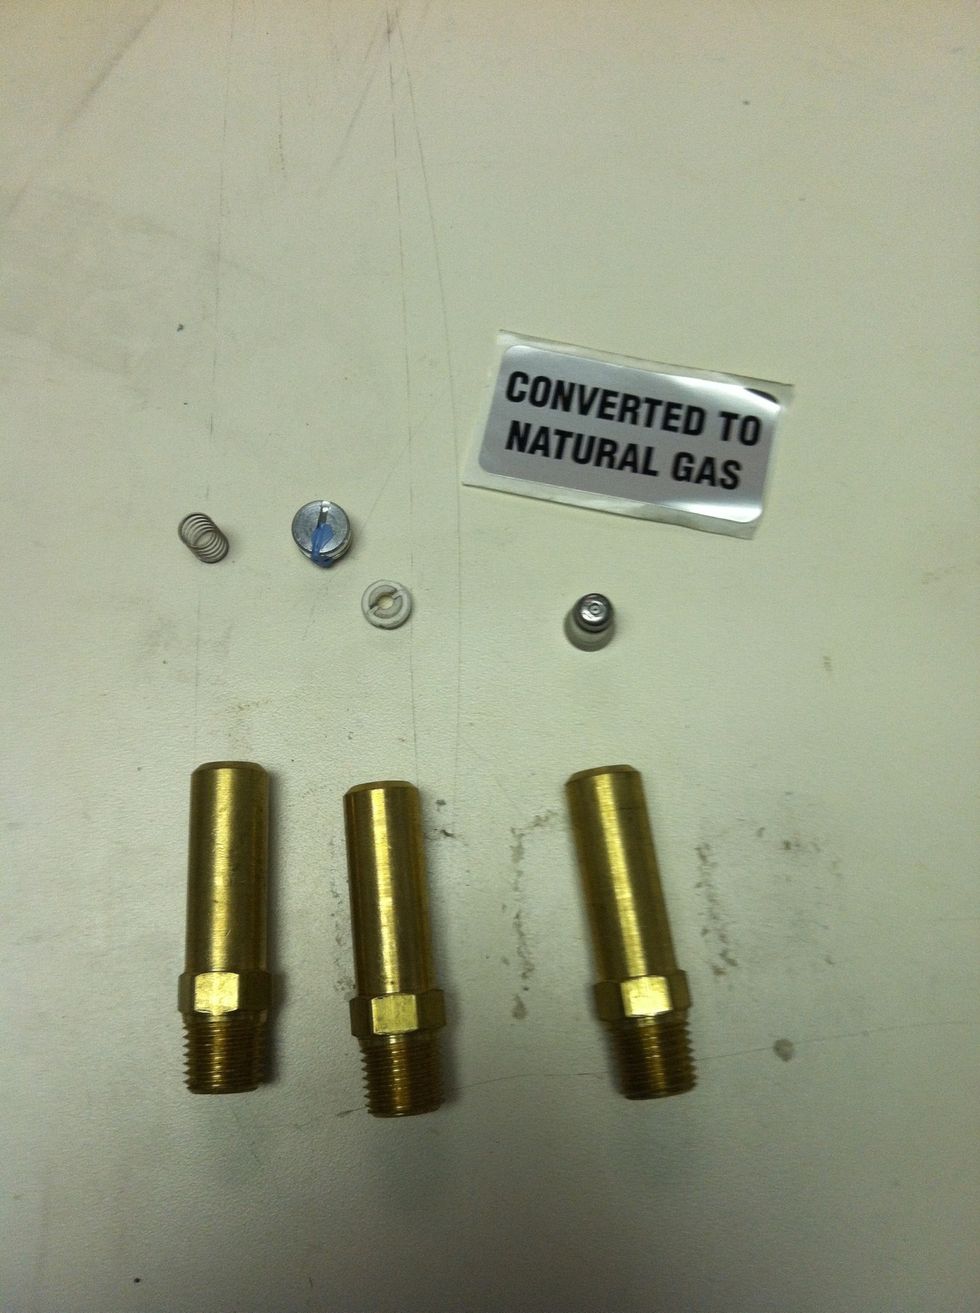
Here are the parts that are included in the conversion kit