The Conversation (0)
Sign Up
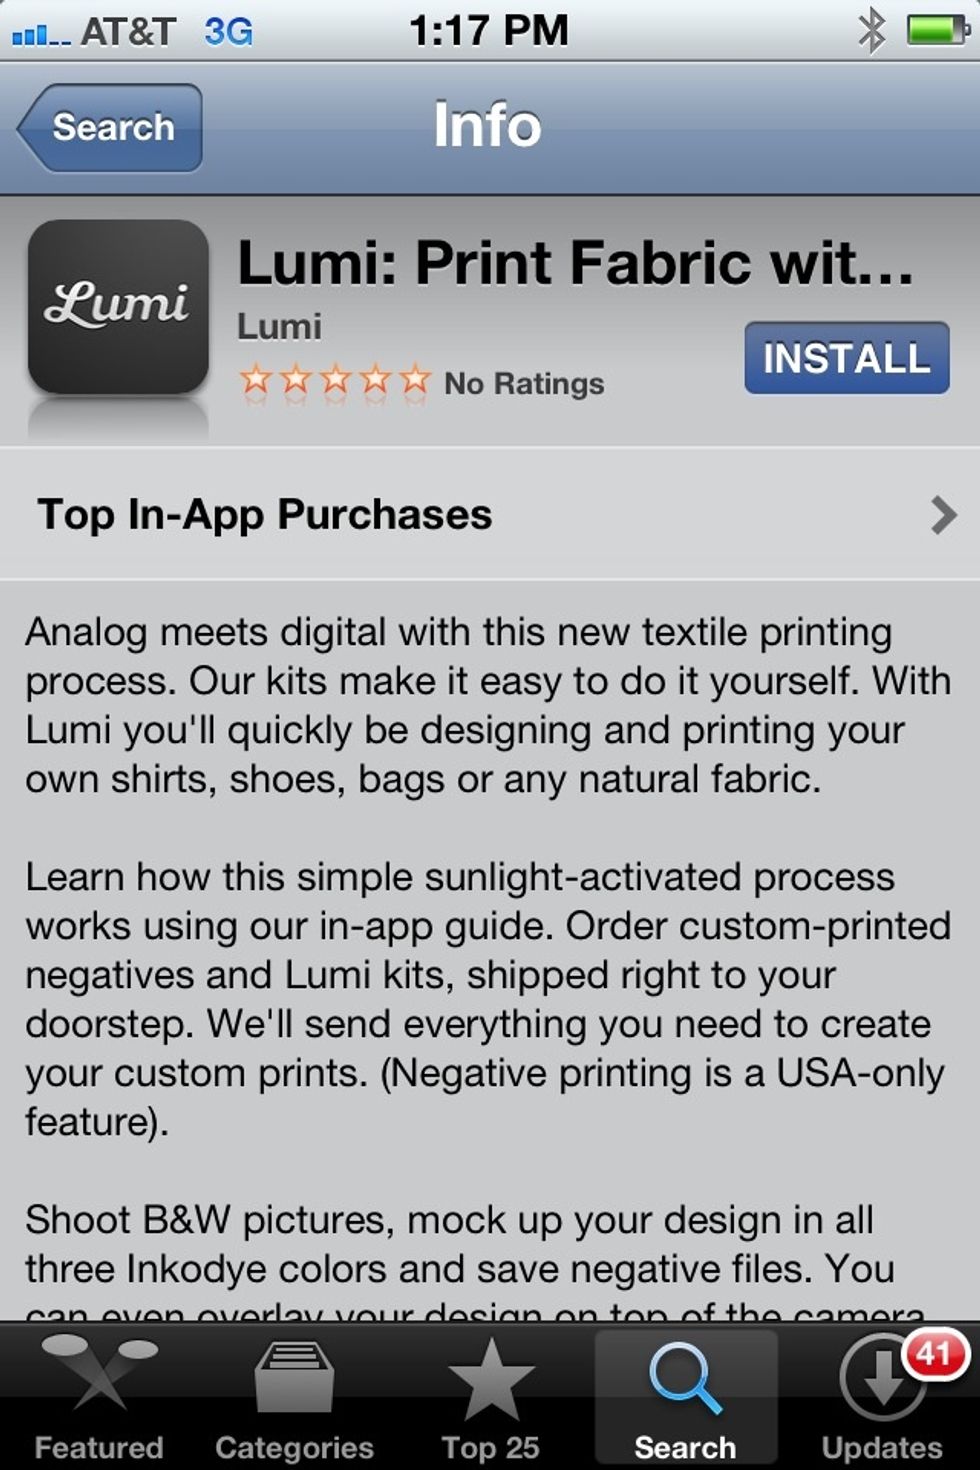
Download the Lumi app for iPhone on the App Store.
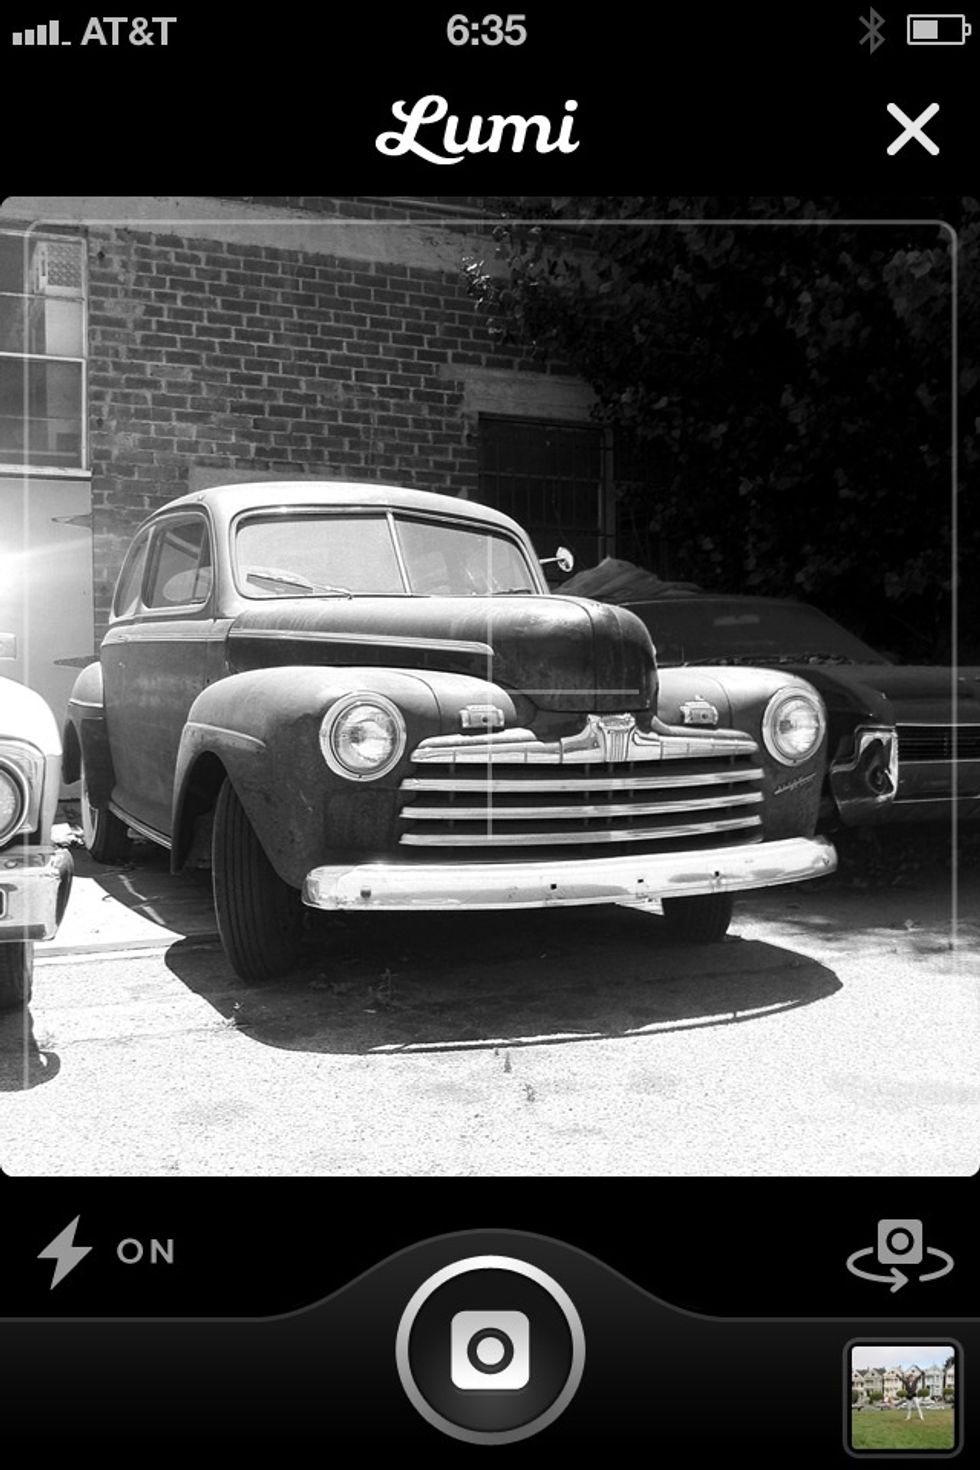
Open the app and take a picture. Or load a photo you already have on your phone.
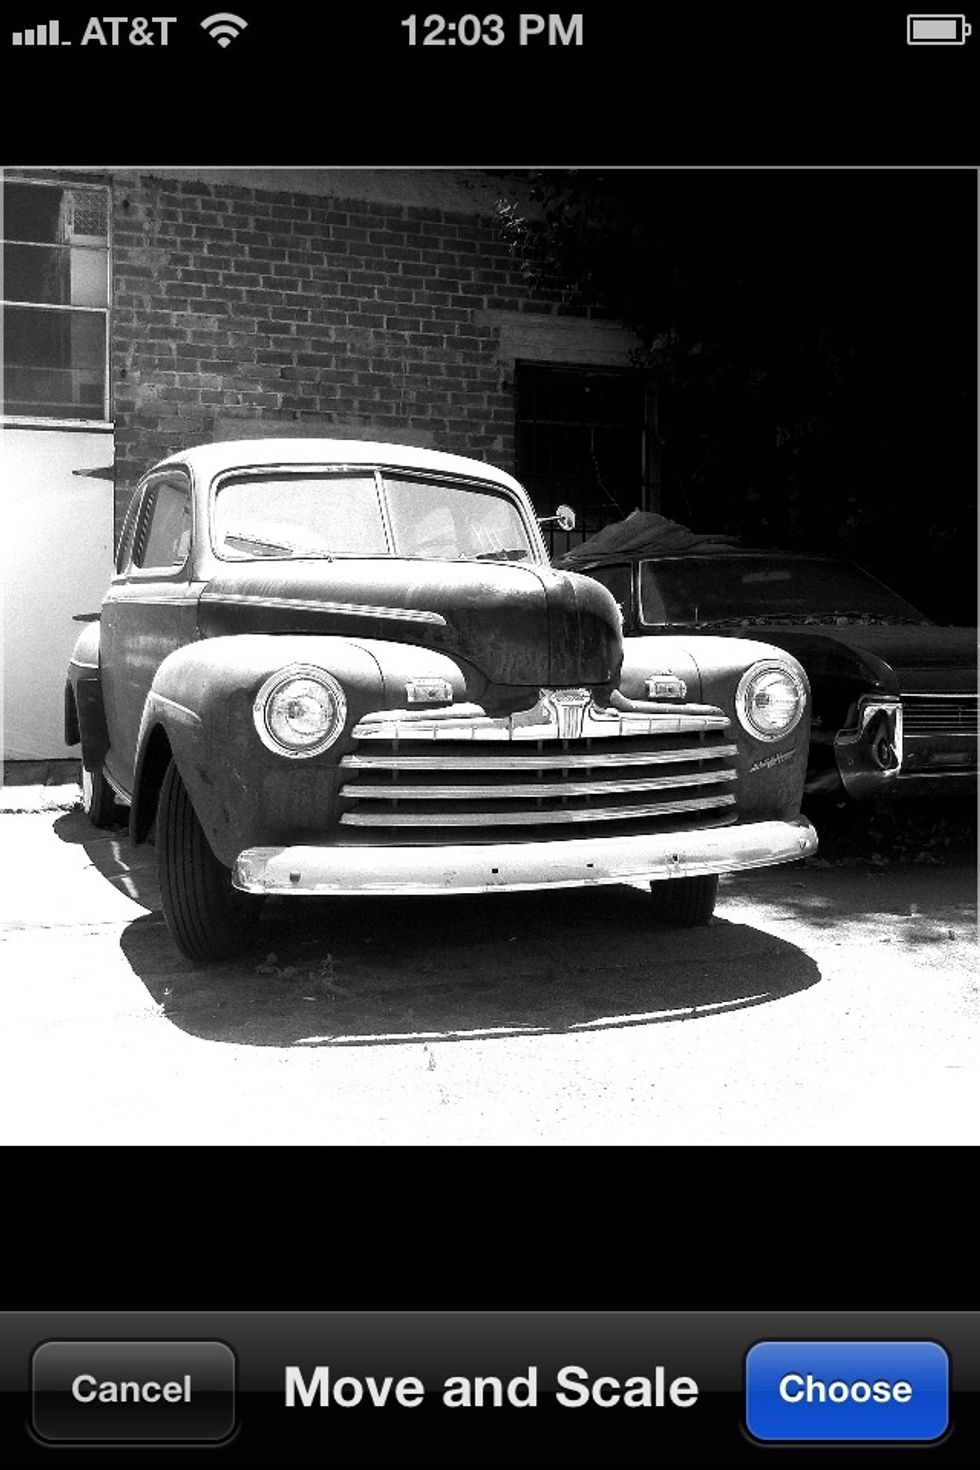
Move and scale your photo within the square frame to your liking.
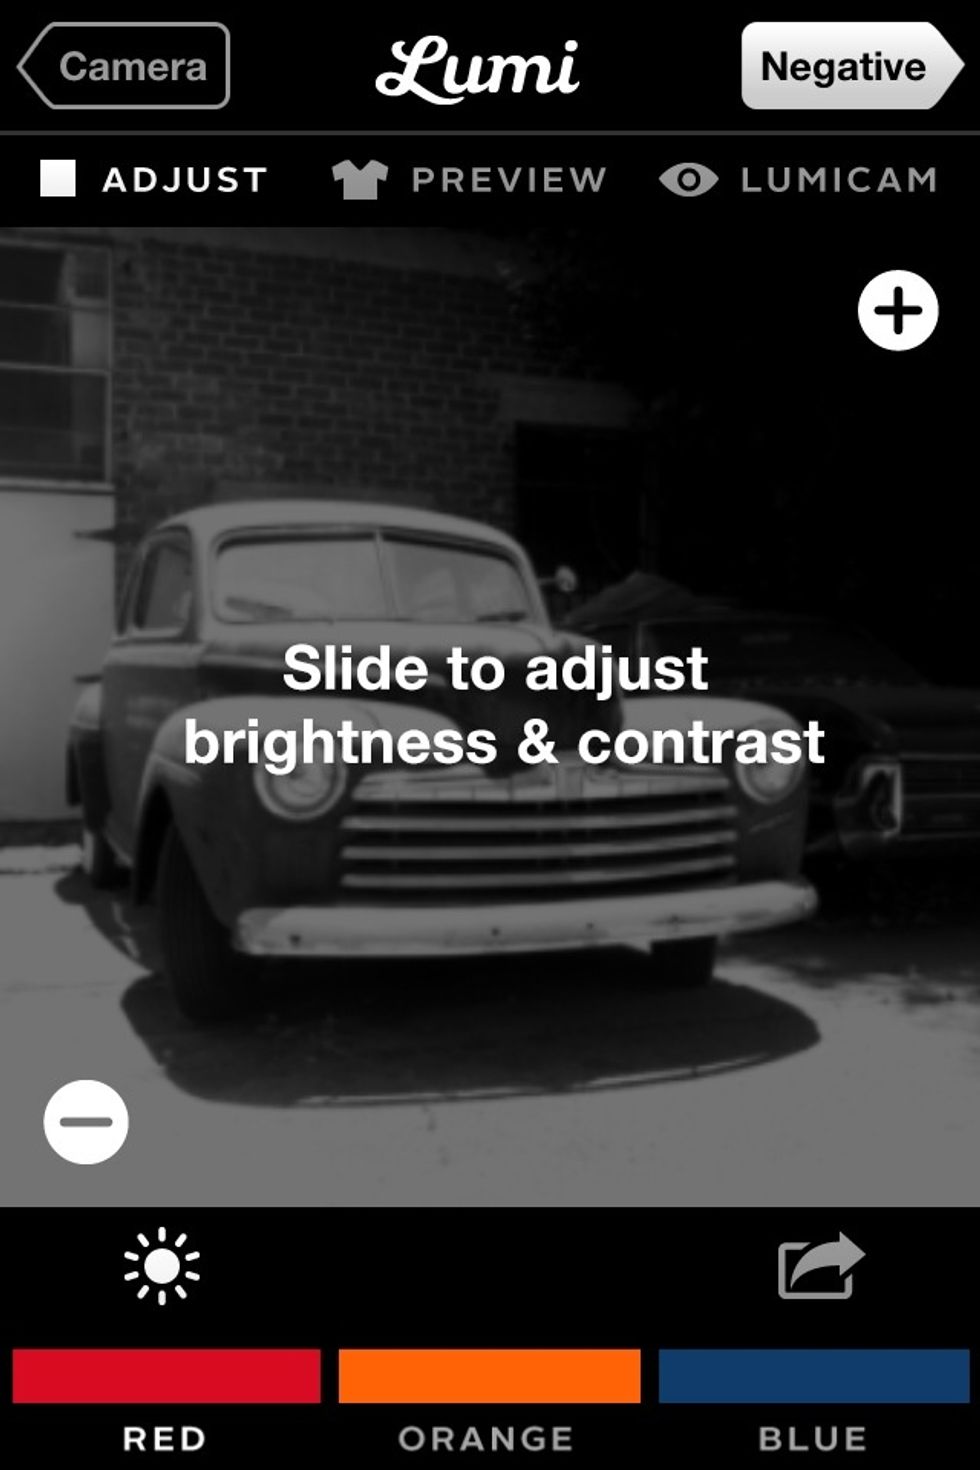
Slide your finger on the screen to adjust brightness & contrast. Tip: higher contrast will yield better prints.
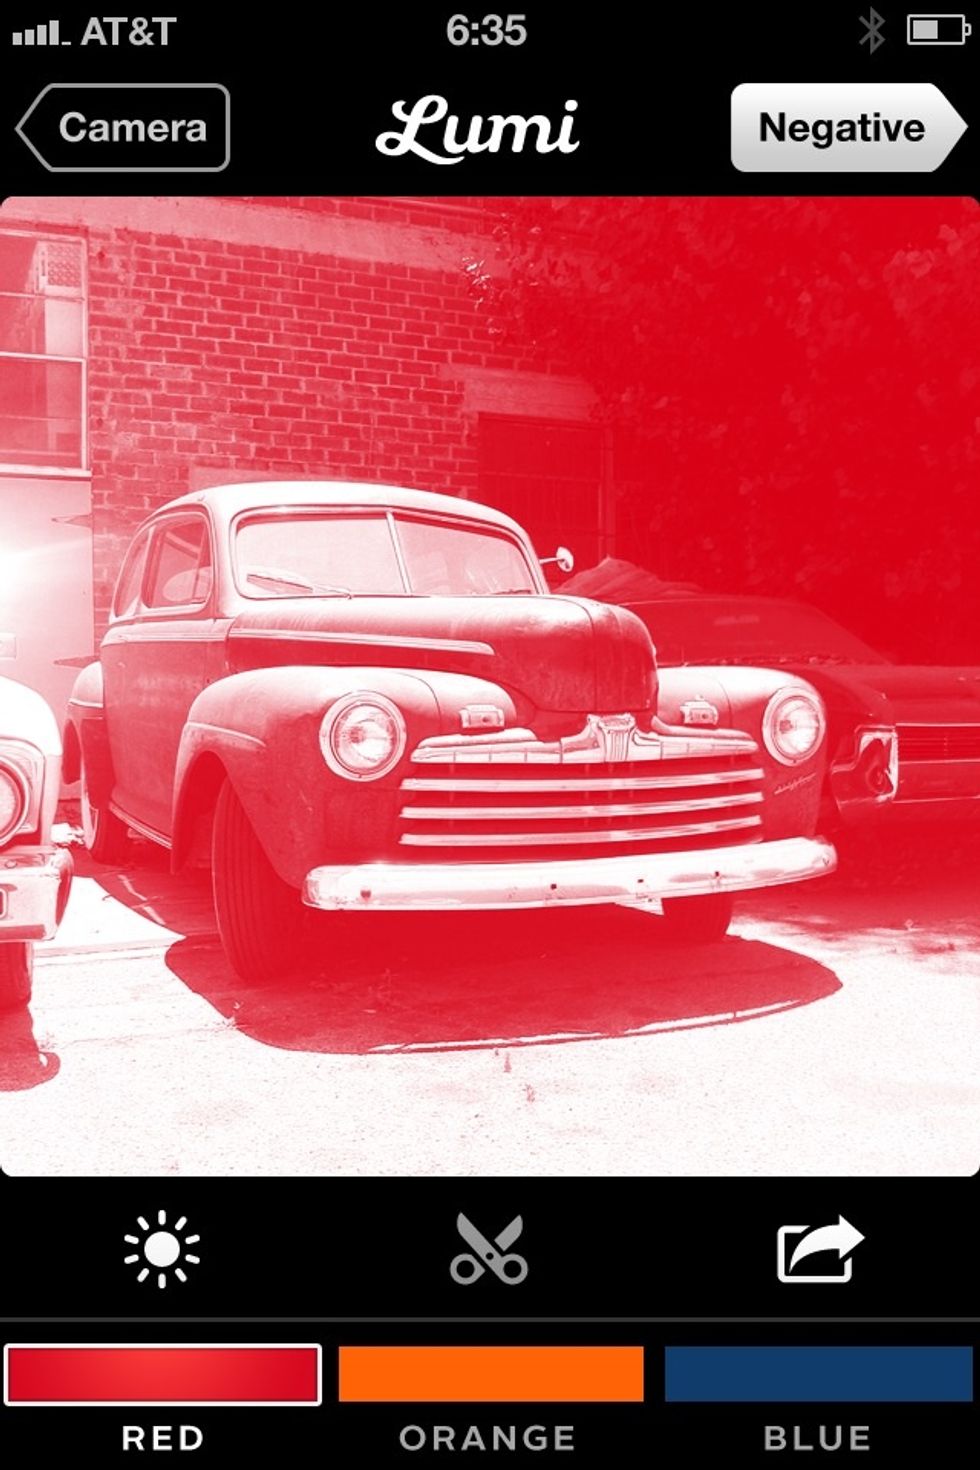
Tap the color buttons at the bottom to preview what your print will look like in red, orange or blue.
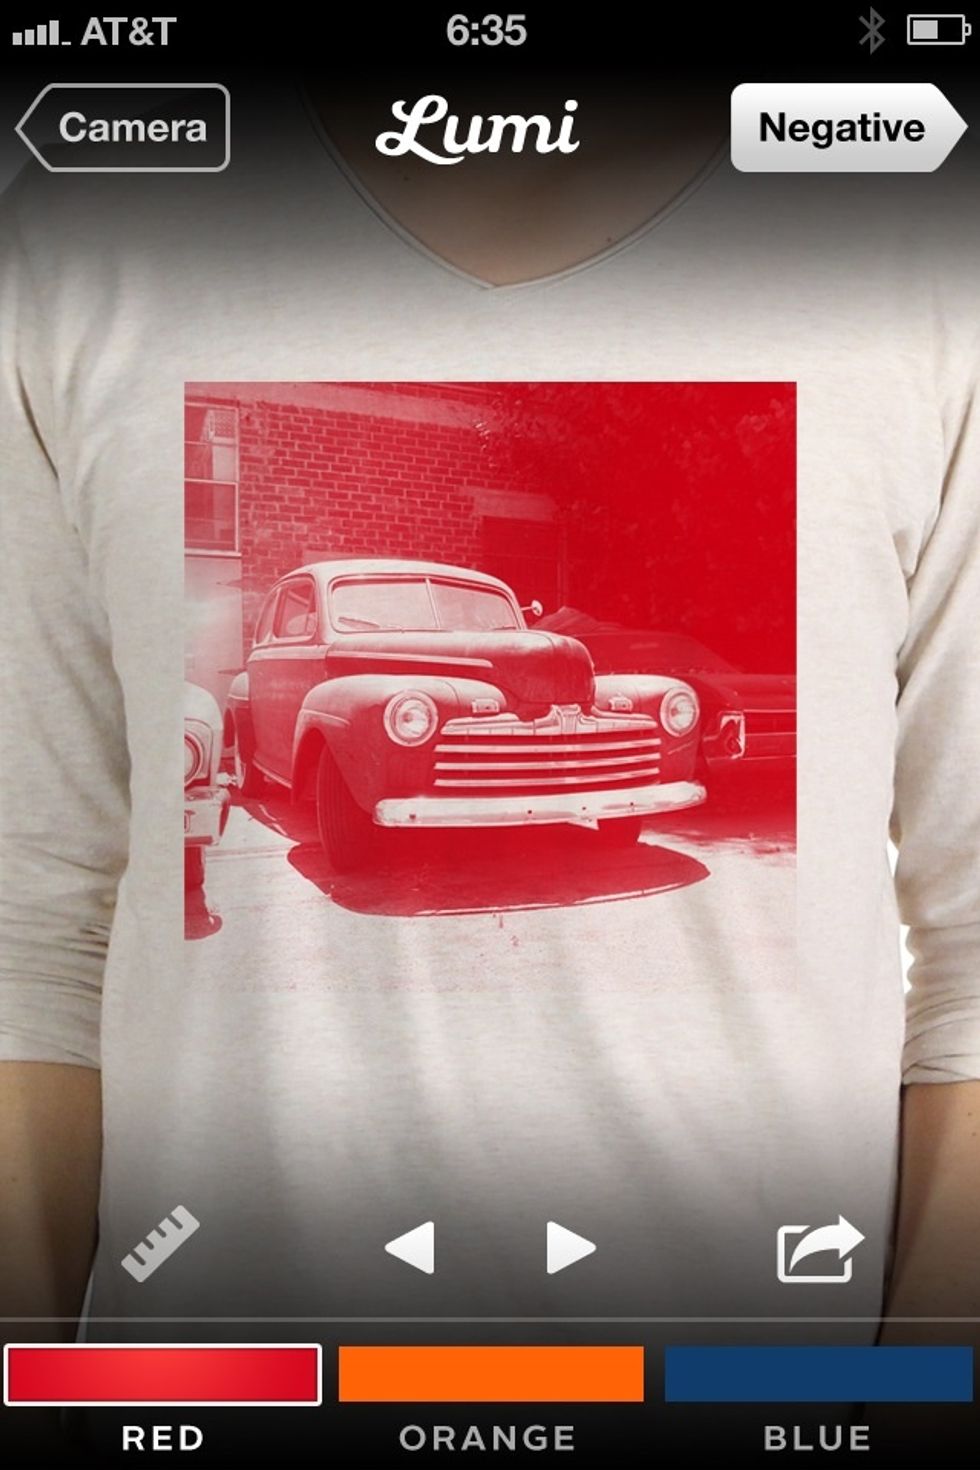
Use the PREVIEW function to see what your print will look like on a shirt. Or use the LUMICAM function to overlay your image by holding your iPhone up in front of your own fabric!
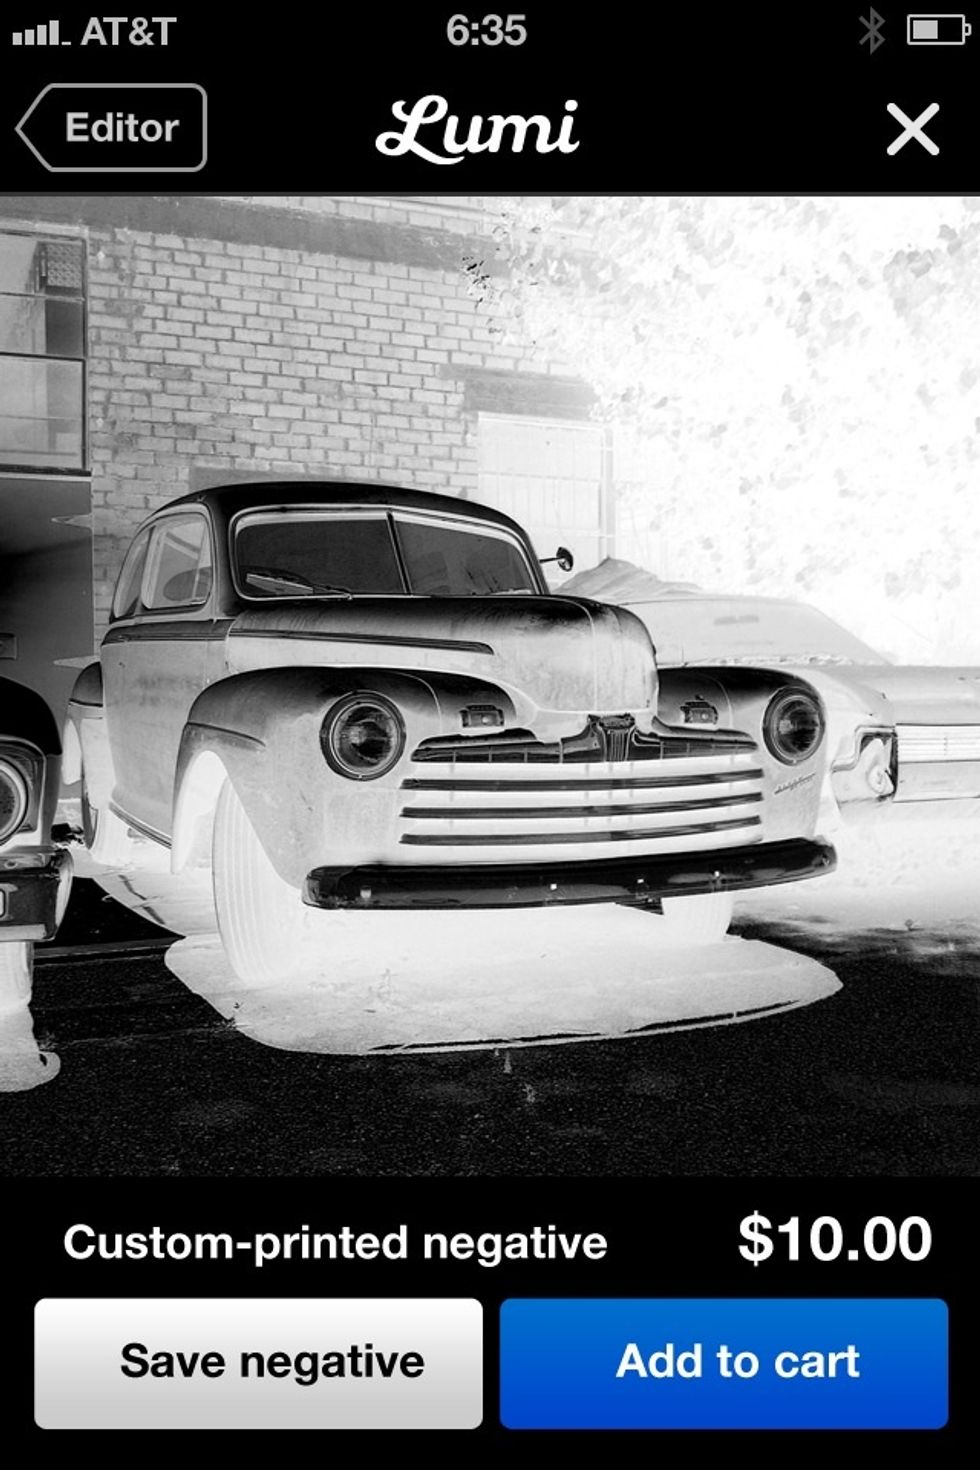
Click NEGATIVE in the top right corner to convert your image to a negative. Save the image to your phone or buy a 12x12" negative directly from the app that will ship to your doorstep.
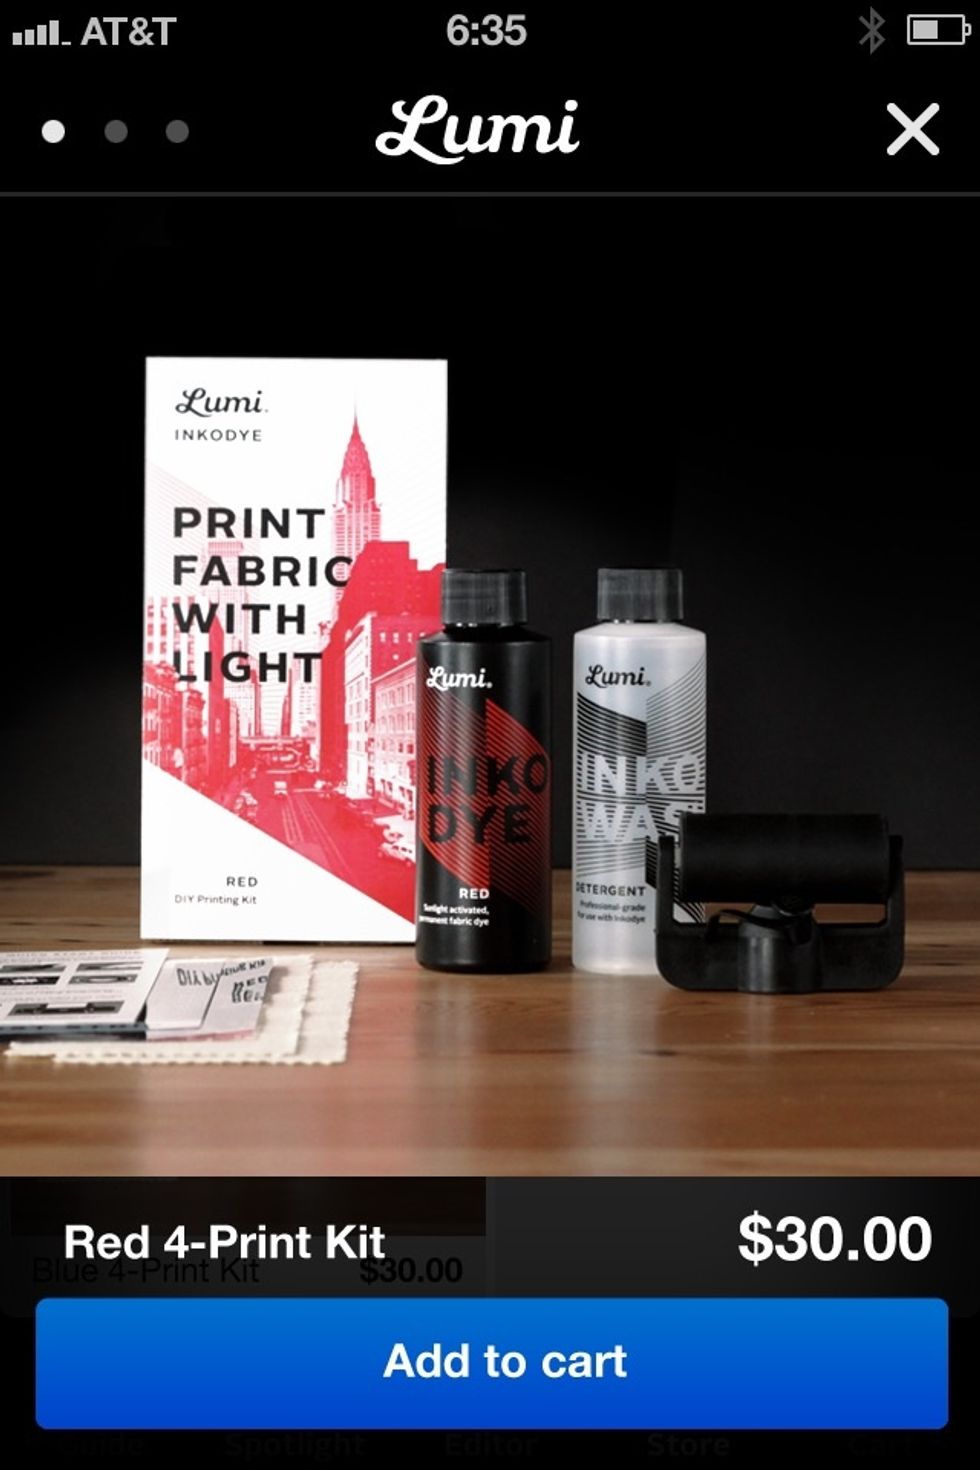
You can even add our new Print Fabric With Light kit to your cart directly from the app so you get everything you need to start printing in one shipment.
See our "Print Negatives on 8.5" Inkjet-Printable Inkofilm" guide if you want to print your negative at home on transparencies.
Don't have an iPhone? Follow the next steps to learn how to convert an image to a negative on your computer.
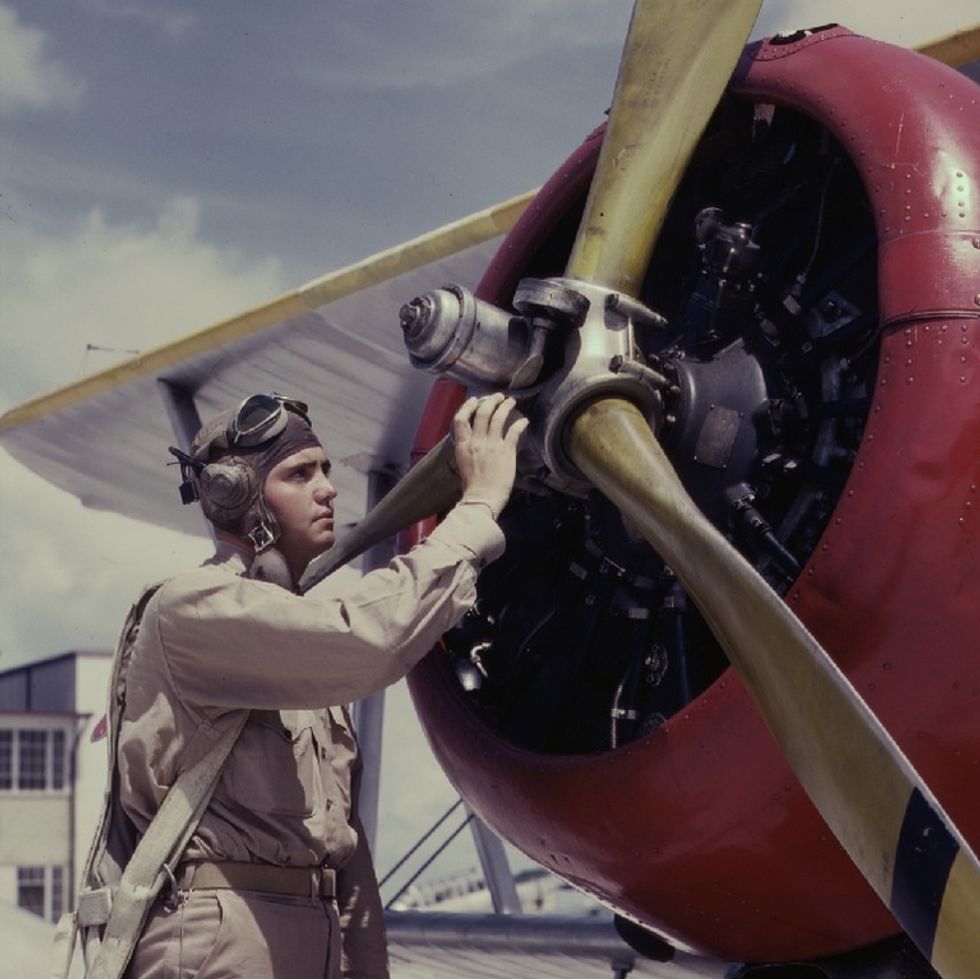
First, choose your photo. We recommend an image with a lot of contrast and bold, graphic details.
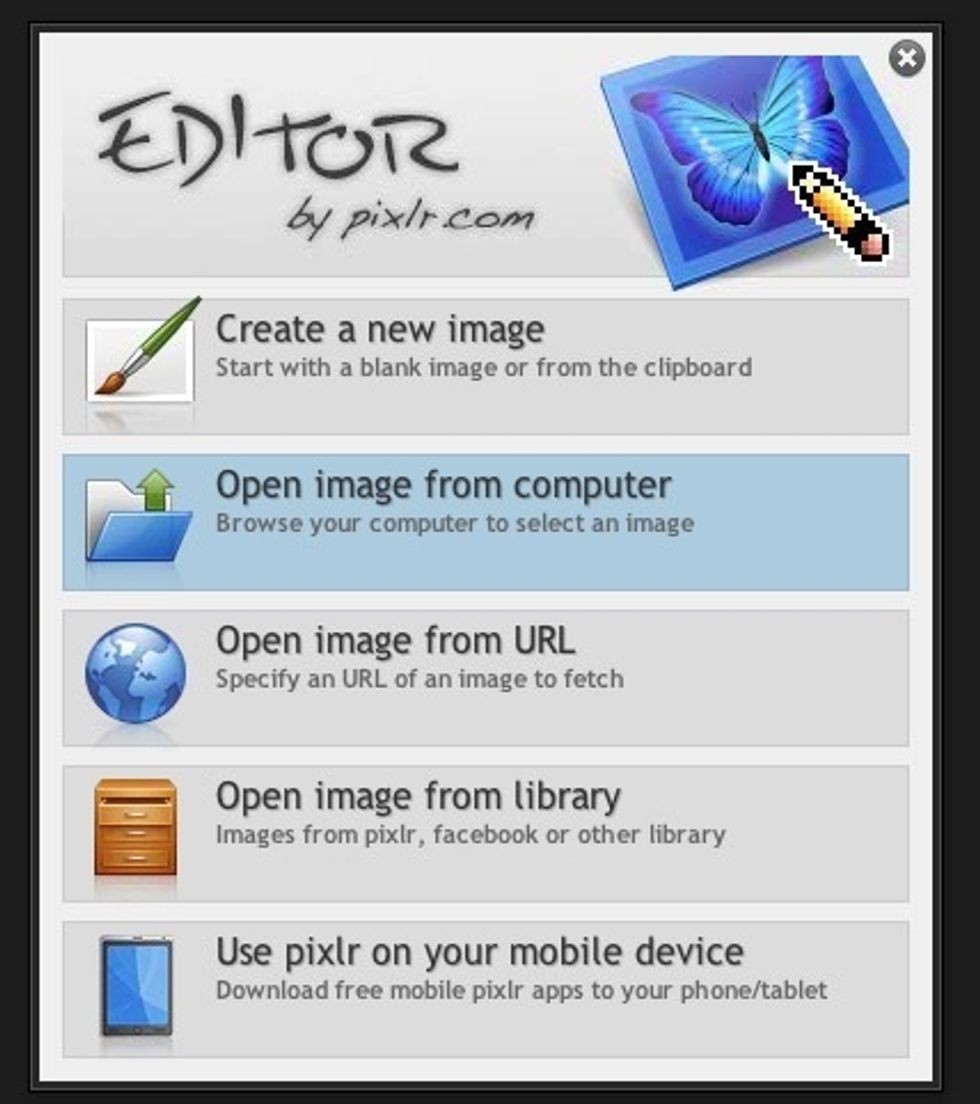
Next go to pixlr.com/editor to convert your image into a negative. Choose "Open image from computer" to upload your photo.

Once you've uploaded your image, go to "Adjustment" at the top of the page. Scroll down and select "Desaturate". This will turn your color image into black and white.
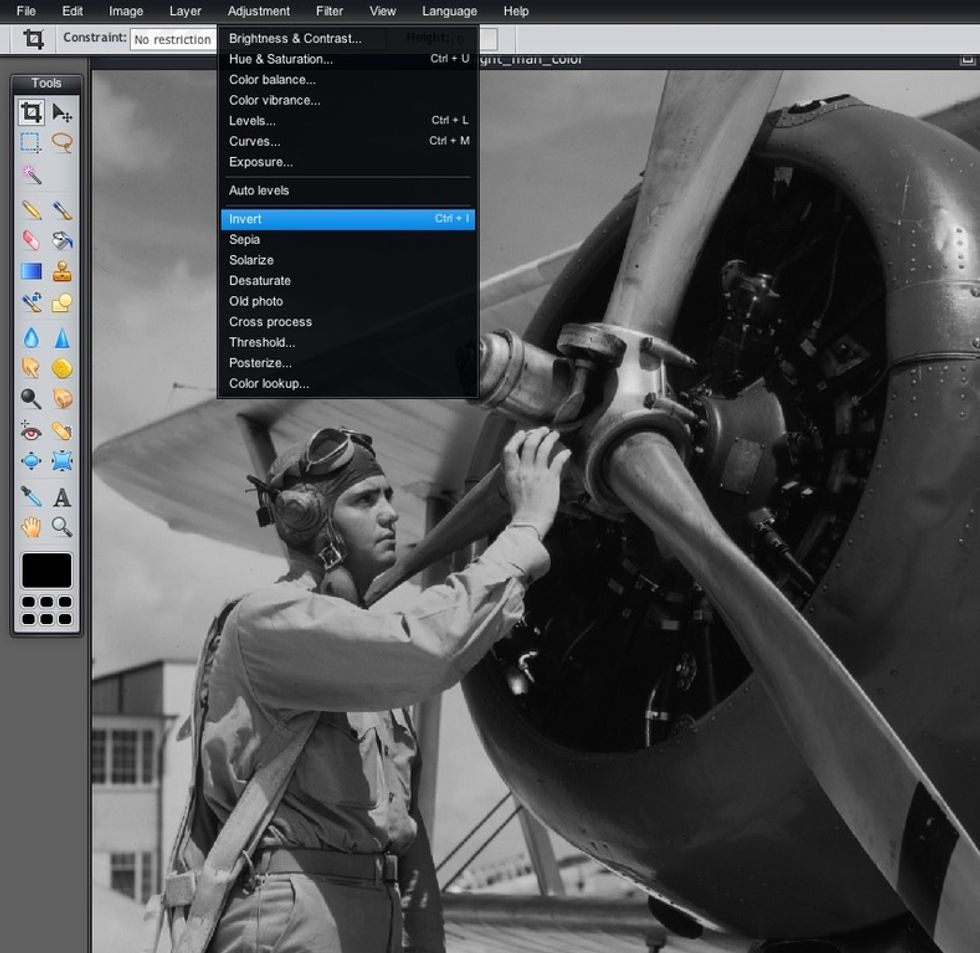
Go to "Adjustment" again and this time select "Invert". This will turn your black and white image into a digital negative.
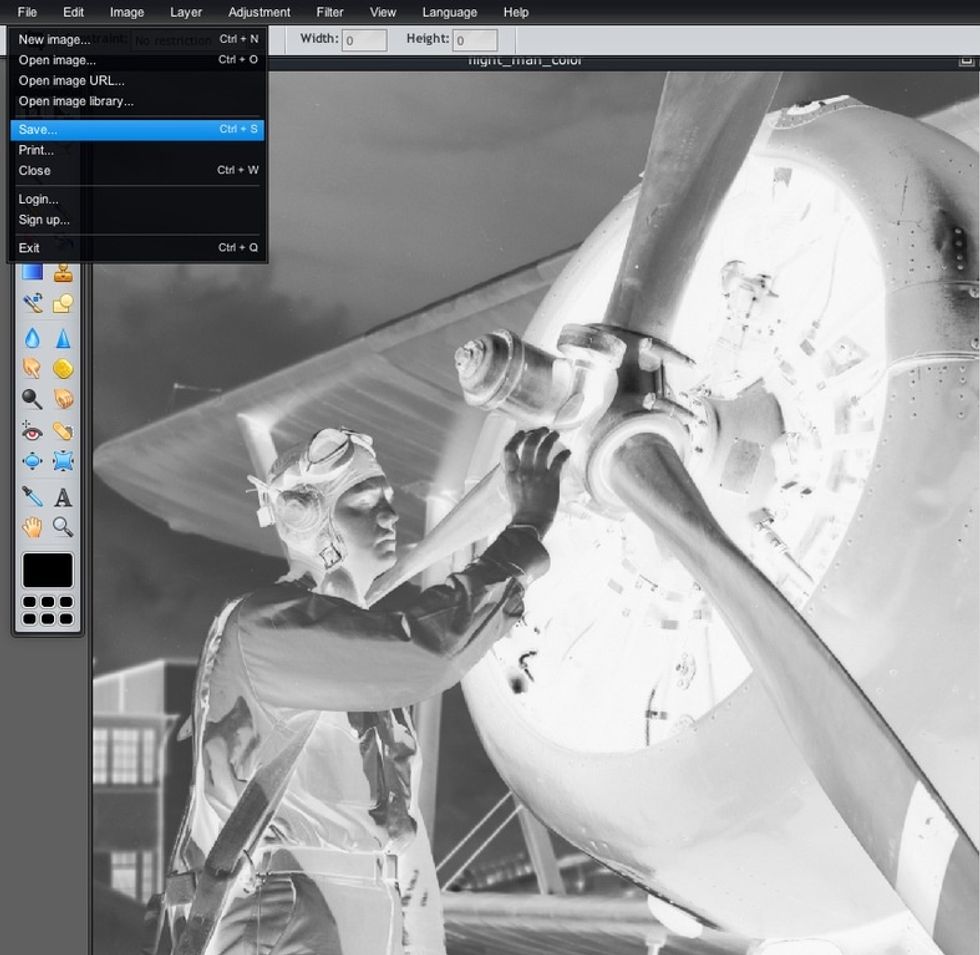
Next, save your image to your computer or a USB flash drive by selecting "Save..." under "File". You now have a negative for print!
See our "Print Negatives on 8.5" Inkjet-Printable Inkofilm" guide for step-by-step instructions for printing your negative from home!