The Conversation (0)
Sign Up
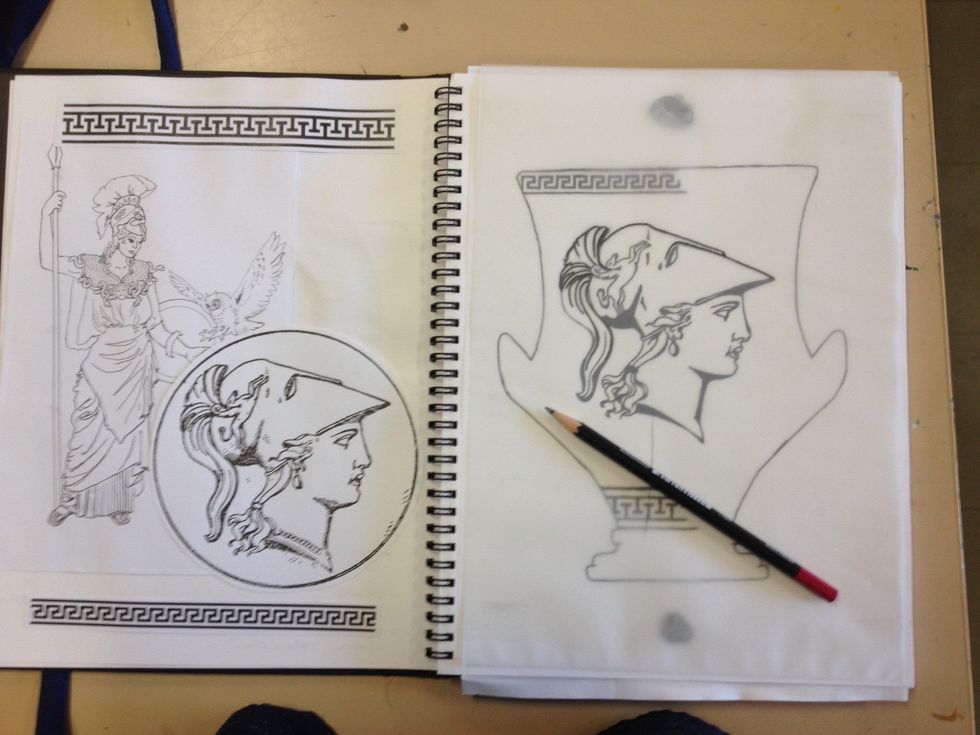
Create your design including a central motif and a banding pattern. Transfer the design to a piece of tracing paper and cut a template for the outline of your pot from paper.
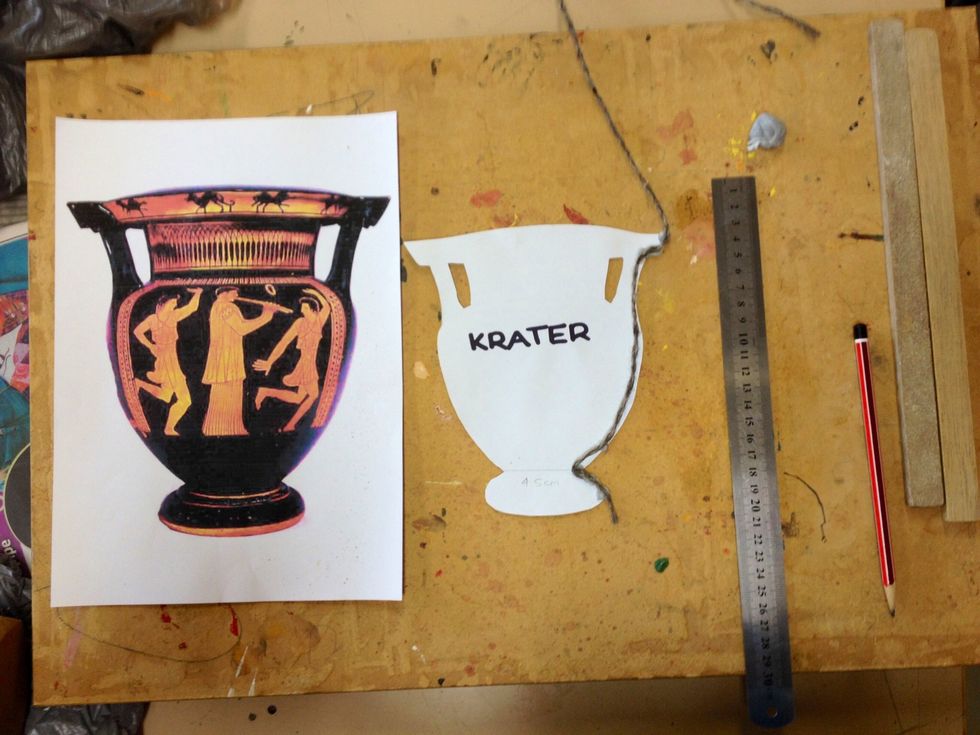
Measure your pot template- use string to find its maximum side length and a ruler to measure its narrowest point.
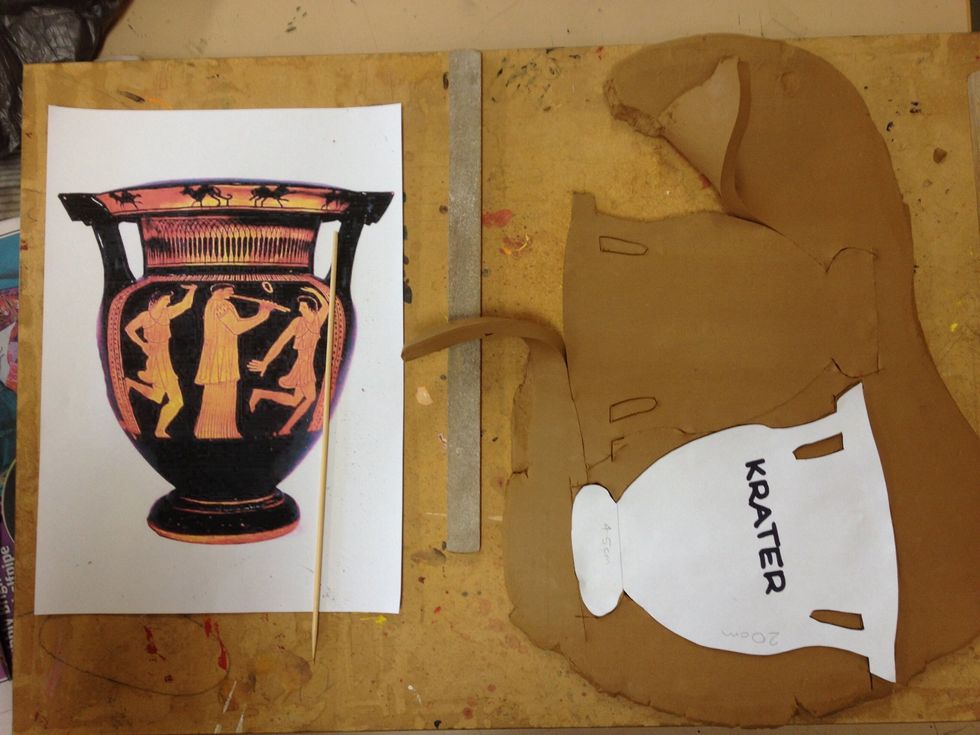
Knead your clay. Place the dowels either side of the clay and roll out a slab- ensure the roller covers the dowels as well as the clay to create an even depth. Cut out two side templates
Find a ruler, piece of wood etc to cut your remaining sides and base. The ruler pictured is 4.5cm wide. Cut two pieces your maximum side length and one your minimum width (see Step 2).
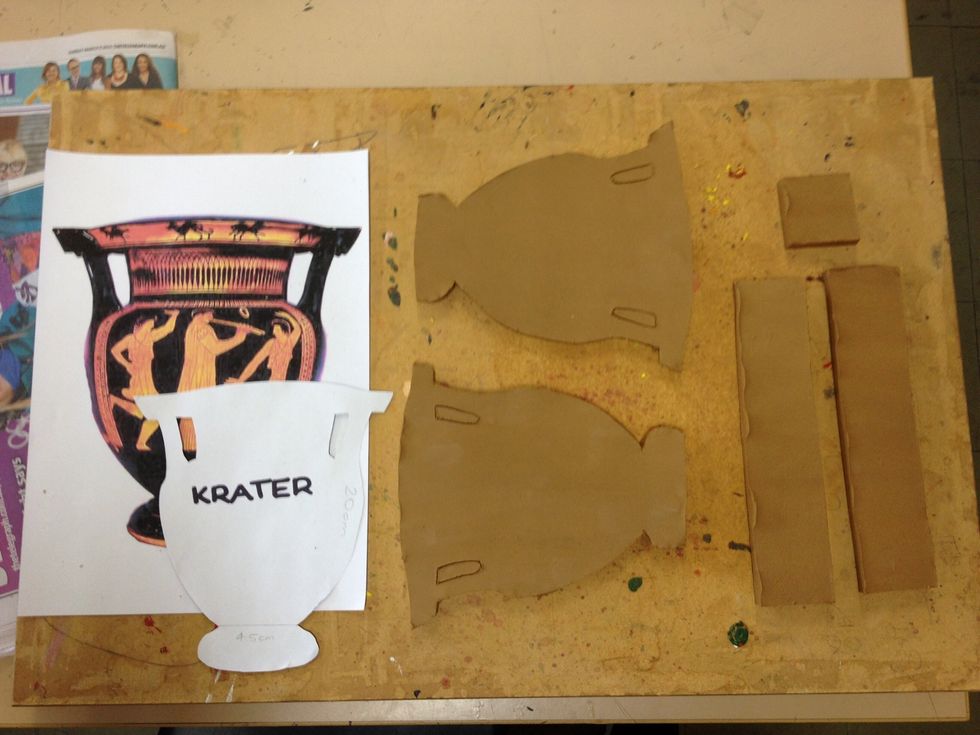
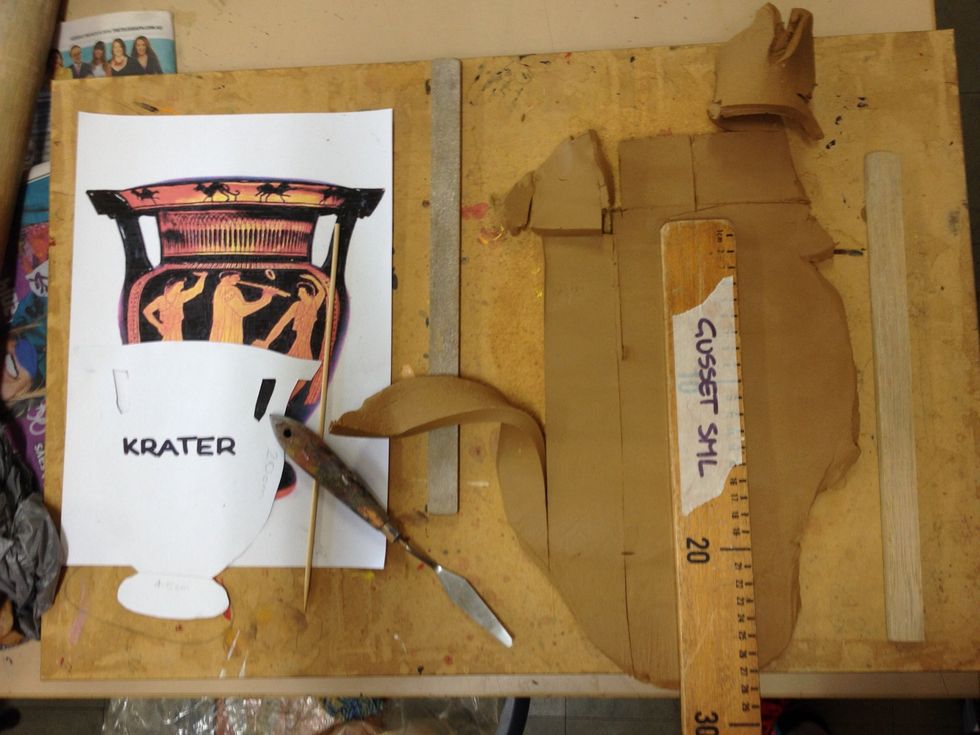
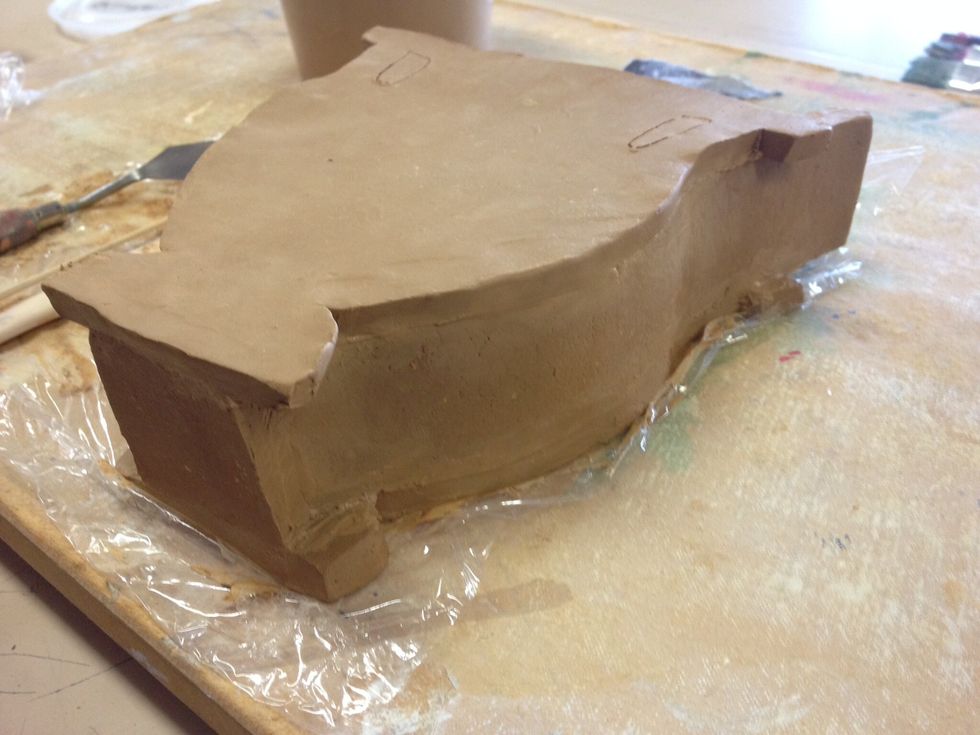
The five finished pieces. Note that any negative spaces (handles etc are only drawn on with a clay tool at this stage.
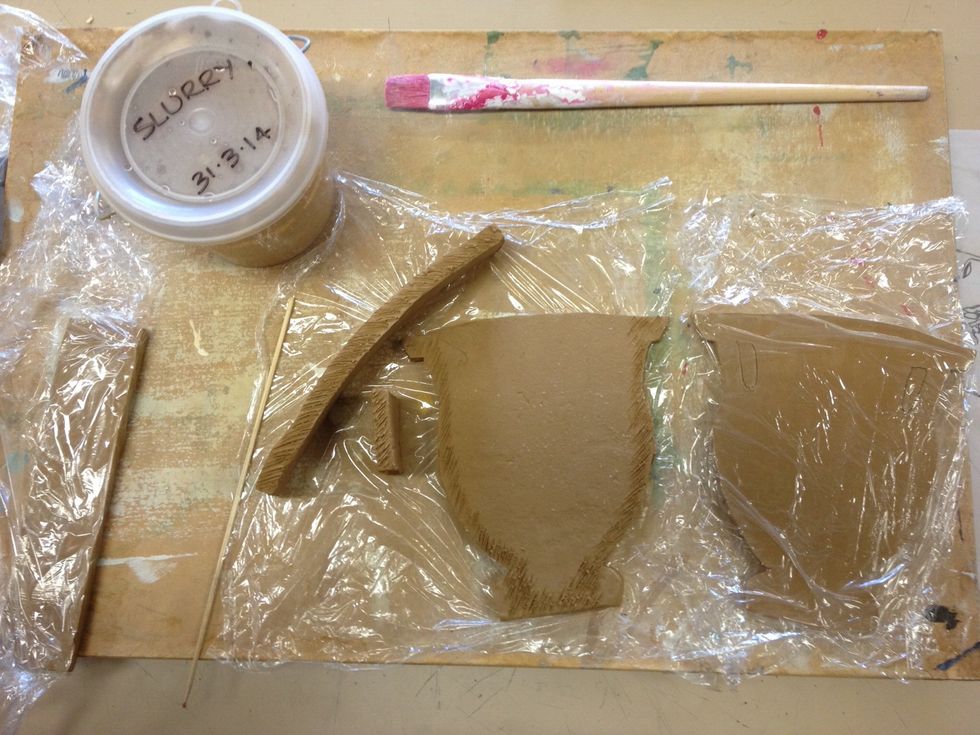
Using a clay tool or skewer, score each contact surface to be joined- around one face of each template shape, and all edges of the sides and base.

Paint contact surfaces liberally with slurry just before joining each piece. Start with adding the base, then sides. Press each join until slurry begins to escape and a mild vacuum seal is achieved.
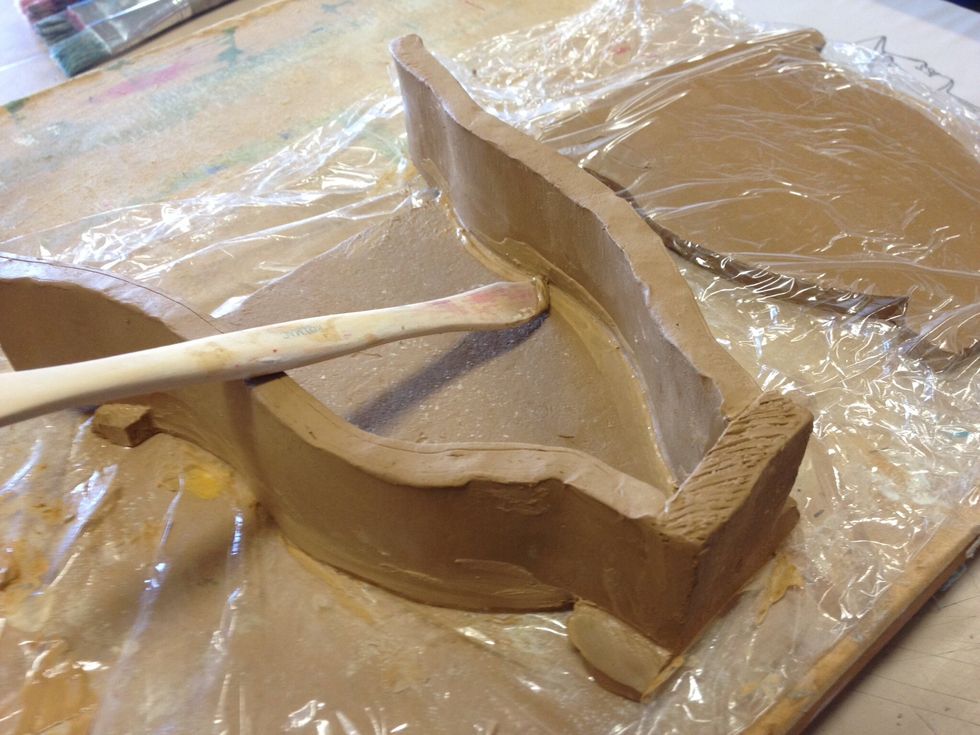
Once joined, use a clay tool to smooth the join and remove excess slurry.
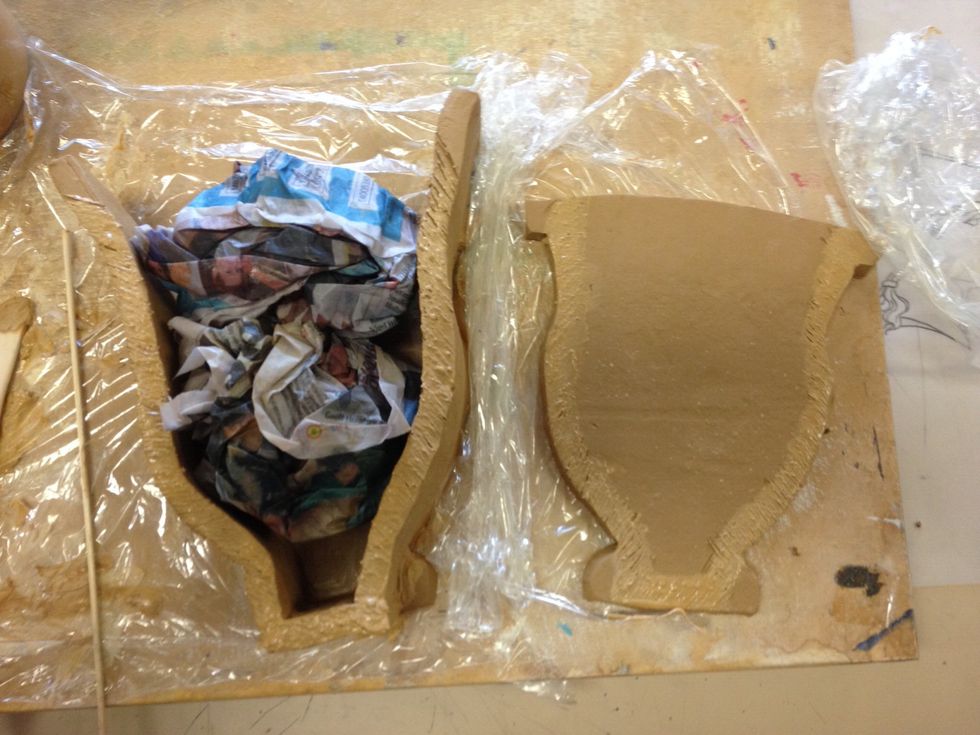
Once sides and base are joined to one template, fill the cavity with damp newspaper. This will stop the last piece sagging whilst being joined and decorated.
Join the final template and take some time to smooth and check joins before wrapping in a plastic bag to harden slightly (the consistency of leather). This may take hours or days due to humidity.
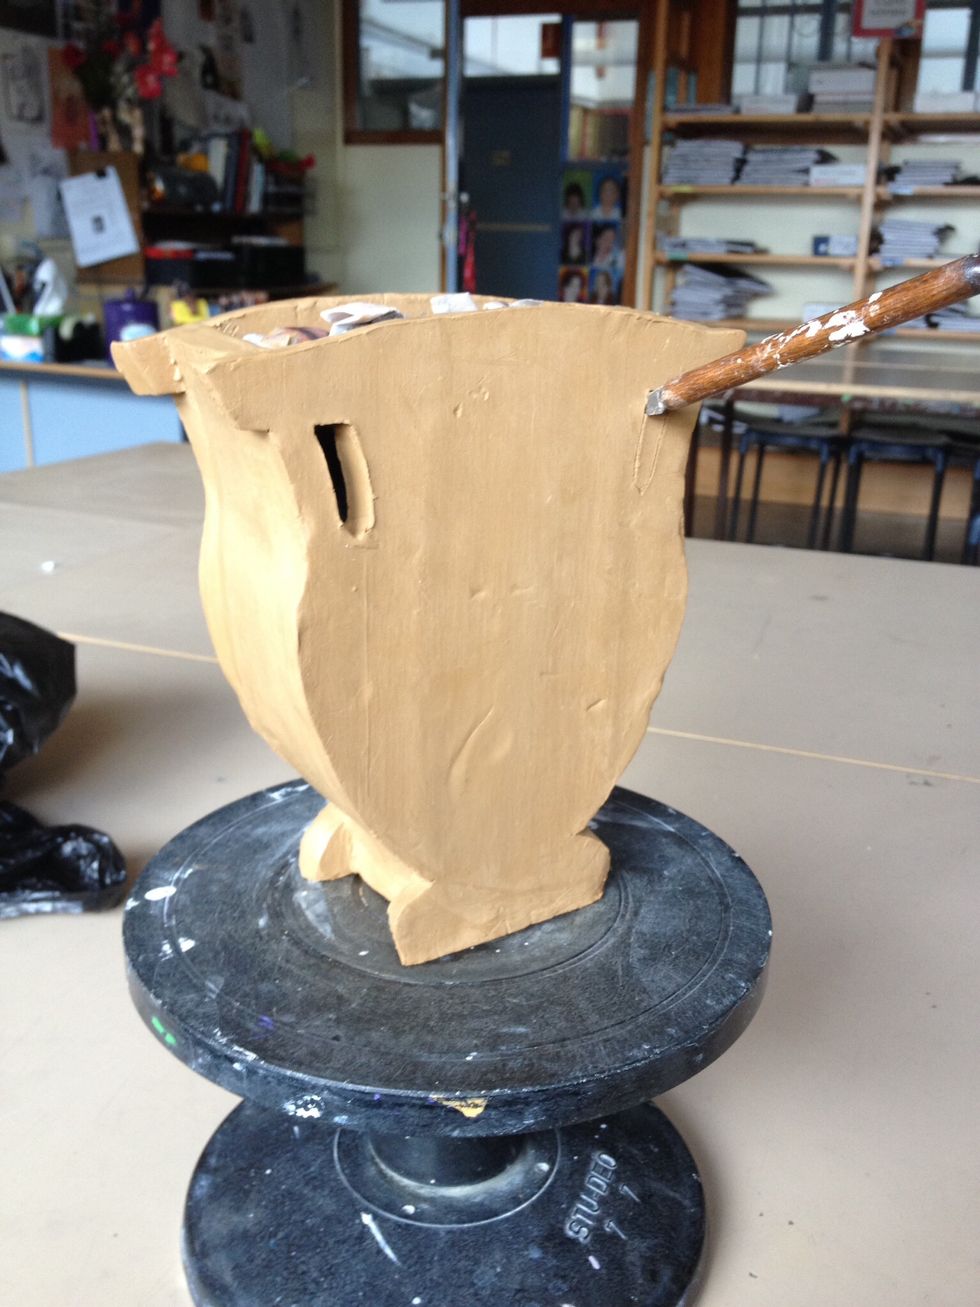
Once leather hard, cut handles or other negative spaces with a fettling or palette knife.
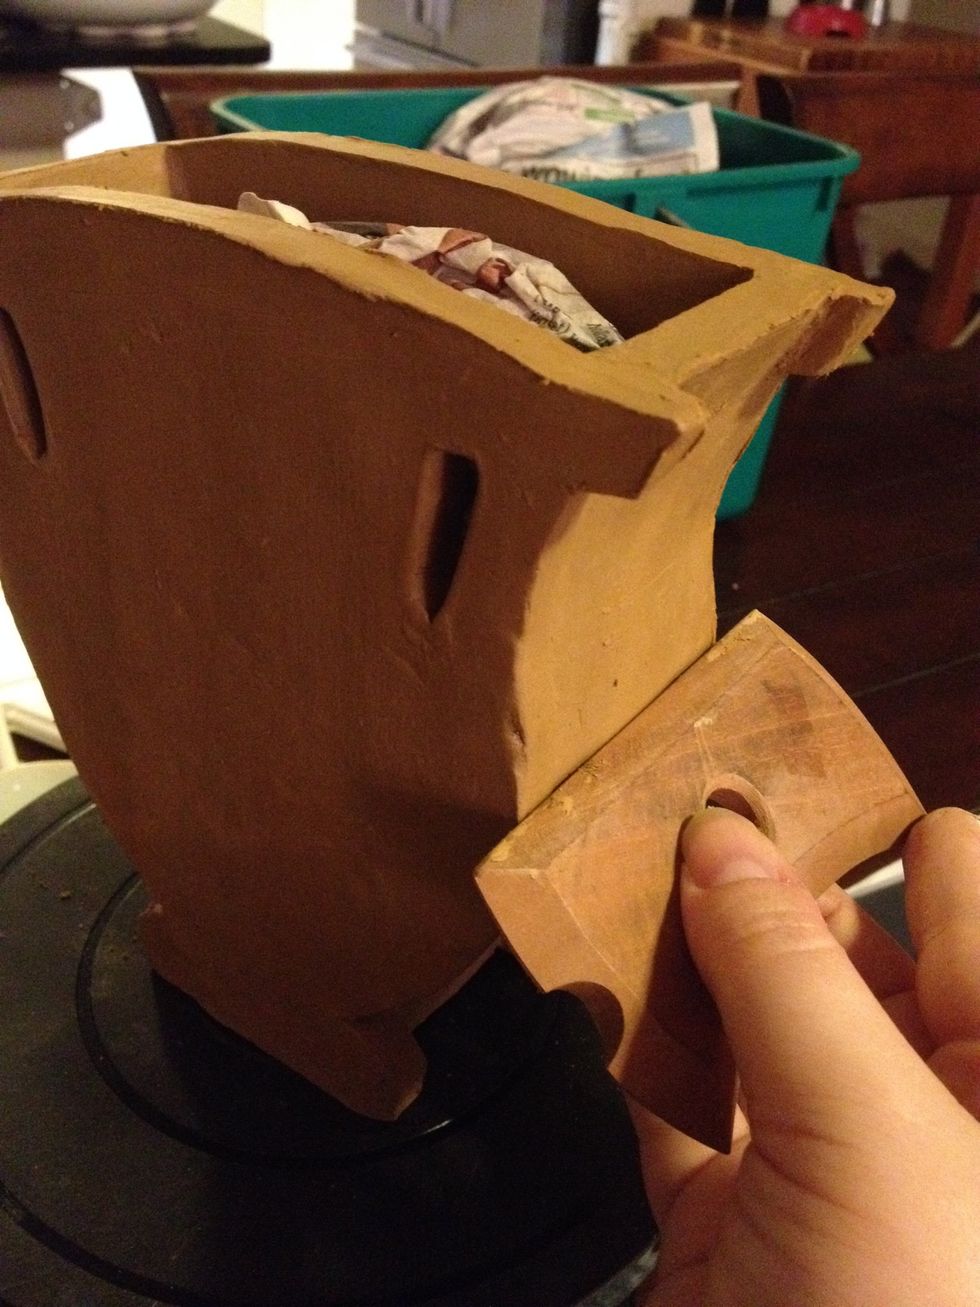
Use wooden clay tools or biscuits (pictured) to further smooth edges and surfaces. You may also burnish at this stage (see Step 17).
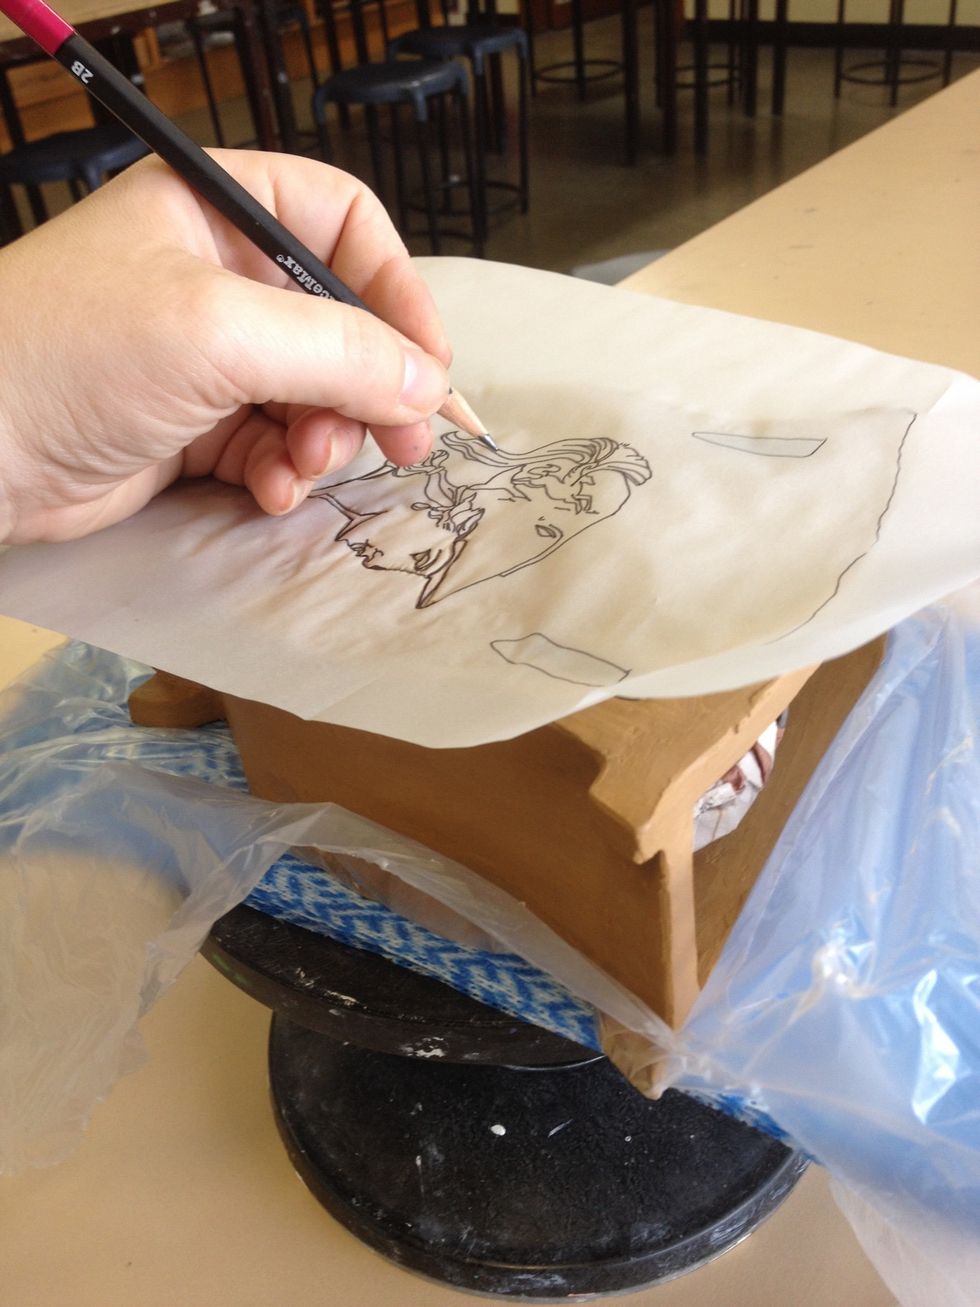
Transfer your tracing paper designs and motifs to your pot by tracing with a pencil.
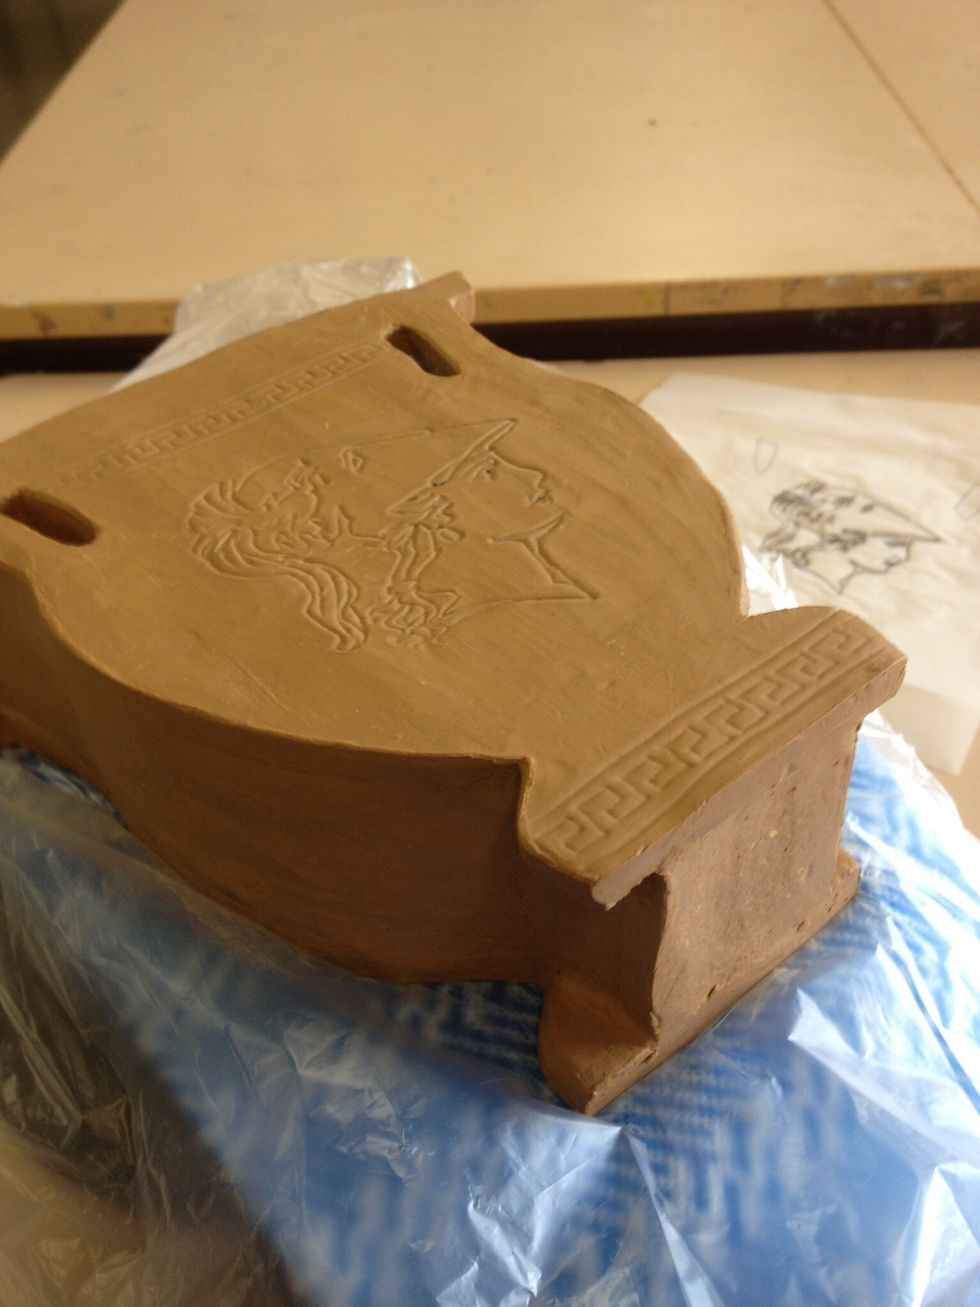
The finished design should be copied to both sides. Pictured ready to underglaze.
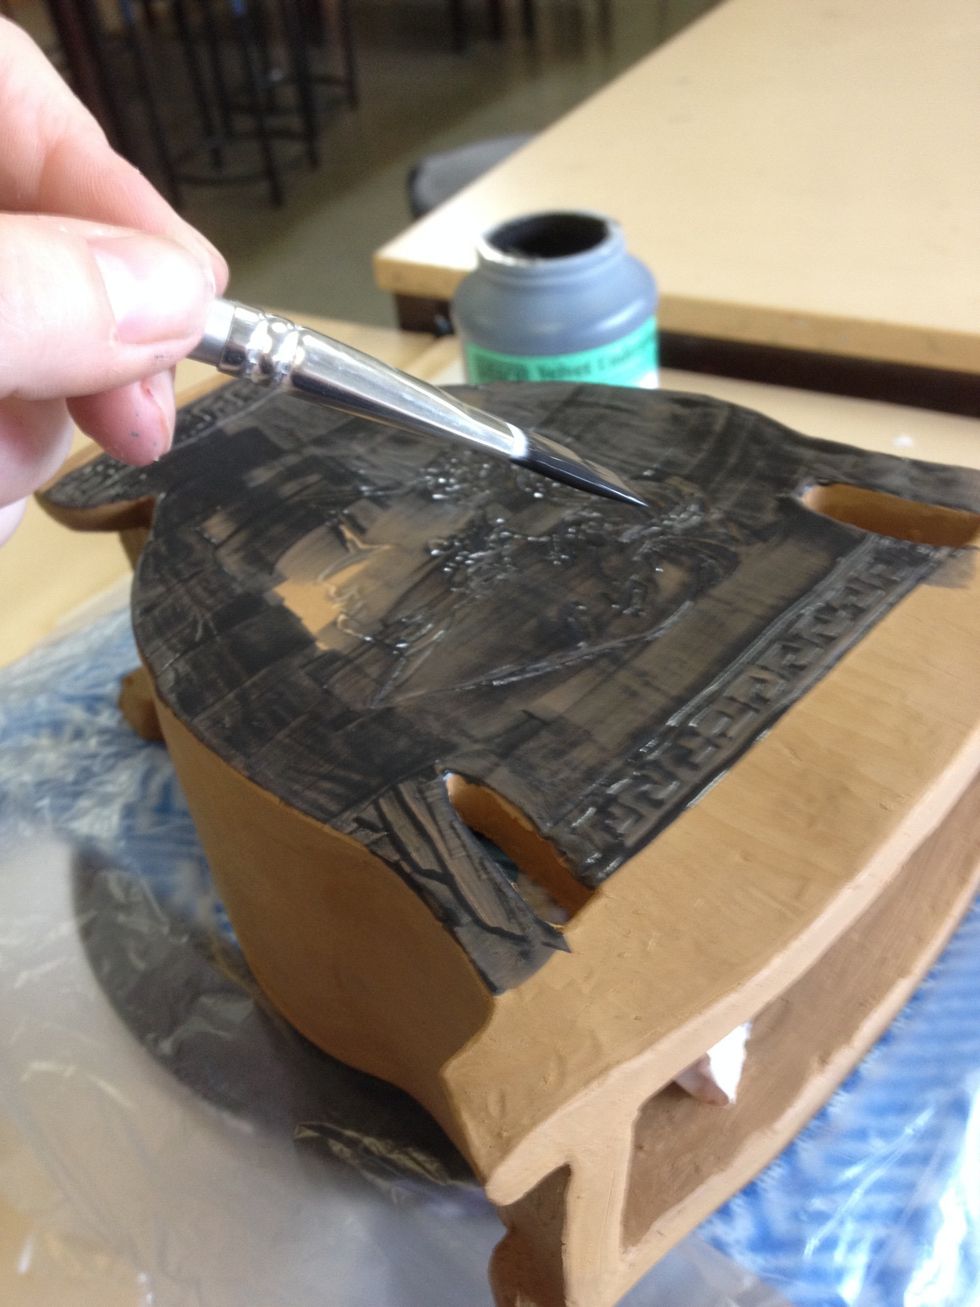
Paint desired areas with two coats of underglaze. Best results will cover the designs.
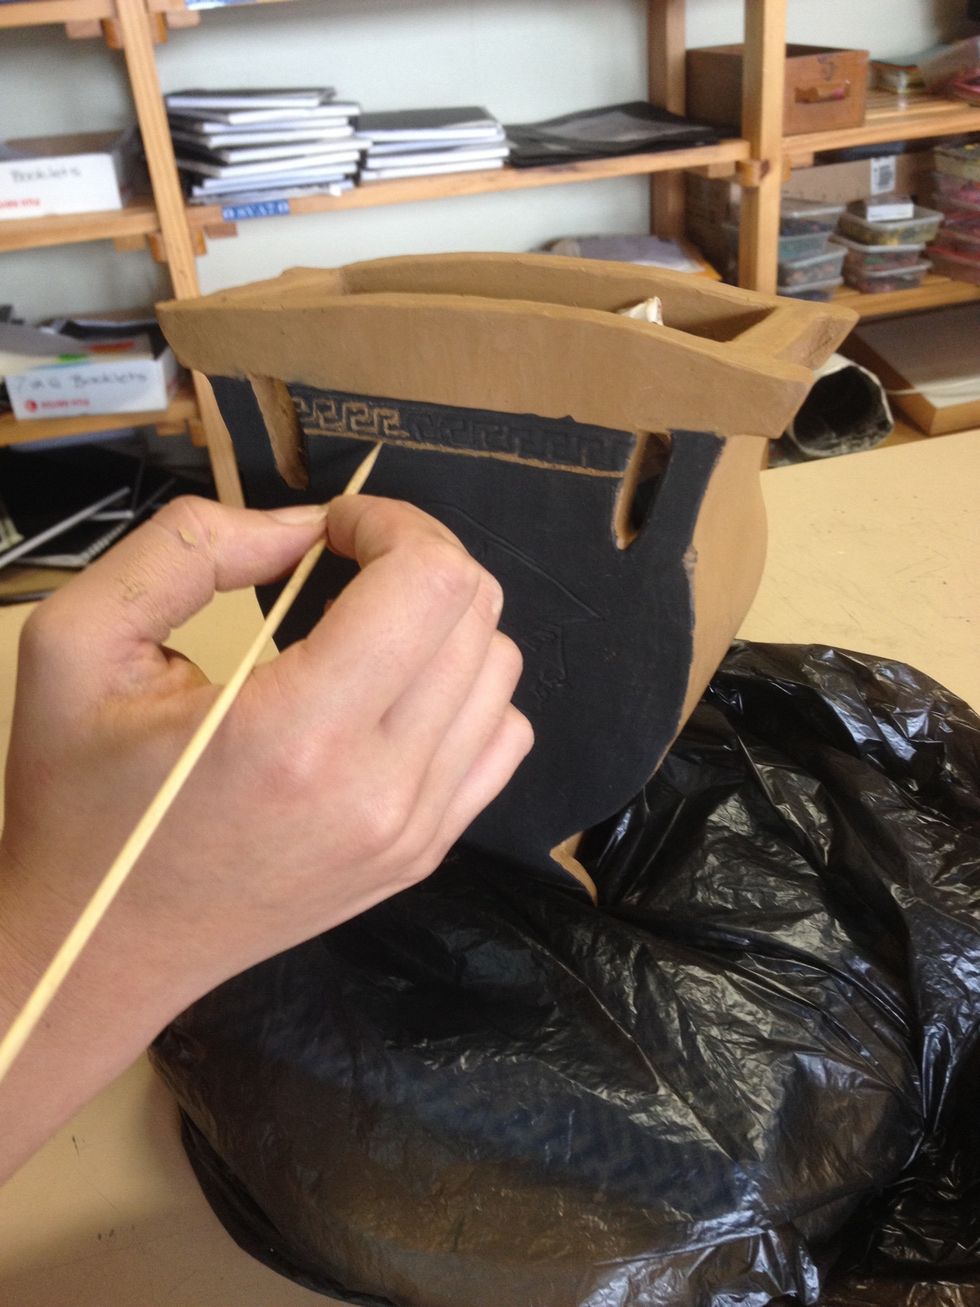
Use a skewer or clay tool to sgraffito your design. This may take some practice as you are essentially "scooping out" areas.
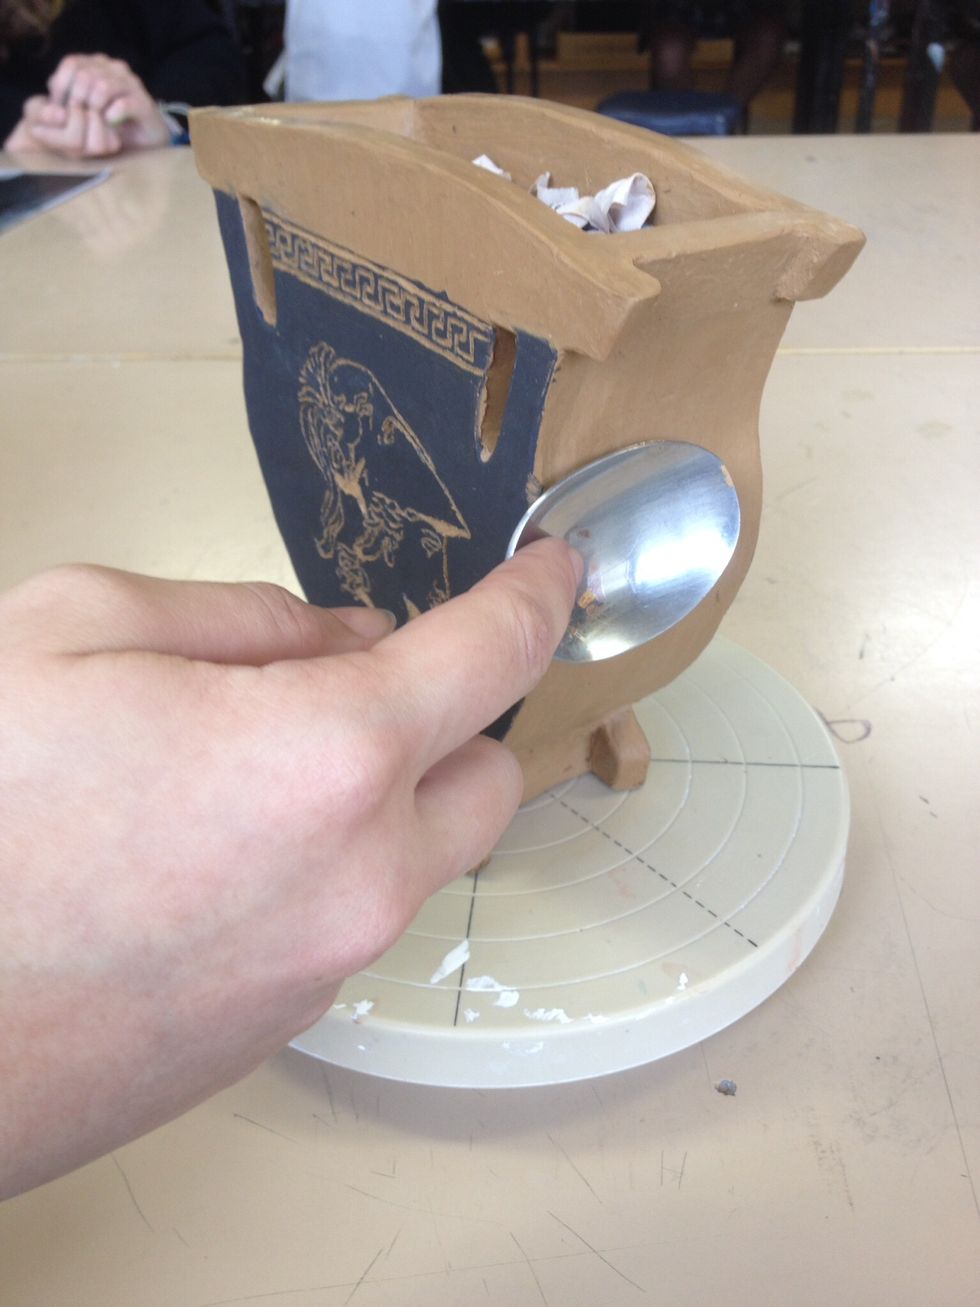
Burnish exposed areas of clay with a spoon or curved wooden clay tool. Polish in circular motions till desired smoothness is achieved.

The finished piece, ready to be fired. Enjoy.