The Conversation (0)
Sign Up
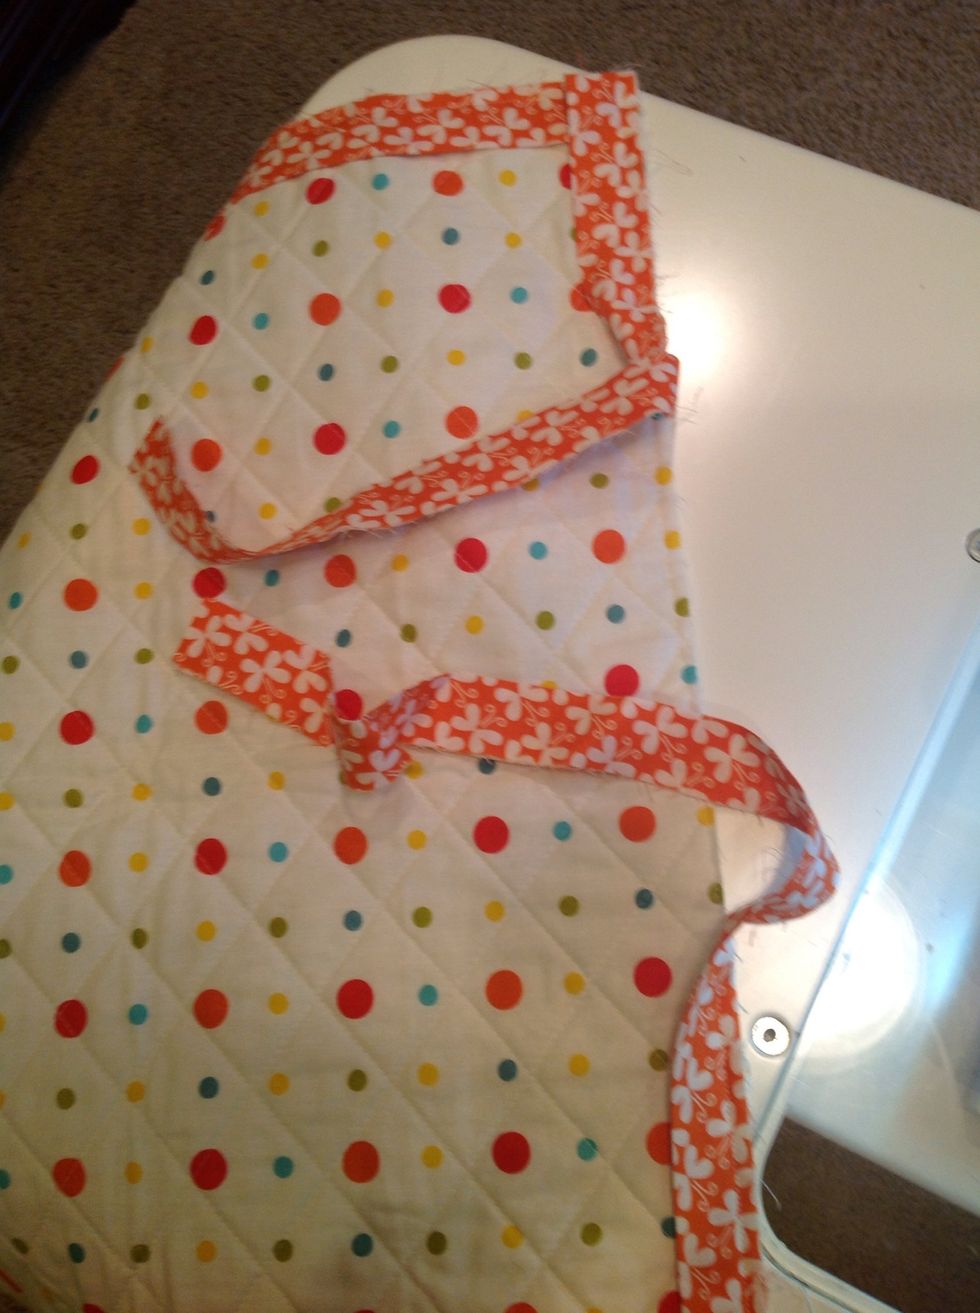
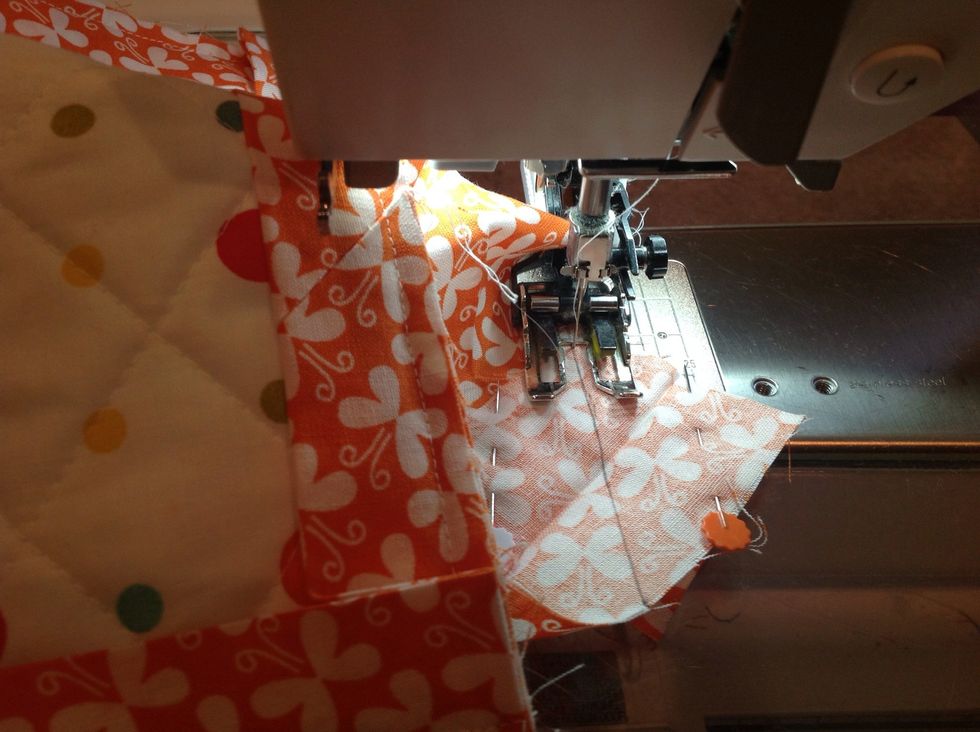
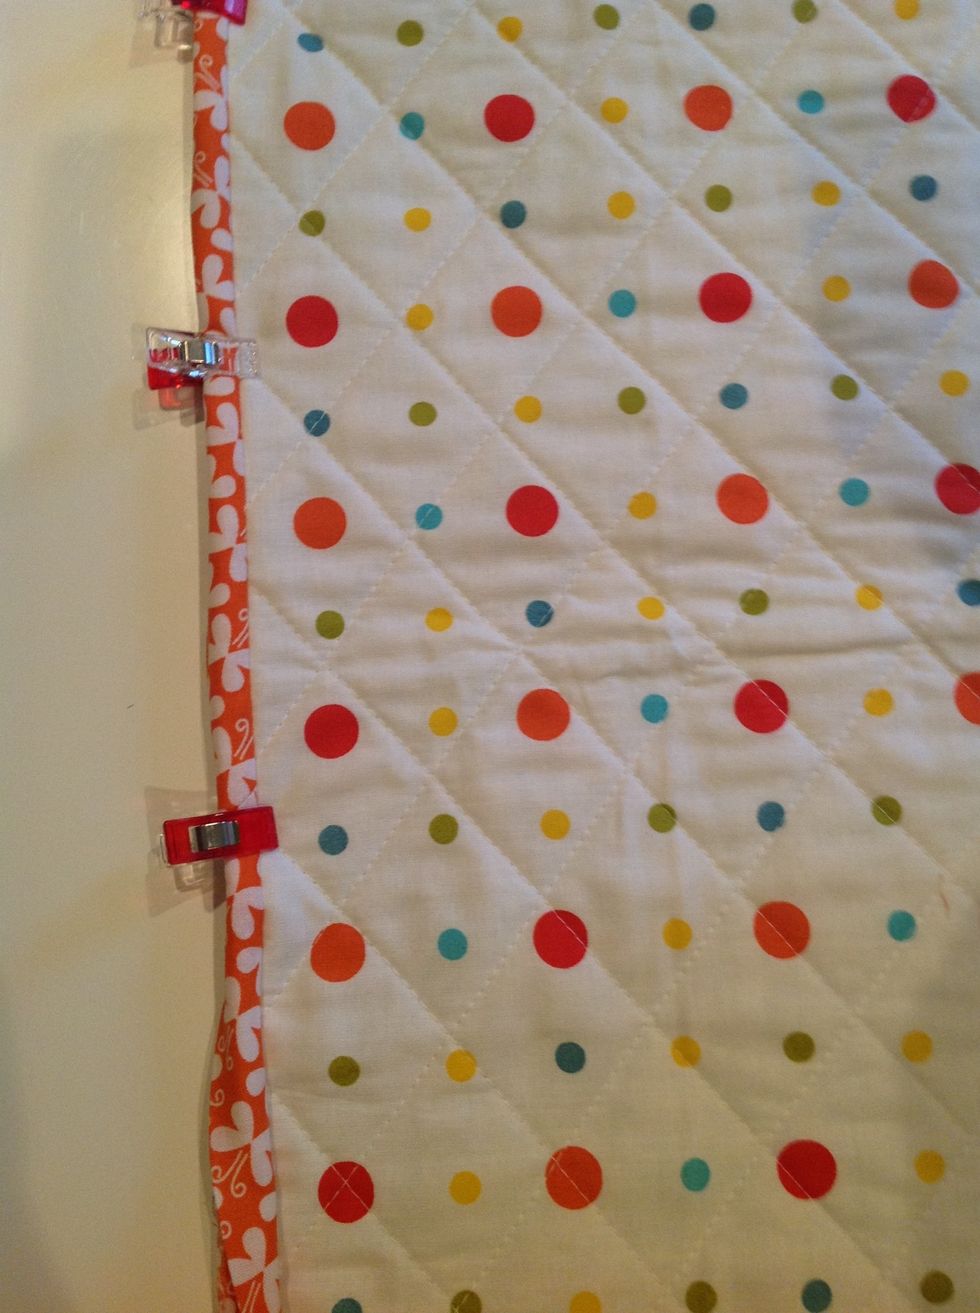
With a walking foot, sew your 2 and 1/2 inch folded and pressed binding to your quilt top. Leave long tails and about 12 inches between the sewn parts.

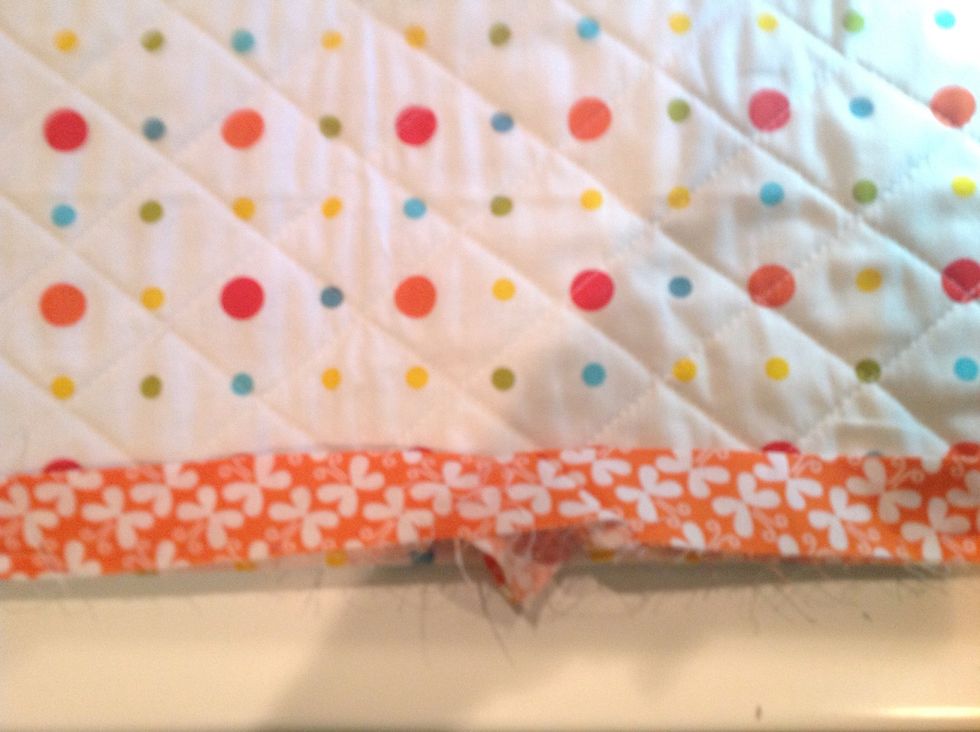
Cut off one end of the binding.
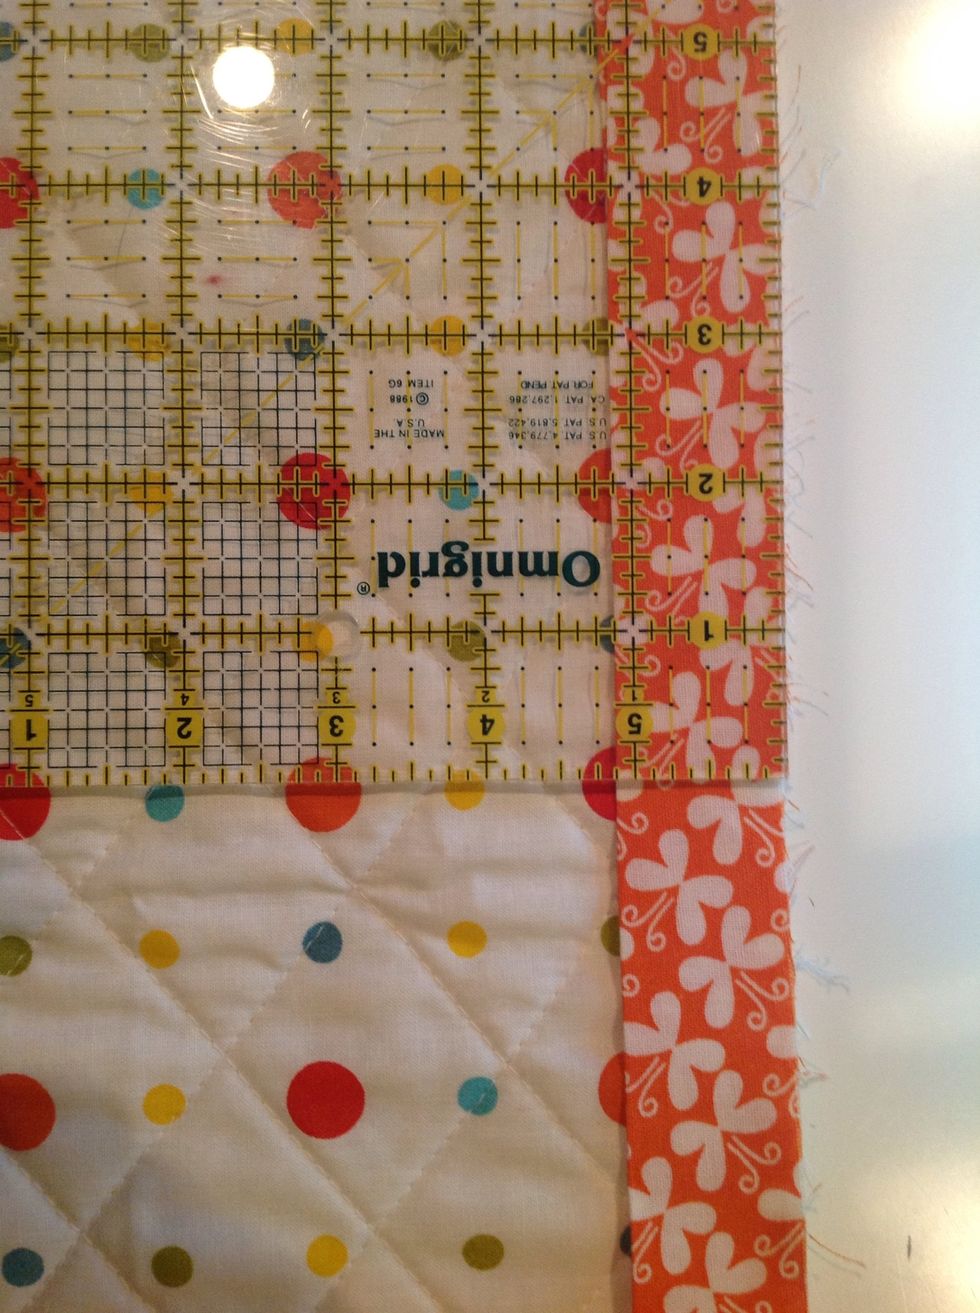
Fold the other end of the binding over the cut end. Measure from the cut end 2 and 1/2 inches. If you use a different width binding use that number.
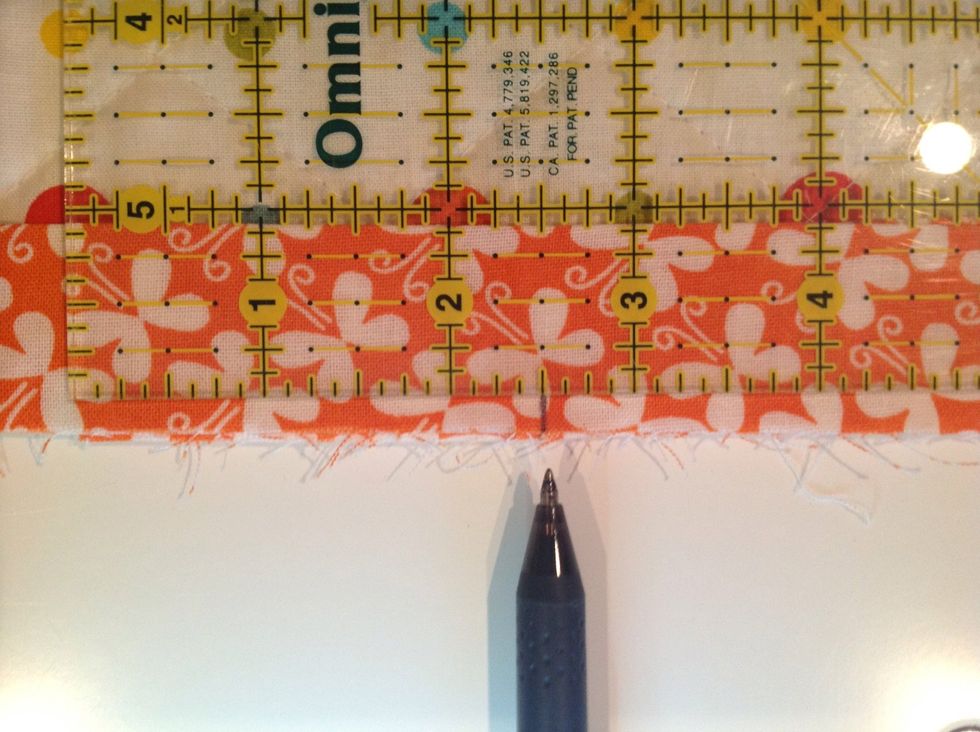
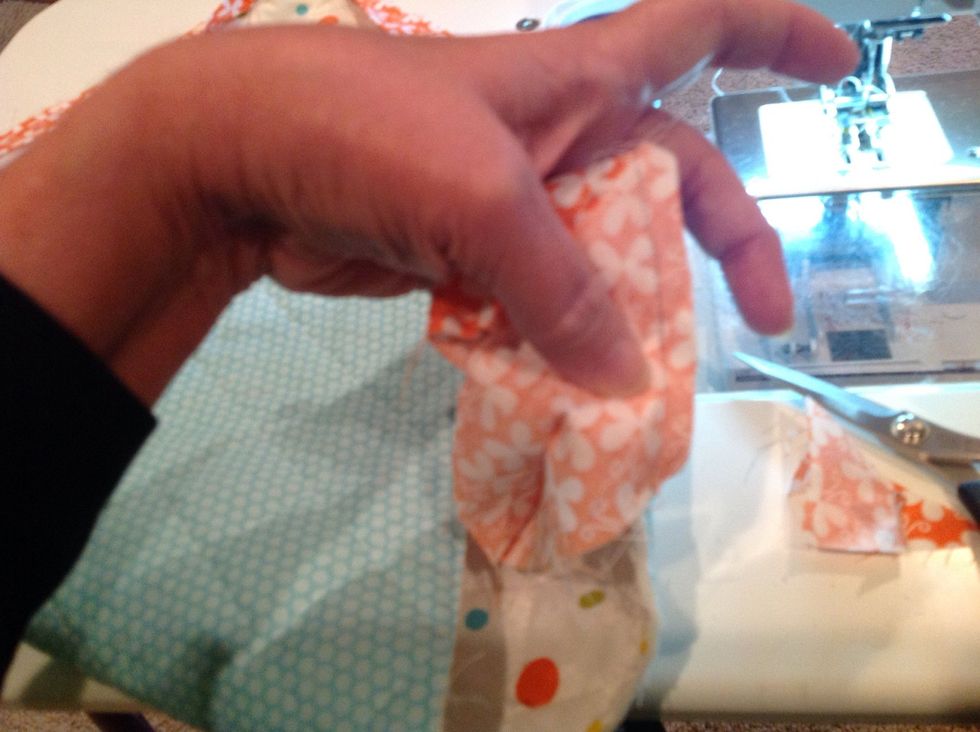
Make a mark at the 2 and 1/2 inch place on your ruler. Cut the top binding at this mark.
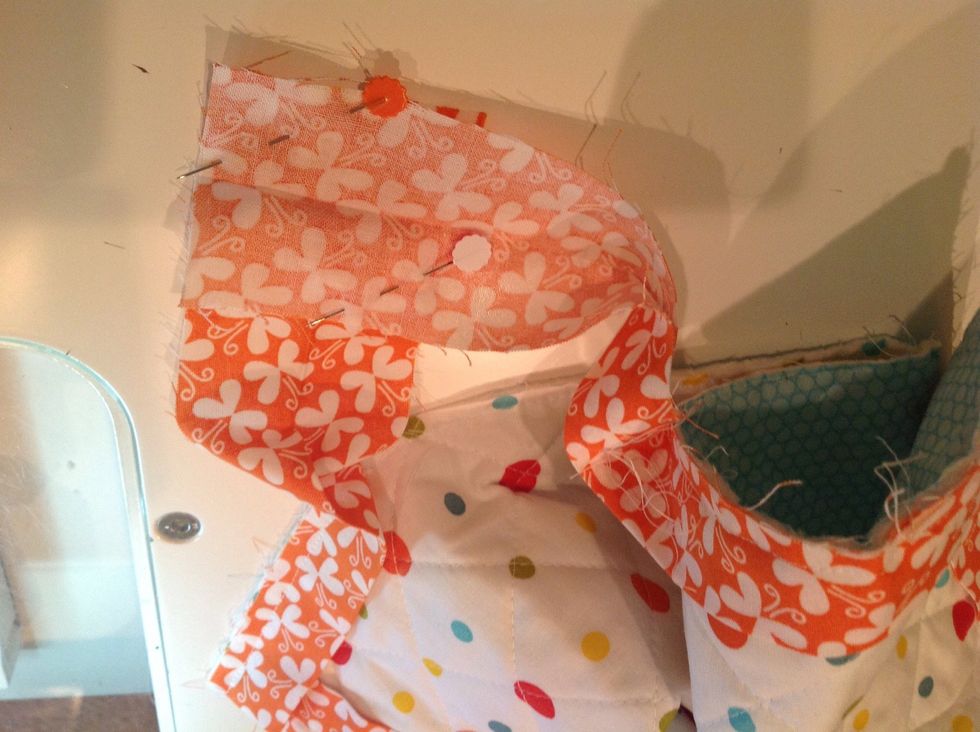
Place right sides together. Left side binding on the bottom and right on the top.

Mark with a pen from upper left to bottom right.
Sew with your walking foot on the mark.
When you take it out of the machine it should pop into place.
Cut the excess fabric off leaving a 1/4 inch seam.
Finger press open.

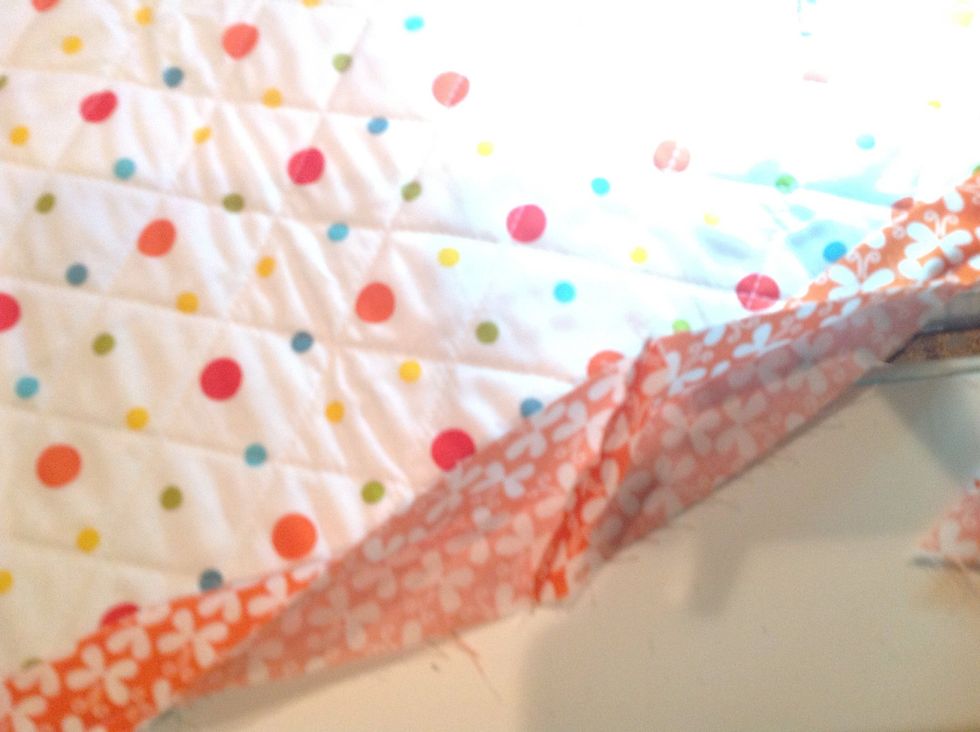
Sew the finished binding down on the remaining 12 inches.
Turn your binding to the back and hand stitch it all the way around