The Conversation (0)
Sign Up
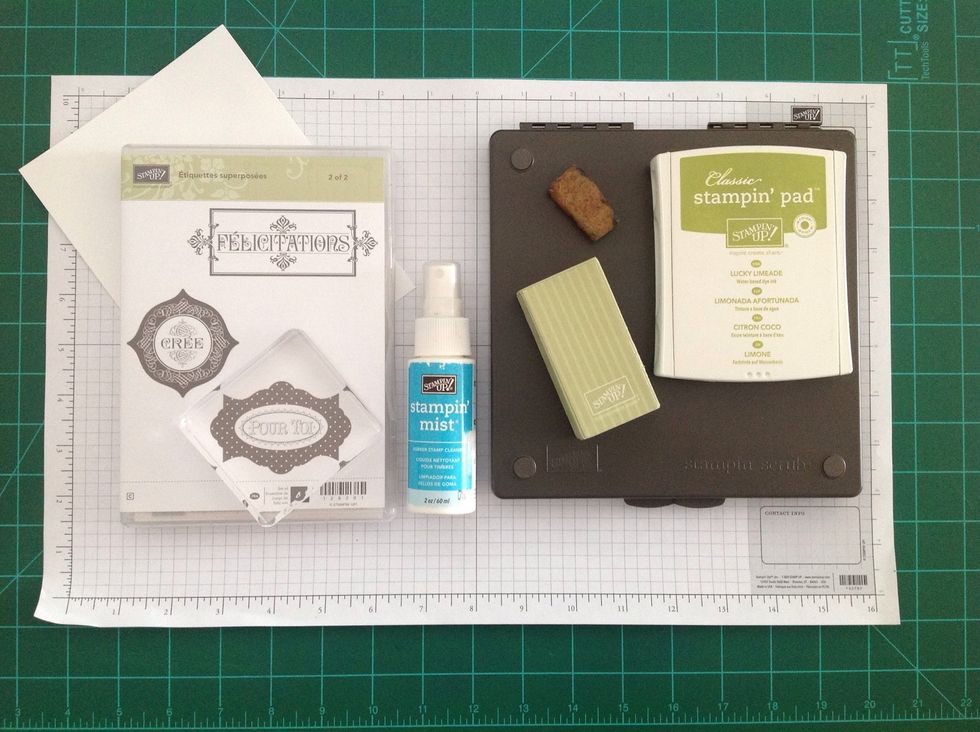
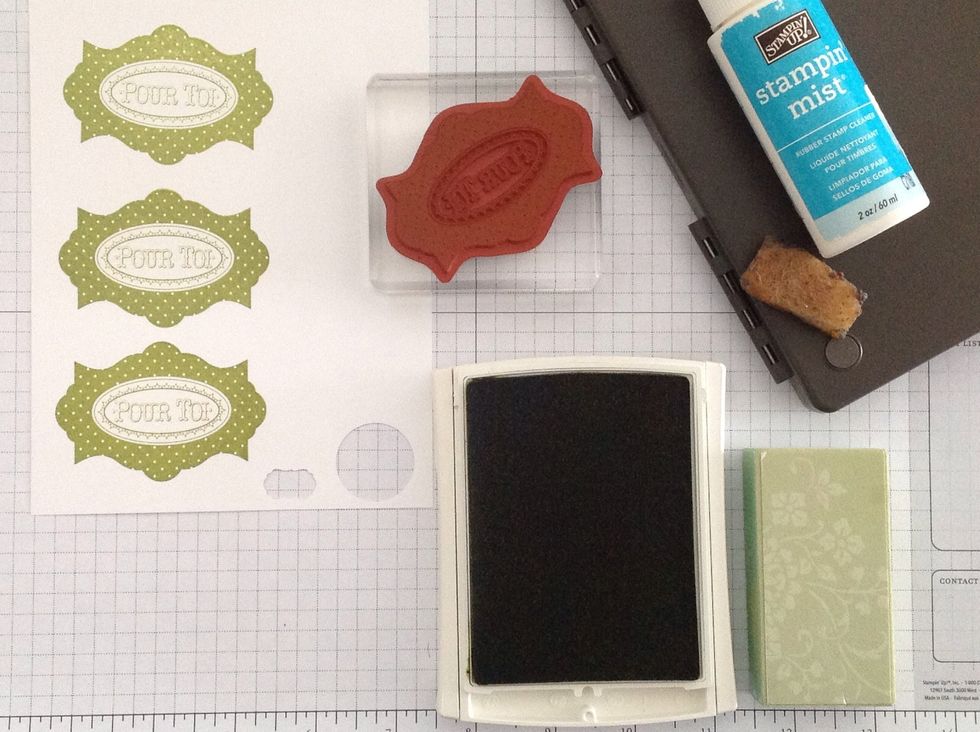
Here's the supply list... Conditioning rubber stamps following all these steps is especially important for images that have a lot of rubber surface contacting the paper.
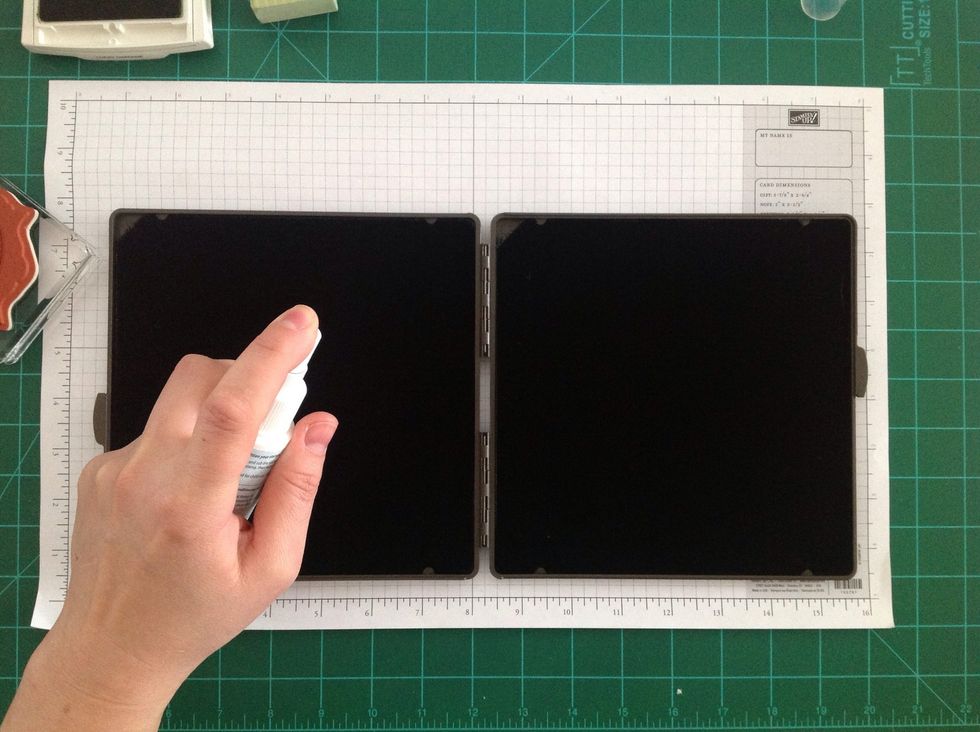
First apply Stampin' Mist to the wet side of the Stampin' Scrub. This is the BEST tool for keeping your stamps clean all the time!
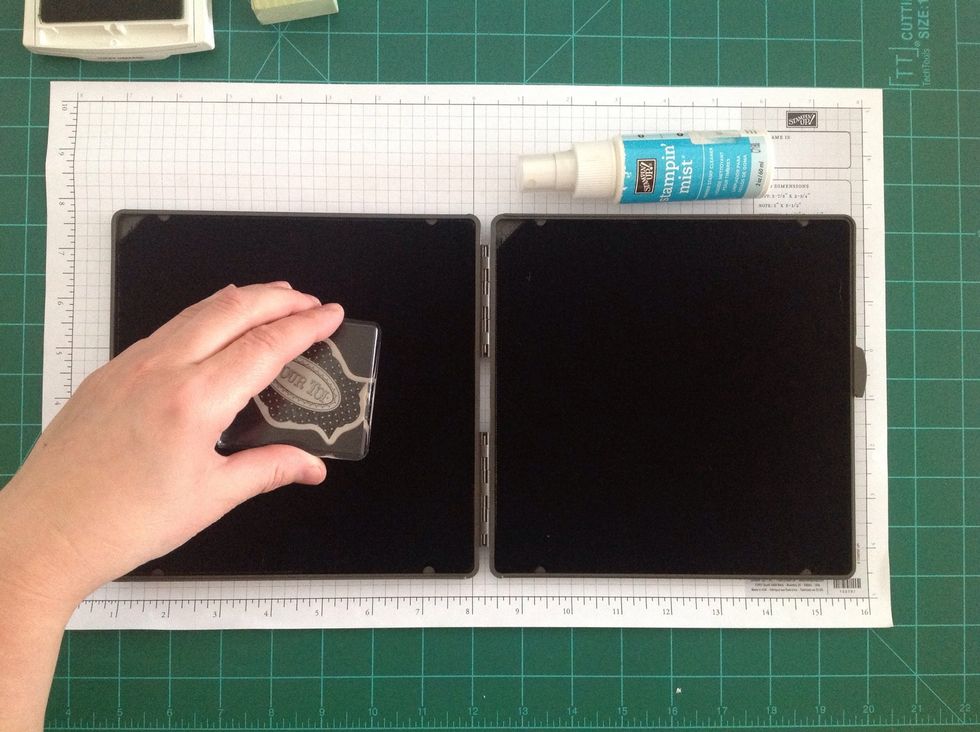
Then, clean your stamp, scrubbing first on the wet side, then dry side. This will remove oils and other coatings found on stamps from the manufacturing process.
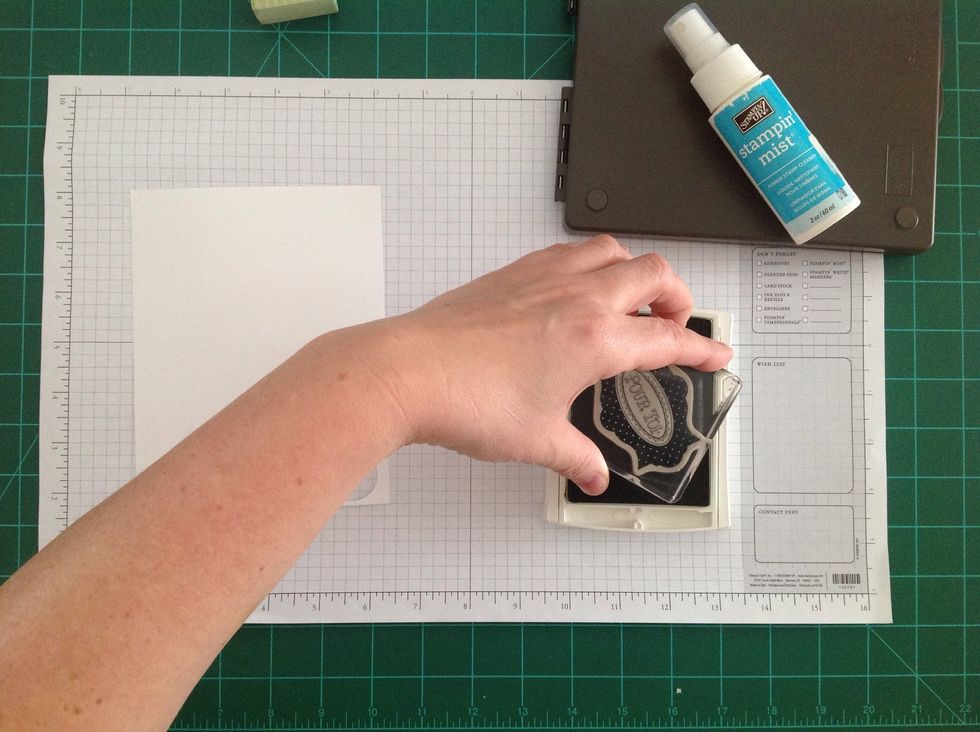
Now, test out the results...
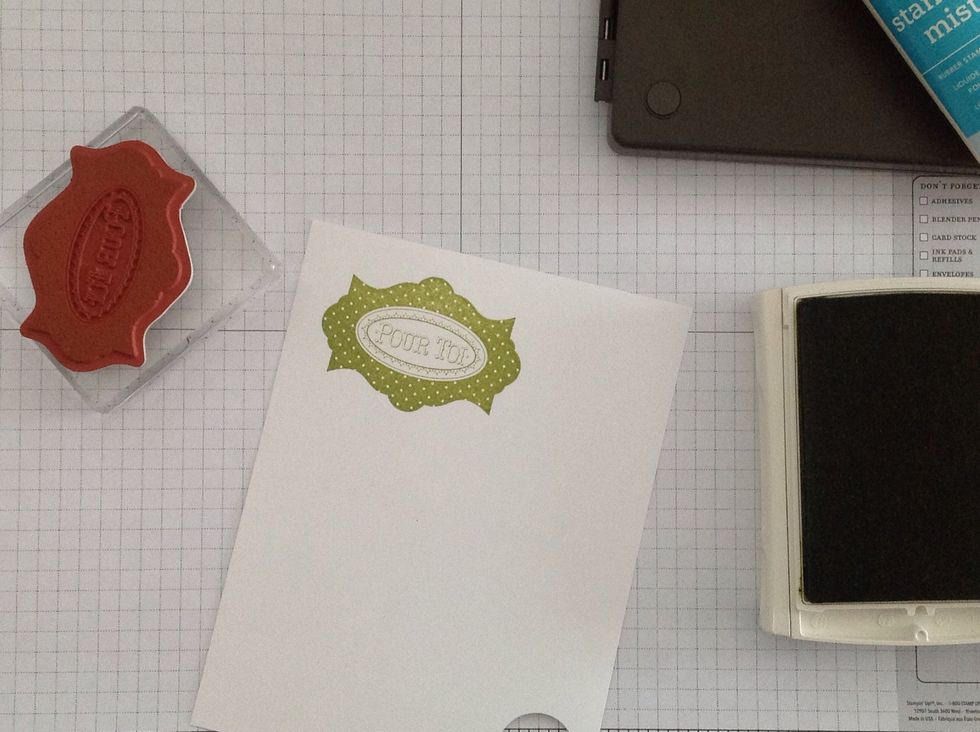
For stamps that are mostly line art, cleaning will be enough. But, in this case, the coverage is uneven, and the solid parts have some white peeking through, so we'll move on to the next step.
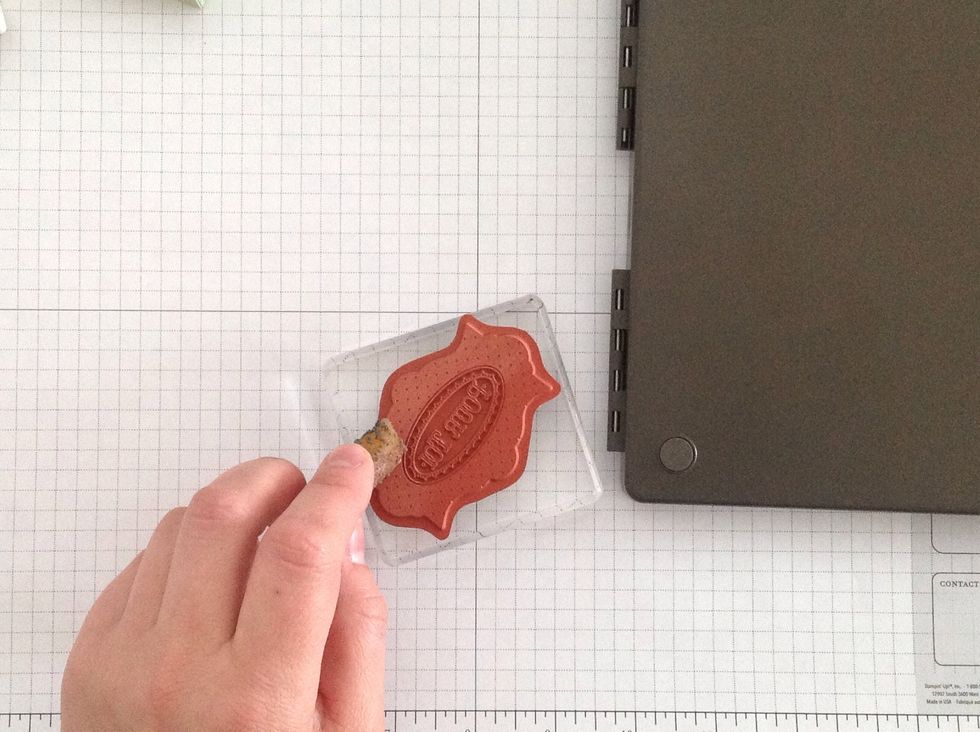
In this step, take your adhesive remover (it's like a gum eraser), and rub the stamp surface. It will change color noticeably. Rub until the entire image turns lighter orange.
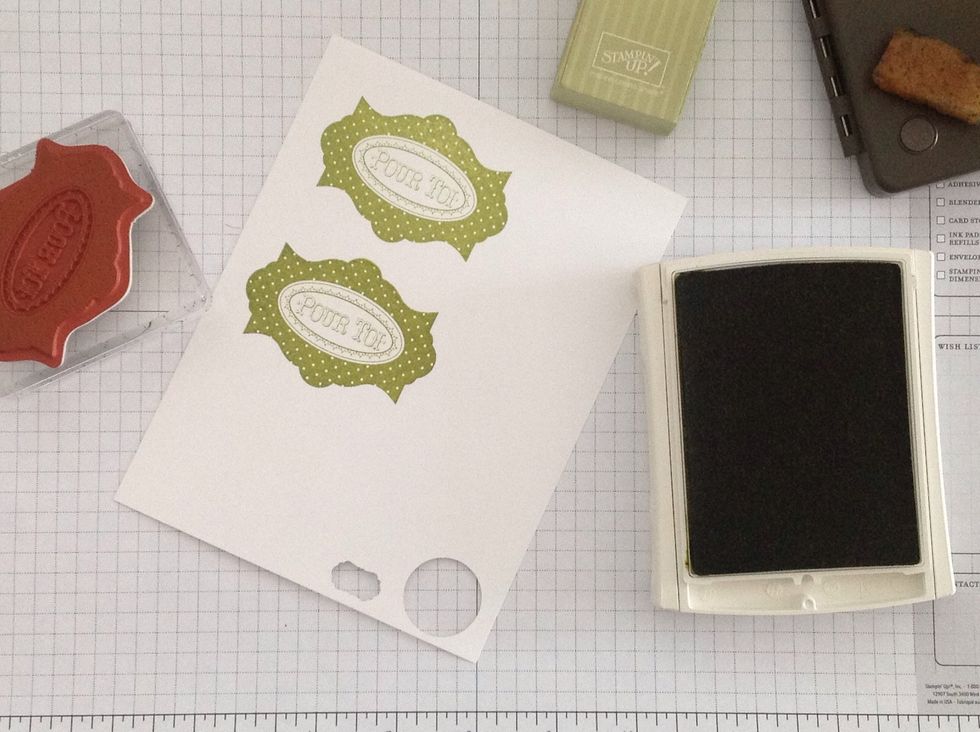
Clean the stamp on your Stampin' Scrub again, and then test the image. This time, it looks a lot better! But, I still notice that the polka dots are not as crisp as they could be, so, one more step.
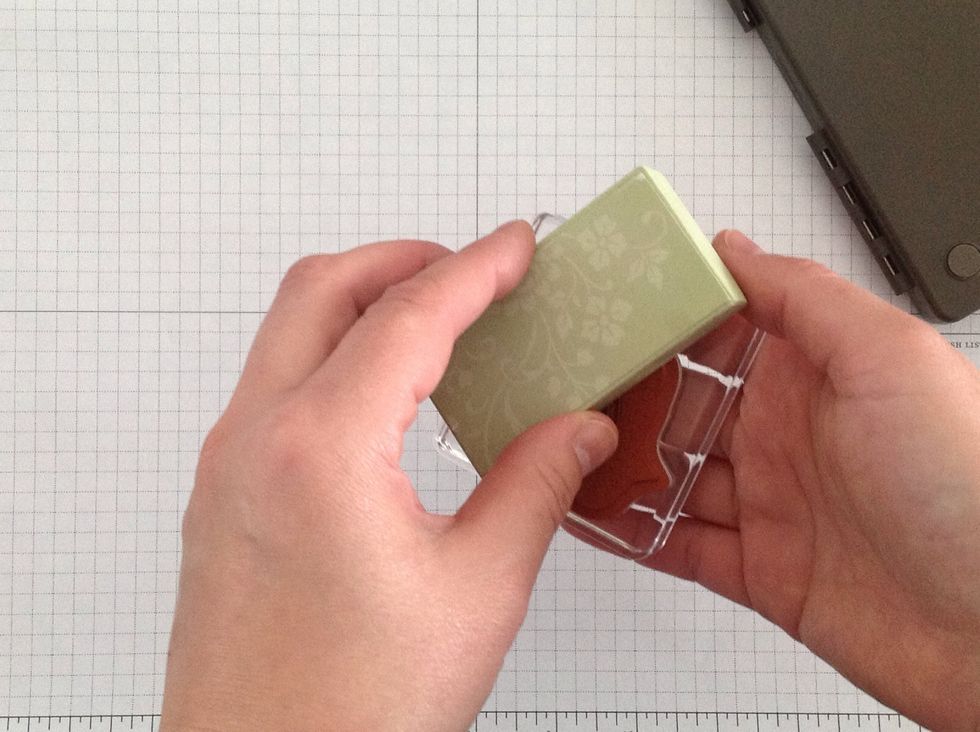
Clean the stamp to get rid of the ink, then, using the striped side of the Sanding Block, VERY LIGHTLY sand the stamp. It will turn light orange again. Use a light touch, and you won't ruin the stamp.
Clean the stamp once more, and test your final results!
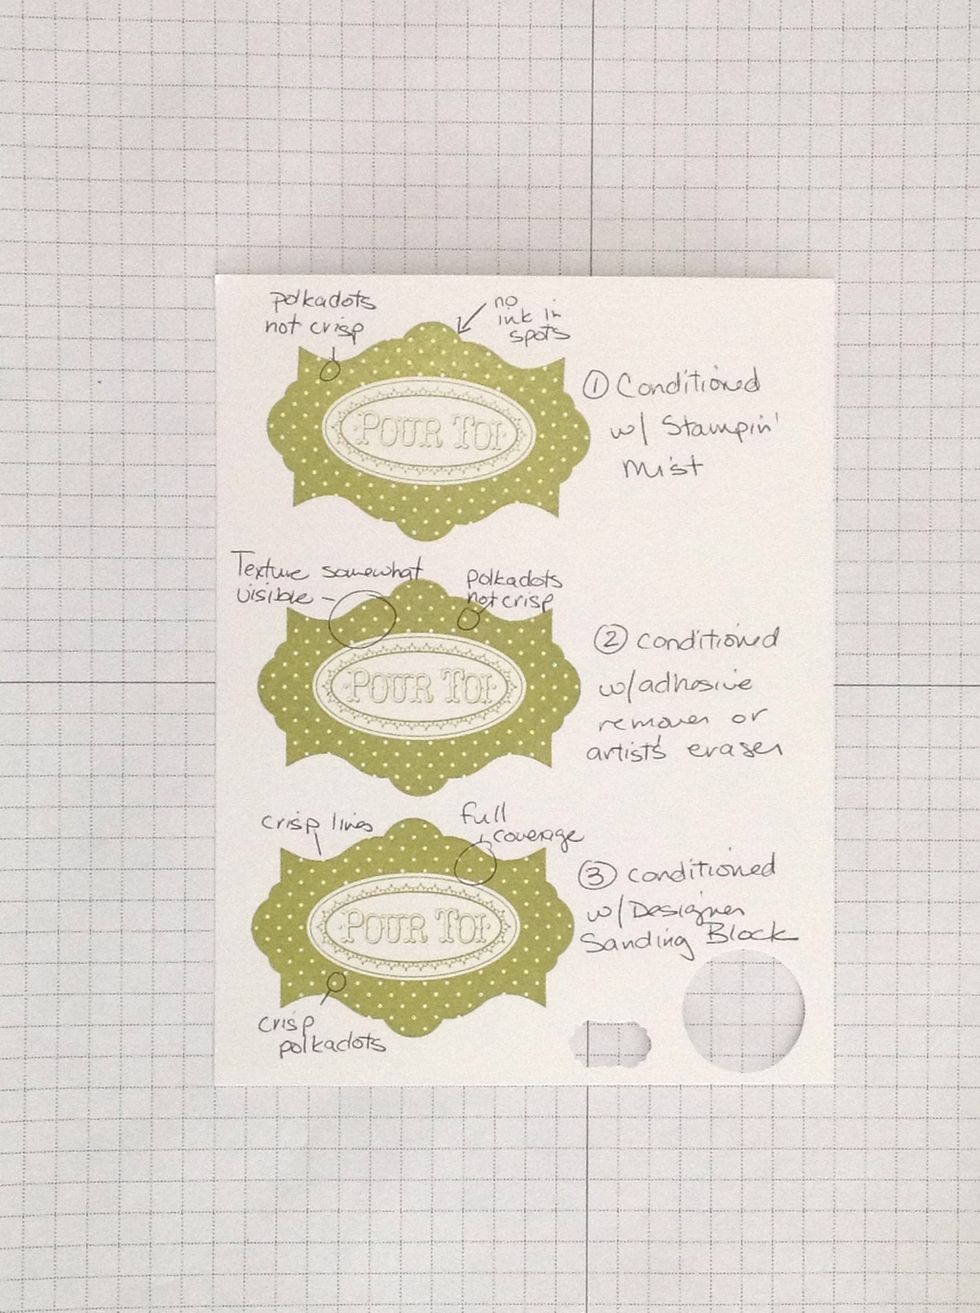
Here's my three progressive tests. You can see that a few minutes of conditioning really improved the quality of the stamped image. Now, off to stamp!!!
To purchase the supplies to condition your stamps, check out my blog at: PixelMavensRetreat.com