The Conversation (0)
Sign Up
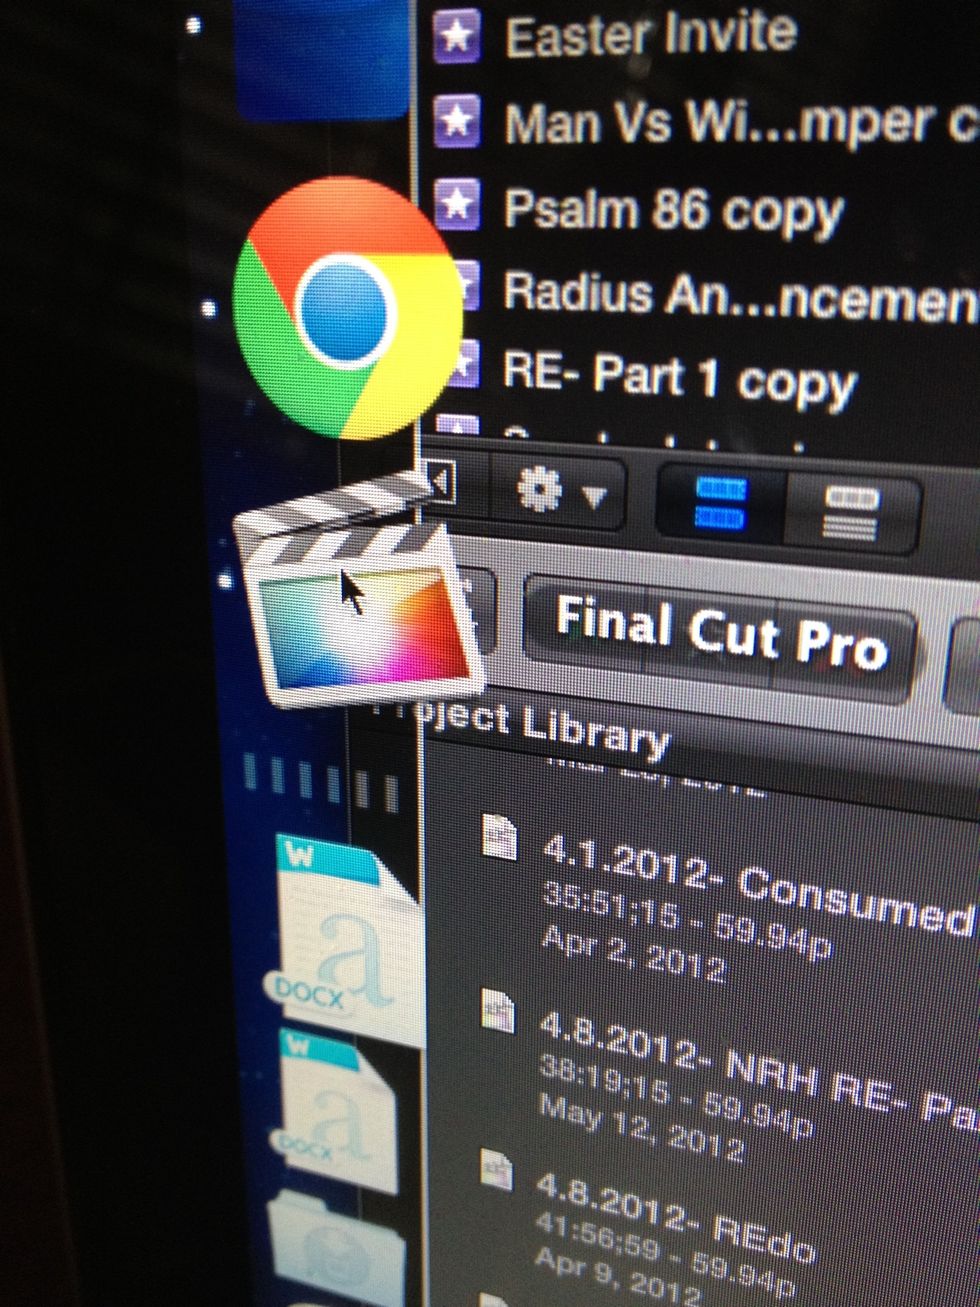
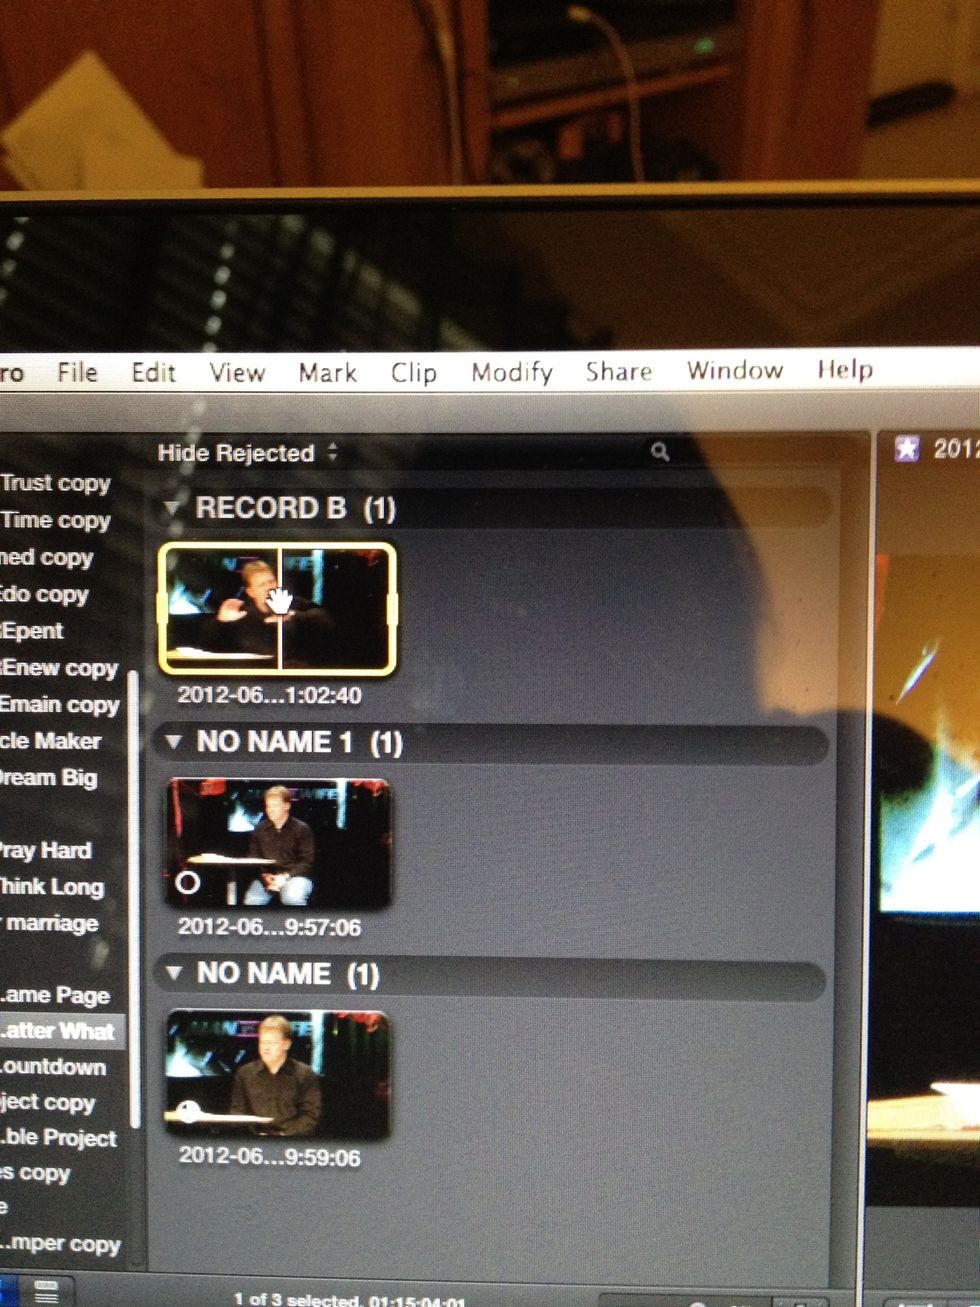
Open Final Cut Pro

Plug in Record B SD card
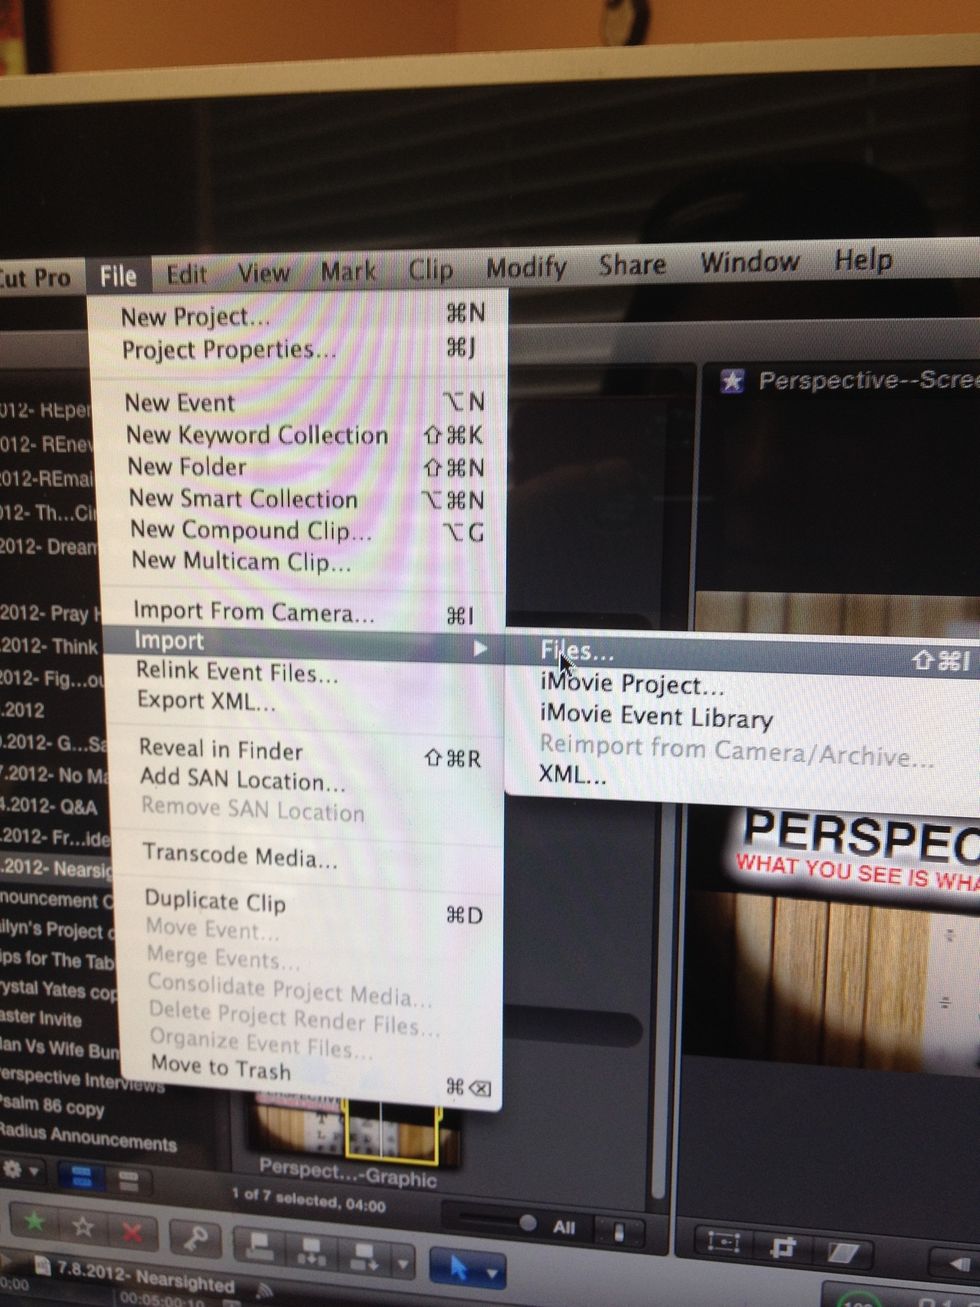
Hit the camera icon (or File>Import>Files)
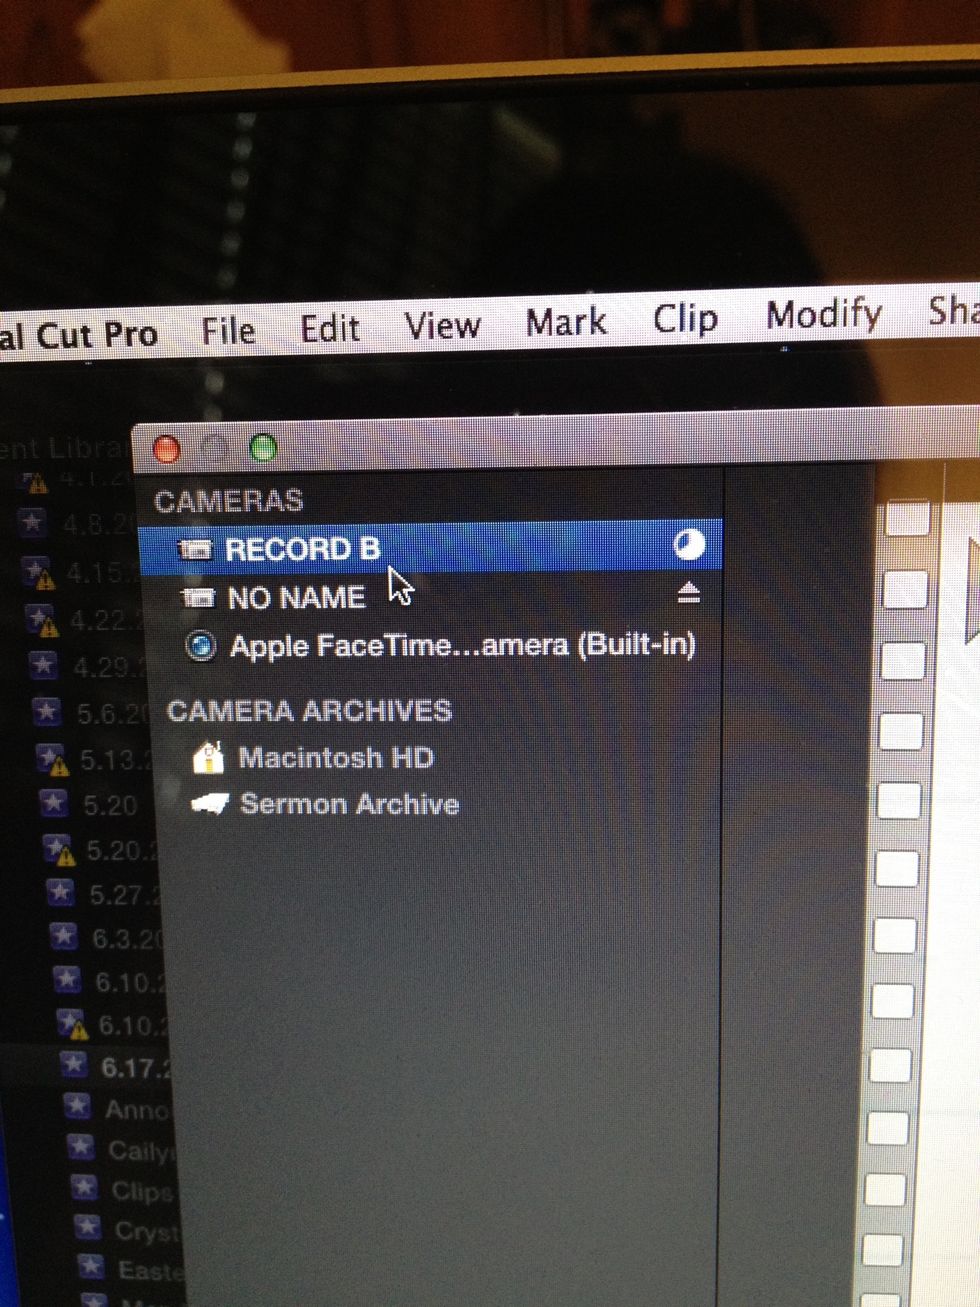
Select the card
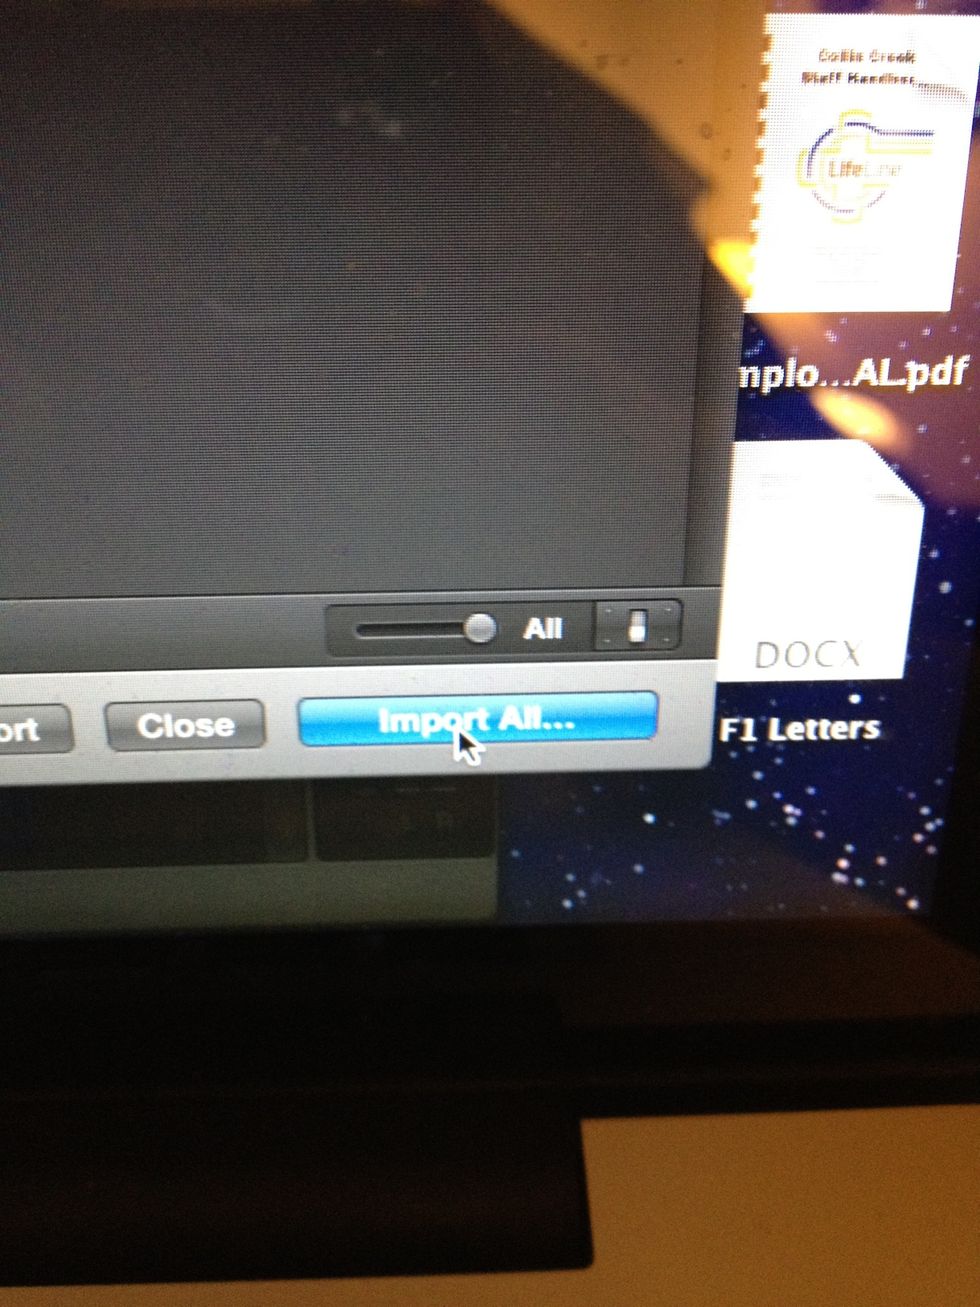
Click Import All...

Create a New Event with "xx.xx.2012- Sermon Name". Saved to External Disk. Select Create Proxy Media. Click Import.
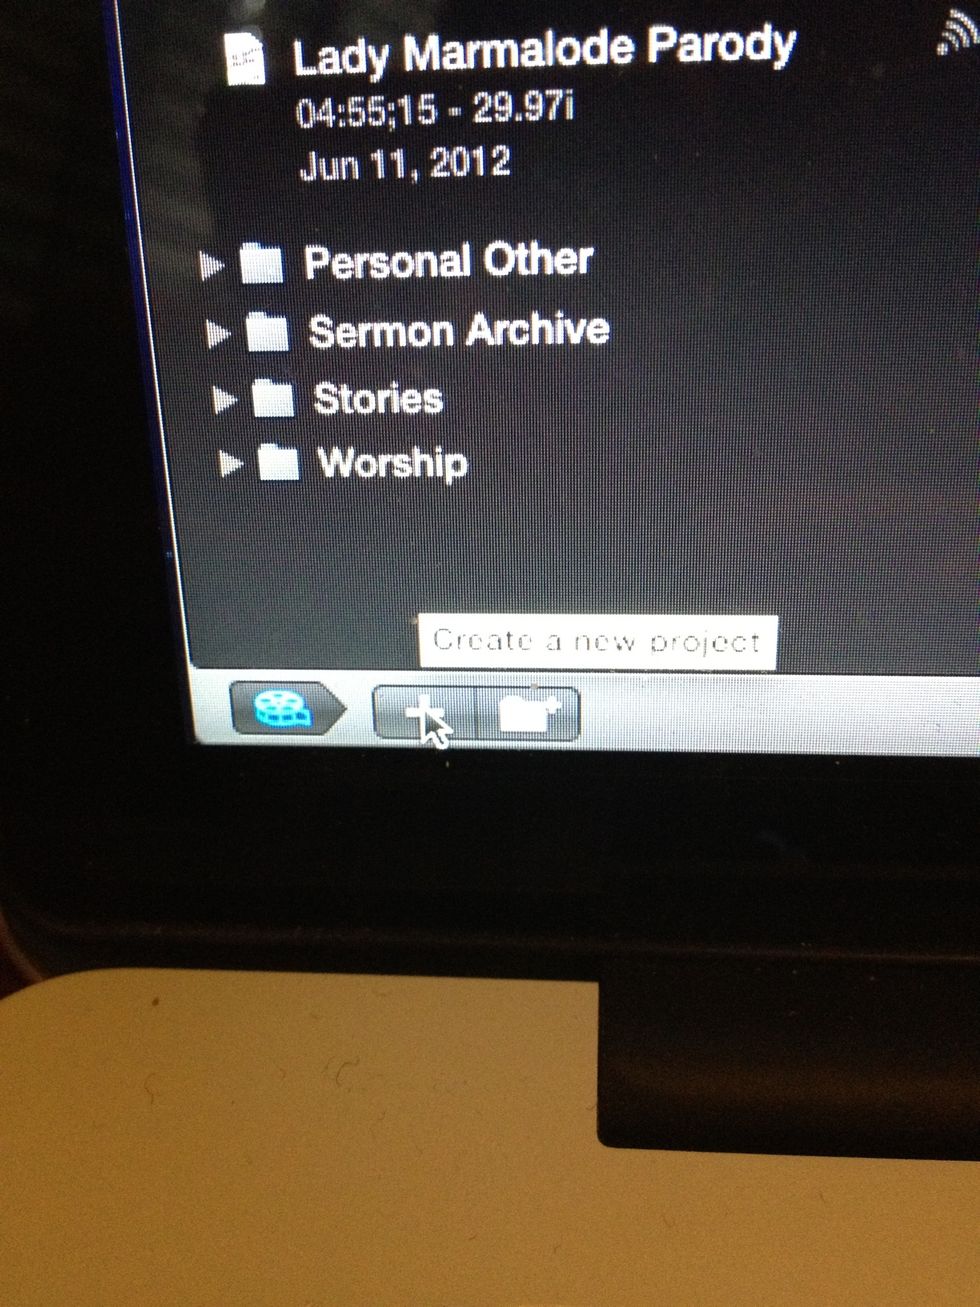
Create a New Project

Name "xx.xx.2012- Sermon Name", default settings: Set based on first video clip. Hit Ok
Important! Choose the Record B (or A if we are using 1st service) first. The first video dragged into the timeline sets the video size.

Click and drag Record B into the timeline project

HINT:adjust zoom timeline level

Move cursor until you find the bumper- click

Hit command-B and it will slice the video where you clicked
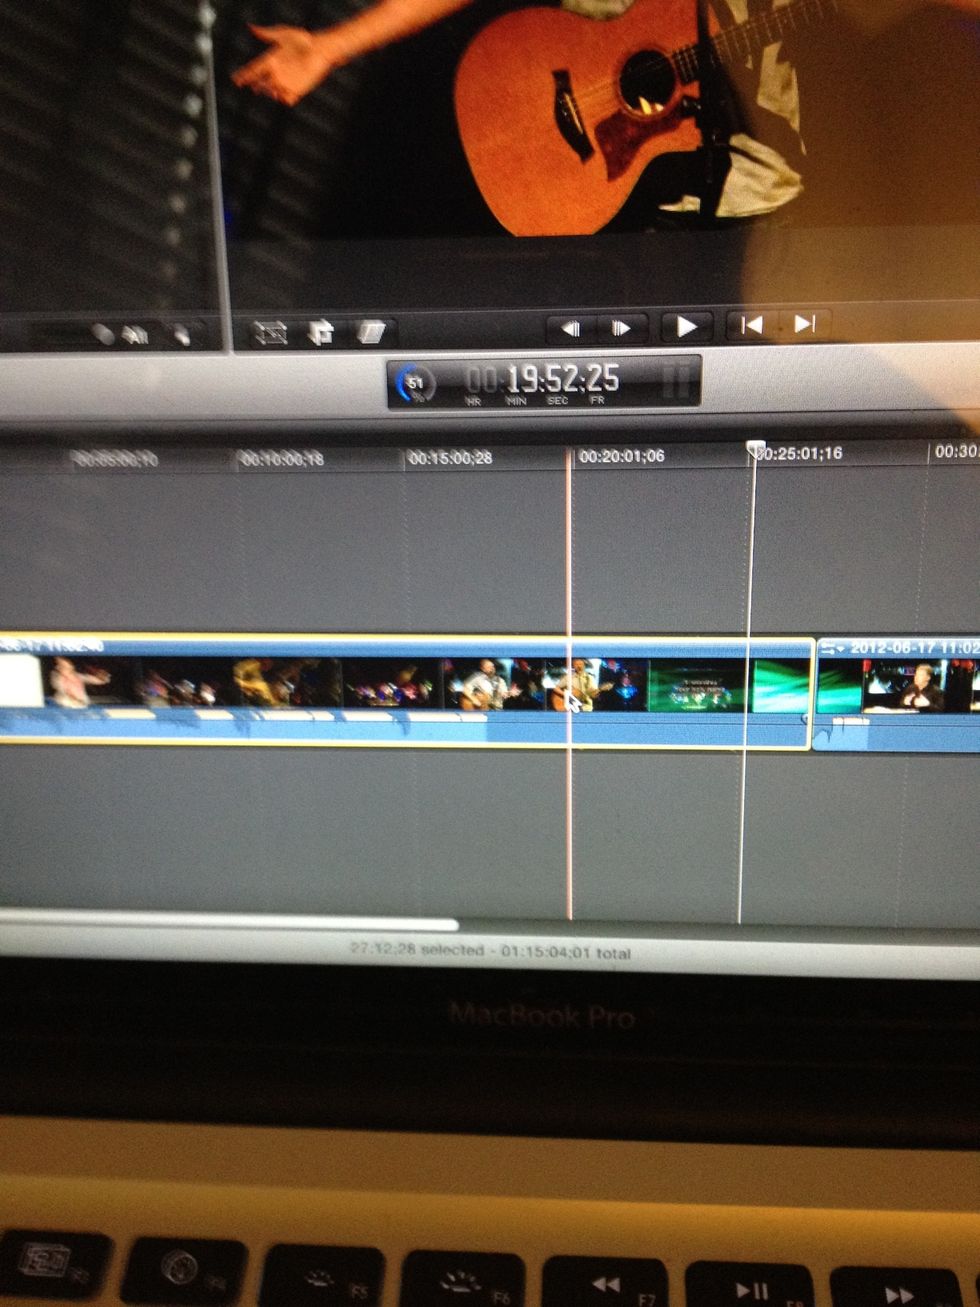
Delete first portion (worship set)

Do the same at the end. Find where the Final graphic went up. Place cursor and click. Hit command-B again.
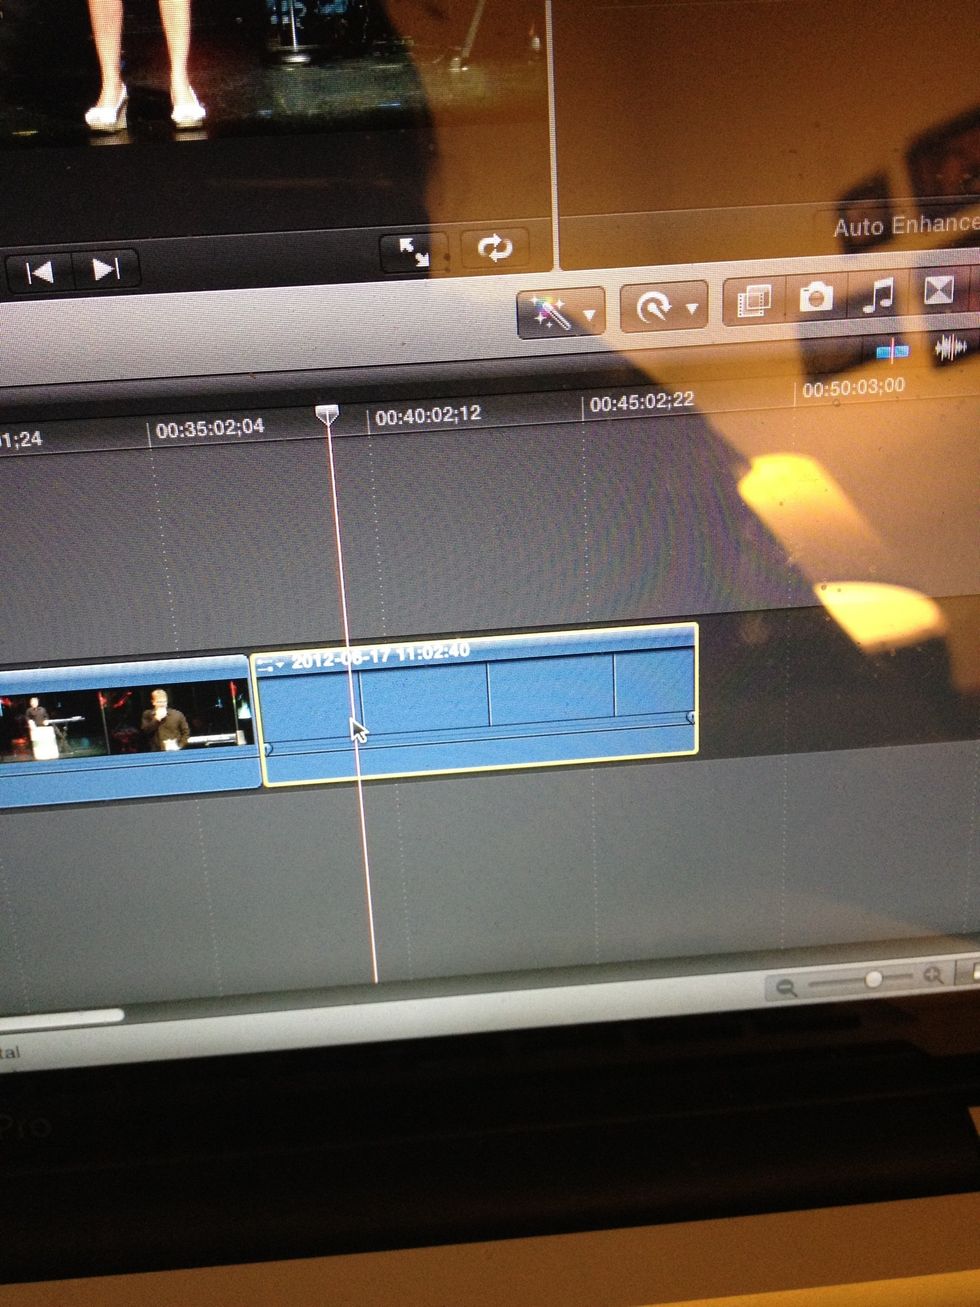
Delete ending (if needed)
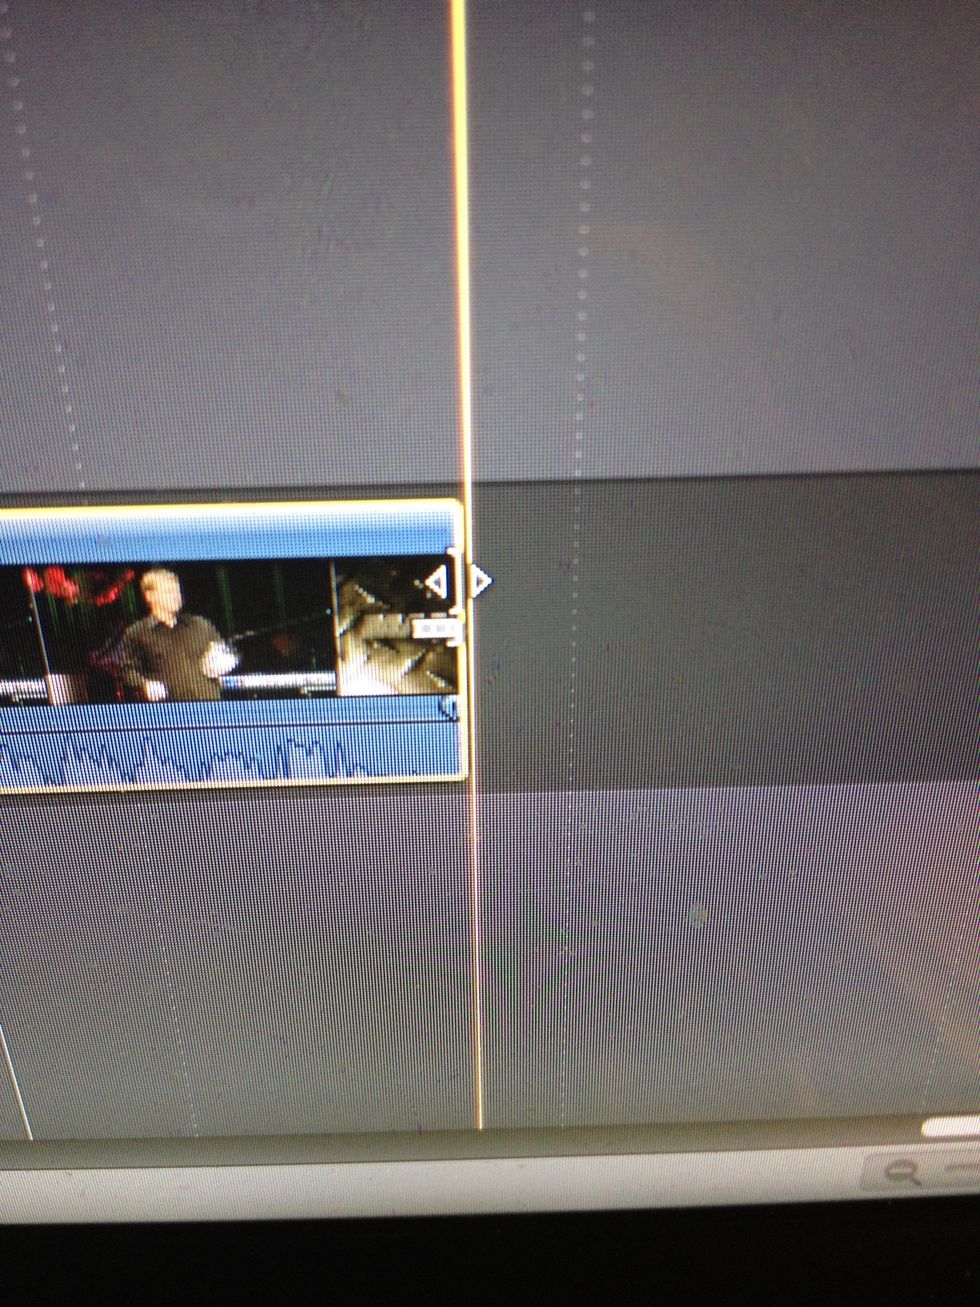
Fine trim the beginning or ending by placing cursor over the end, clicking and dragging left or right.
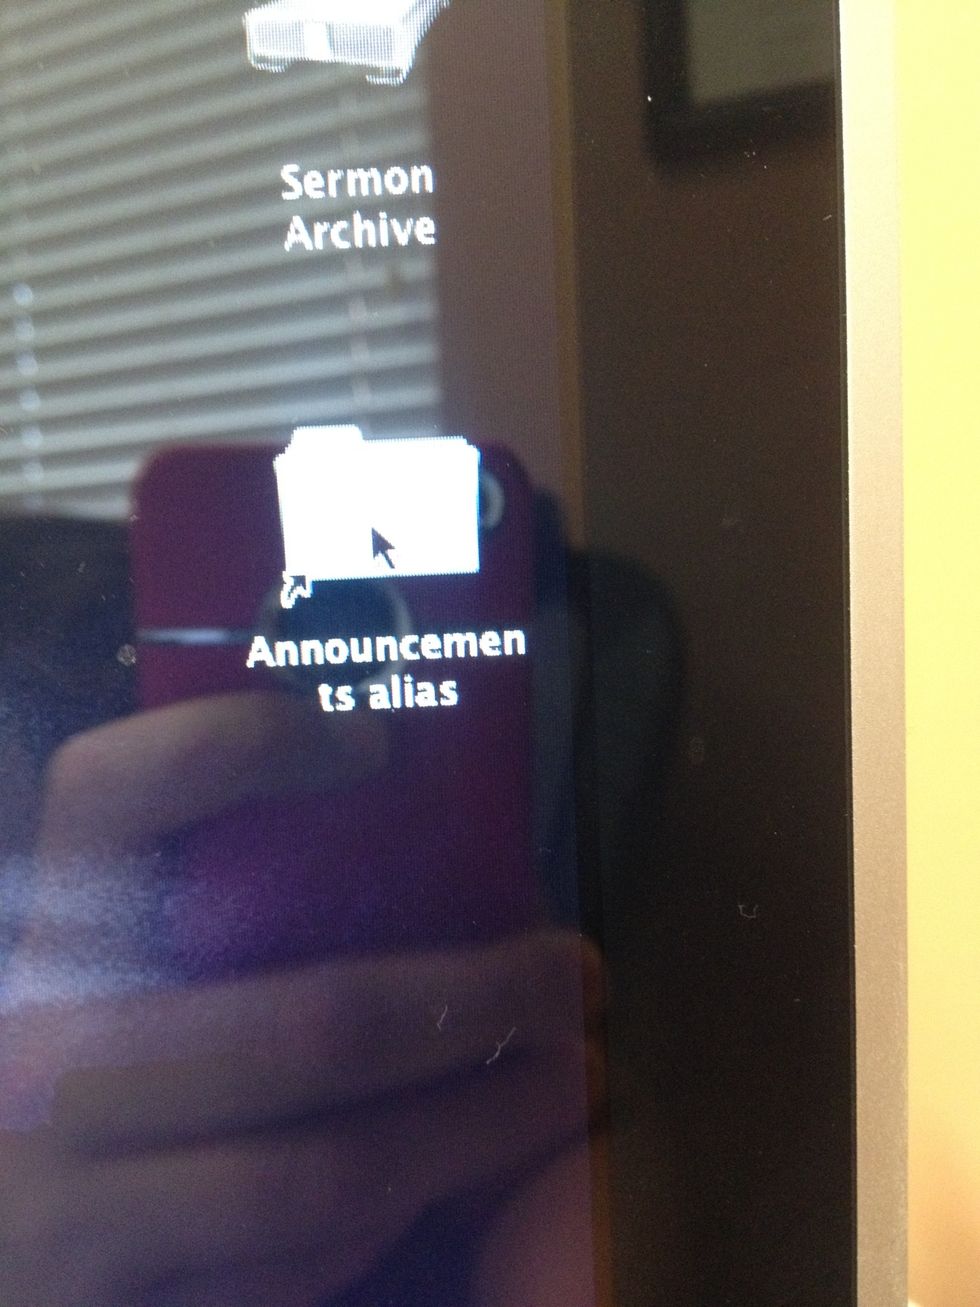
Grab Sermon Graphic from the Announcement alias (username ATrimble; password: worship). It will be under the year then date folder
Import the sermon graphic
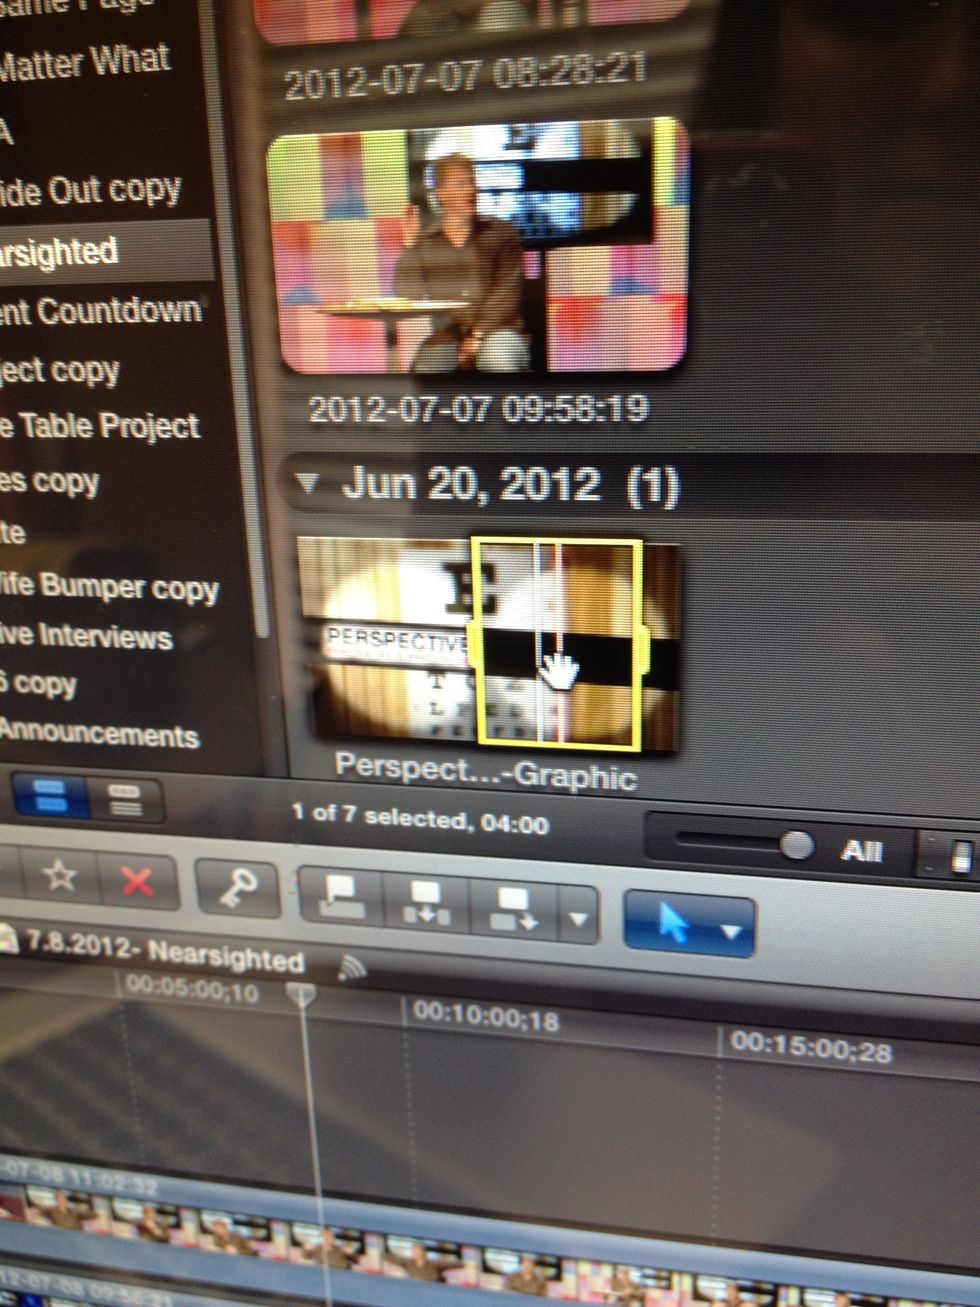
Select sermon graphic and...
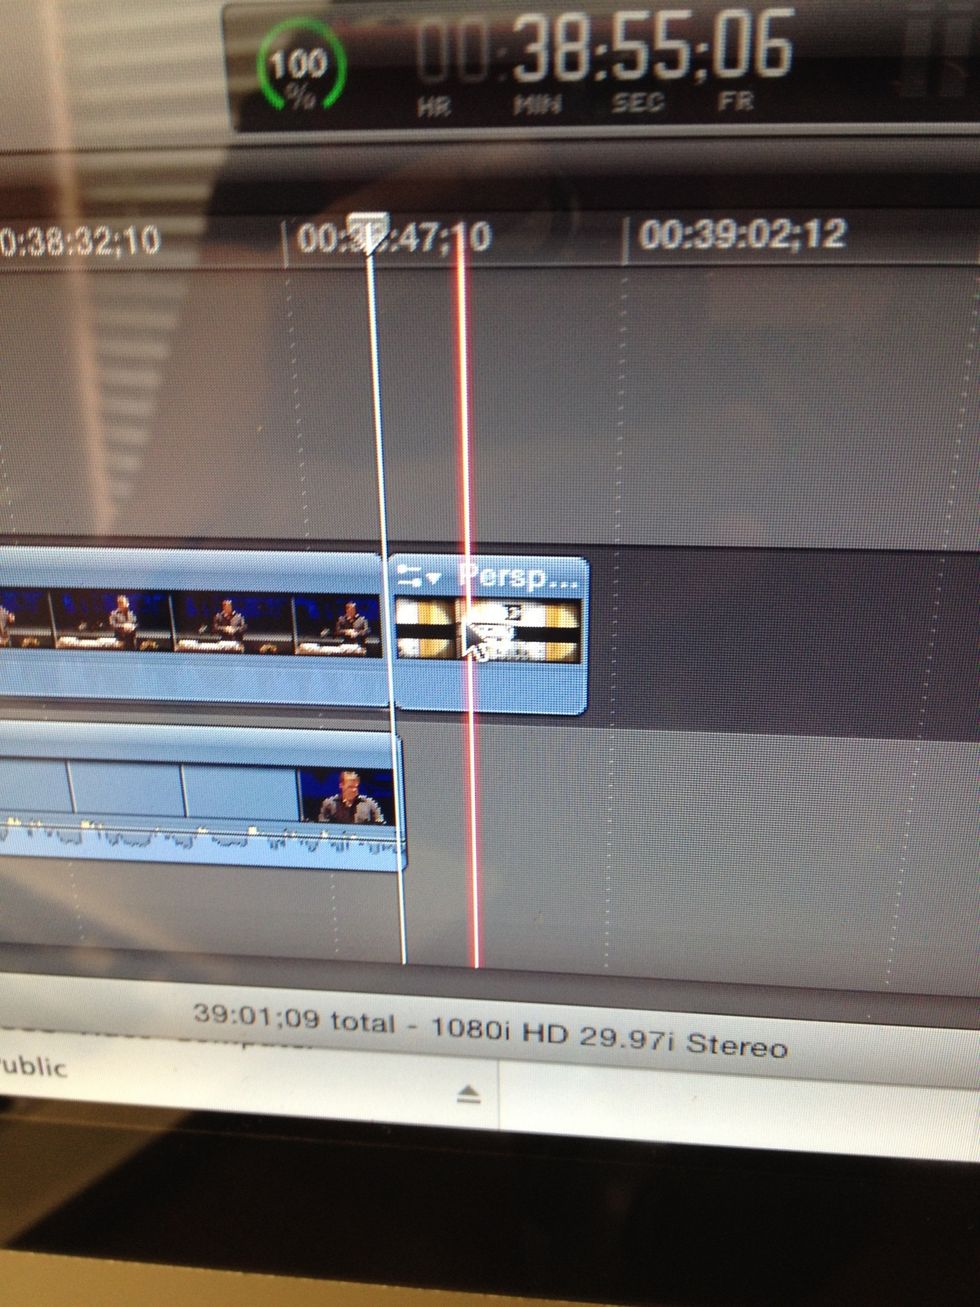
Drag to end of video file- extend it at least 10 seconds

Select the edge between the video and graphic and hit Command T to create a transition
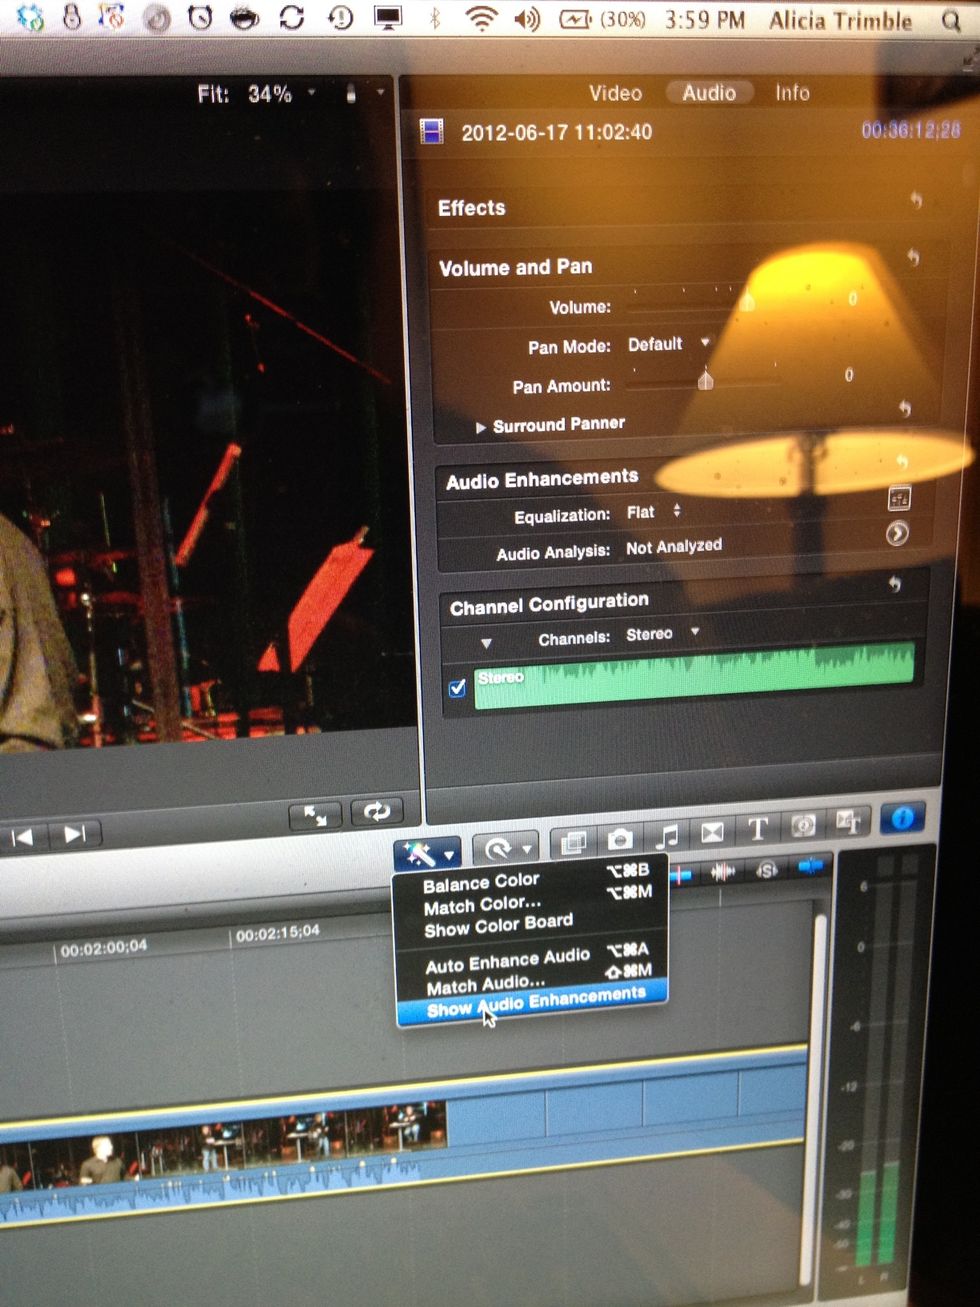
IF audio seems low (lower than -6) do the next few steps: Click on video. Click on Show Audio Enhancements.
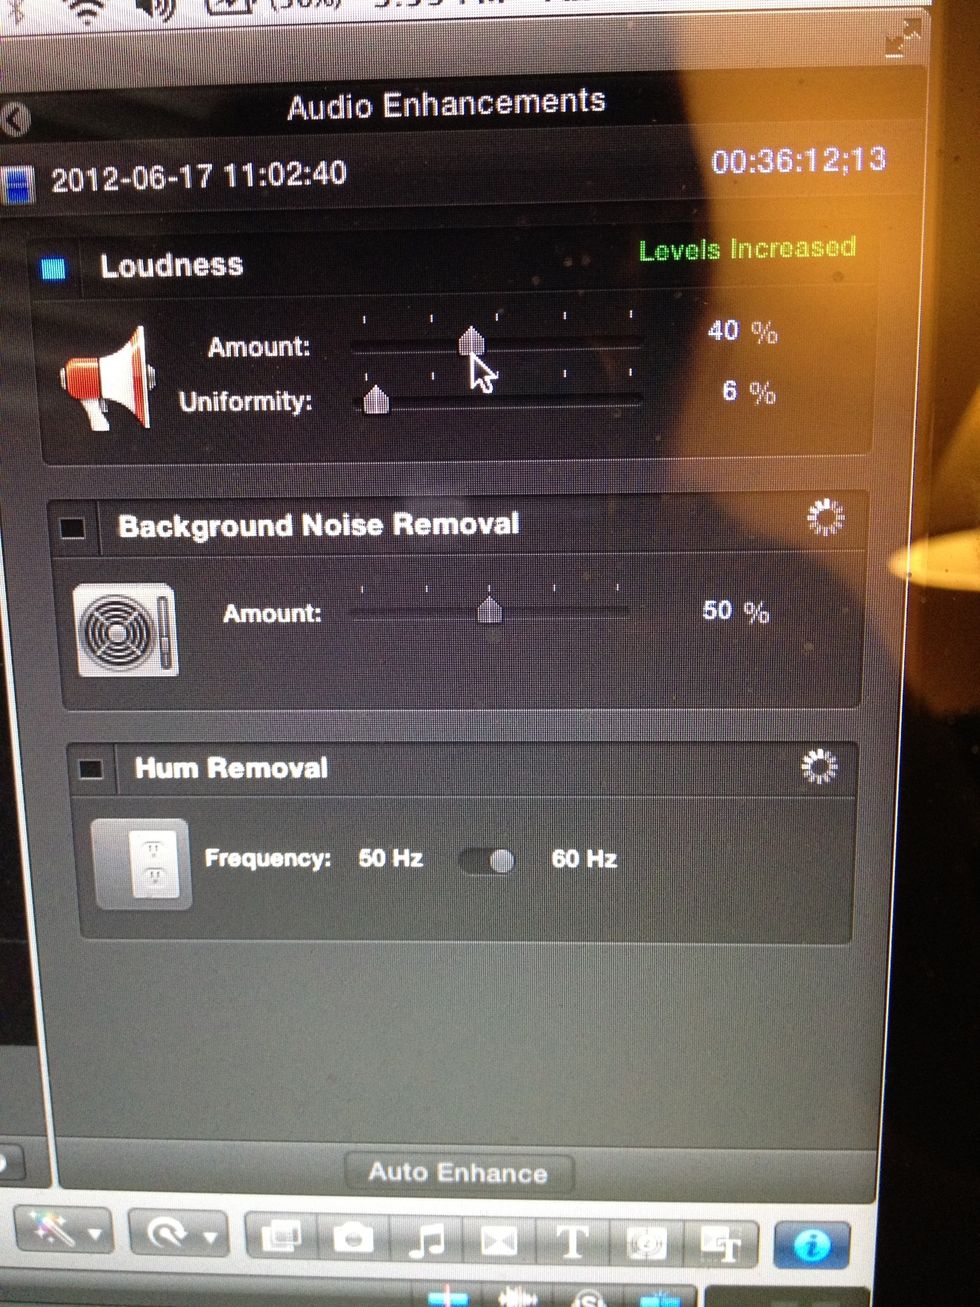
Select Loudness, amount=40%; Uniformity=6%
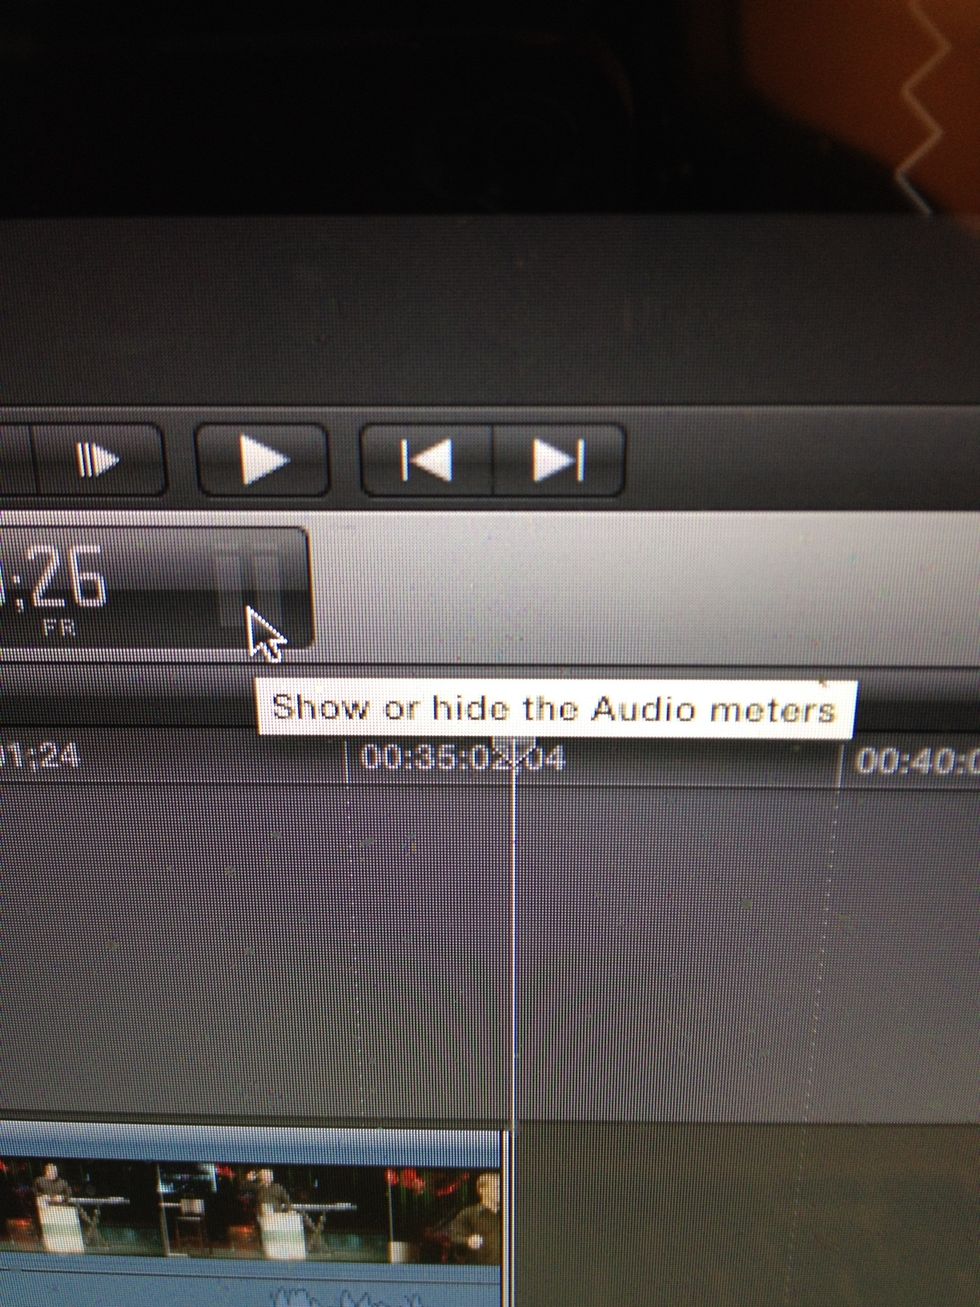
HINT: show or hide audio meters

HINT: see what background tasks are running. These should all be completed before exporting
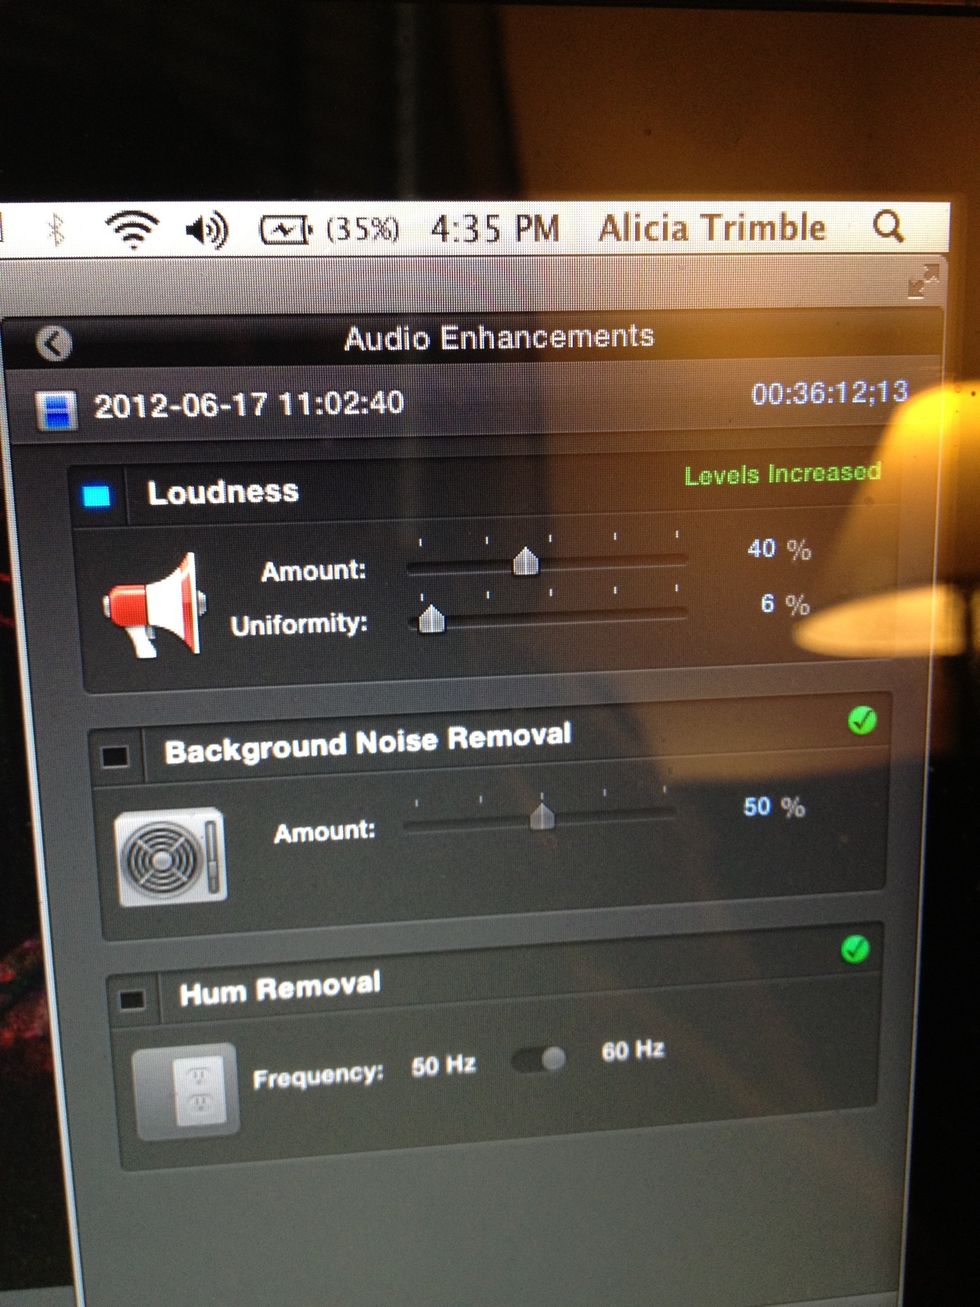
After background tasks are complete, check Audio Enhancements once again to ensure that they are still 40% and 6%

Web version: Share>Export Using Compressor Settings

Choose "Media Social"
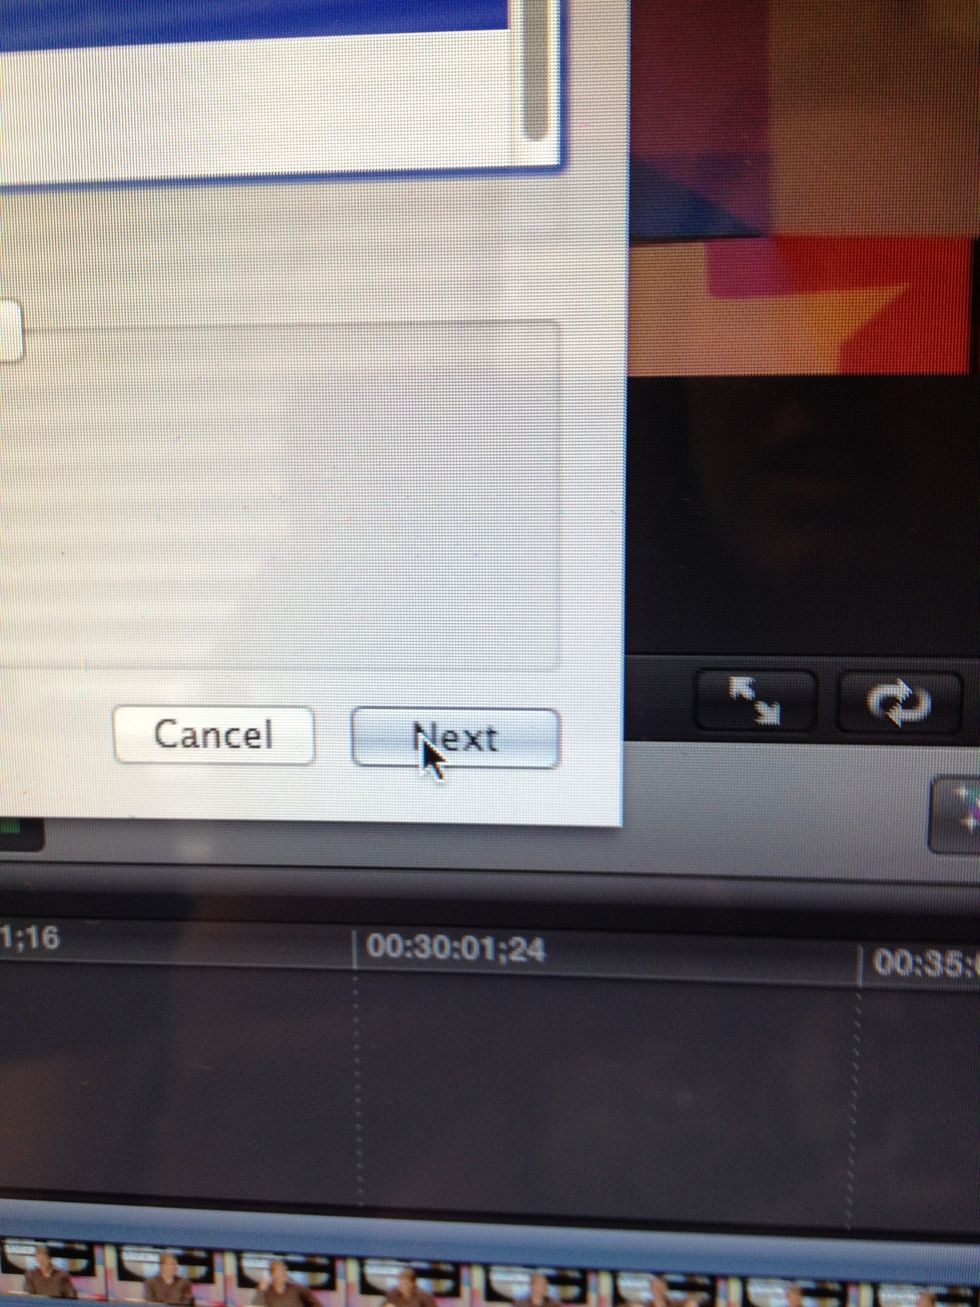
Hit Next

Name "xx.xx.2012- Sermon Name", save to desktop, hit save
Watch pieces of the video to ensure it looks and sounds okay.
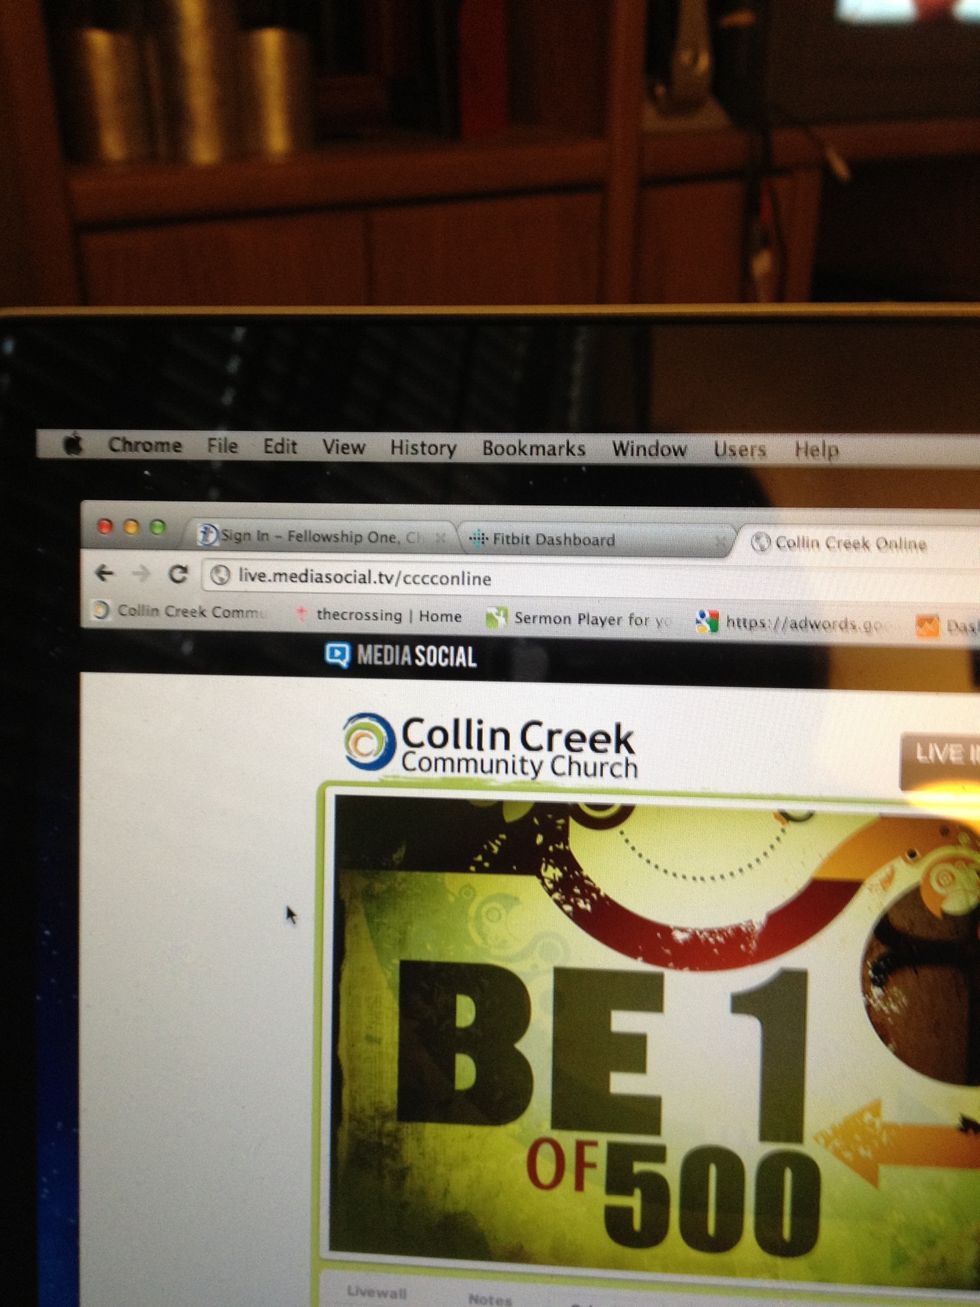
Once iPhone version is completed: go to live.mediasocial.tv/cccconline

Click admin at the bottom of the page. Username: cccc@cccconline.org; password:
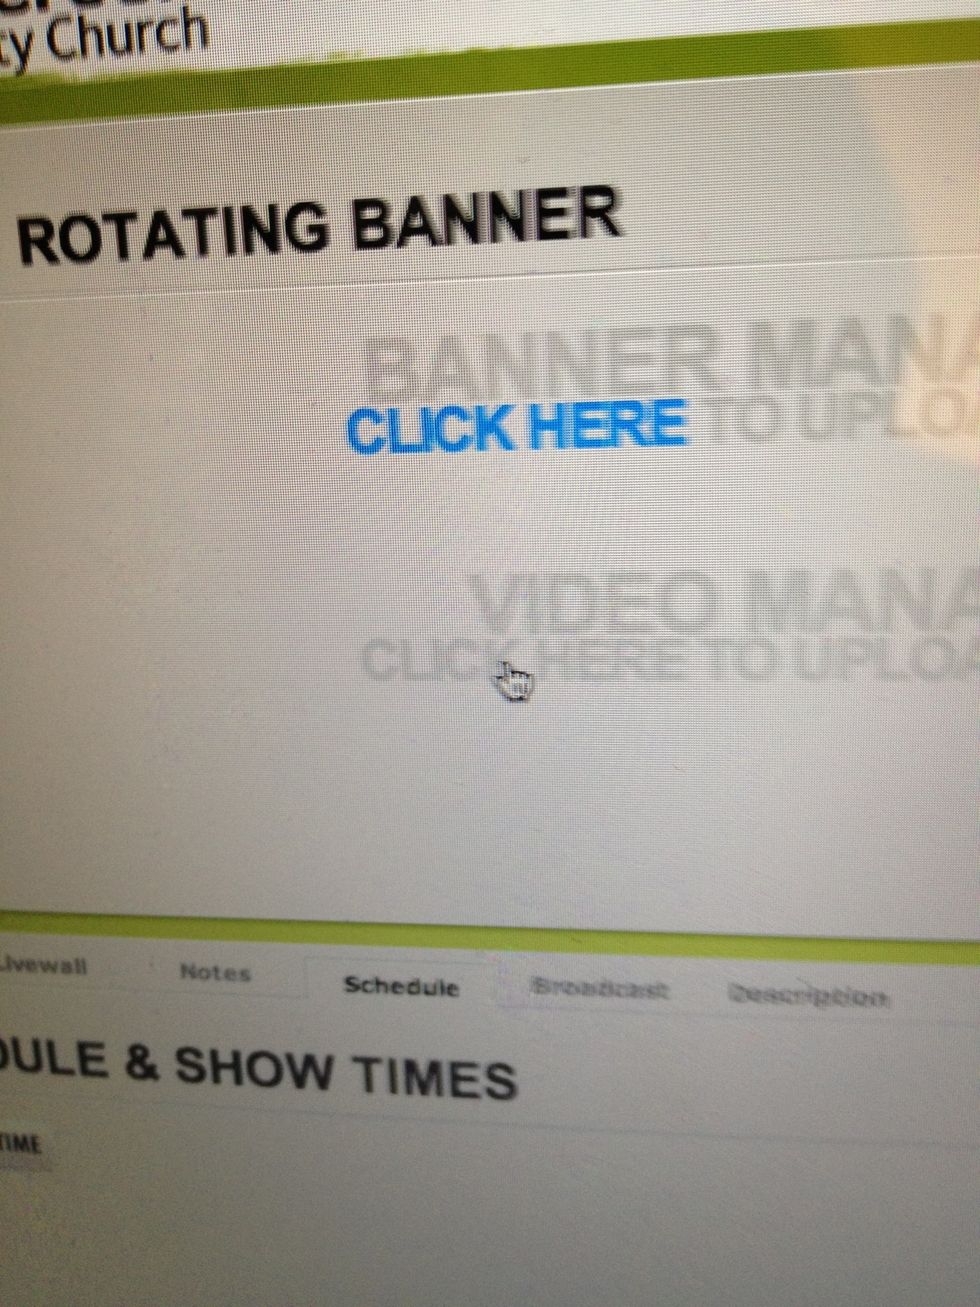
Click Here on Video Manager
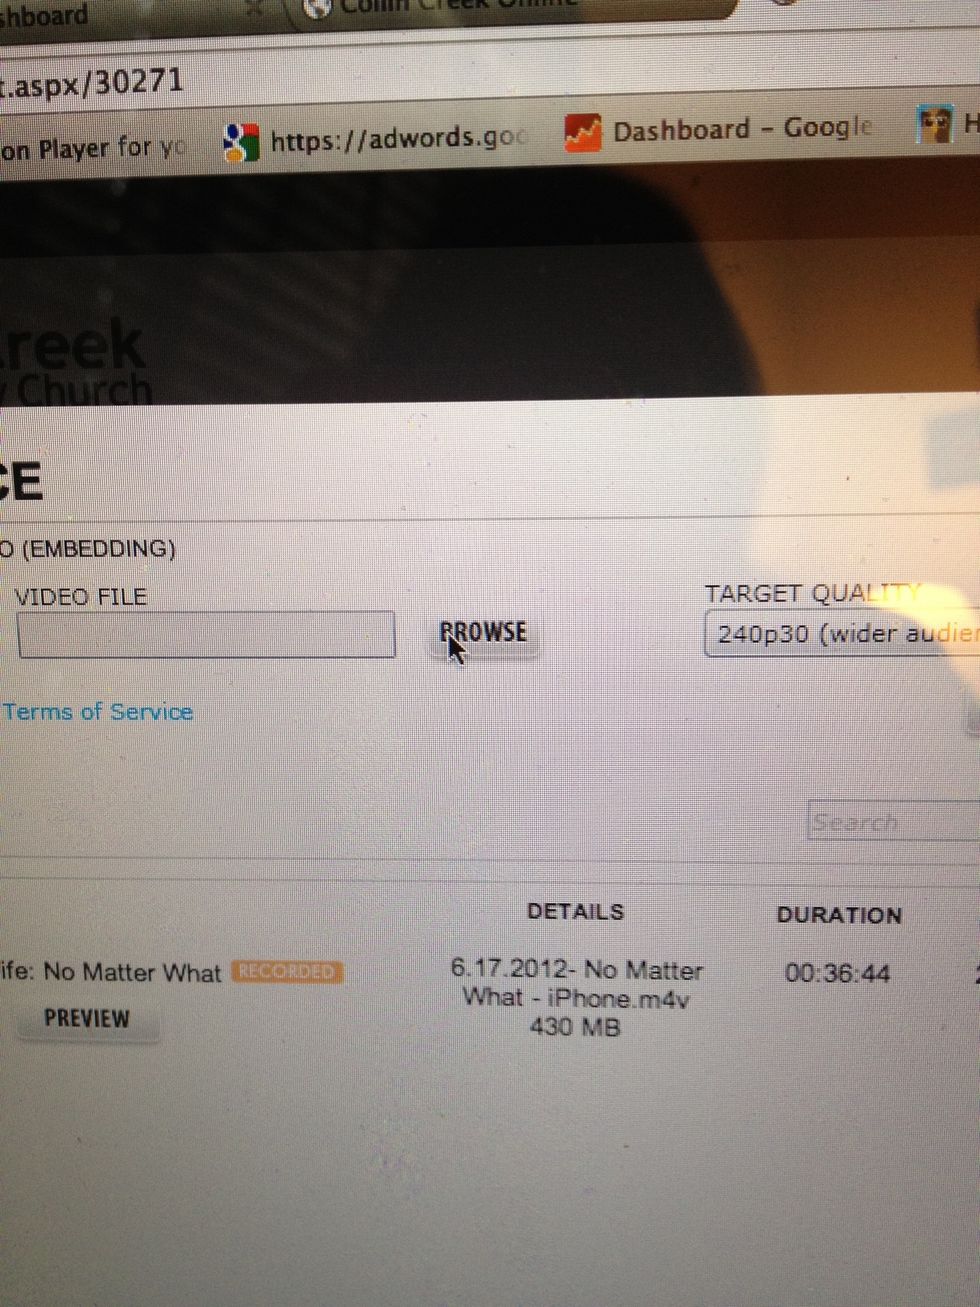
Click browse
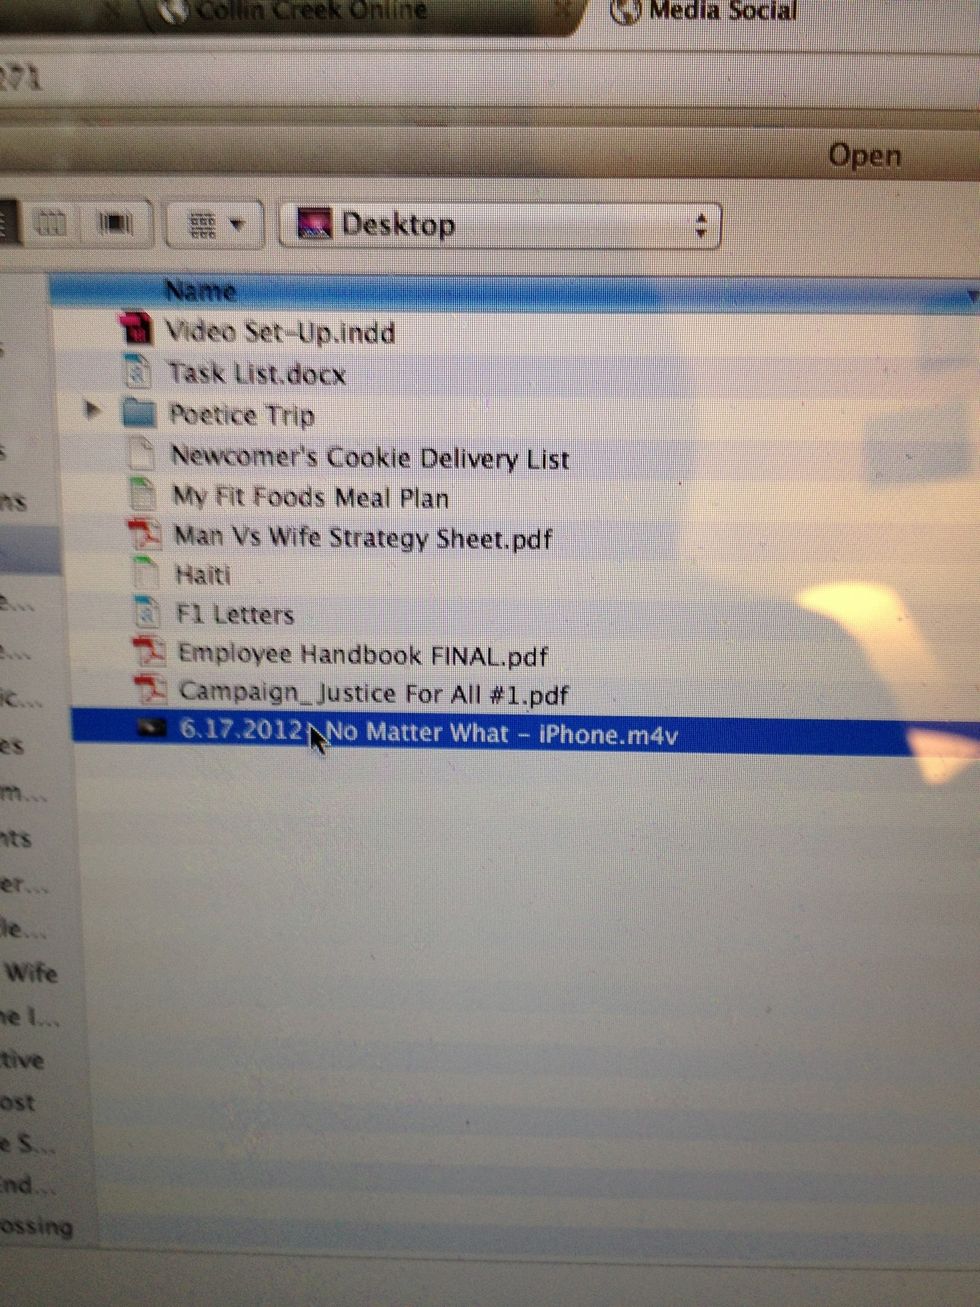
Choose current weeks video hit Open

Choose Target Quality 240p30. Hit upload
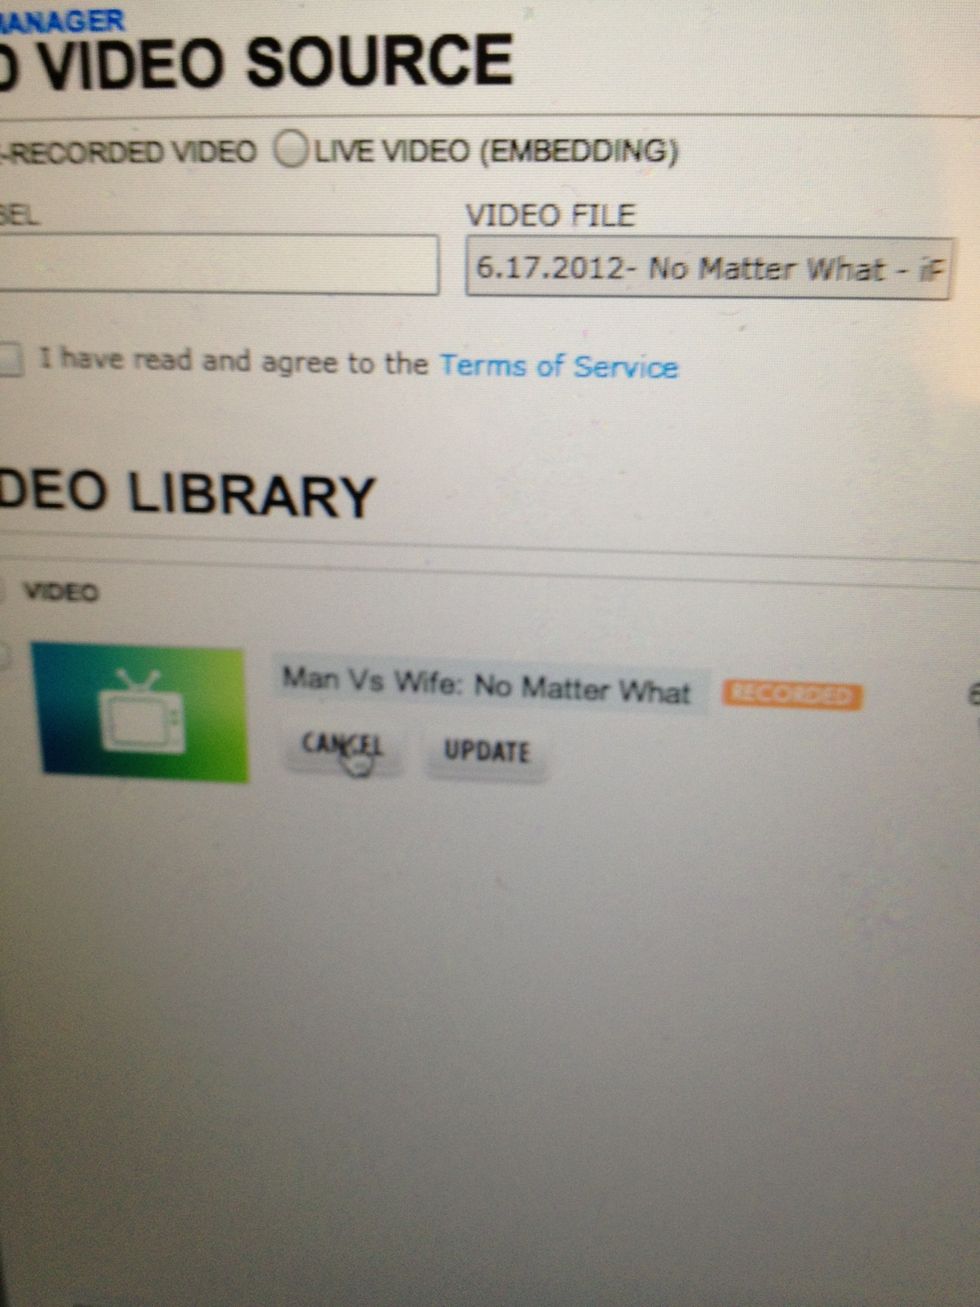
Hit Edit next to the video to rename with xx.xx.2012- Sermon title.
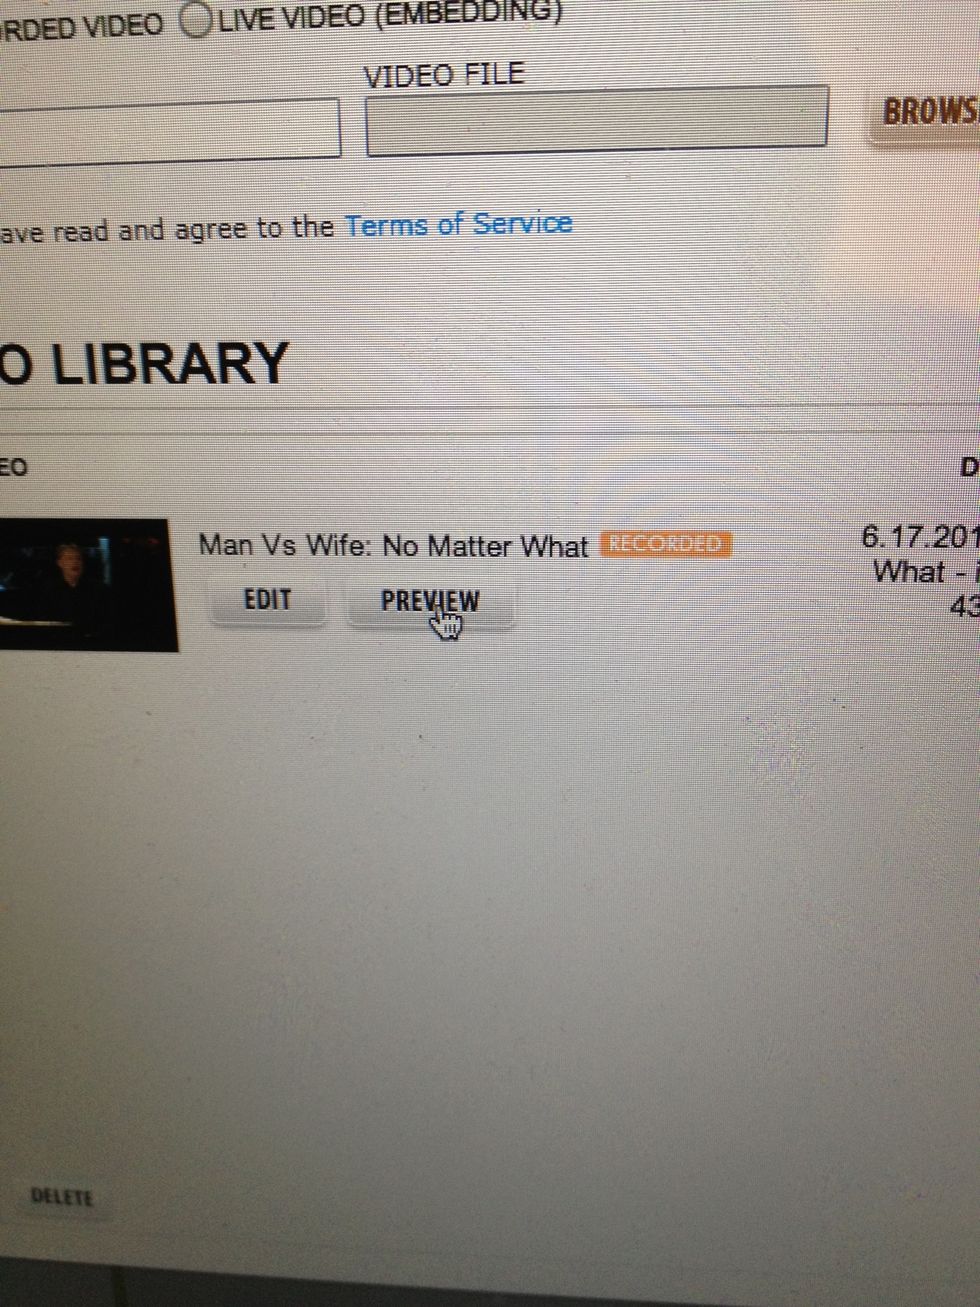
Once video is completed, hit Preview to test
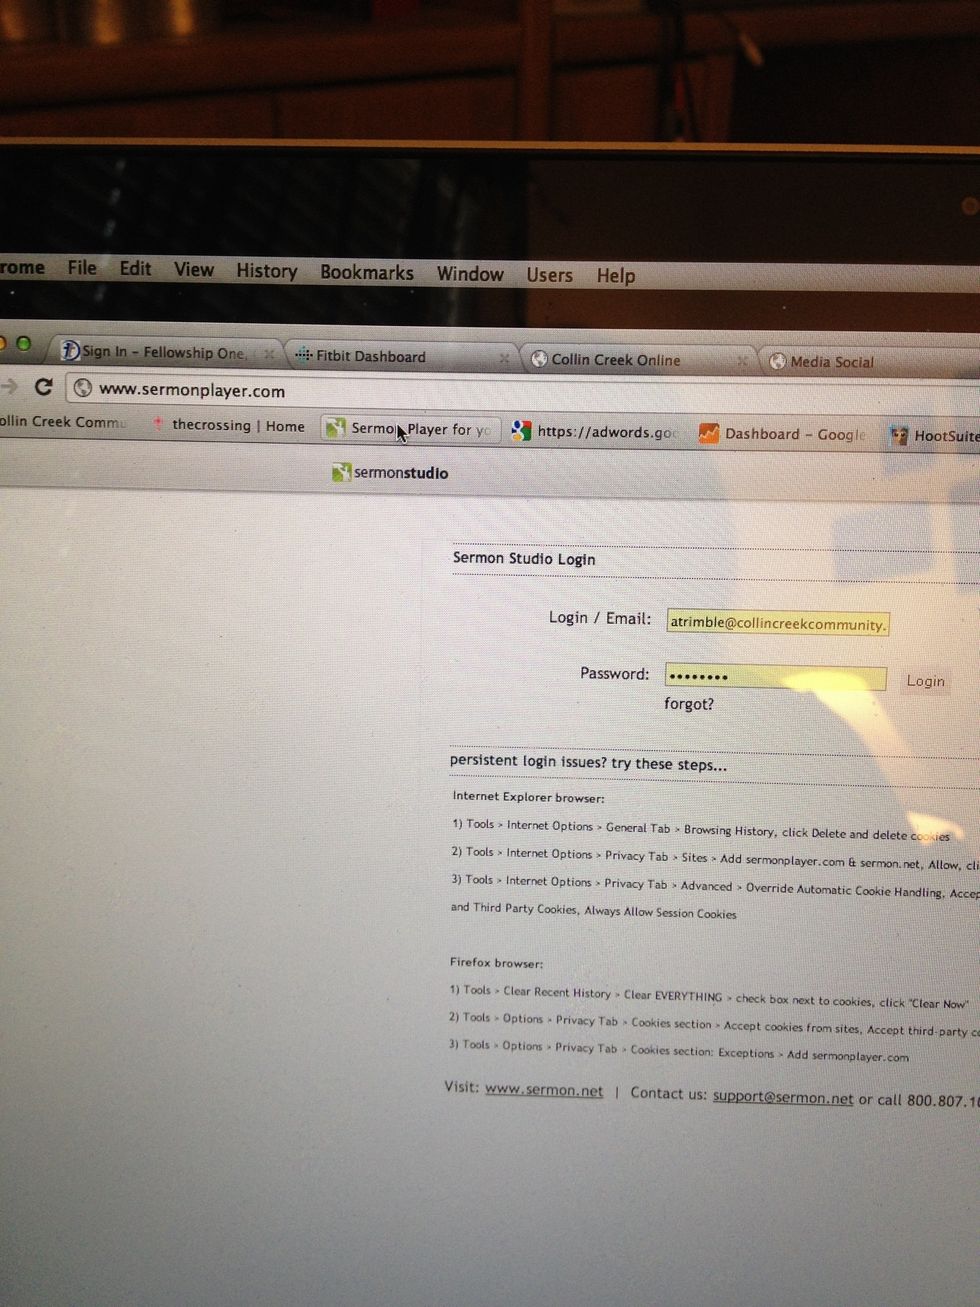
Go to sermonplayer.com; username: atrmble@collincreekcommunity.org; password:
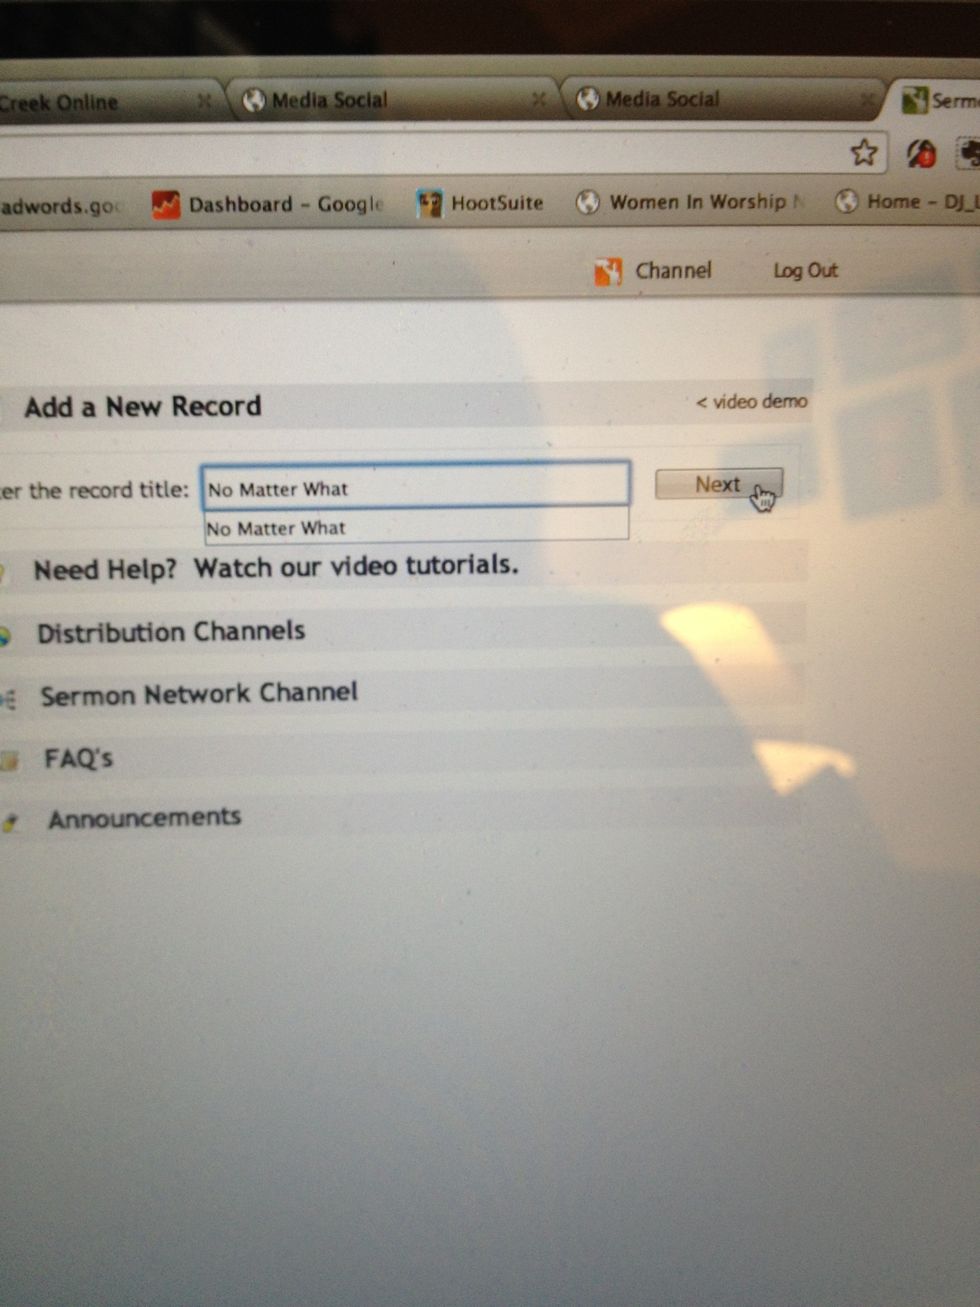
Type in sermon title, hit next
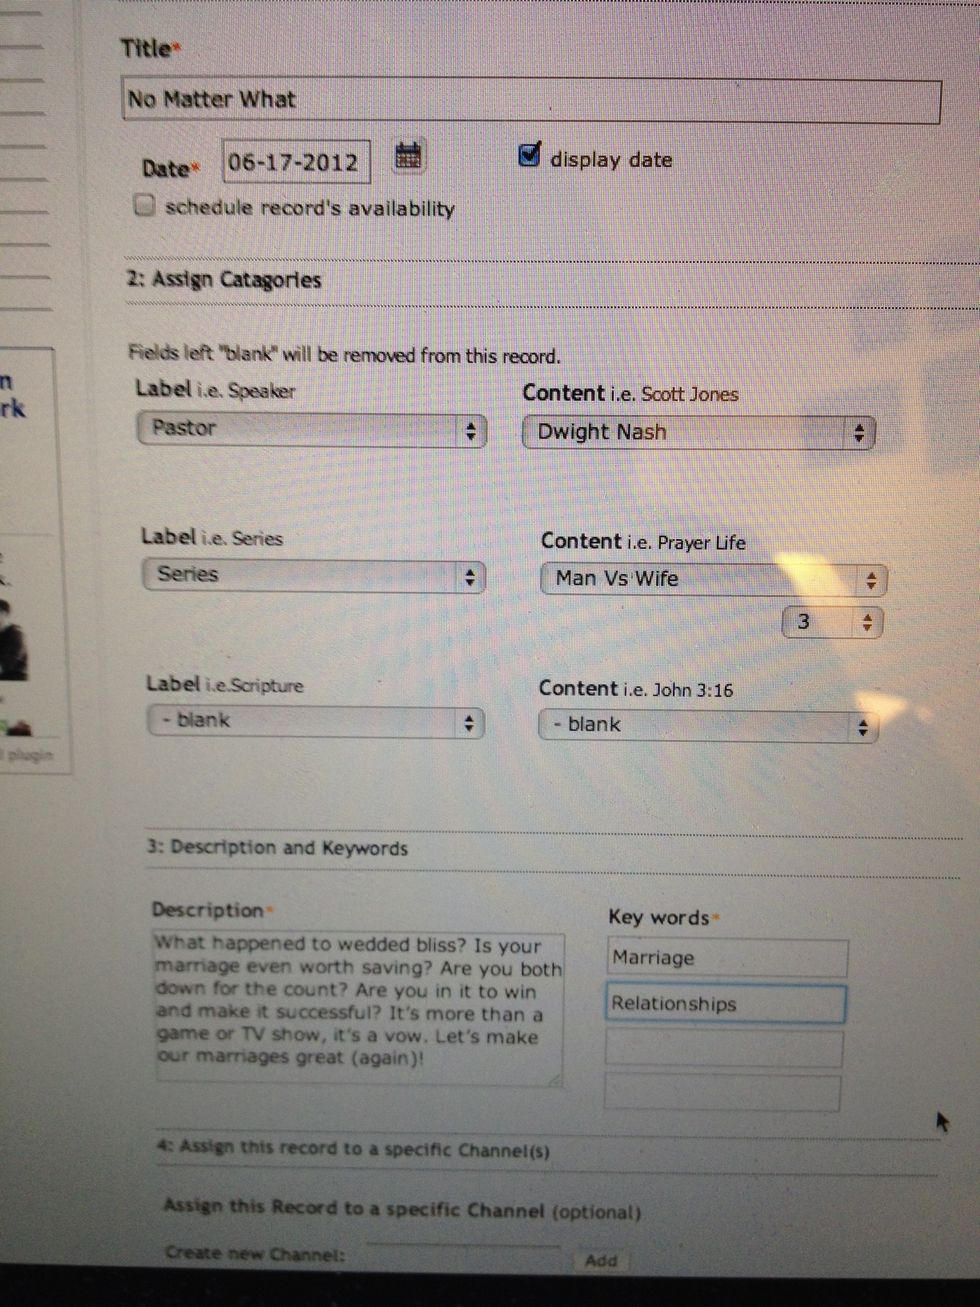
Change date to Sundays; Label=Pastor, choose who spoke; Label=Series, choose series name or add new if it is the first one; in Description copy the text from cccconline.org/current-sermon-series
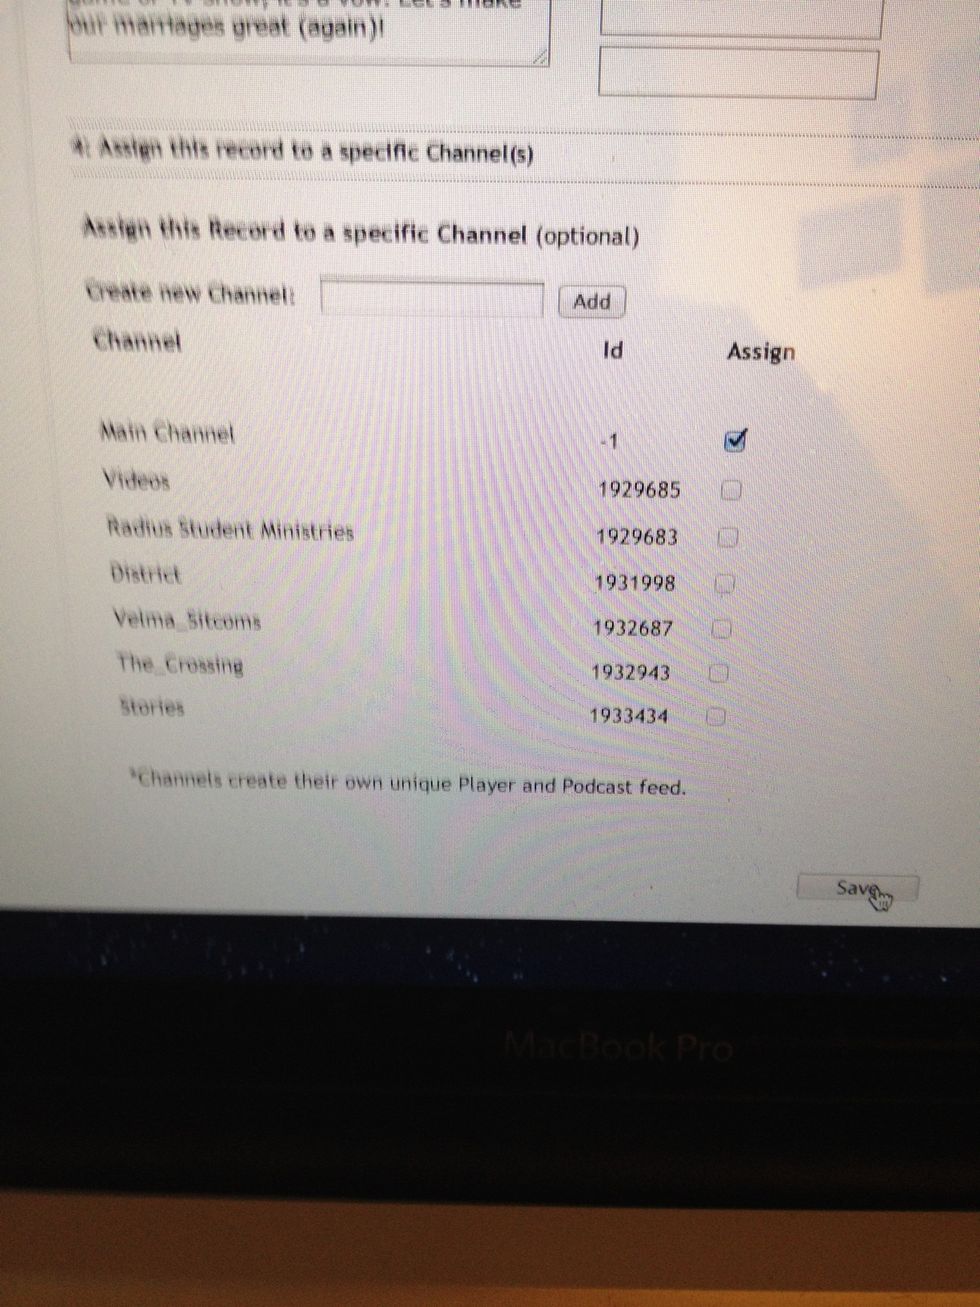
Default is Main Channel; click Save

Select 16:9; extract audio. Choose iPhone version of video; begin upload
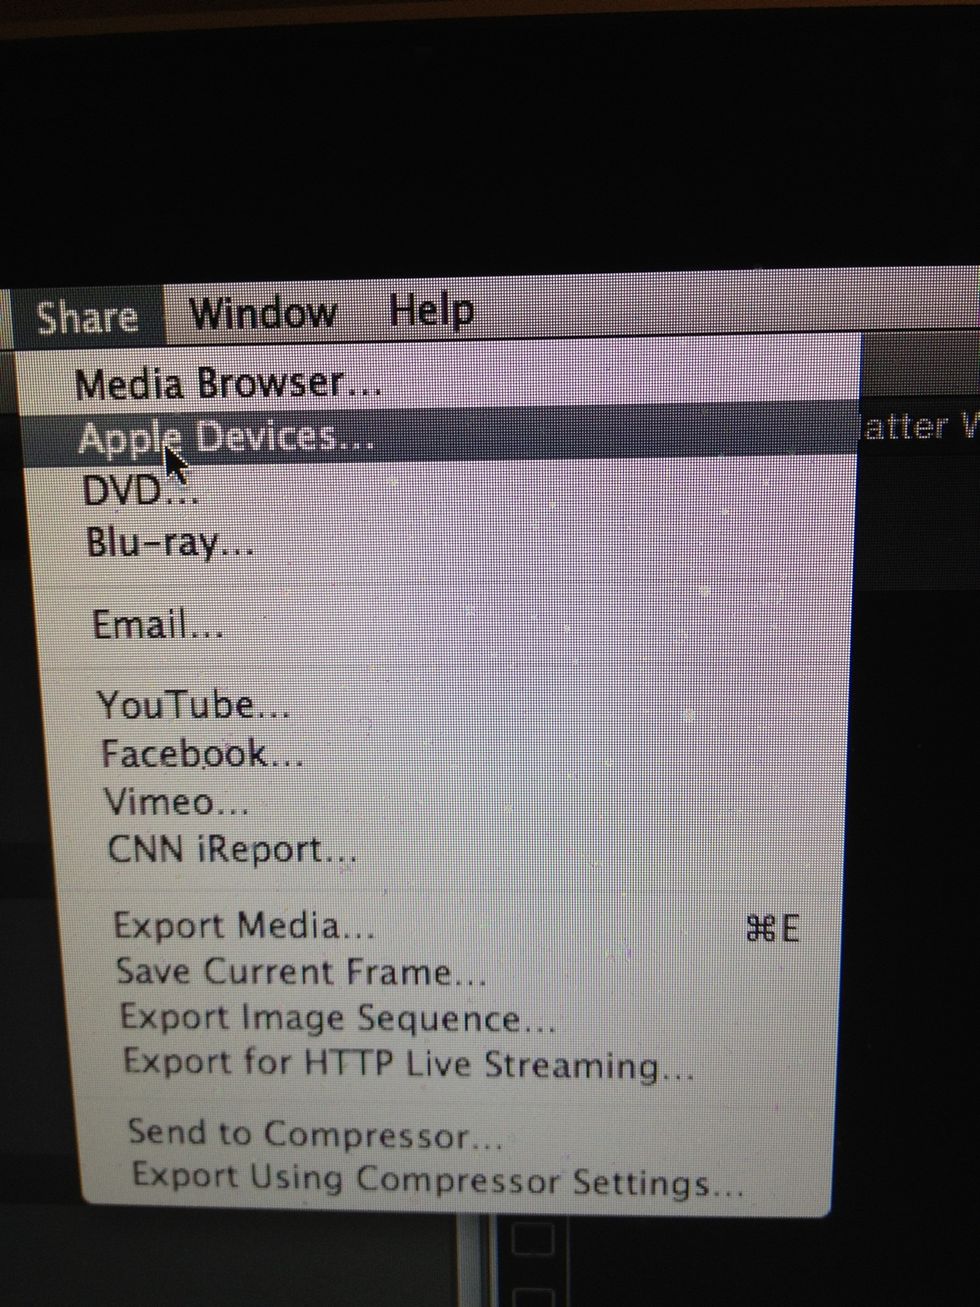
After that one is done, To Export: click Share>Apple Devices
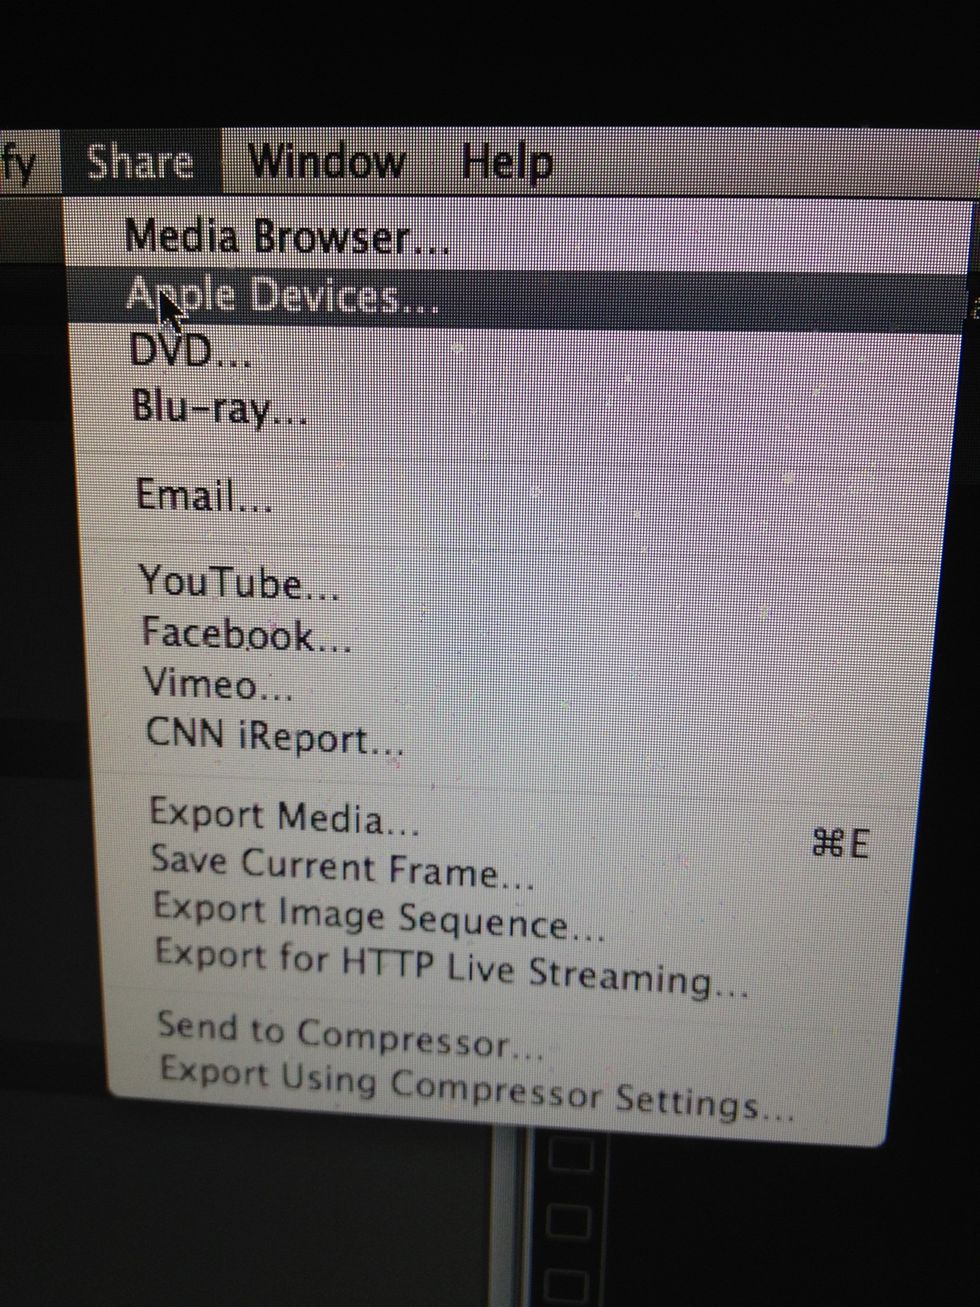
To export for NRH: hit Share>Apple Devices
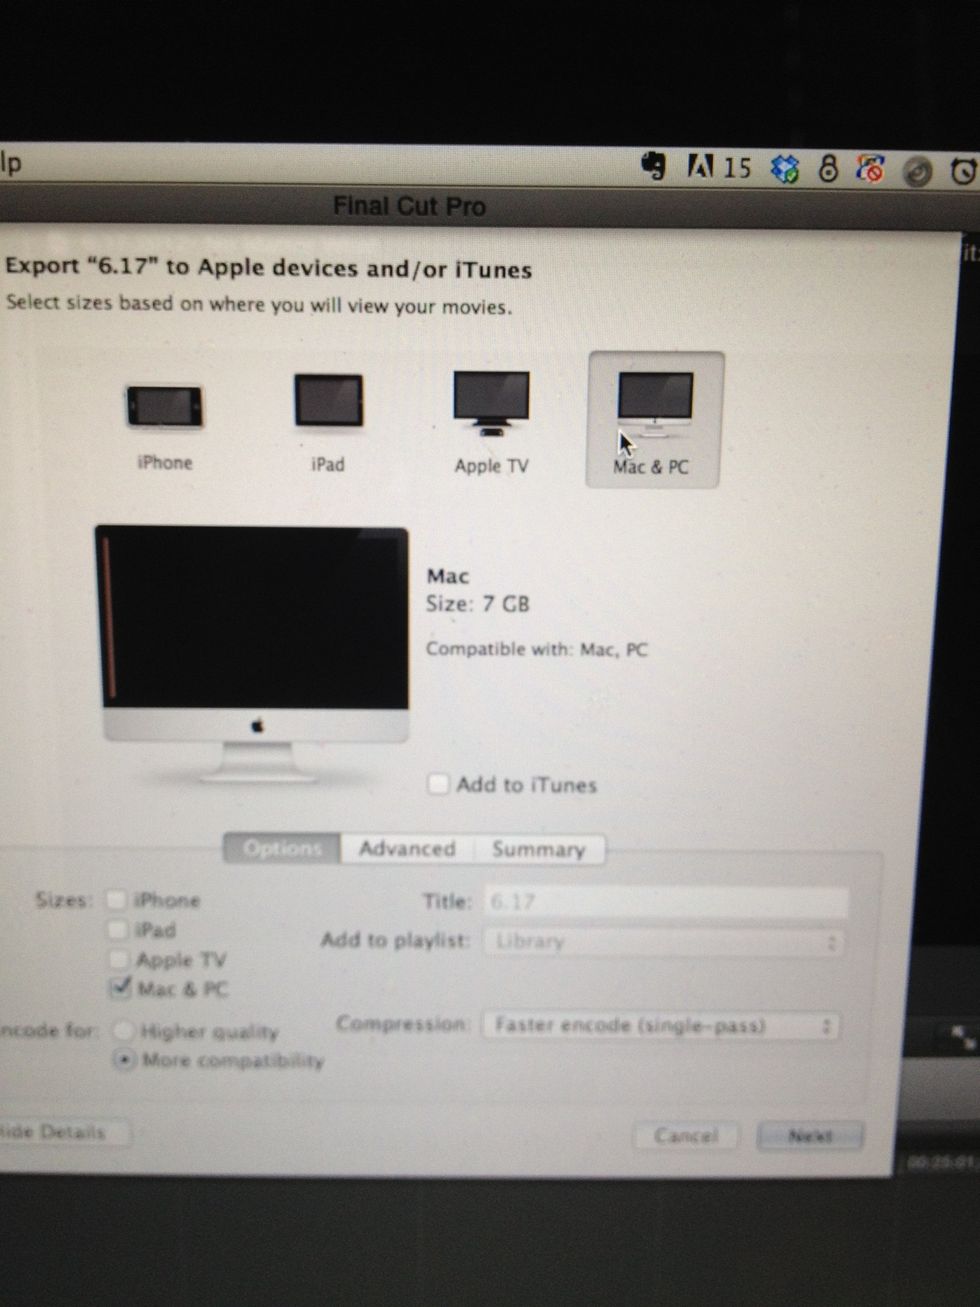
Click Mac&PC, moe compatibility, Faster encode, next
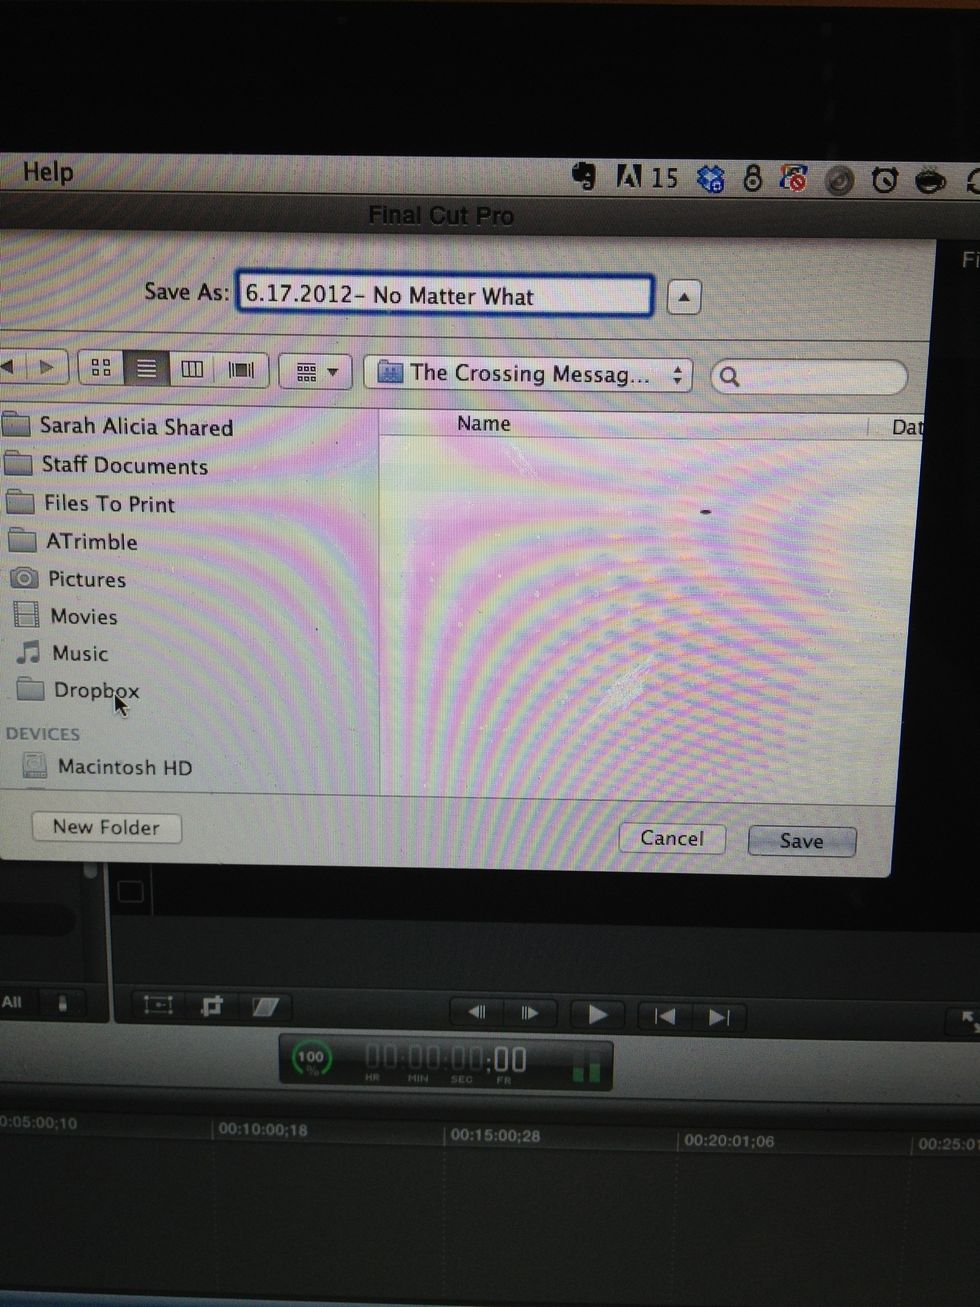
Save "xx.xx.2012- Sermon Name", save to Dropbox folder The Crossing Messages, Hit Save
Watch pieces of the video to ensure it looks and sounds okay.
Copy both videos onto Sermon Archive Hard Drive.
When you've made sure all footage is imported, put cards back into computer, open card on desktop & delete folder called 'private'. Then empty trash. After trash has emptied, eject the card. Repeat.
For now leave the cards on my desk
Once sermon is uploaded to Sermon player, Add a new Record with the same information, set for one week later. Click Schedule record's availability.
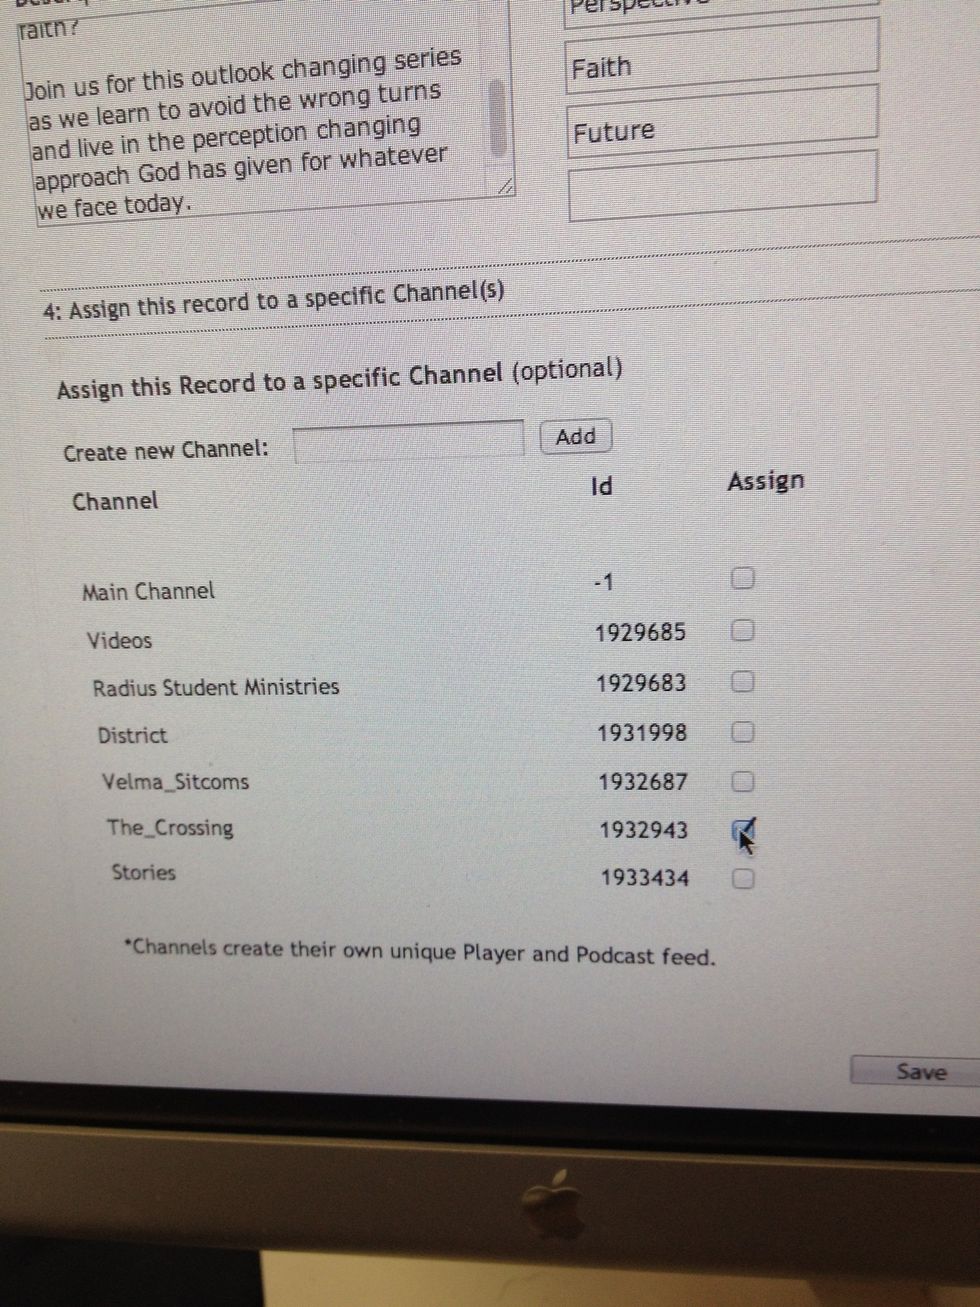
Select "The_Crossing" channel; hit Save
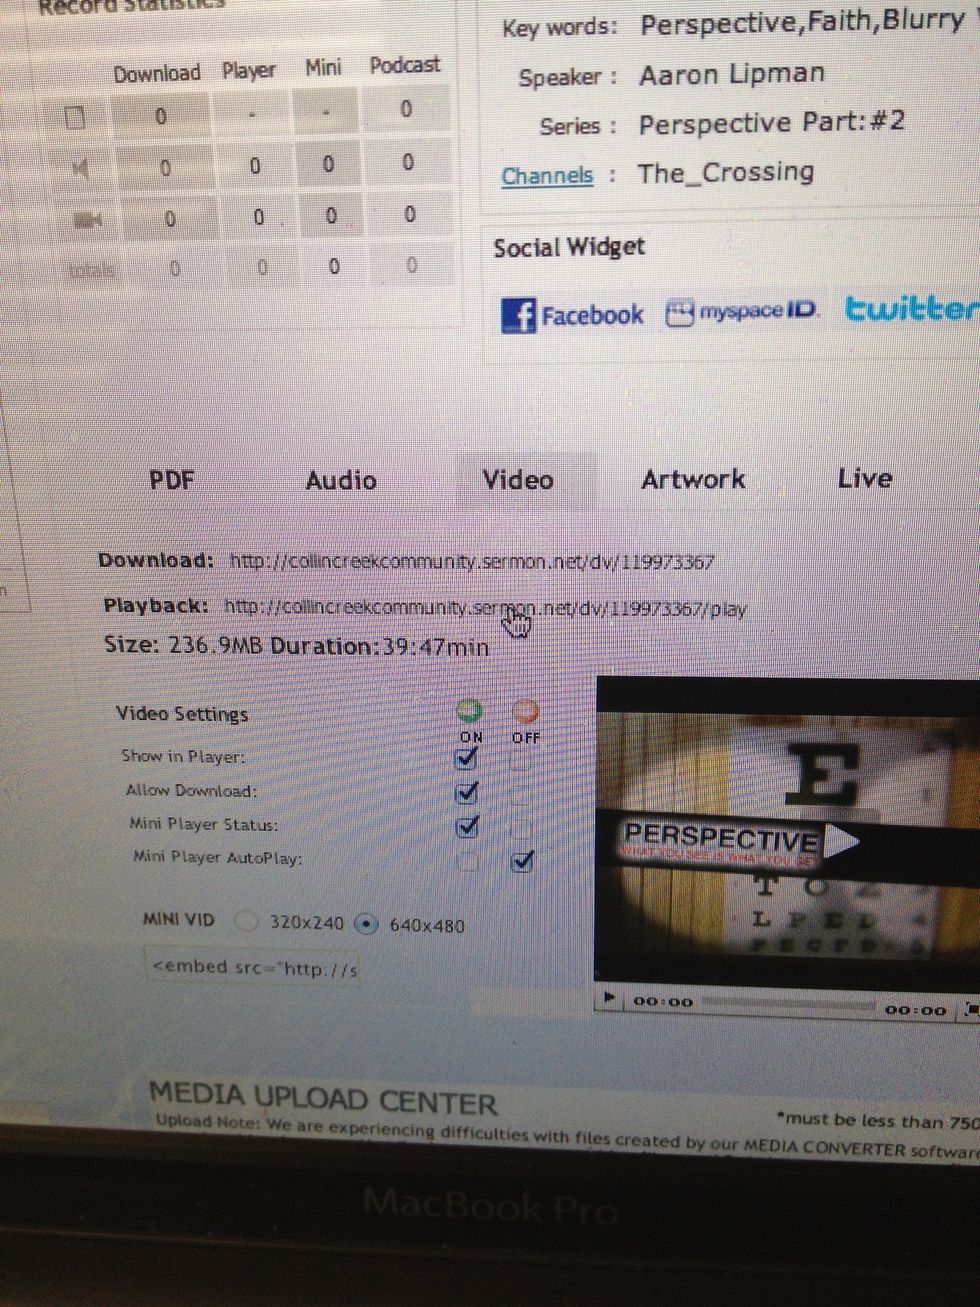
On the CCCC channel video, click on the Playback link

Select the URL through the .mp4 and copy

Go to the upload center and hit the arrows to switch to upload from web
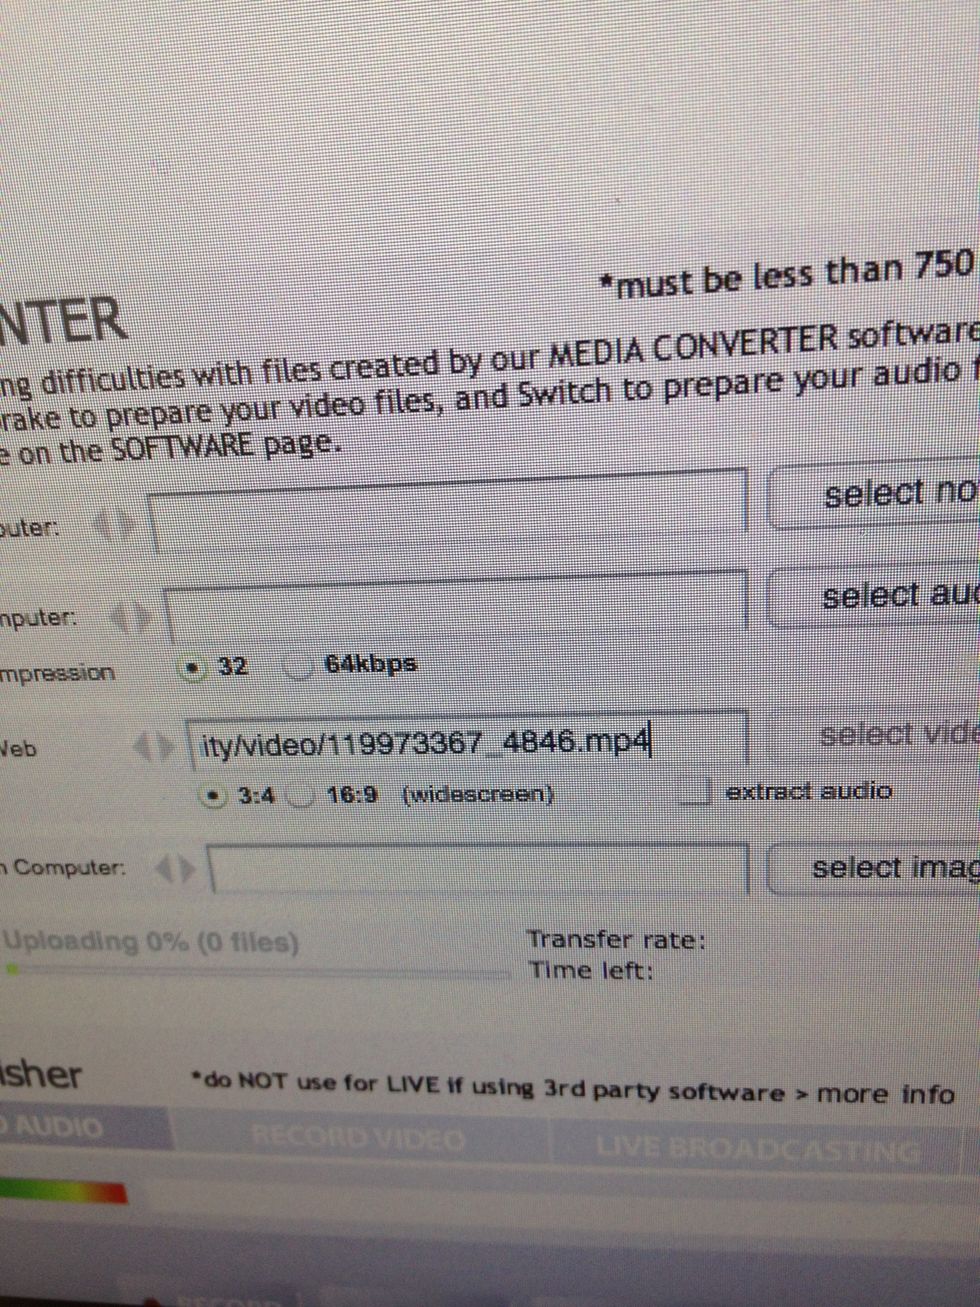

paste in URL change to 16:9 and extract audio hit begin upload