The Conversation (0)
Sign Up
Premiere Pro is an editing program made by Adobe. Download a free trial from: http://www.adobe.com/cfusion/tdrc/index.cfm?product=premiere_pro

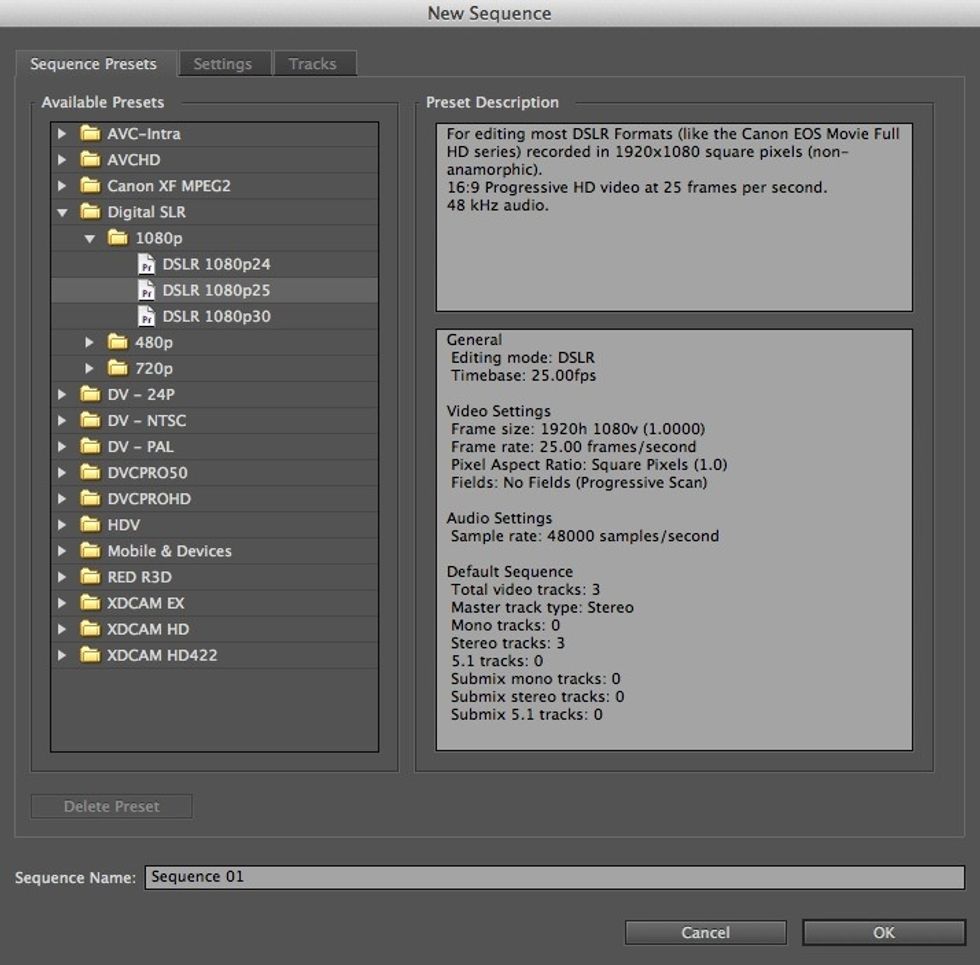
Make a new project using the Digital SLR presets.
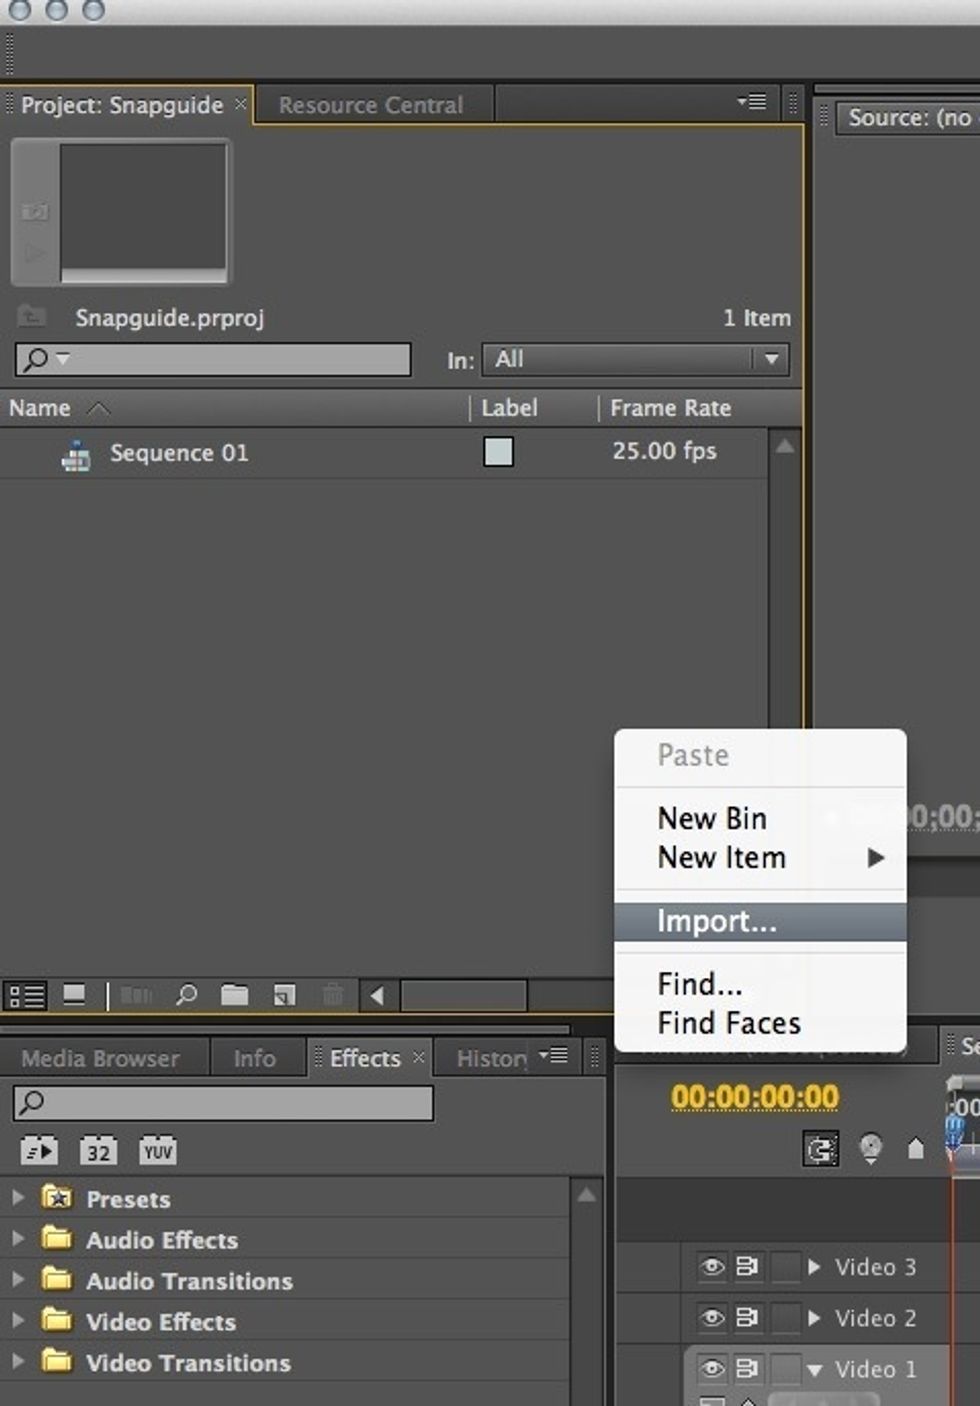
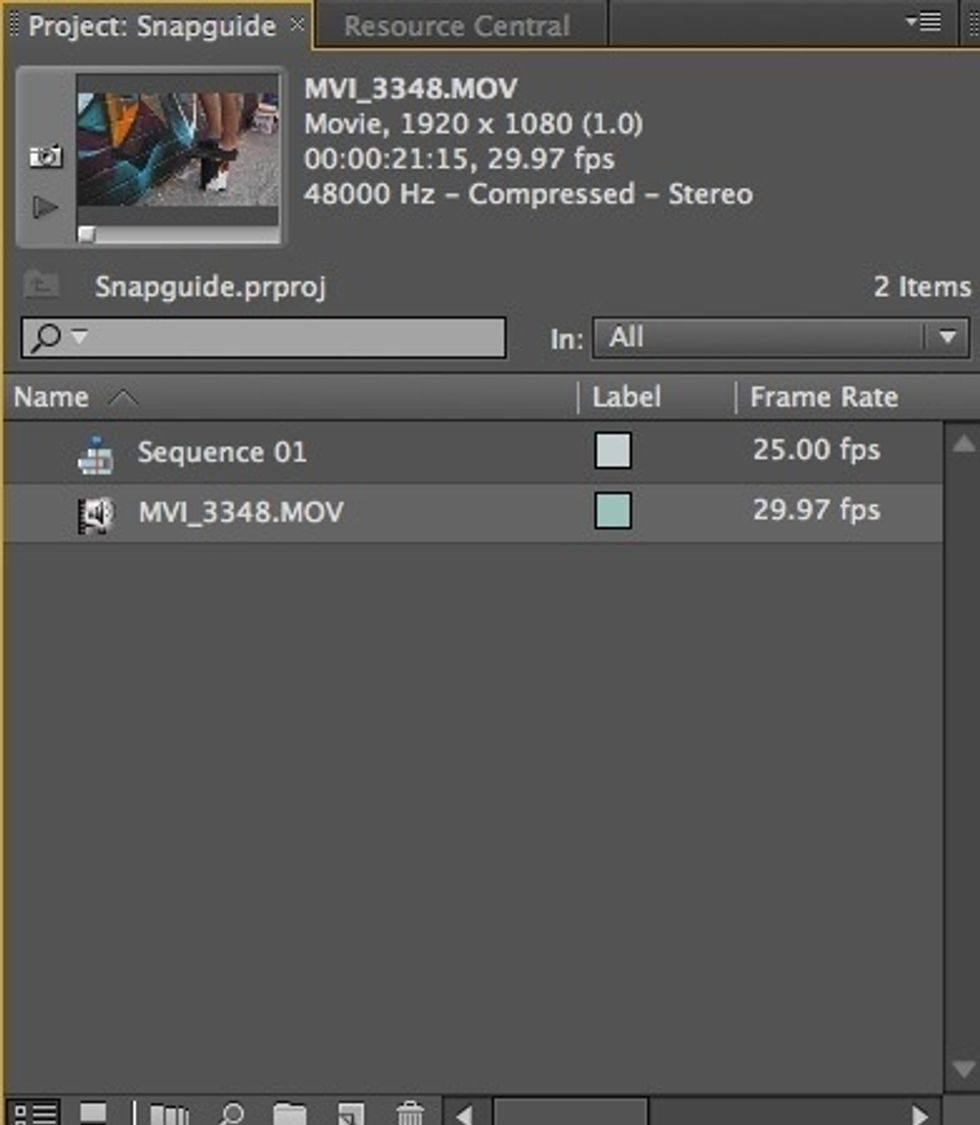
Once you have started the project, you can import your video by going to file>import, or by right clicking in your Project window.
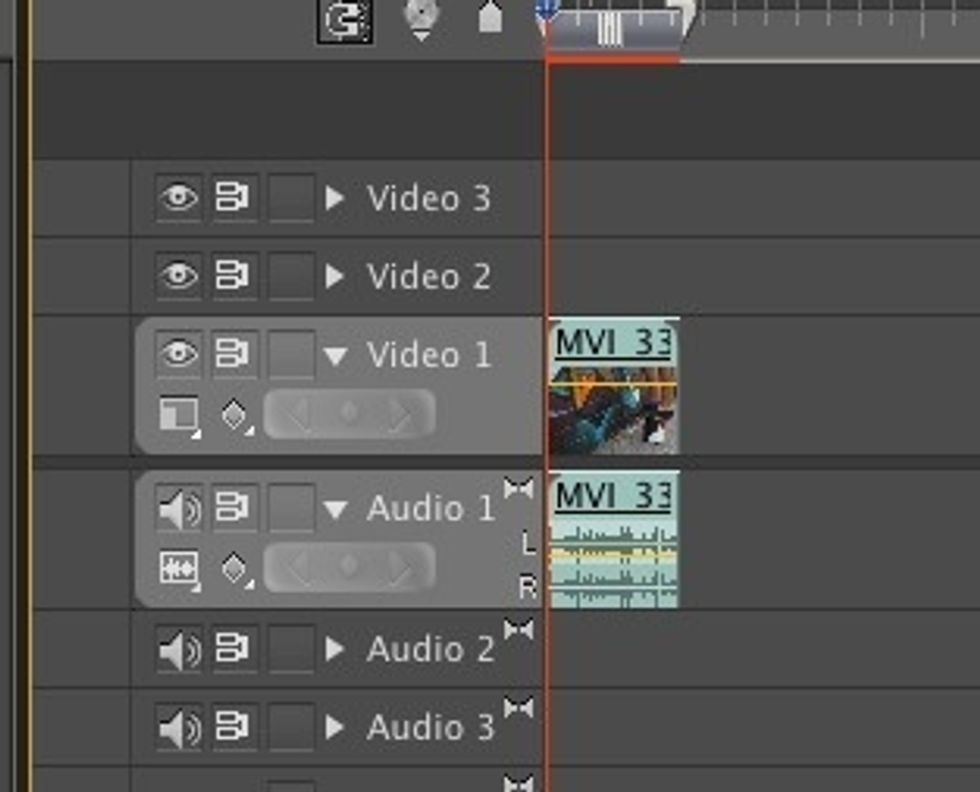
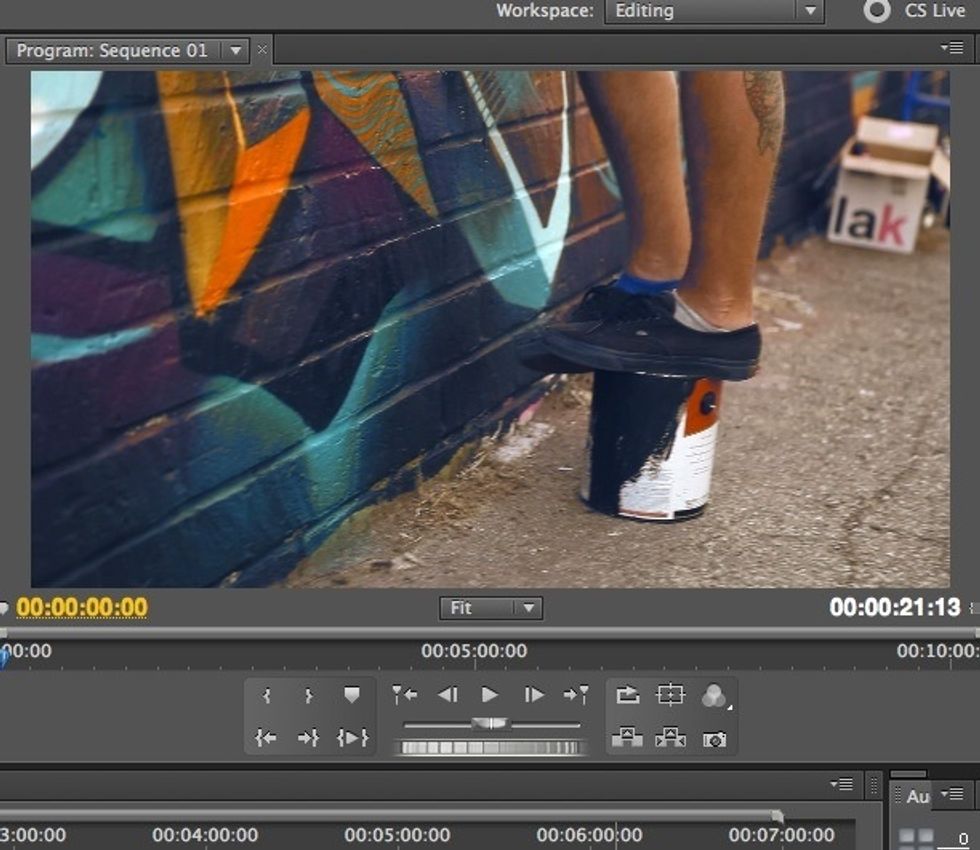
Your video will now show up in the Project window. Drag and drop it onto the Timeline.
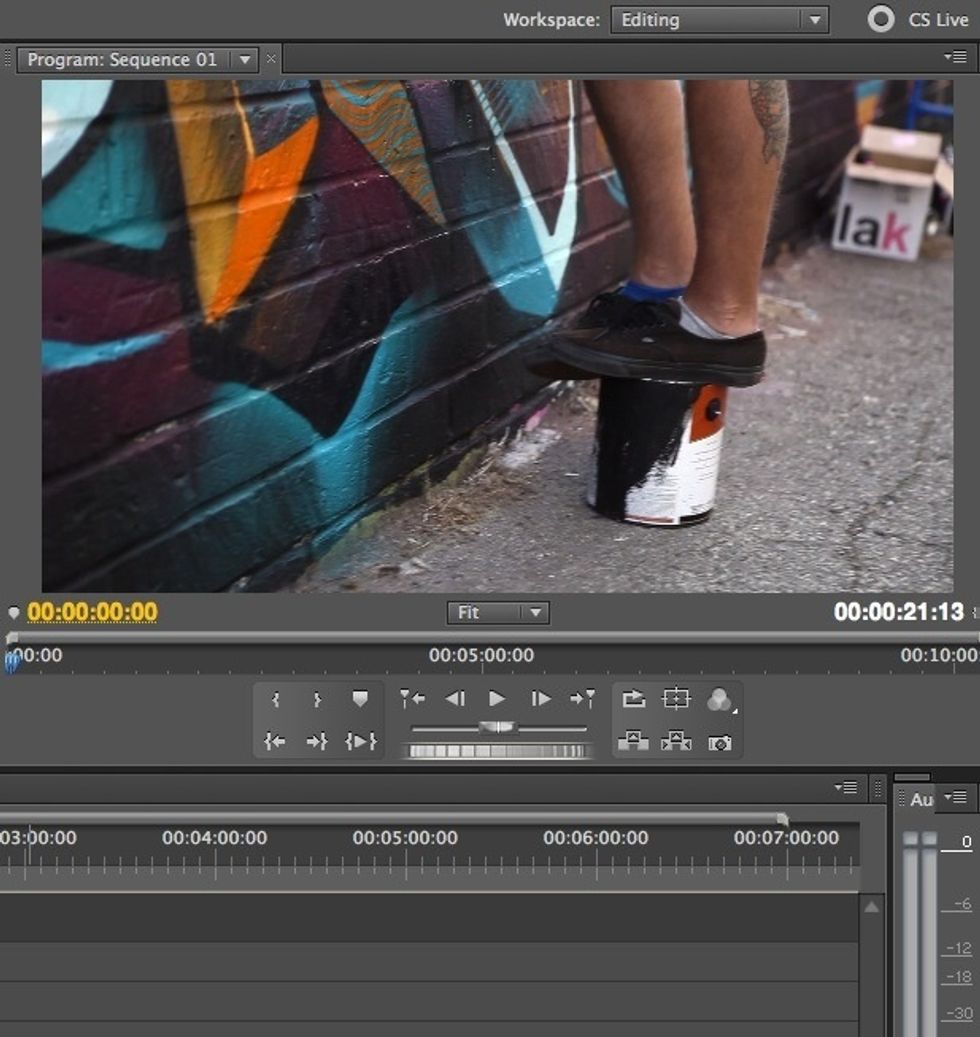
You should now see your video in the Program window on the left. Hit the spacebar to play your video.
You can now start adding effects. We will be using a simple 3-step technique to create a basic film look.
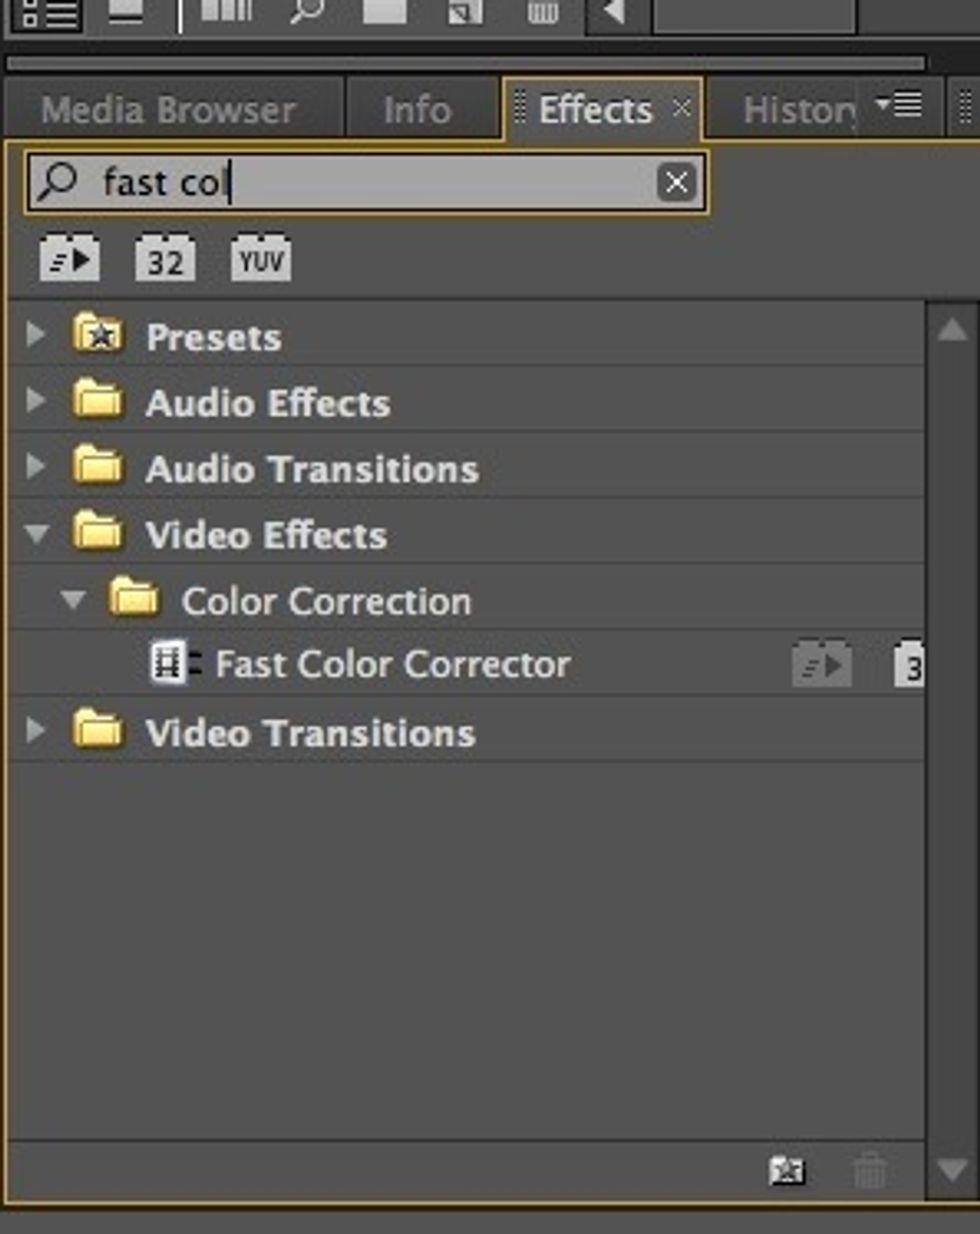
In your Effects panel on the bottom right, search for Fast Colour Corrector. Drag and drop this effect onto the video in your timeline.
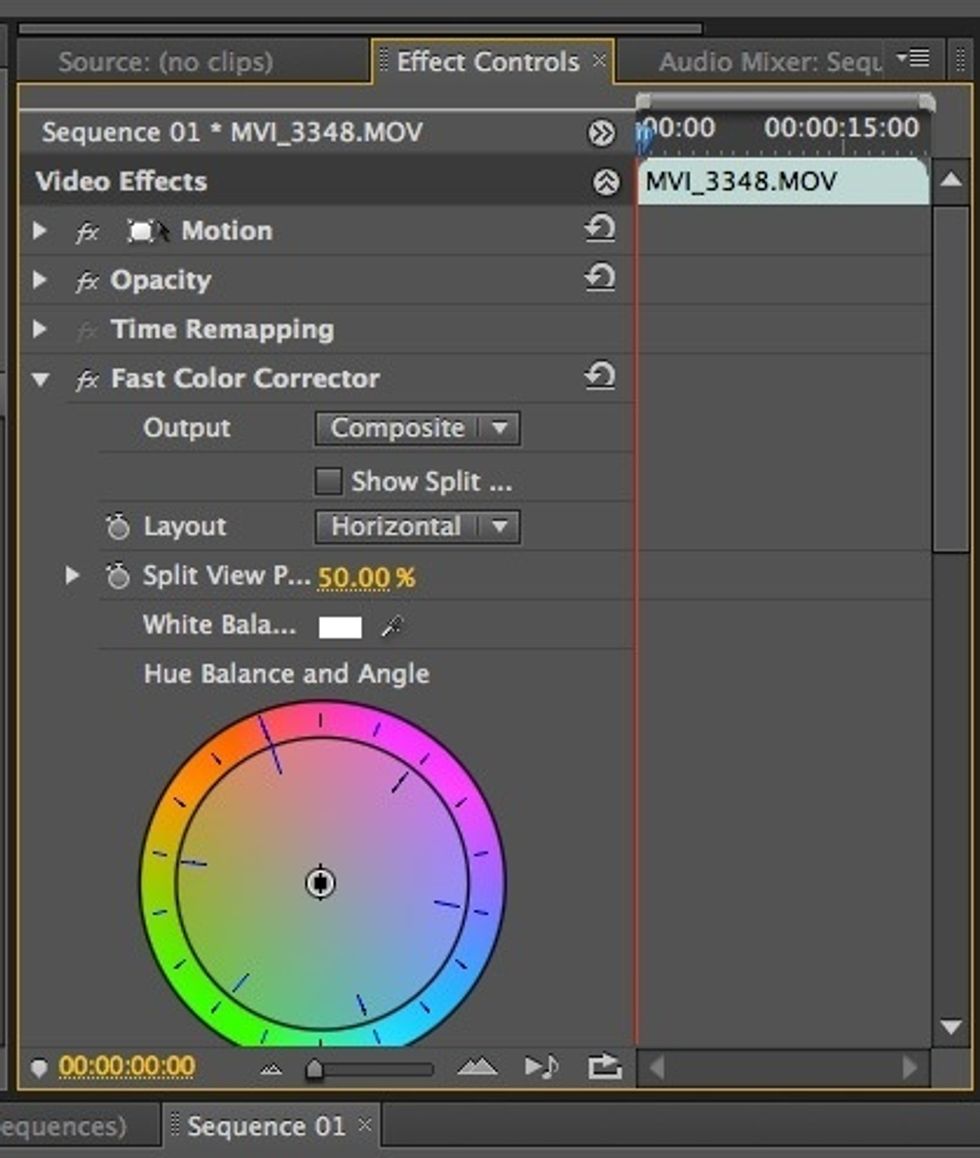
Now click on the Effect Controls tab in your top middle window. You should see the Fast Colour Corrector options displayed.
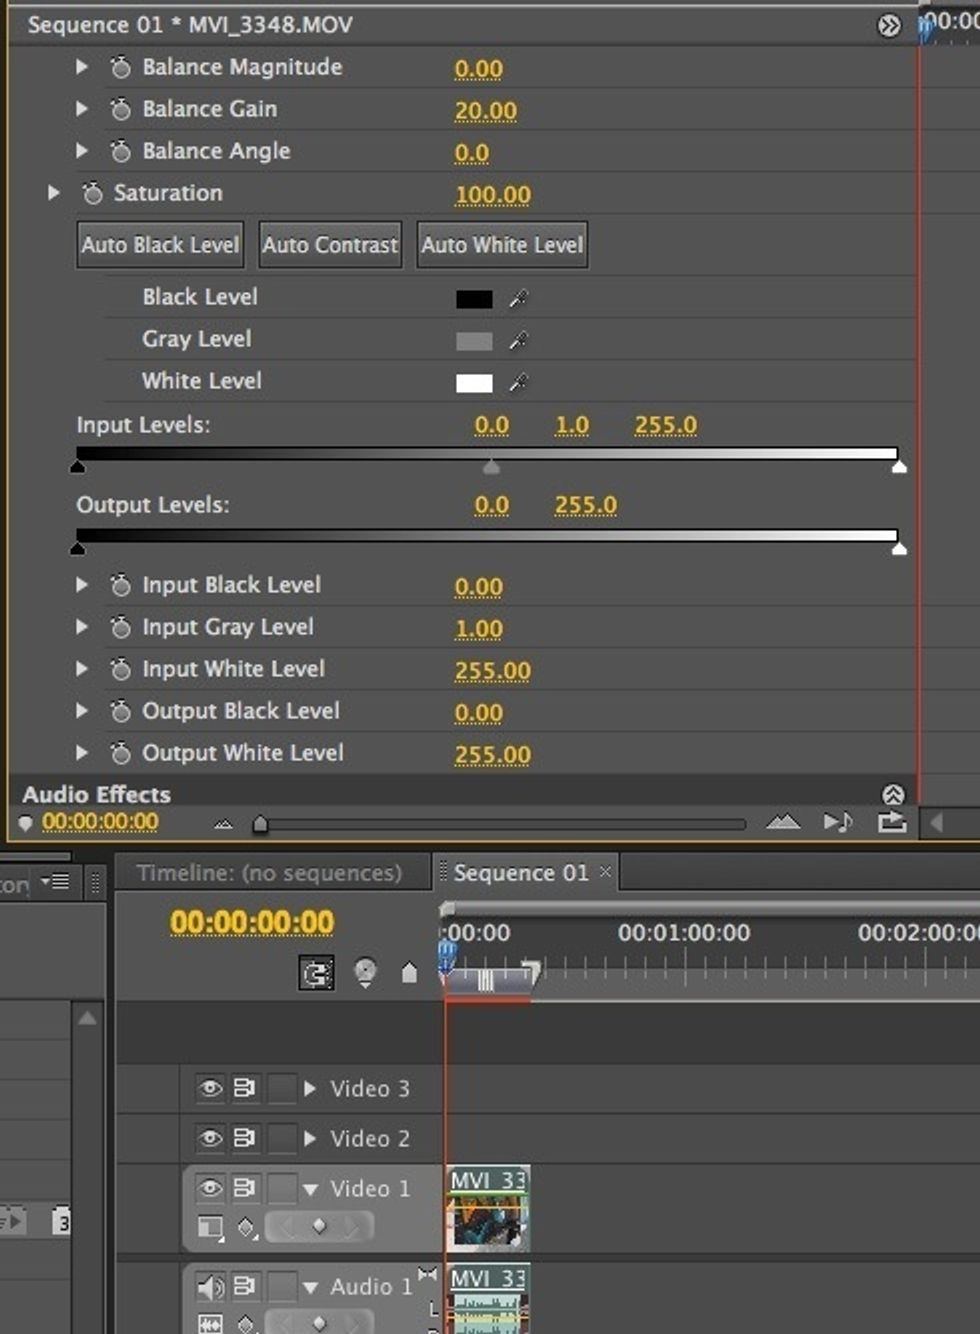
First we will adjust the tonality our video. In the Fast Colour Corrector options you should see the section for Levels
Try sliding the black, white or grey triangles in the Input Levels section and see how they affect your image.
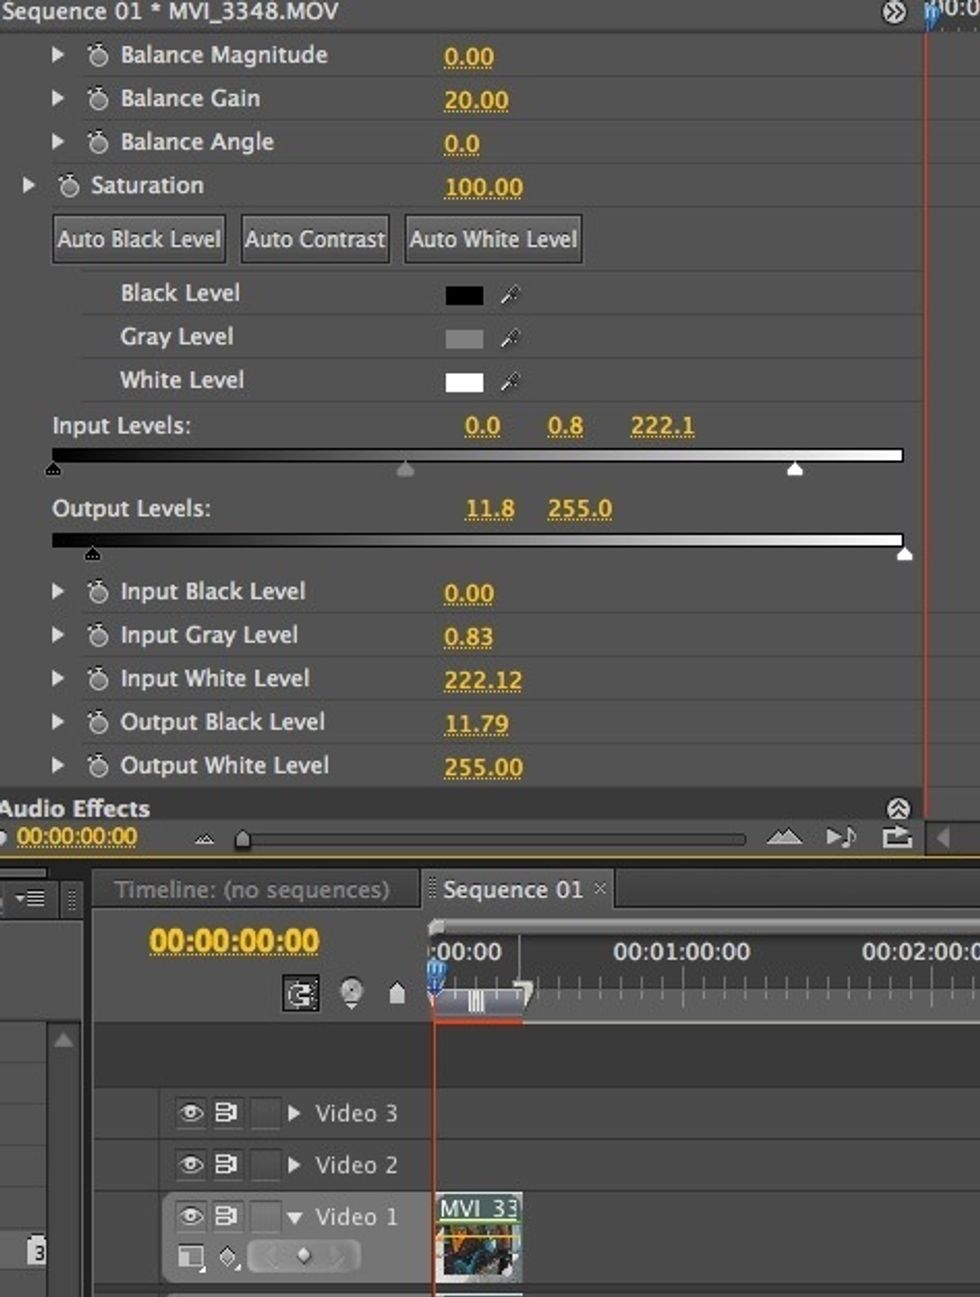
My image is a bit too dark and needs more whites. To do this I slide the white triangle toward the center.

I now need to adjust my greys, or midtones. I slide the grey triangle to the left to darken my midtone areas.

Now my blacks are too dark. I adjust these by sliding the black triangle in the OUTPUT levels to the right.
Once you are happy with the levels in your image, we will move onto the 3-way colour corrector.
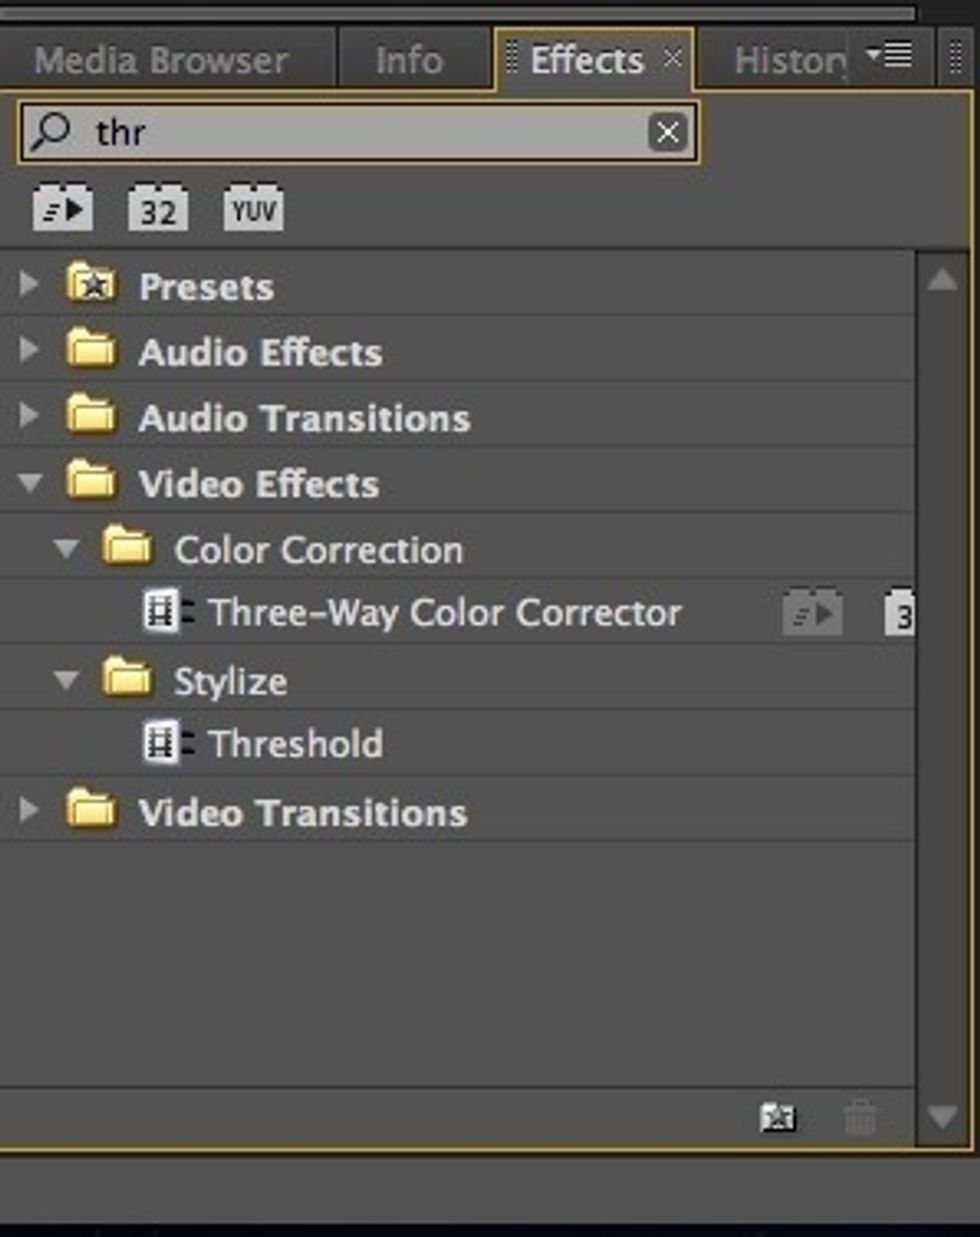
Again search in your effects panel for this effect, and drop it onto your video in the timeline
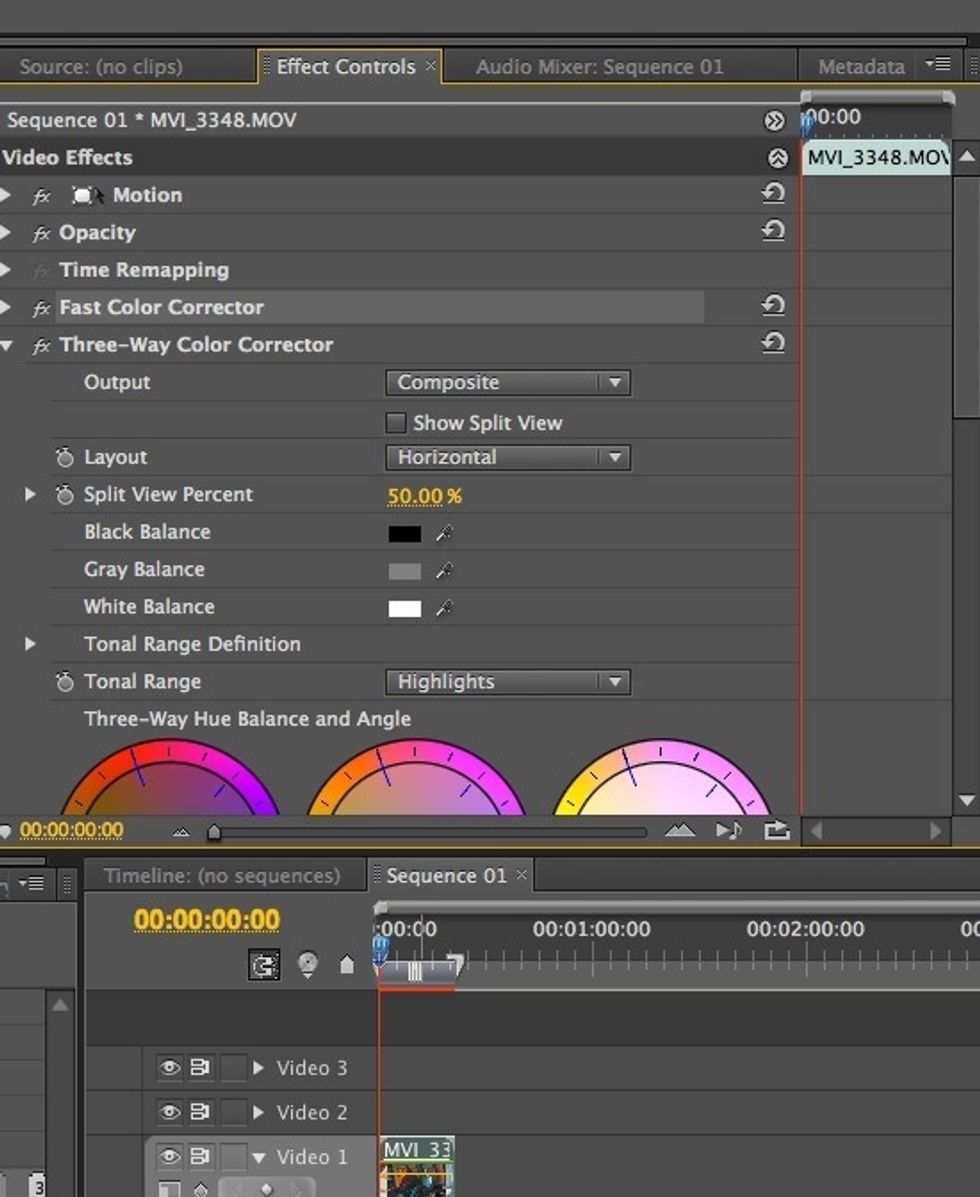
You should now see this effect in your Effects Panel. We are going to adjust the colour of our shadows and midtones to give us a film look.
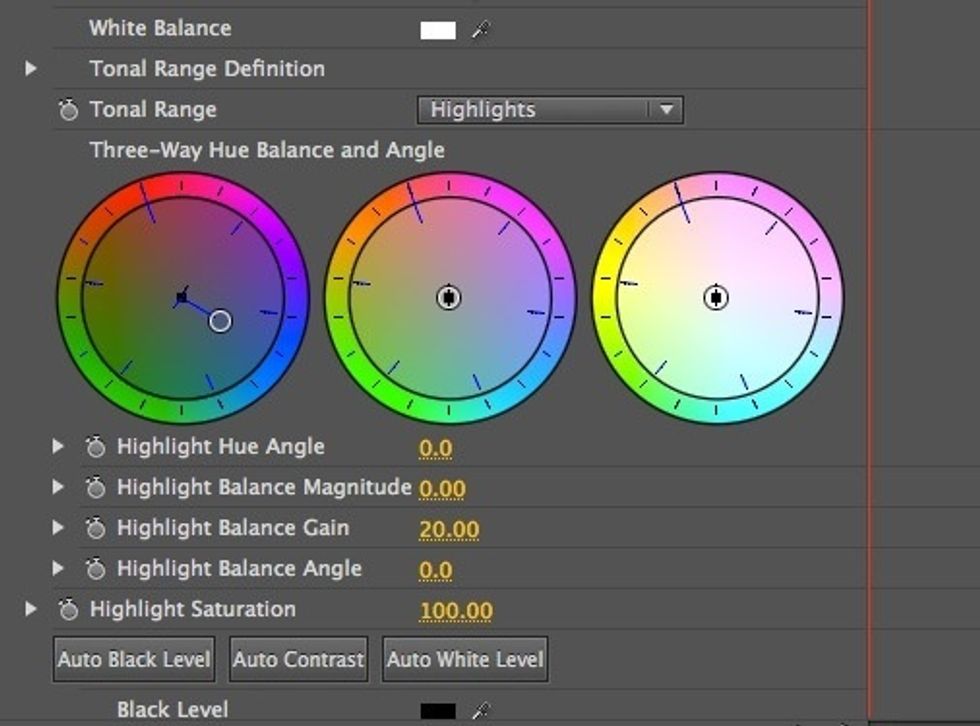
Adding blue to your shadows and orange to your midtones is the most basic way to give your DSLR footage a more cinematic feel
You should see three colour wheels, the left wheel is for shadow, the middle for midtones, the the right for highlights.

Click and hold the black circle in the middle of the Shadows wheel. Drag it towards the blue area of the colour wheel.
Now move to the Midtones wheel. Drag the black circle toward the orange area of the colour wheel.
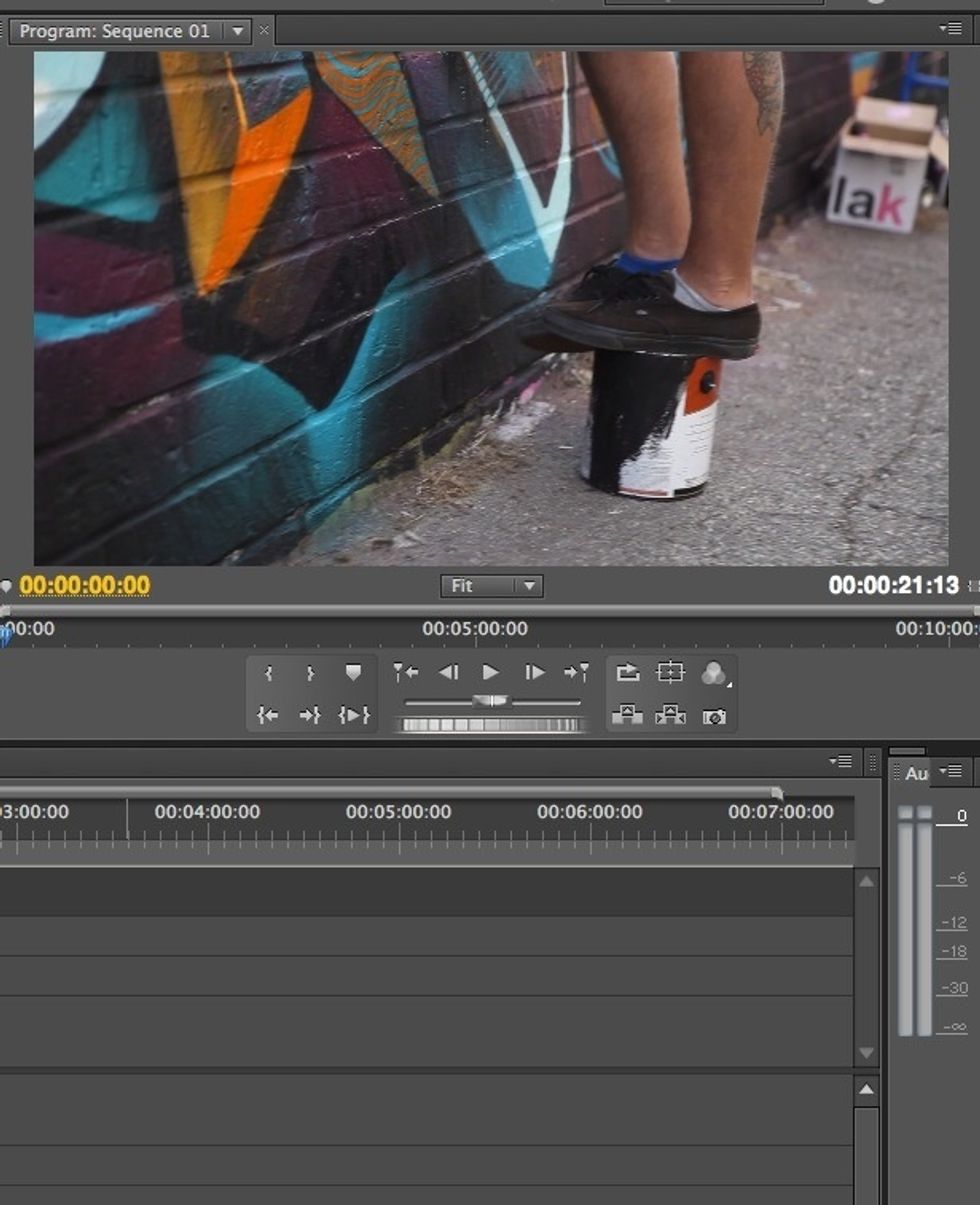
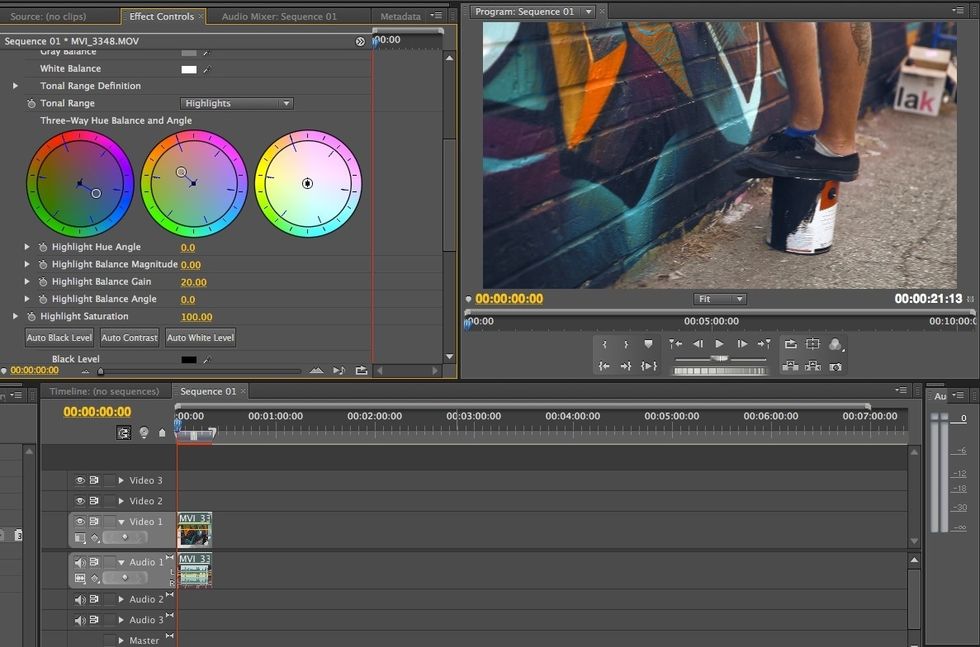
Play around with these settings until you are happy. Your video should now look like this:
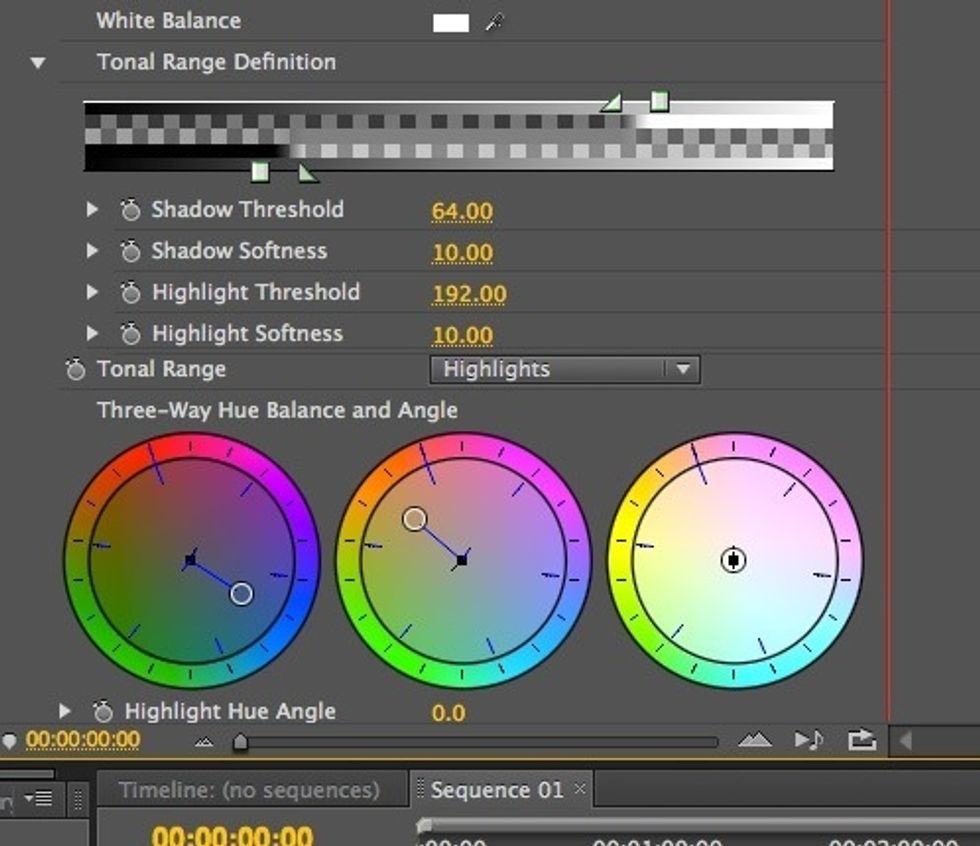
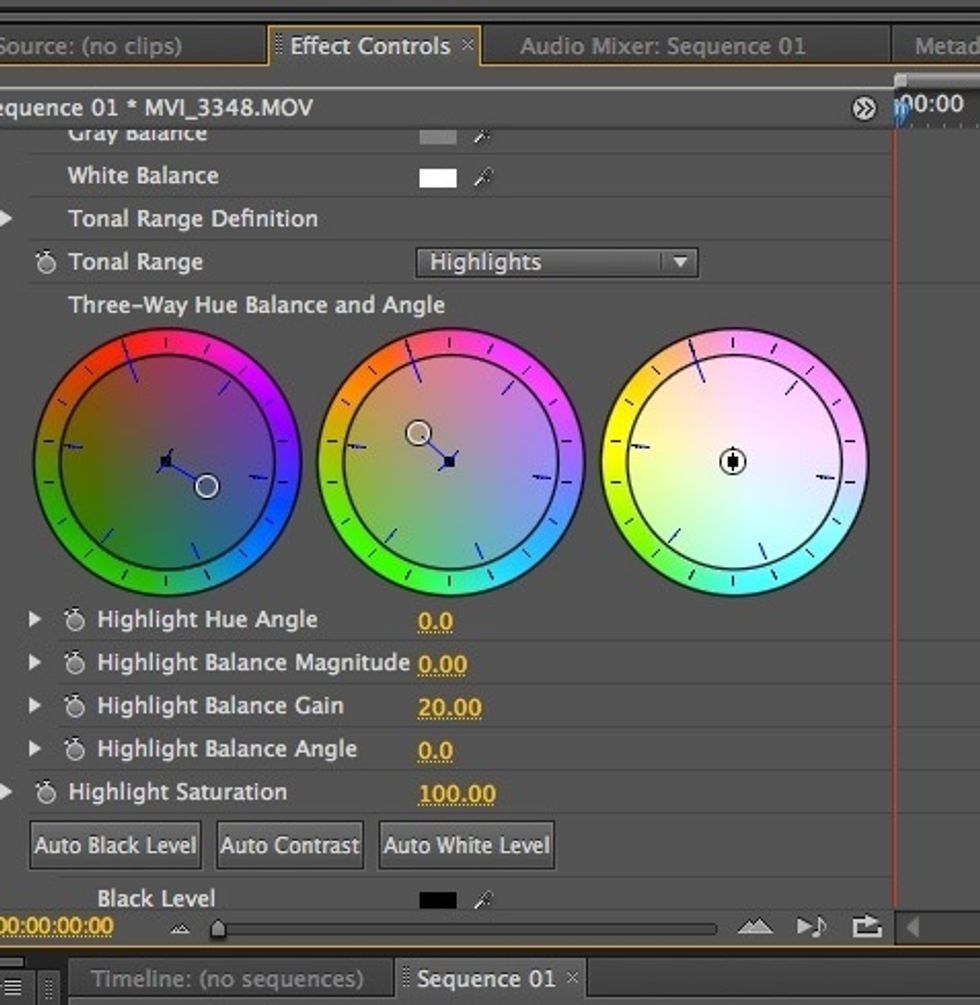
Go to the Tonal Range Definition option in your effects panel (just above your colour wheels)
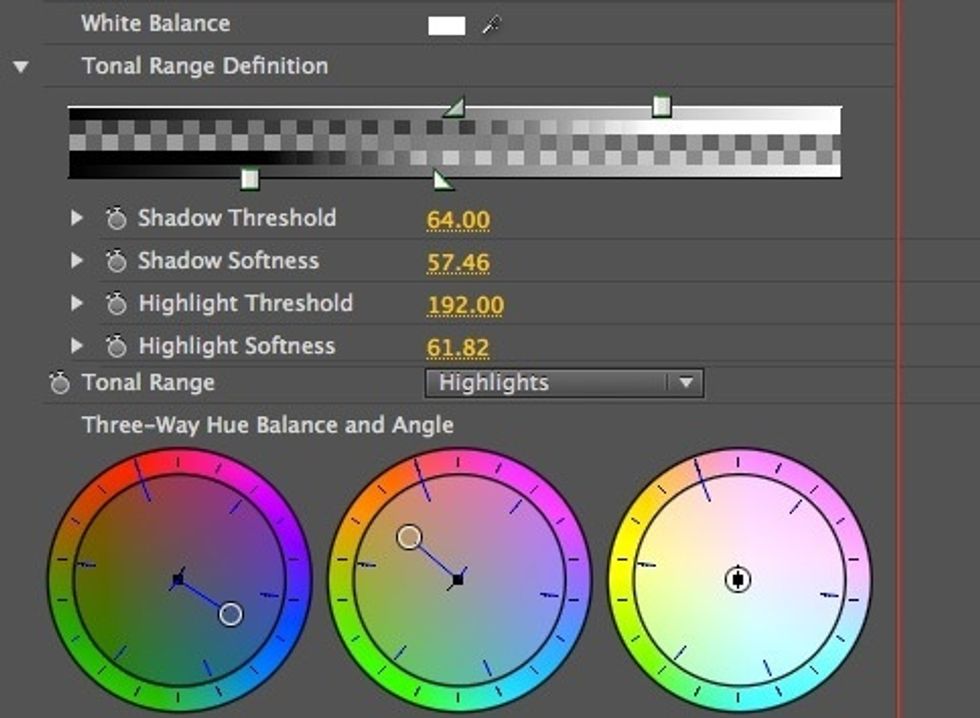
Drop down this option and drag the triangles toward the center. This blends the blue and orange effects together making them look natural.
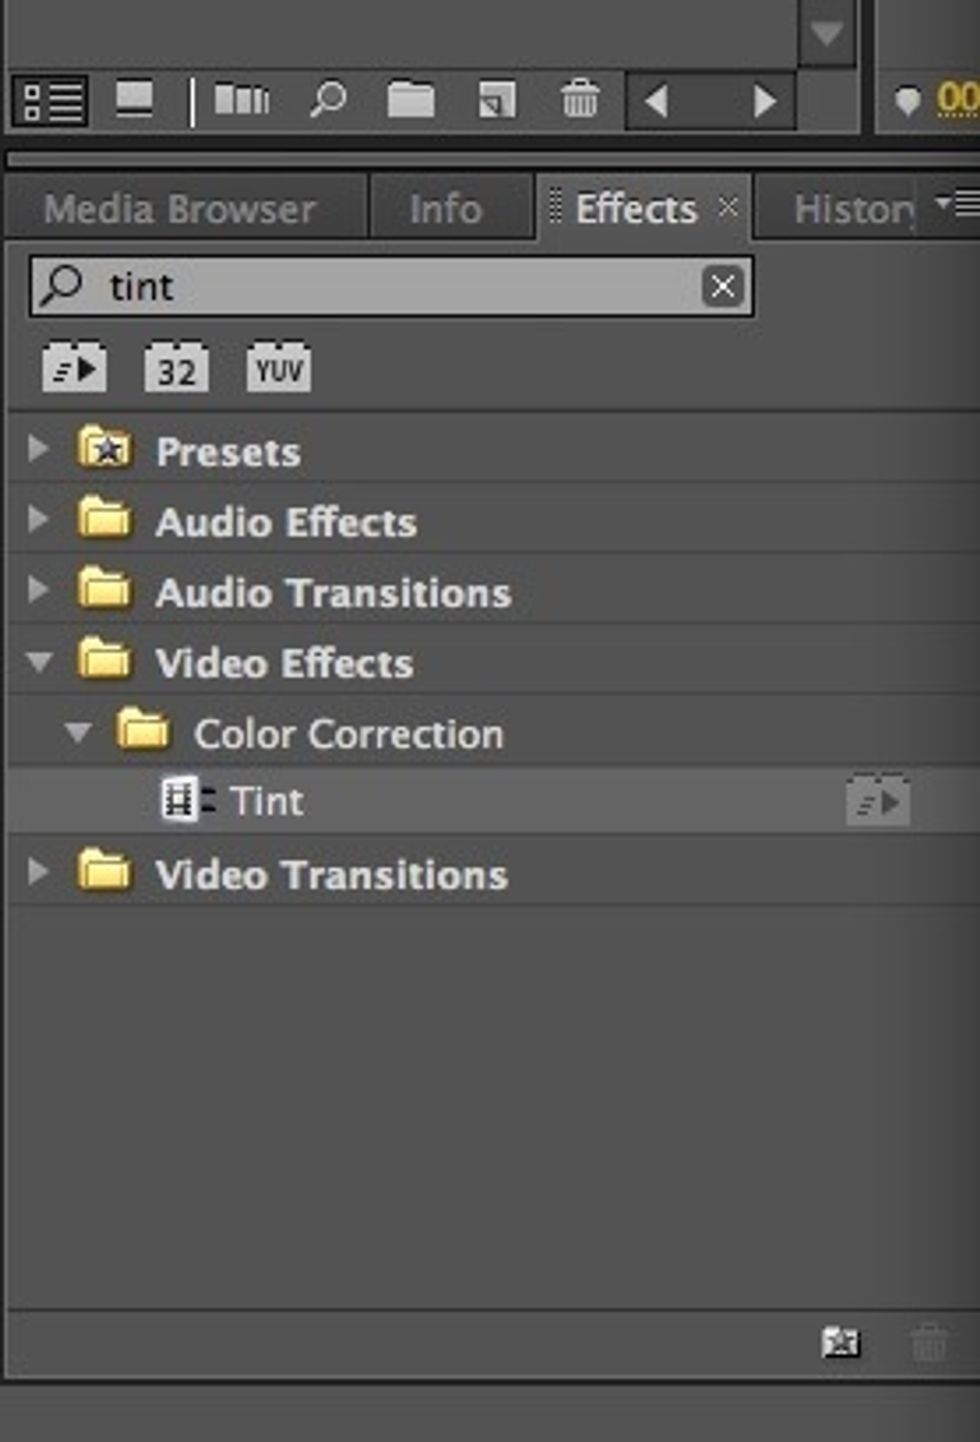
Now we will add our last effect, which is Tint. Search for this effect and drag and drop onto your clip.
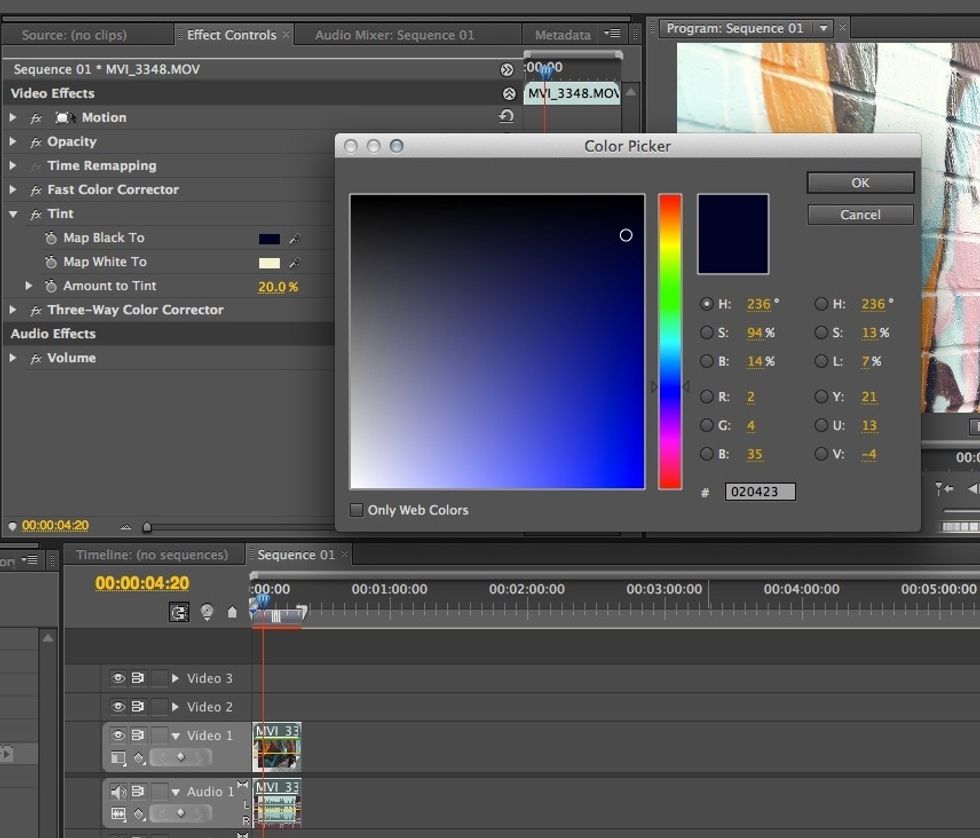
Simply change your Map Black To: colour to a very dark blue, and your Map White To: colour a very light orange.
Change the Amount to Tint to 20 or 30 percent. This adds more blue and yellow to your image while desaturating other colours.
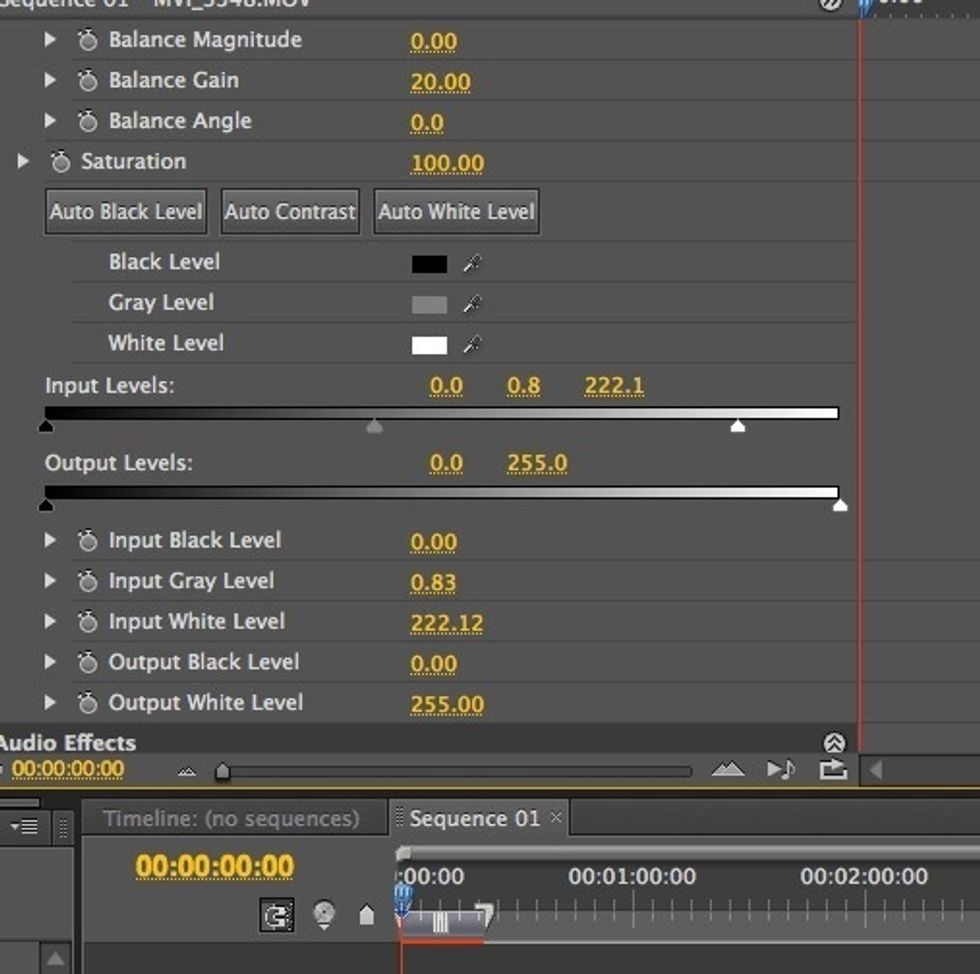
You may need to re-adjust your Levels in Fast Colour Corrector.
Now you’re ready to export! Have a play around with your effects, or add music by importing an .mp3 and dragging it onto your timeline.
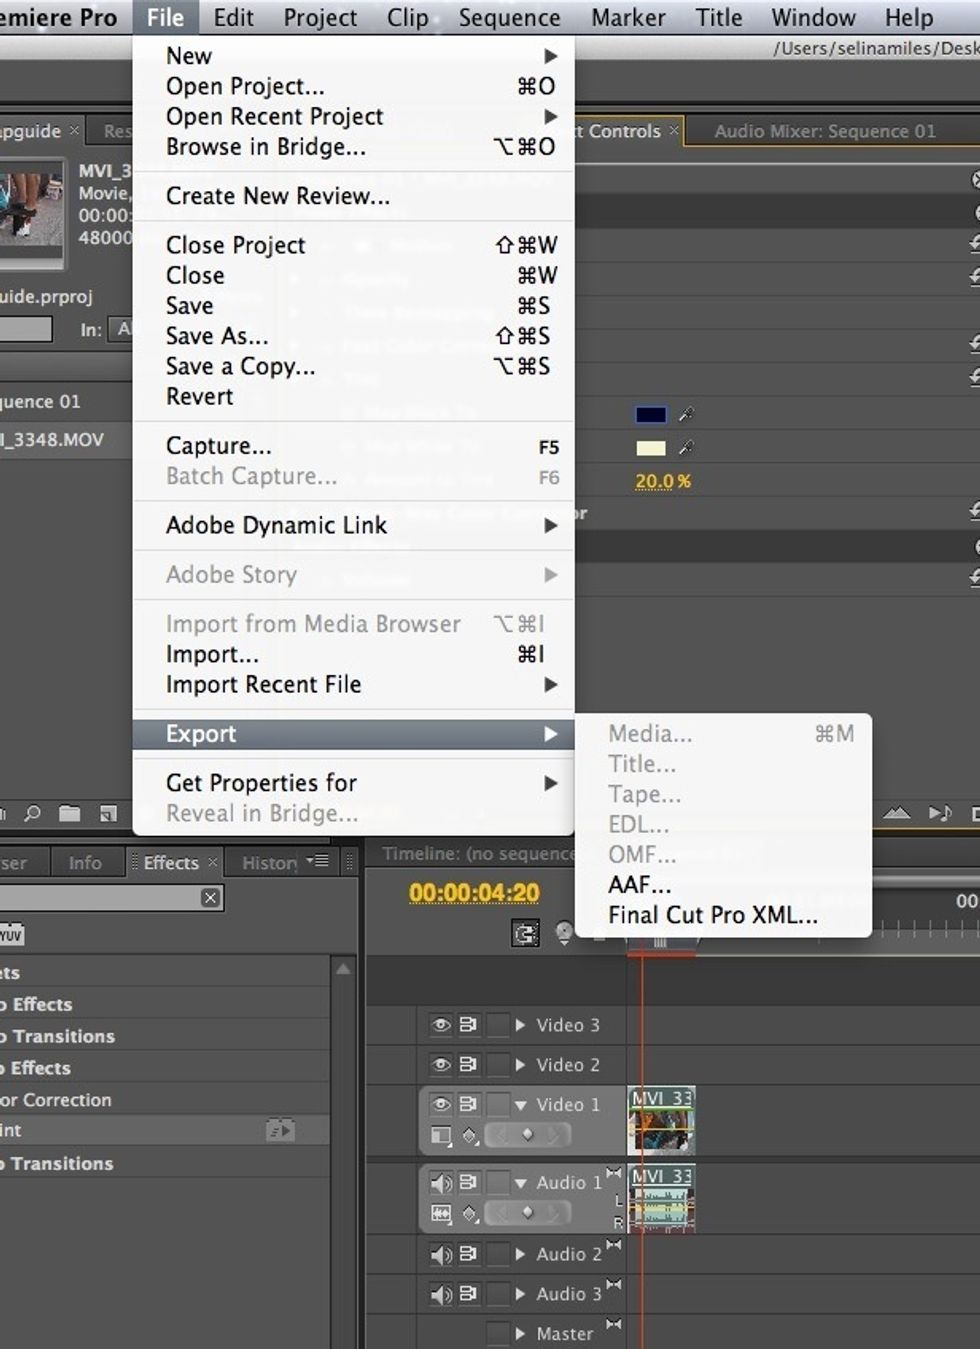
To export, click anywhere in your timeline window to select it, and go to File>Export>Media
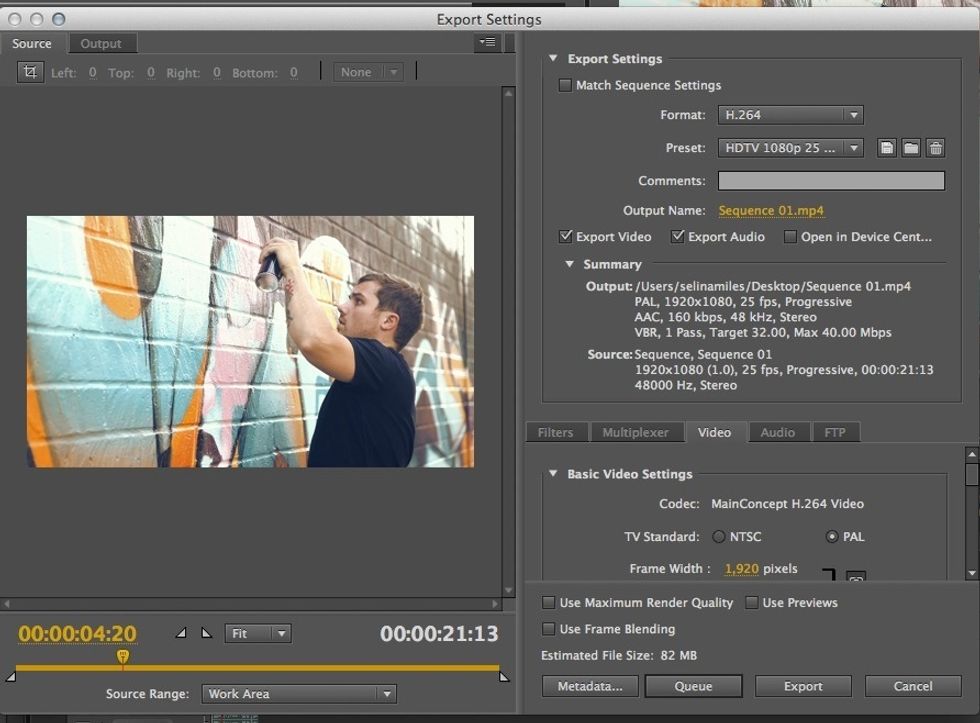
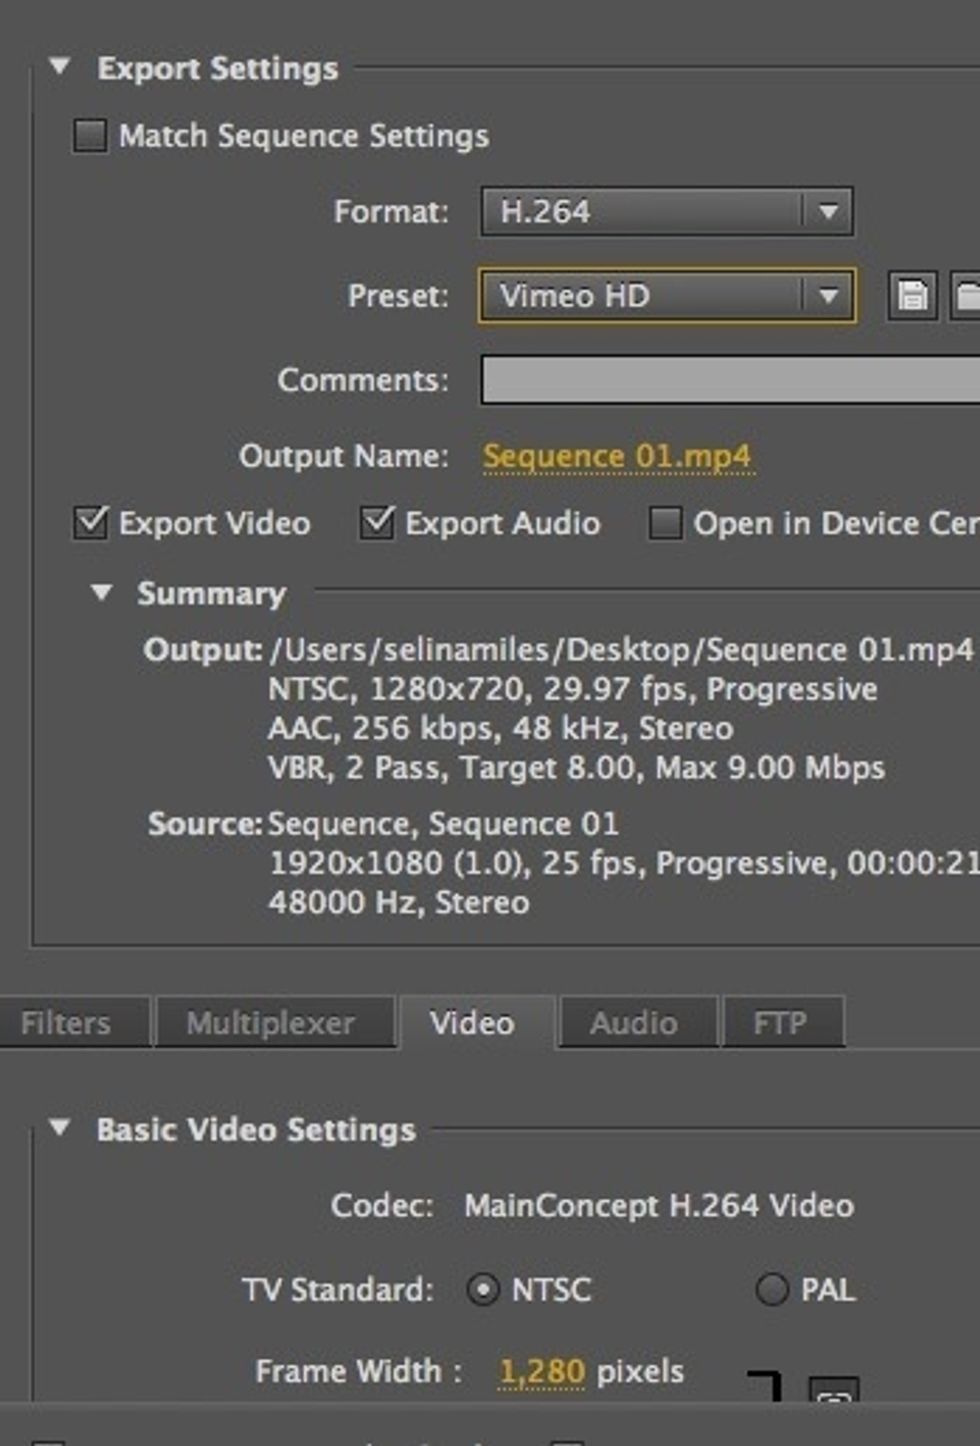
If you are using DSLR footage and wanting to export it to Youtube or Vimeo, simply use the present by selecting Format: H.264 and Preset: Vimeo HD
Hit the Export button and wait!
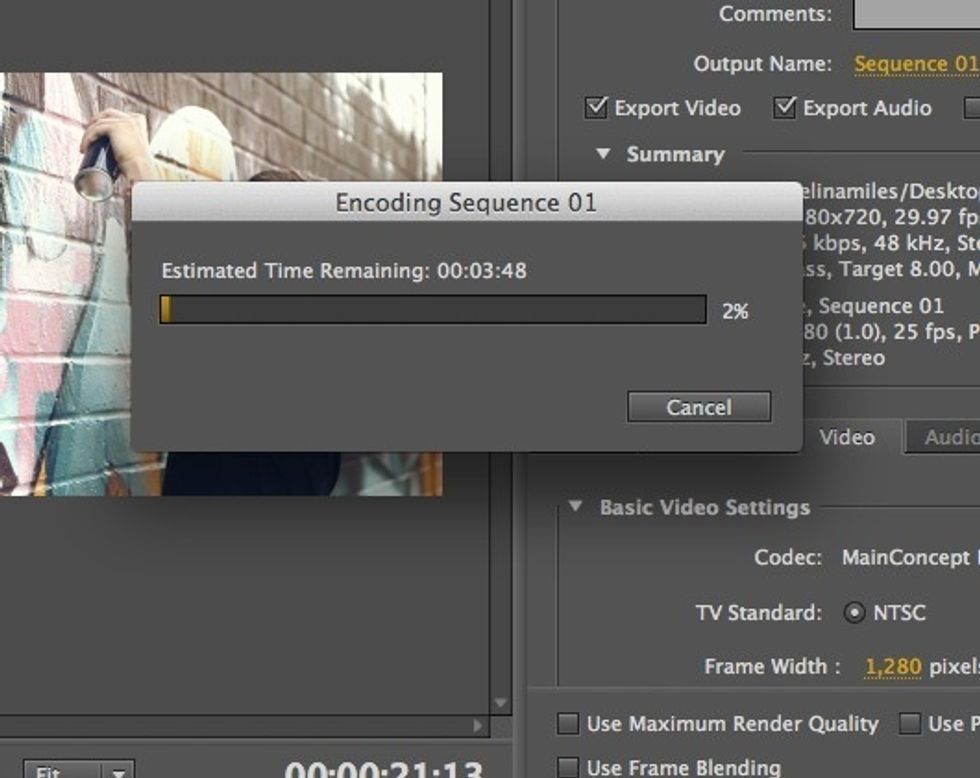
Waiting.....................
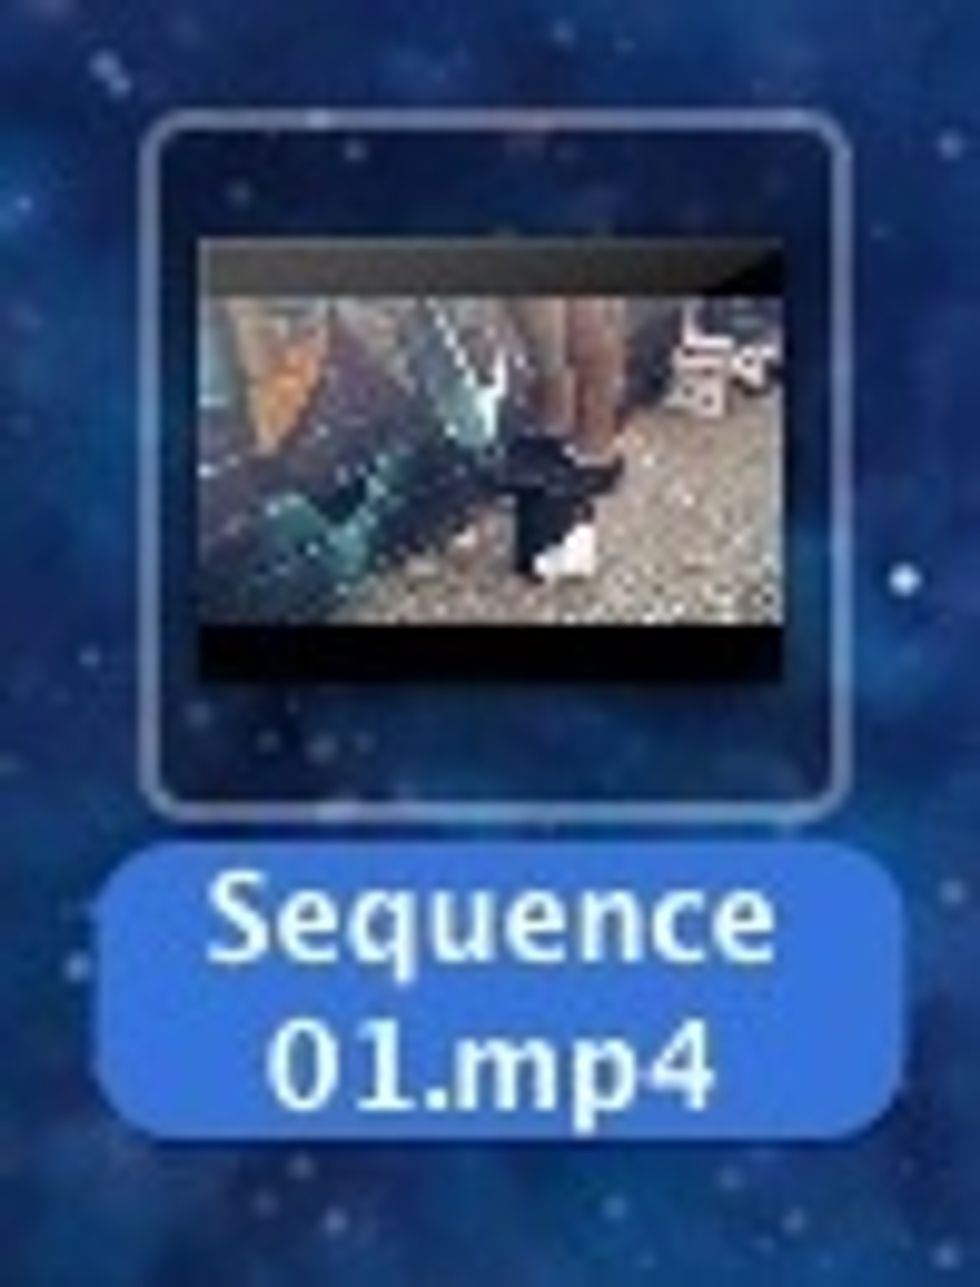
Your graded, film-like video is ready to upload!