The Conversation (0)
Sign Up
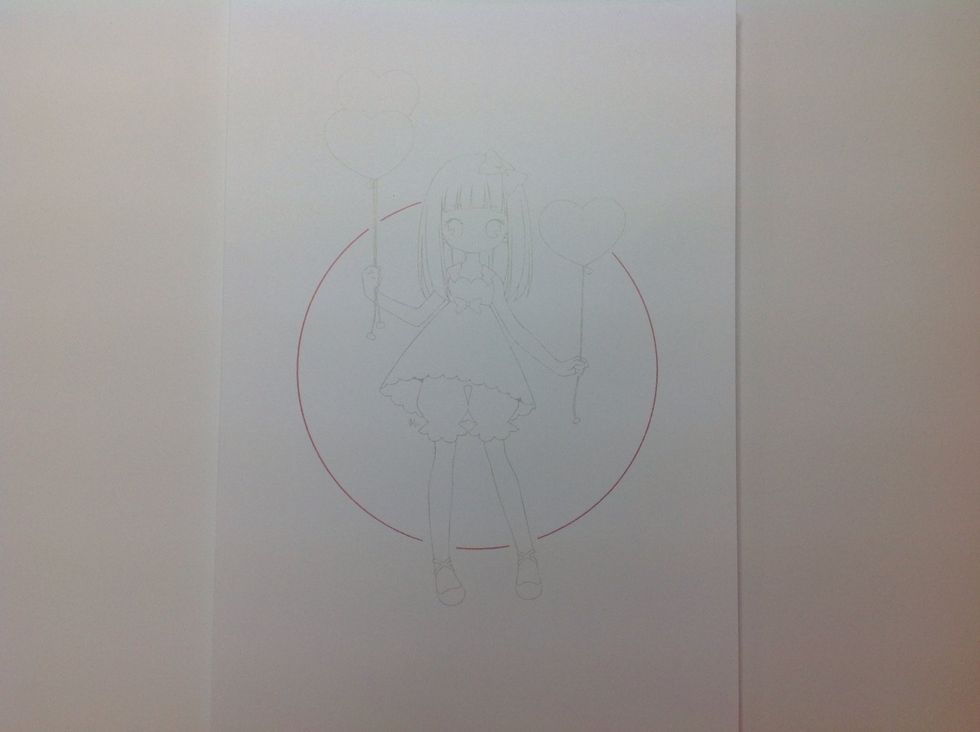
Set transparency of image on the computer to light (approx 10-20%) and print onto quality paper.
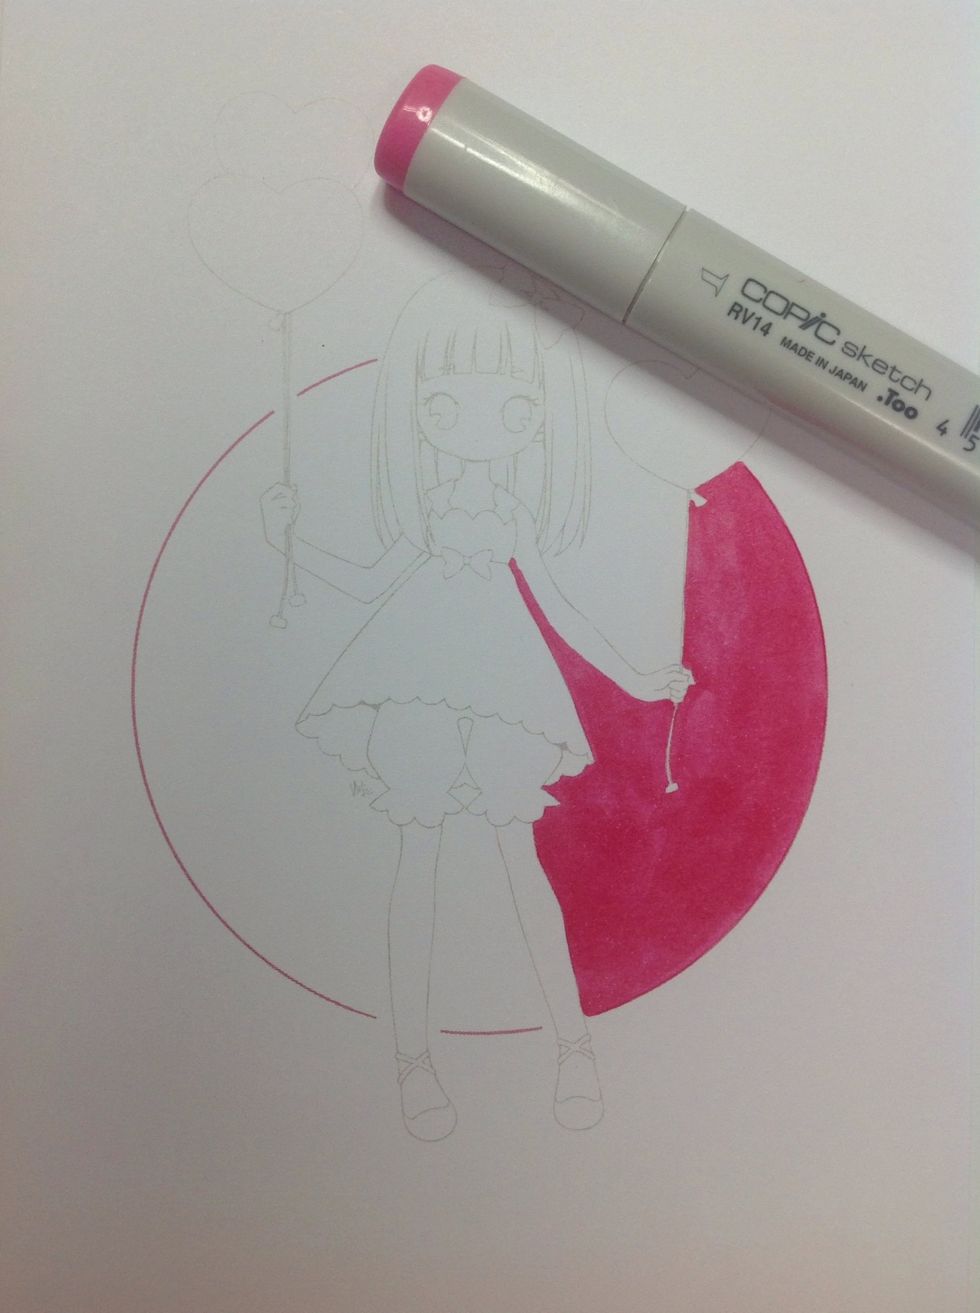
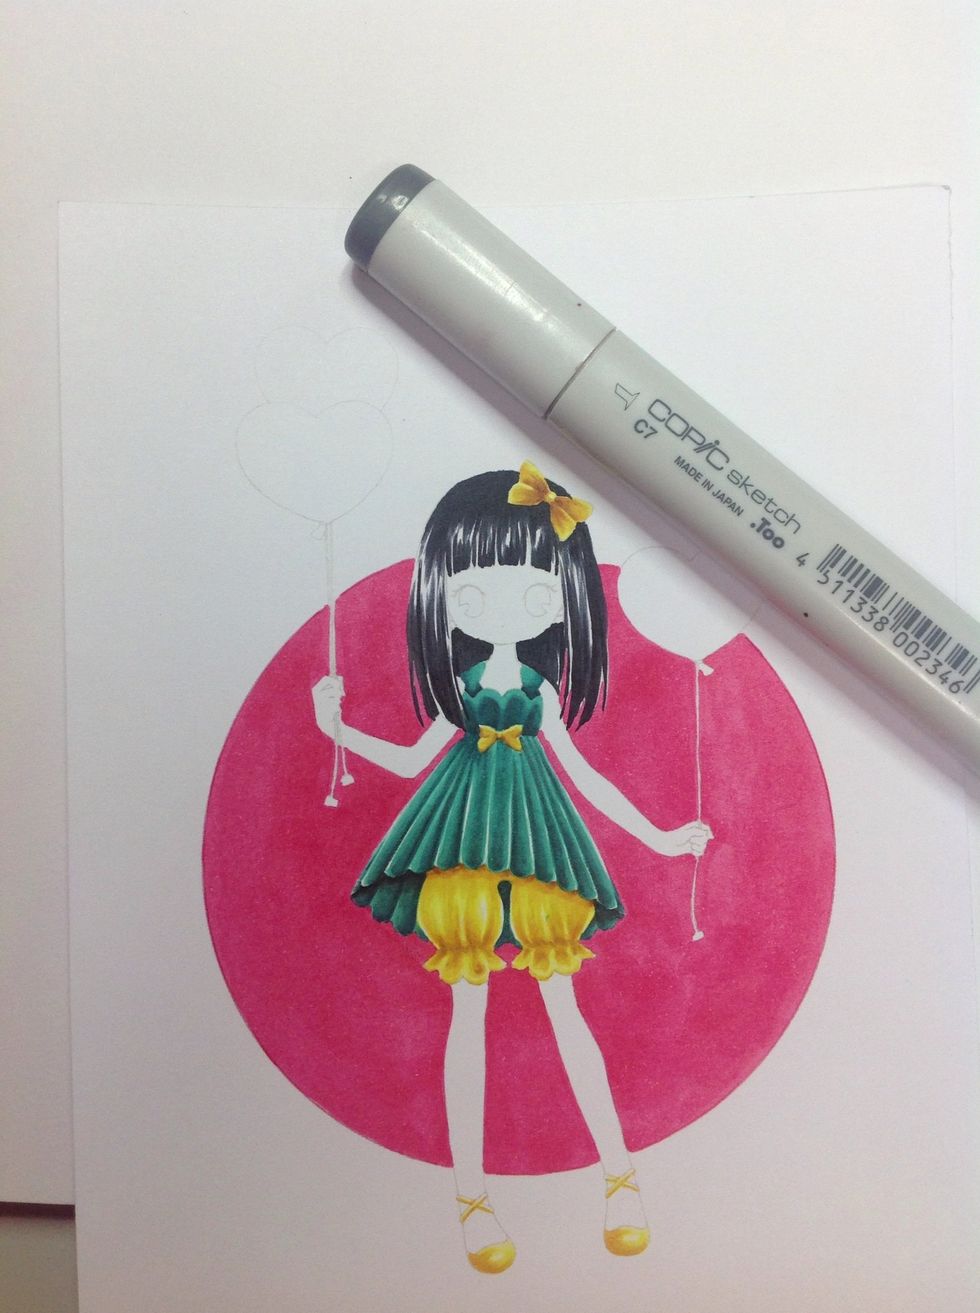
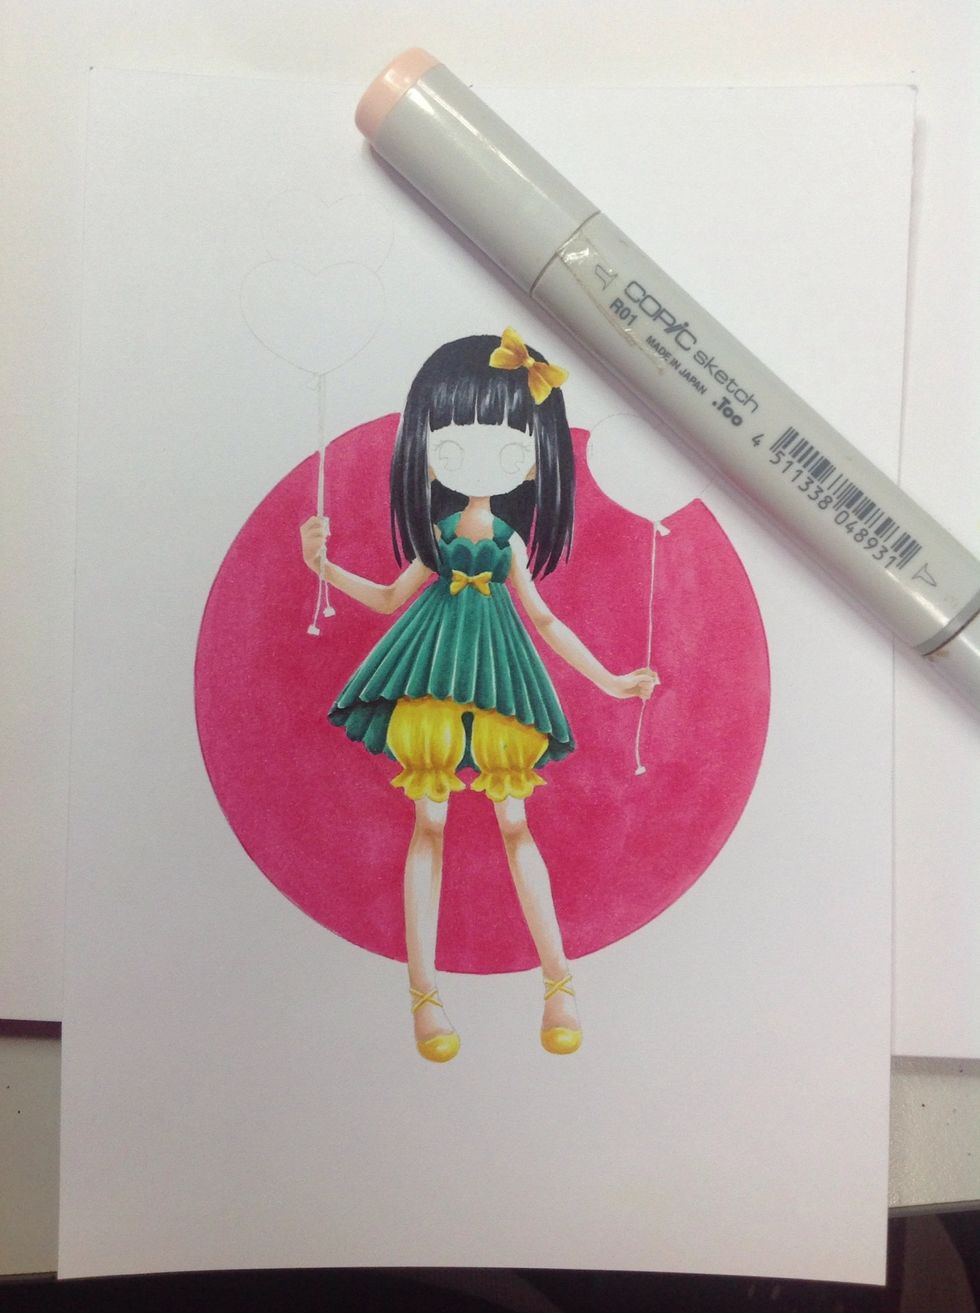
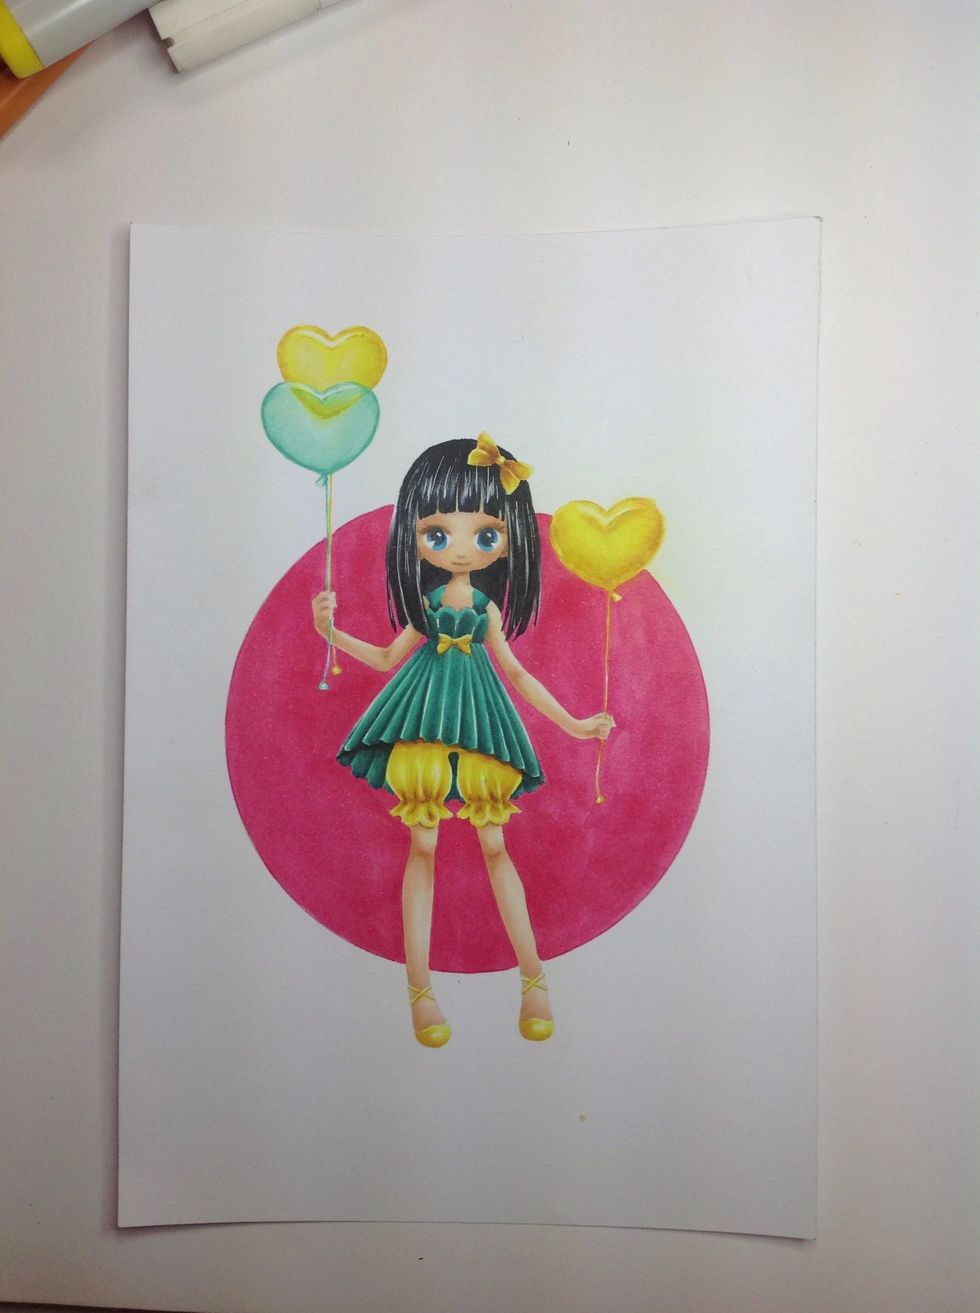
Begin by colouring the background around the character.

Colour the whole section around the character. Try to work in small areas at a time keeping your ink wet as you colour to try and avoid a blotchy finish.
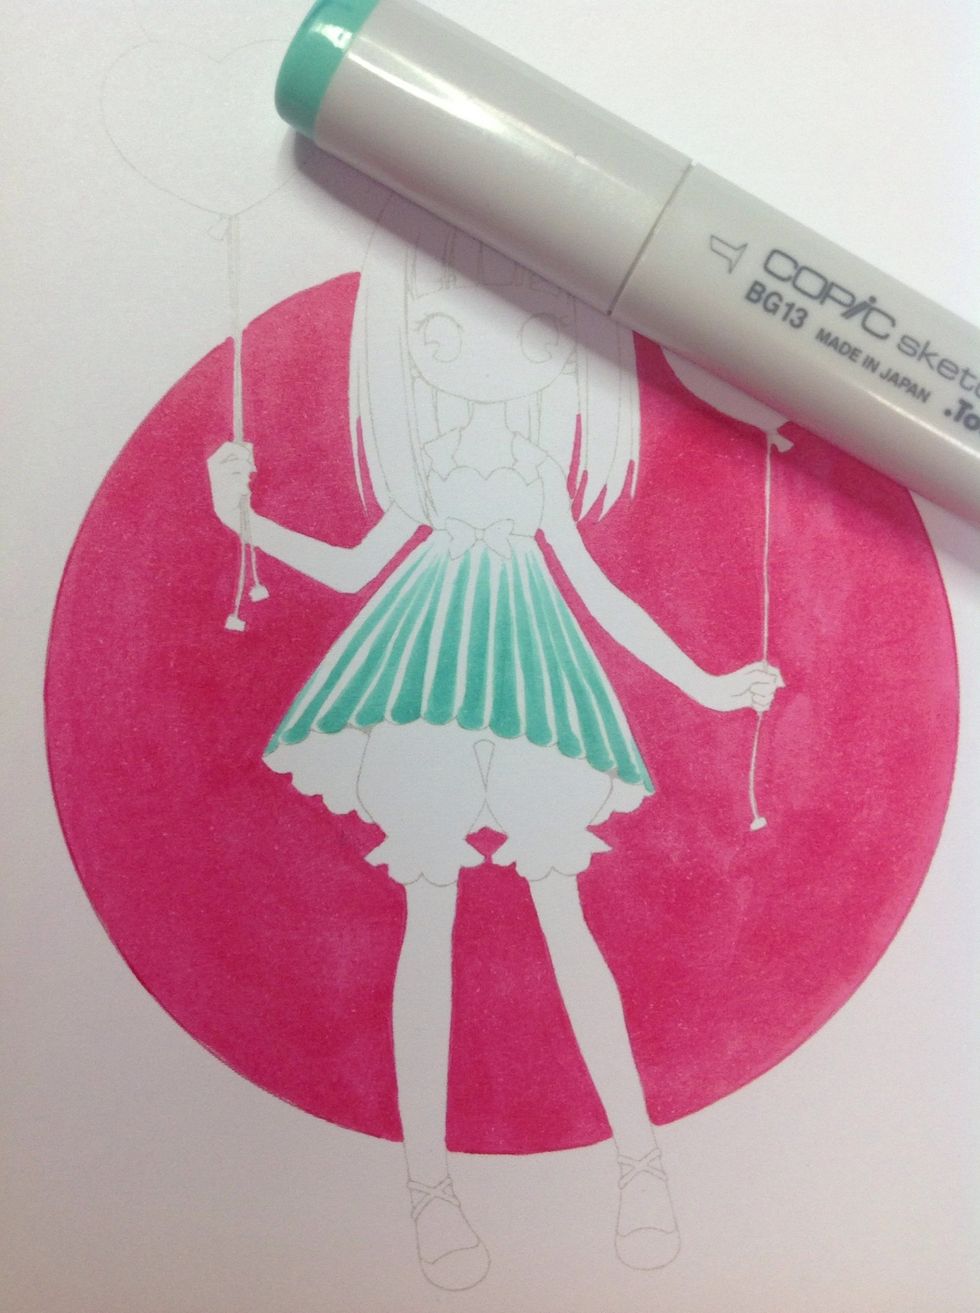
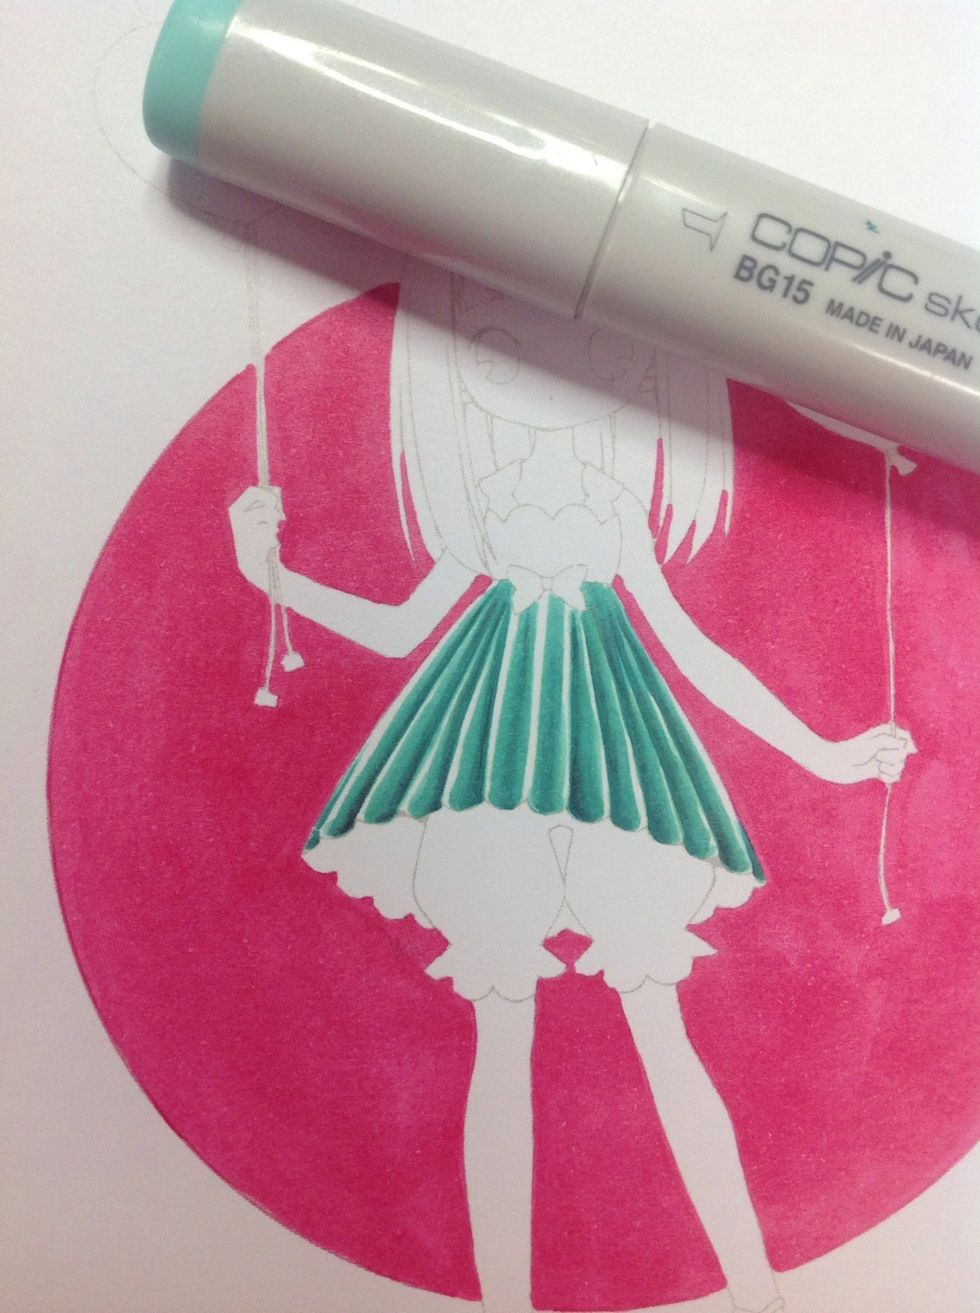
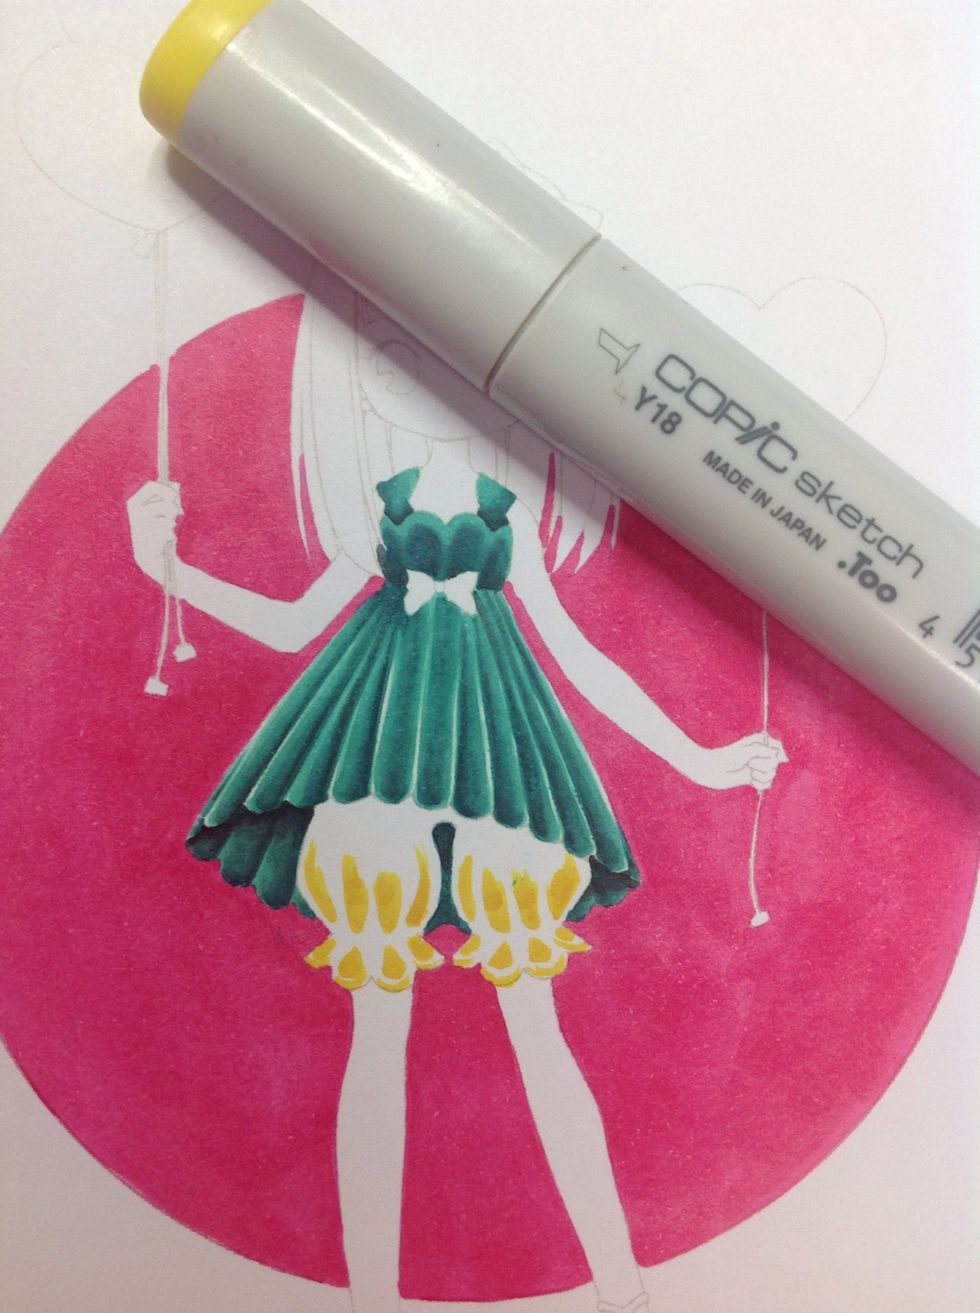
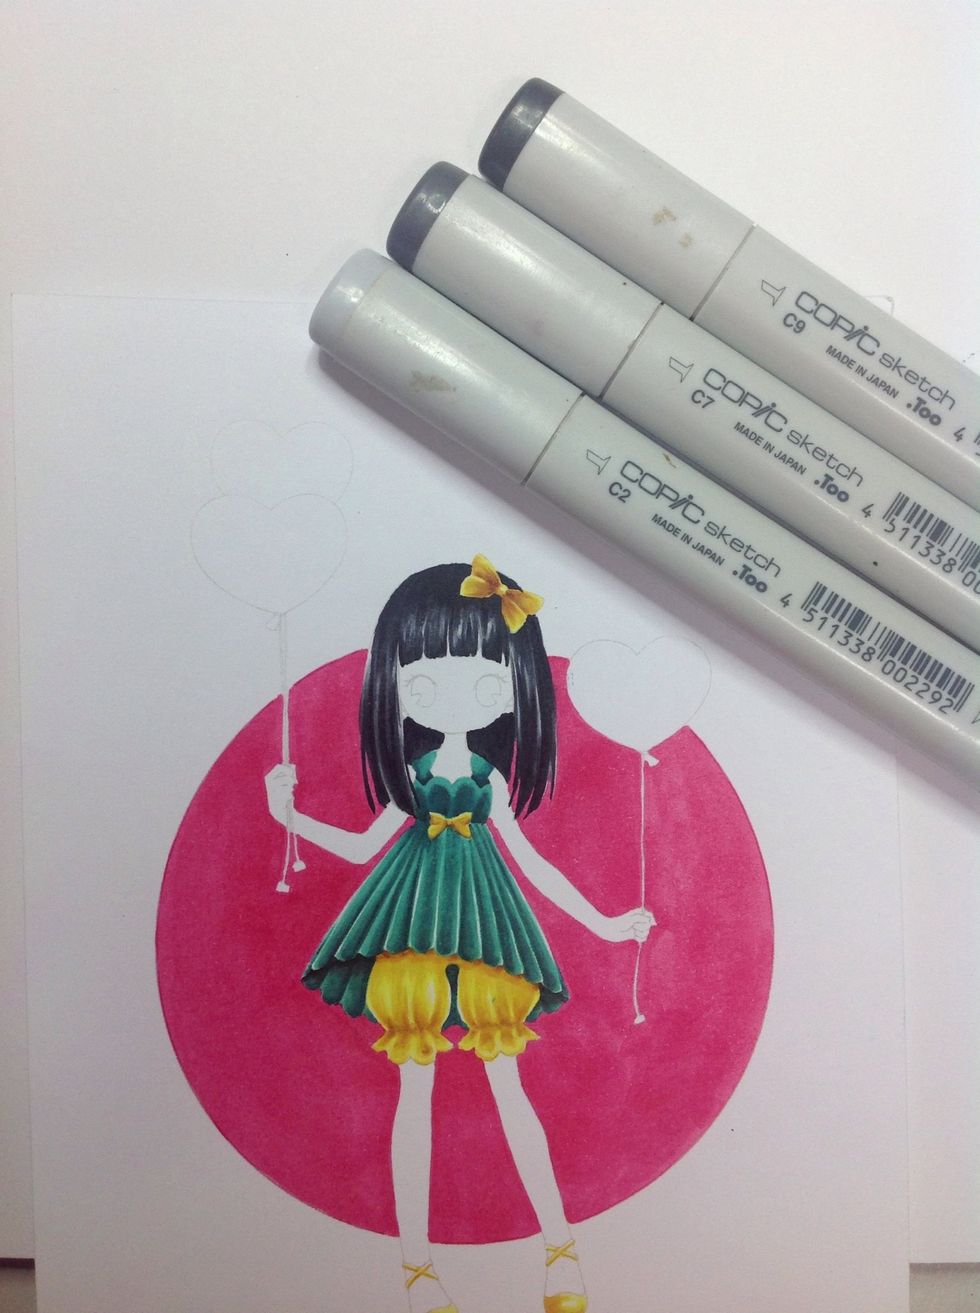
Begin forming the pleats on the skirt using a medium tone.
Add contrast/shading using a darker tone
Blend with the medium tone.
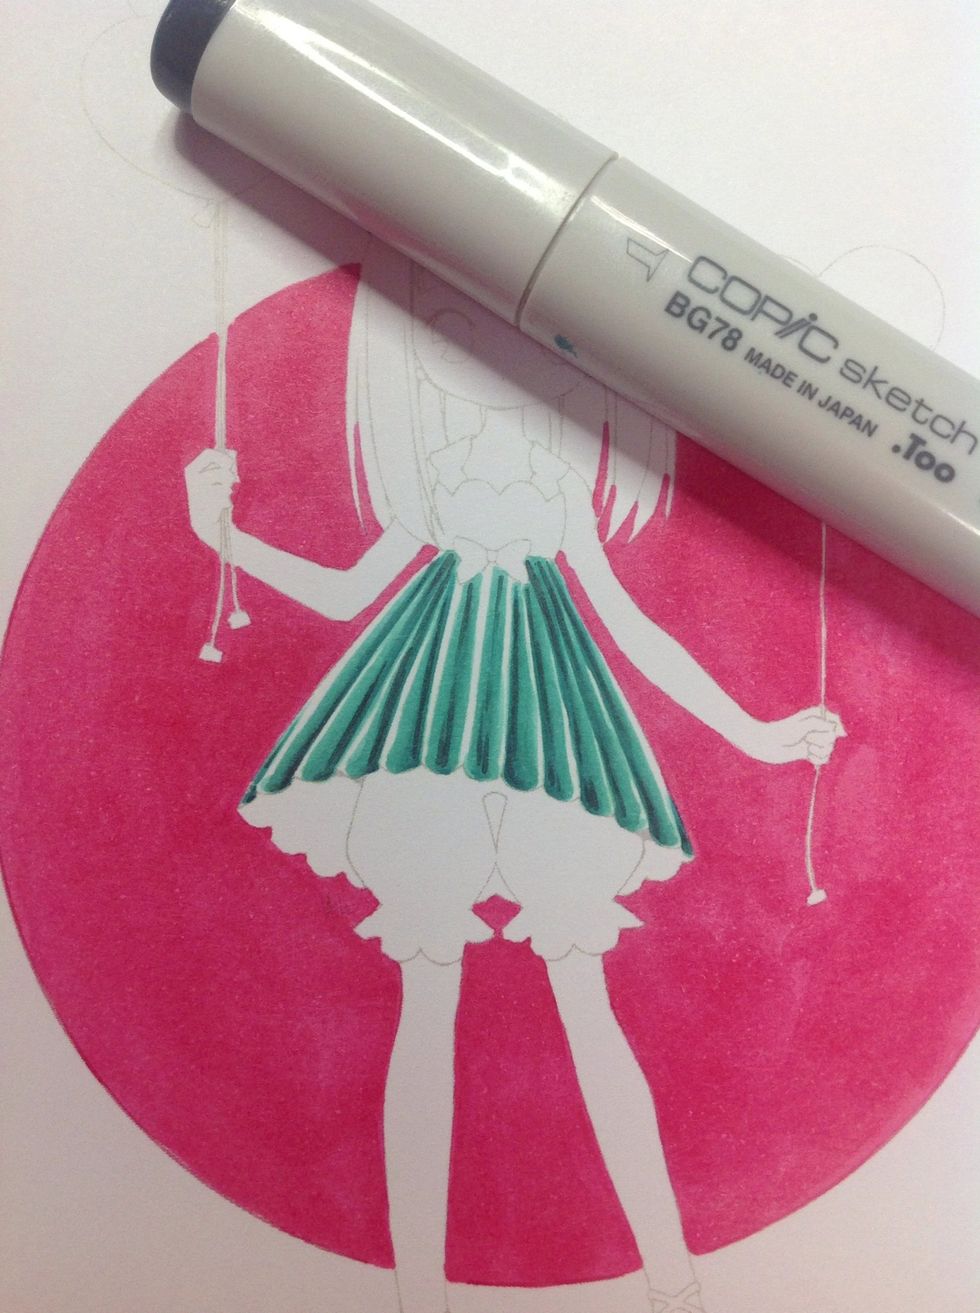
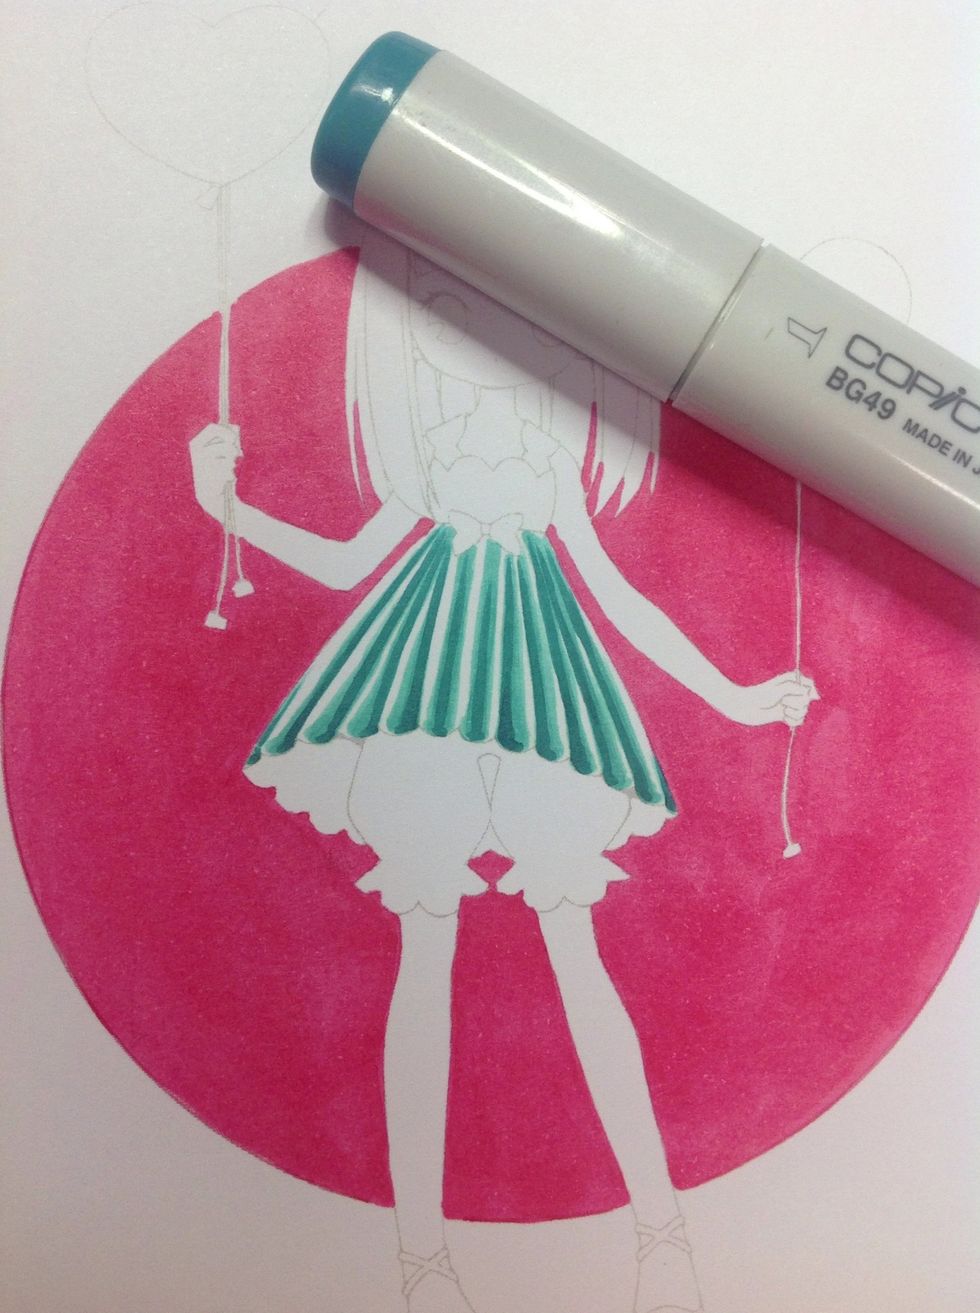
Add more shading with a darker tone
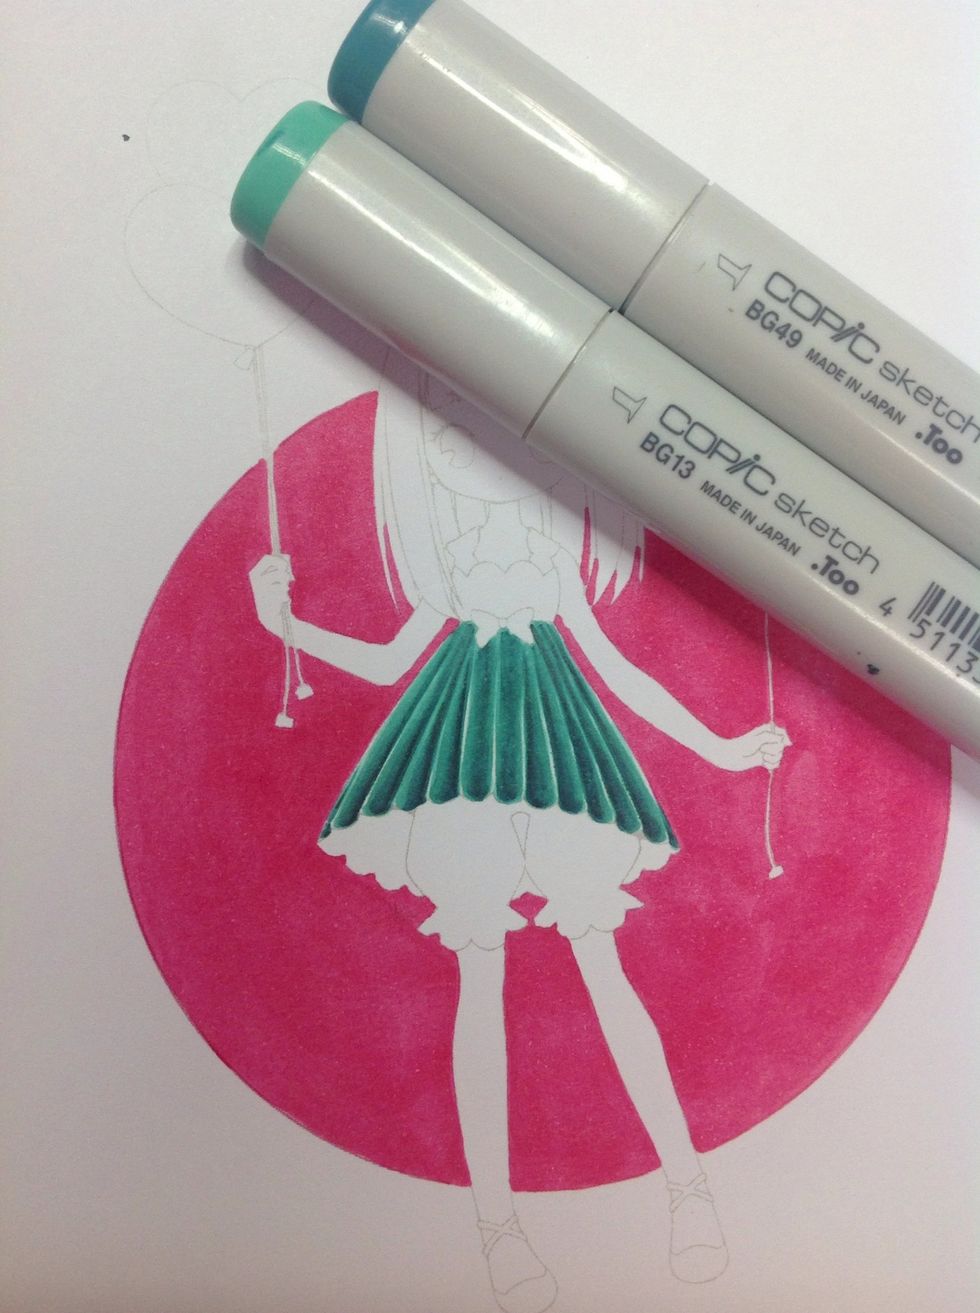
Continue to blend until happy using darker and medium tone. Leave some white to highlight the pleats.
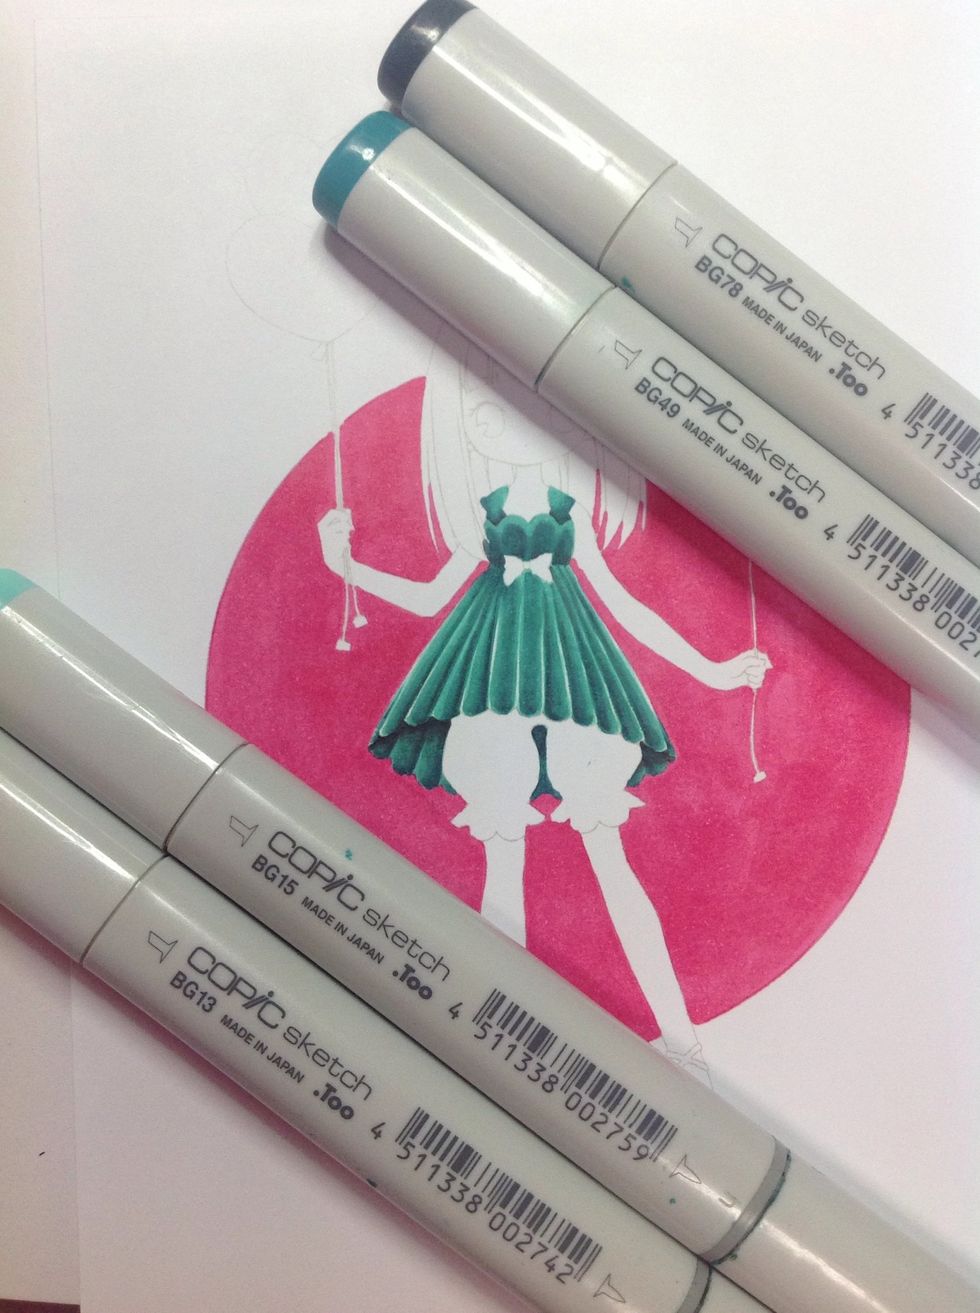
Repeat these steps on the remainder of the dress.
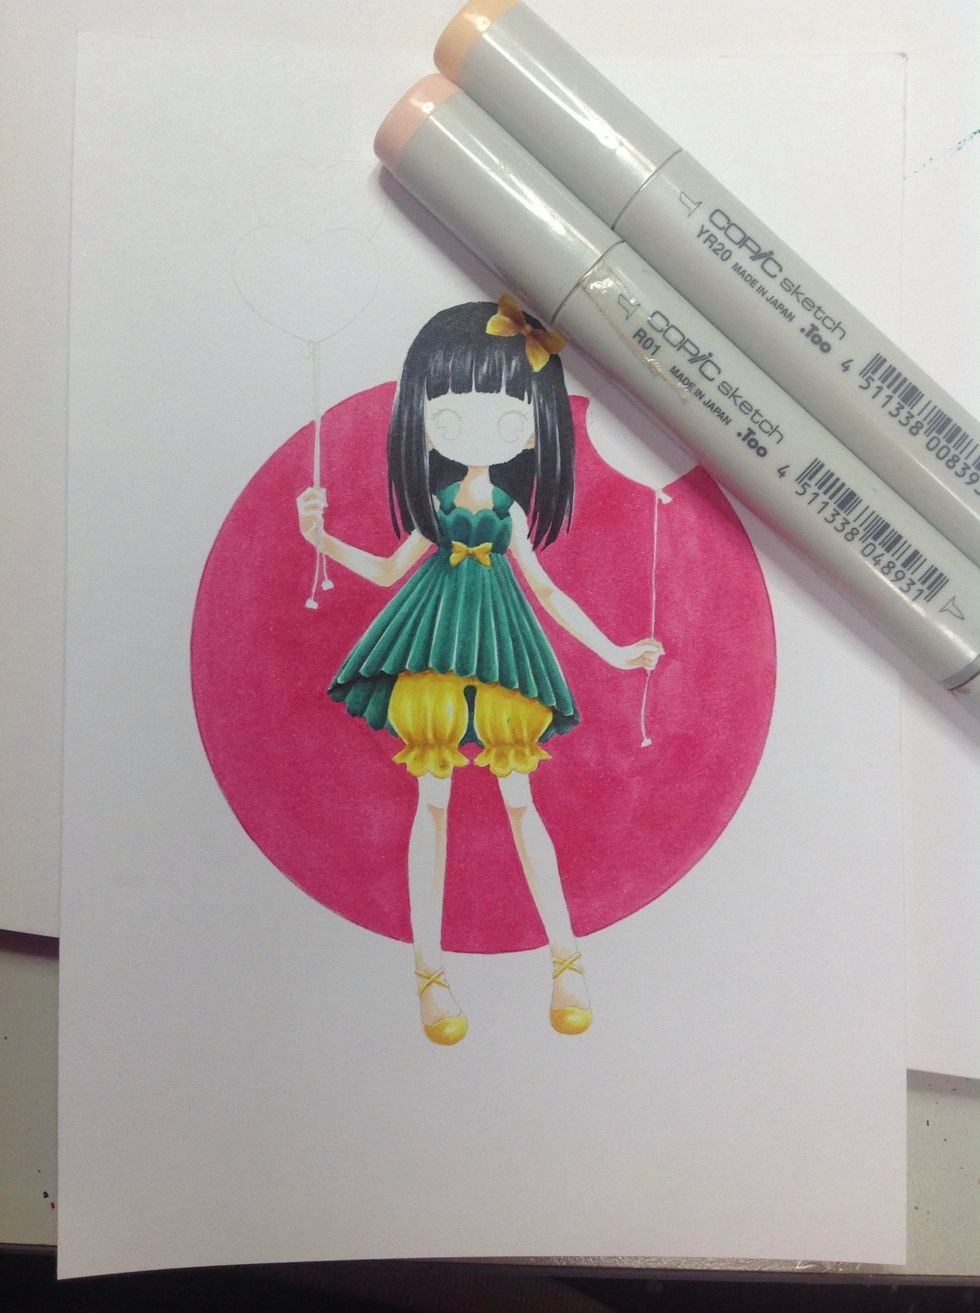
Begging forming the shape of the little pants using a medium/dark colour
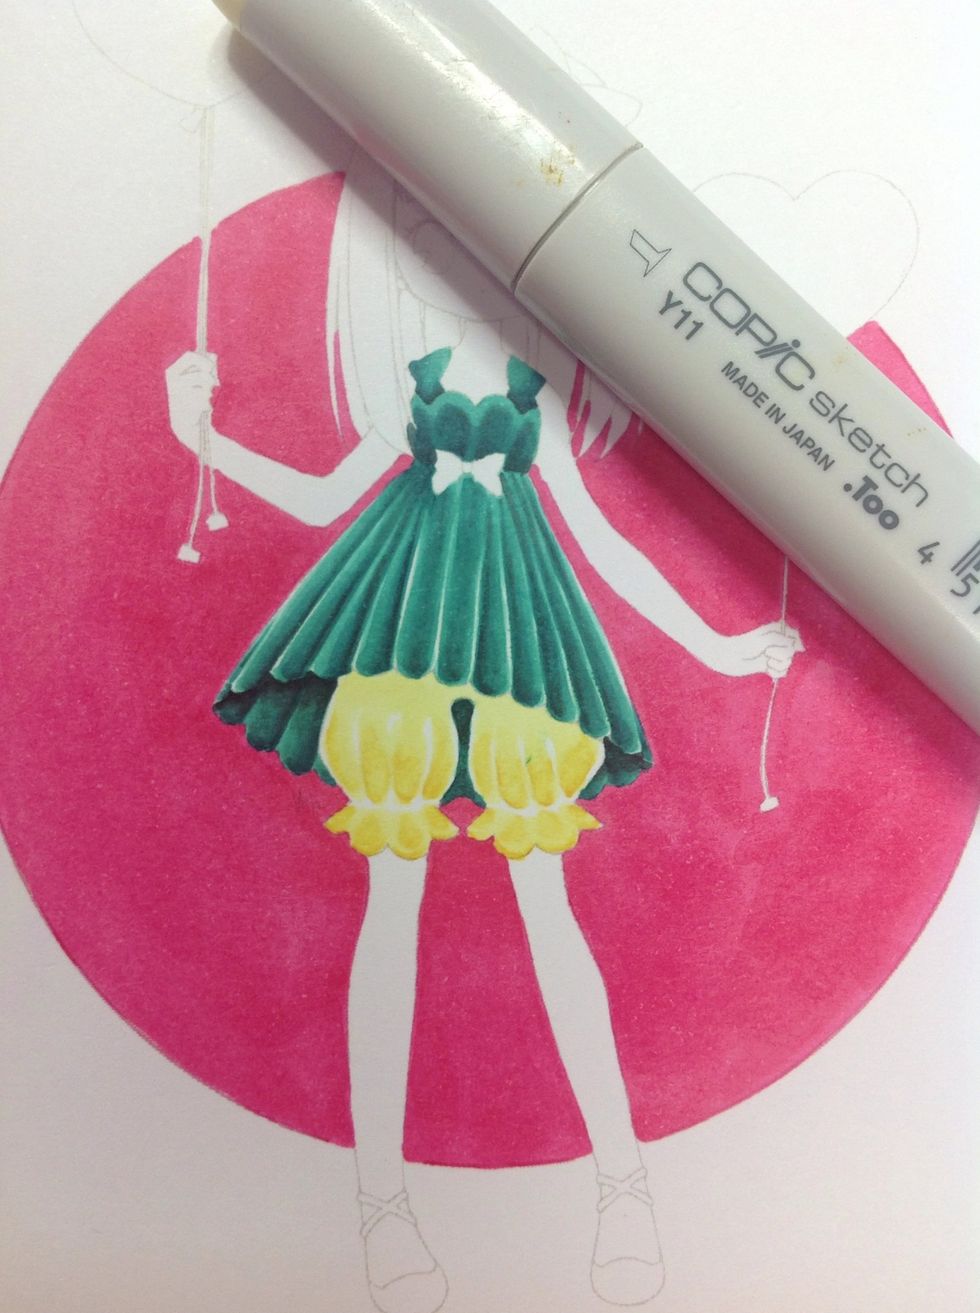
Blend out with a light colour
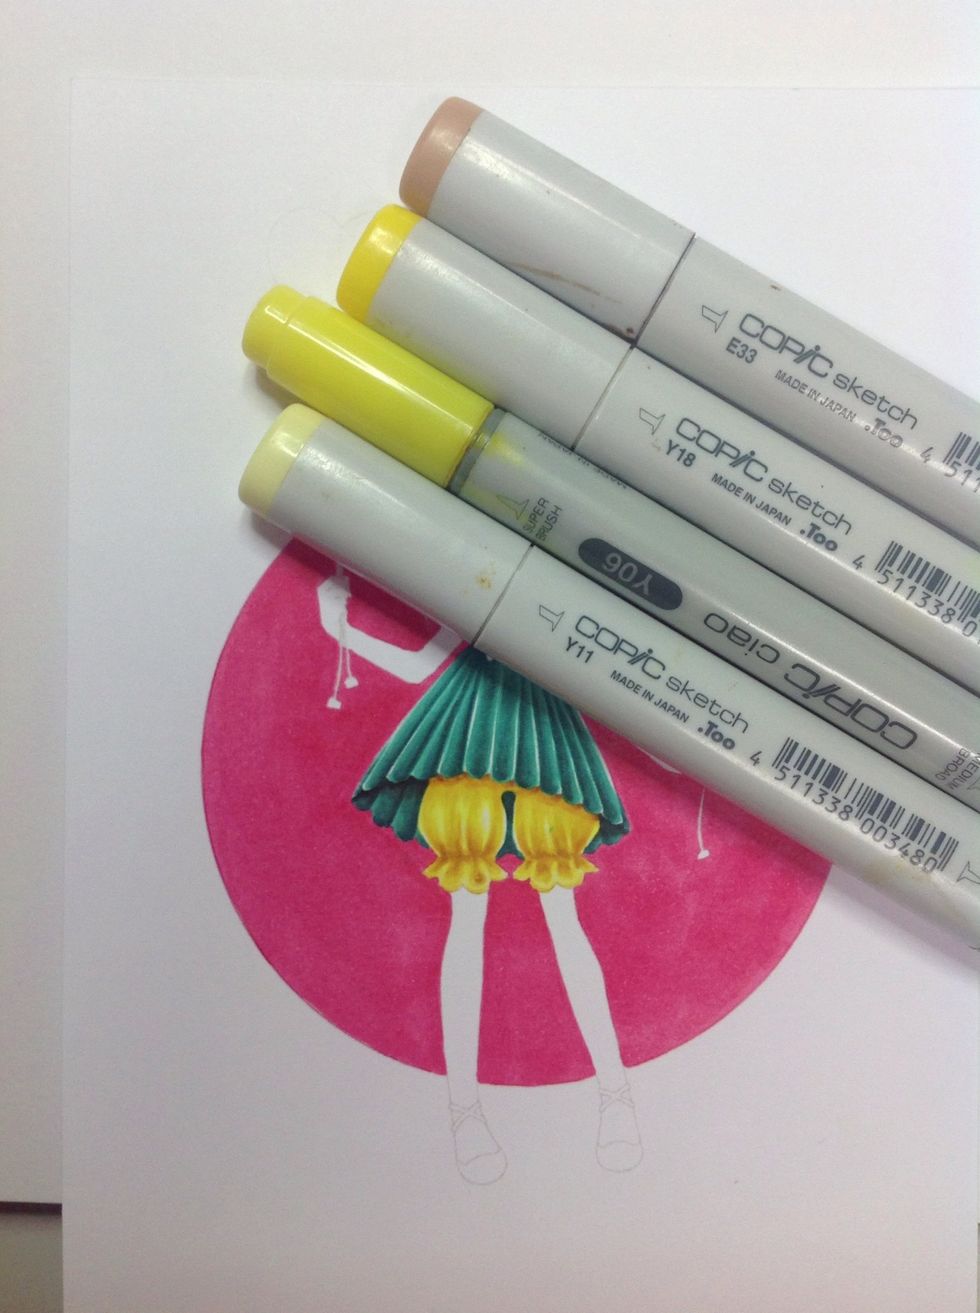
Continue blending between the different shades until you are happy with the appearance.
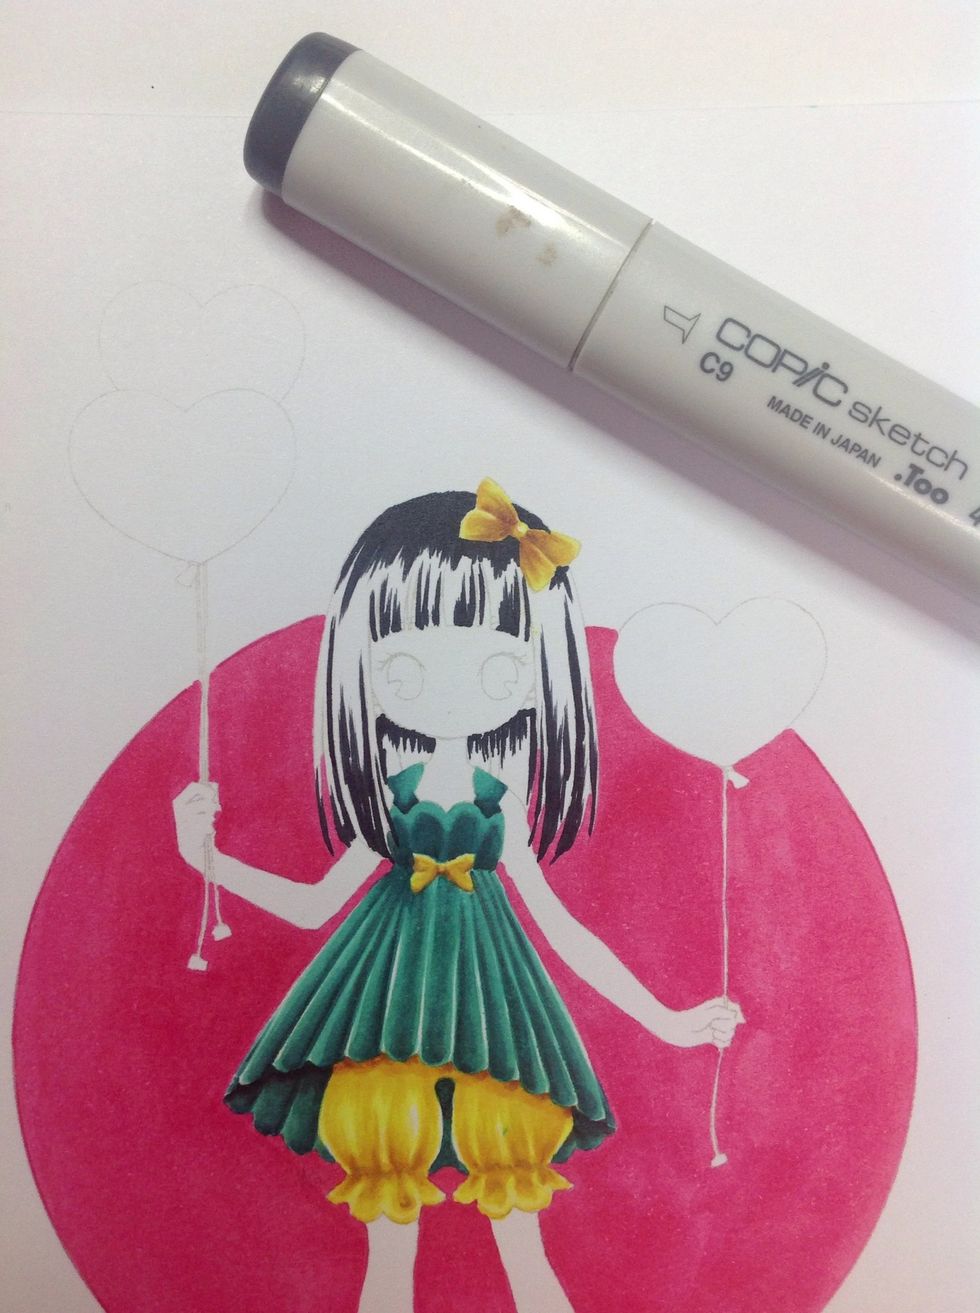
Begin sapping the hair with the darkest shade.
Blend towards highlight areas with medium dark shade.
Blend lightly using a very light shade and even go over highlights.
Begin forming shape of skin.
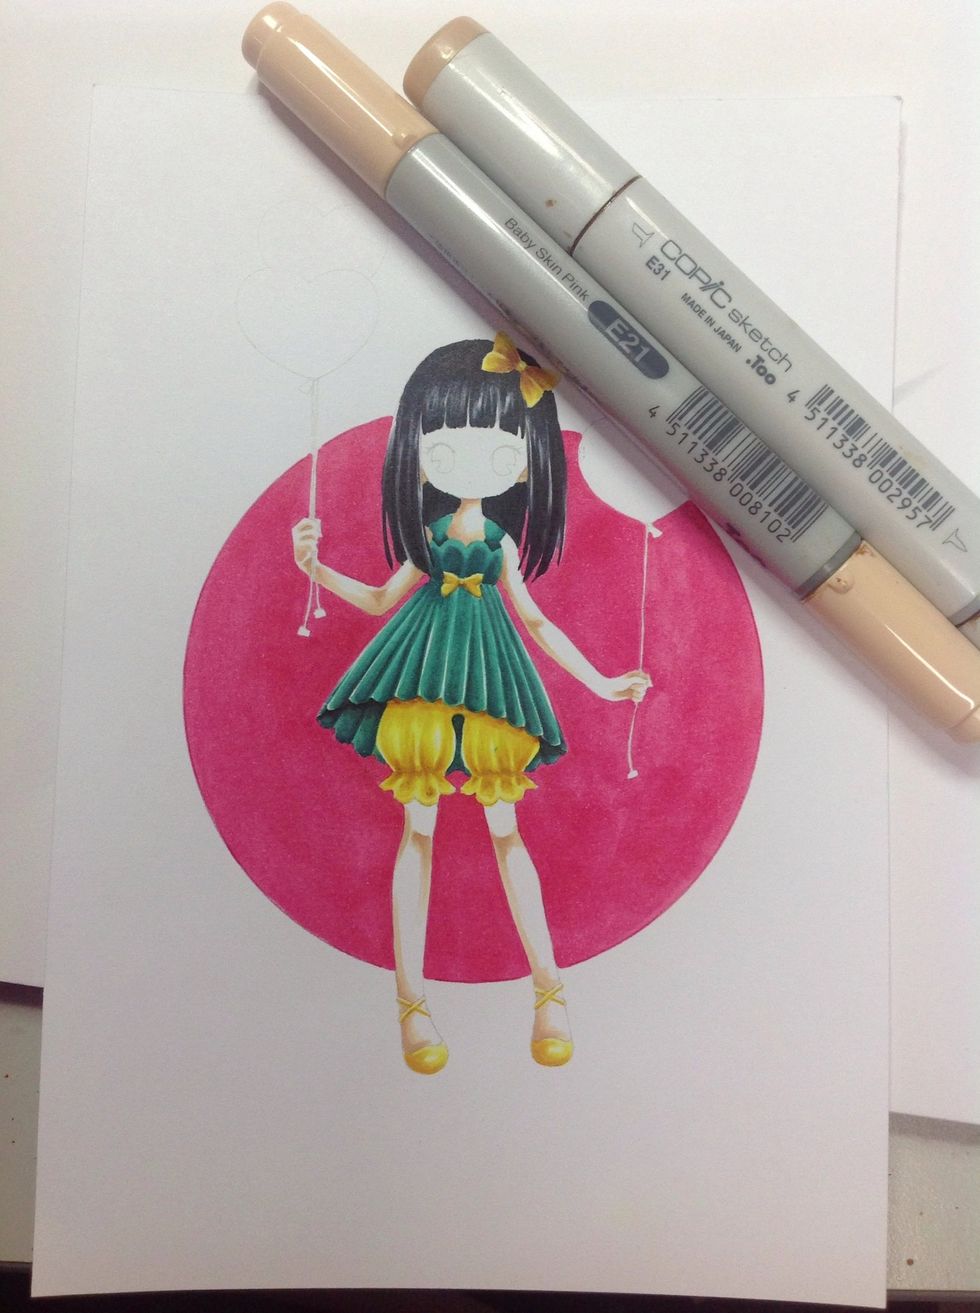
Add more depth using darker shades.
Blend towards highlight areas using lighter shades.
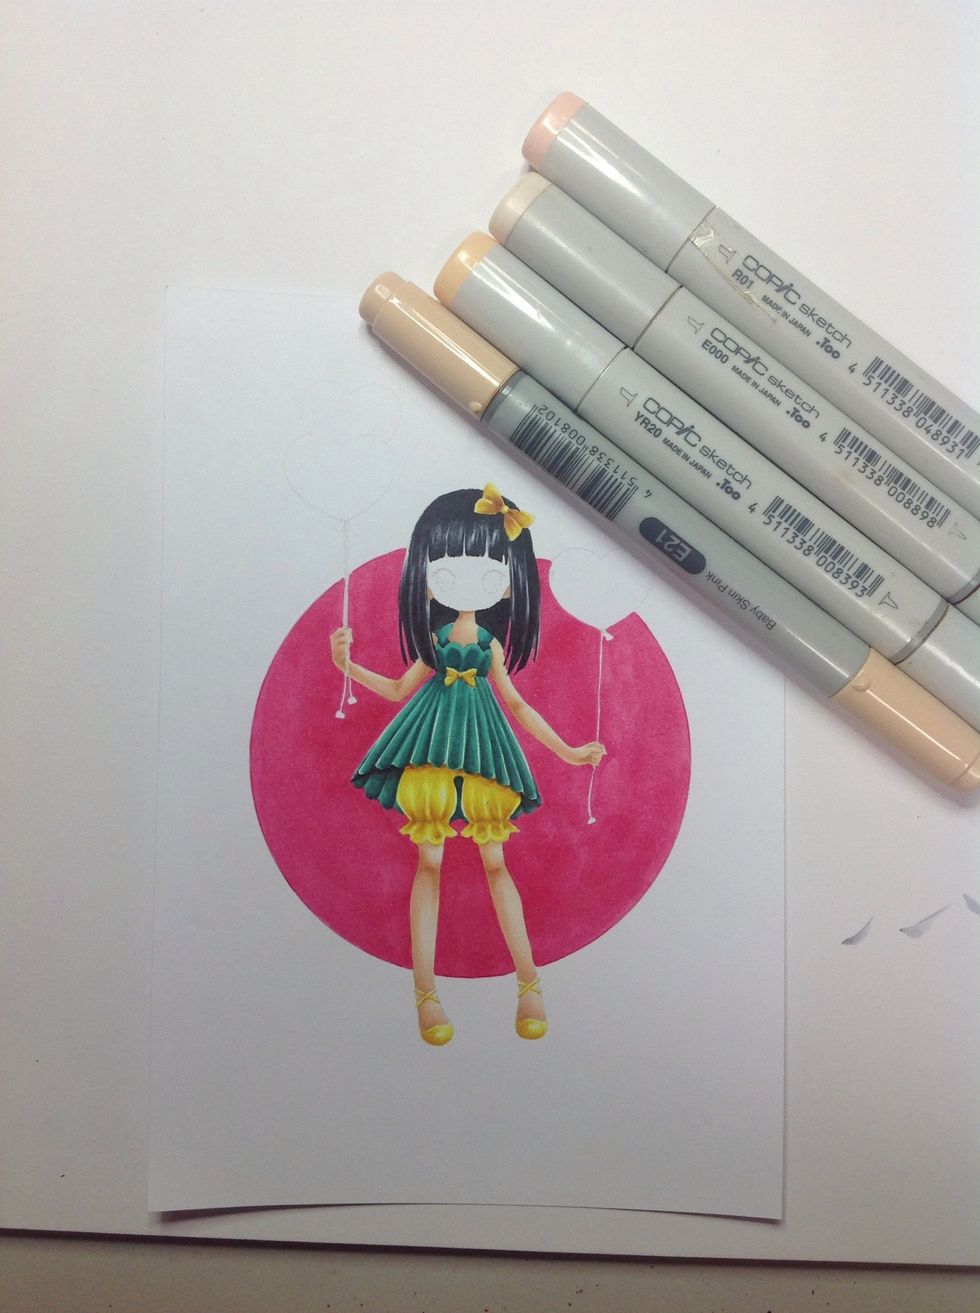
Continue to change back and forth between you skin tones until happy.
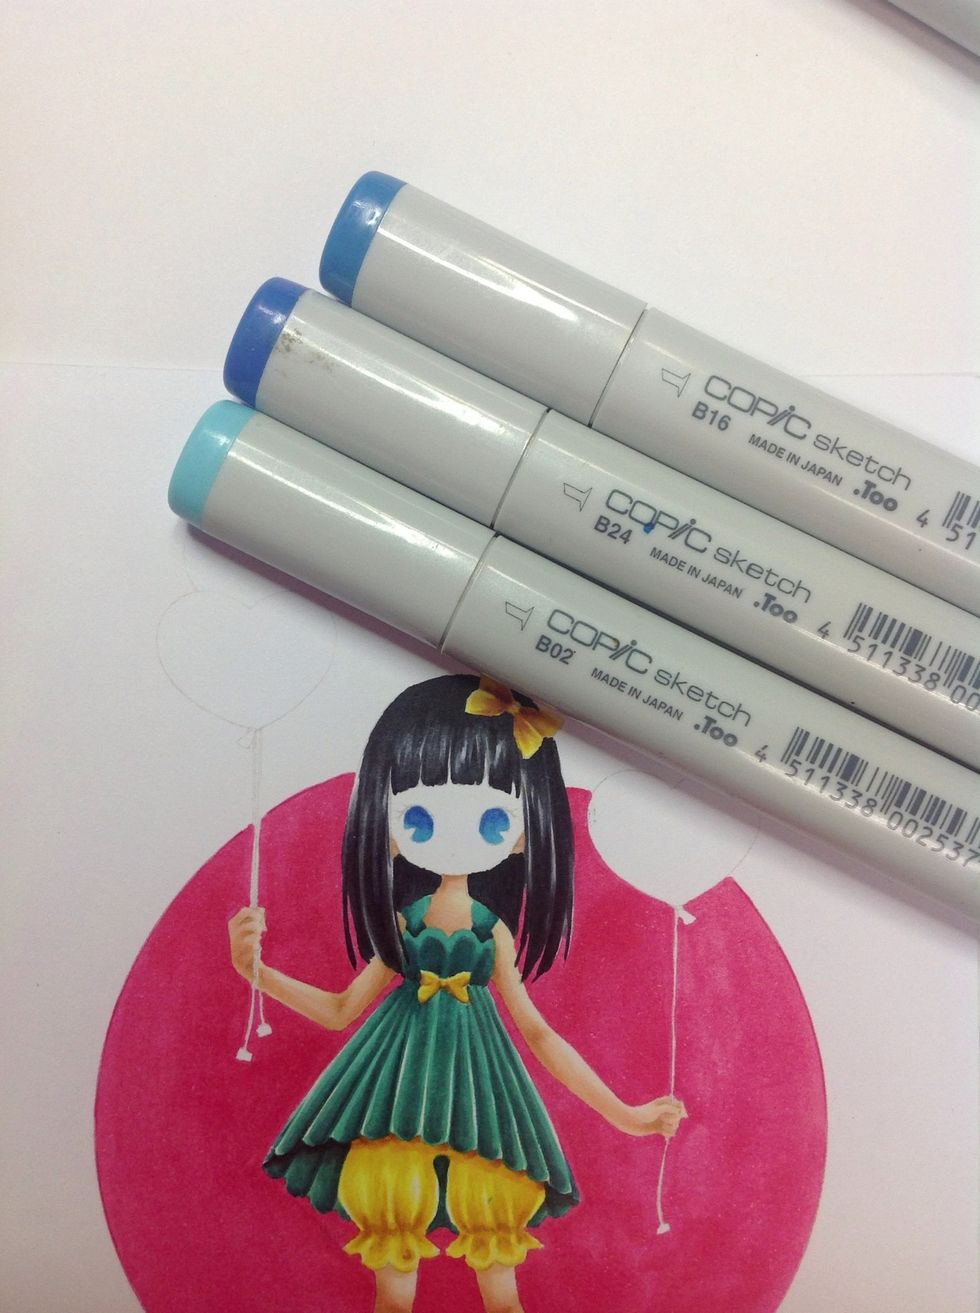
Begin colouring the eyes with you favourite colour.
Colour skin as before leaving some white around the eyes.
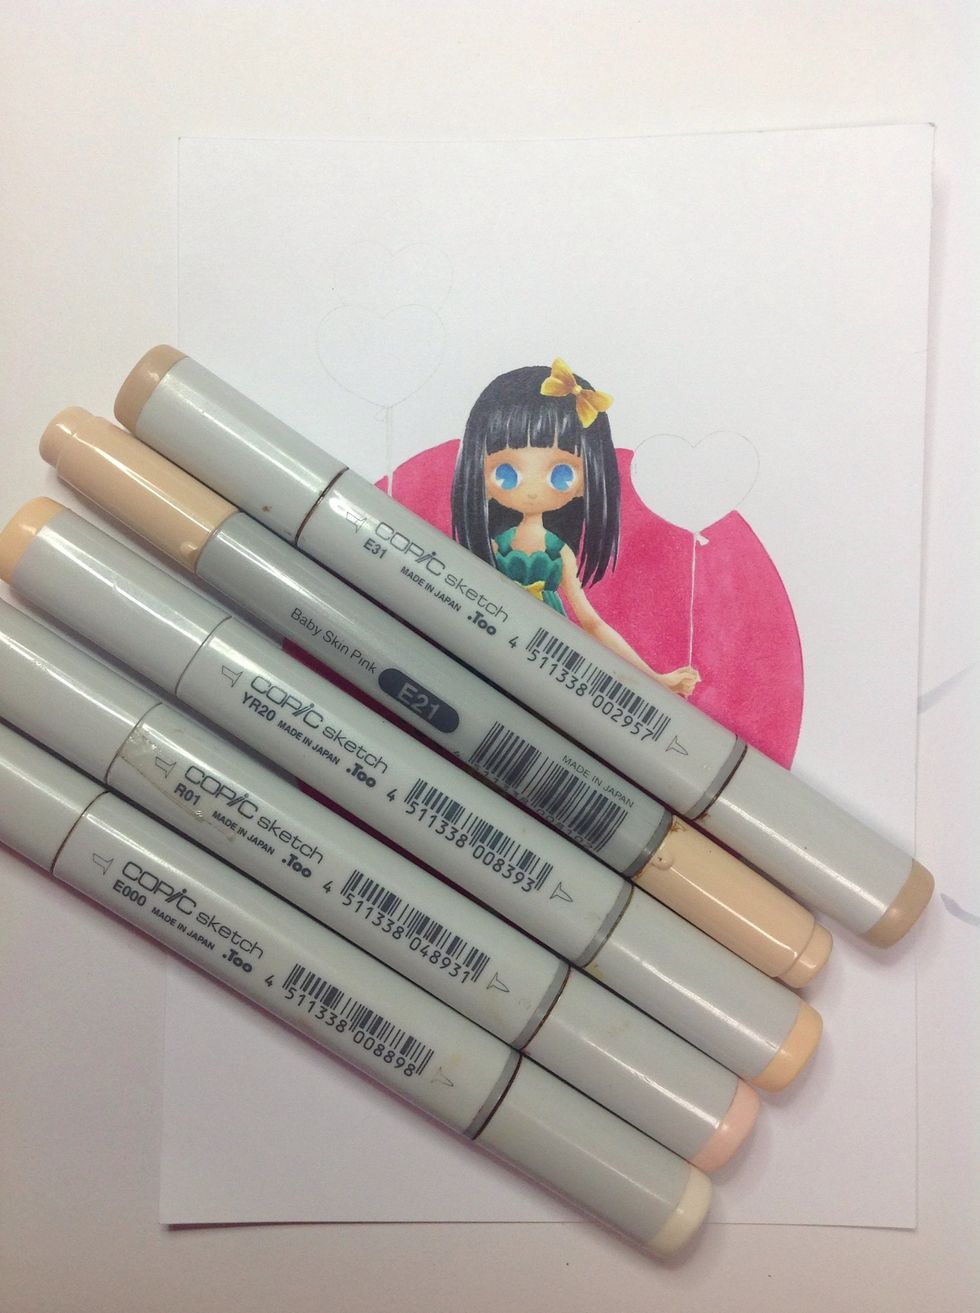
Using sharp pencils, draw in missing features.

Using an opaque white pen, add highlights to her pupils and hair.
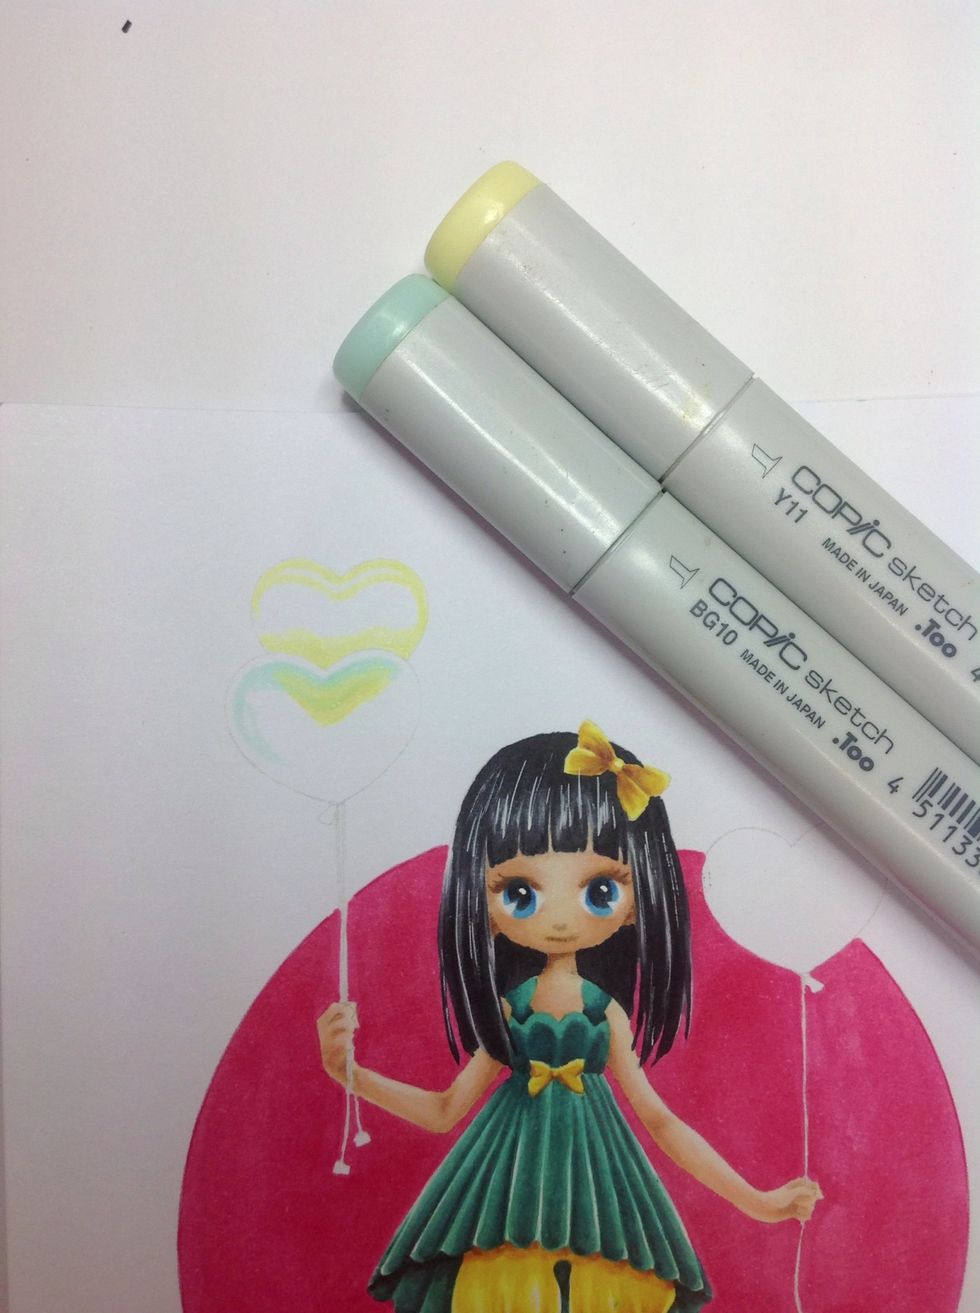
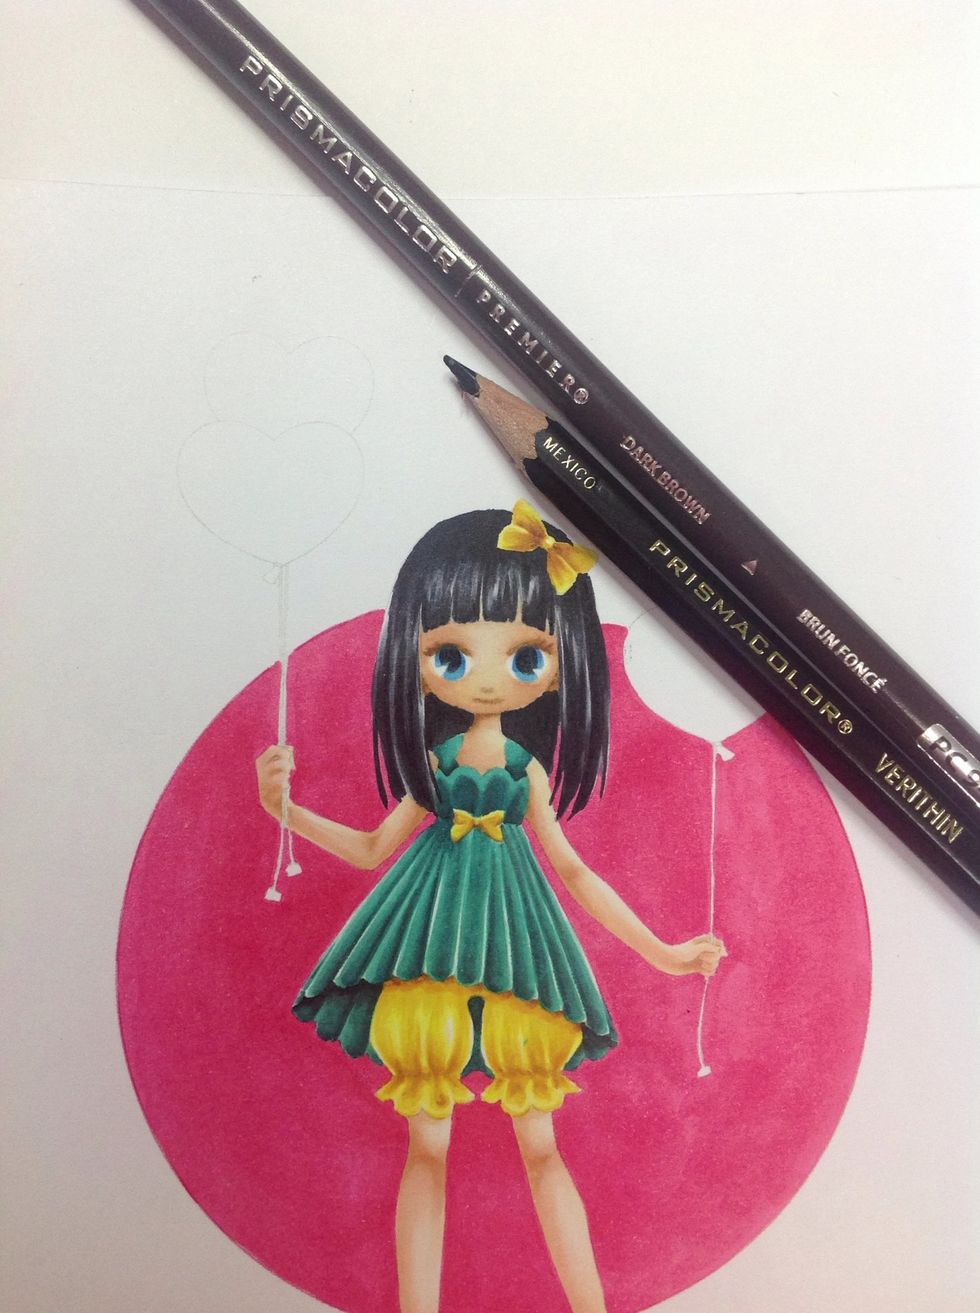
Begin forming shape of balloons using lightest shades.
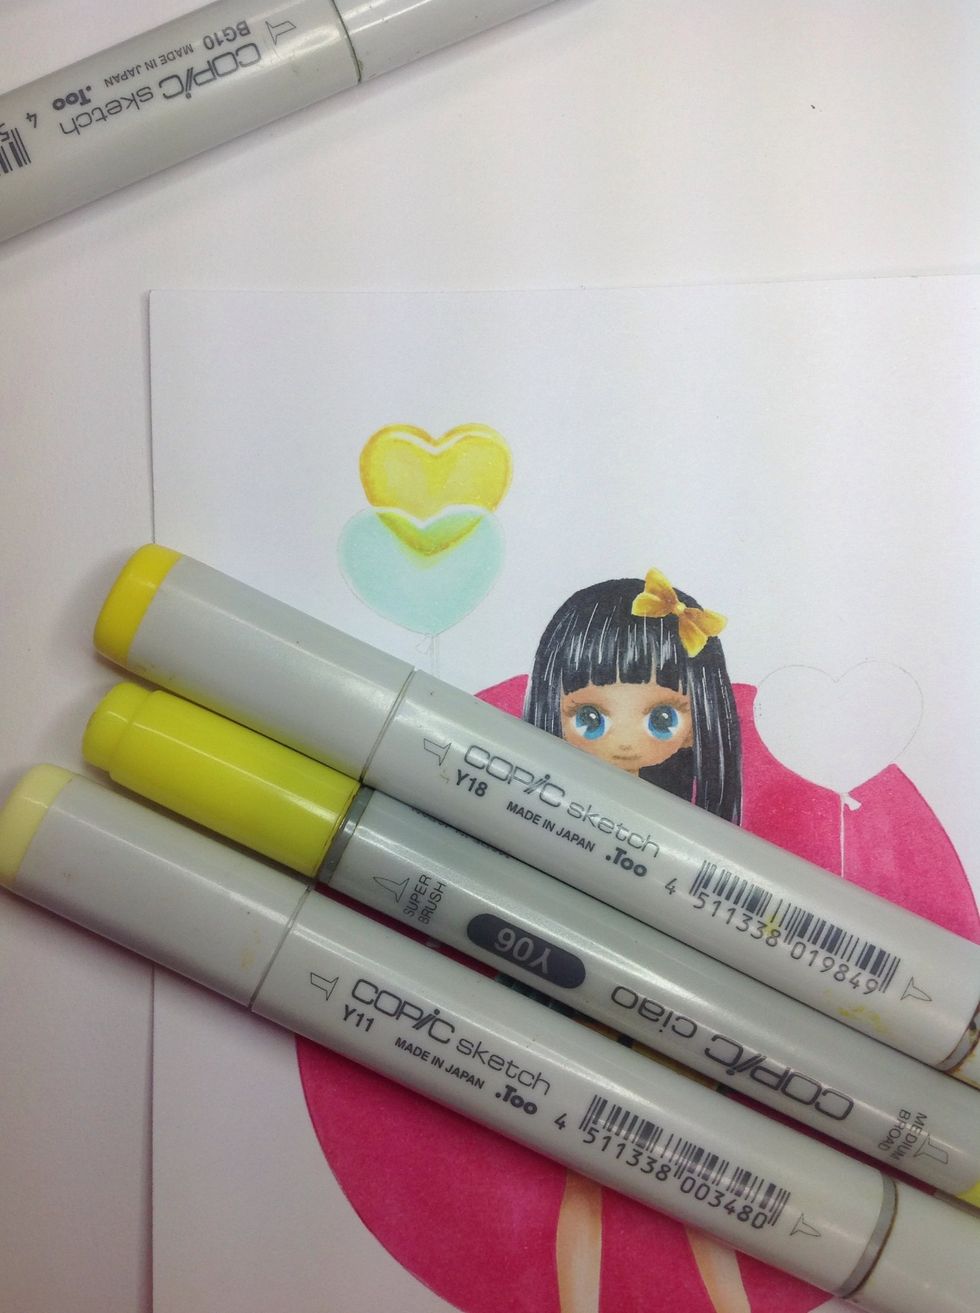
Add a darker shade and blend with lighter shades.
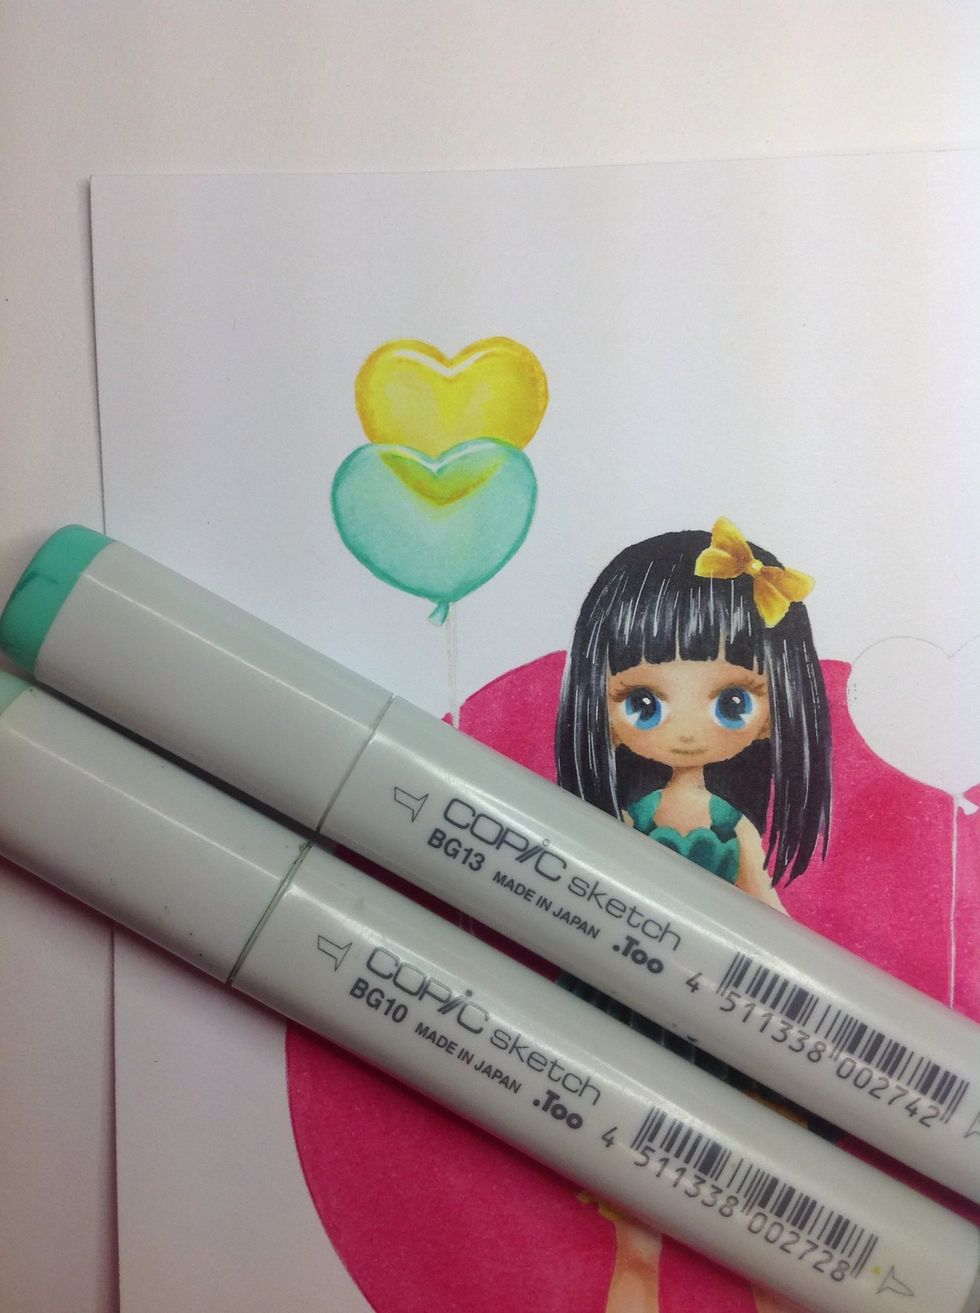
Do the same with the balloon in front. Making the edges darker, helps to make the balloons look more transparent.
Follow the same steps with the single balloon.
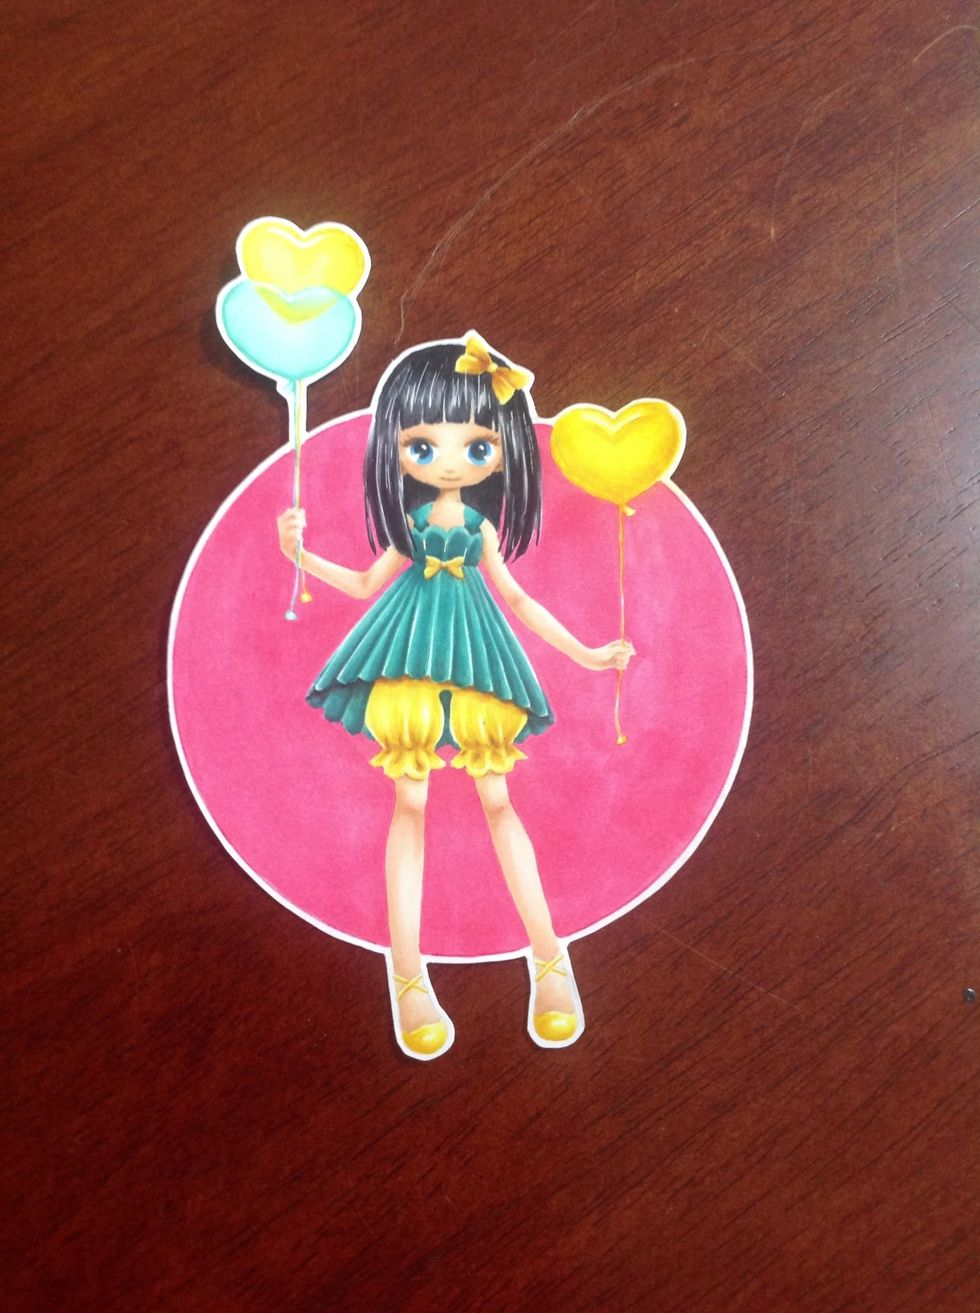
Cut out leaving a white edge ready to create a gift card.