The Conversation (0)
Sign Up
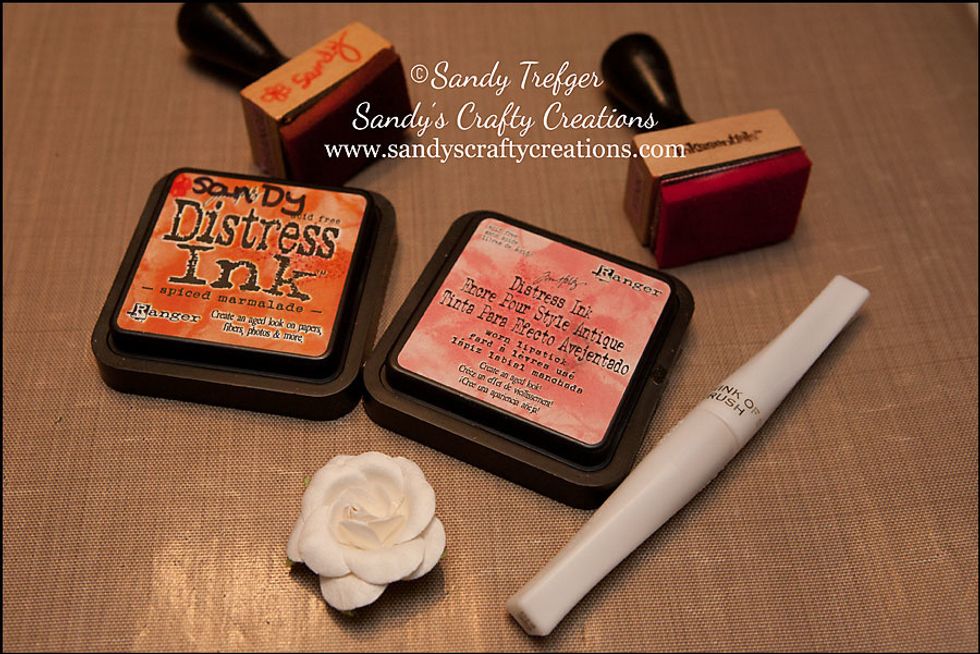
Gather all your supplies.

Use the foam applicator to add the first ink color to your rose. Lift up the petals and color as far back as you can. Leave some of the rose area white for the second color.
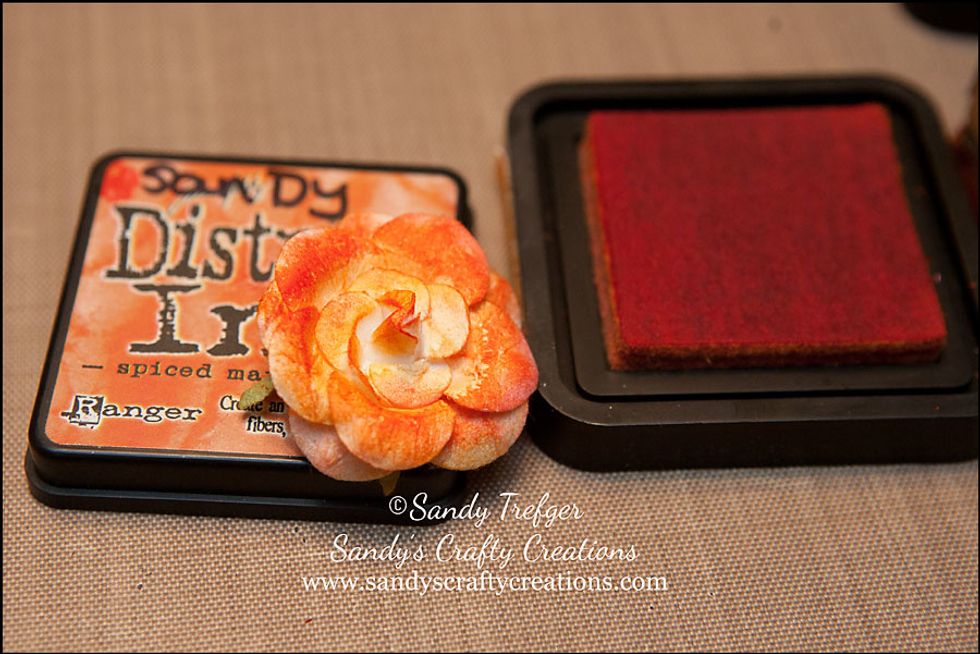
Next, ink the second color onto your rose. Adding this second color to the white areas and on top of the first color. You will still have some white showing and that's okay.
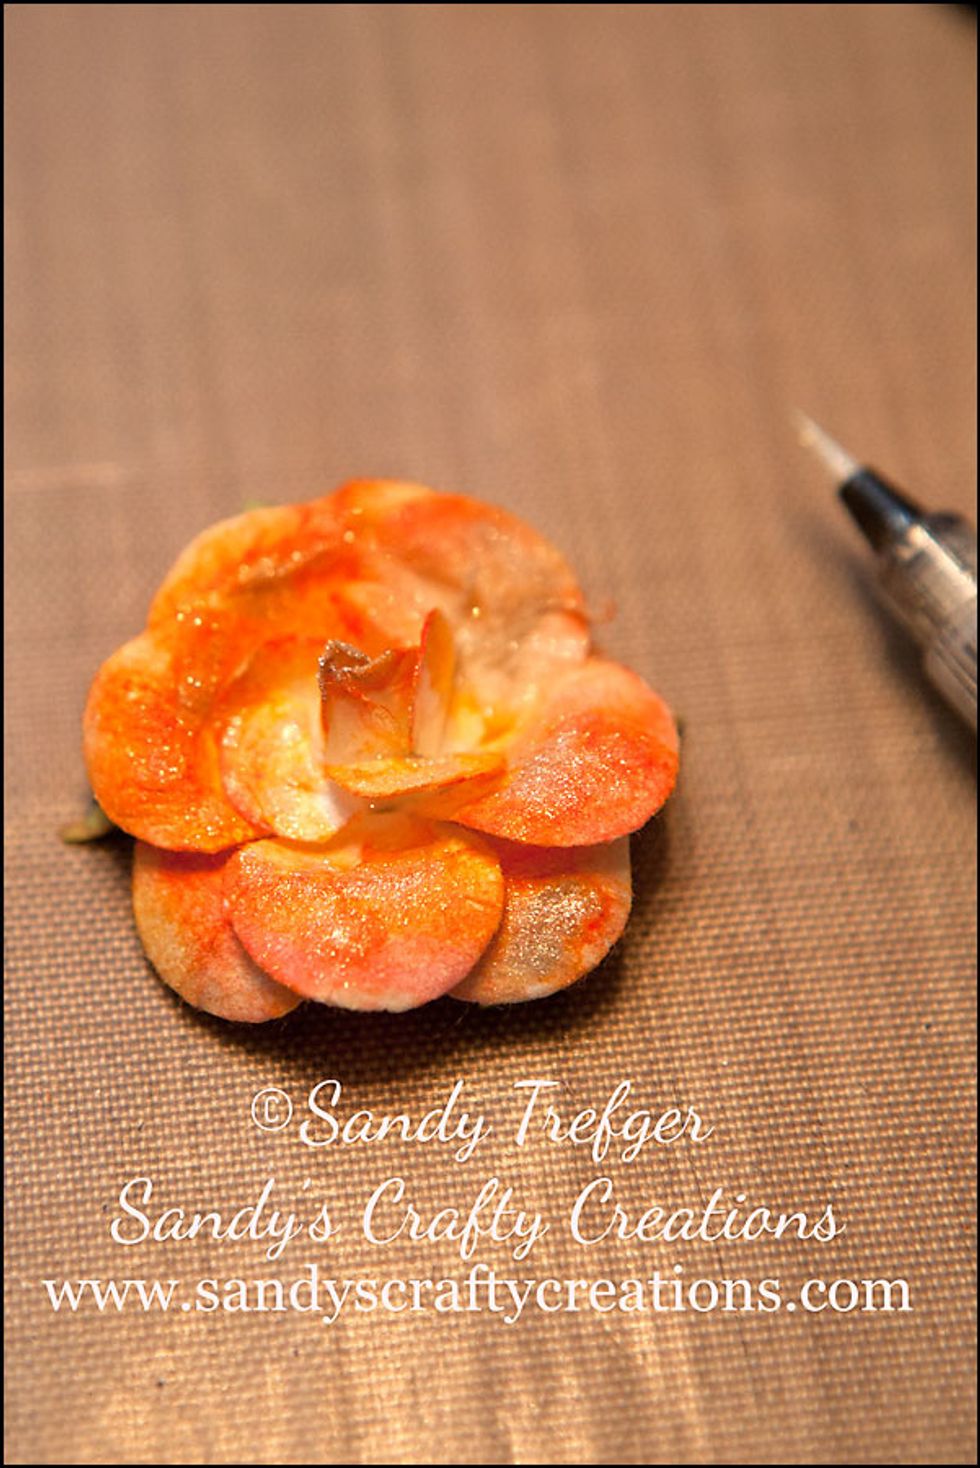
Generously brush the Clear Wink of Stella brush pen over the entire rose to add a glittery shine and sparkle. Set aside to dry. Once dry, your rose is ready to glue onto your project.

Thank you for following my Snapguide. This is from my Technique Tuesday segment on my blog. http://www.sandyscraftycreations.com