The Conversation (0)
Sign Up
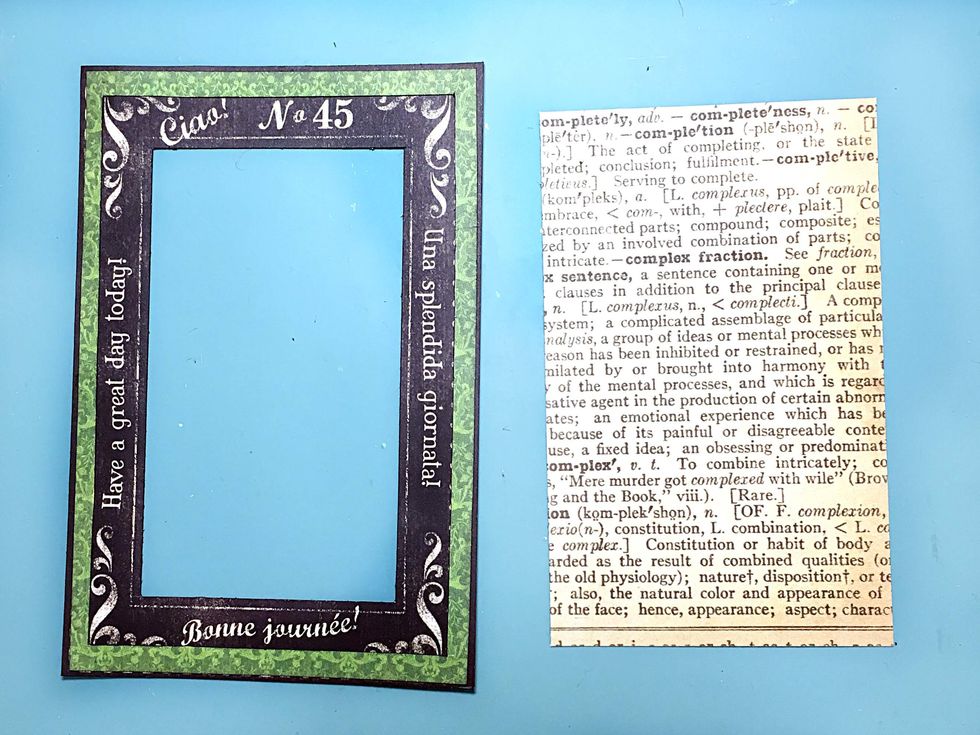
Locate cut-aparts with thin green frame & black frame as shown. Cut the centers out of both & then adhere the thin green over the black frame.
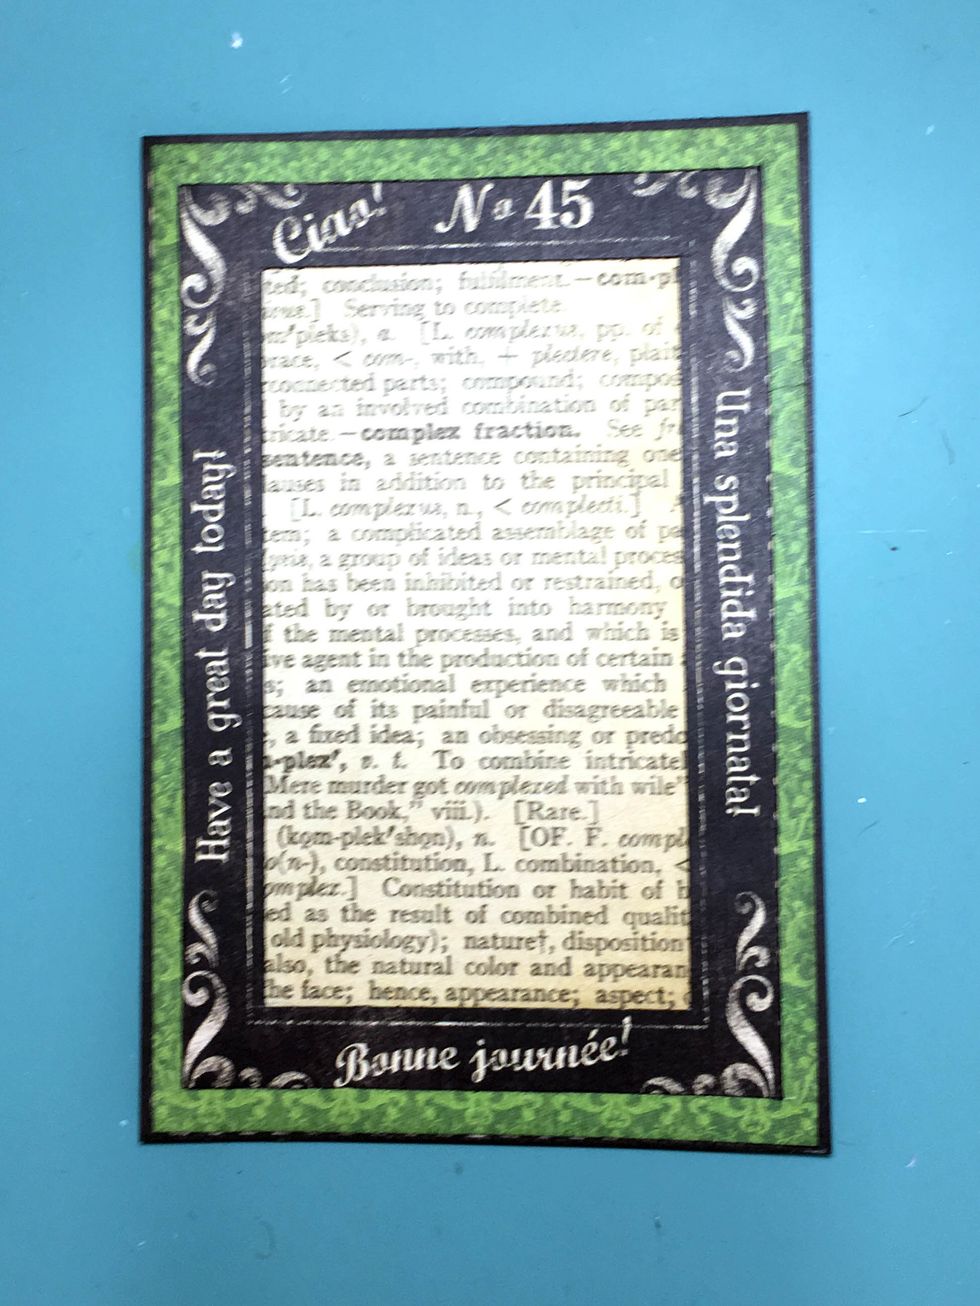
Cut a rectangle from Journey to fit under the layered frames and adhere as shown in the photo.
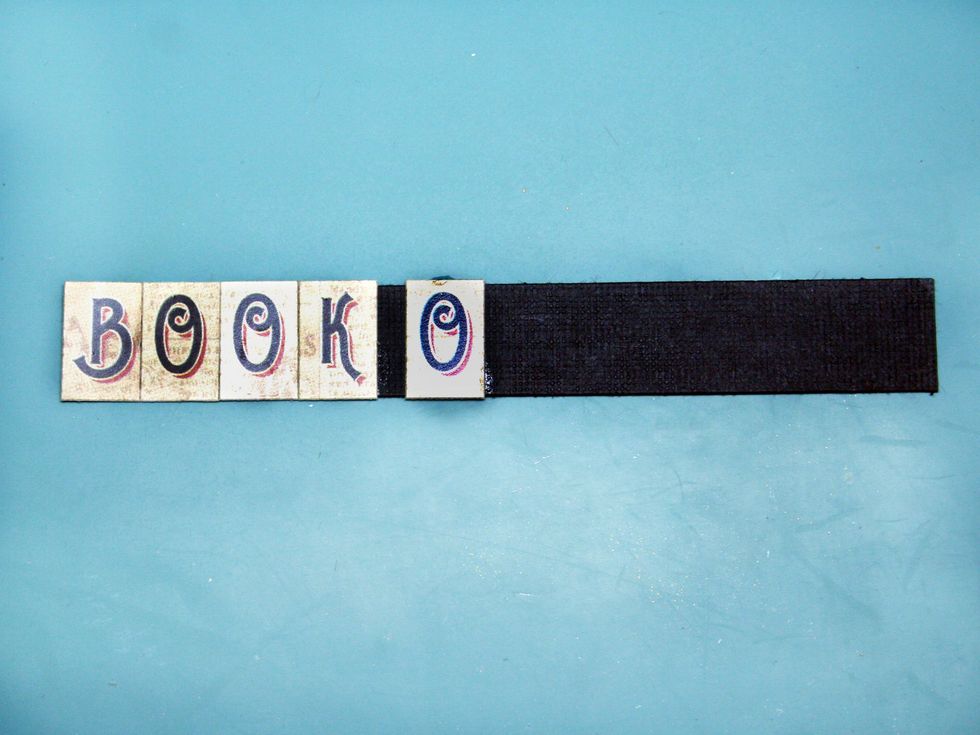
Prepare your title. I find it easier to line up my letters on a strip of paper slightly smaller than the height of the letters. I also glue the letters even though they are sticky backed.
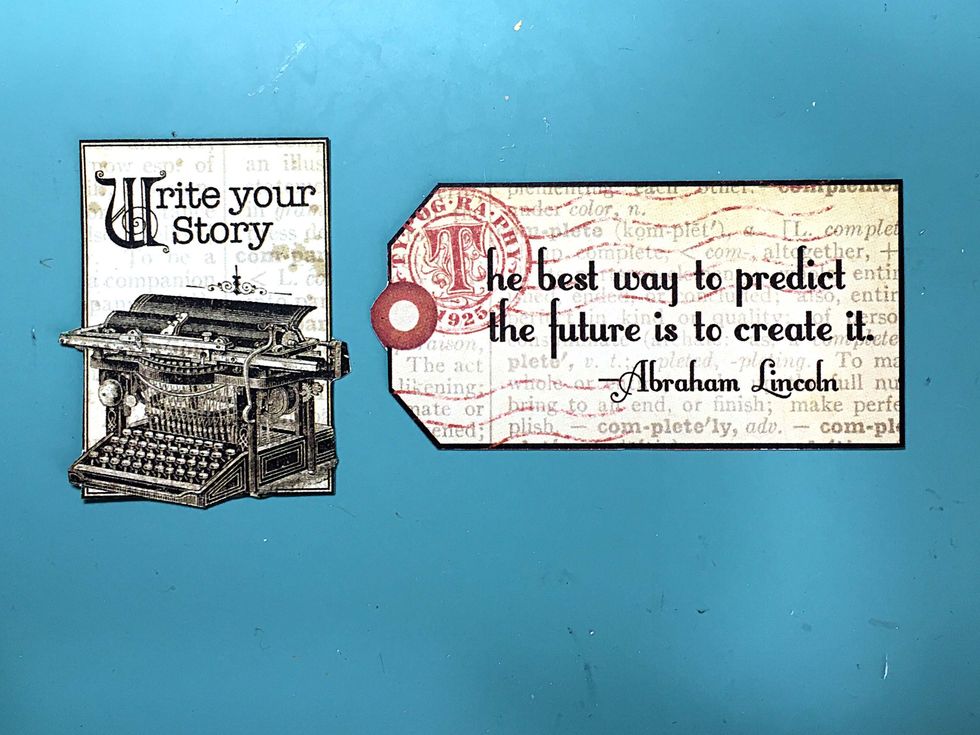
Fussy cut the images shown from cut-aparts on Typography and Dream.
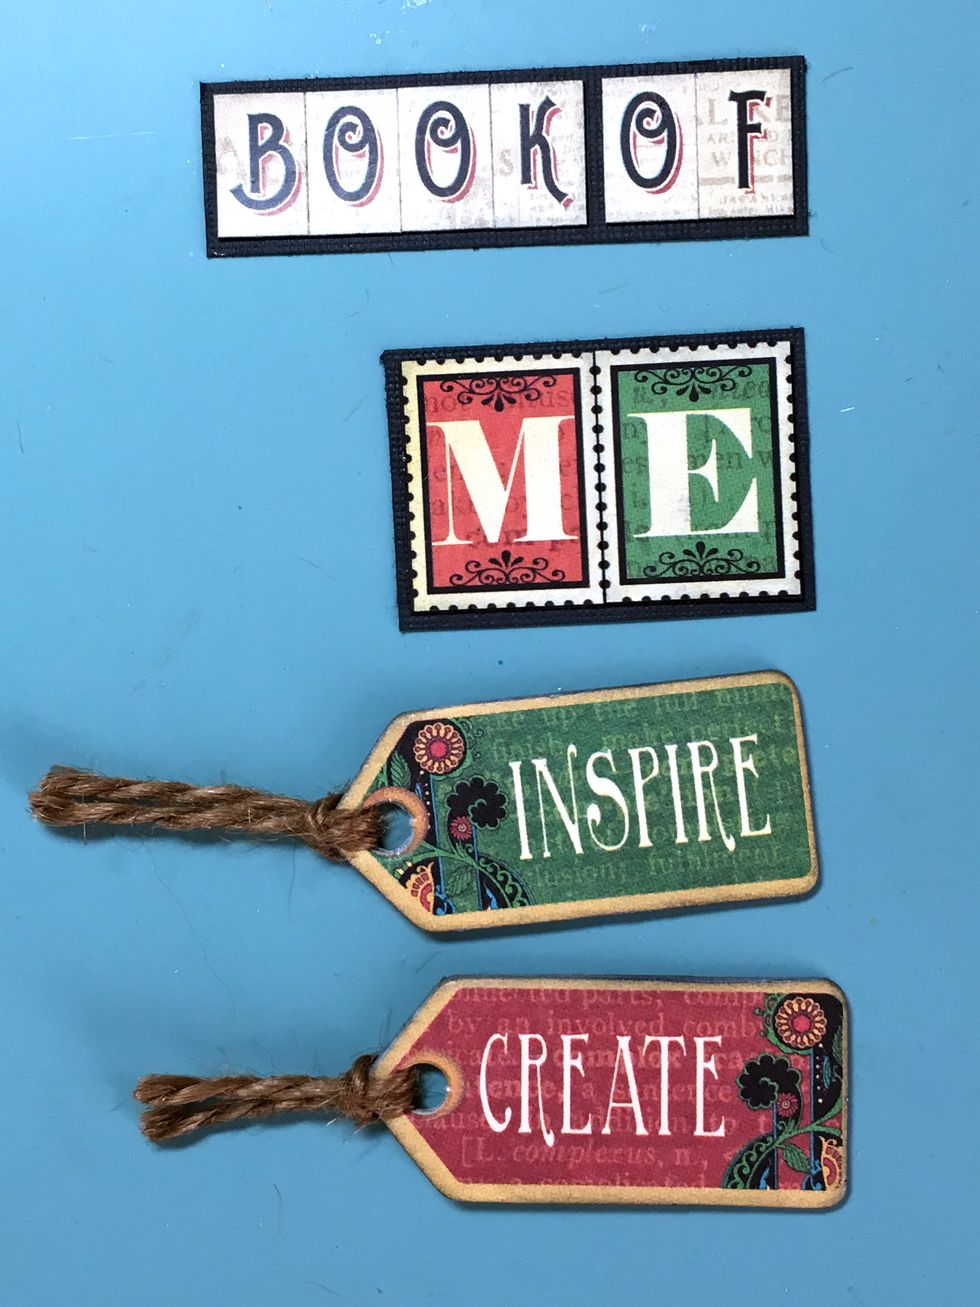
I decided to mount the letters on a piece of black cardstock so they'd stand out more. Loop some twine through the 2 chipboard tags shown.
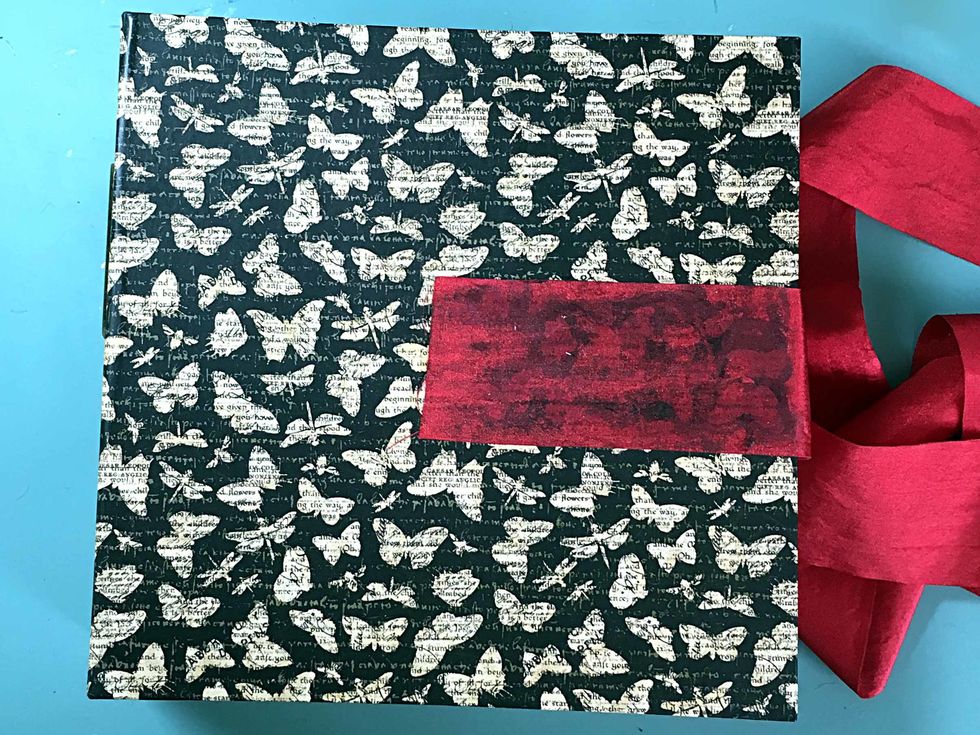
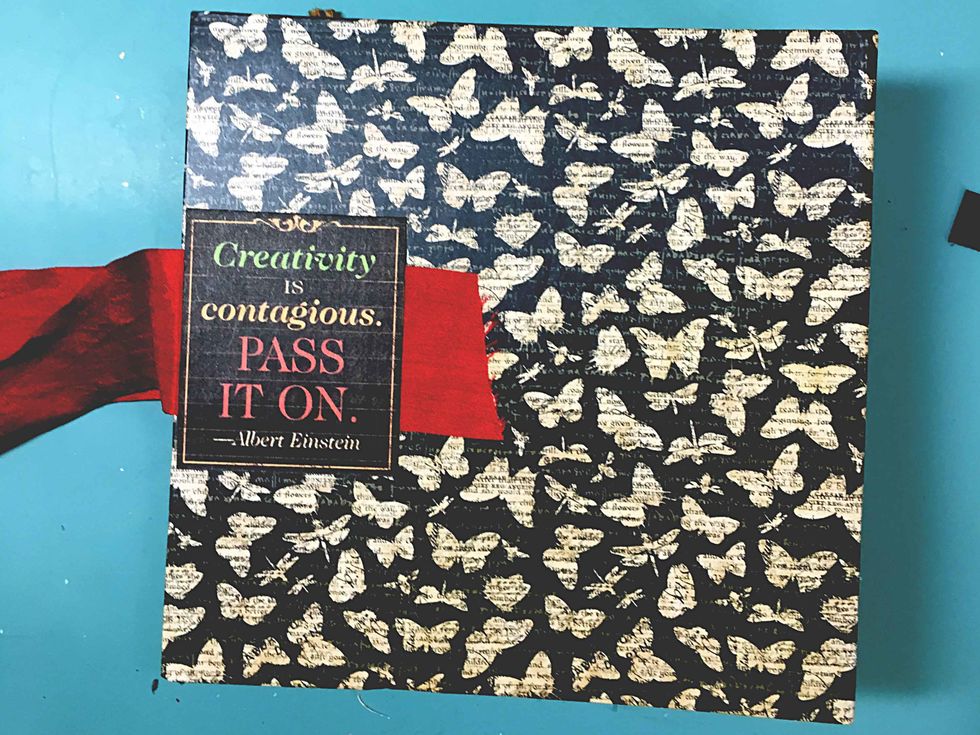
Now let's put this all together! Cut 2 pieces of ribbon 18". Glue to the cover centering top to bottom. I used glue on the cover & you can see that it shows thru the ribbon, (con't next page)
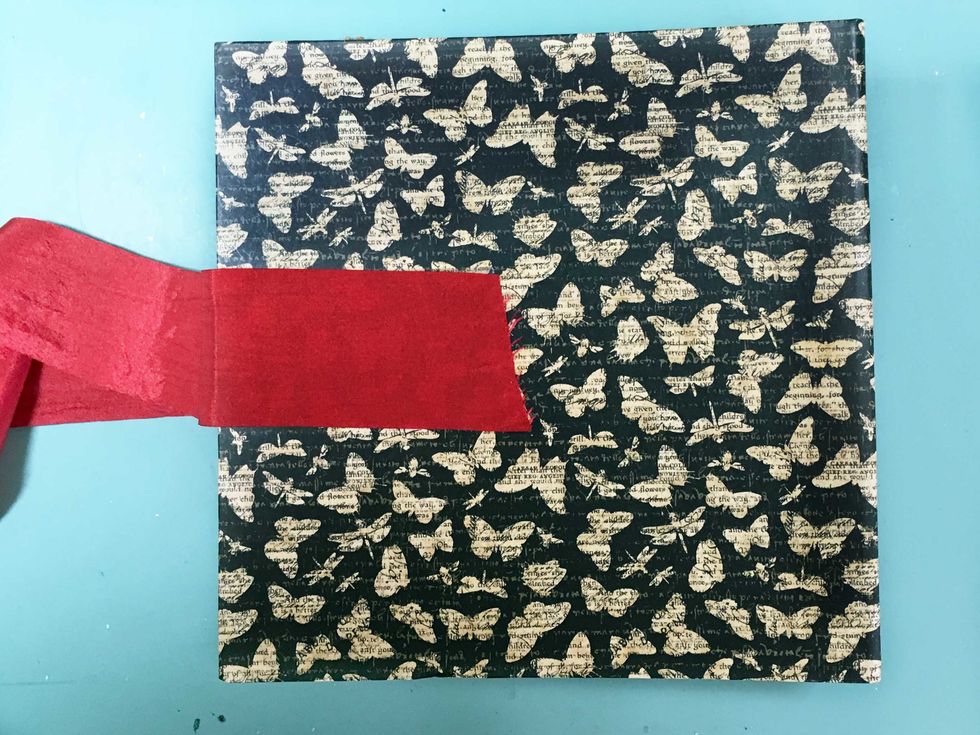
but no problem, since the ribbon will be covered. On the back I used scortape and that looks much nicer! I use Matte Medium to adhere all my pieces so that the cove is more durable and is protected.
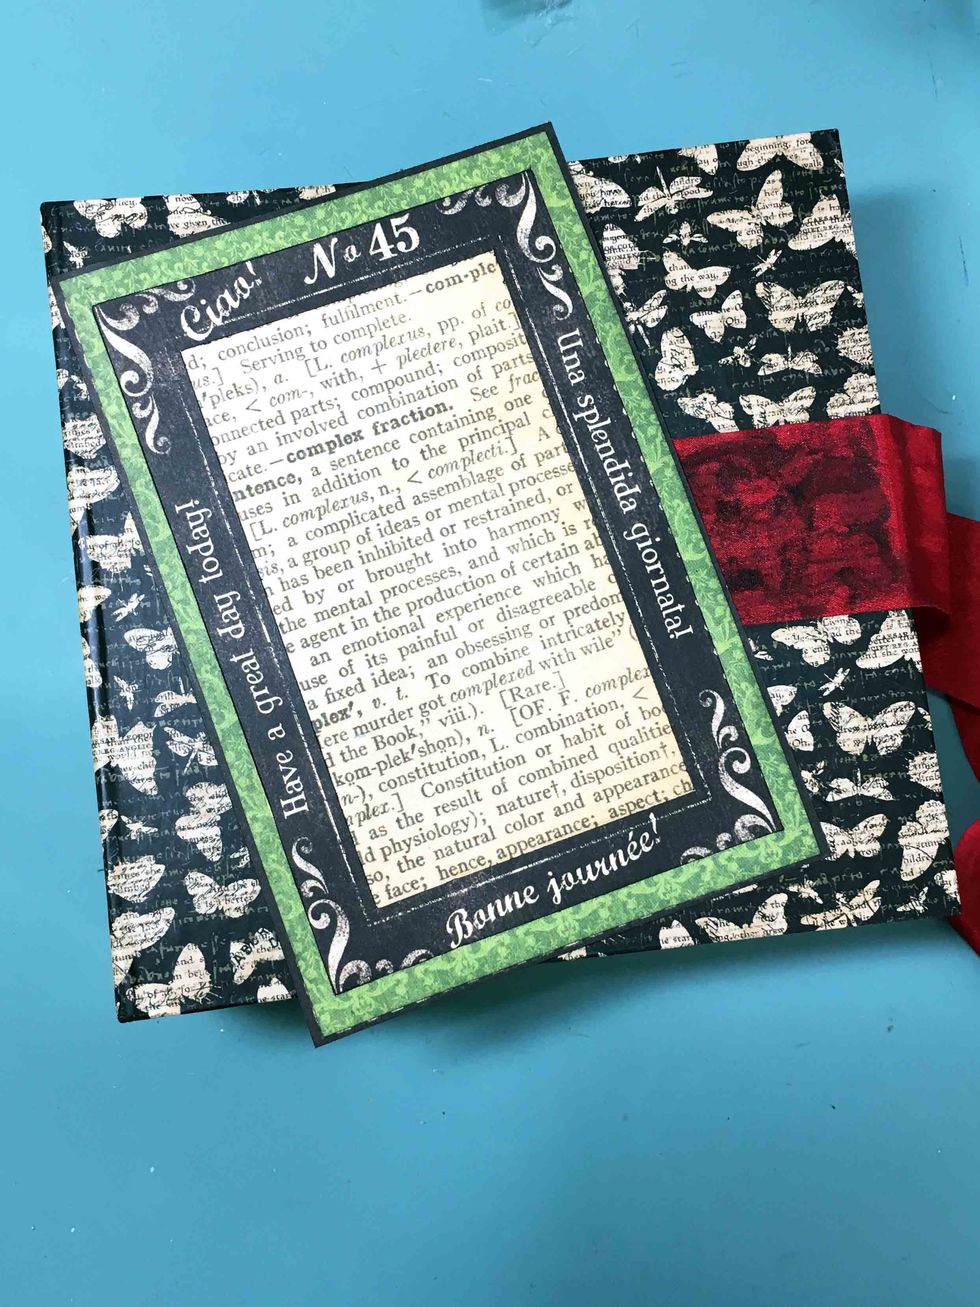
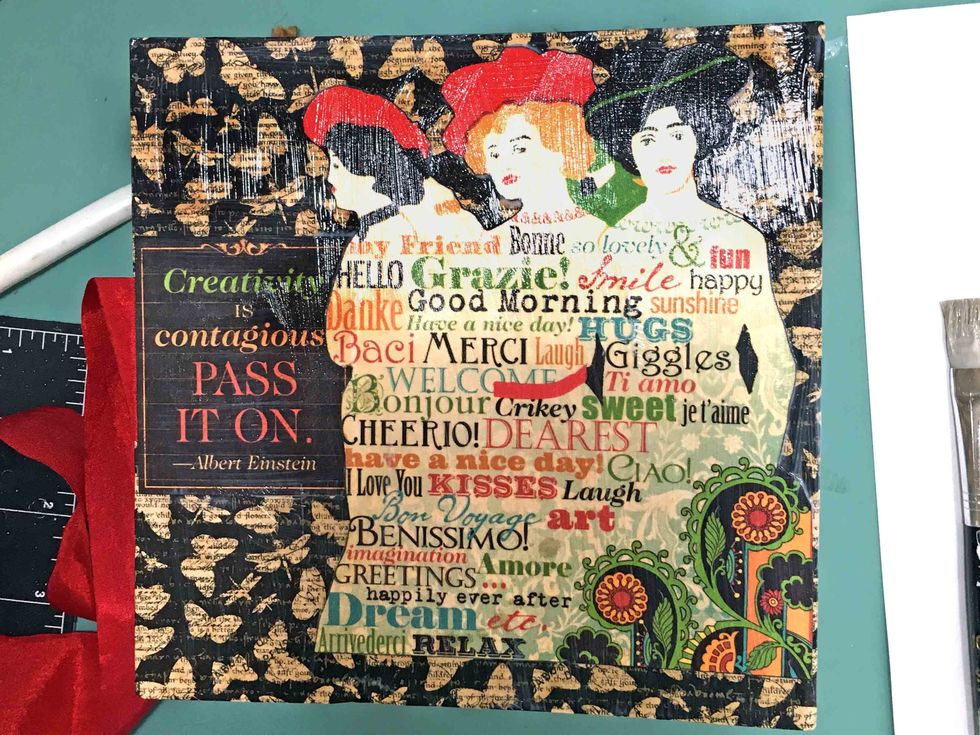
When using Matte Medium, be sure to coat both the mini and the paper to get a good seal. Place the frame on the front cover and carefully holding it in place turn the cover to the inside.
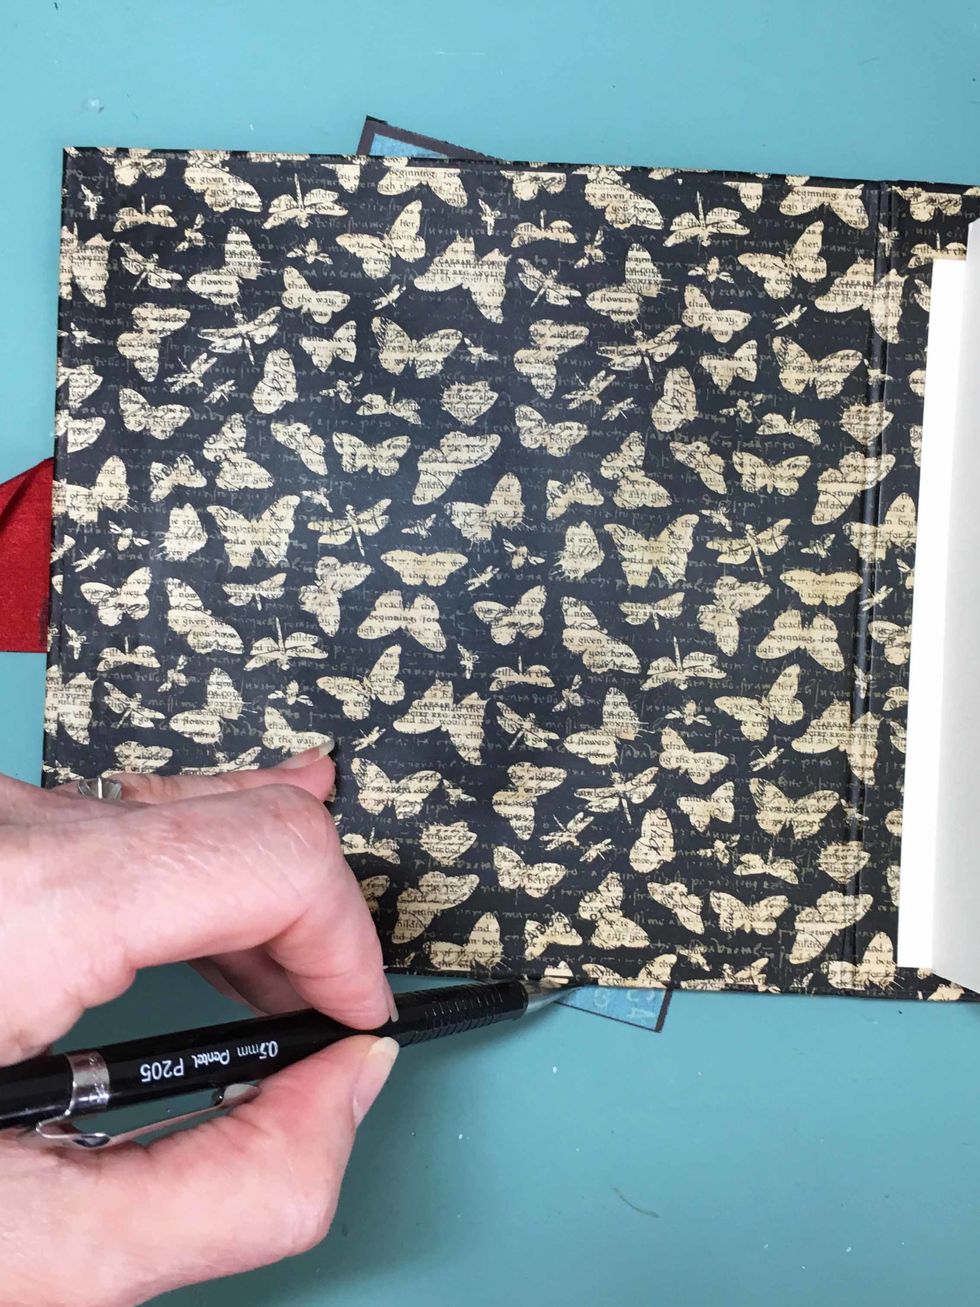
Mark the part of the frame that hangs over the edge of the mini and then cut the extra off. Then adhere the frame in place.

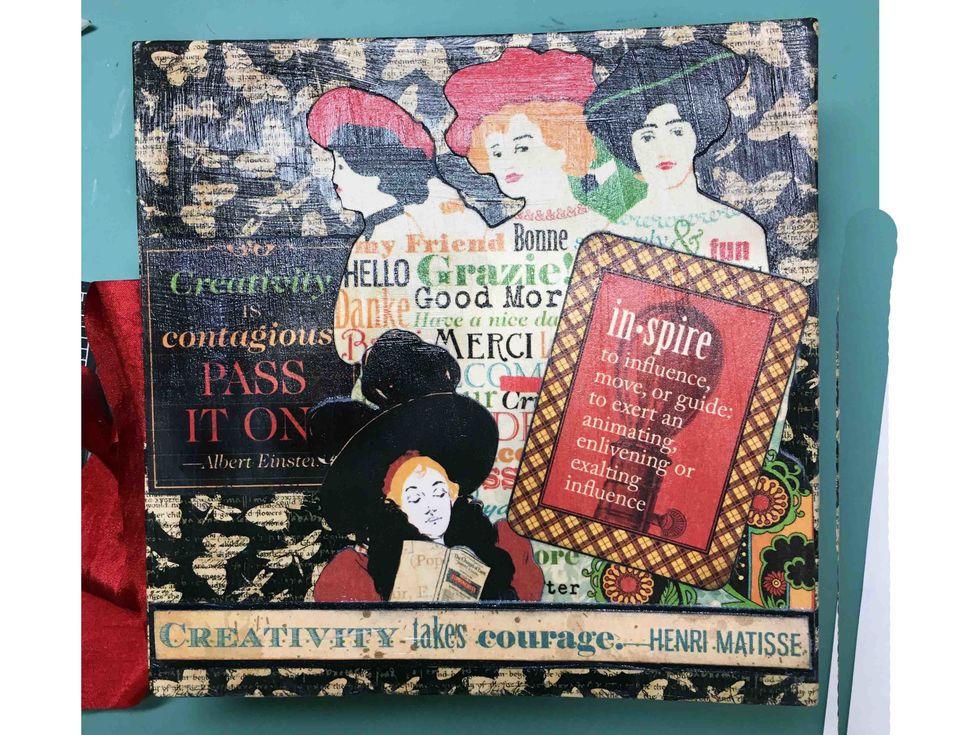
Take the Imagine tag from the Tags & Pockets and adhere as shown, then add the "Write You Story" fussy cut. Sorry that some of these photos have a glare, the wet medium is reflective.
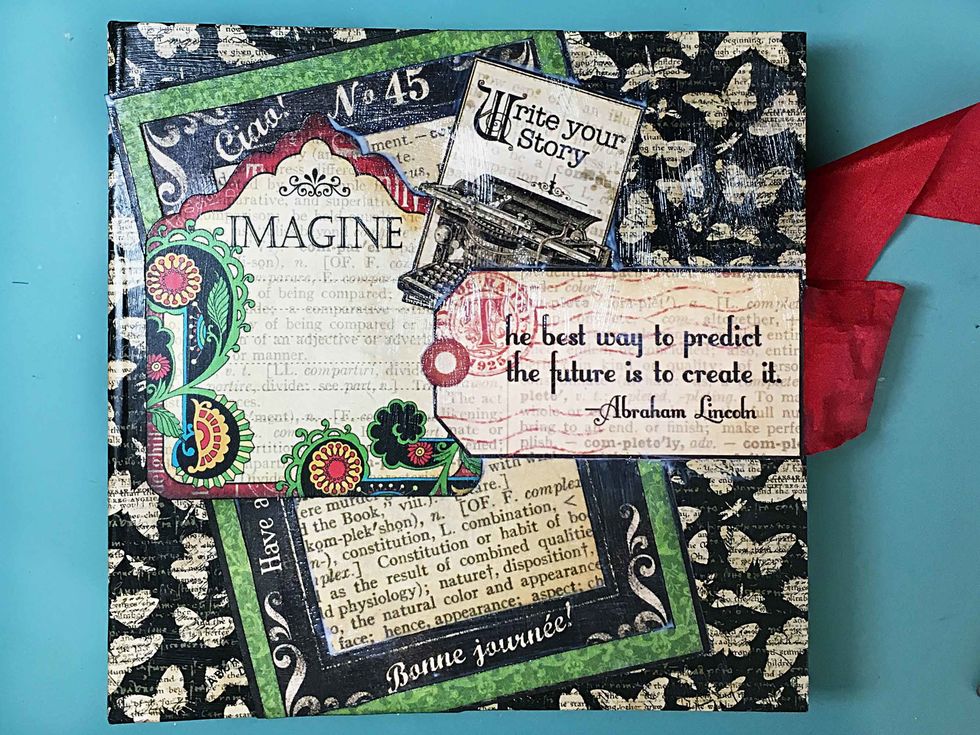
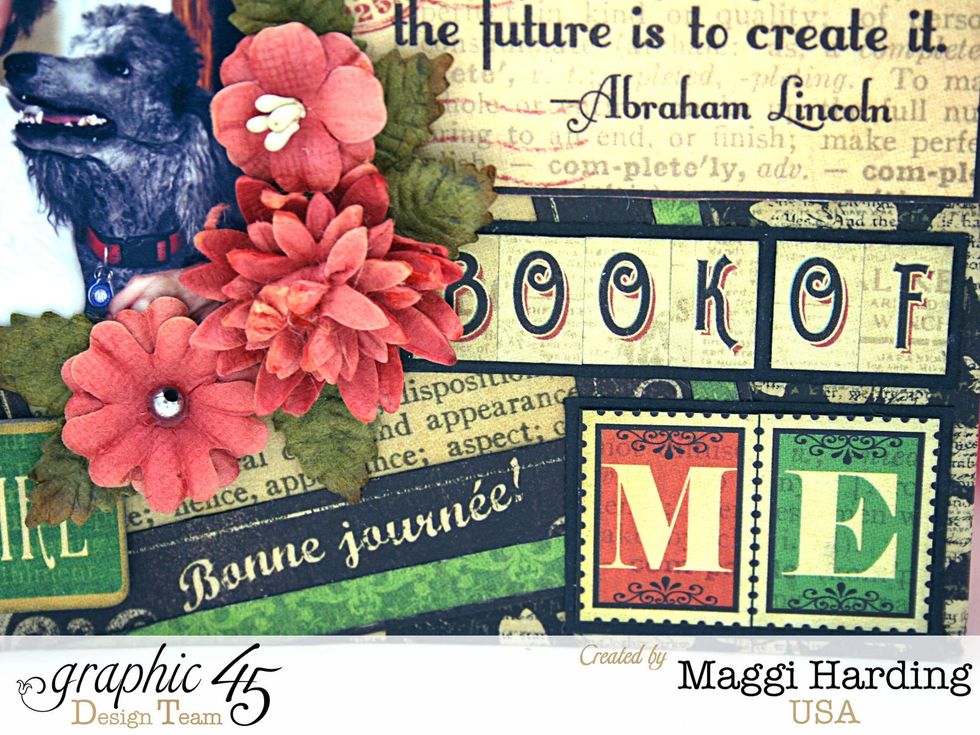
Now add the tag with the Abraham Lincoln quote.

Now add the titles, chipboard tags, and your photo. Do not use Matte Medium on the surface of your photo.
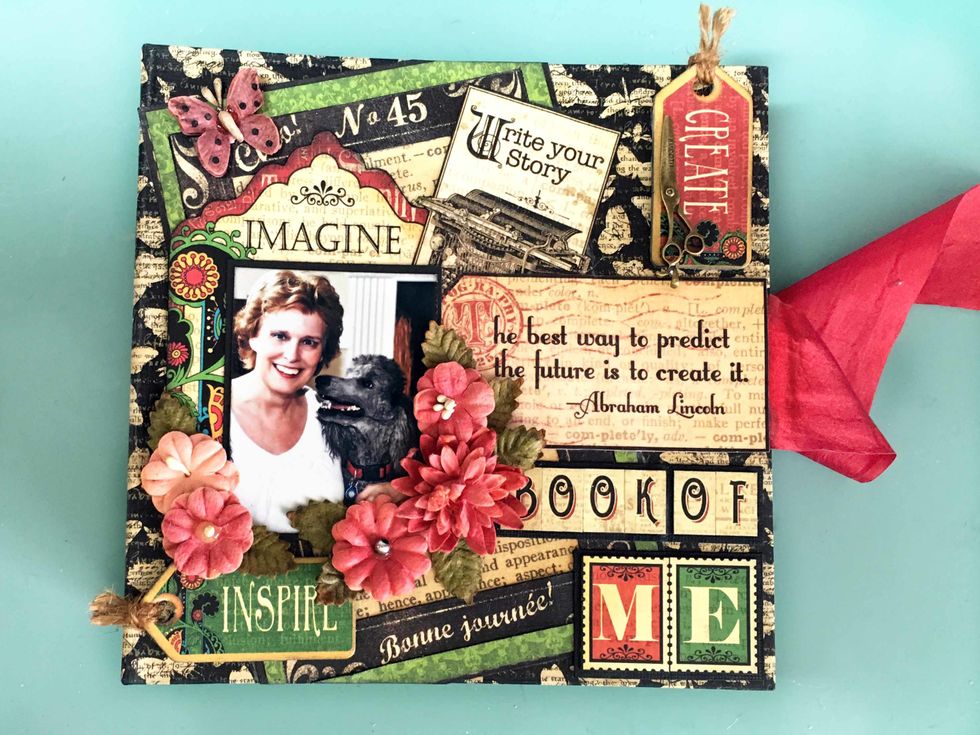
Embellish with flowers, leaves and whatever you wish and that's it for the front cover.
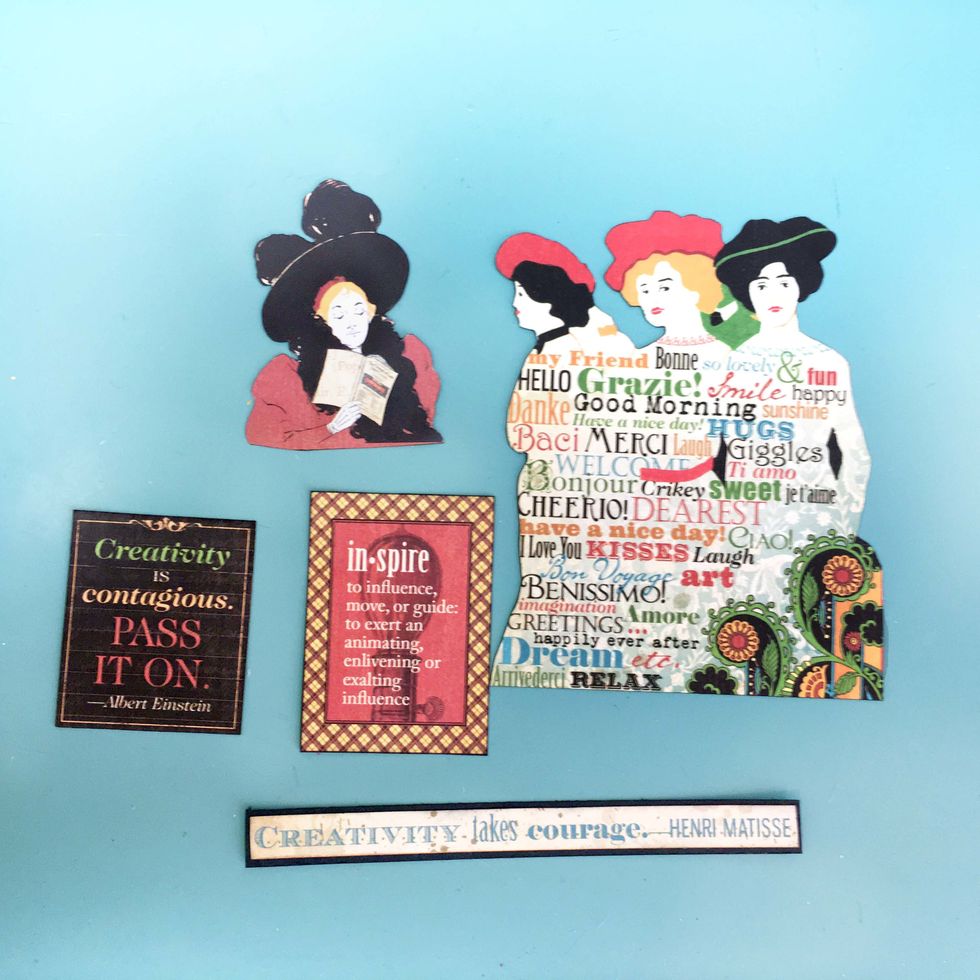
Locate the cut-aparts pictured on Typography & Dream & fussy cut. Mount the quote strip on black cardstock.
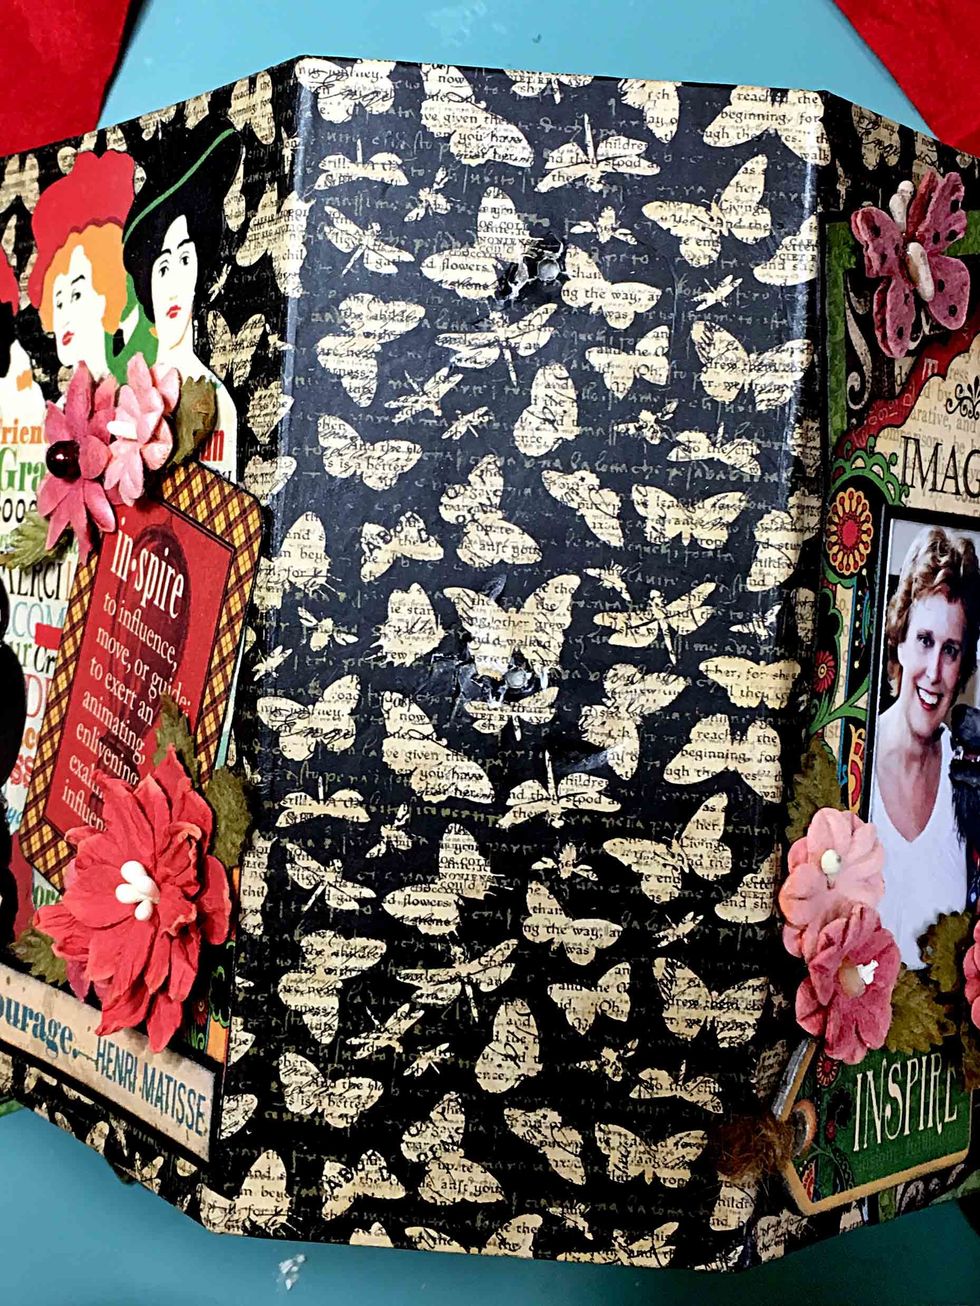
Adhere the pictured cut-apart over the ribbon on the back of the mini using matte medium.
Then adhere the fussy cut 3 ladies.
Then adhere the inspire quote and the small fussy cut lady.
For the spine, carefully remove the label holder. I used a small screwdriver to pry it up.
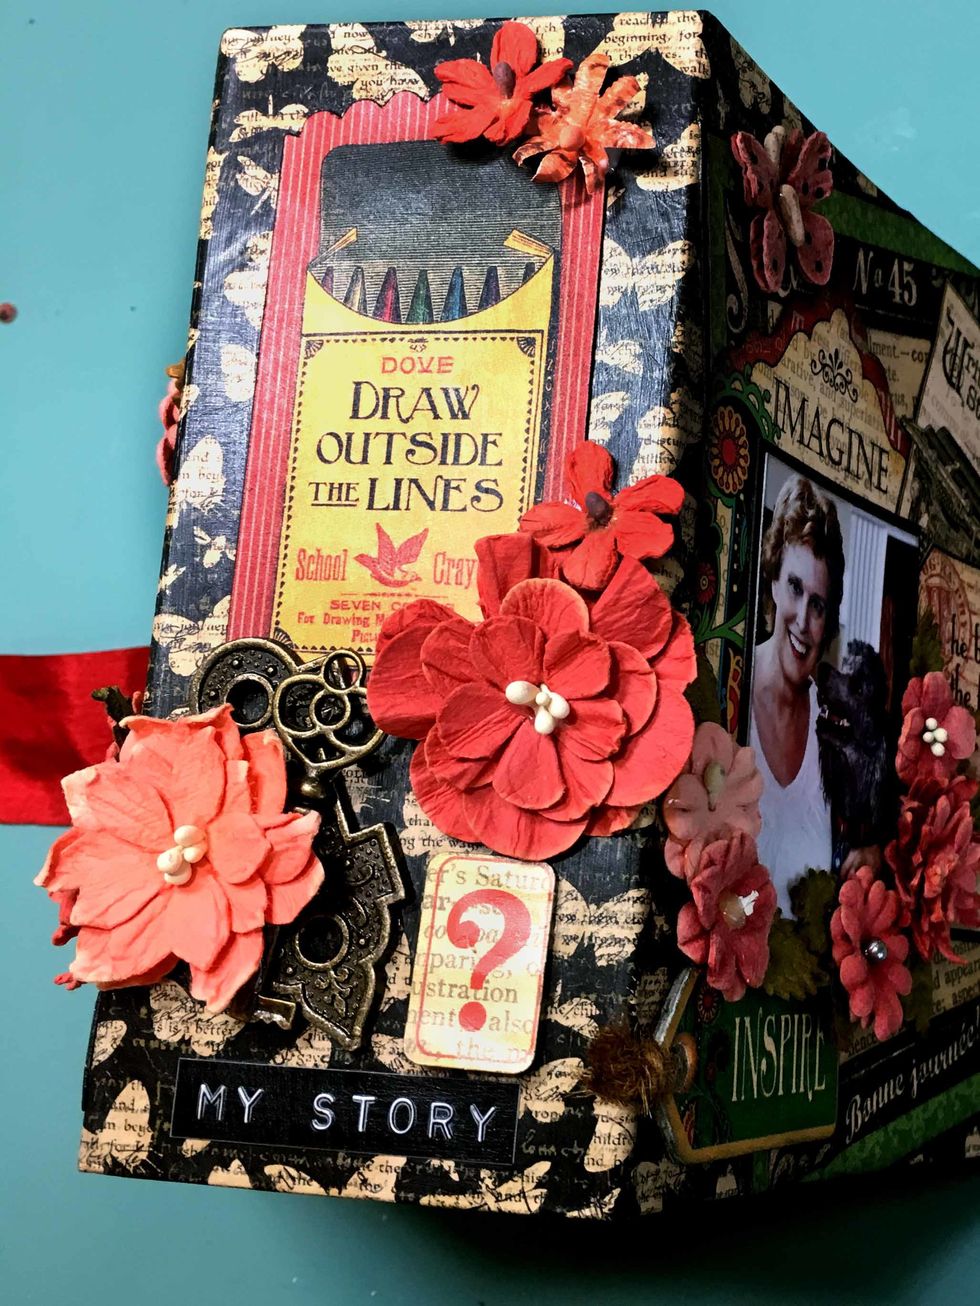
Then embellish as you please. I use a tag from the Tags and Pockets and a question mark sticker. I also glued a Staples key to a Staples key hole & then embellished with Petaloo flowers.
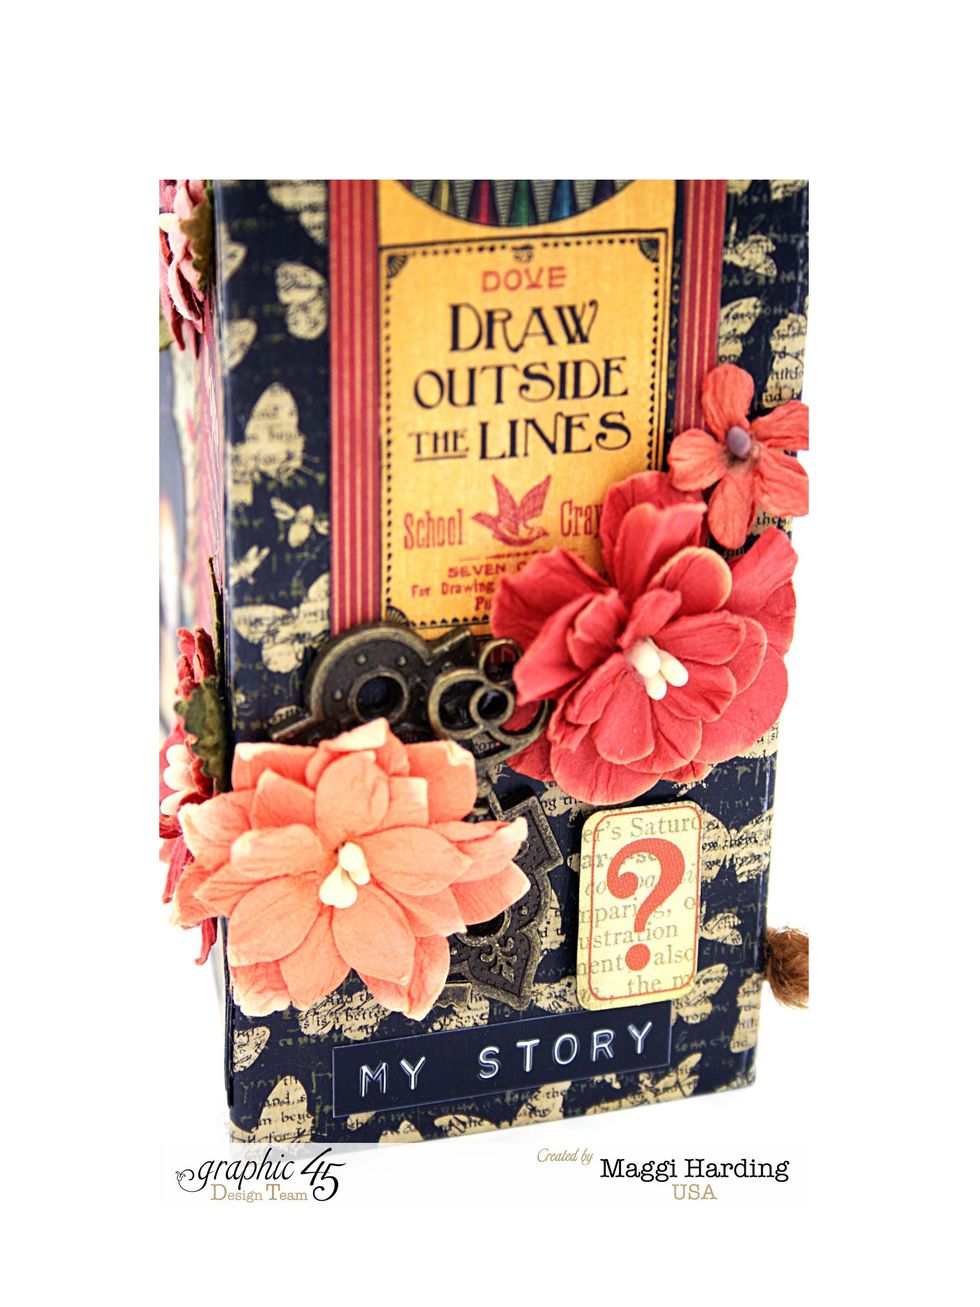
You can see the detail of the key and key hole here.
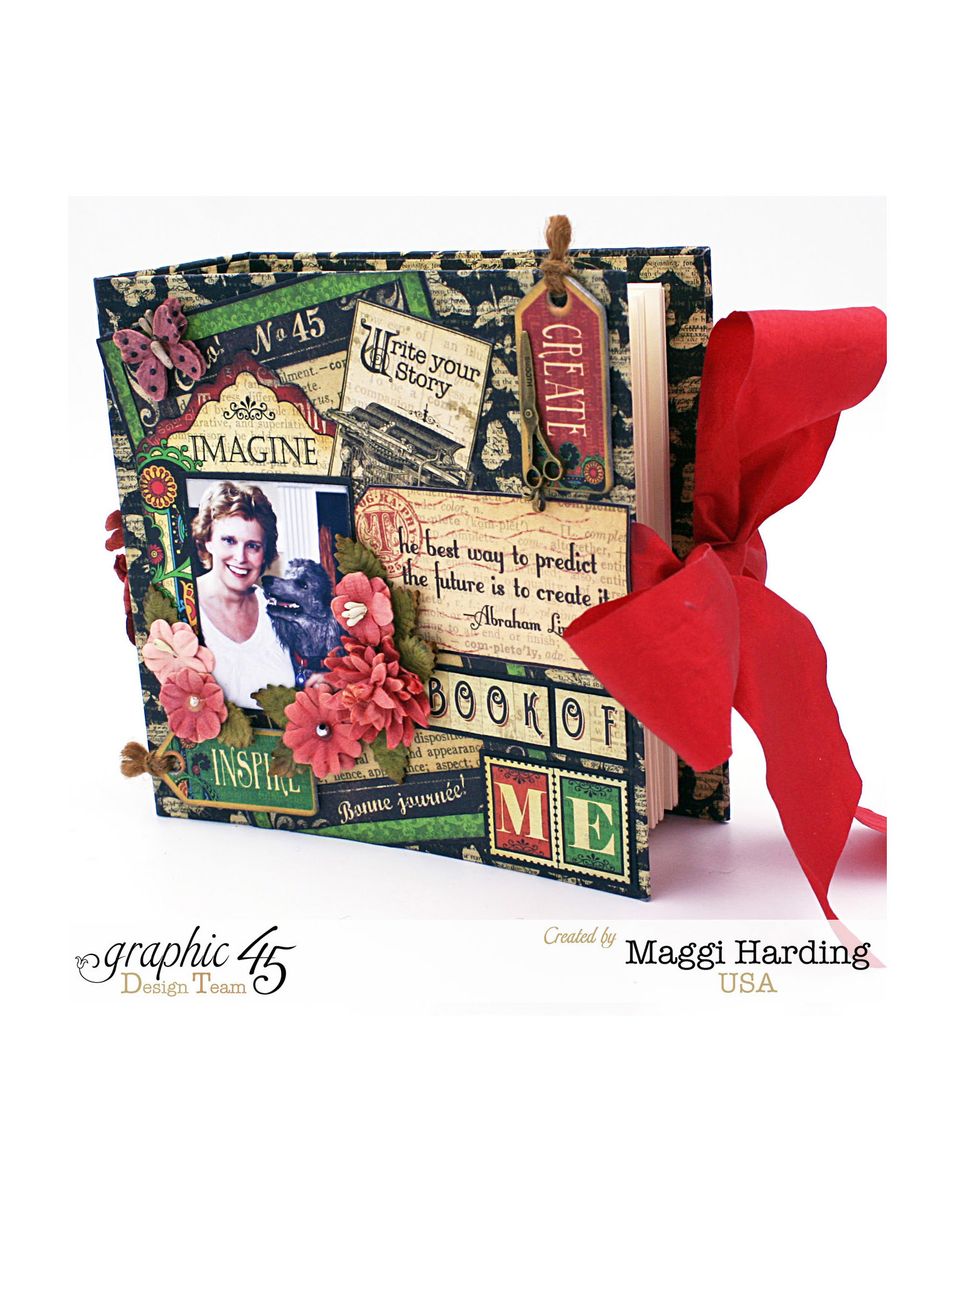
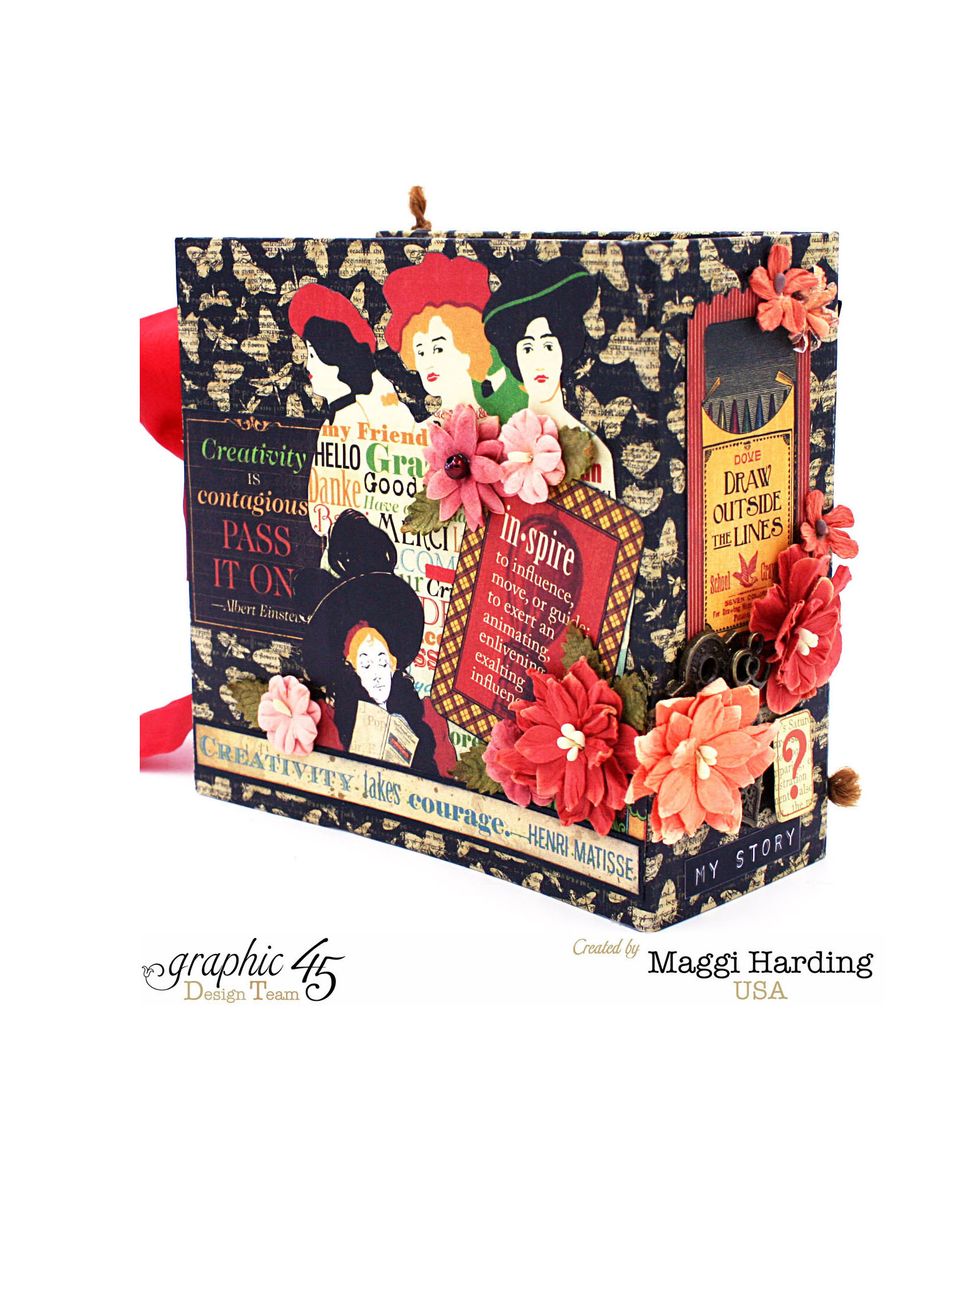
That's all there is to it! Here's the finished front cover.
Closeup - front cover.
Finished back cover.
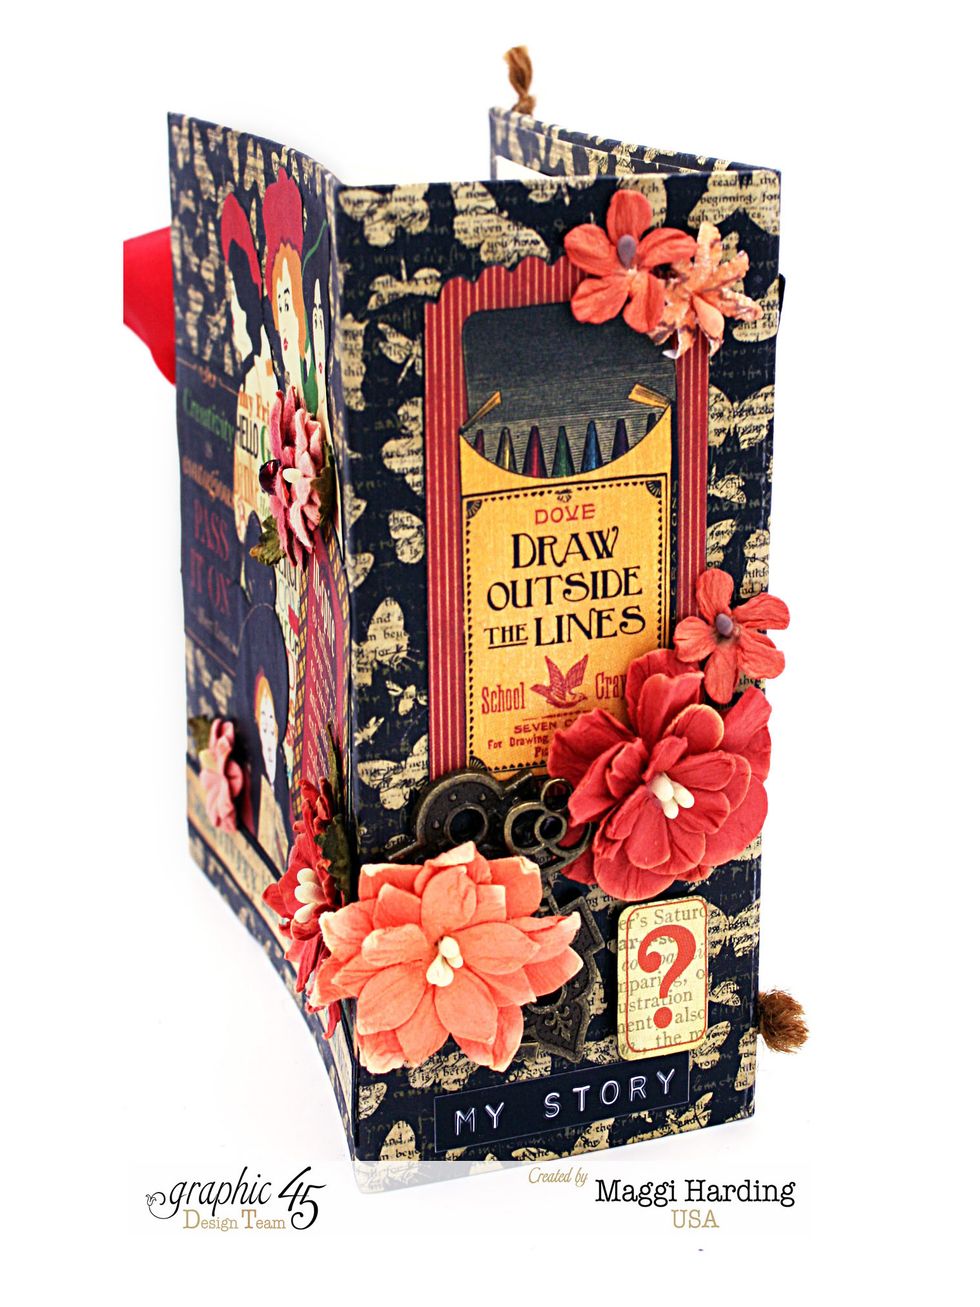
Finished spine.
I currently design for Graphic 45, Petaloo, Creative Embellishments, & Flying Unicorn. Tutorials on my blog:bit.ly/1Sem2J0. Follow me on Pinterest:bit.ly/1HhWvOx Thanks so much!