The Conversation (0)
Sign Up
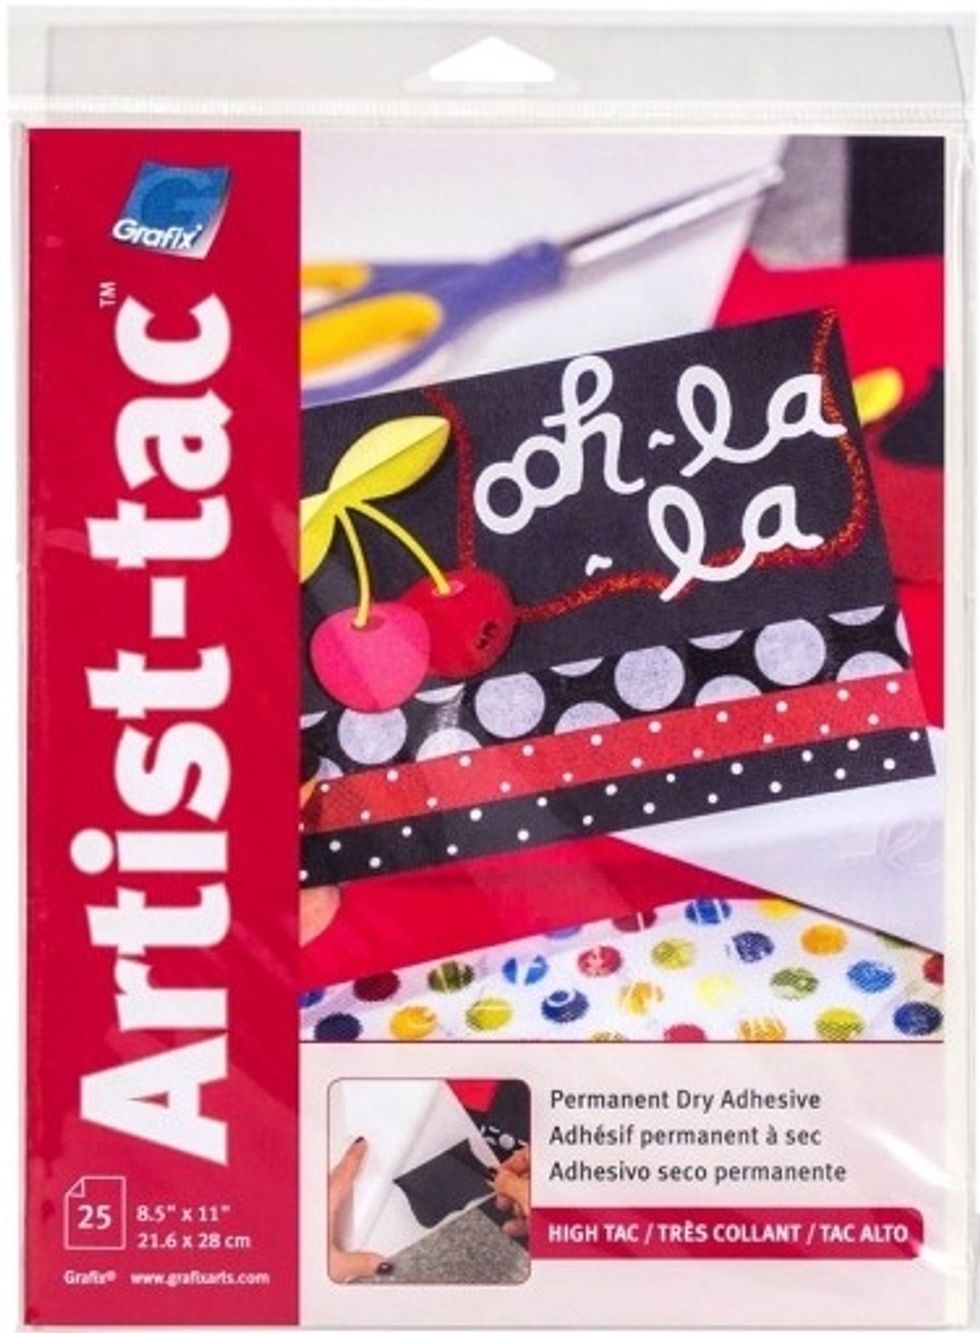
Artist-Tac by Grafix is a permanent dry adhesive that's perfect for projects like this. Small pieces can be easily adhered with no mess. Here is was used to adhere the paper to the clothespins.
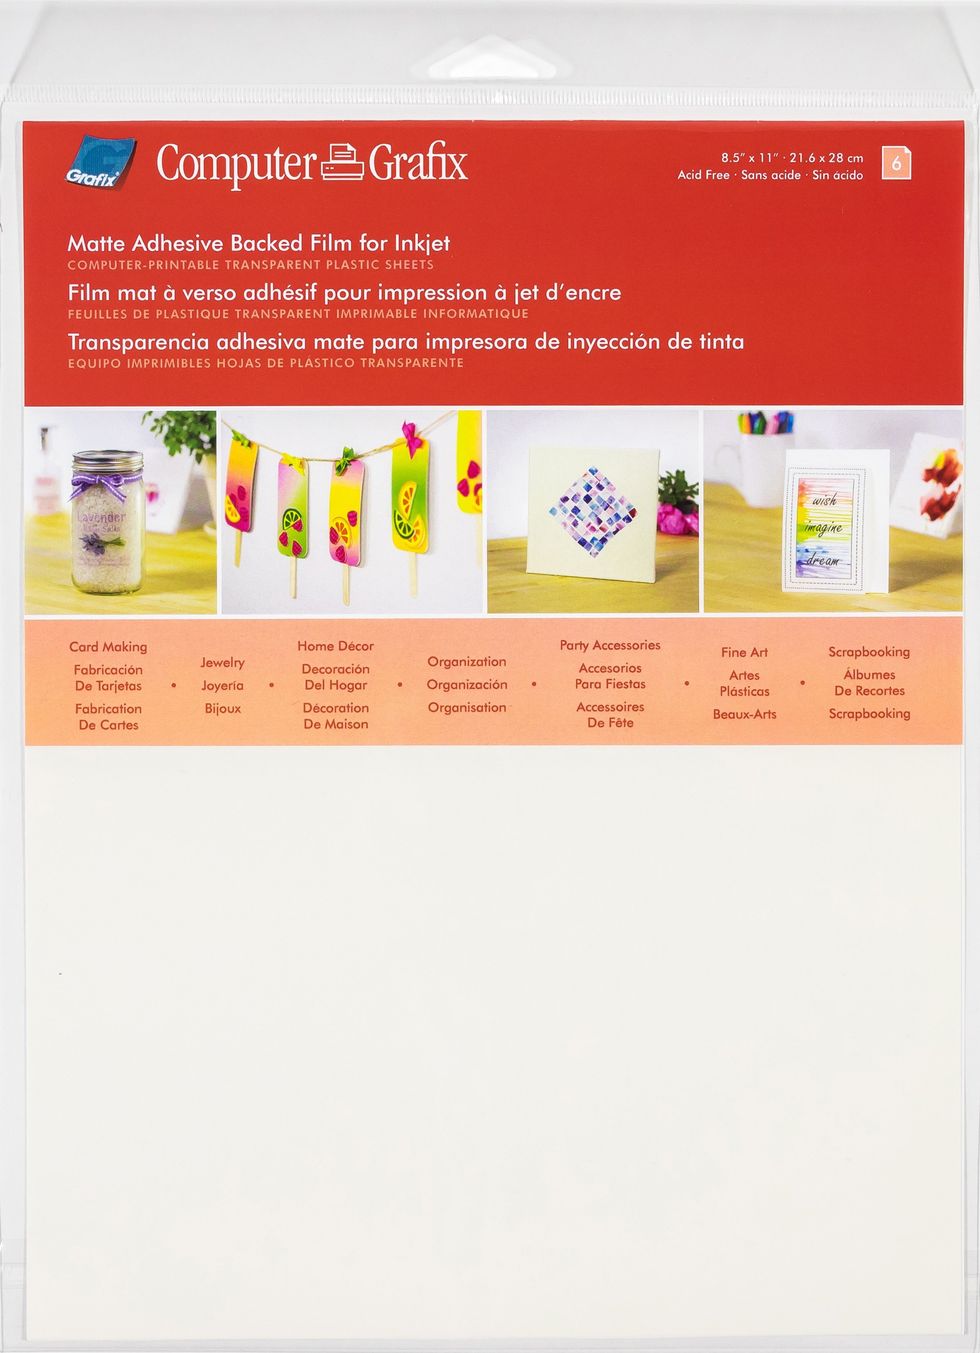
Computer Grafix has a multitude of uses. It comes in Matte and Clear, with or without adhesive. Here, an image was printed on the Matte Adhesive backed film and used for the center of the wreath.
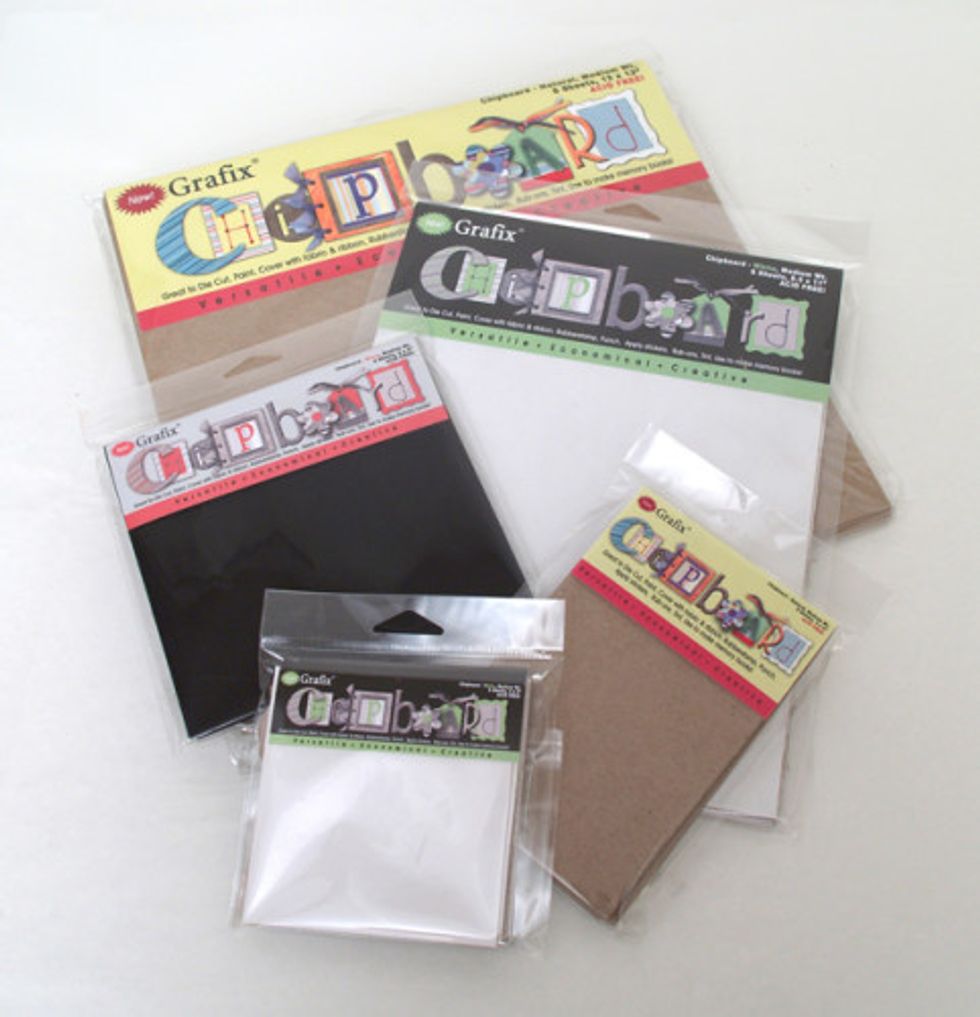
Grafix Chipboard comes in different colors and sizes. For this project, the 12 X 12 white chipboard was used as a base for the wreath.

the clothespins for this project were whitewashed: to do so, mix equal parts white acrylic paint and water in a container with a tight fitting lid
add 4-8 clothespins, depending on size of your container, then put on lid, make SURE it is secure!
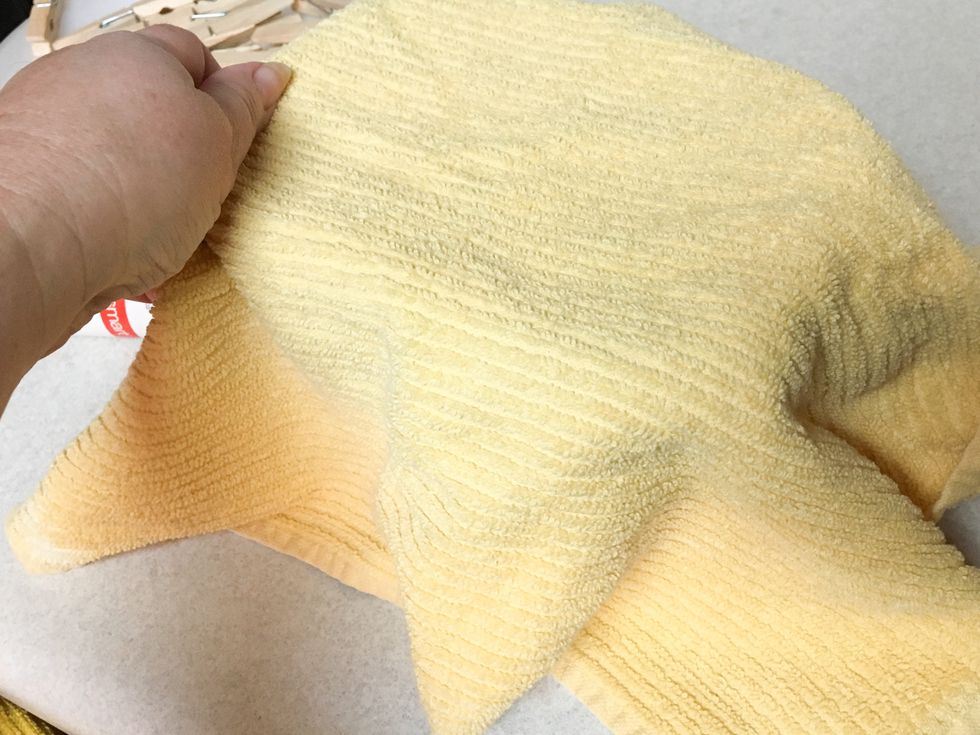
cover the container with a towel and shake several times
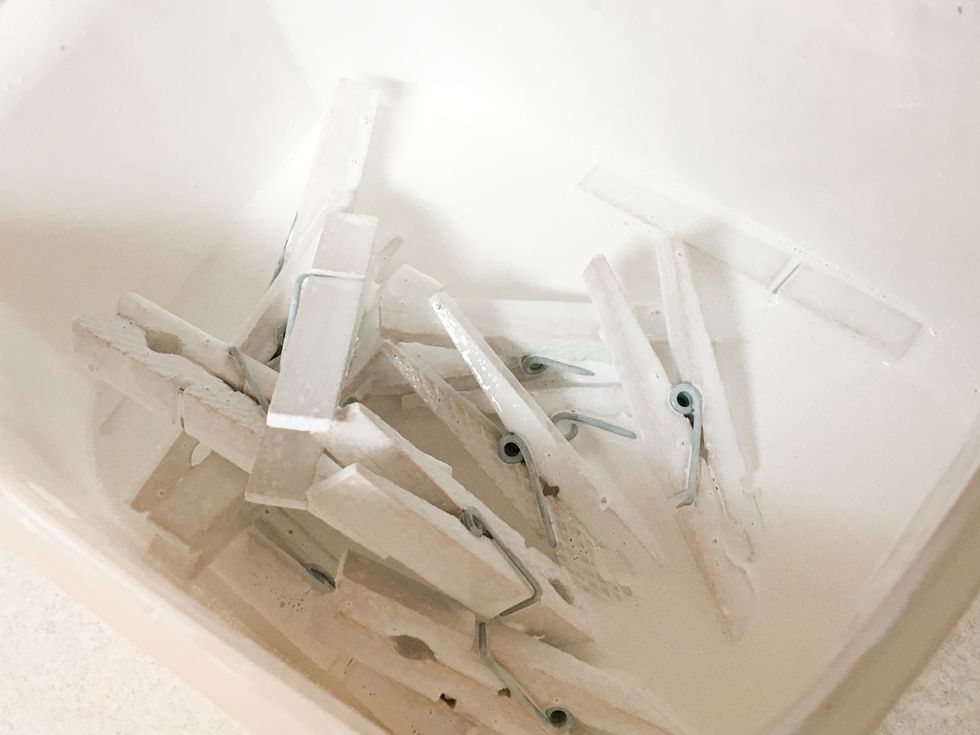
NOTE: adjust ratio of paint to water if needed, should be thin enough to coat, but thick enough to leave enough a nice wash of color
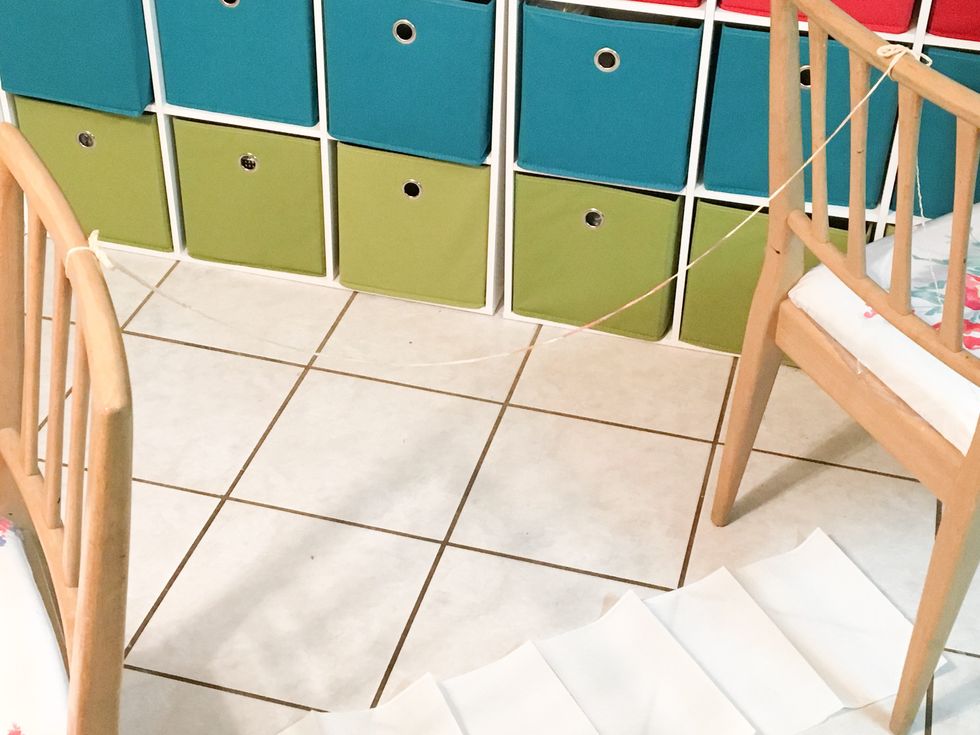
set up a drying line for your clothespins, a piece of twine strung between 2 chairs with newspaper underneath works well
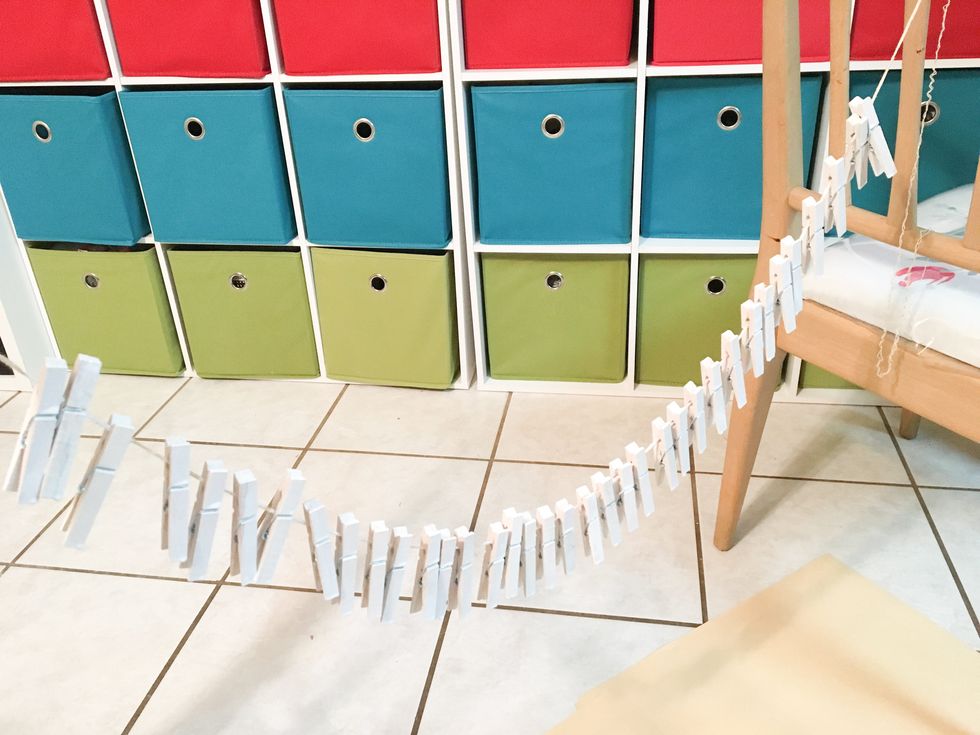
remove clothespins one at a time, shake gently to remove excess wash, clip to the twine leaving space between each pin, repeat process til all pins are done; let dry overnight
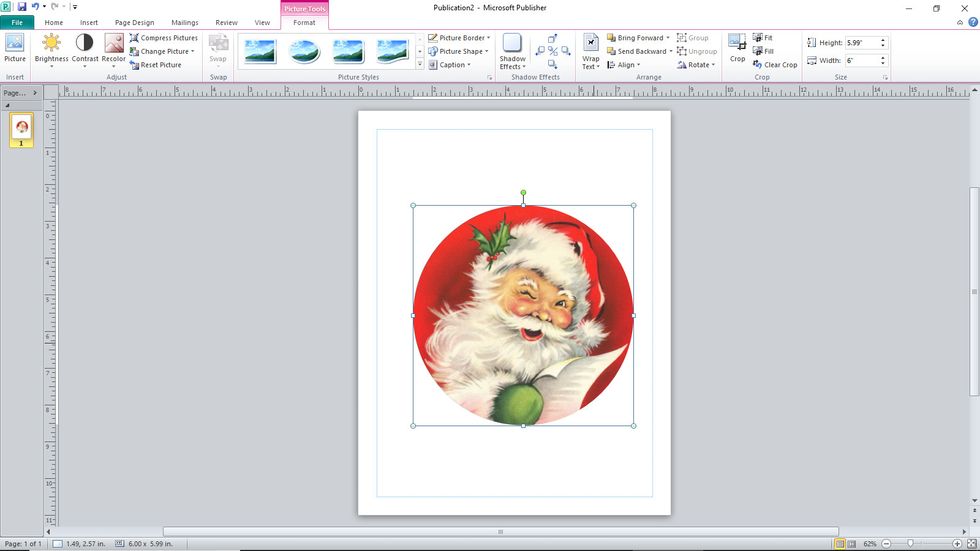
find an image on the internet or scan one into your computer, open a new document in a publisher program, insert image and size to 6 X 6
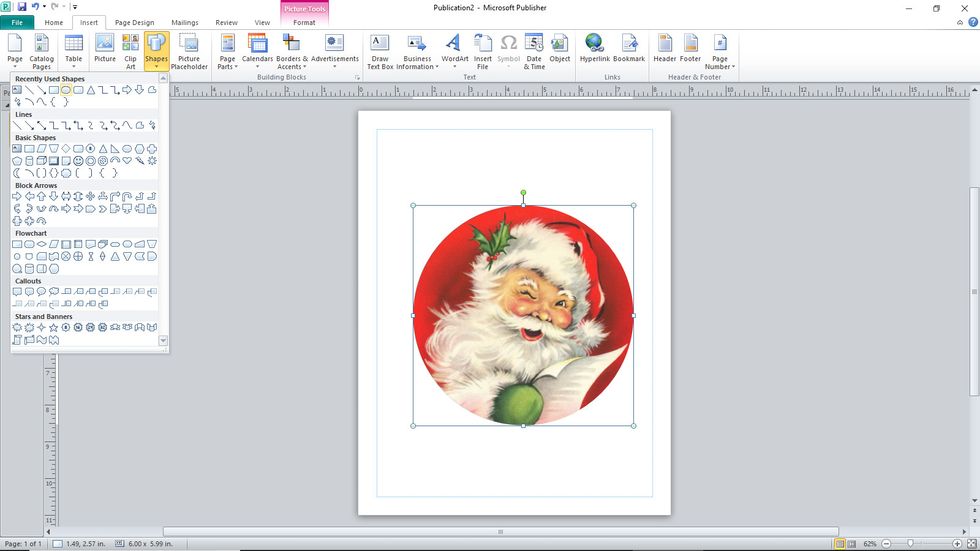
add a circle shape so you can crop the image
position the circle so that the image is cropped right around the edge and crop

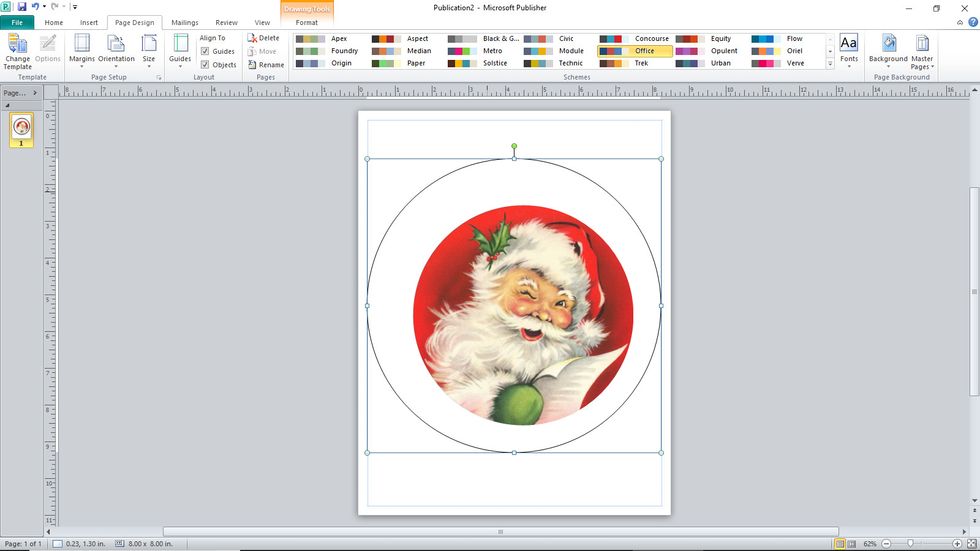
insert another circle, fill with a background texture and size to 8 X 8

send background backward to layer Santa image over it

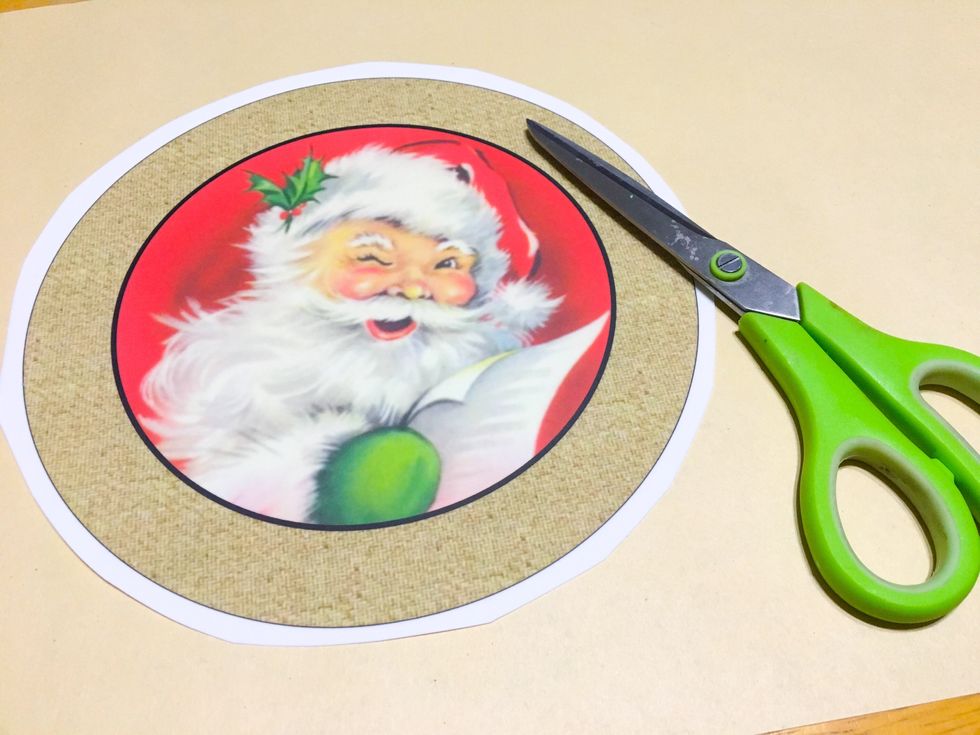
add a border around the santa image

adjust border; you want it thick enough to see easily, this will help you align the clothespins
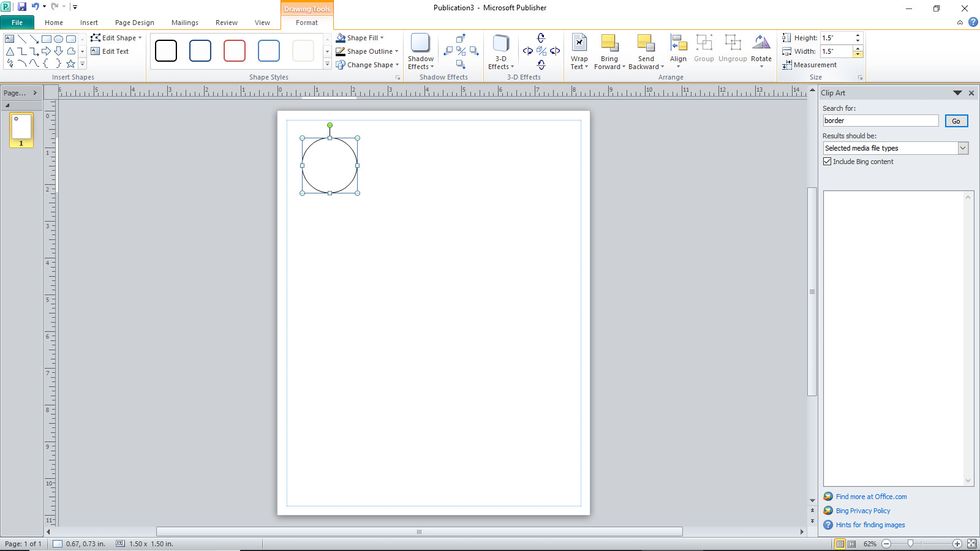
add a 1 1/2" circle to page
fill with color
insert a text box

add sentiment and adjust font and color as desired

print out image and sentiment circle on Matte Adhesive Computer Grafix according to package directions
cut out image and sentiment fairly close to outside borders
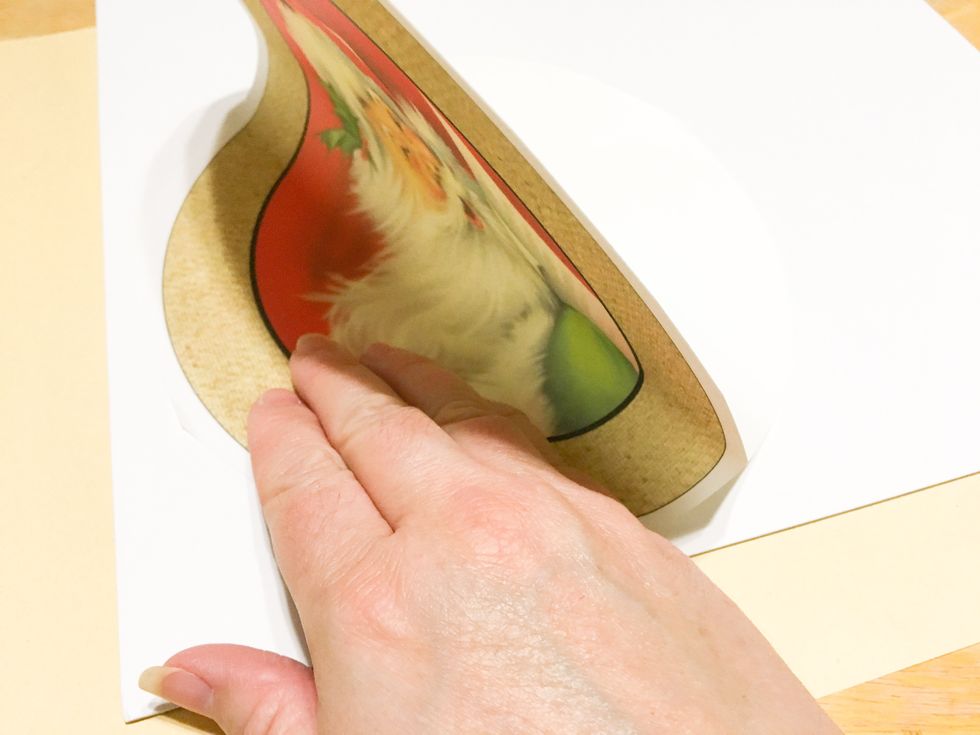
peel off a portion of the backing and slowly adhere Computer Grafix image to 12 X 12 Chipboard, smoothing with your hand to remove air bubbles as you go

cut out image and sentiment right along border
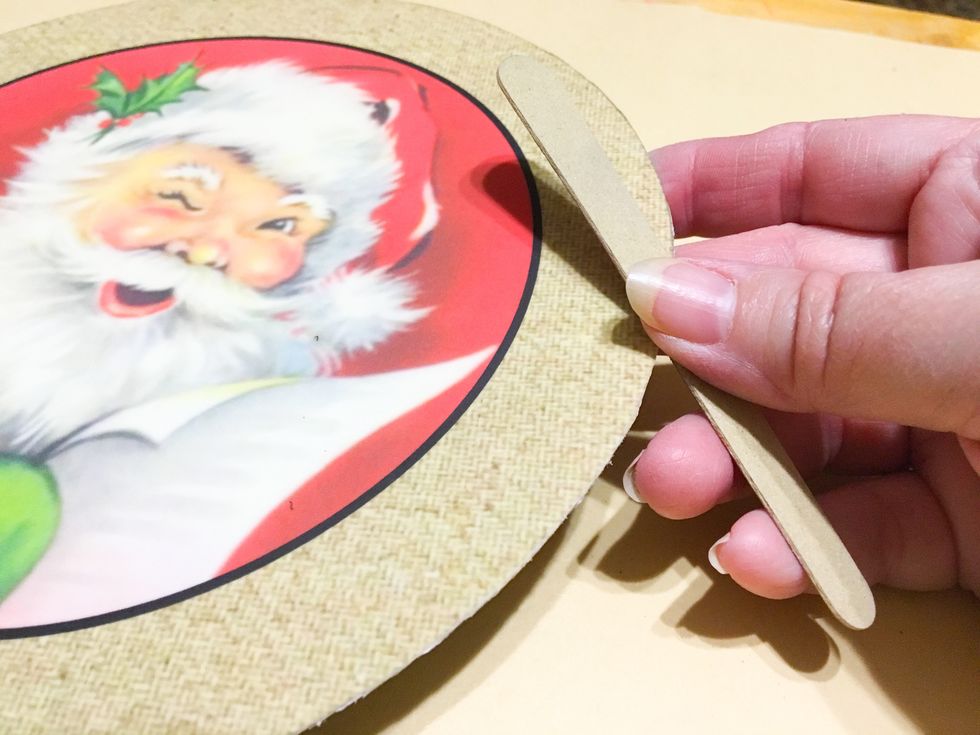
use a file to smooth edges
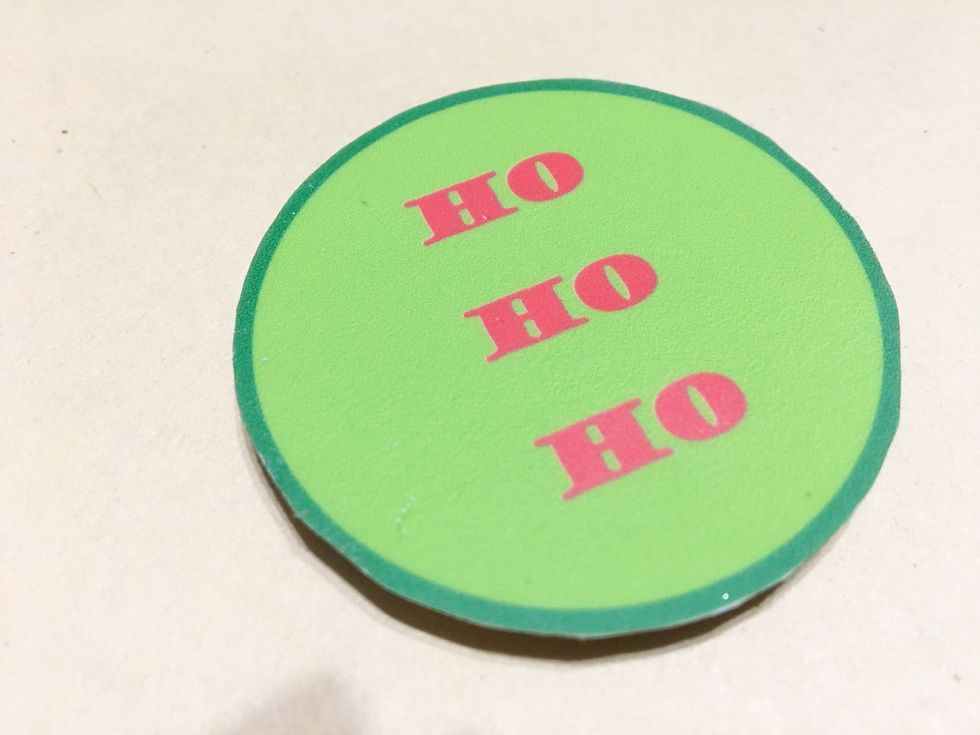
repeat steps for sentiment
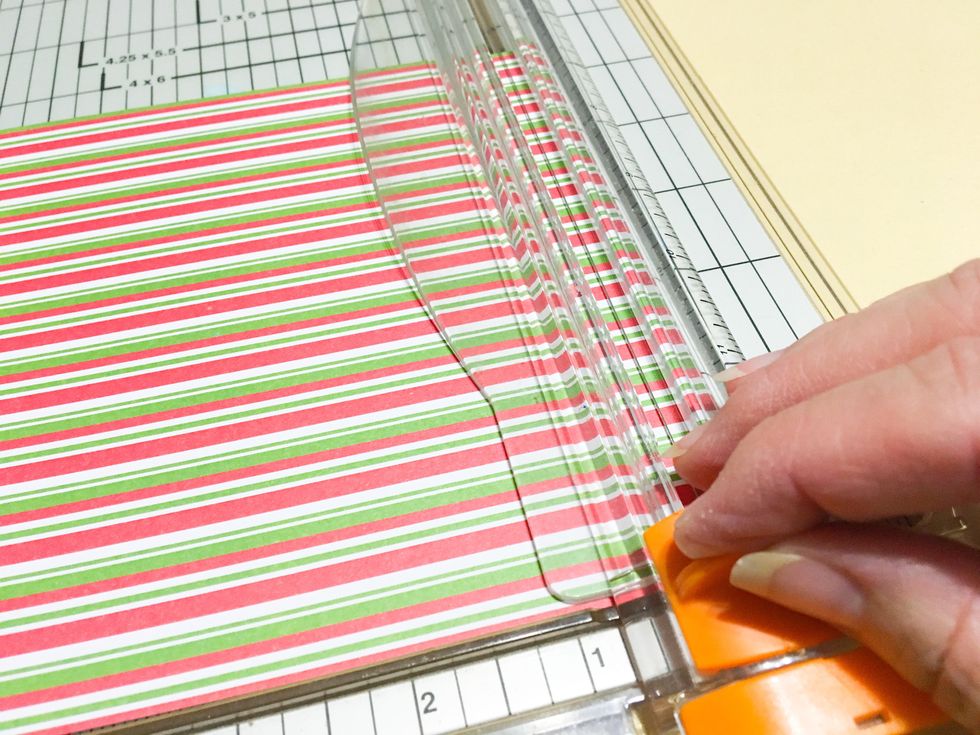
cut out 36 strips of printed paper slightly smaller than the width of your clothespins and about ½” to ¾” longer. the extra length will make them easier to apply to the clothespins
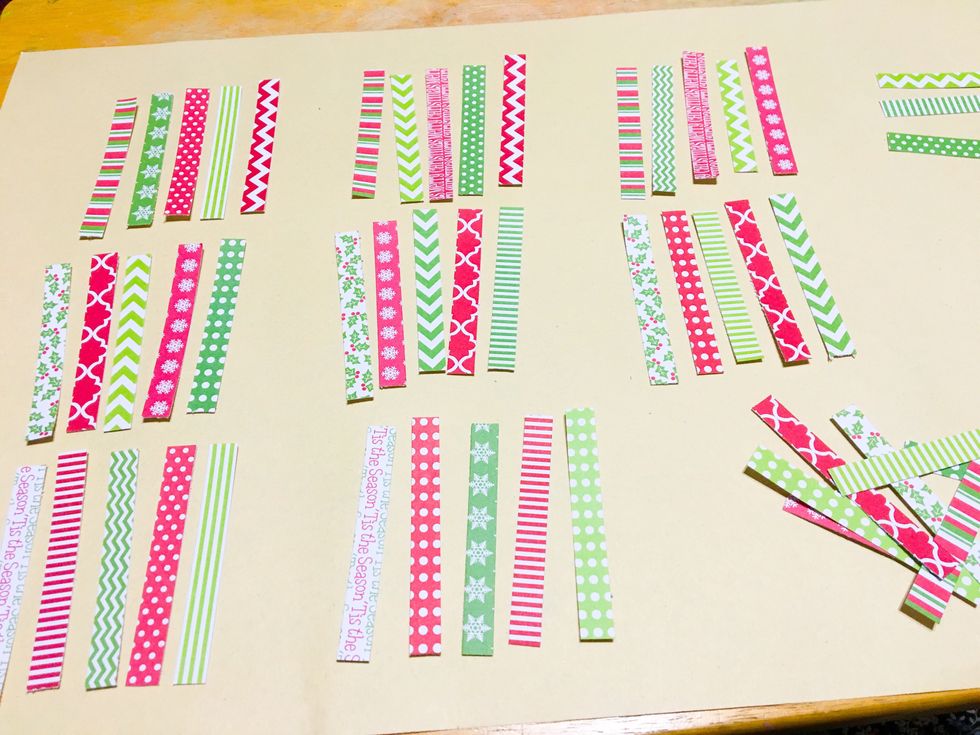
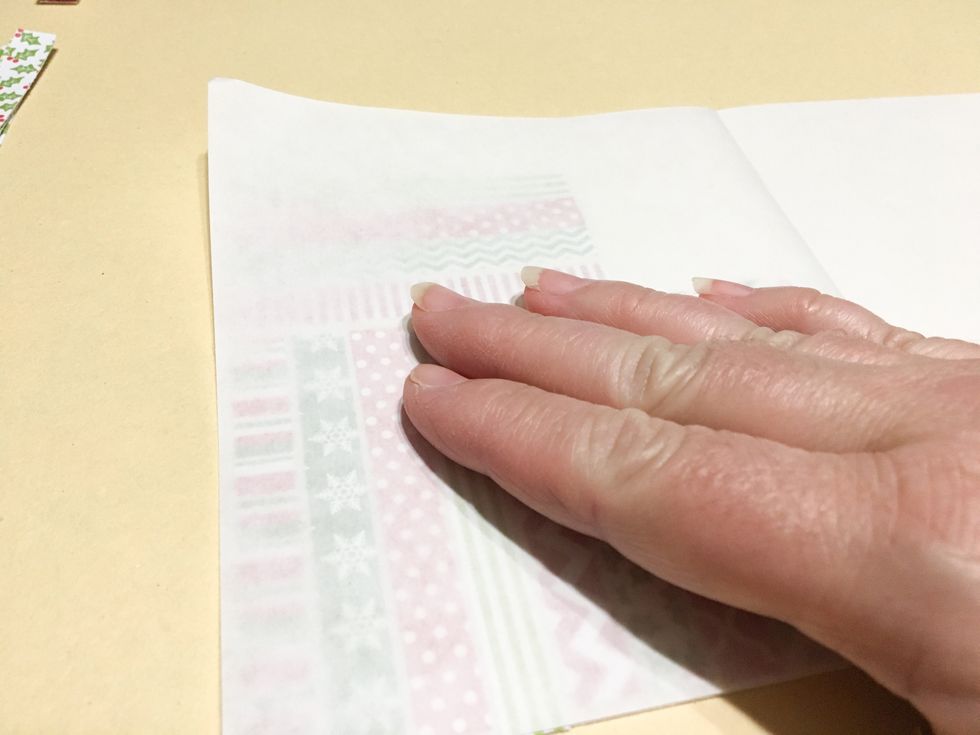
arrange strips to randomize colors and patterns. Its easier to make changes here, like you see you need more red or have too many of one design type, than once papers are applied to the clothespins
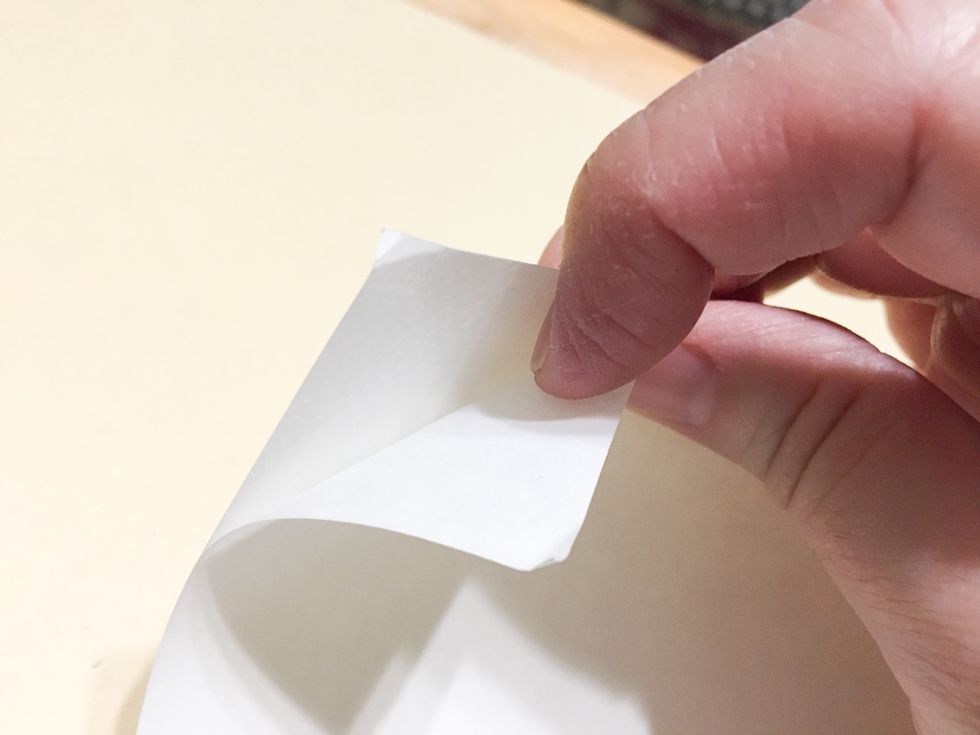
peel back one corner of the Artist-Tac cover sheet
then peel about 1/3 of the cover sheet back and fold down to reveal the adhesive

begin lining up your paper strips on the Artist-Tac adhesive sheet - keeping them in order to make it easier to arrange the pins later
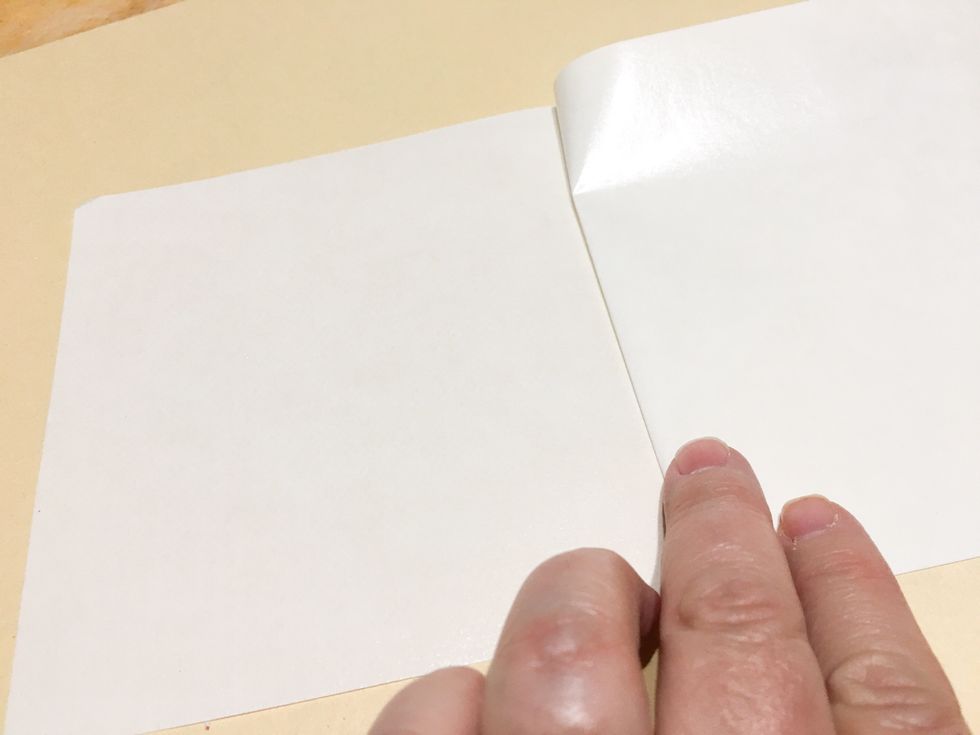
once you have the revealed area of the Artist-Tac adhesive sheet filled up, fold the cover sheet back over them and smooth with your hand to transfer the adhesive
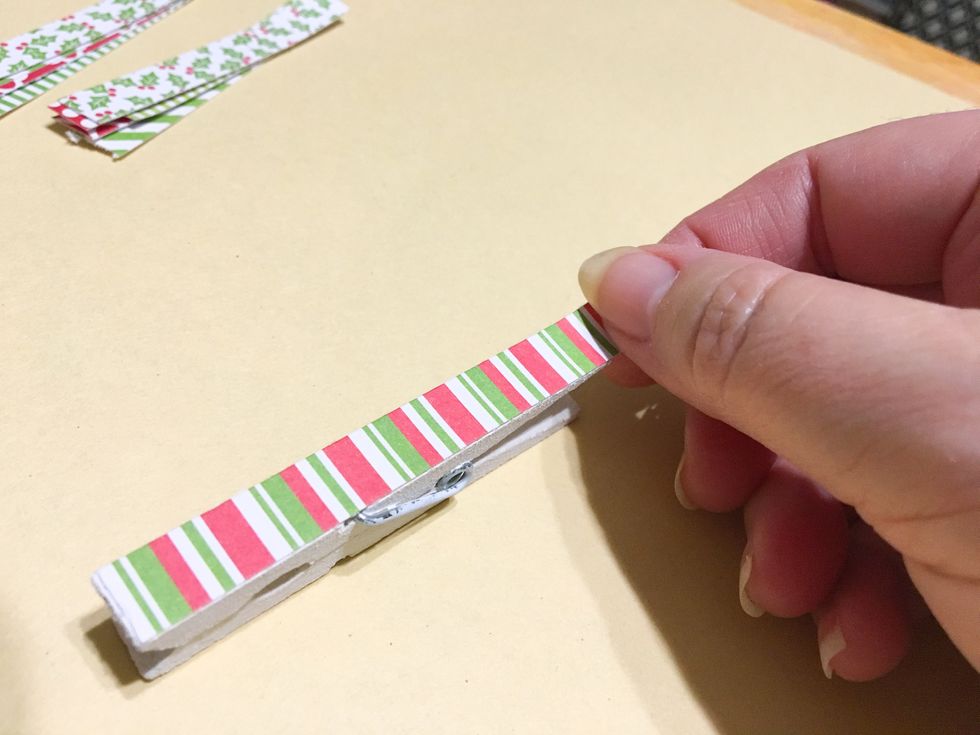
remove the strips one at a time from the Artist-Tac adhesive sheet and place on clothespins, then press all along the paper strip to secure
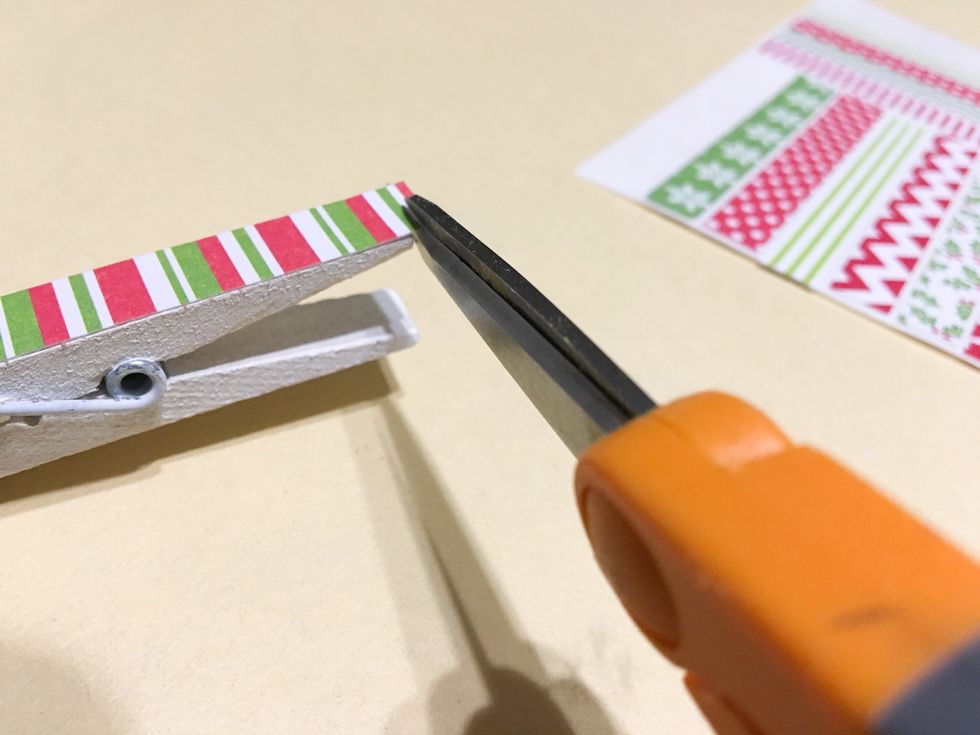
trim off the excess paper at the end
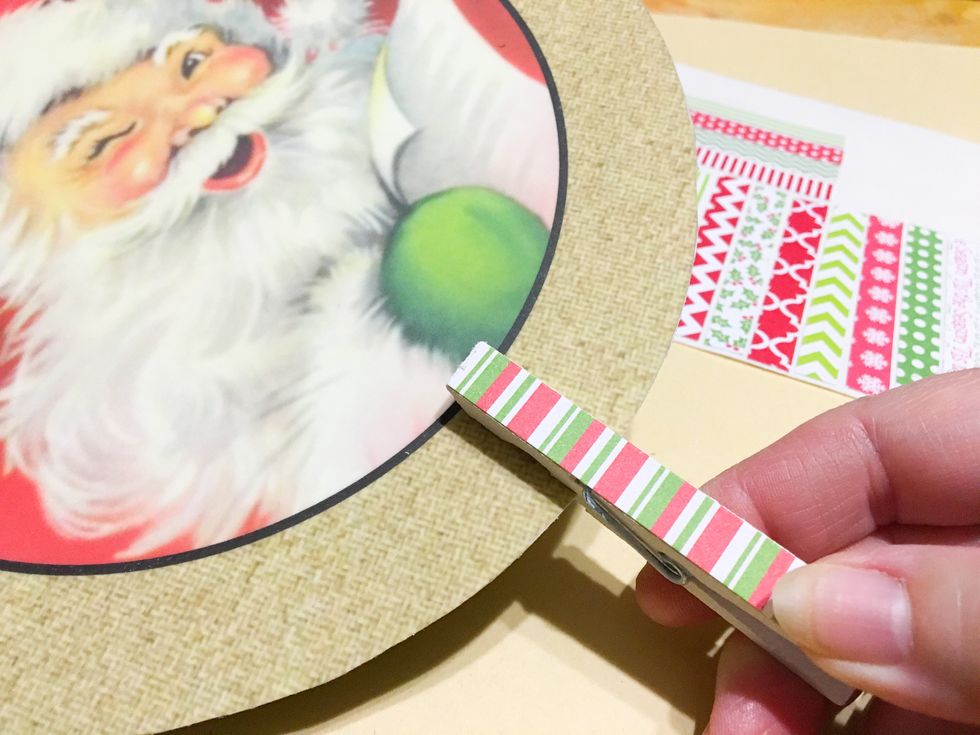
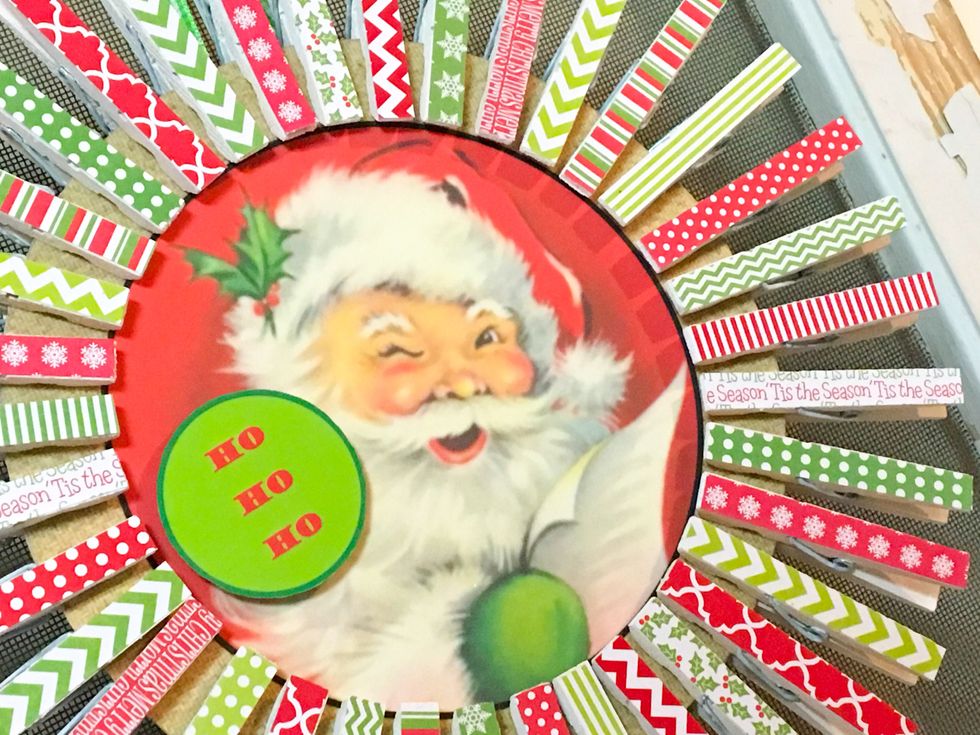
begin clipping the pins around the outer border of the Chipboard base; the end of each pin should line up with the inner border

once all pins have been added, go back and adjust position of each pin to evenly space them out, this may take a few times around
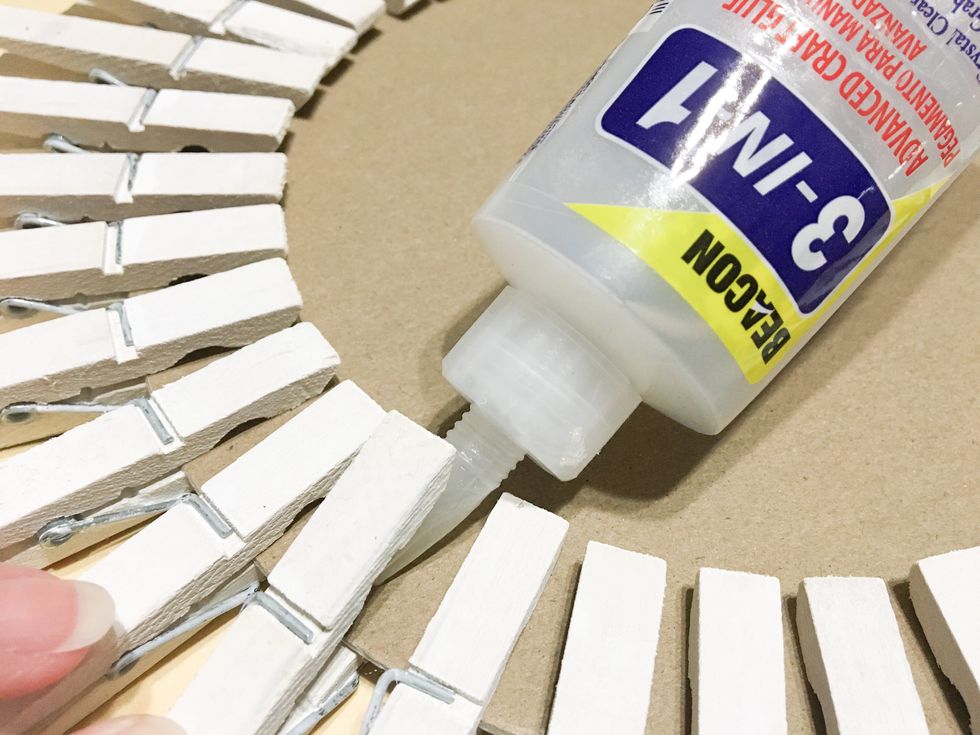
carefully turn wreath over, then press down to open each pin one at a time and add a dab of glue underneath to secure it to the Chipboard base; let glue set
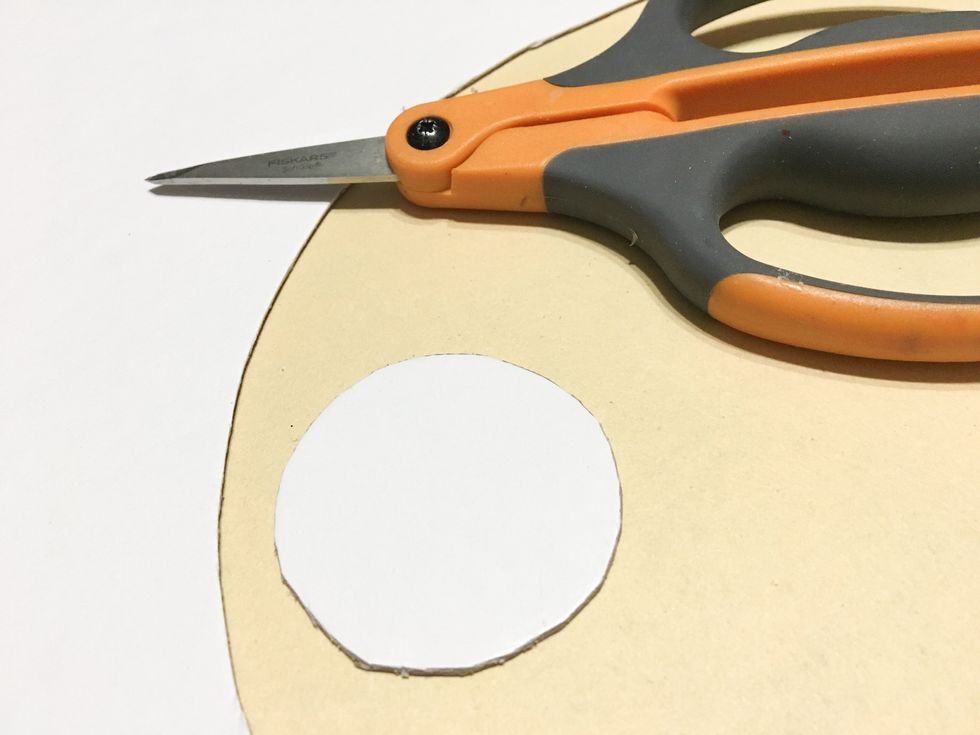
to make hanger, cut a 2 1/2" circle from leftover Chipboard
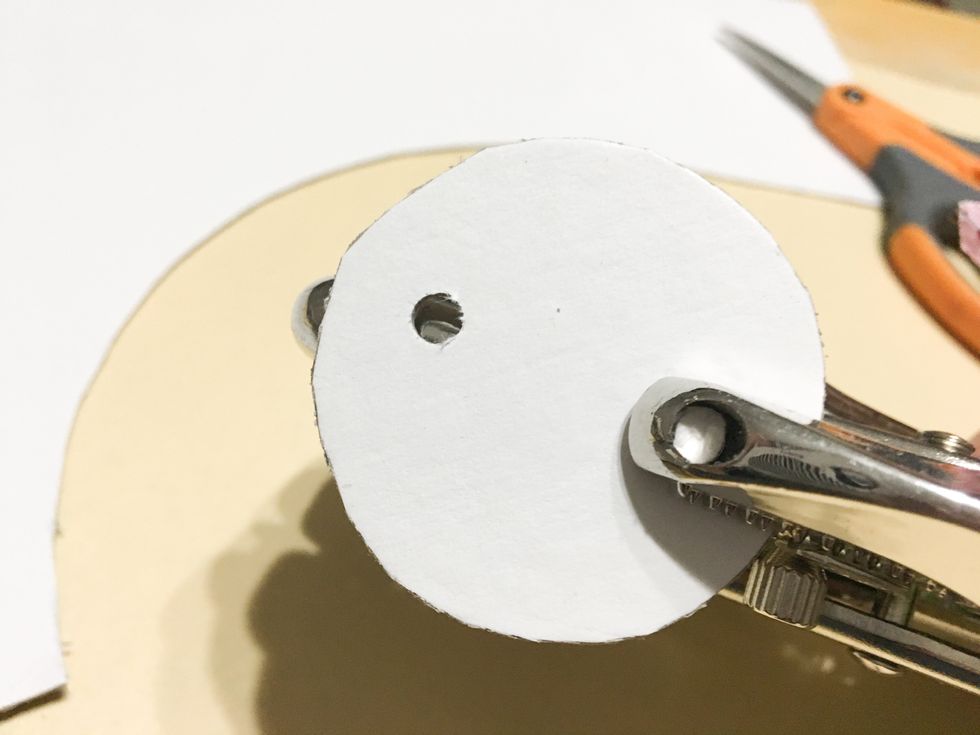
punch 2 holes, one at the center of each side
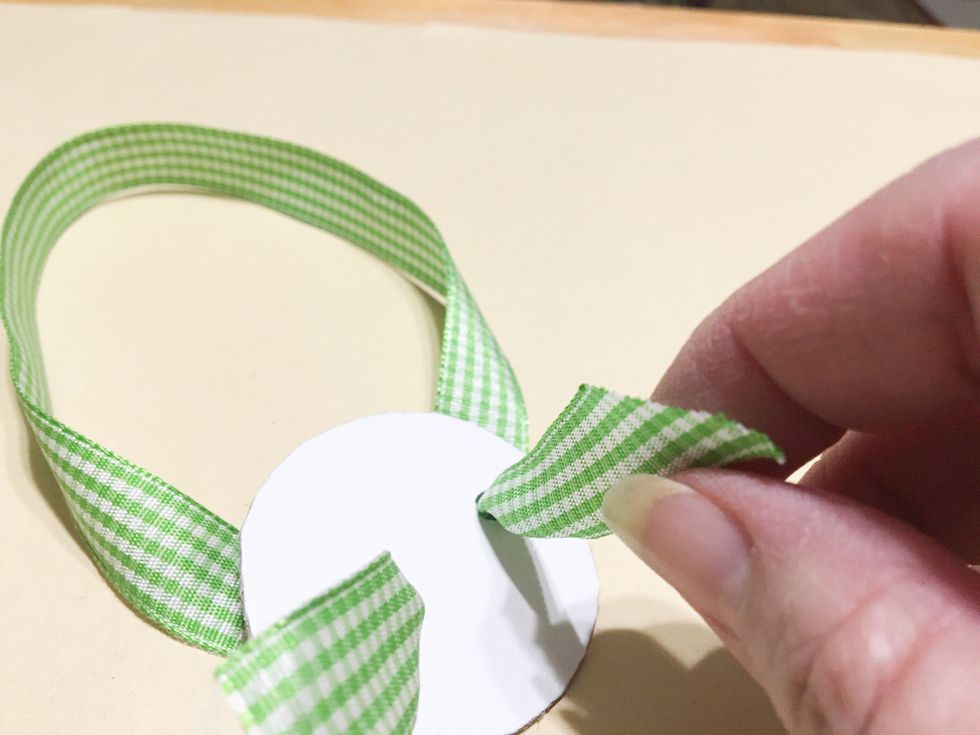
thread the ends of a 12" piece of ribbon up from the back through each hole
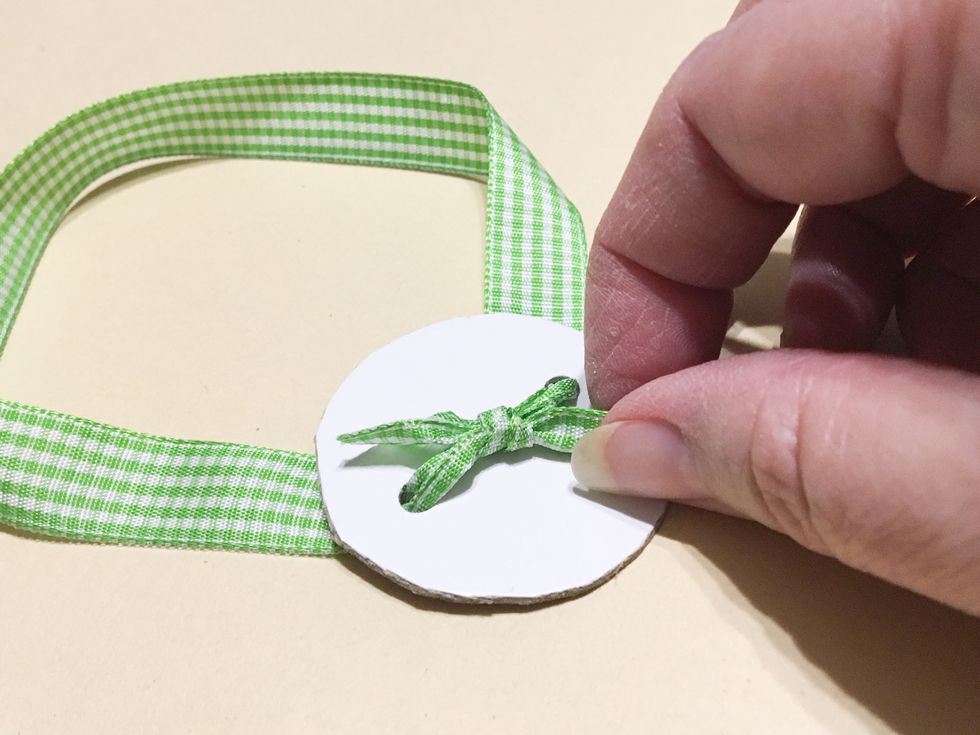
knot ribbon at front and pull it tight towards the back

glue hanger on the back, just below clothespins at center top of chipboard base; let glue set
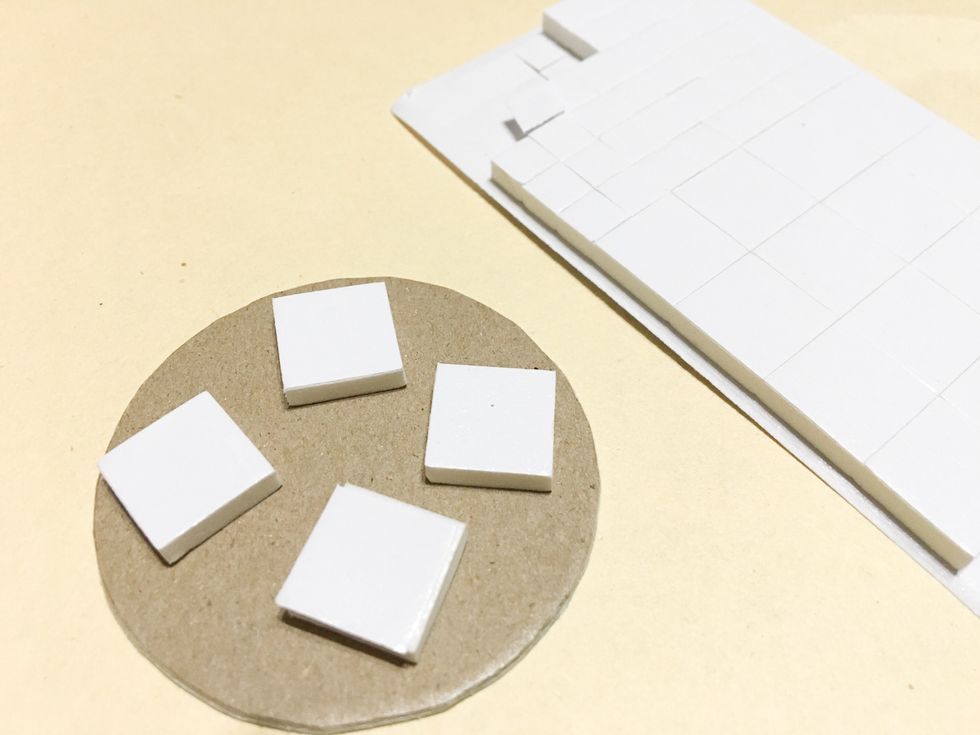
apply 3D squares to back of sentiment
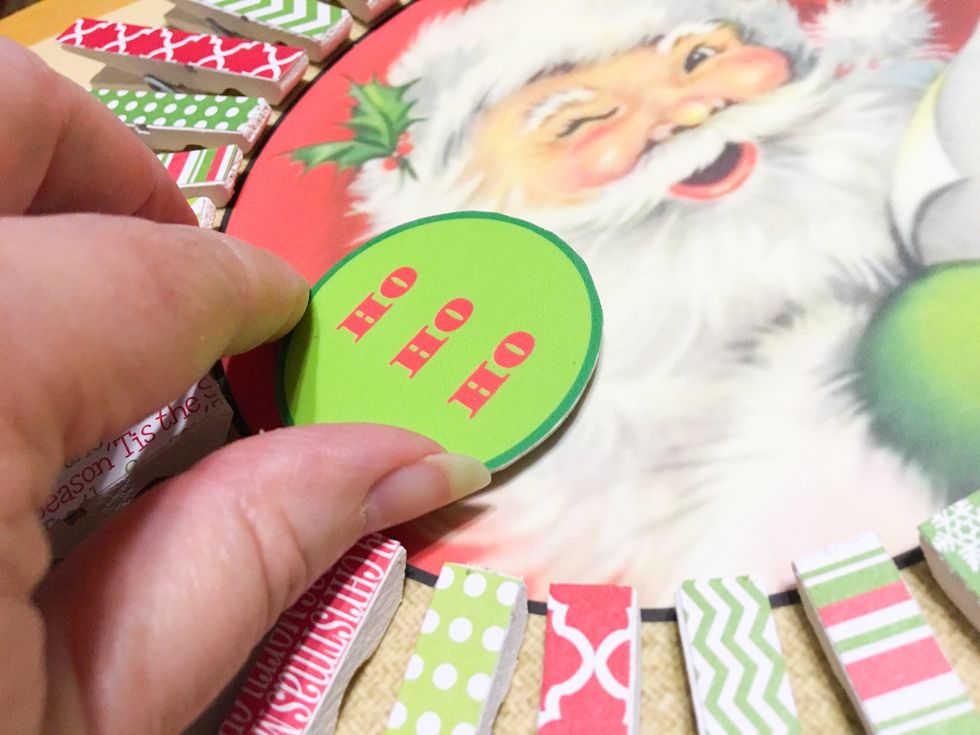
adhere at left of santa
and you are all done!
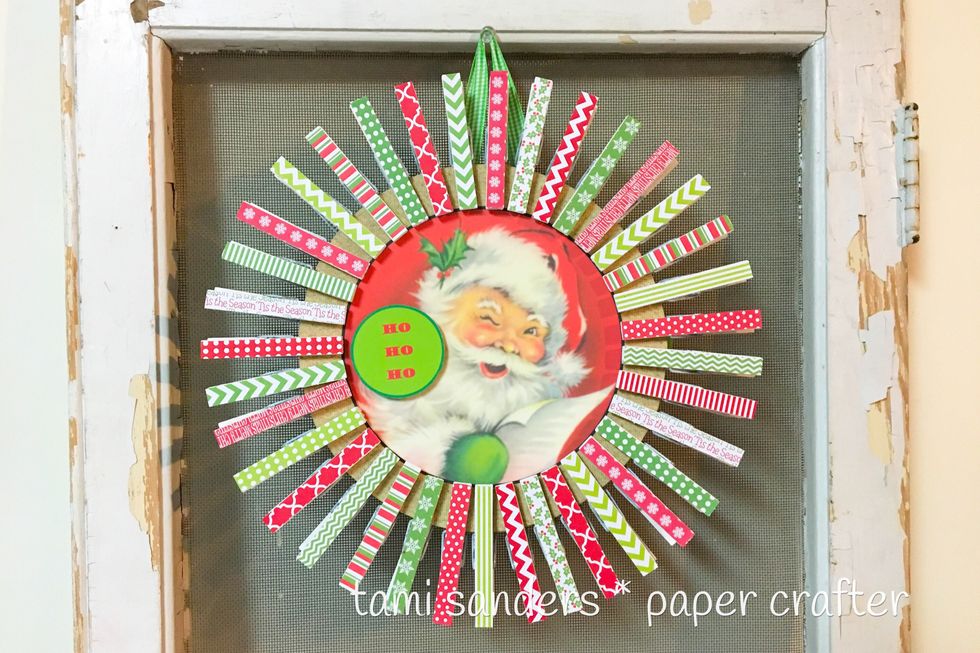
and you are ready to hang your wreath to add some bright retro flair to your holiday decor!
I hope you enjoyed this project. You can find more projects using products by Grafix on their website and blog: www.grafixarts.com You can find me at www.tamisanders.com