The Conversation (0)
Sign Up
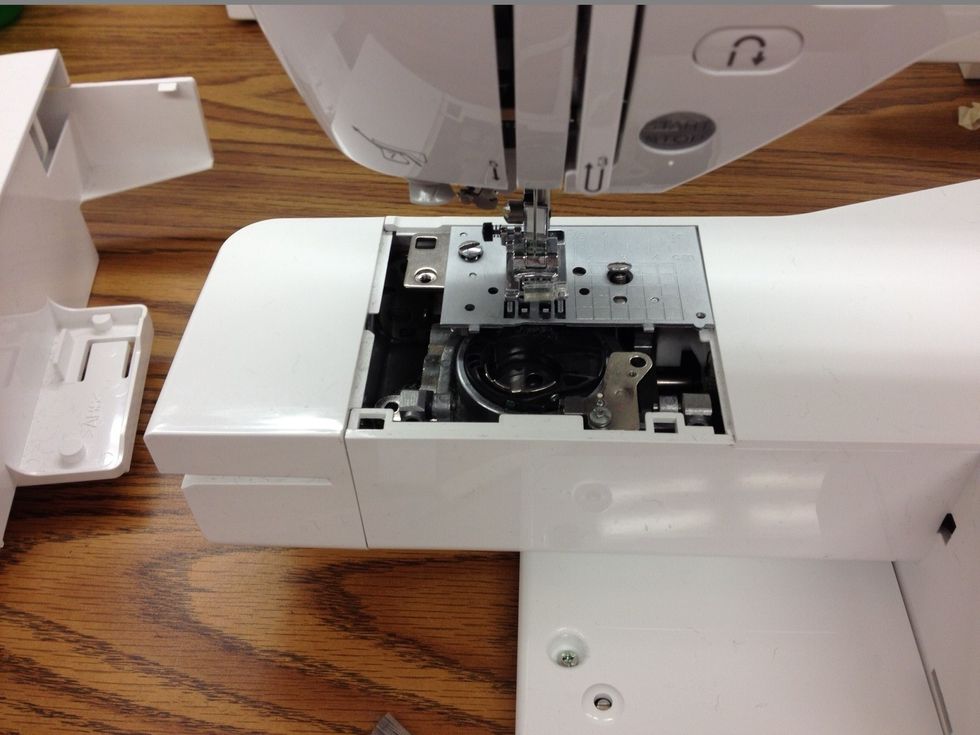
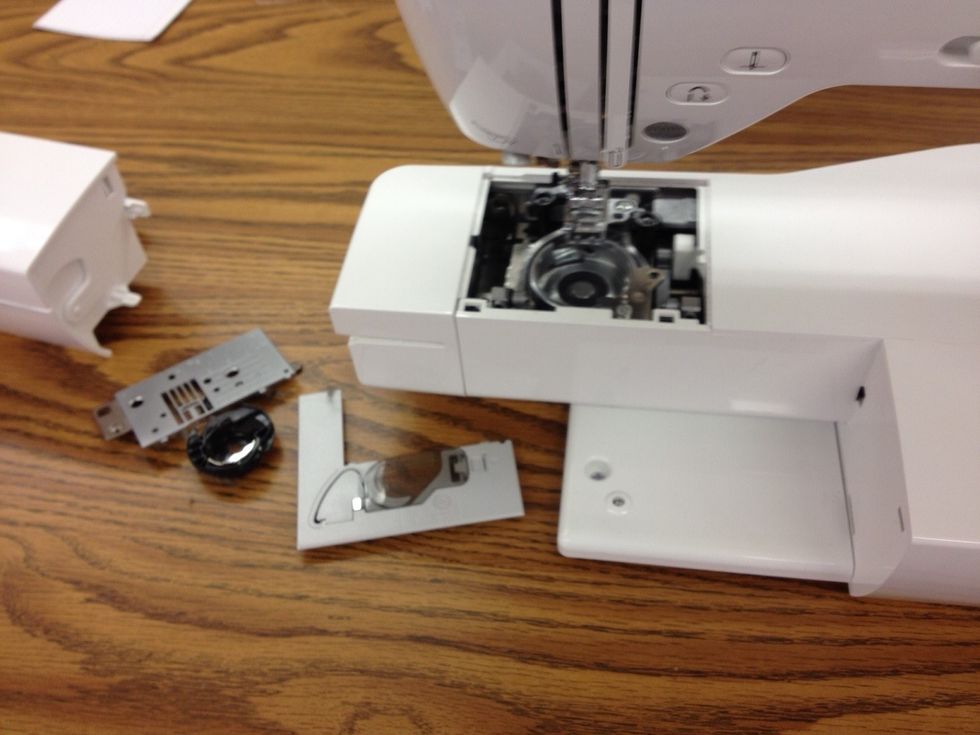
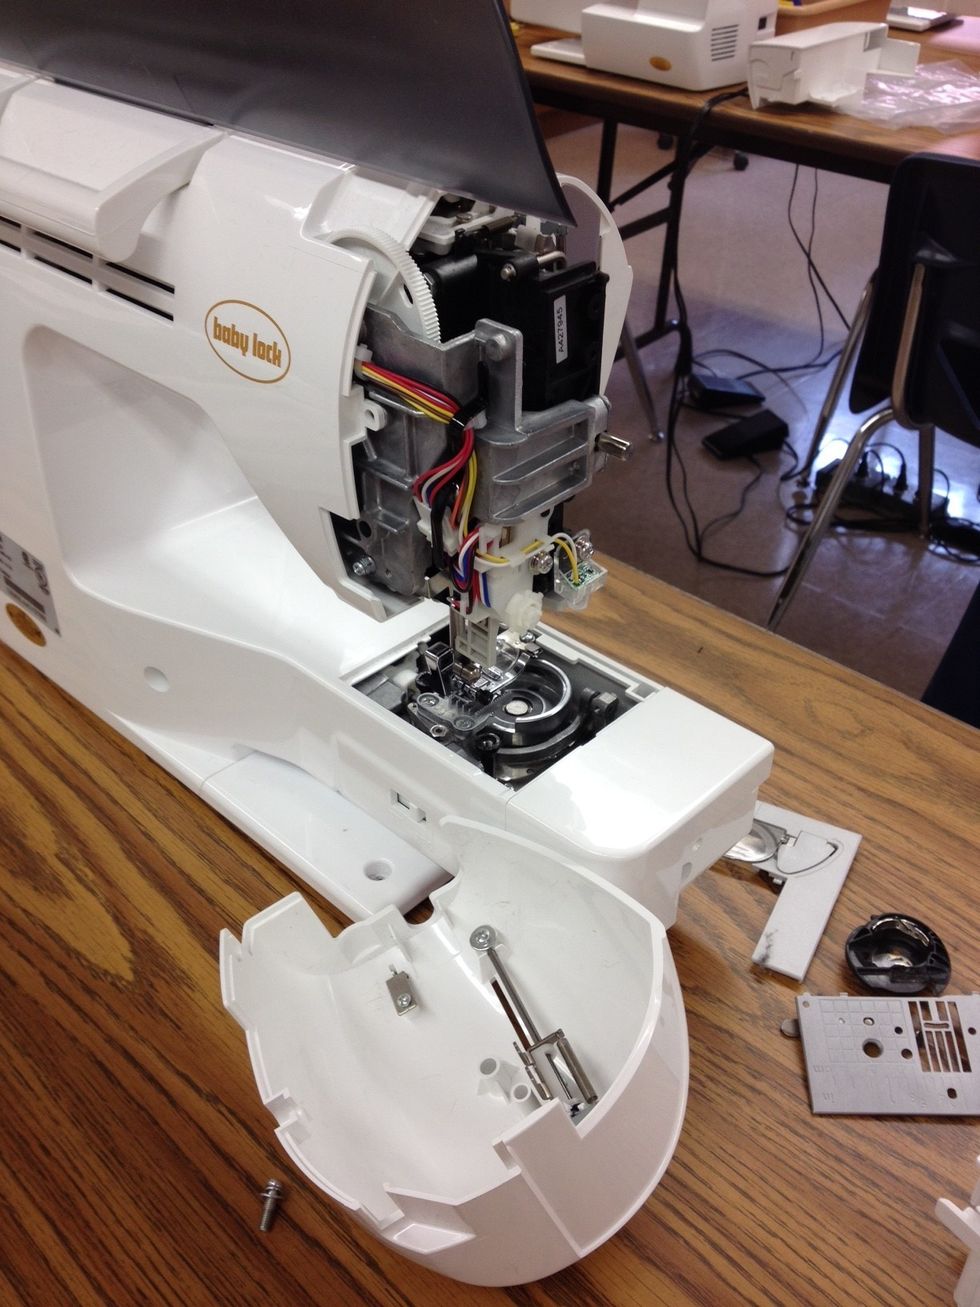
Remove slide plate, bobbin holder, and unscrew back plate.
Brush out all dust particles and thread fuzz. Complete this task at the semester & end of the school year. More often if needed.
Use Mini vacuum attachment to help remove any leftover dust and threads. The brush used in the earlier step does a good job. Use which ever works best or what you have time for.
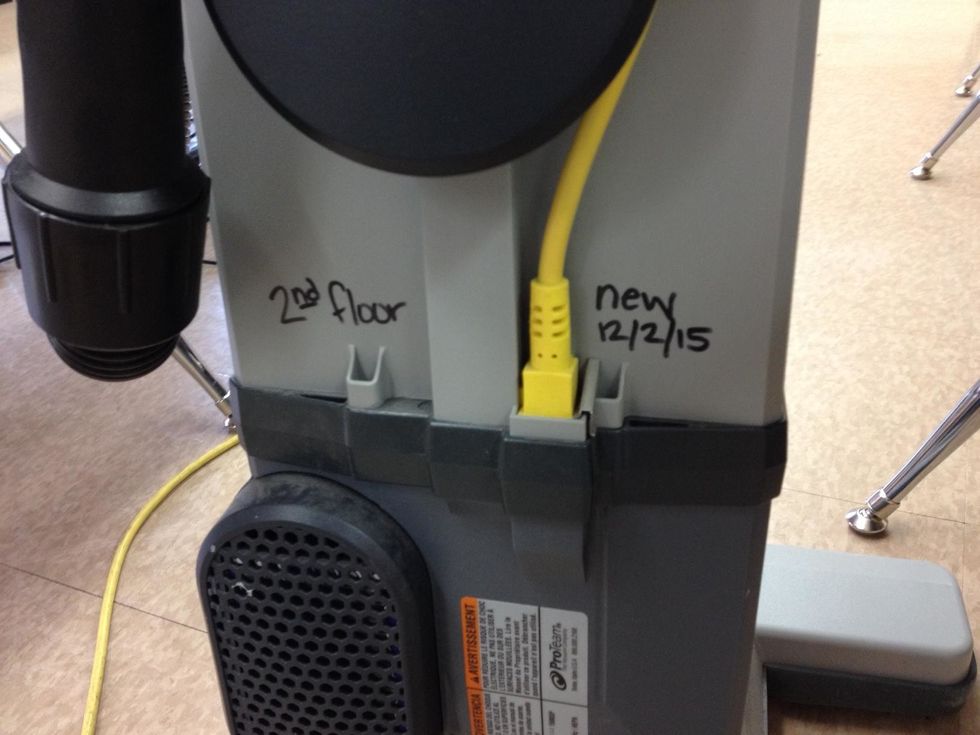
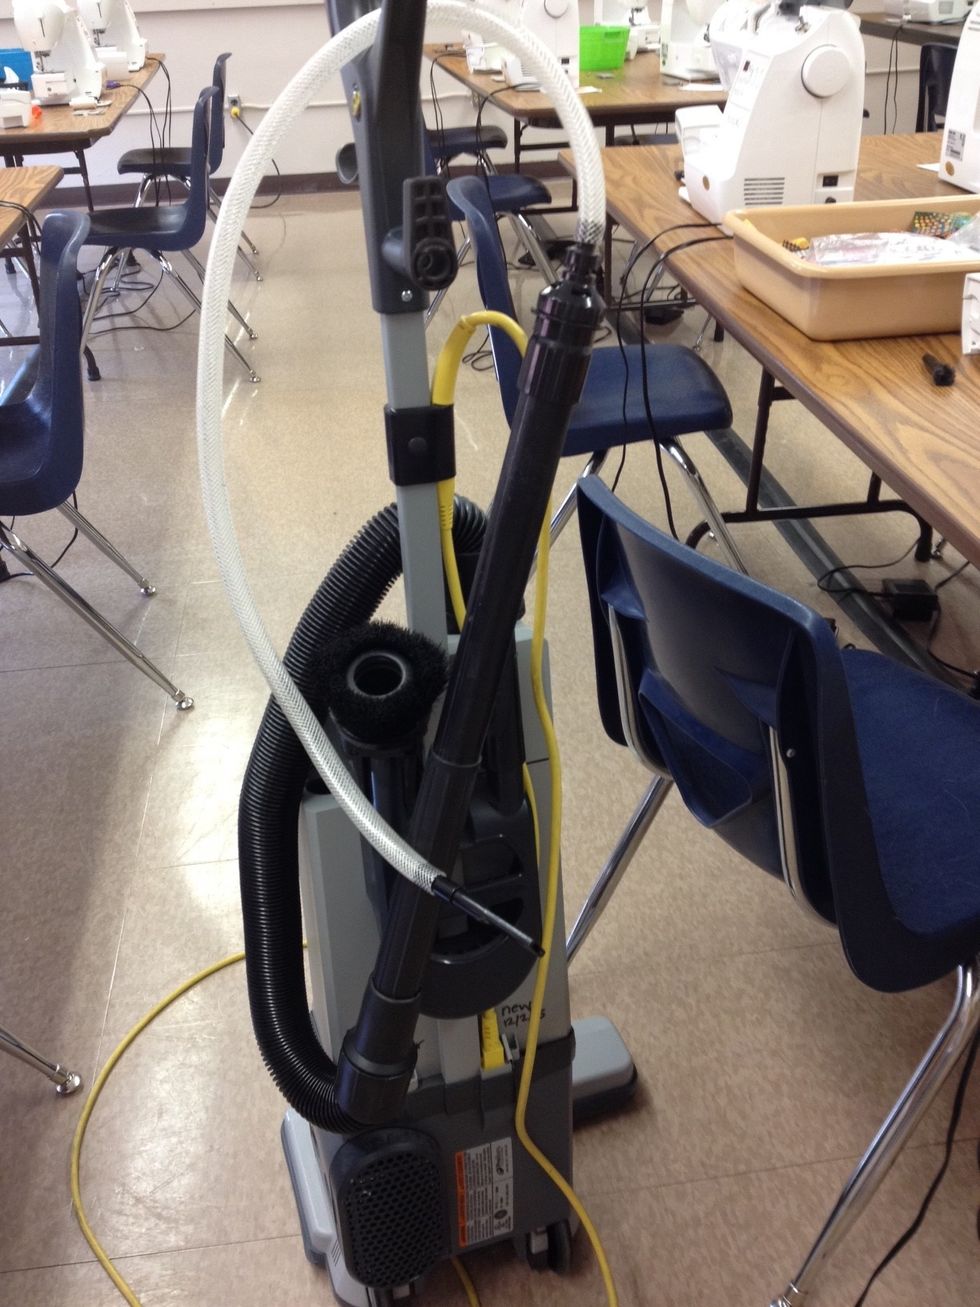
Note: At BMS, I had to use this vacuum cleaner for the mini brush.
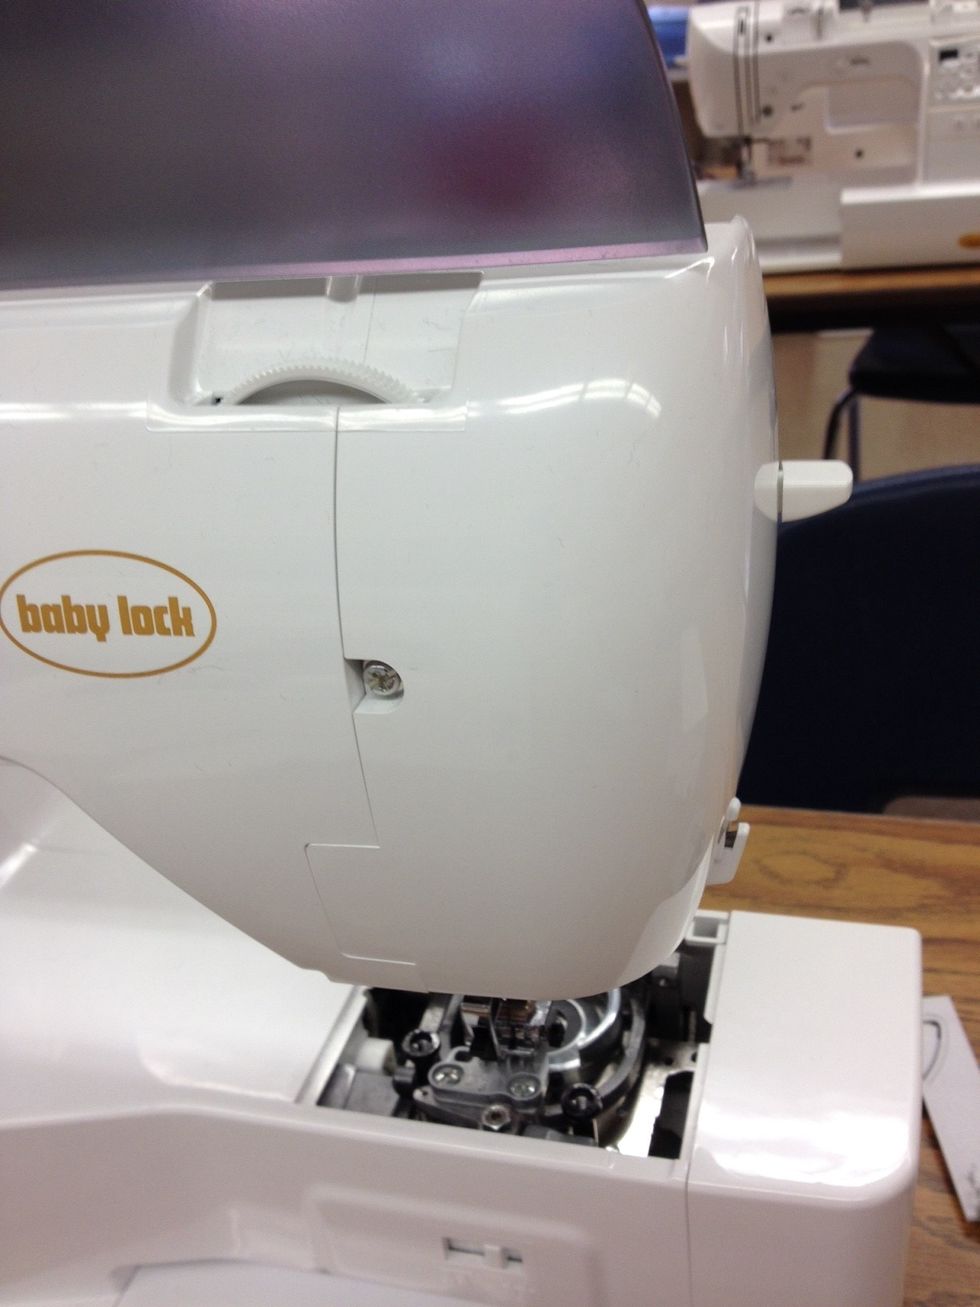
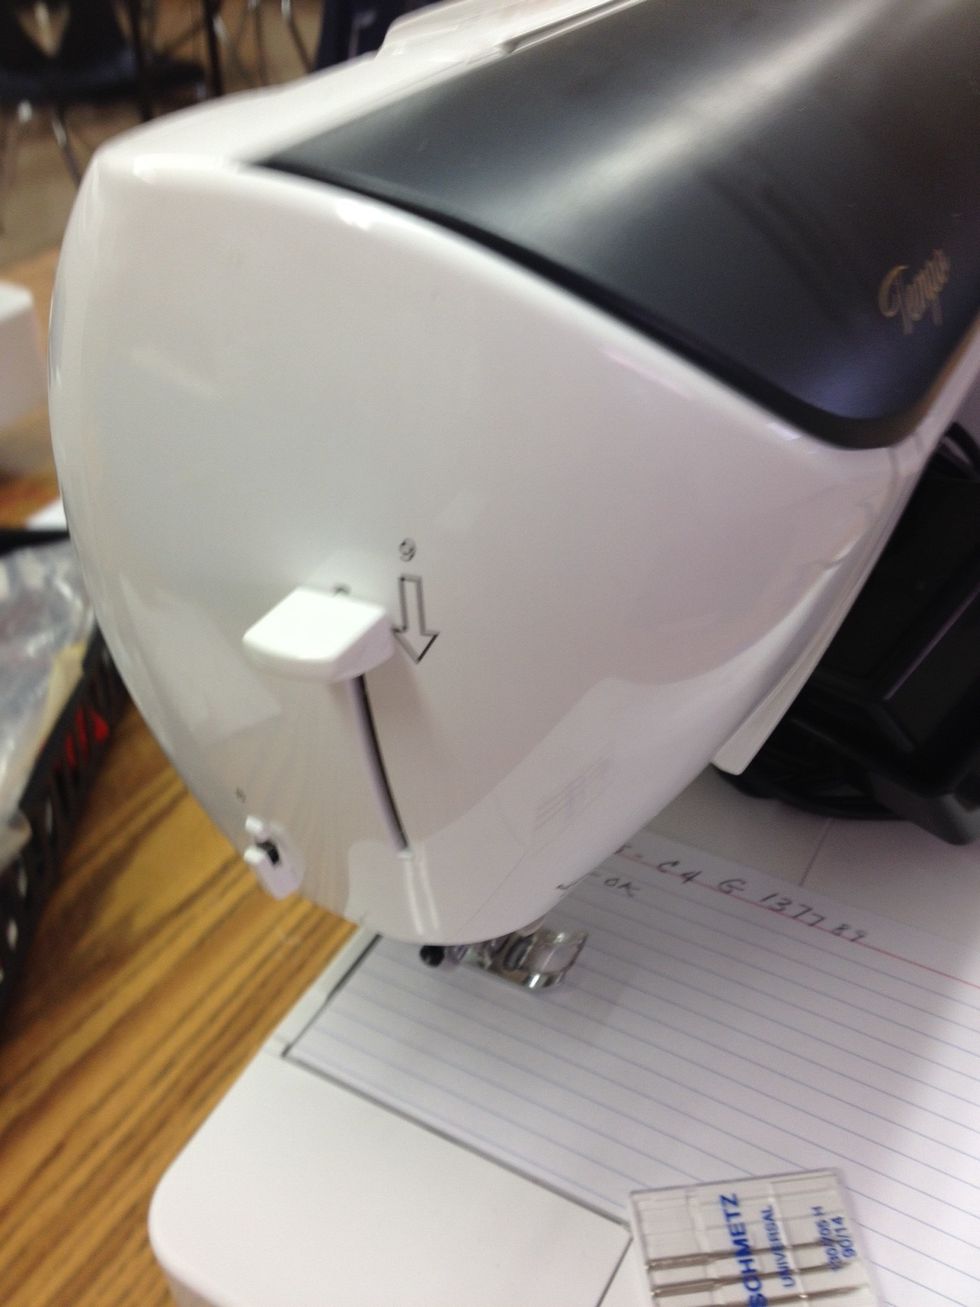
So far, I have only done this at the end of the school year . . . Remove screw in the back.
This allows you to take the side plate off. You can remove threads or fuzz if needed. To return the plate, it will go on easily if positioned correctly. No need to push hard!
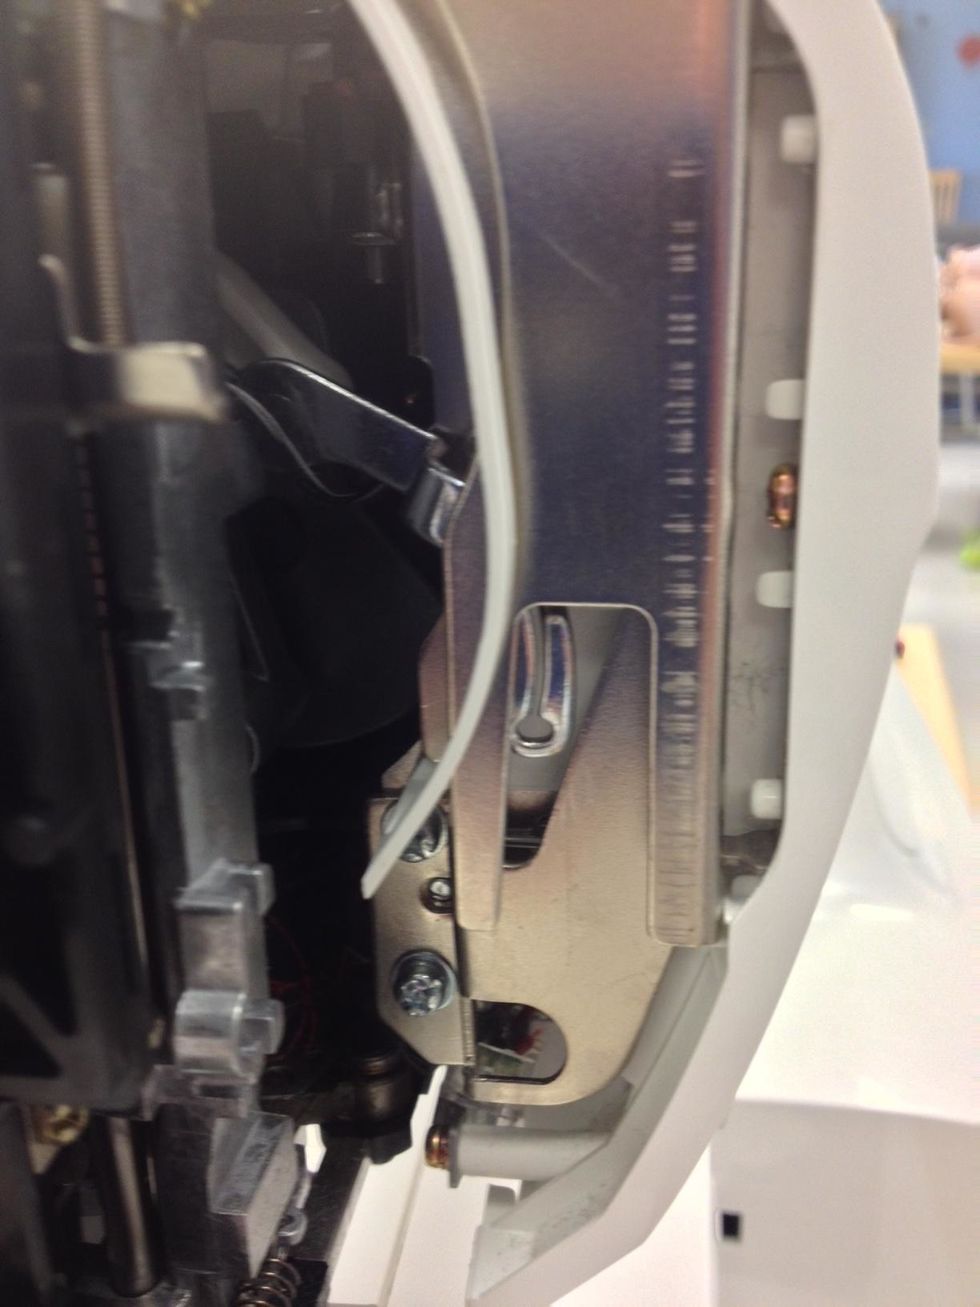
Check closely to see if any threads have been caught in the thread take-up lever. (Center)
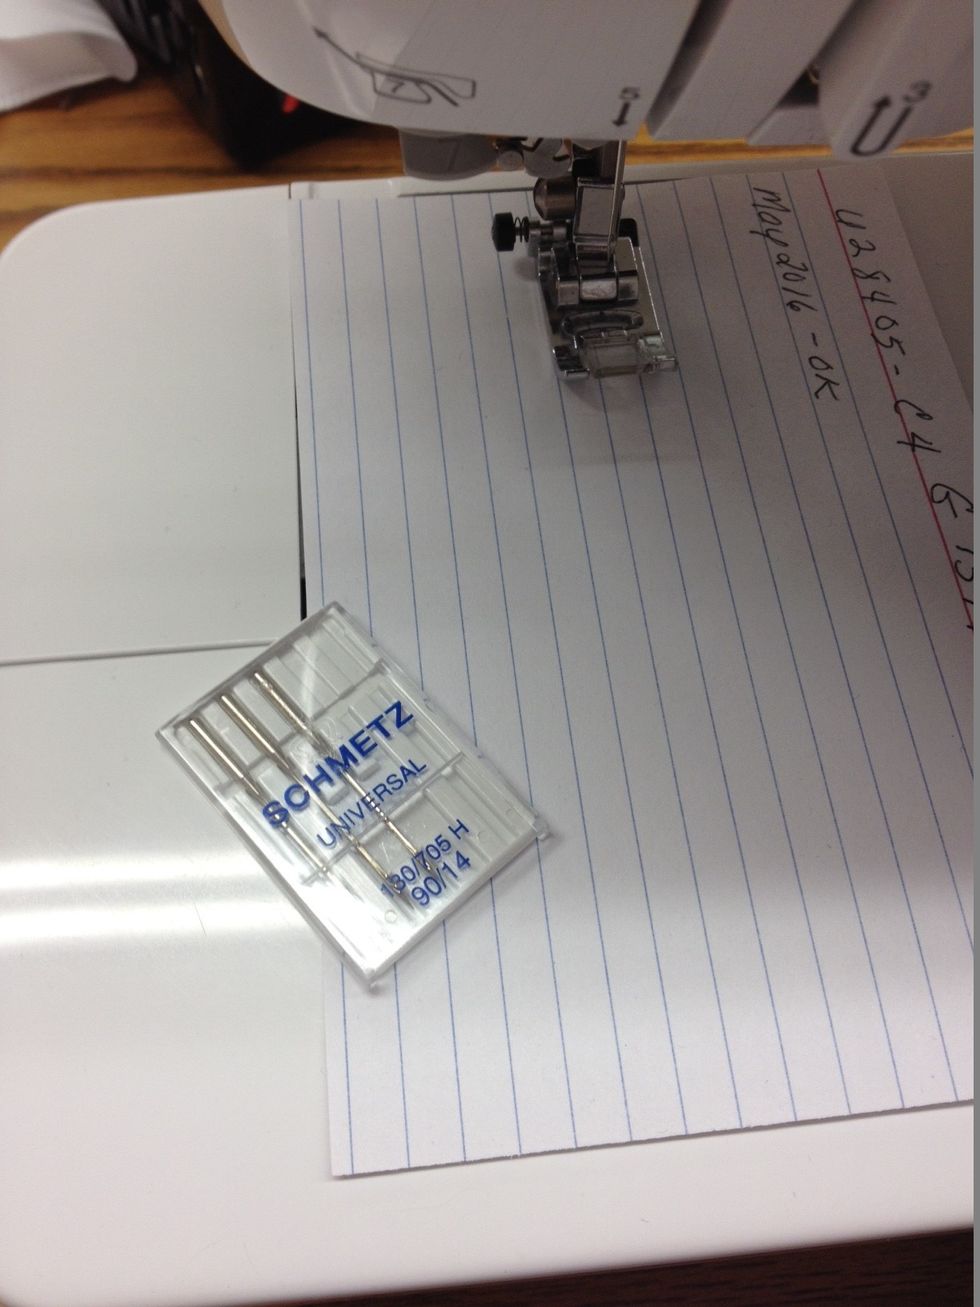
Change needles. This can be done at the end of each quarter, semester, or when needed.
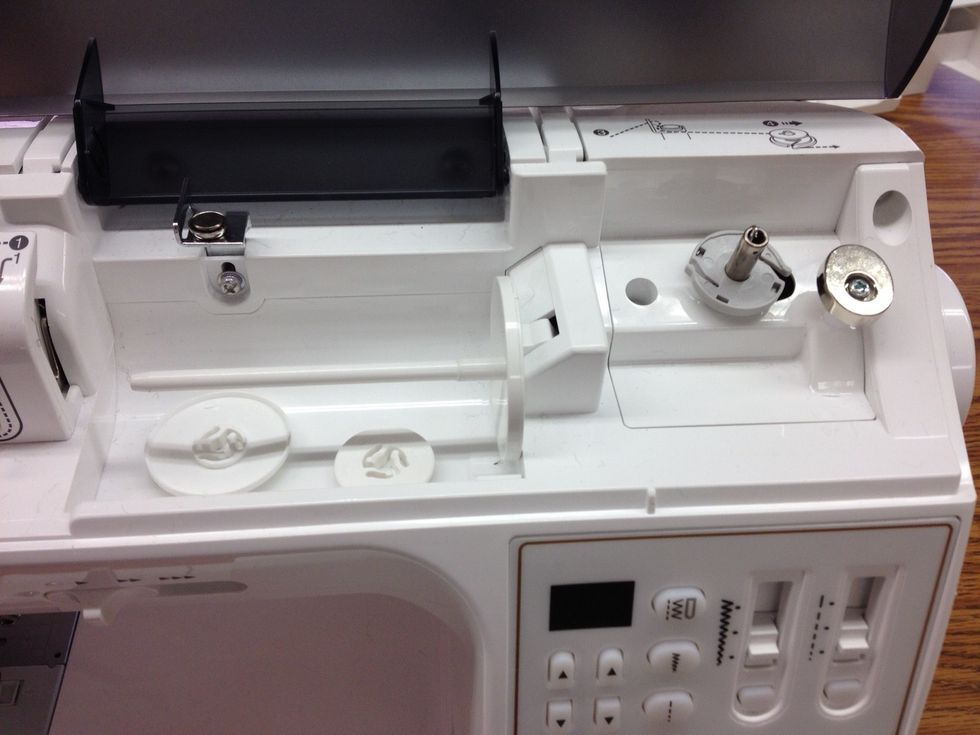
Other Tips: Check under bobbin winder. The gray plastic part can be removed. Remove thread. Return the plastic part back with the prongs facing down. It should be snug.

Other Tips: Check if the needle threader needs replacement.
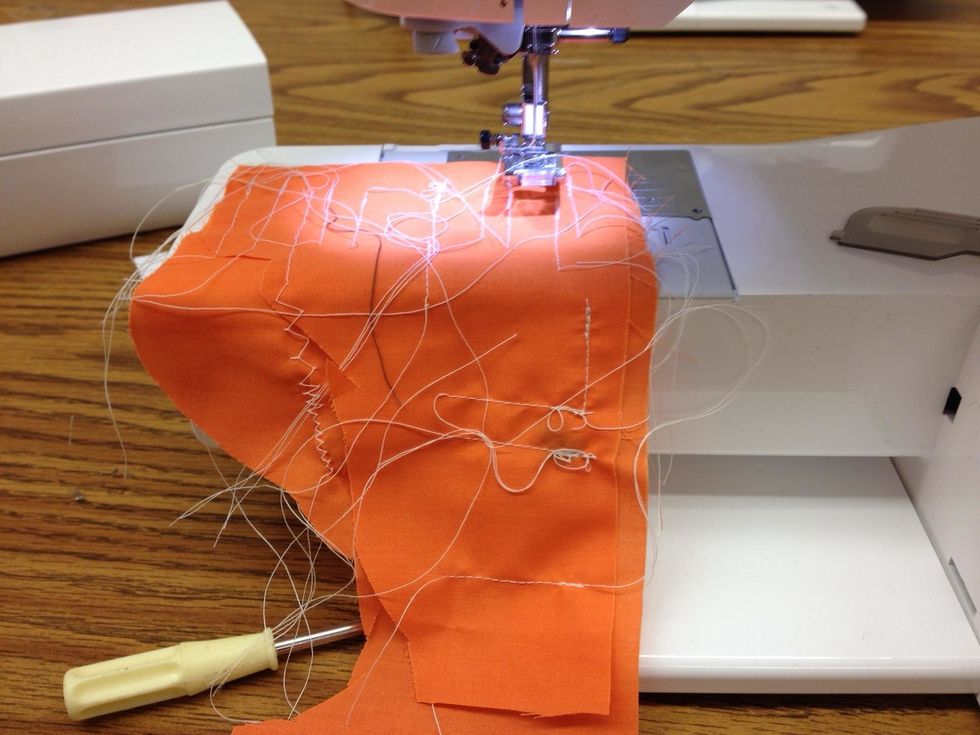
Final Check Up: I threaded each machine and sewed to make sure the needle threaded, back stitch, and stitches looked correct. Also listen if it is running smooth with little noise.
Record: I recorded the serial numbers and made comments on what will be check on each machine. If no further step will be taken, record OK.
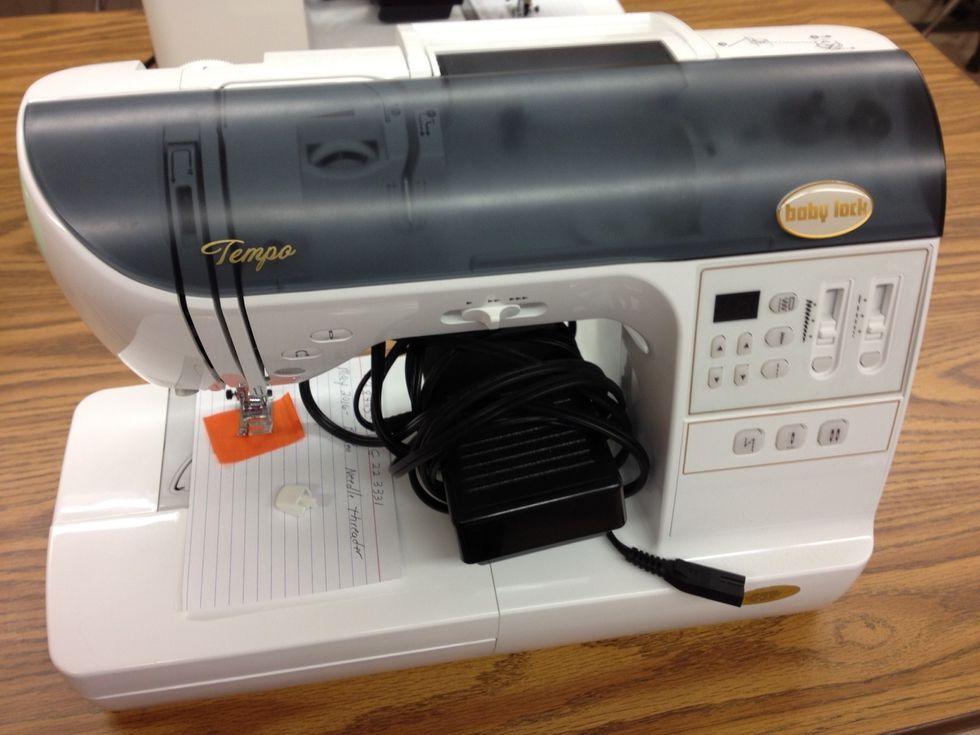
For the summer: remove foot pedal and wrap cords. This is ready for storage or to take in for service. Cover if needed. The End!