The Conversation (0)
Sign Up

Remove cover from grey aluminum box.
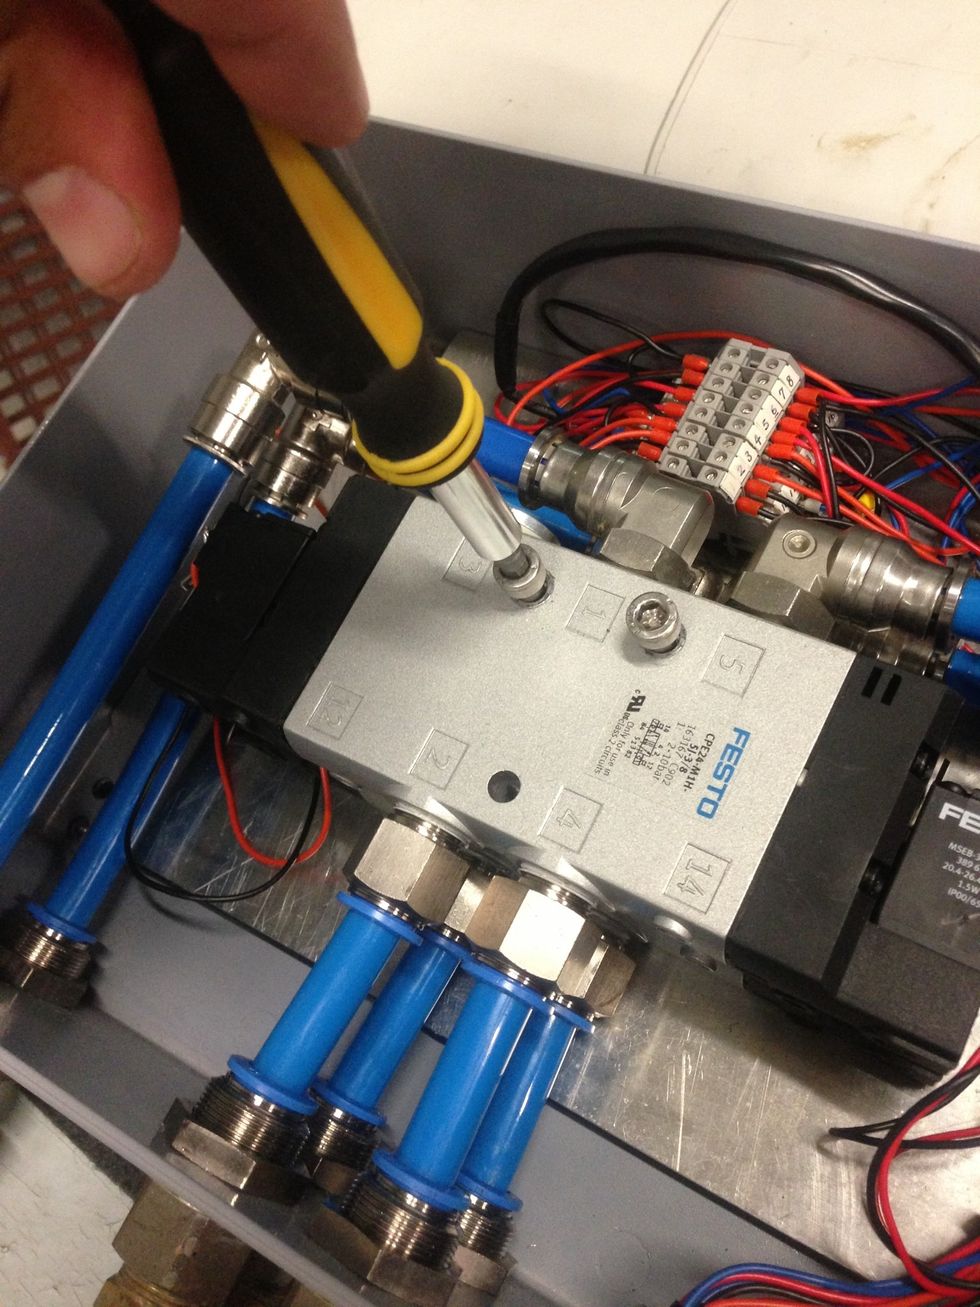
Remove two Allen key head screws. Spacers between valves will fall out.
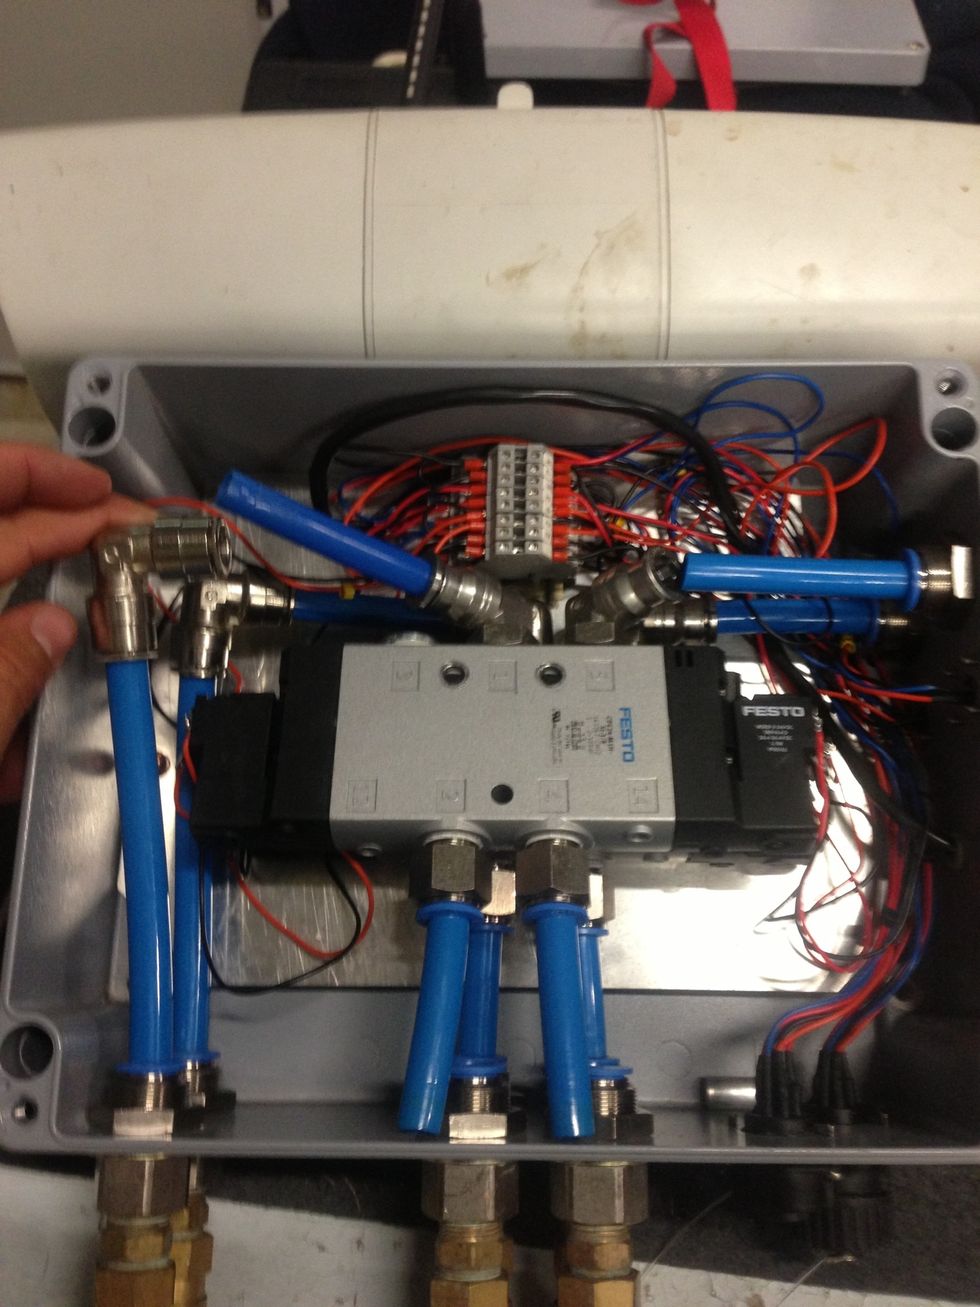
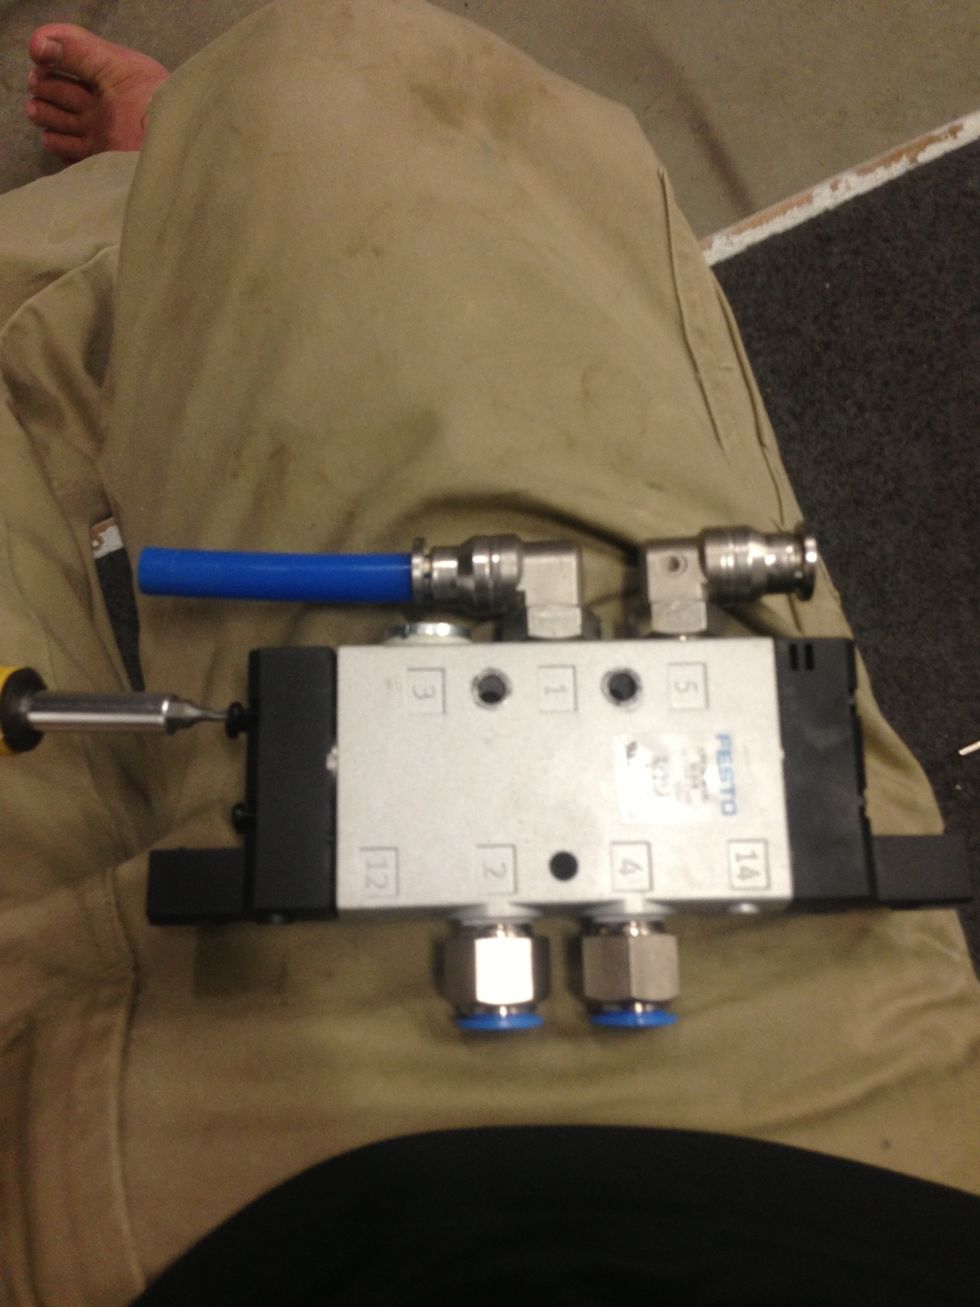
Disconnect air lines on front valve box taking care not to damage electrical cables.
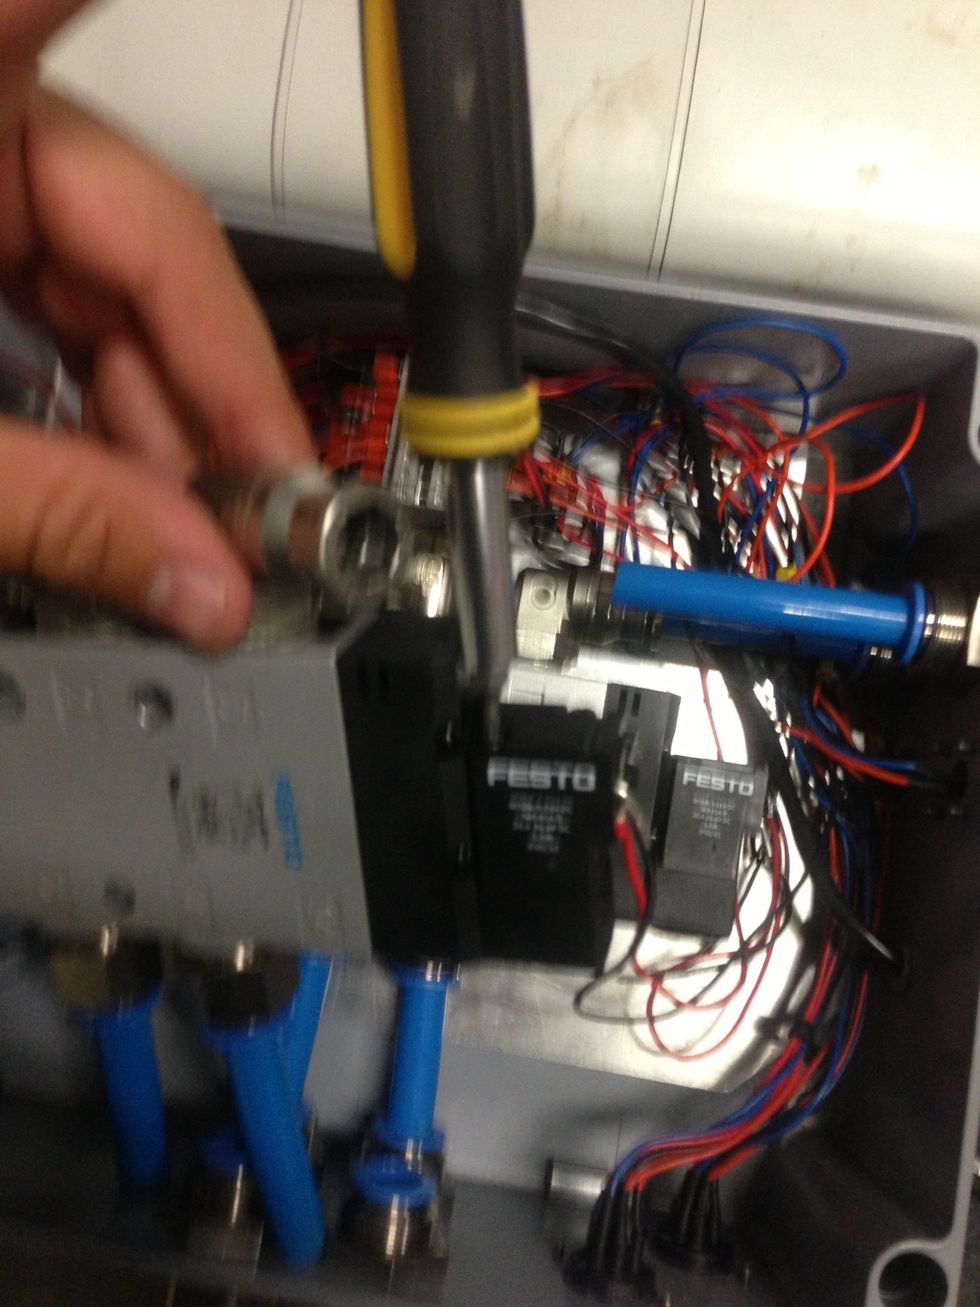
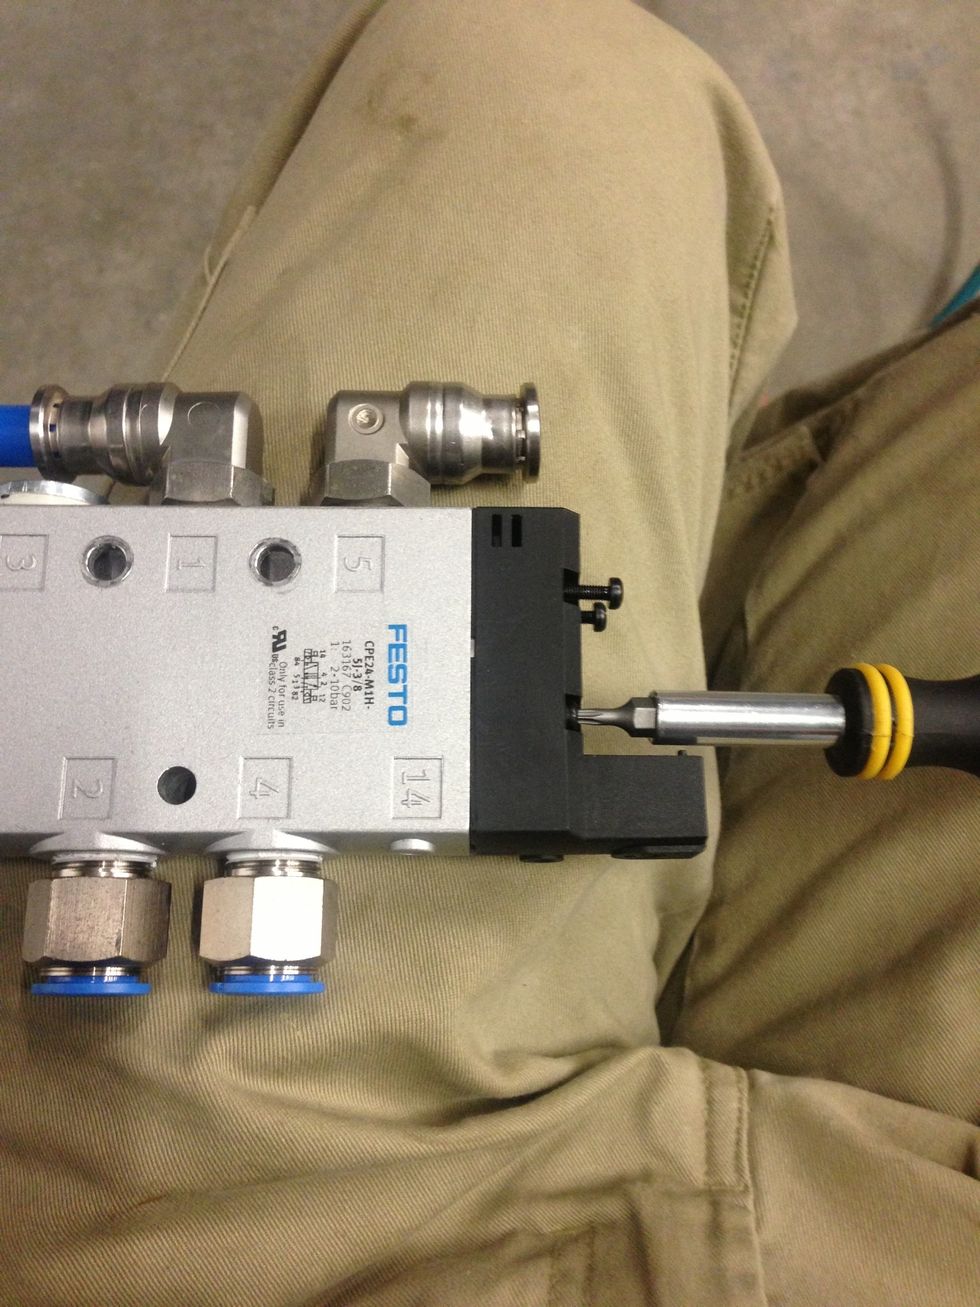
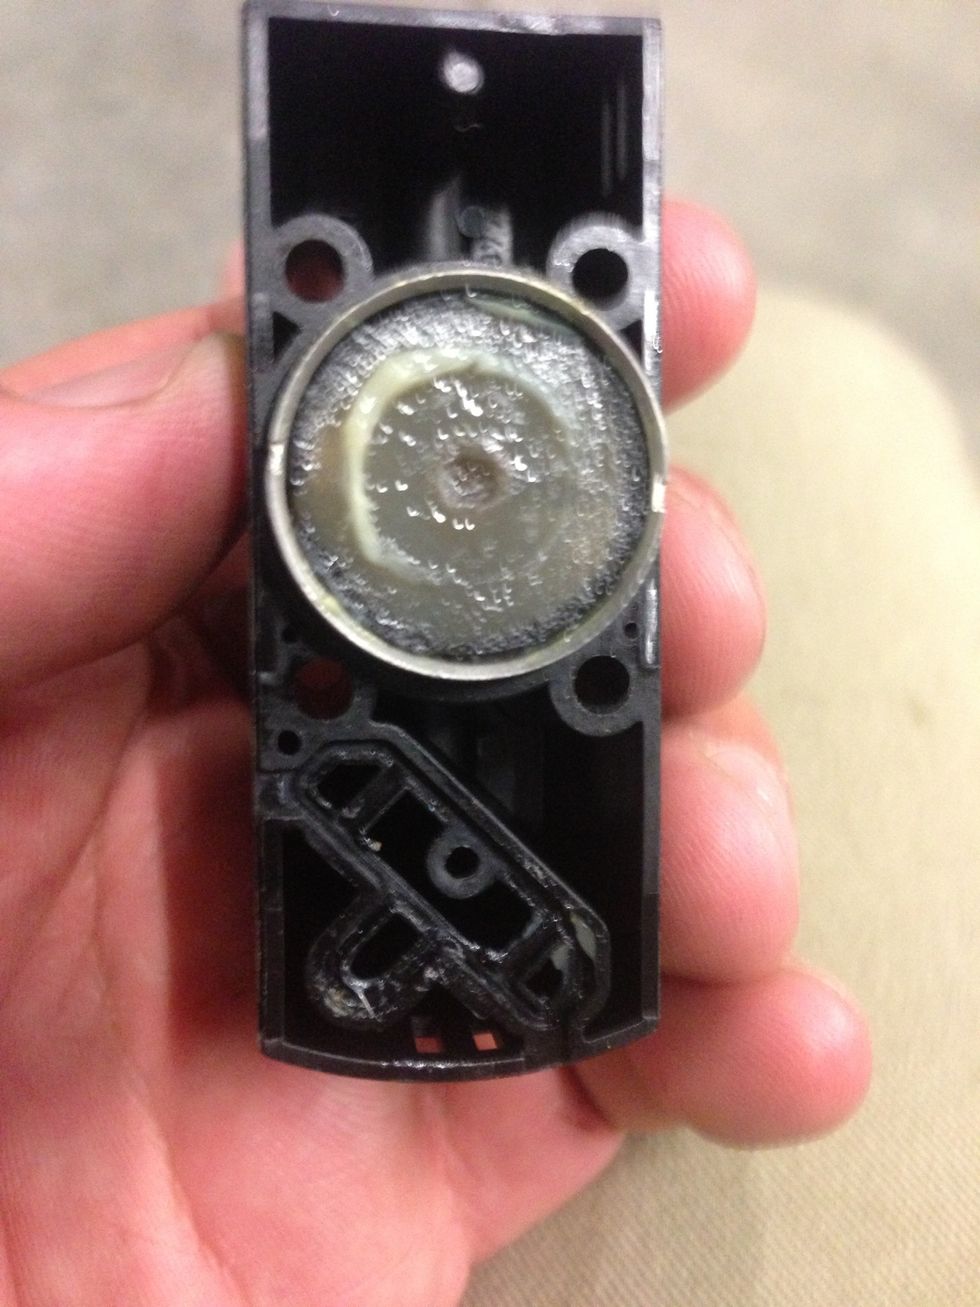
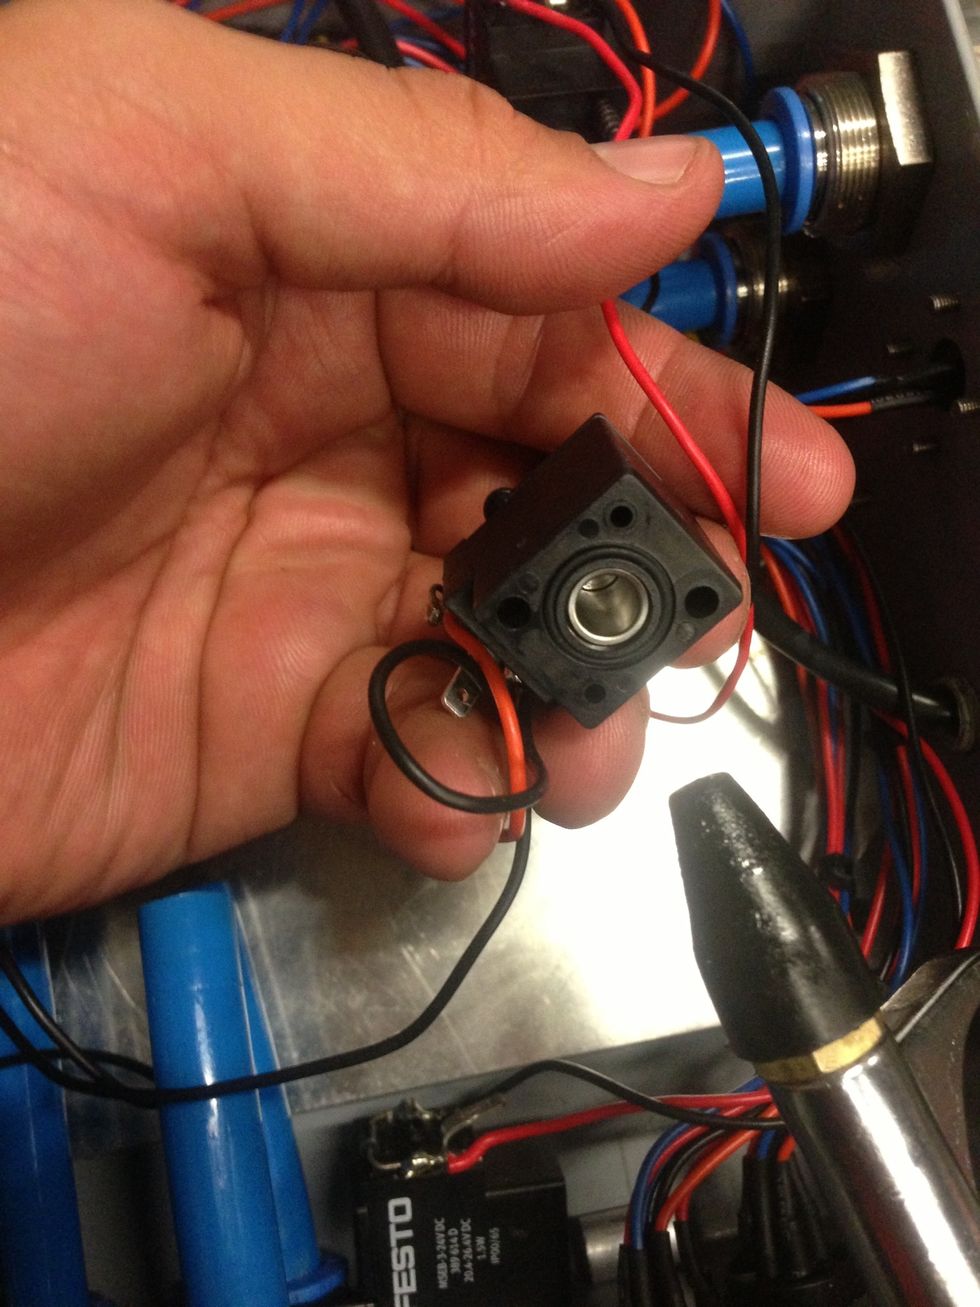
Remove two Torx head screws from top of solenoid. Solenoid will disconnect from valve. Be careful to catch and store safely the sprung shuttle rod and small o-ring shown in next step.
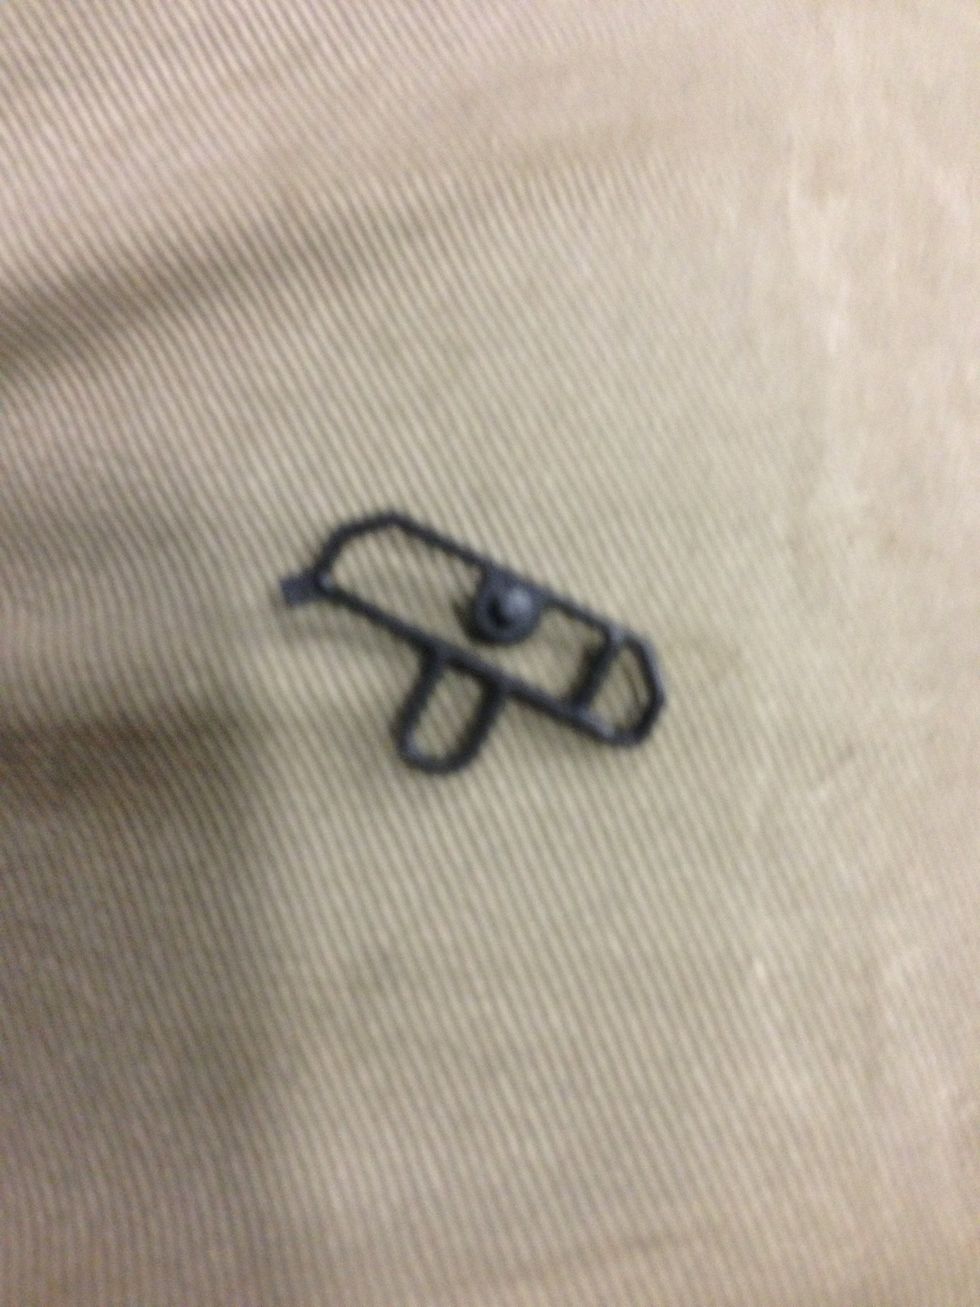
O-ring position.
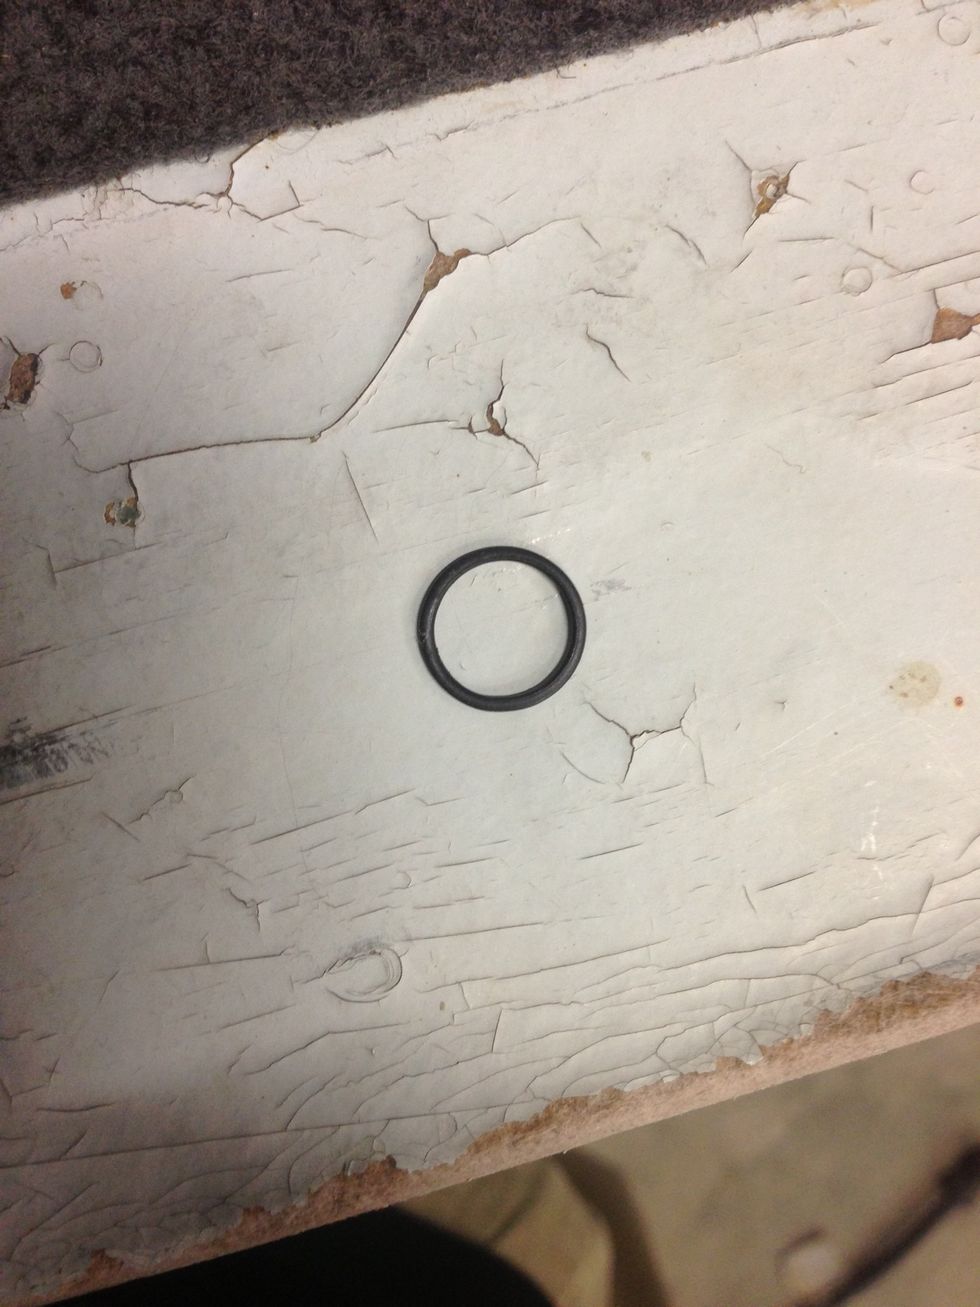
O-ring once removed.
Repeat previous three steps to remove solenoid from other end of valve.
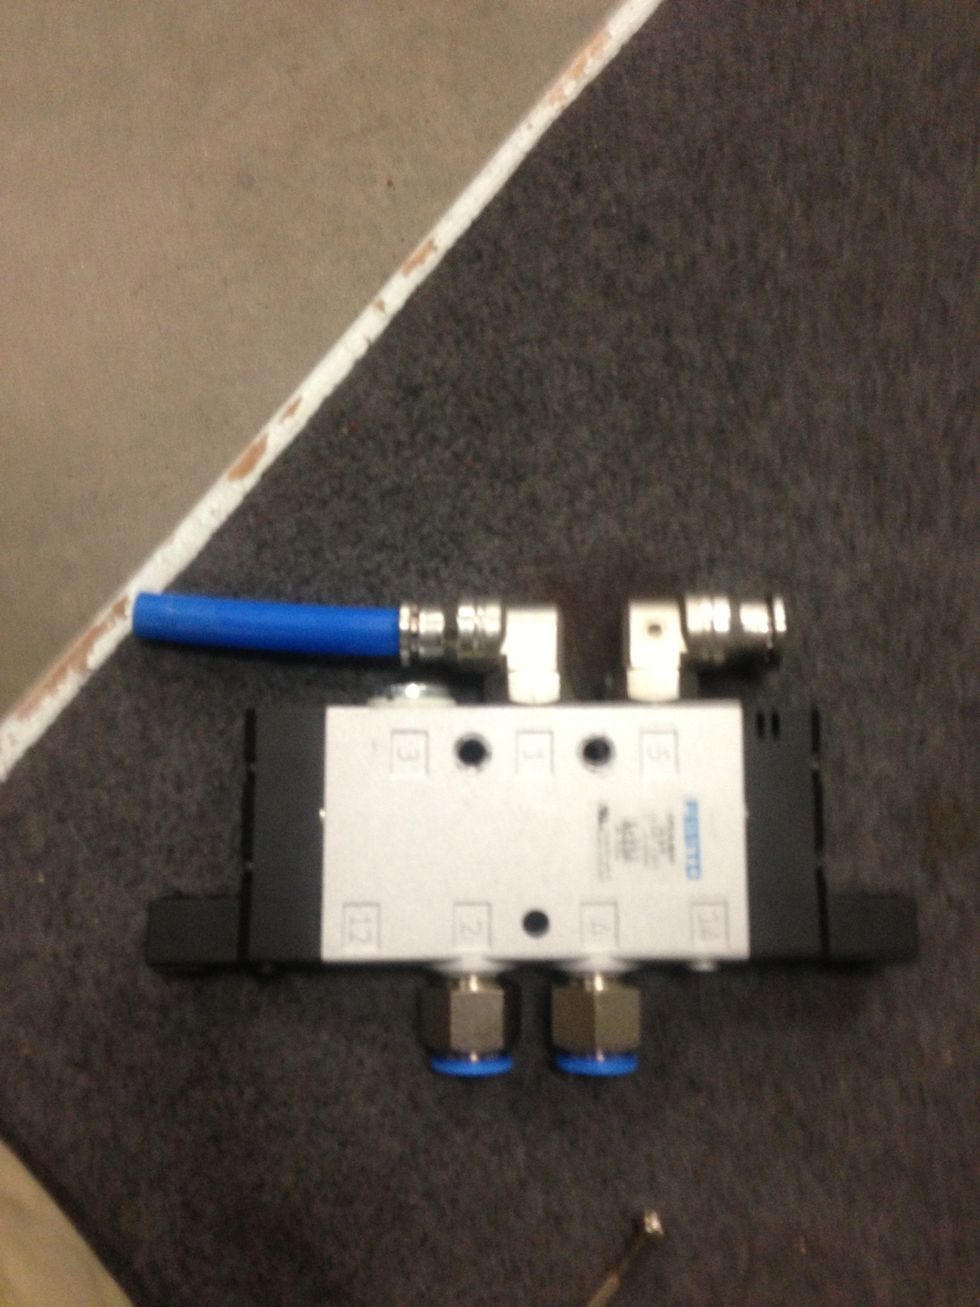
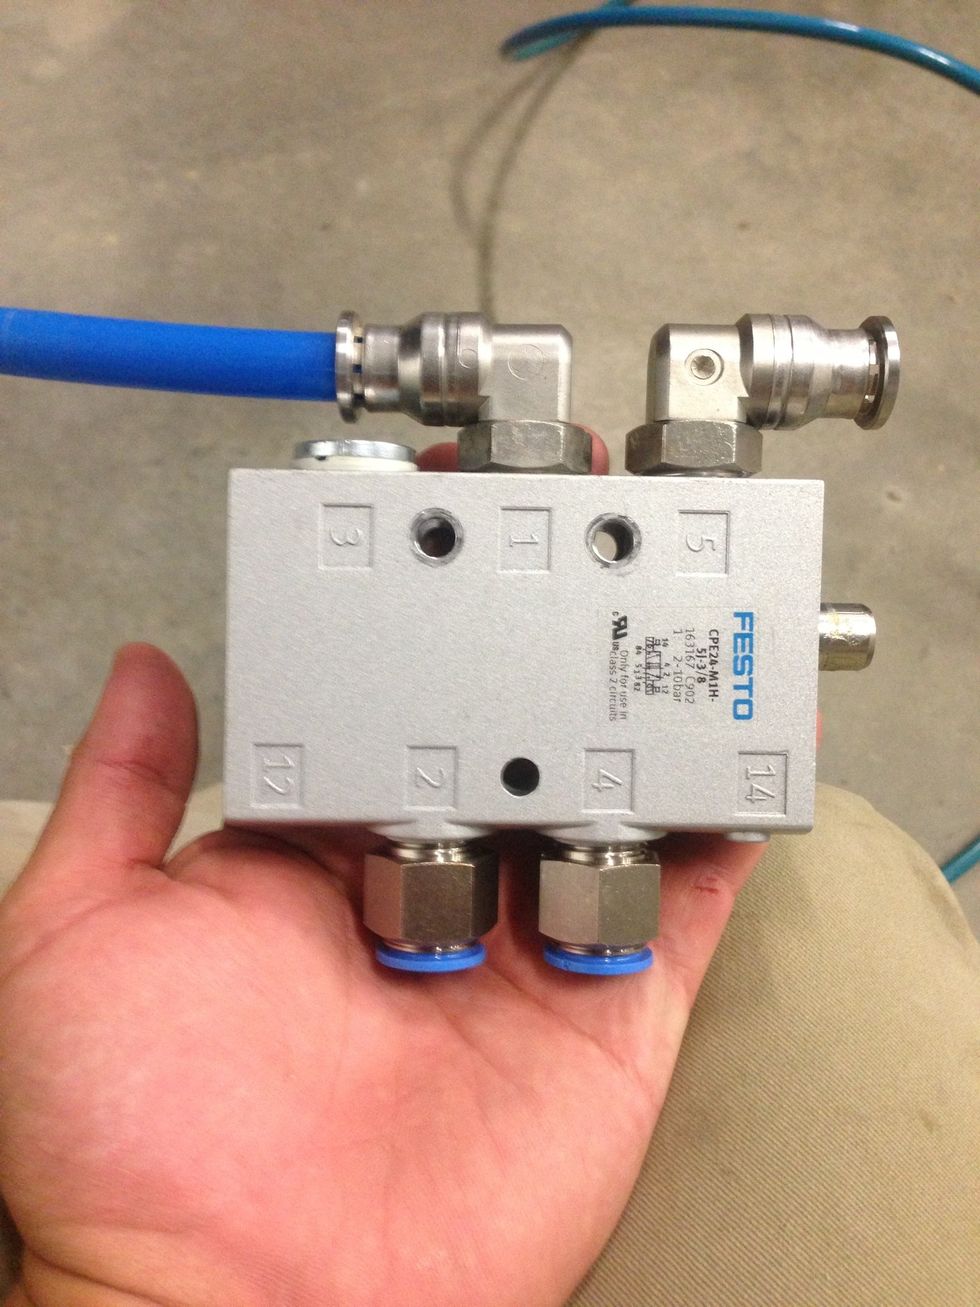
Valve with solenoids removed.
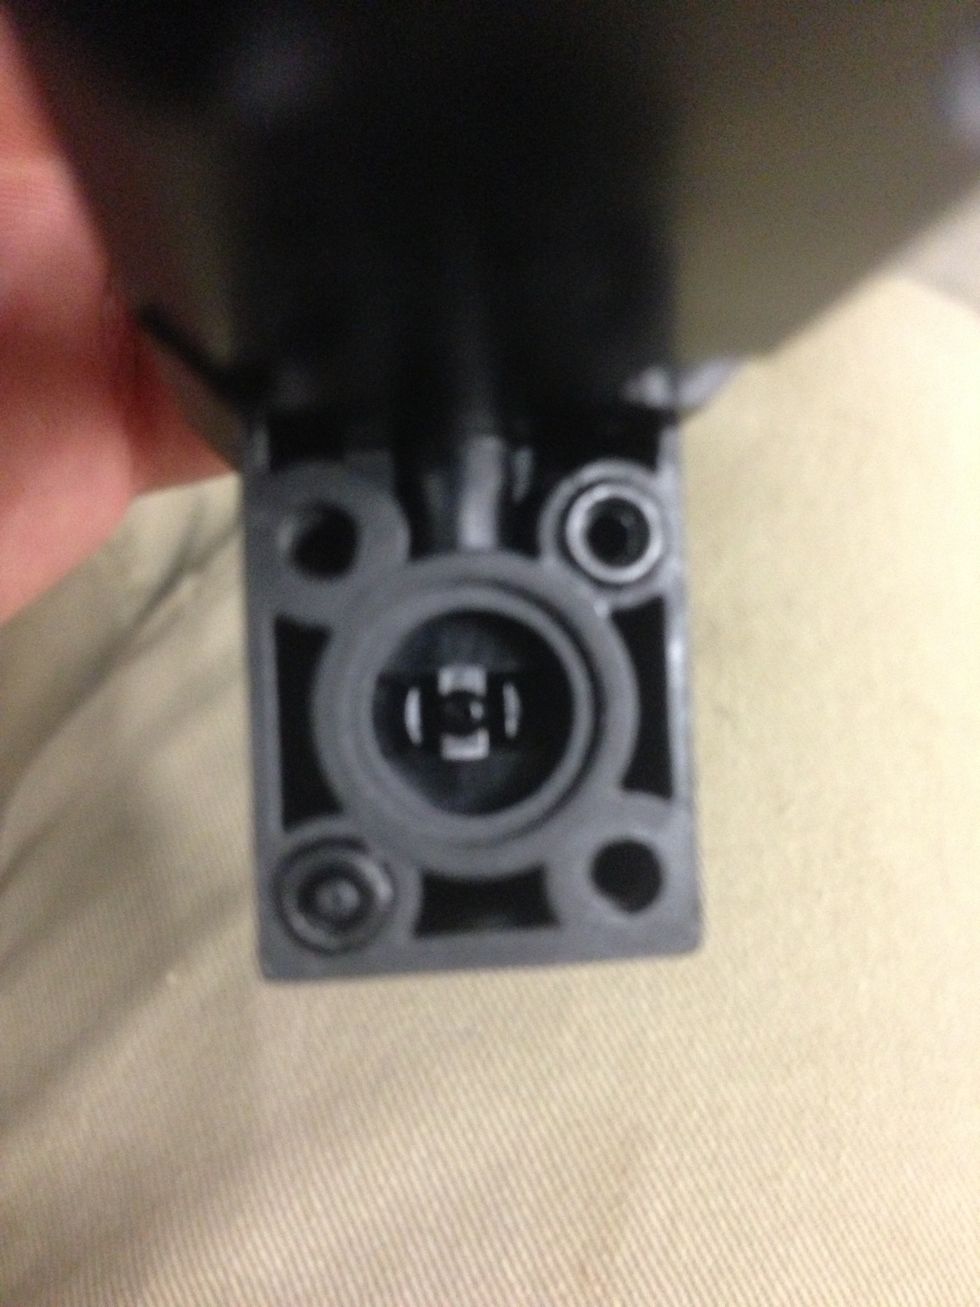
Remove 4 Torx screws from one end of valve box. Plastic end will then separate from cast aluminum body. Be careful to not lose any rubber seals that may fall out.
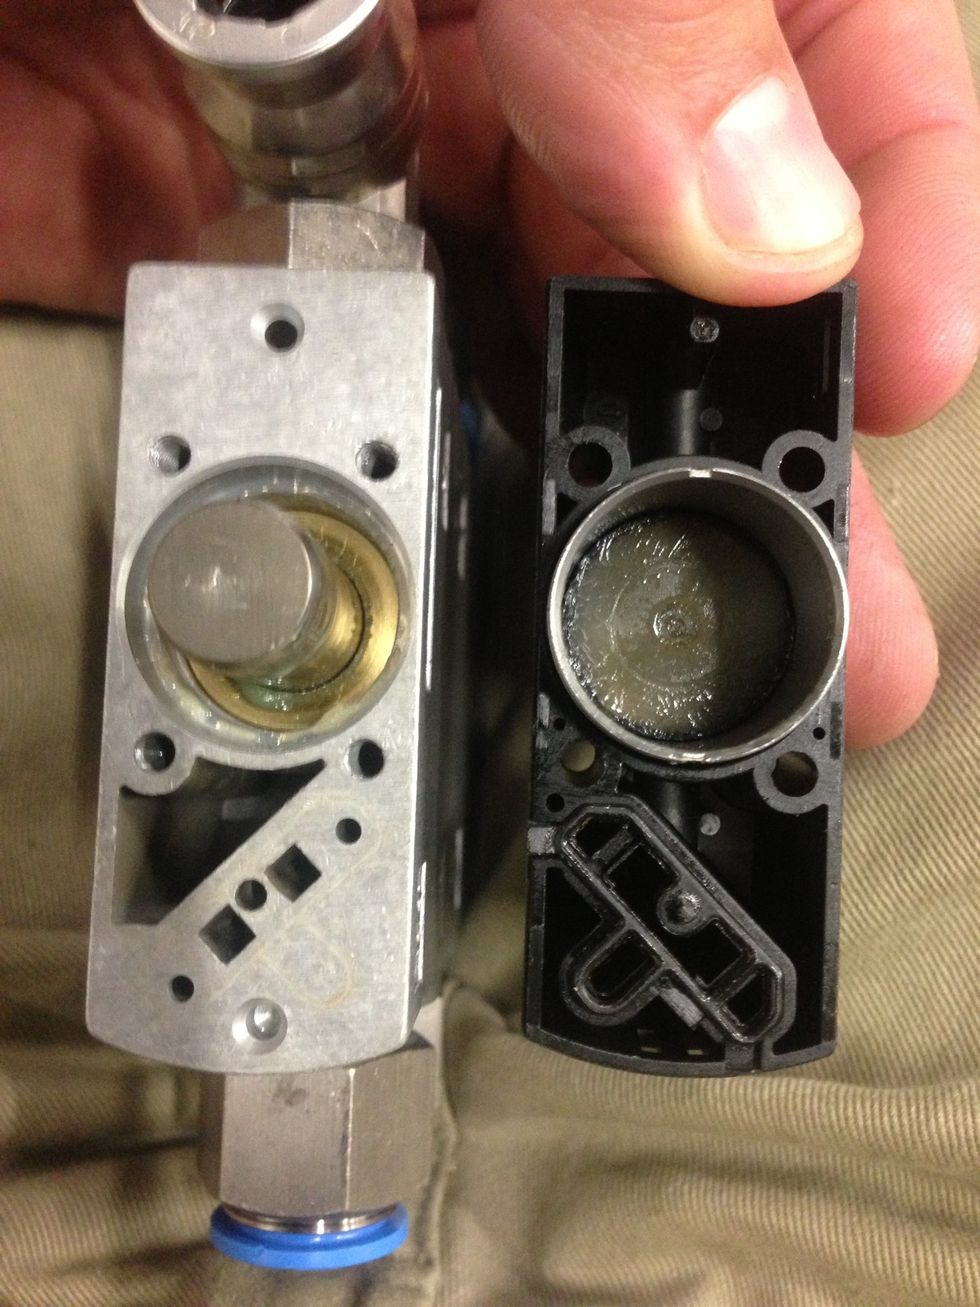
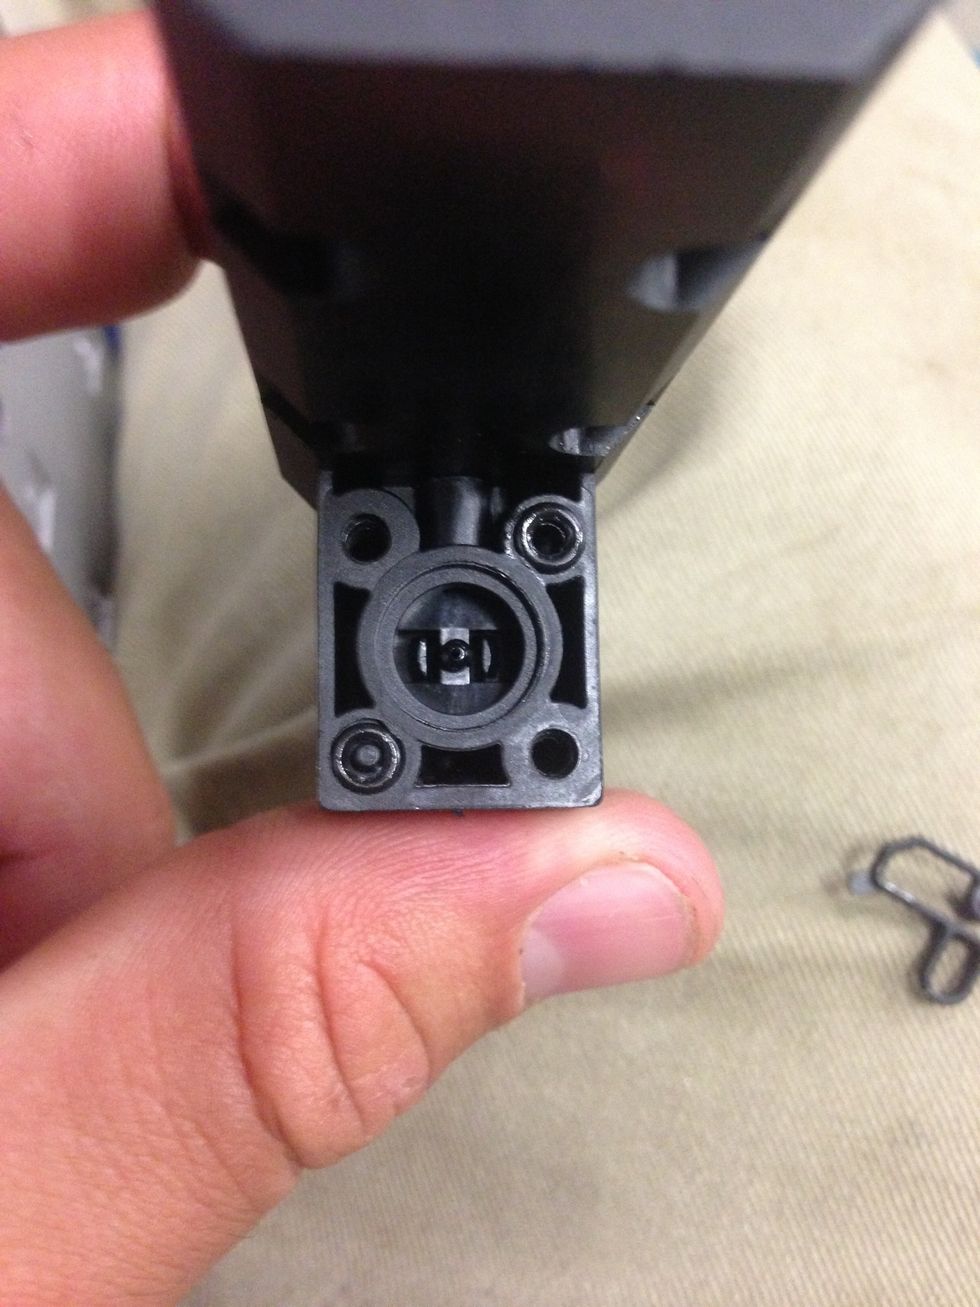
Inside end of two valve pieces.
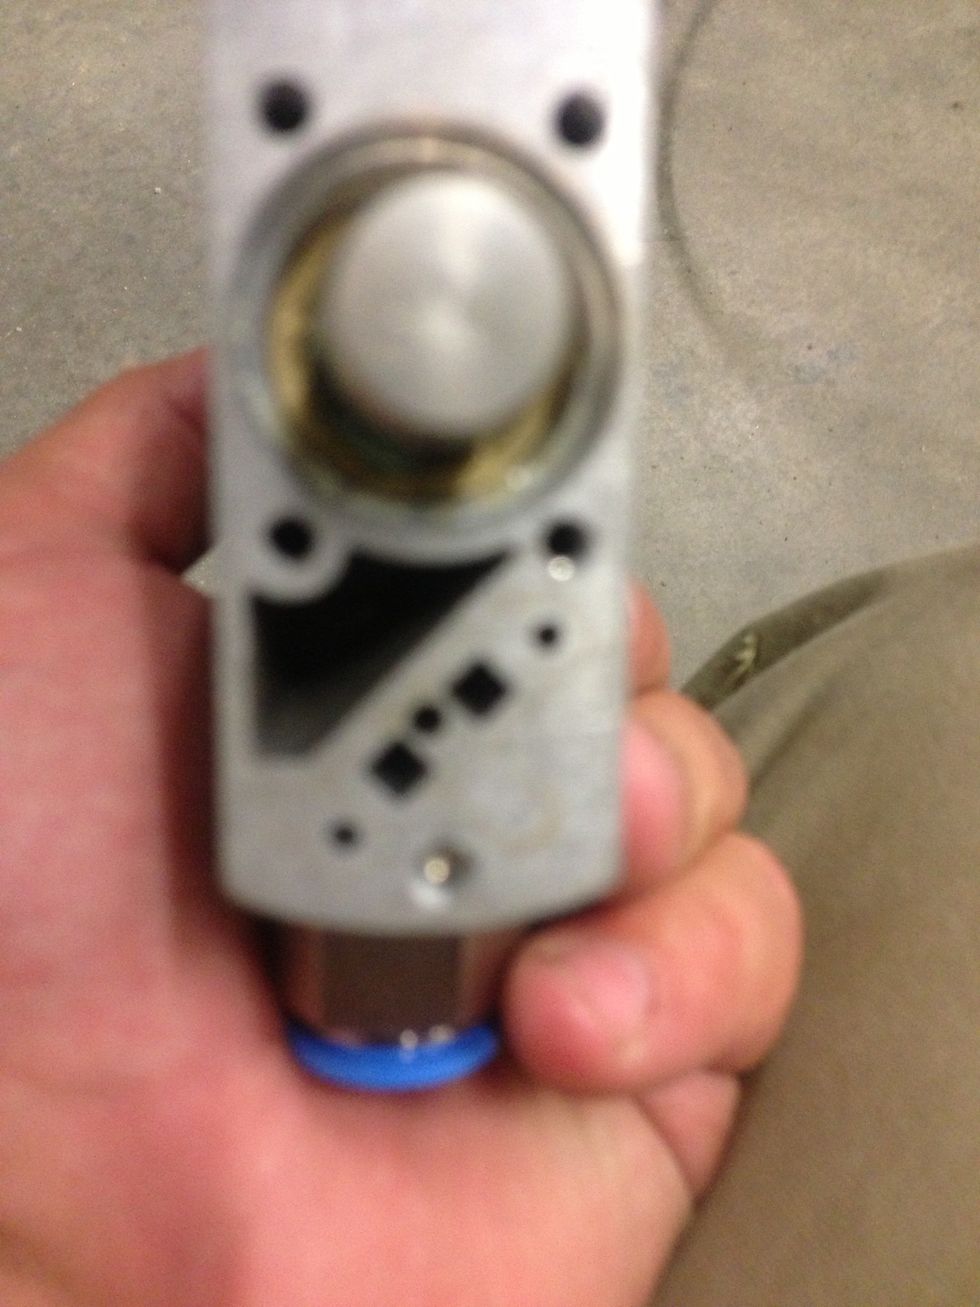
Rubber seal removed from plastic section.
Be careful not to lose rubber o-rings found at bottom left and top right of this section.
Repeat previous 4 steps to remove plastic end piece from other end.
Use air gun to clean these holes.
Use air gun to clean these holes.
Use air gun to clear centre hole and small top right hole. Don't lose the o-ring.
Reinstall plastic end sections with 4 torx screws.

Remove rear valve box by repeating steps 3 to 7.
Rear valve box removed. Repeat steps 9 to 18 to disassemble, clean and reassemble.
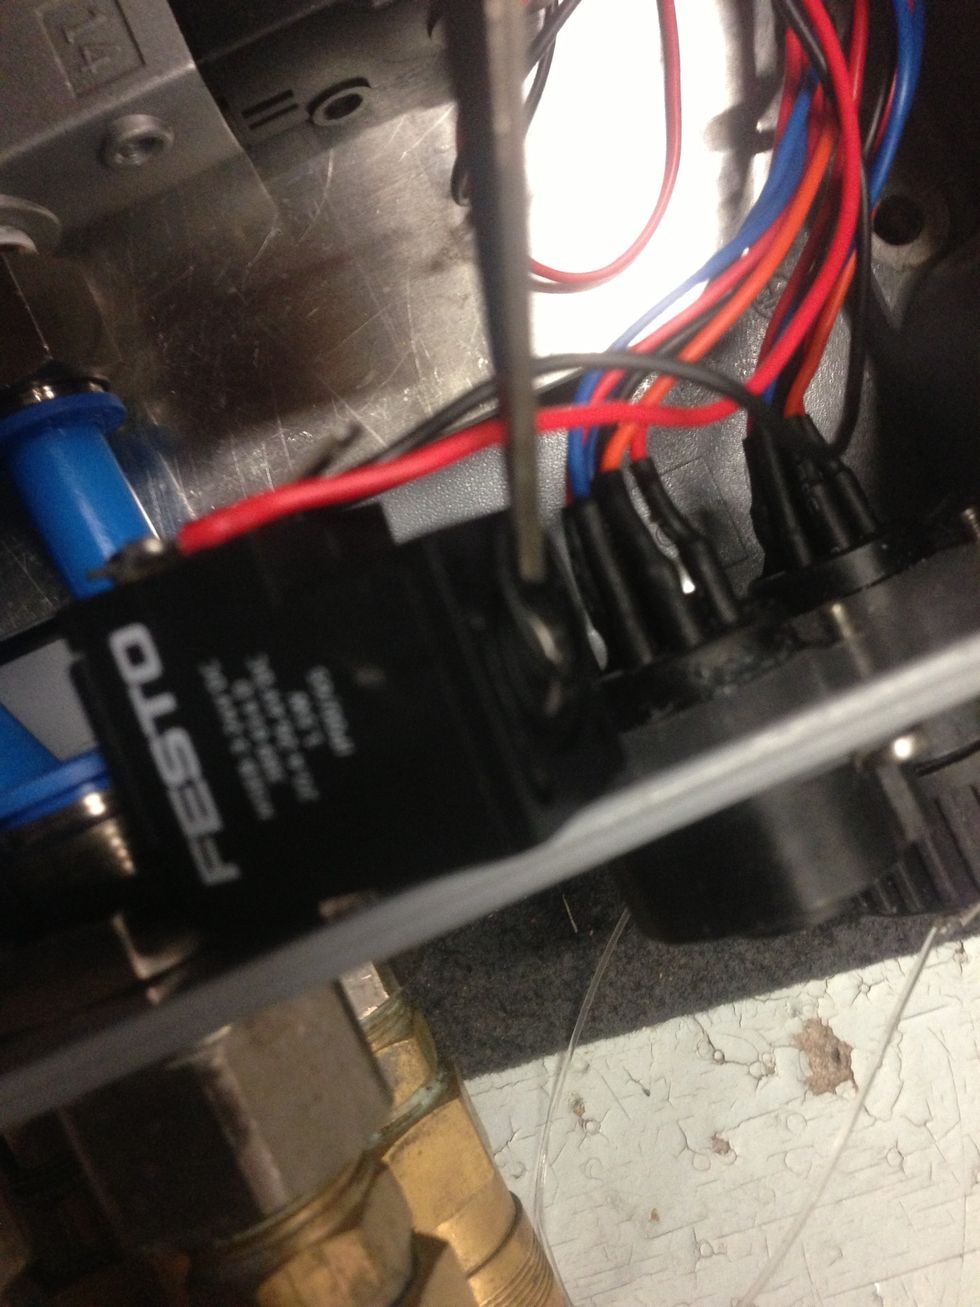
Use air gun to clean all air holes on the 4 solenoid a still wired into the box.

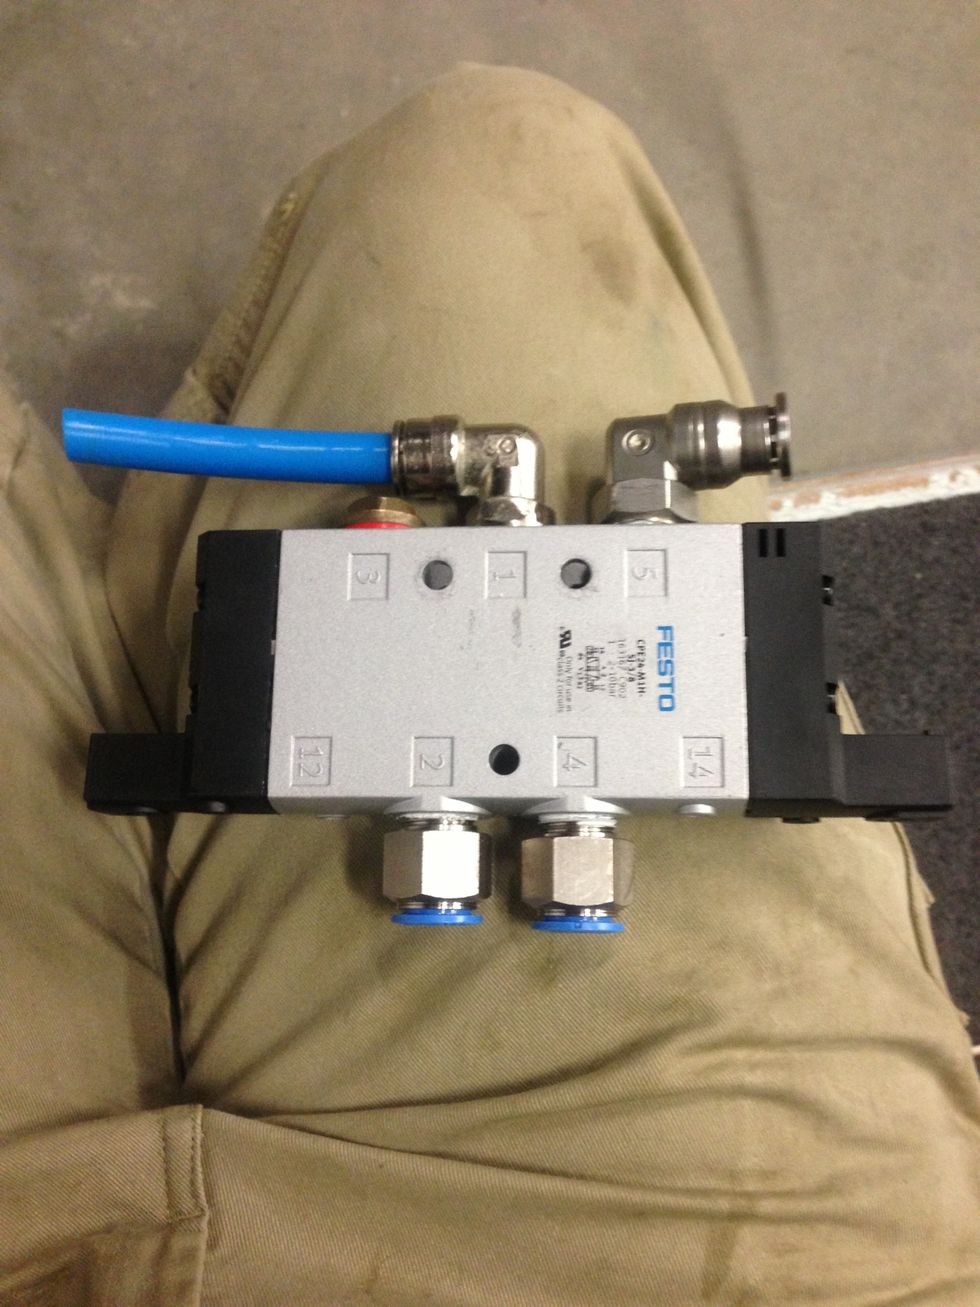
Reattach solenoid a and air hoses to rear box.

Reattach solenoids and air hoses to front valve.

Replace two Allen key head screws. Ensure spacers are between two valves and no cables are crushed between rear valve and back plate.

Reinstall front cover.