The Conversation (0)
Sign Up
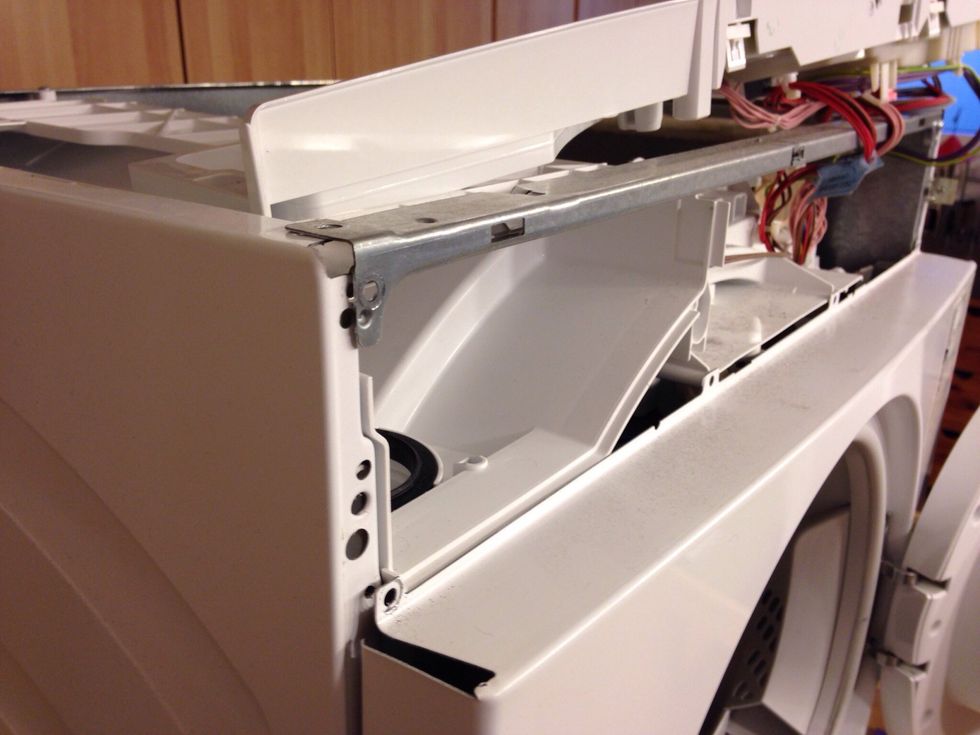
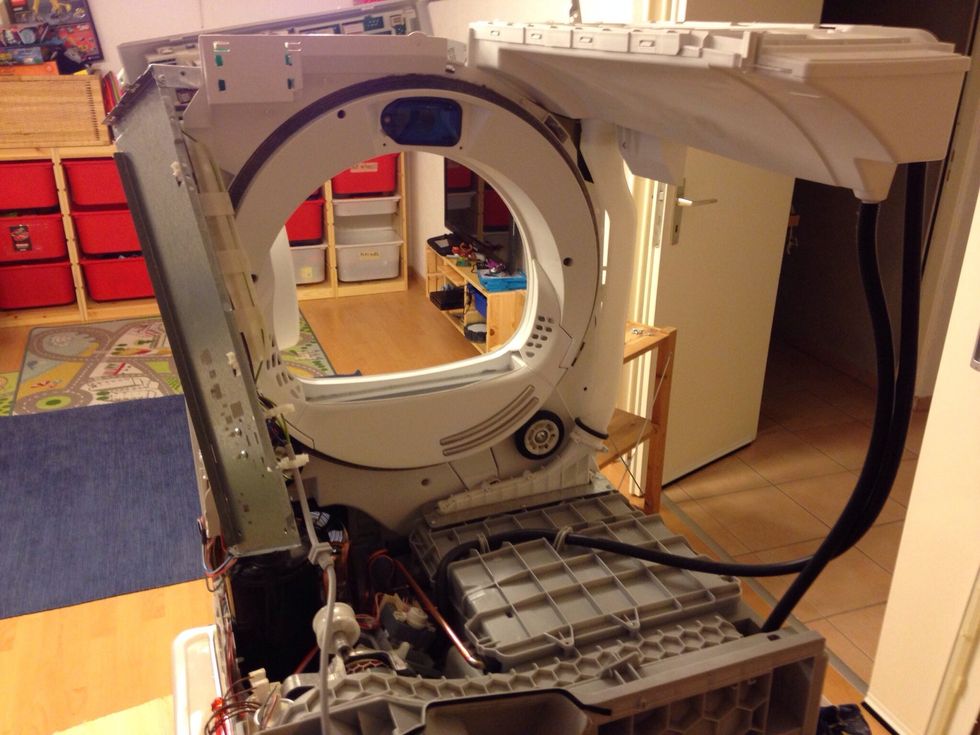
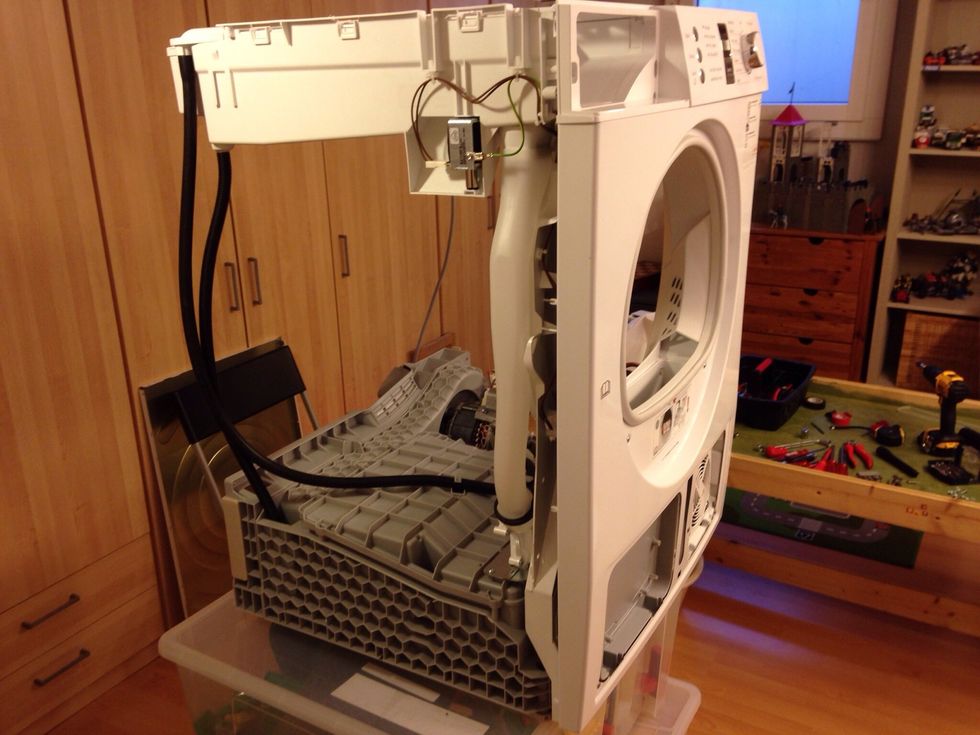
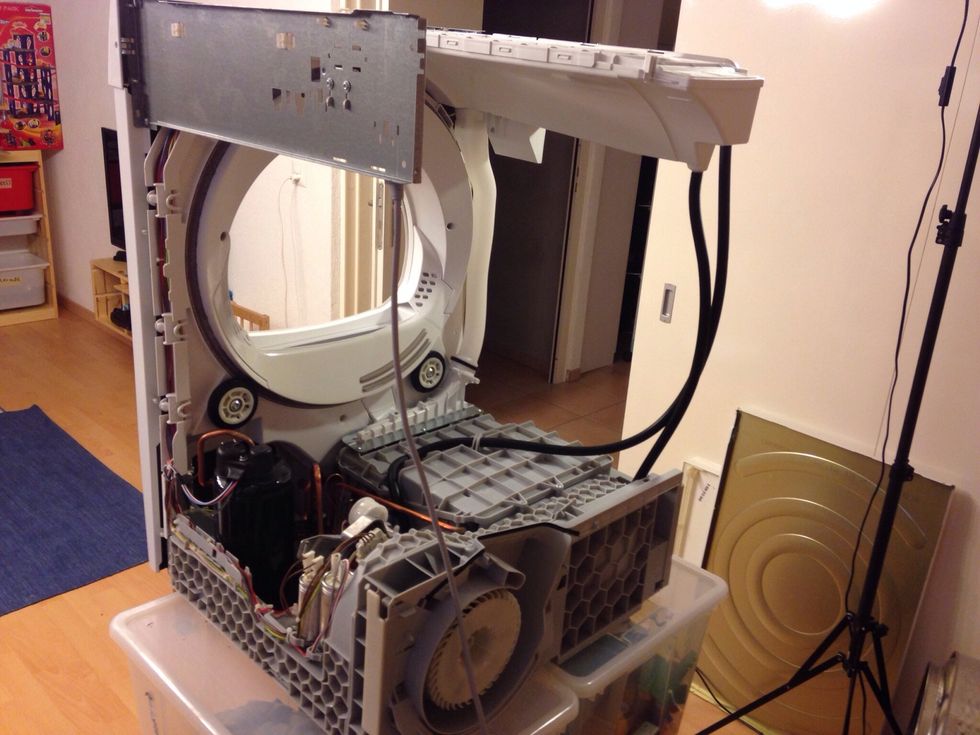
Open side cover and front cover incl. control box
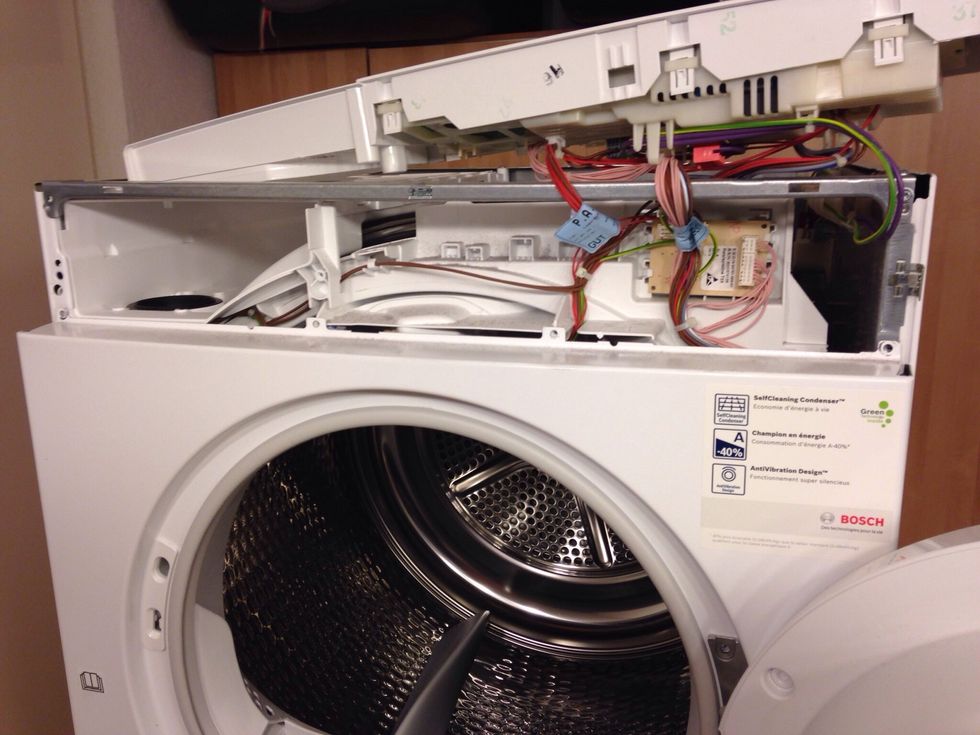
Just take top of the machine a control box, the cable enough long.
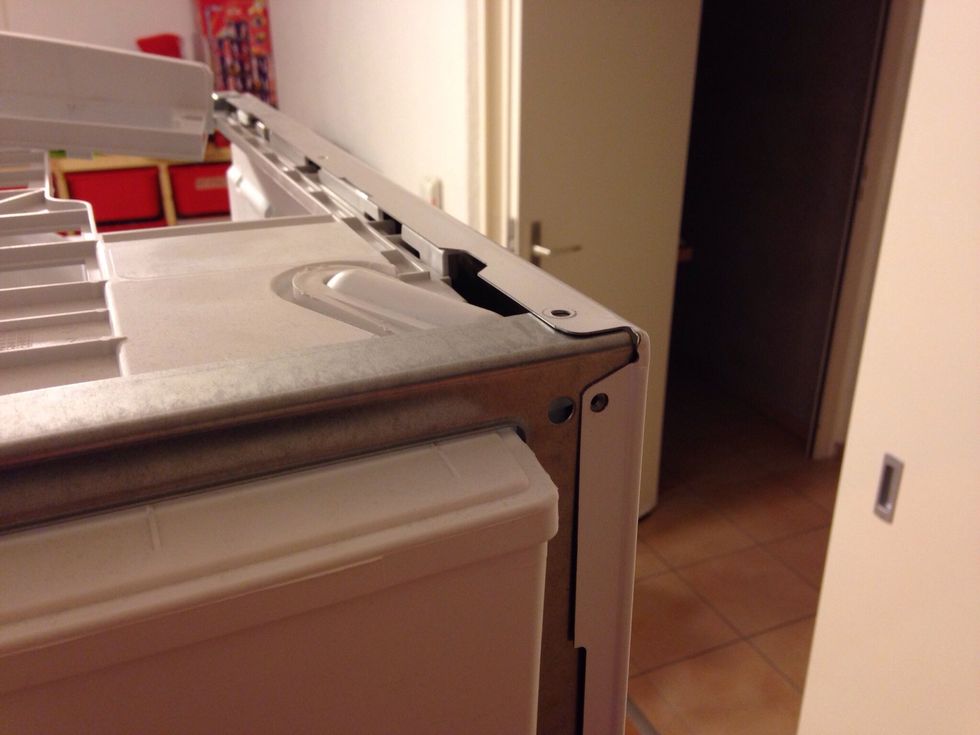
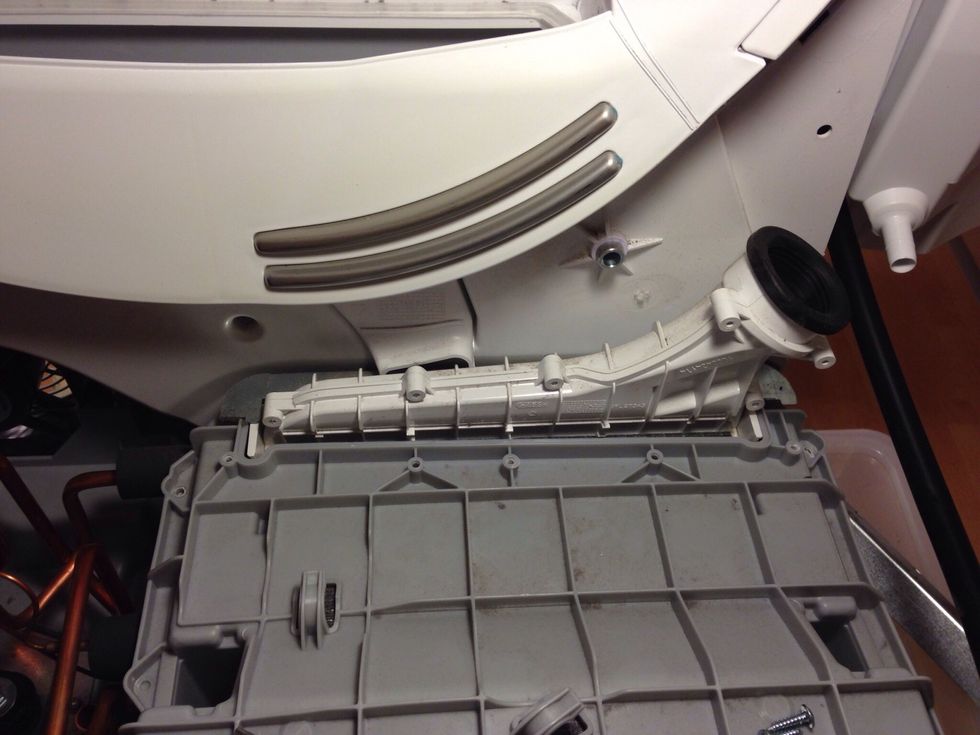
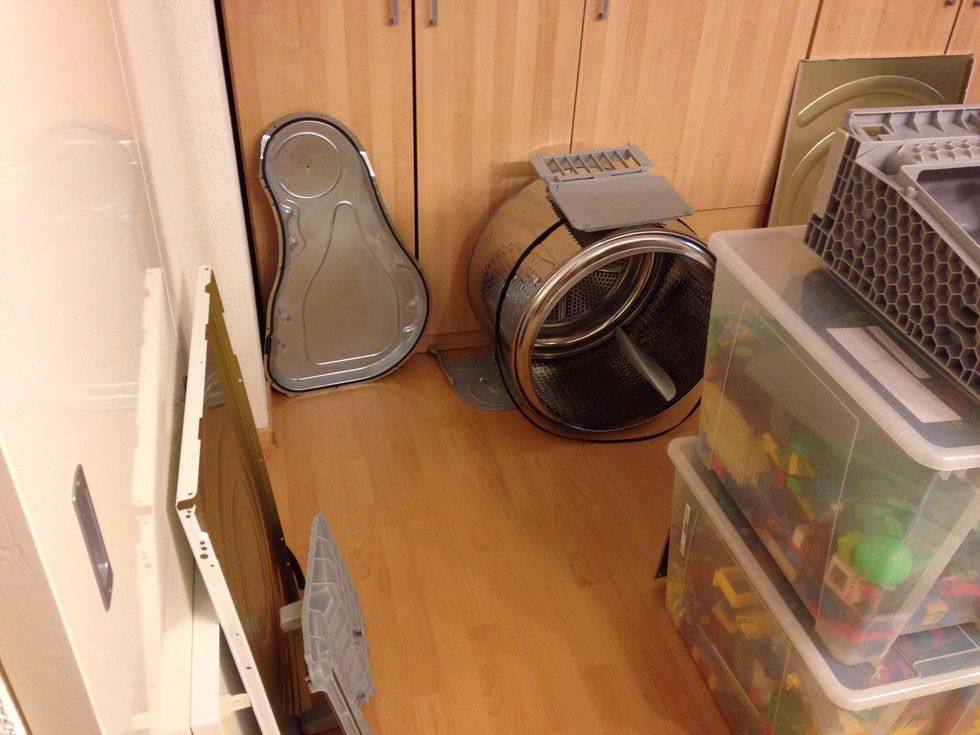
Take out the side panel screw, and take out a side panel.
This is the left hand side of the machine with the belt.
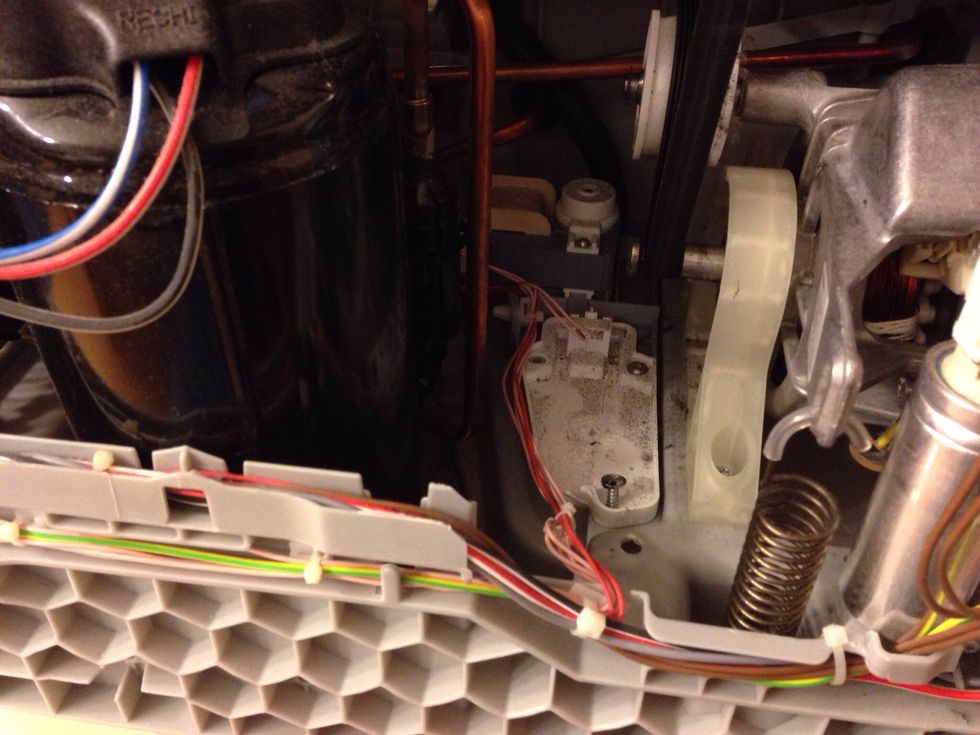
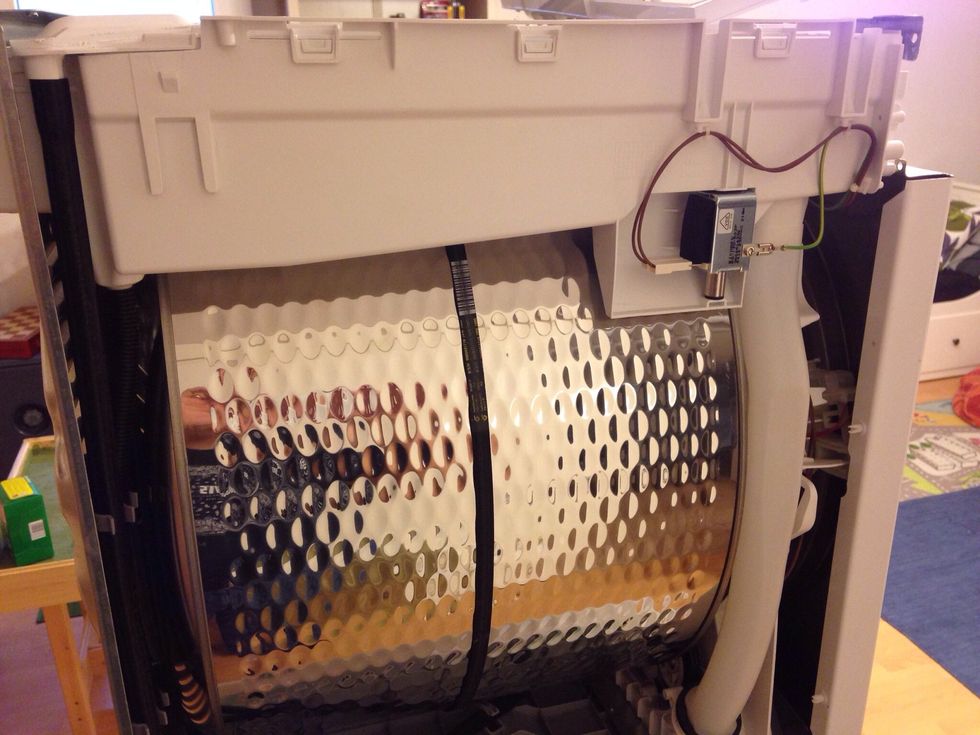
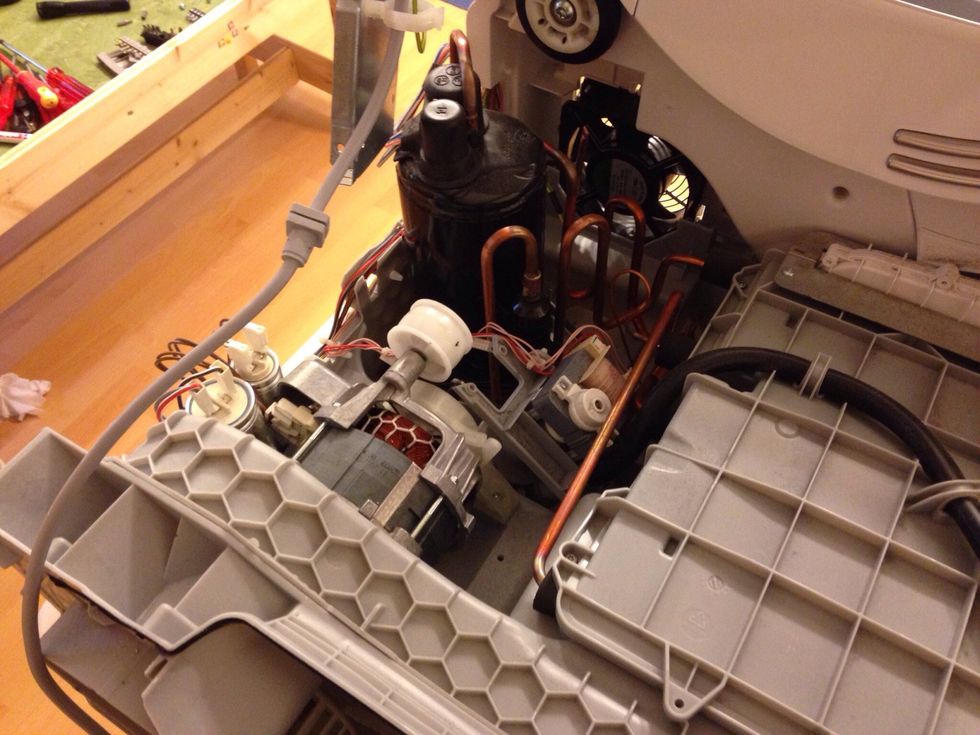
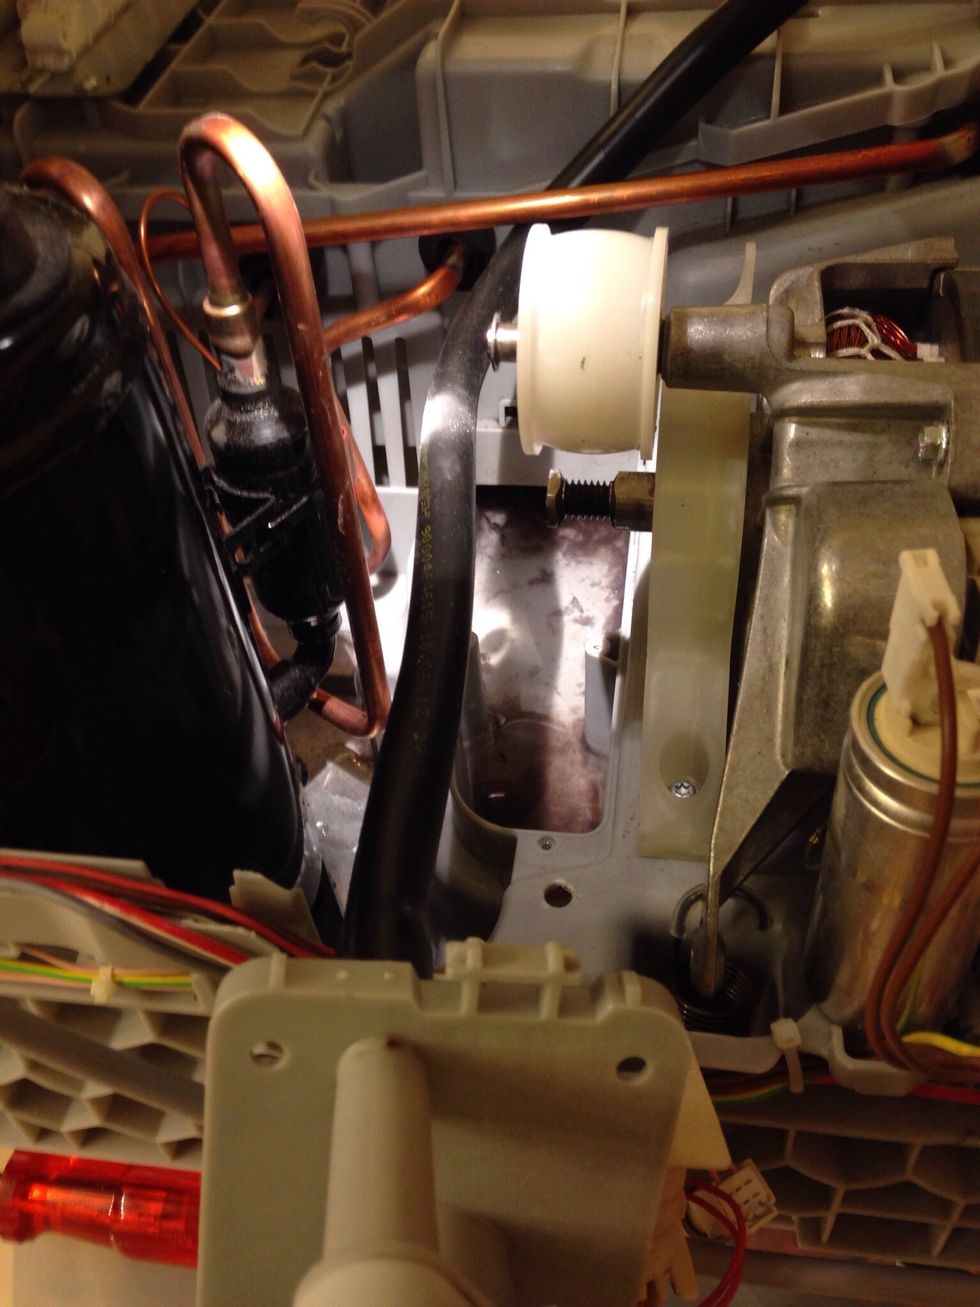
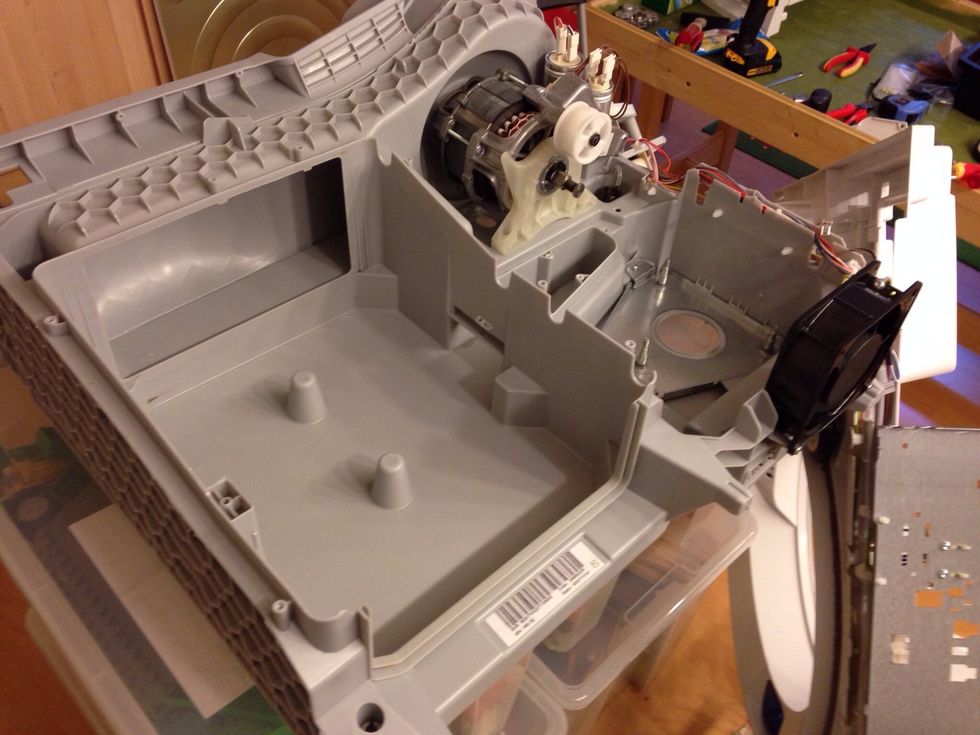
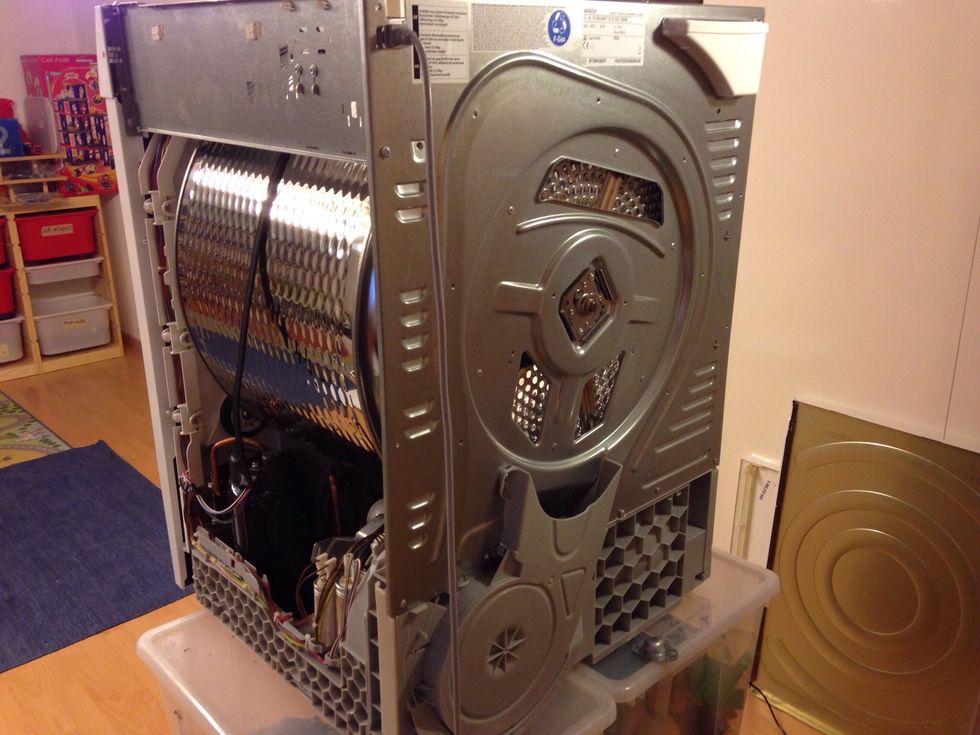
Right hand side of the machine, pump house, top of the picture the pump. Necessary to take out.
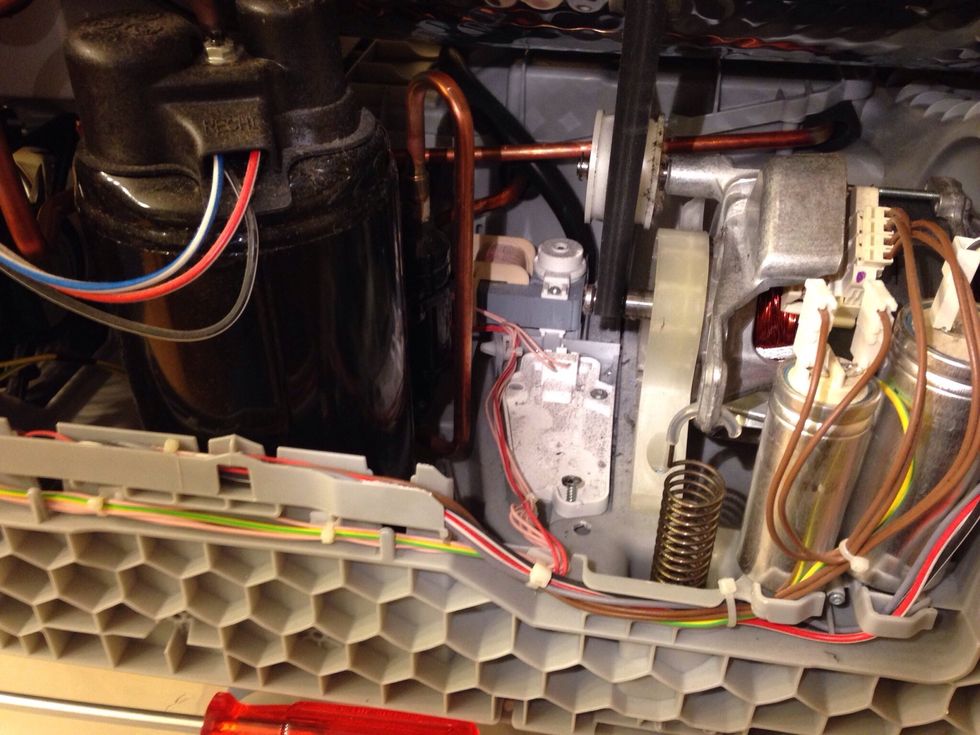
Motor and a belt adjustment spring. Take out, and then loose hold of the belt.
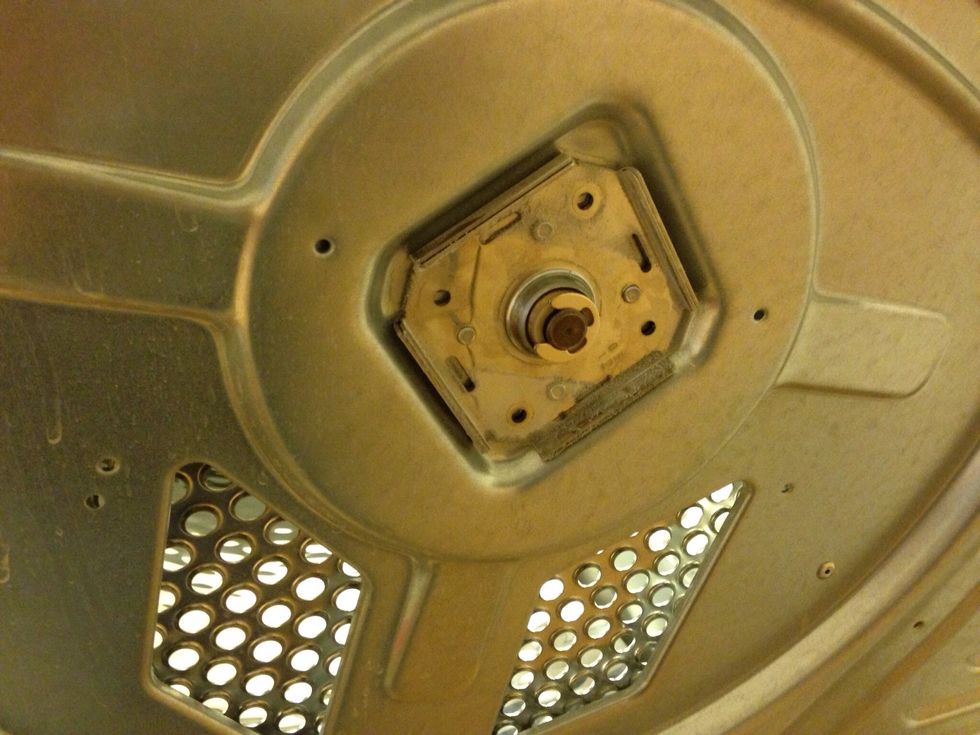
Take out drum, this special bearing hold the drum the back side. Front there are 2 rubber wheal support the drum. ( very clever idea.)
After we are take out the drum. There was a two rubber supporter wheals.
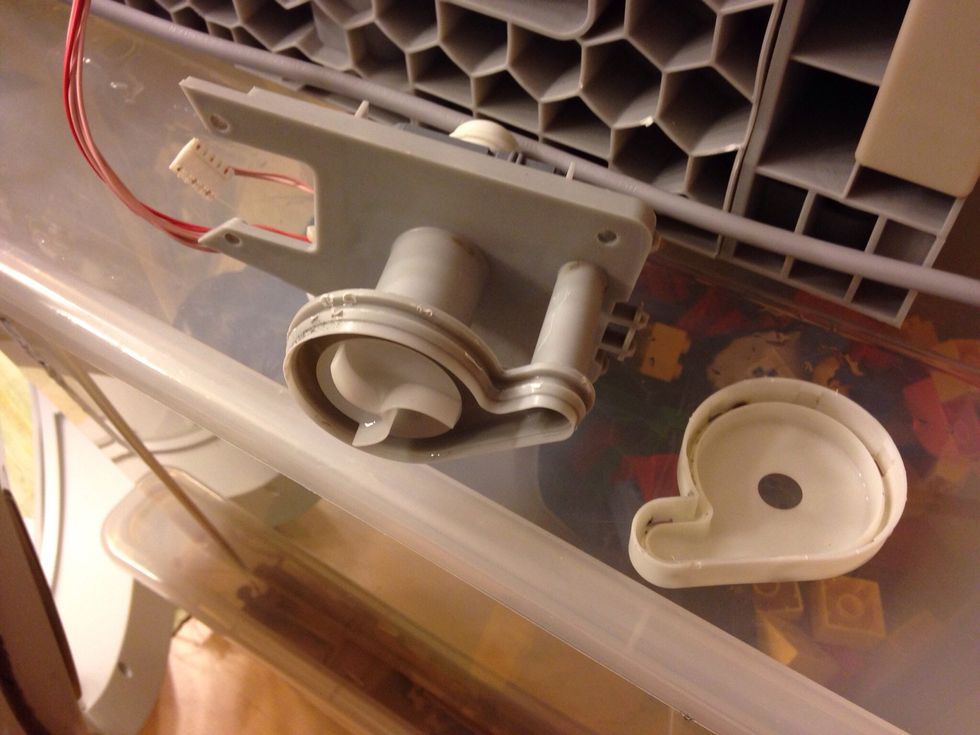
Now take out the pump.
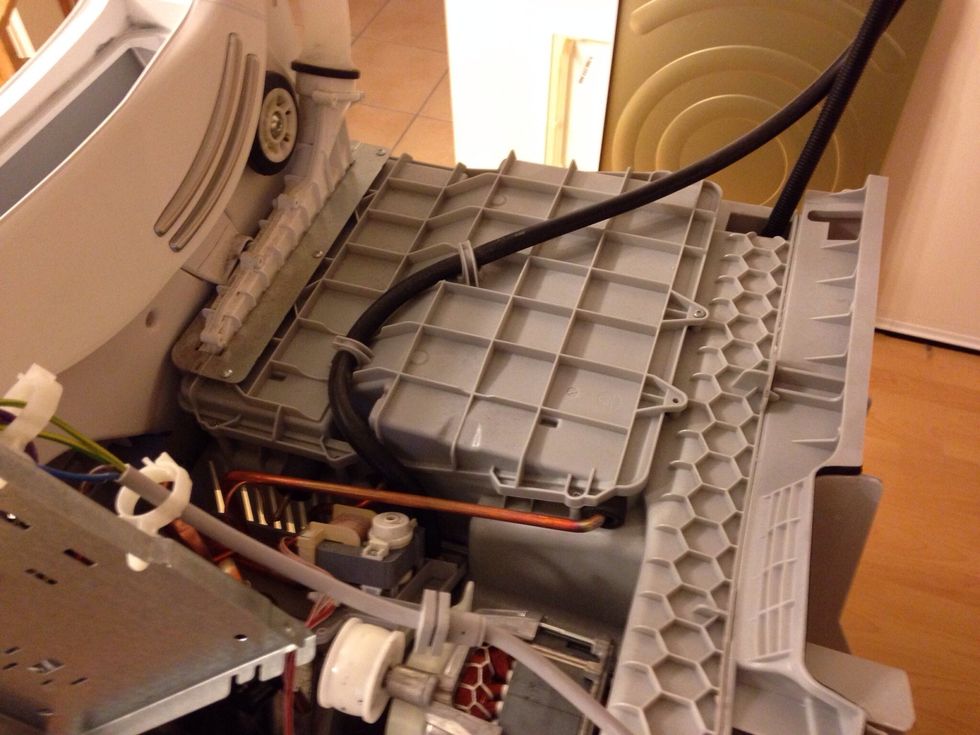
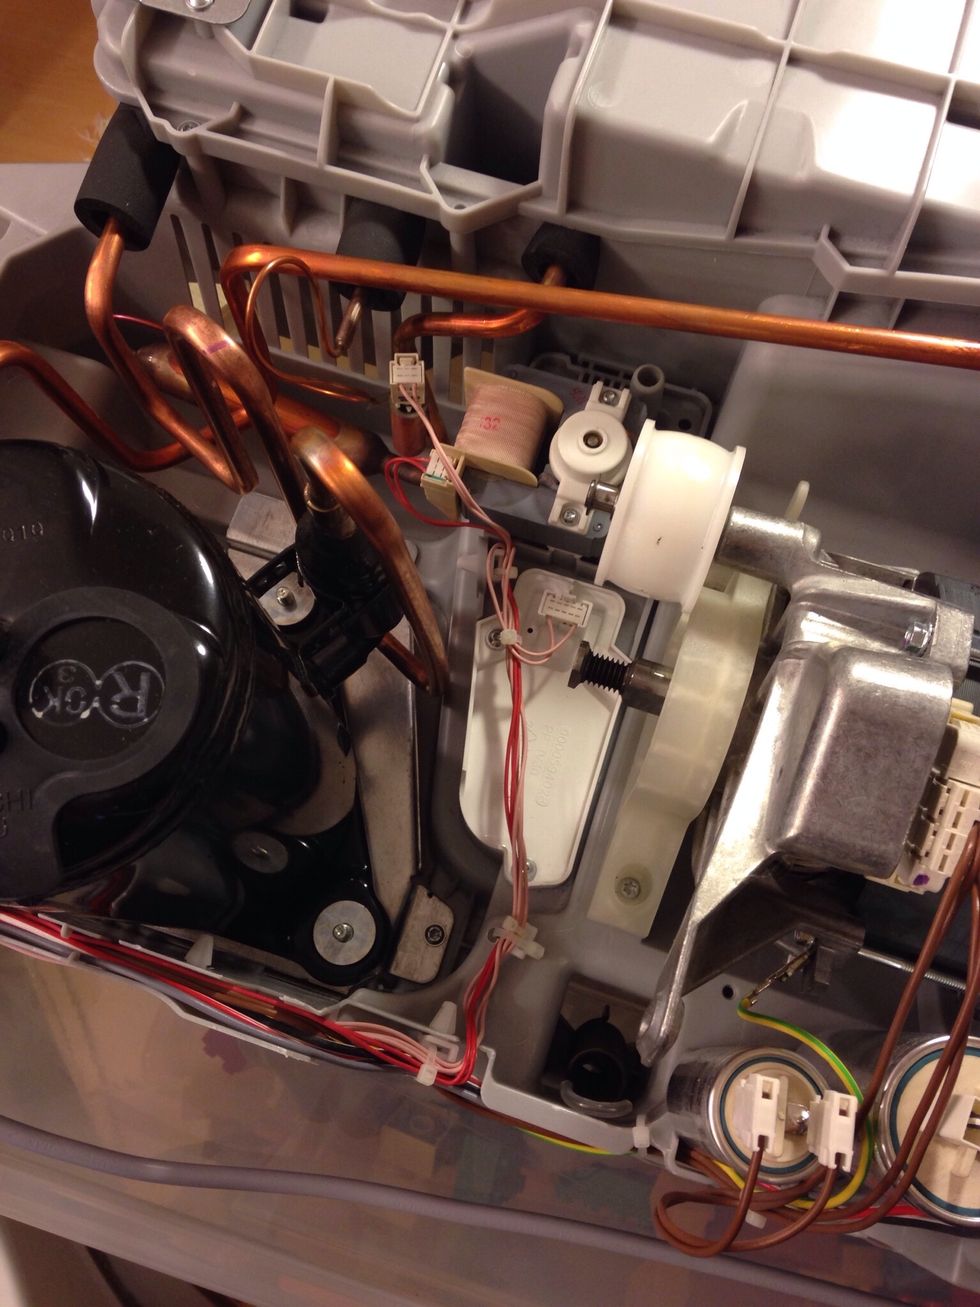
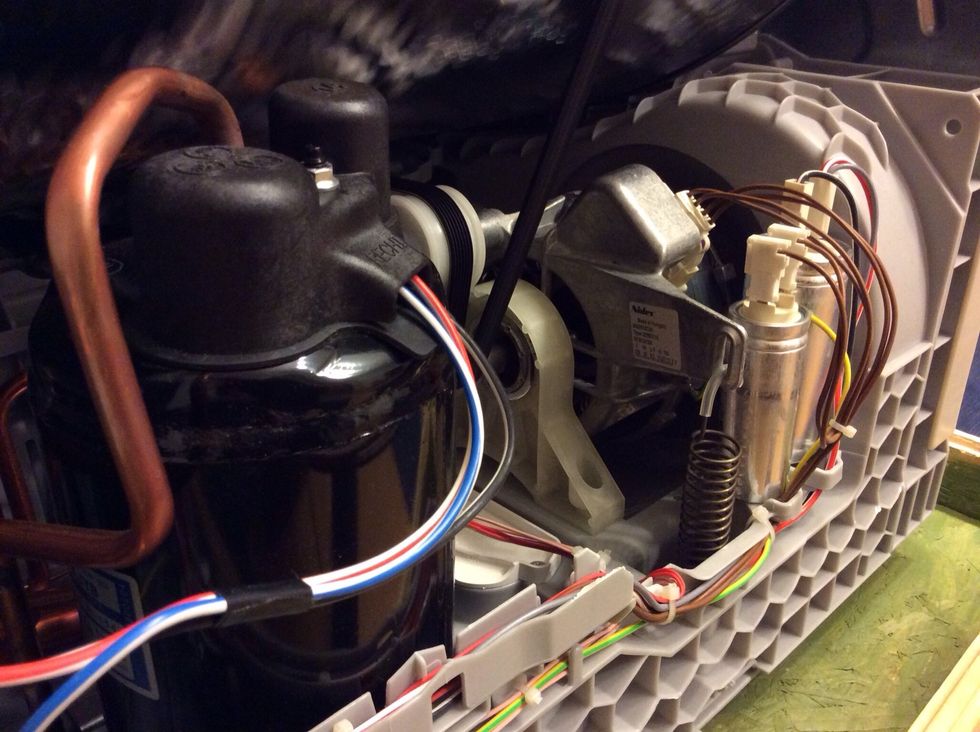
This is the condensation house and a black pipe goes to pumps to top reserve tank.
This is a problem !
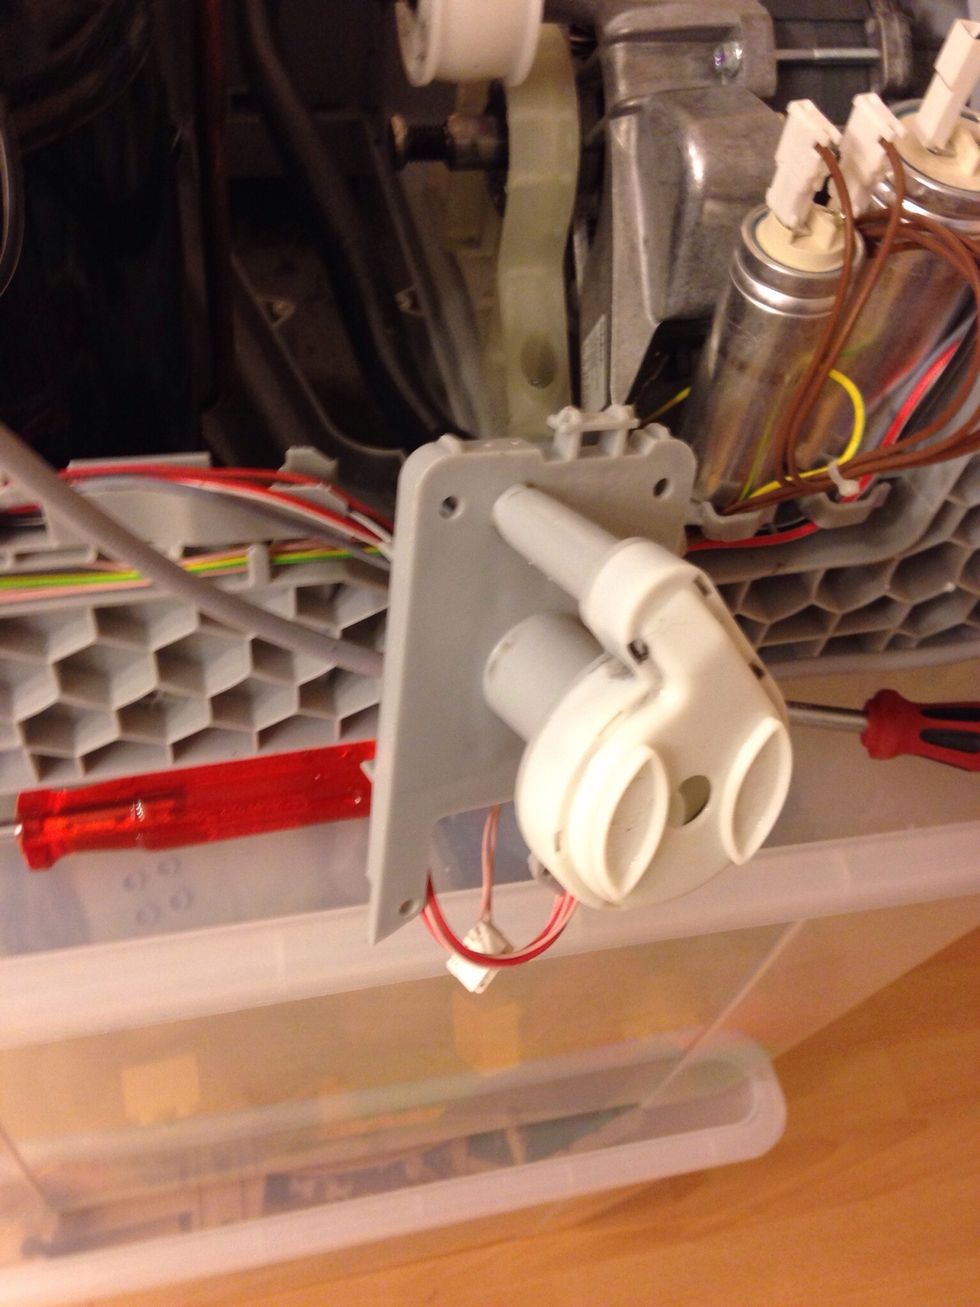
This is the pump
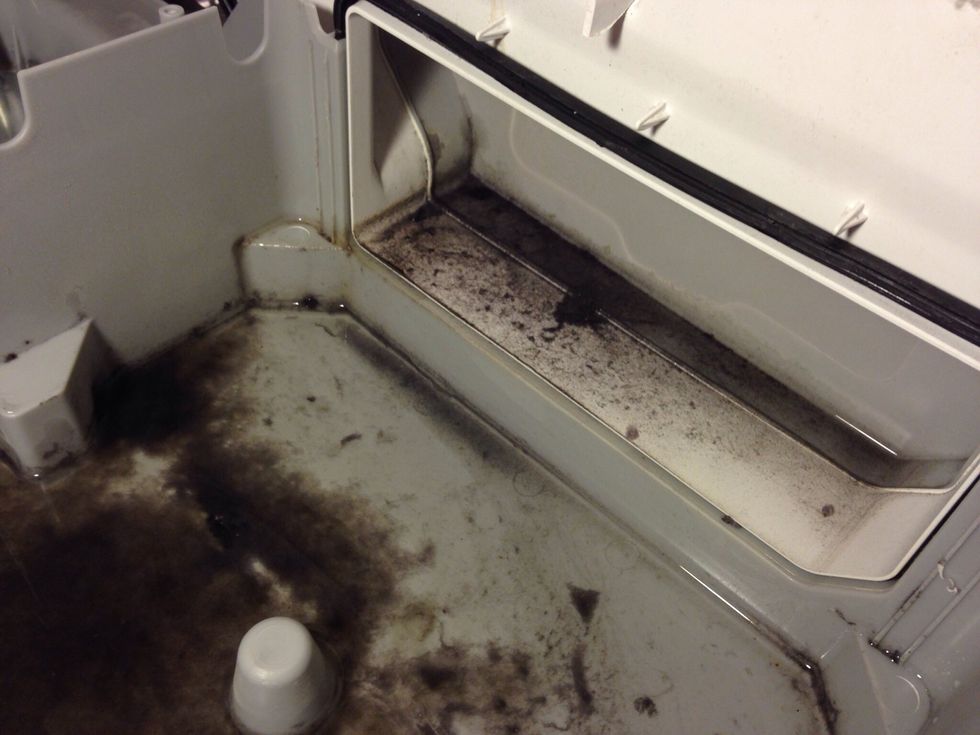
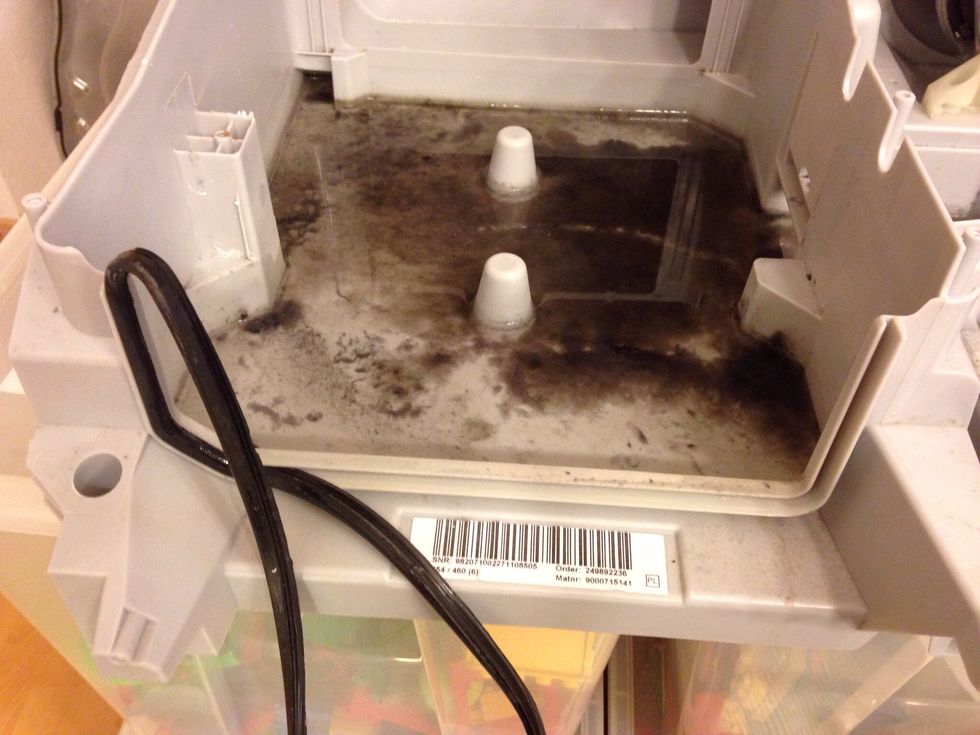
The condensation tank bottom is full of tow. It is possible one year working process, the tow go through filter, and mixing the weather and stopped pump.
Take out the drum supporter wheal
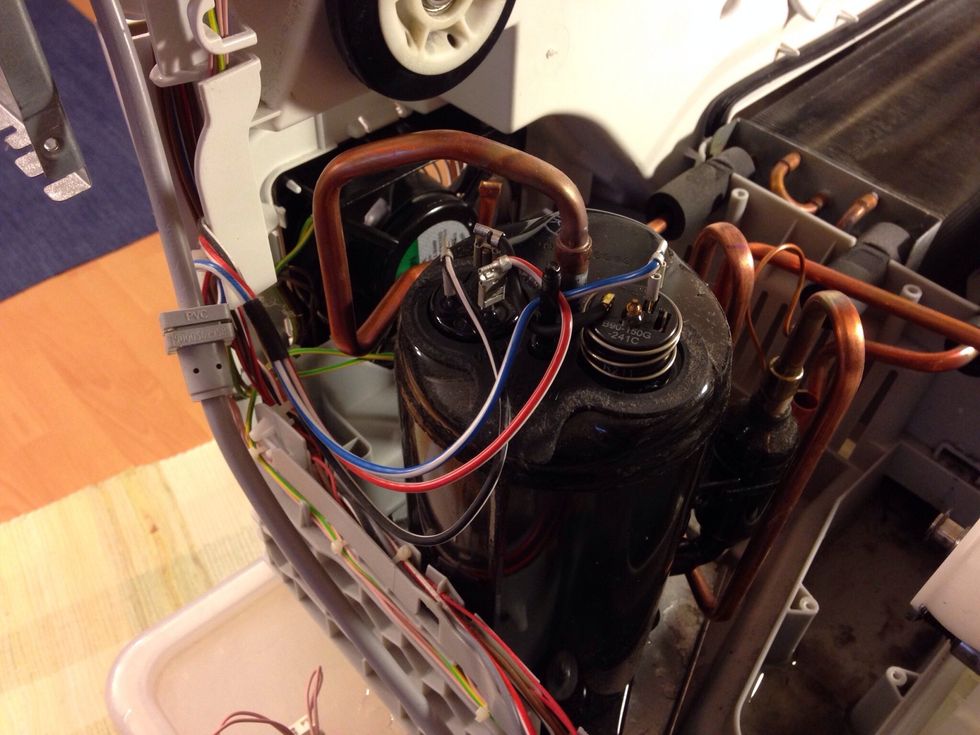
Take out a condensation. Carefully wiring!
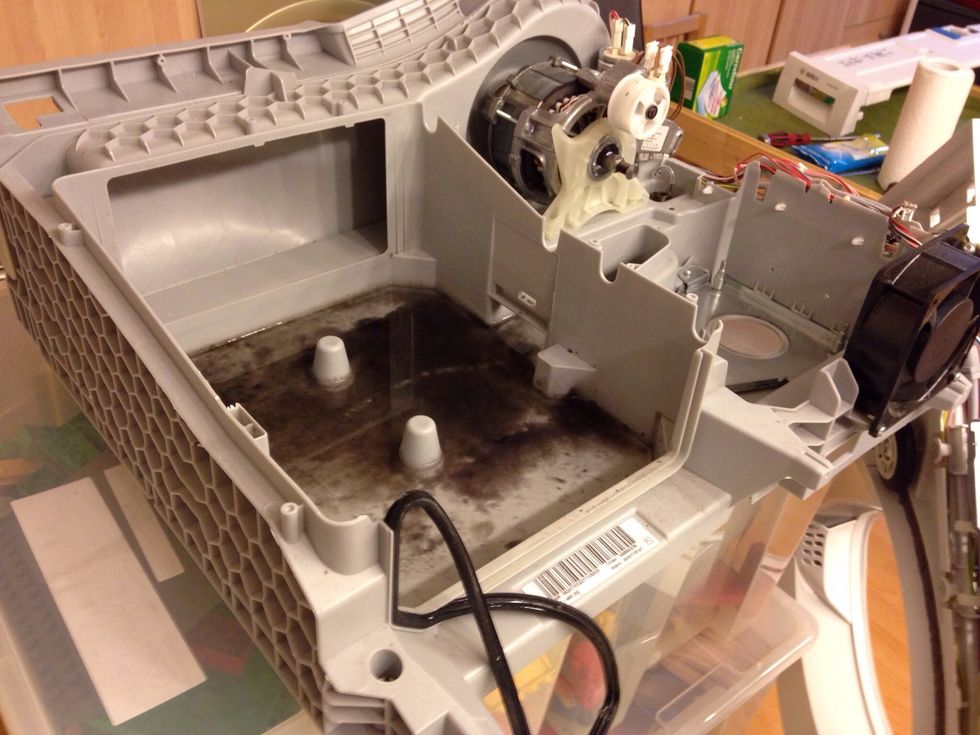
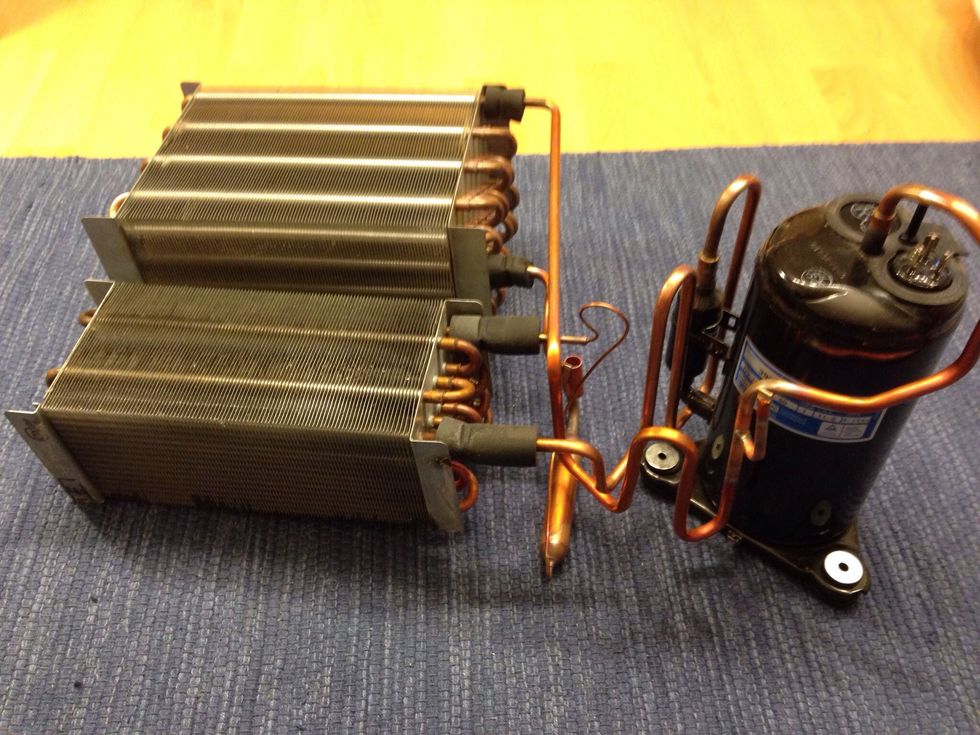
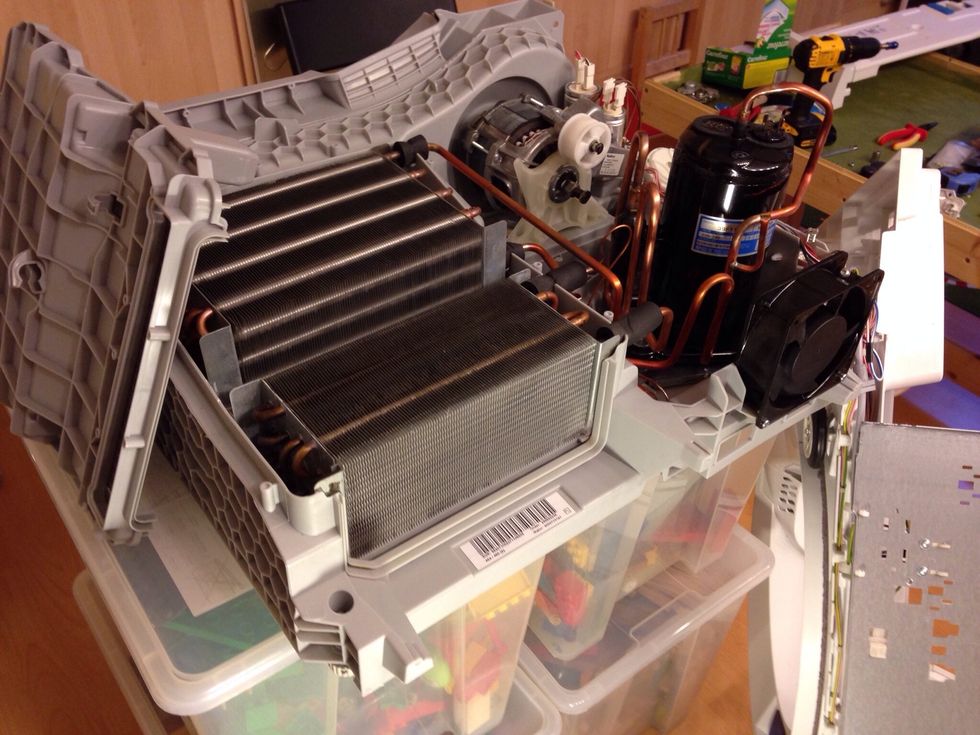
Now take out whole condensation system, radiator and motor as well.
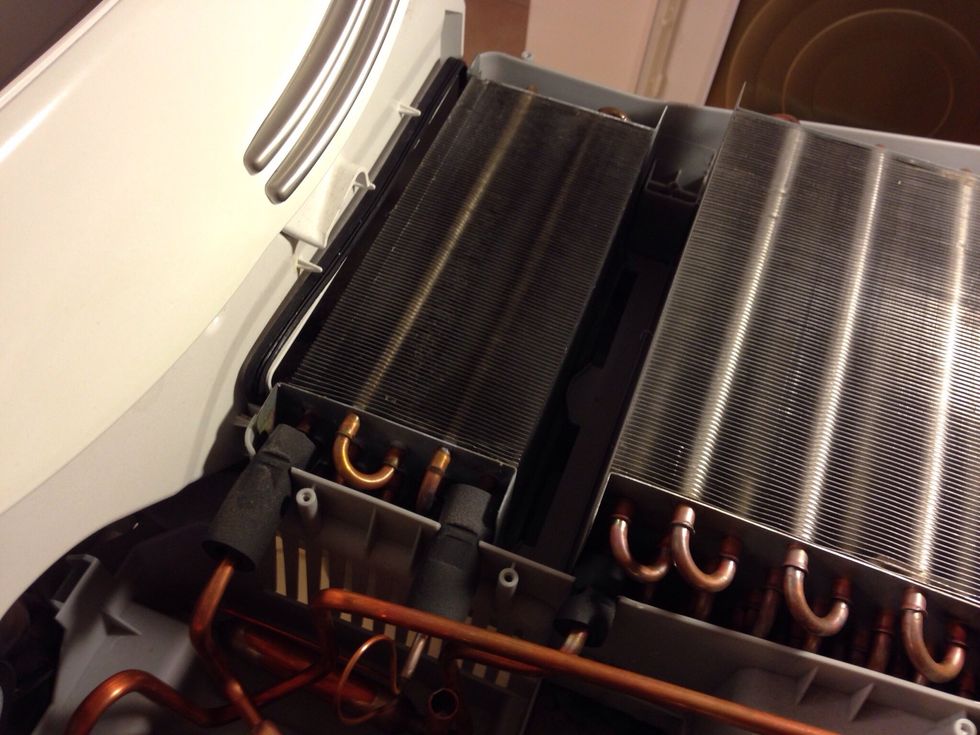
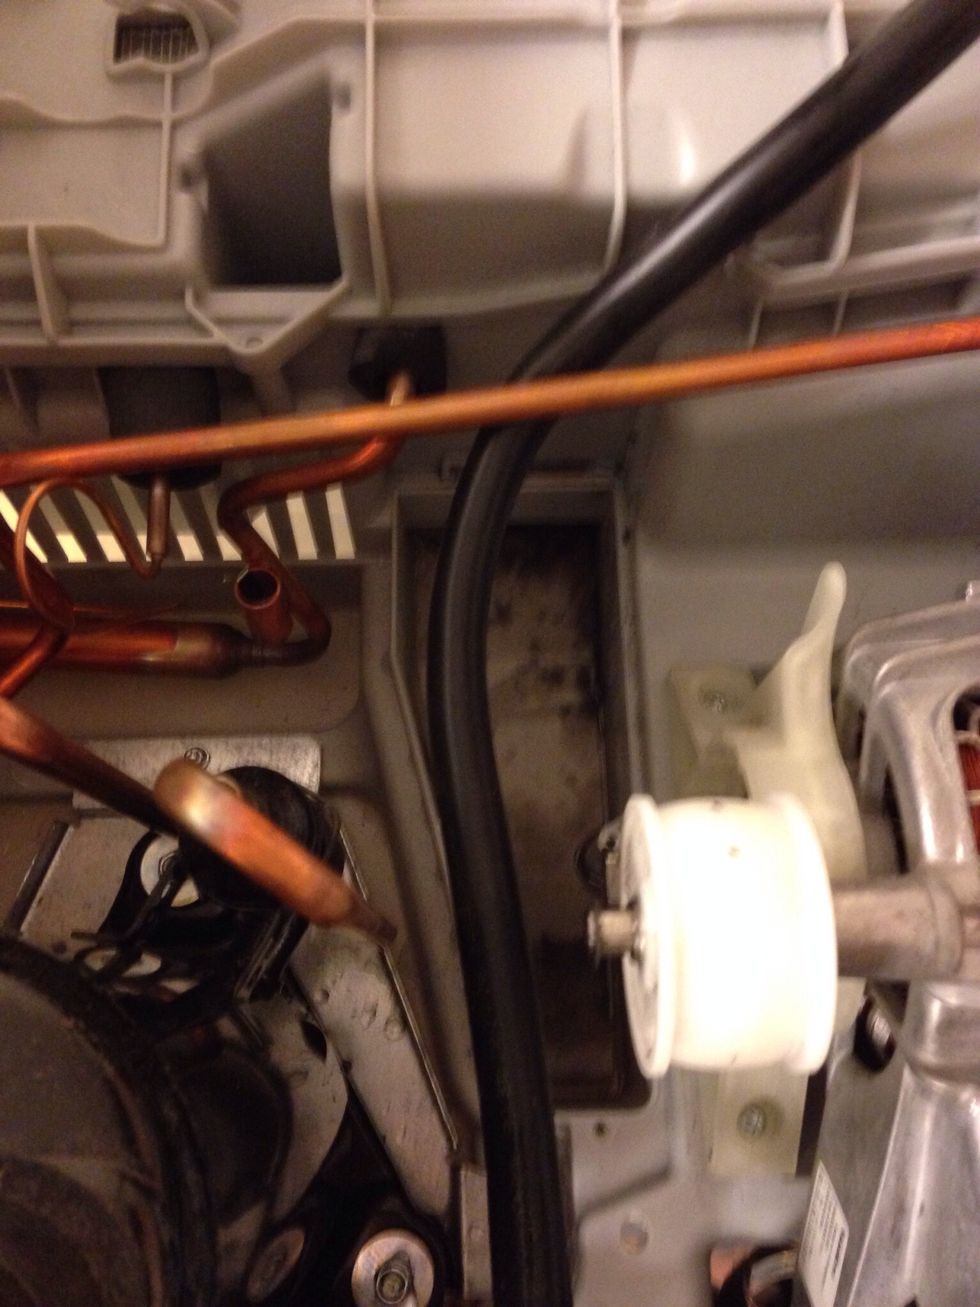
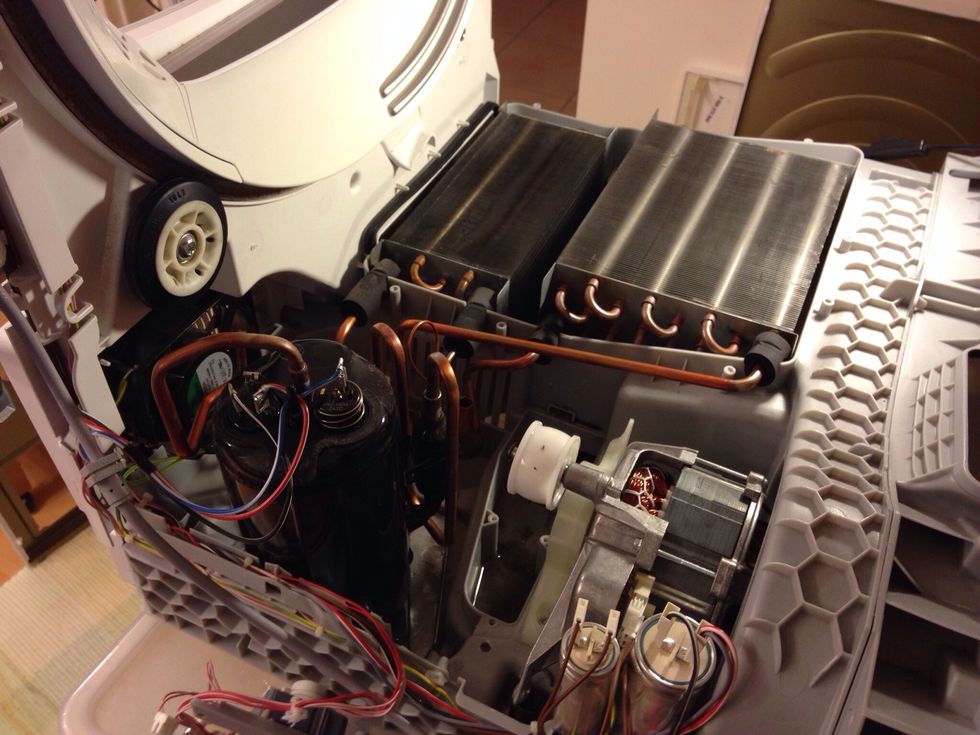
This is the front condensation, radiator.
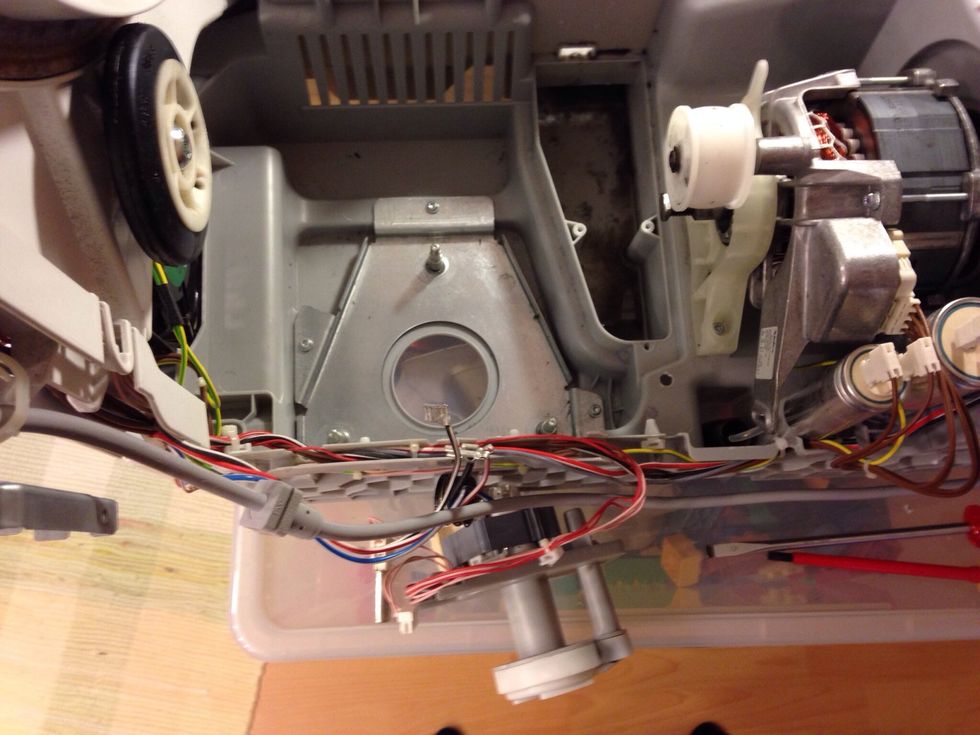
This is the place of the condensation motor.
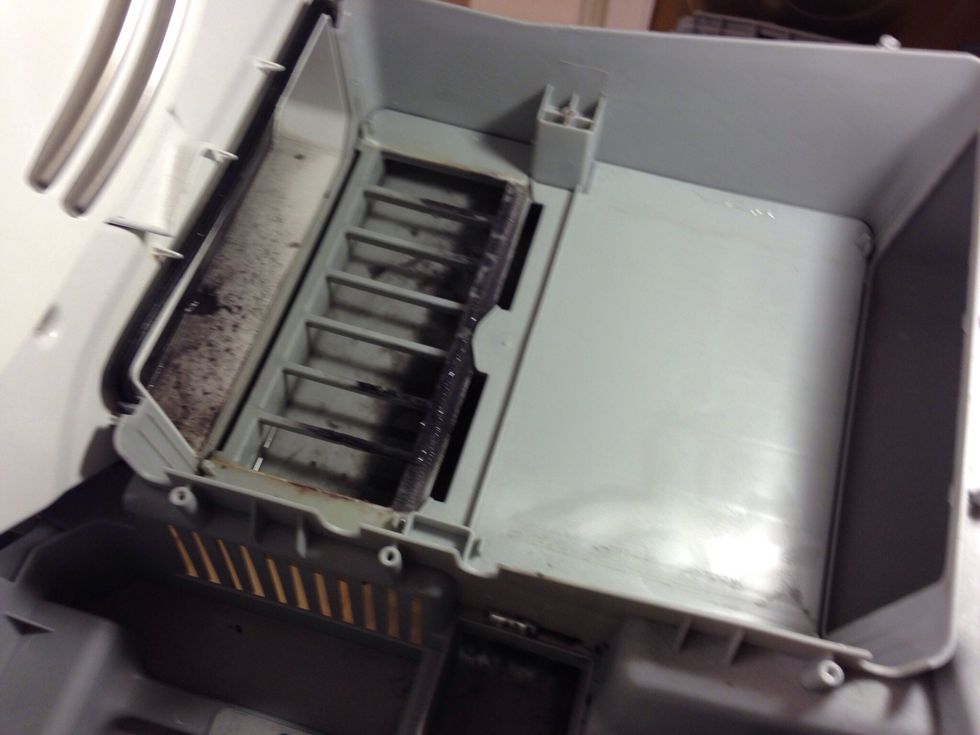
Condensation house full of the tow.
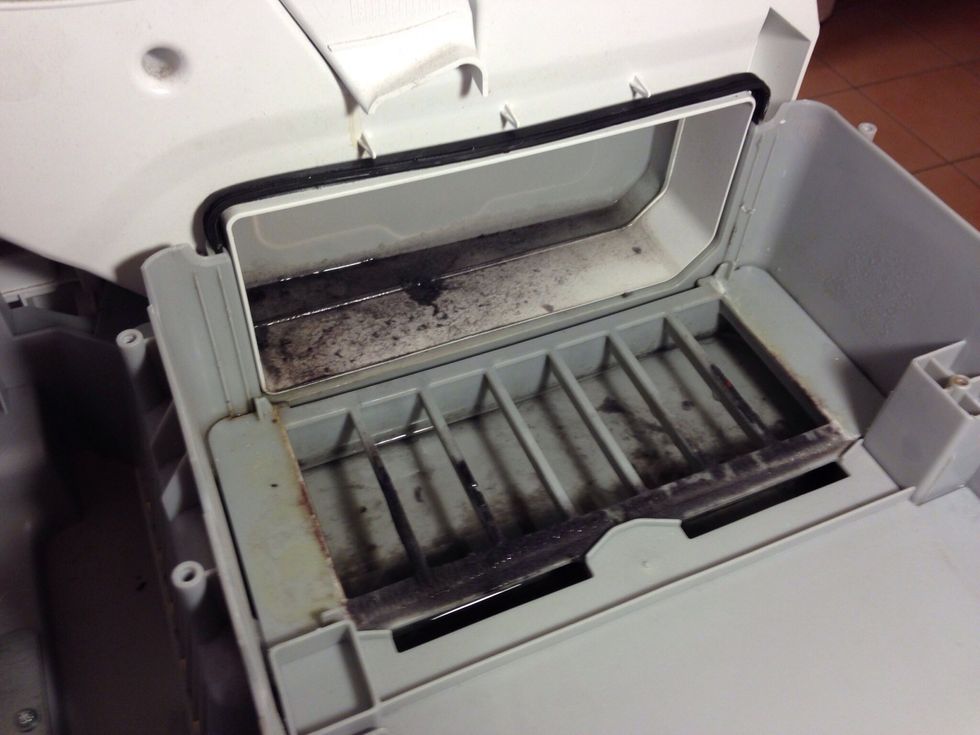
Look at this tow
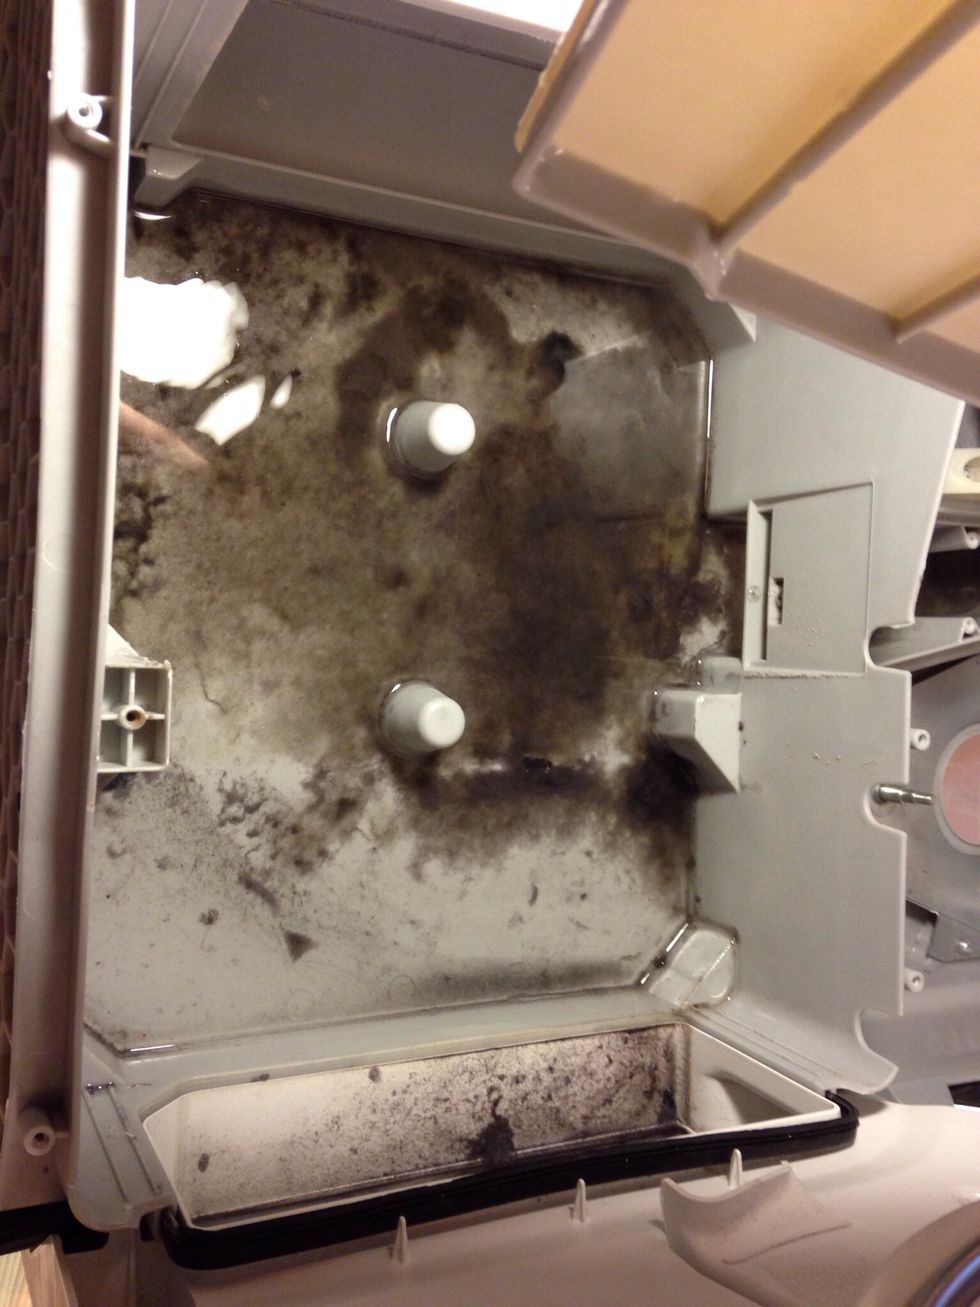
Amassing tow. This is stopped the pump.
Necessarily to clean 100%.
I surprised how much tow in it.
Cleaning...
This is a condensation and a motor.
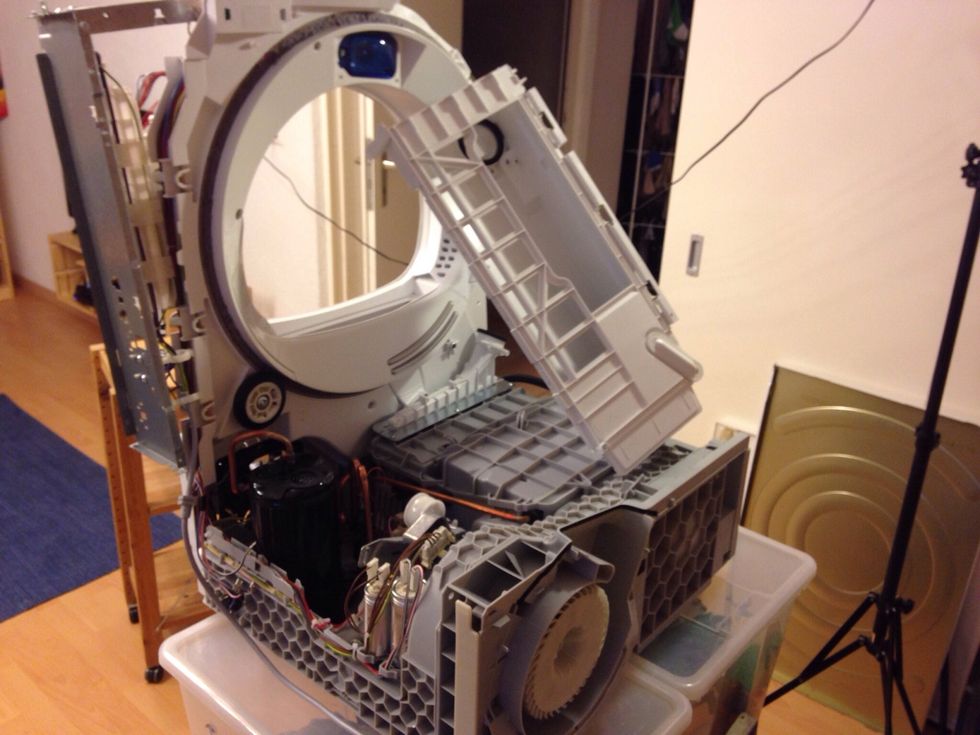
Drum, and parts.
Now cleaned all, I used anti static rag, and a normal rag with soap. I cleaned whole base house until like a new!
Take apart a pump. Clean and take back again.
Back condensation and a motor.

Take back a top of the condensation house. Carful every screw position and tight. We don't wand a leaking system.
Take back a pump, and cables.
Clean every part of the machine, same as a factory shape. Take back a weather reserver tank.
Take back a front panel and a vertical weather pipe ( white one).
Take to back the black pipes & right side top side supported steel.
Now it is possible take back a drum and after a back panel. Be careful screw some drift are metal, some spiral are plastic one.

Checked every detail.
back motor spring and testing machine. It is start testing right side panel is off. Start a test program. WERY CAREFULLY. Moving belt,motor 220 V. If you are not a electrical expert do not do that.