The Conversation (0)
Sign Up
A word about beeswax... Anything the wax touches directly will be unusable for other purposes. Use something disposable, like a metal coffee can, or a bowl that will forever be dedicated to rendering.
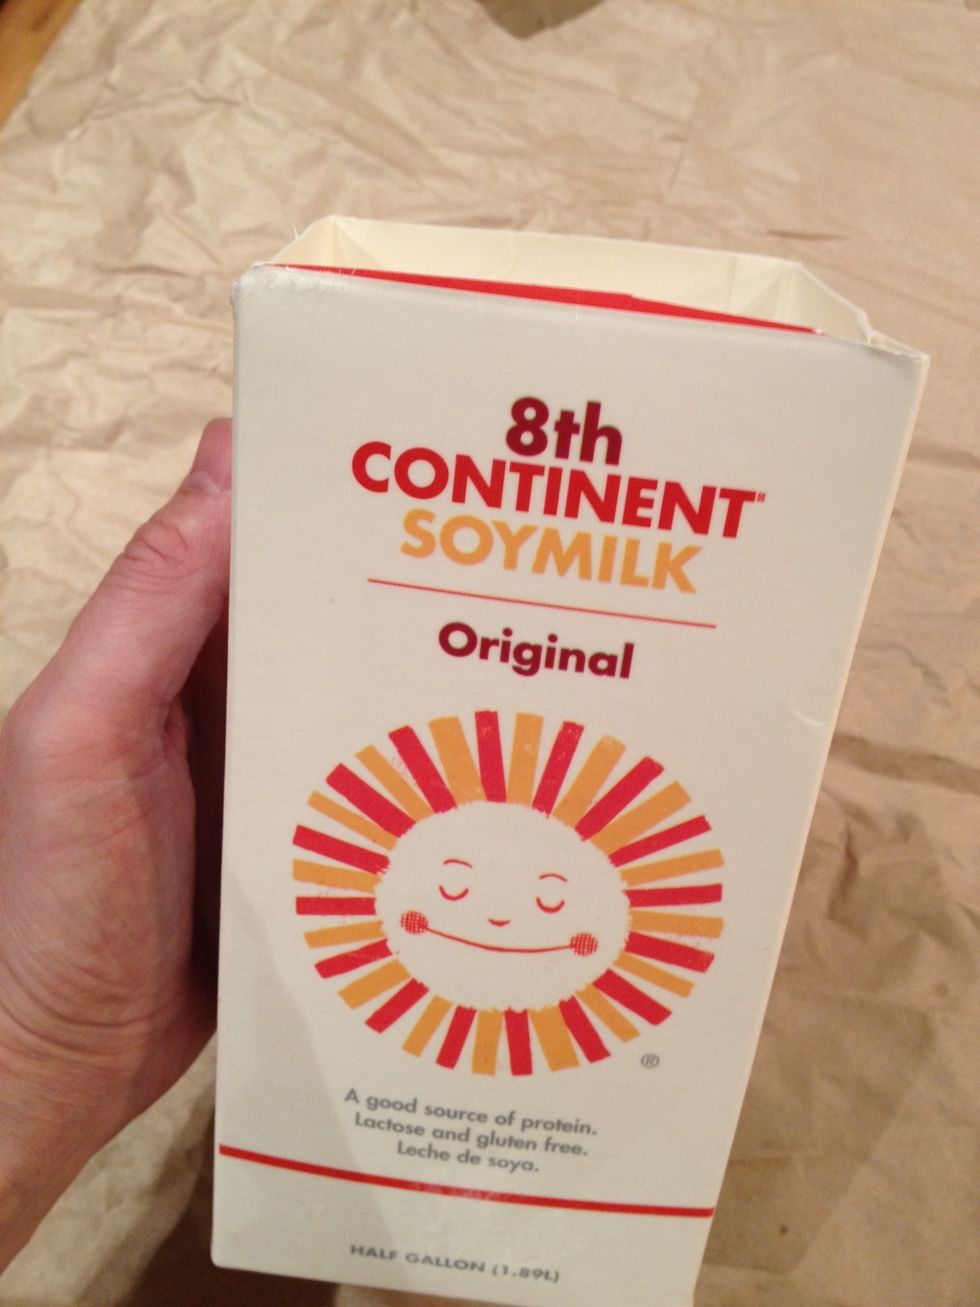
Place a drop cloth on the floor and some butcher paper on the counter. If you drop any wax, this will make cleaning up infinitely easier. Then, clean and cut off the top of an empty milk carton.
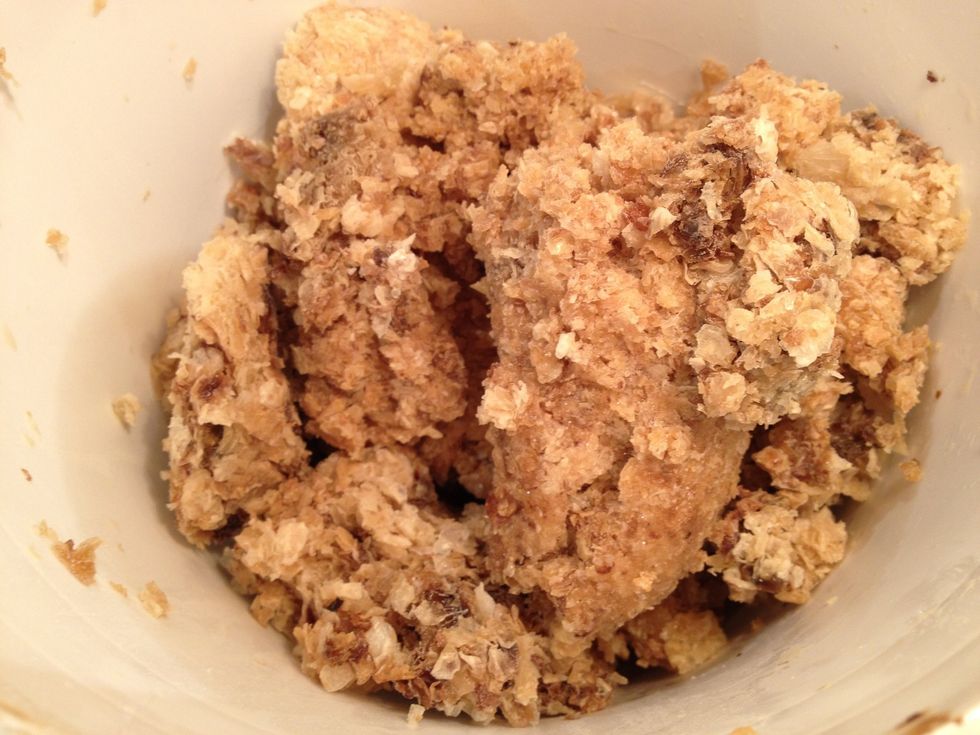
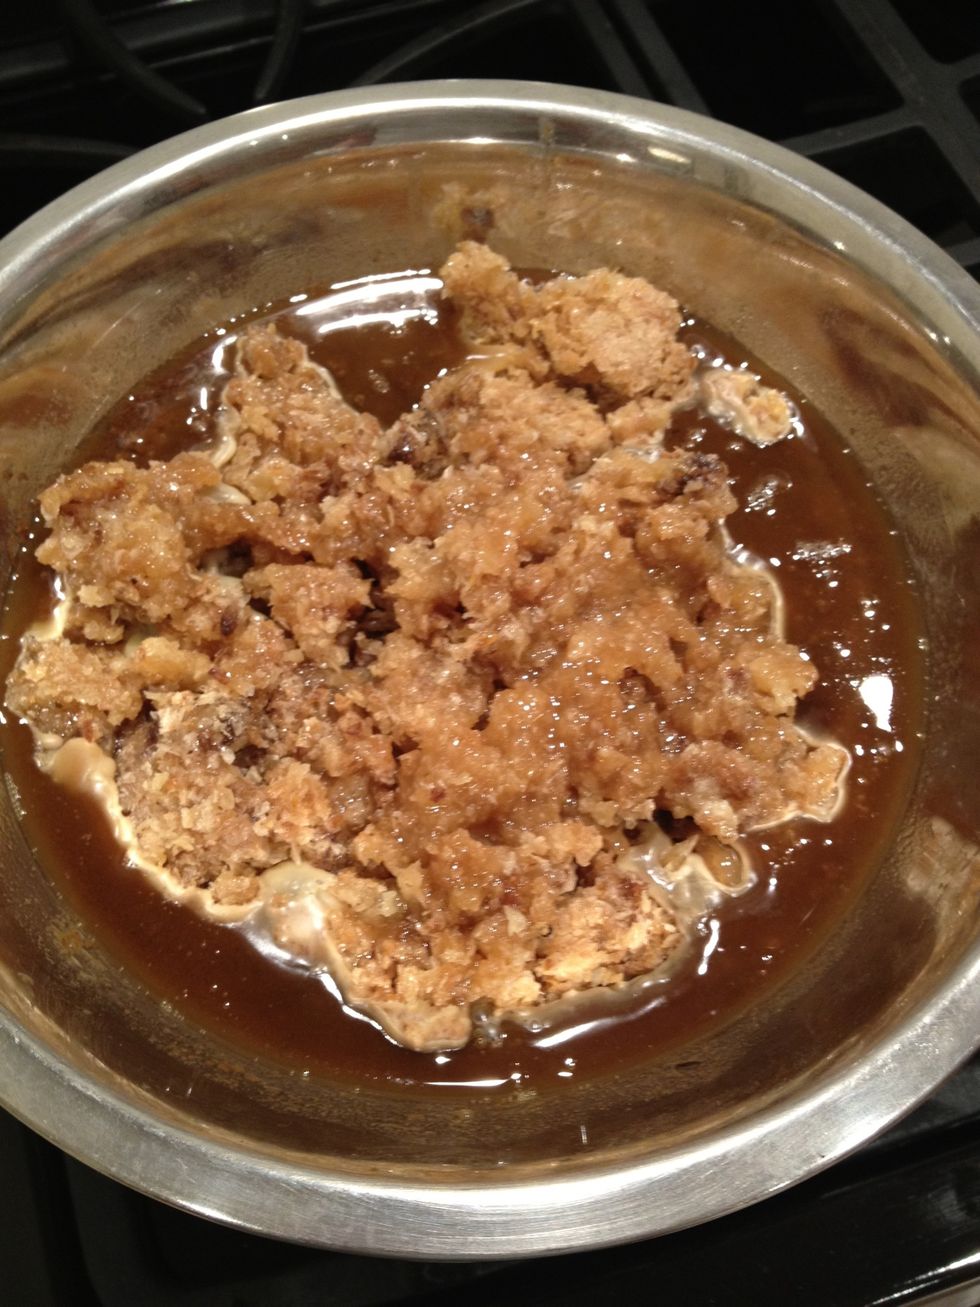
Gather all of your dirty wax. Here I have a mixture of cappings and chunks of broken comb. There is also a good amount of honey still in there, which will get separated out.
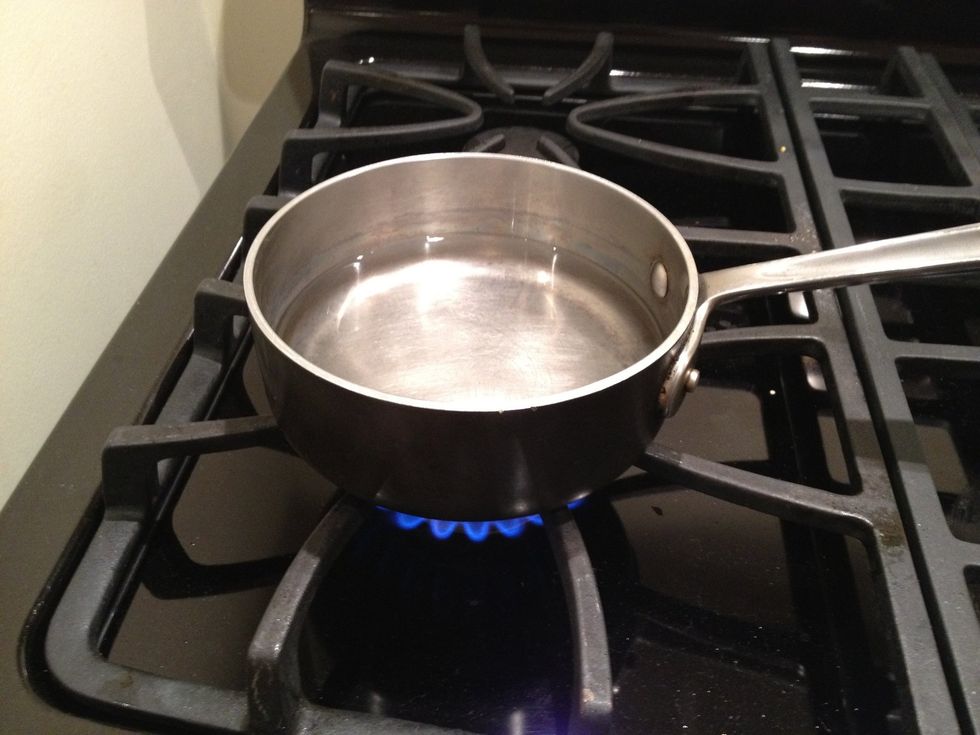
Fill a pot with water, and turn on the flame.
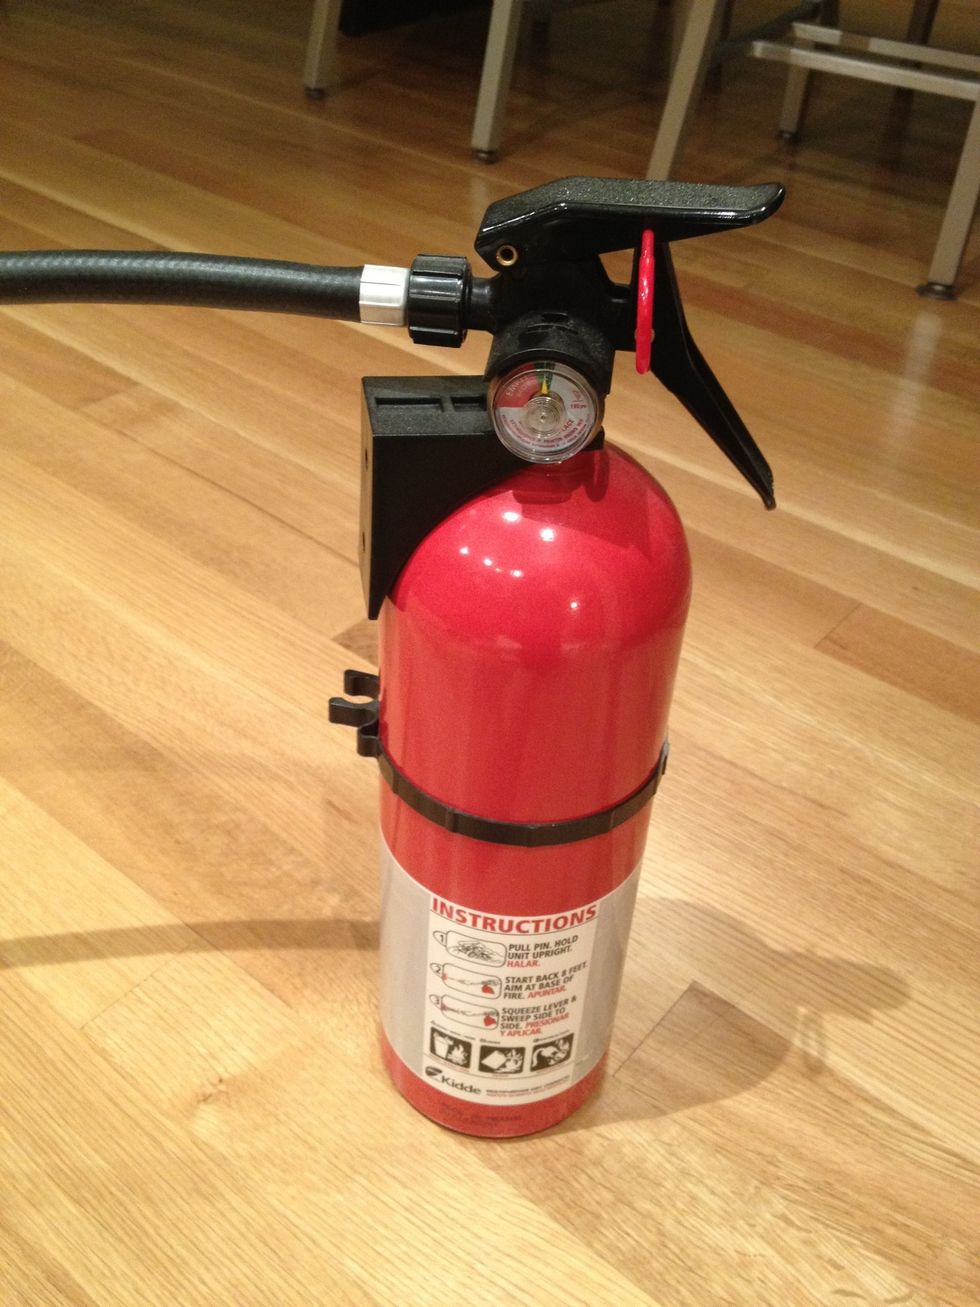
A word about safety... Beeswax is highly flammable. Never heat it directly on an open flame (hence the double boiler), never leave it unattended, and always have a fire extinguisher handy!
The wax will start to melt from the perimeter.
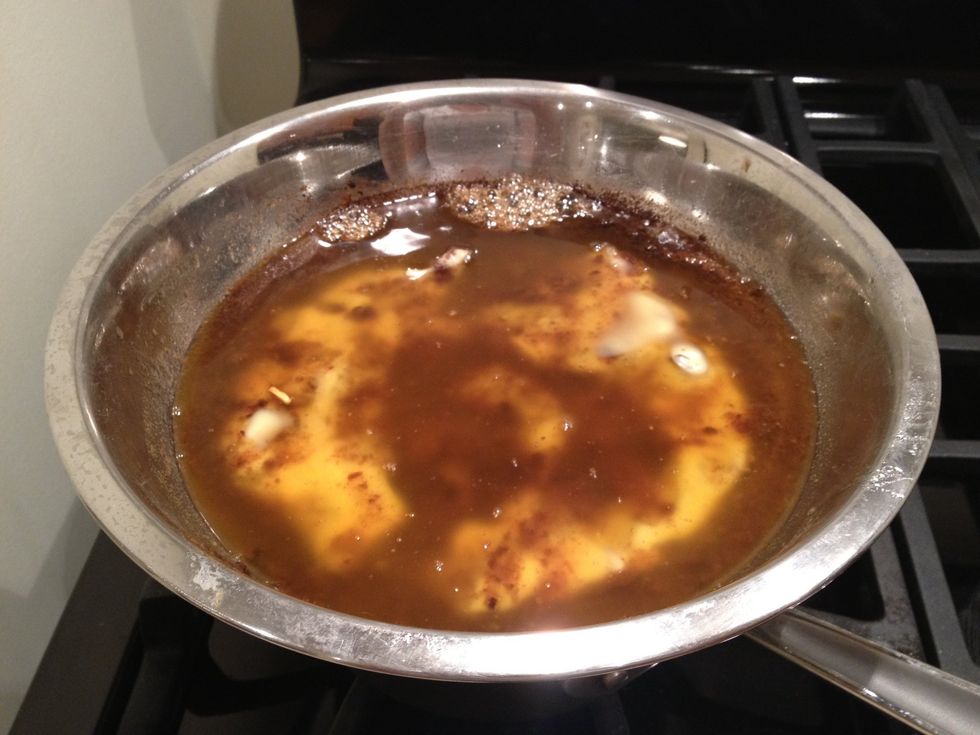
Soon, it will be mostly liquid, except for some big chunks. Remember to check the pot periodically to see if you need to add water.
Continue melting it. The chunks will get smaller and smaller. You can turn up the burner, as long as the actual wax does not begin to boil.
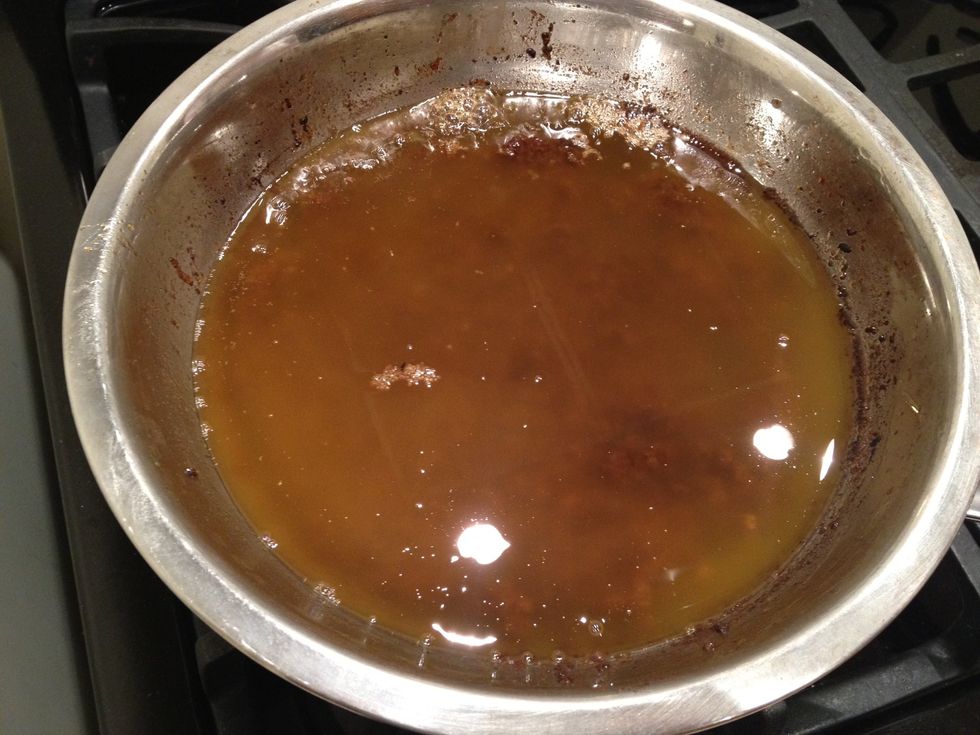
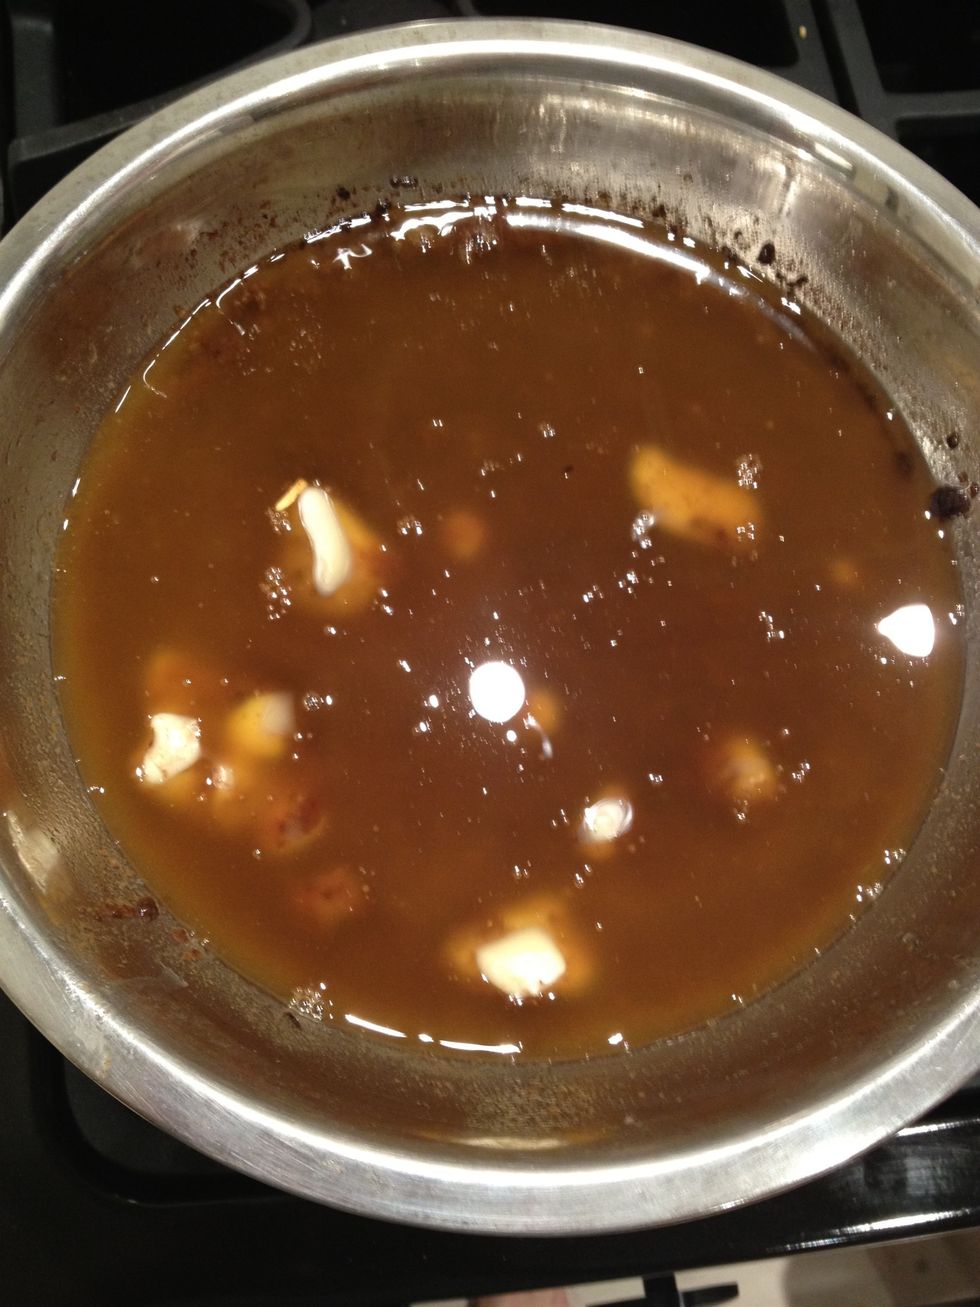
When the wax has completely melted, you will notice that the debris will be on the bottom, and the clear wax will have floated to the top.
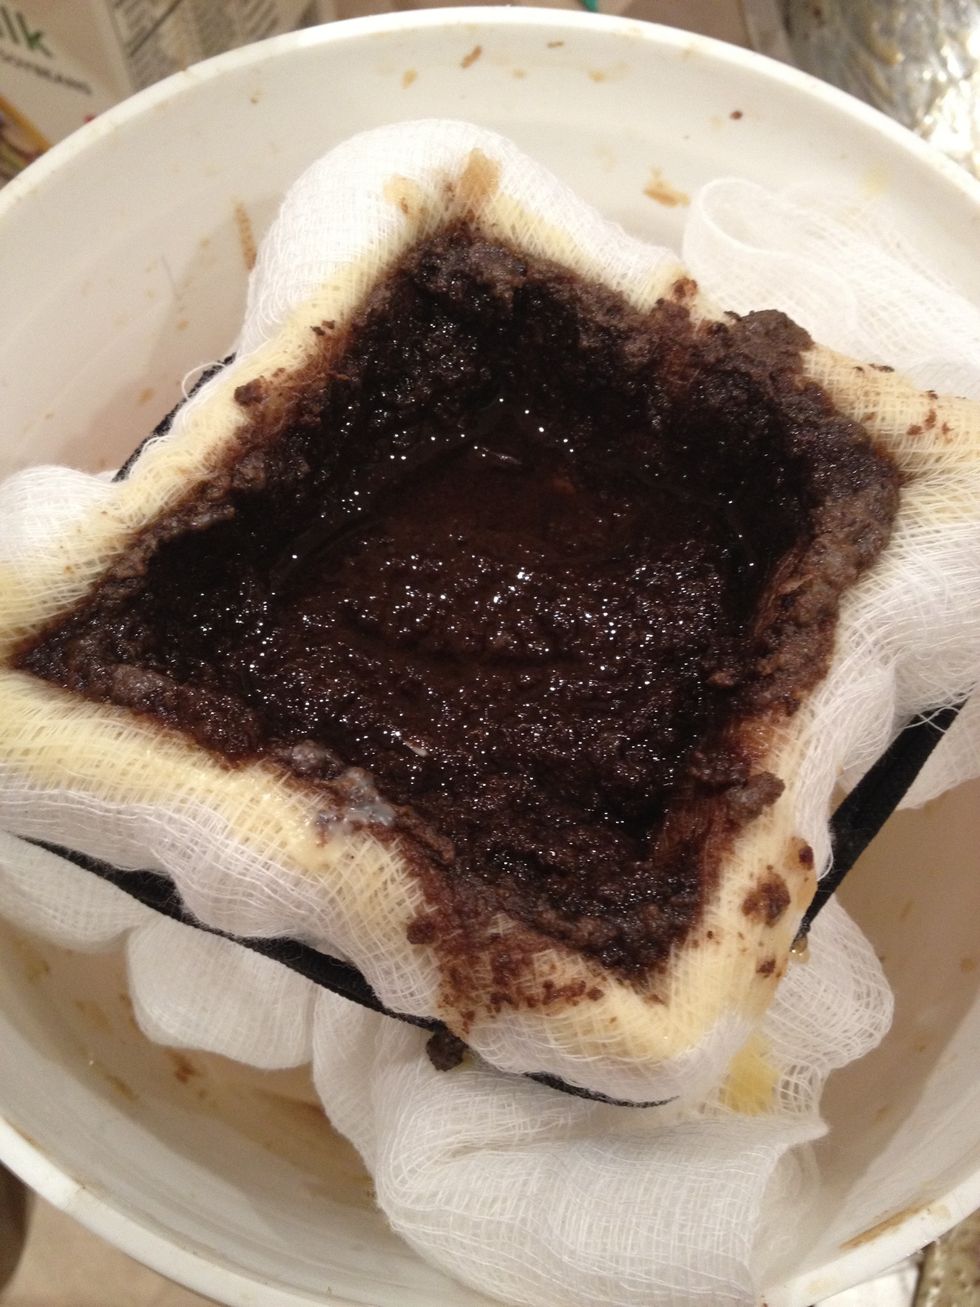
The debris will gather in the cheesecloth, and the melted wax will drop below. Don't worry about any honey that is in the liquid dropping below.
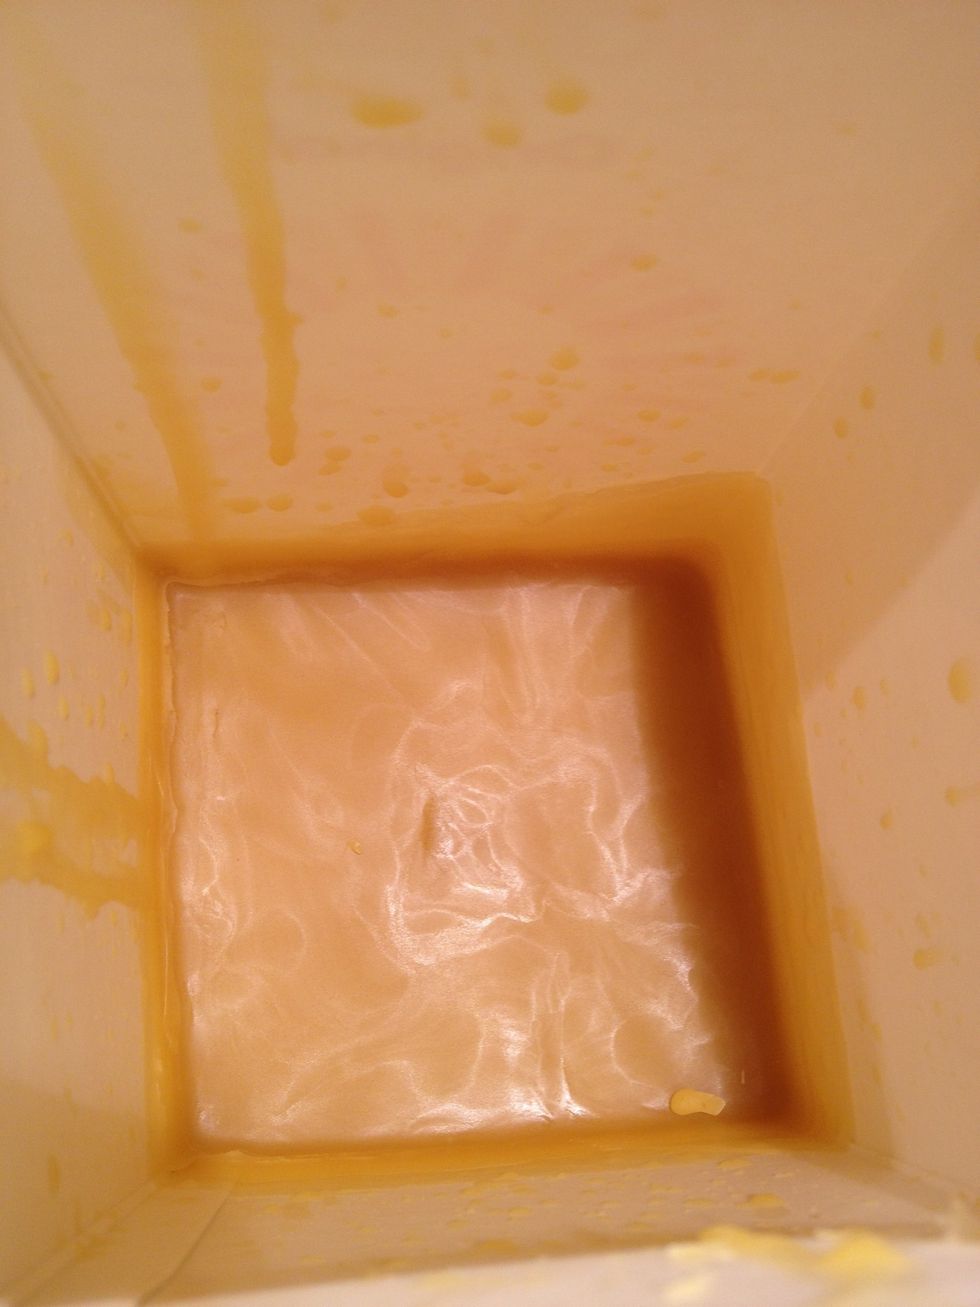
Let the beeswax cool and harden overnight. The pure wax will have floated to the top and hardened. Any honey that was mixed in will be sitting at the bottom.
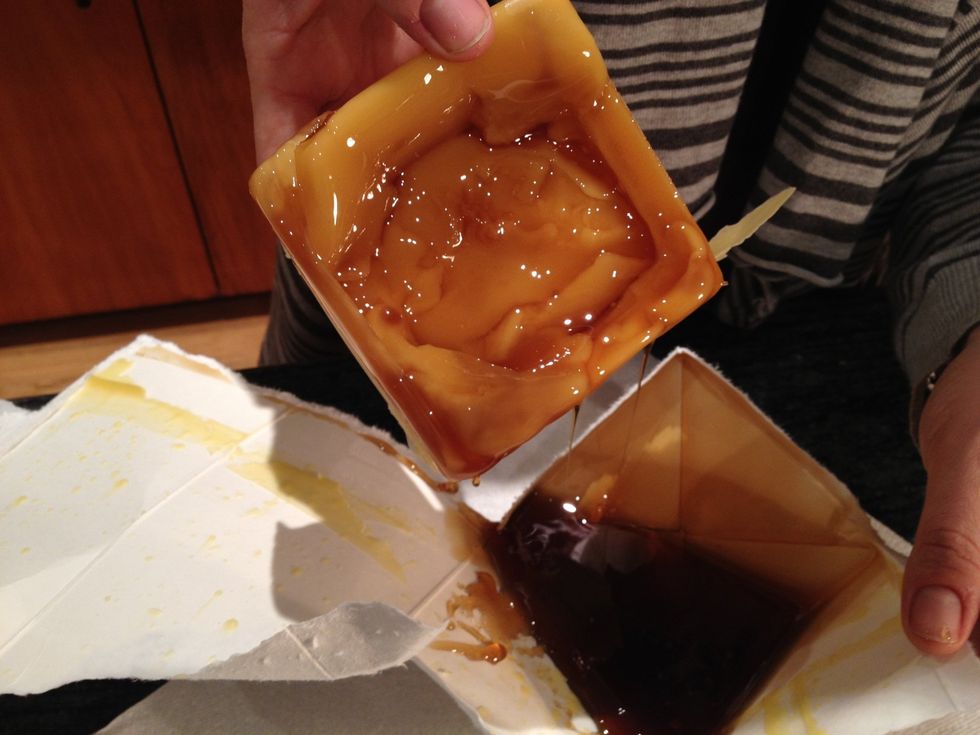
The block of wax will be sticky with honey on the bottom side.

Place your wax on a scale to see how much you ended up with!
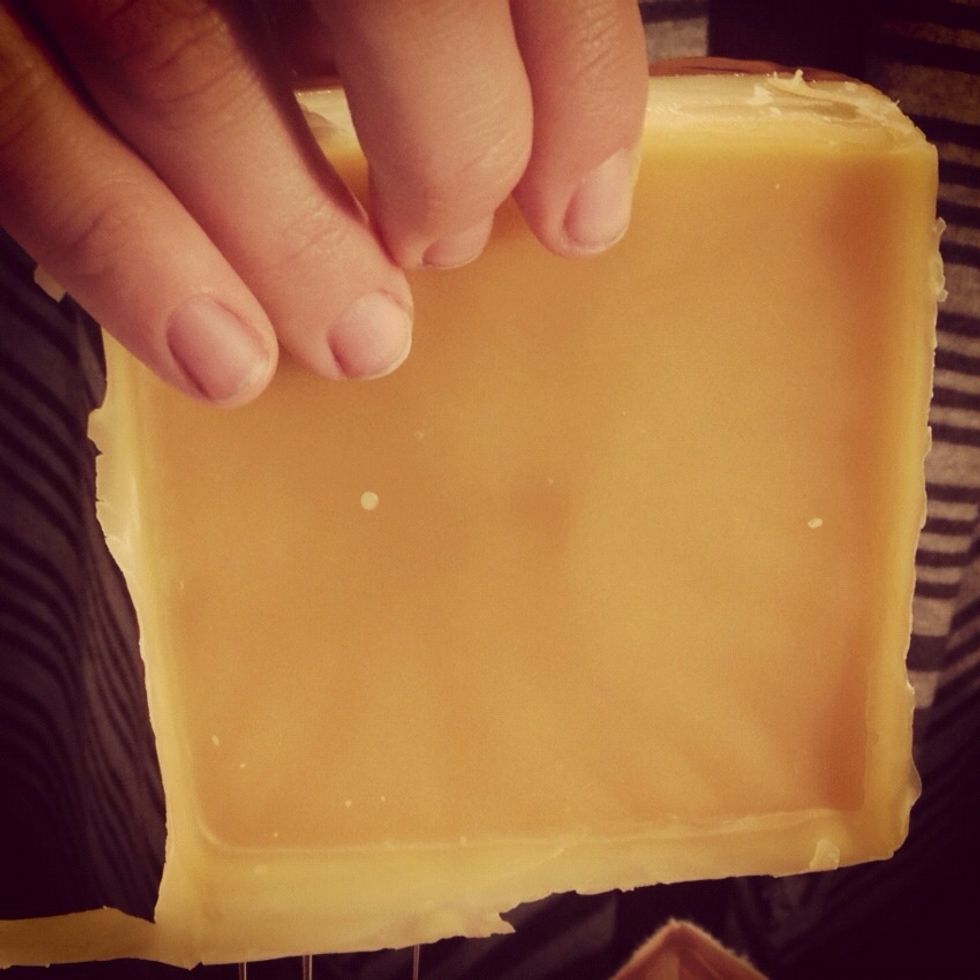
Look at the beautiful golden color! Now it's time to think about what you are going to do with your wax. I think I will make lip balm with it! Stay tuned...