The Conversation (0)
Sign Up
Most photos in this guide was shot during reassembly. As each major part plastic is disassembled, they may be cleaned individualy. Assemblies containing electronics may be wiped with a dry cloth.
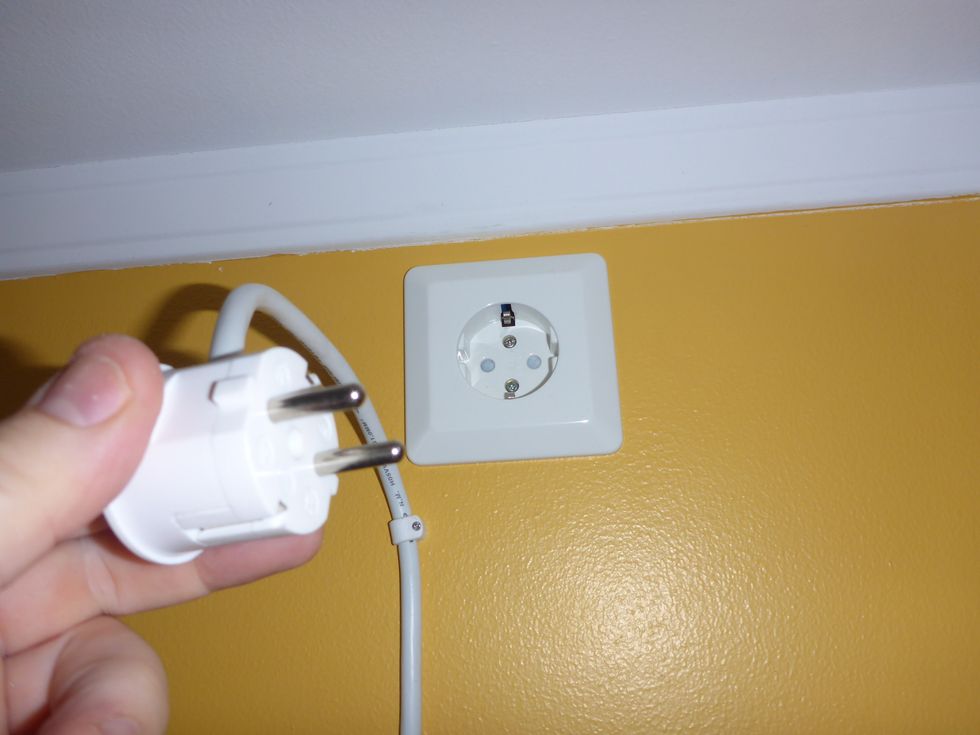
Locate the correct powercord, an unplug the unit. Power should be unplugged during the entire operation.
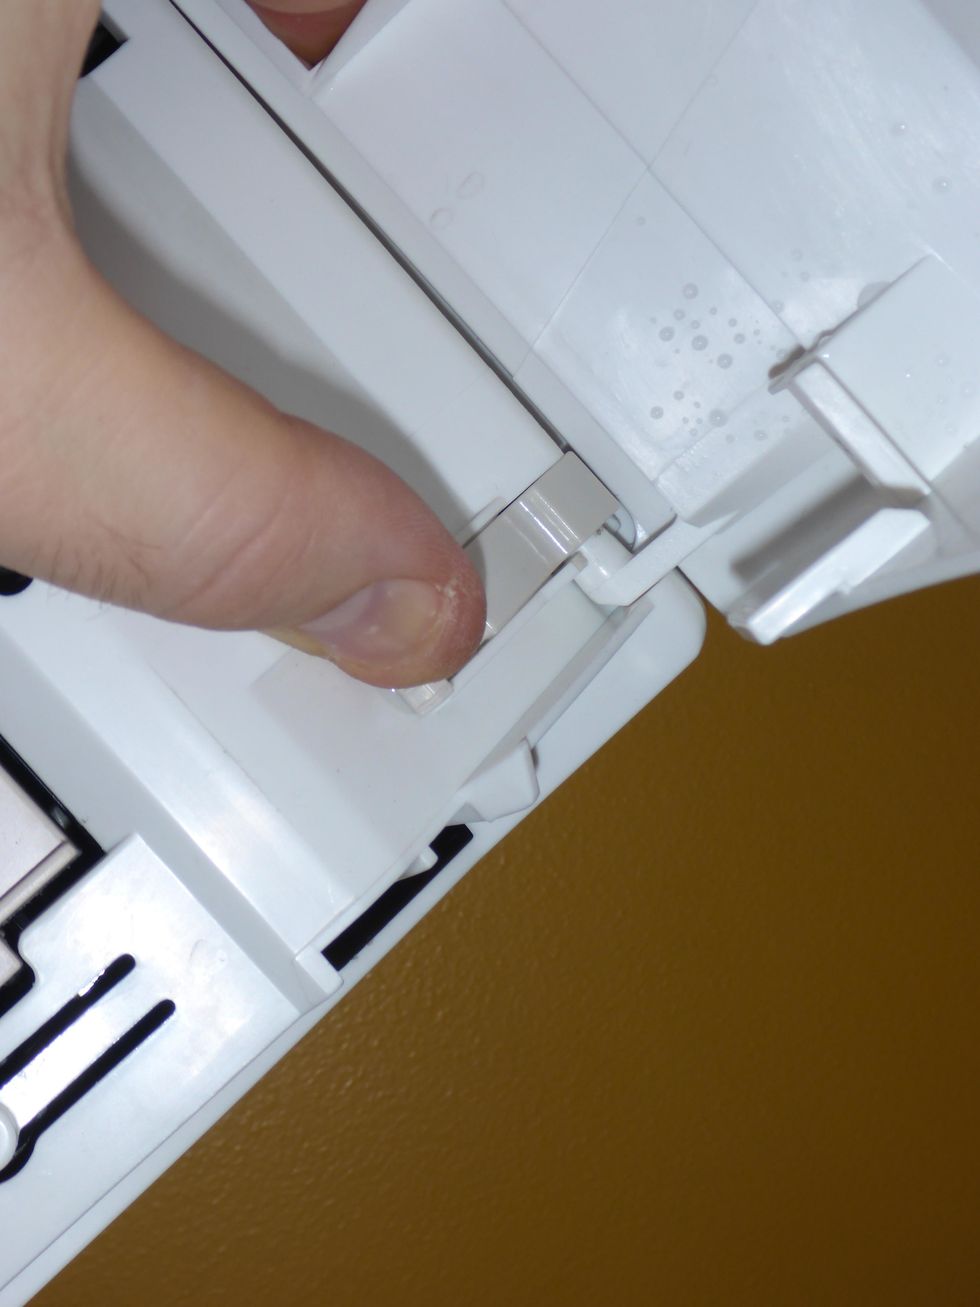
Open the front cover and remove it. It's usually secured in place by two plastic tabs, one on each side. Once the front cover is removed, it can be cleaned.
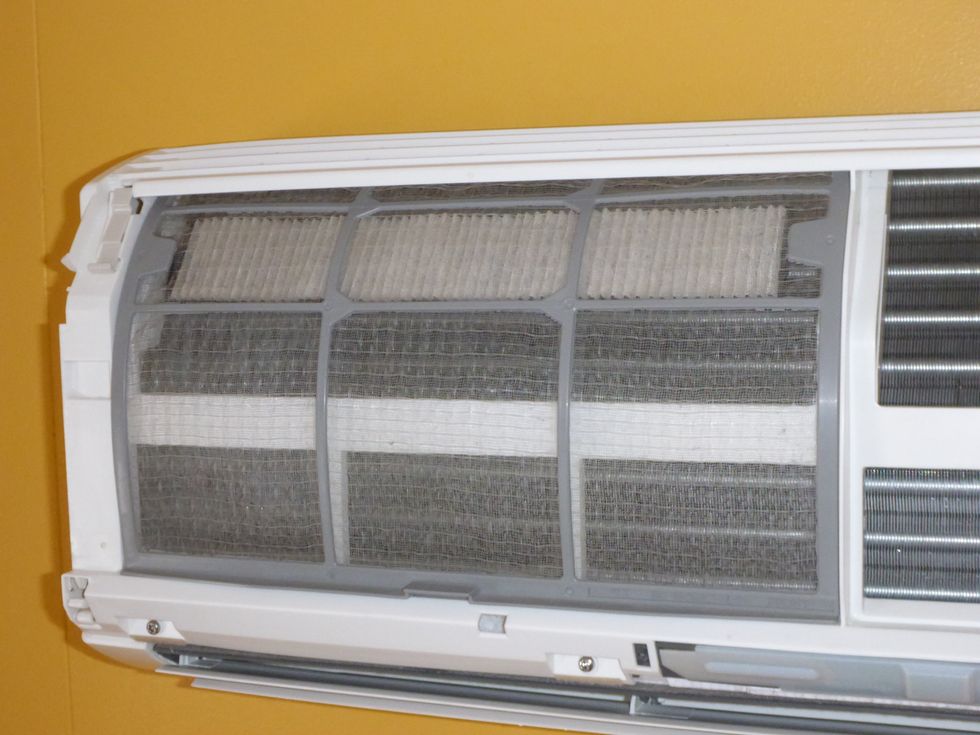
Remove the lint/dust filters. Lift the bottom a little, and pull them towards you. The plastic grid may be cleaned with warm water and a soft cloth. The filters may be replaced or cleaned.

Locate and remove the chassis screws. On this particular model, there are 4 screws which become visible once the front cover is removed. You may have to search for screw covers.
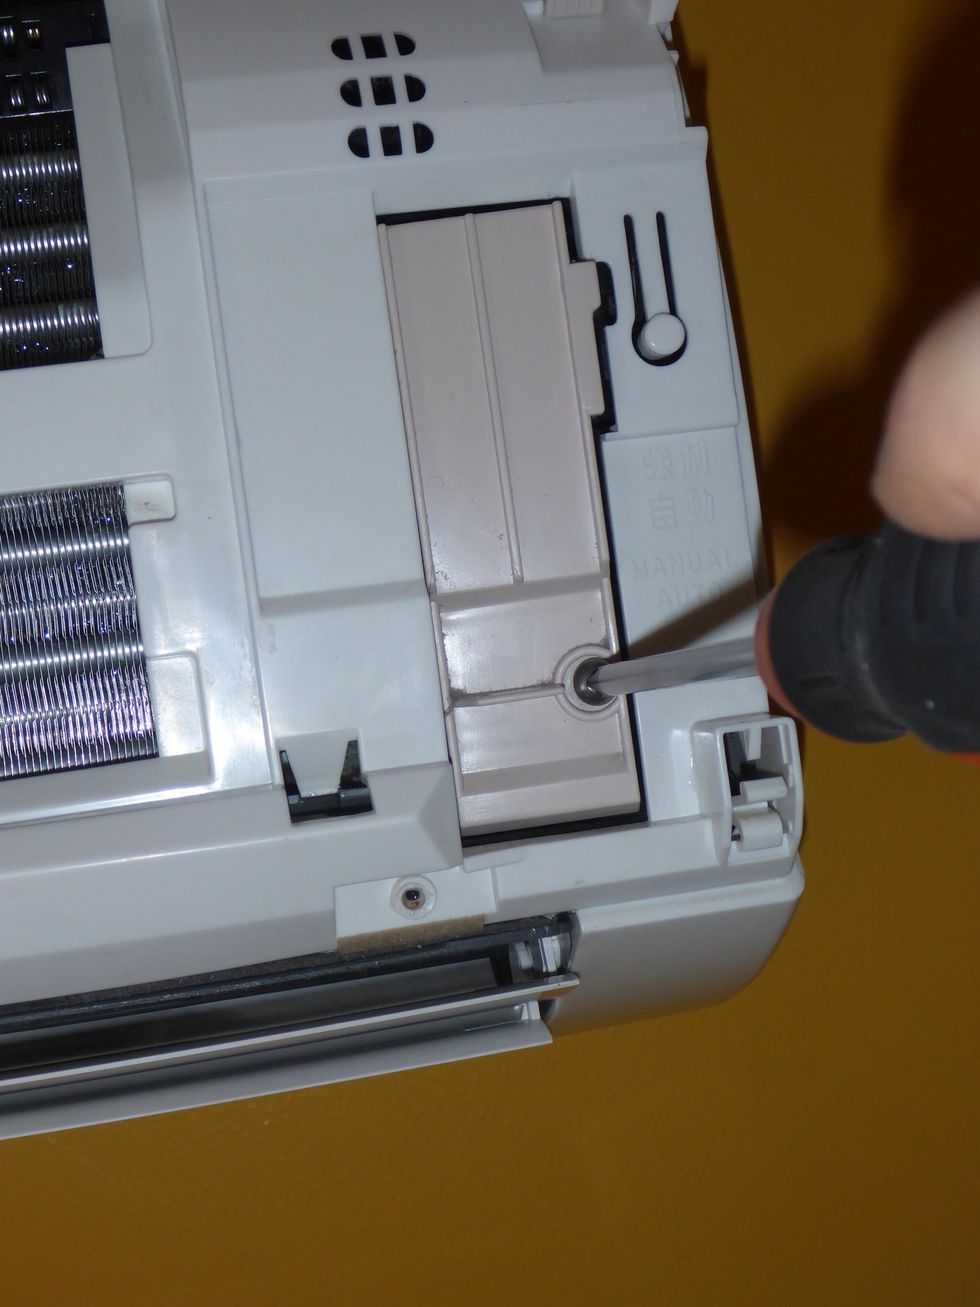
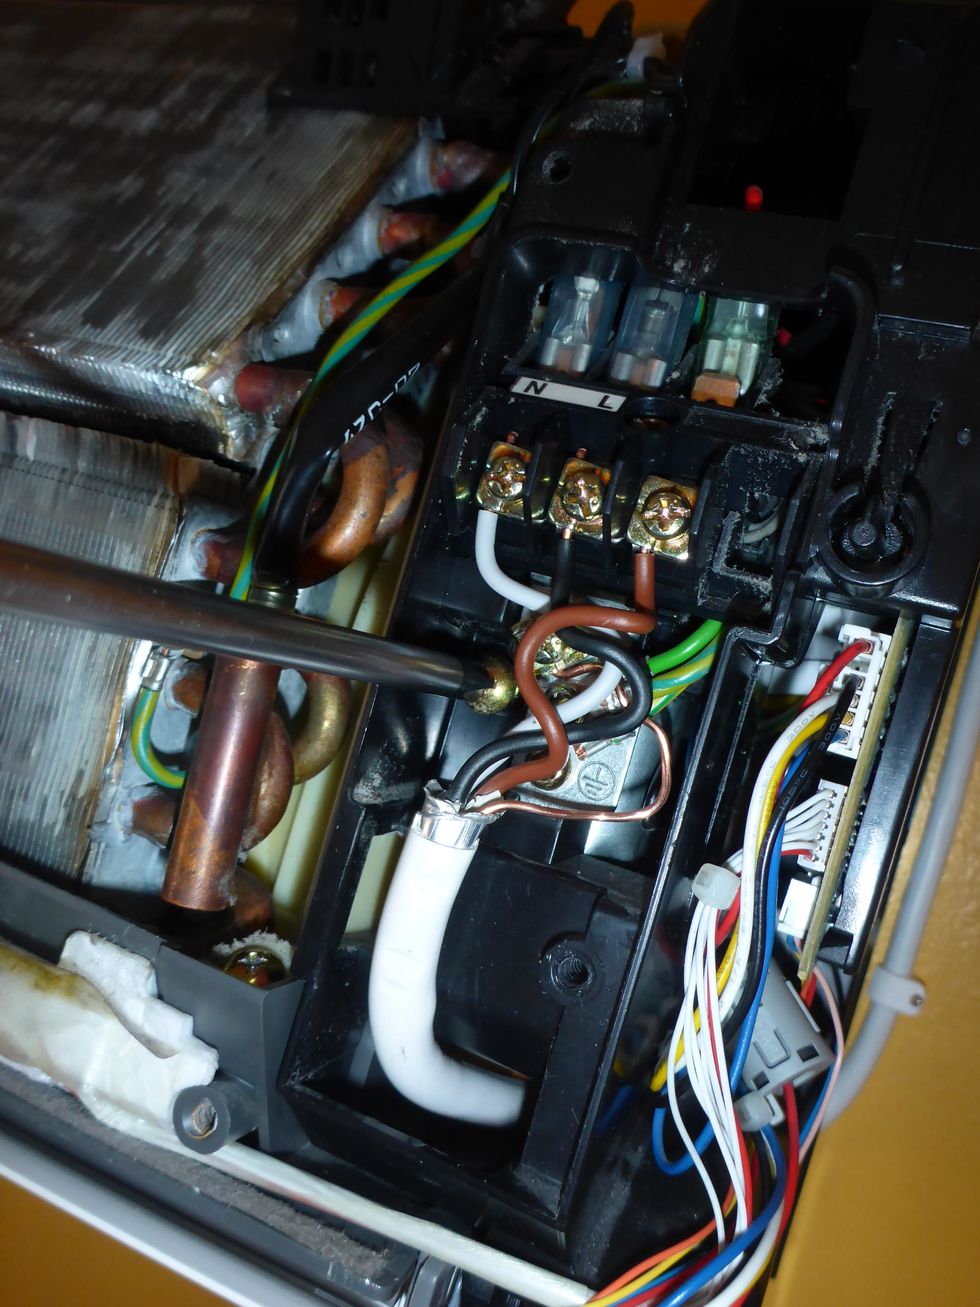
Remove the electrical terminals cover.
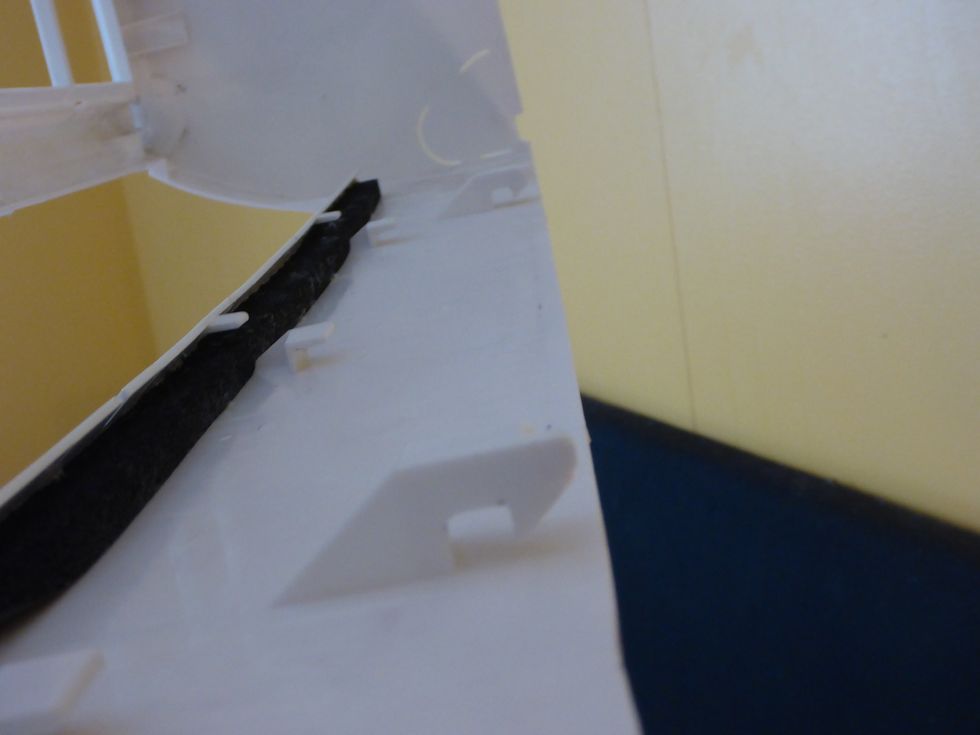
The chassis is held in place by plastic tabs. The top tabs look like this when the chassis is removed.

Locate the tabs. Push up with your thumb from inside the unit and pull towards you to release them.
These are the bottom tabs.
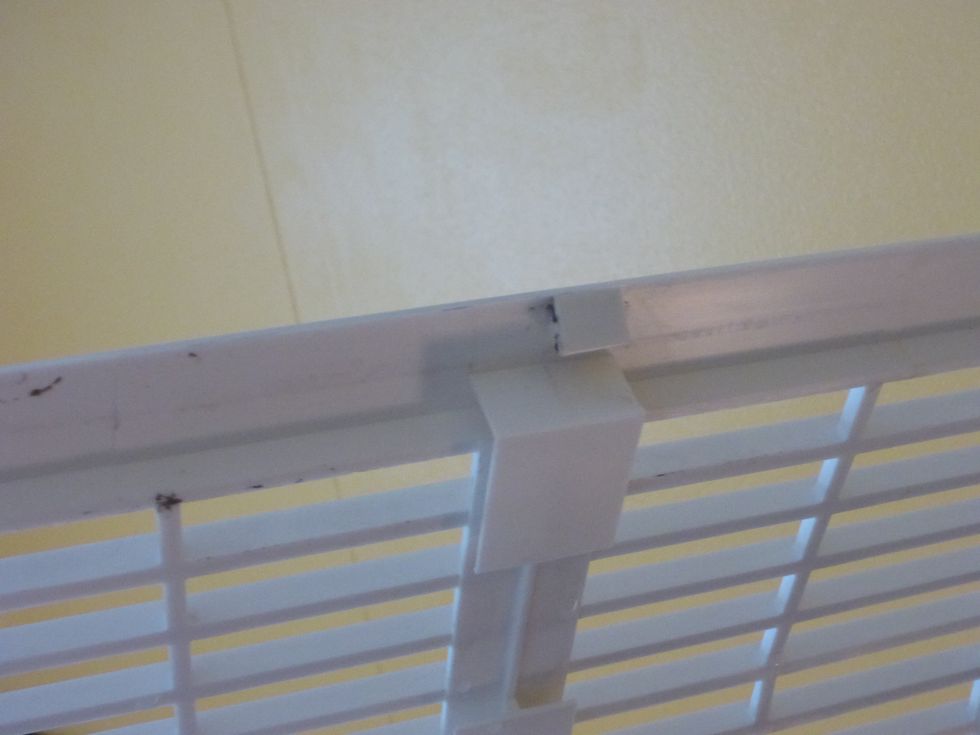
Locate the locking tabs. The location usually marked with a line or an arrow in the plastic. Push up, and pull towards you. Once all tabs are free, it will release.
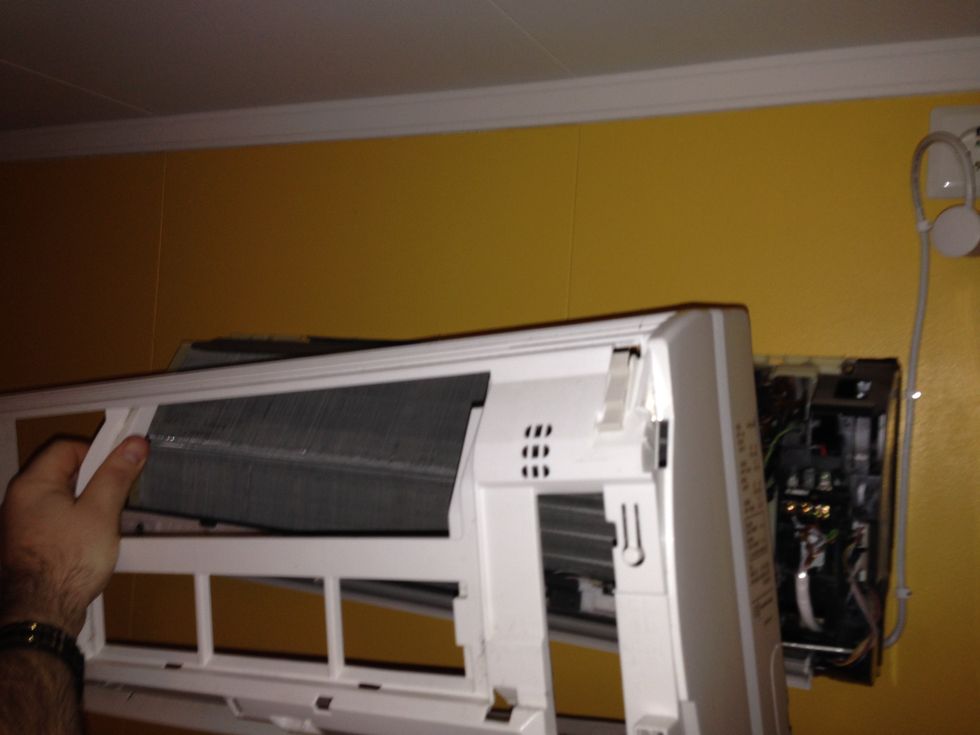
The chassis should come off easily.
The intake air temperature sensor pulls allmost straigth off. Just wiggle a bit and pull gently.
If you're just cleaning the unit, you can skip the next few steps. On my unit, the crossfan made a scratching sound which needed further disassembly.
Remove the Circuit board unit screw. Notice that this screw also locks the fan motor bracket below.
Remove this crossfan/circuit board assembly screw.
And this one.
Remove the electrical connections. As you remove the cables, notice how they're routed for easy reassembly. Some connectors may have a locking tab. Release by pushing at the cable end as illustrated.
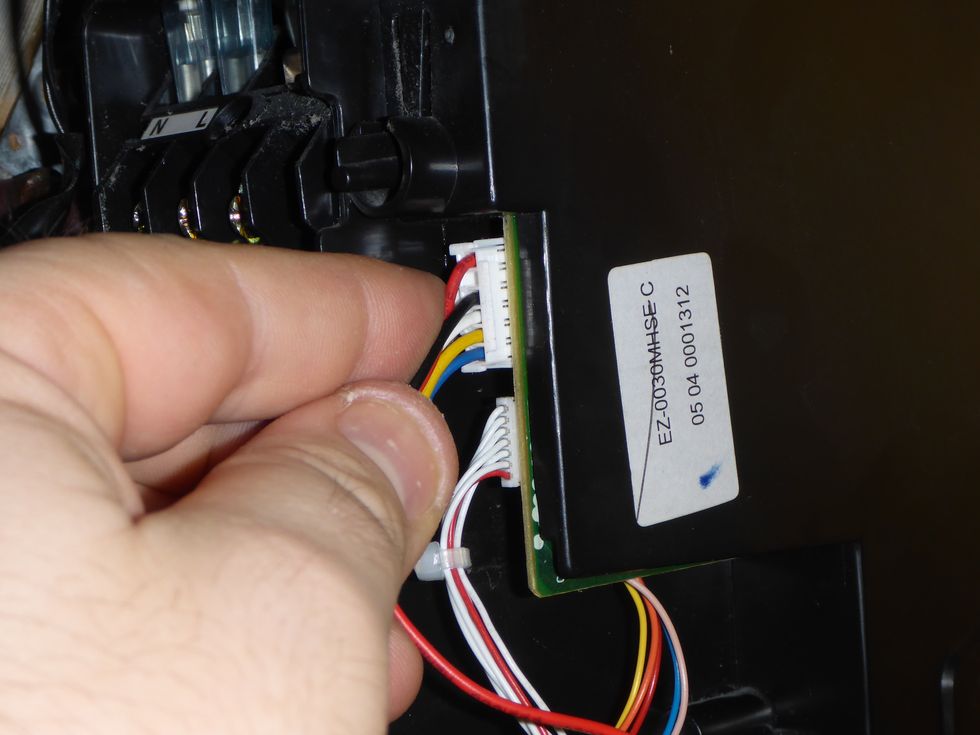
Release and remove the fan motor connector.
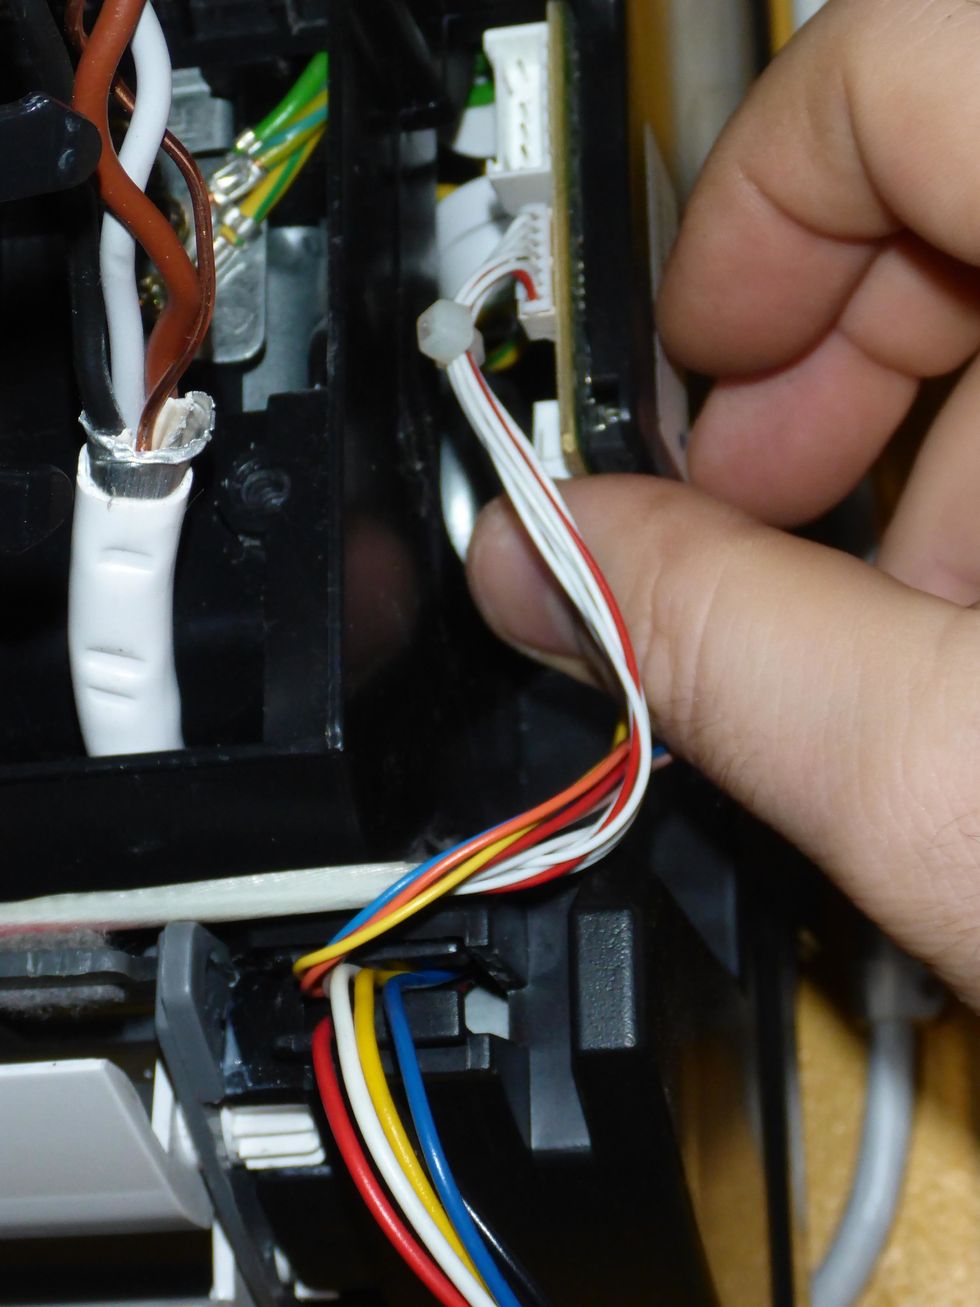
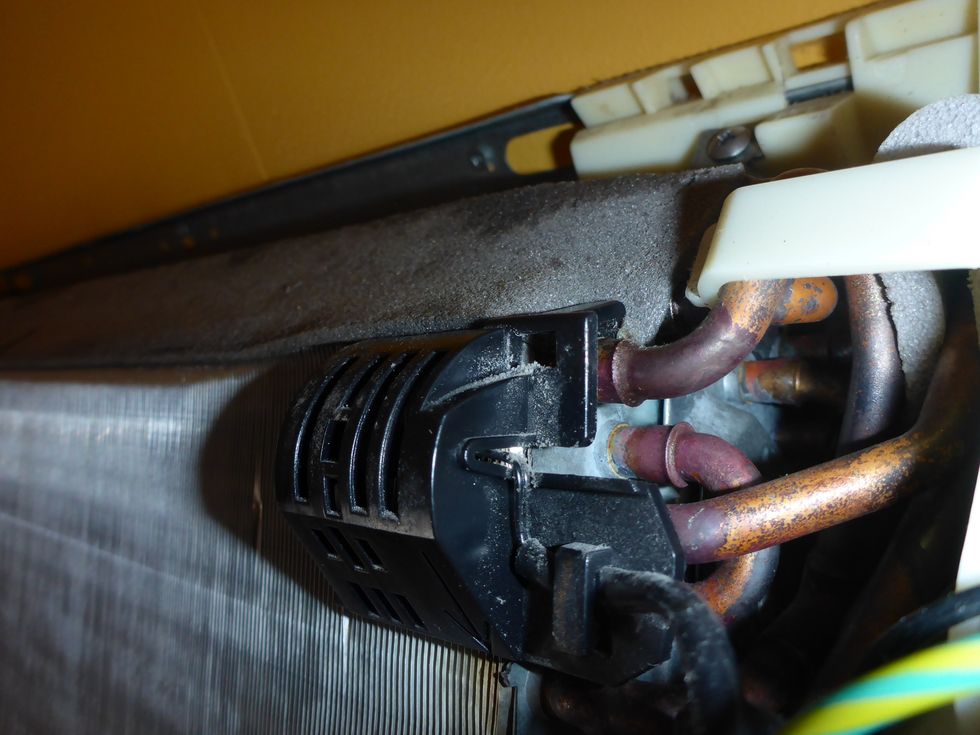
The air vent motor is connected on the bottom of this boad. Wiggle the connector loose. Do not pull the cables, do not use excess force.

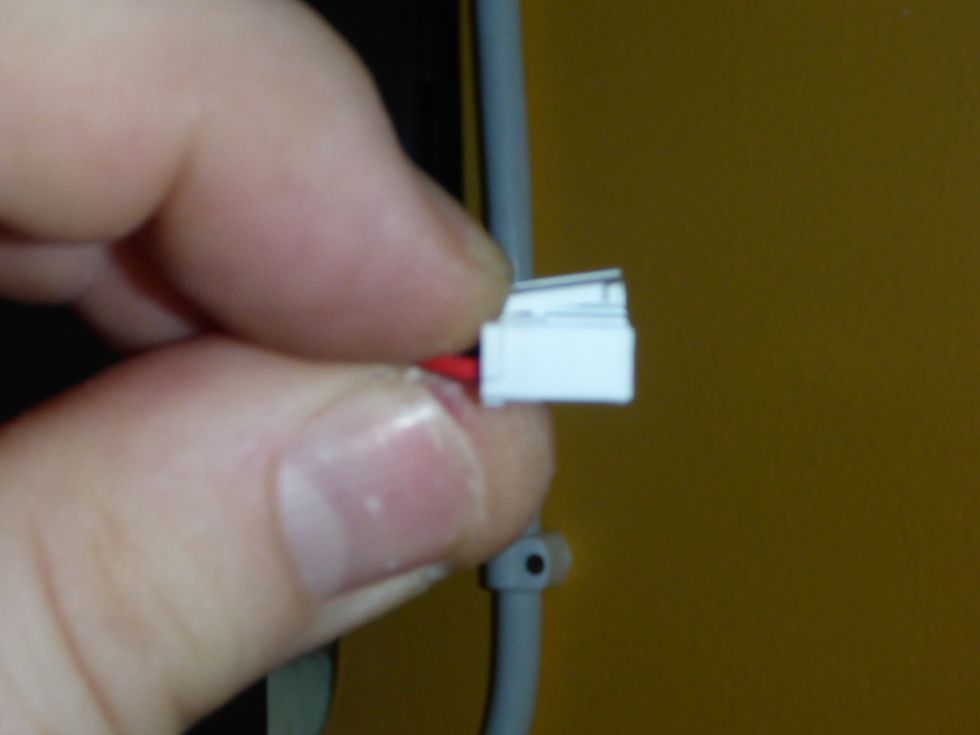
Remove the led and IR-receiver connector. Wiggle the connector loose, do not use excess force, and do not pull the cables.
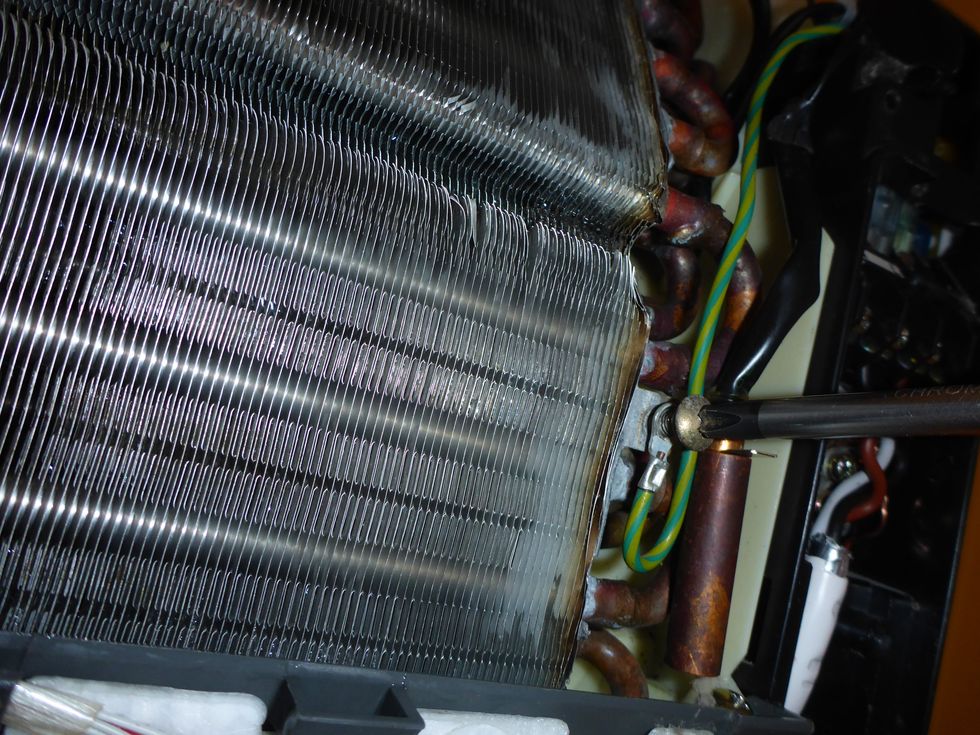
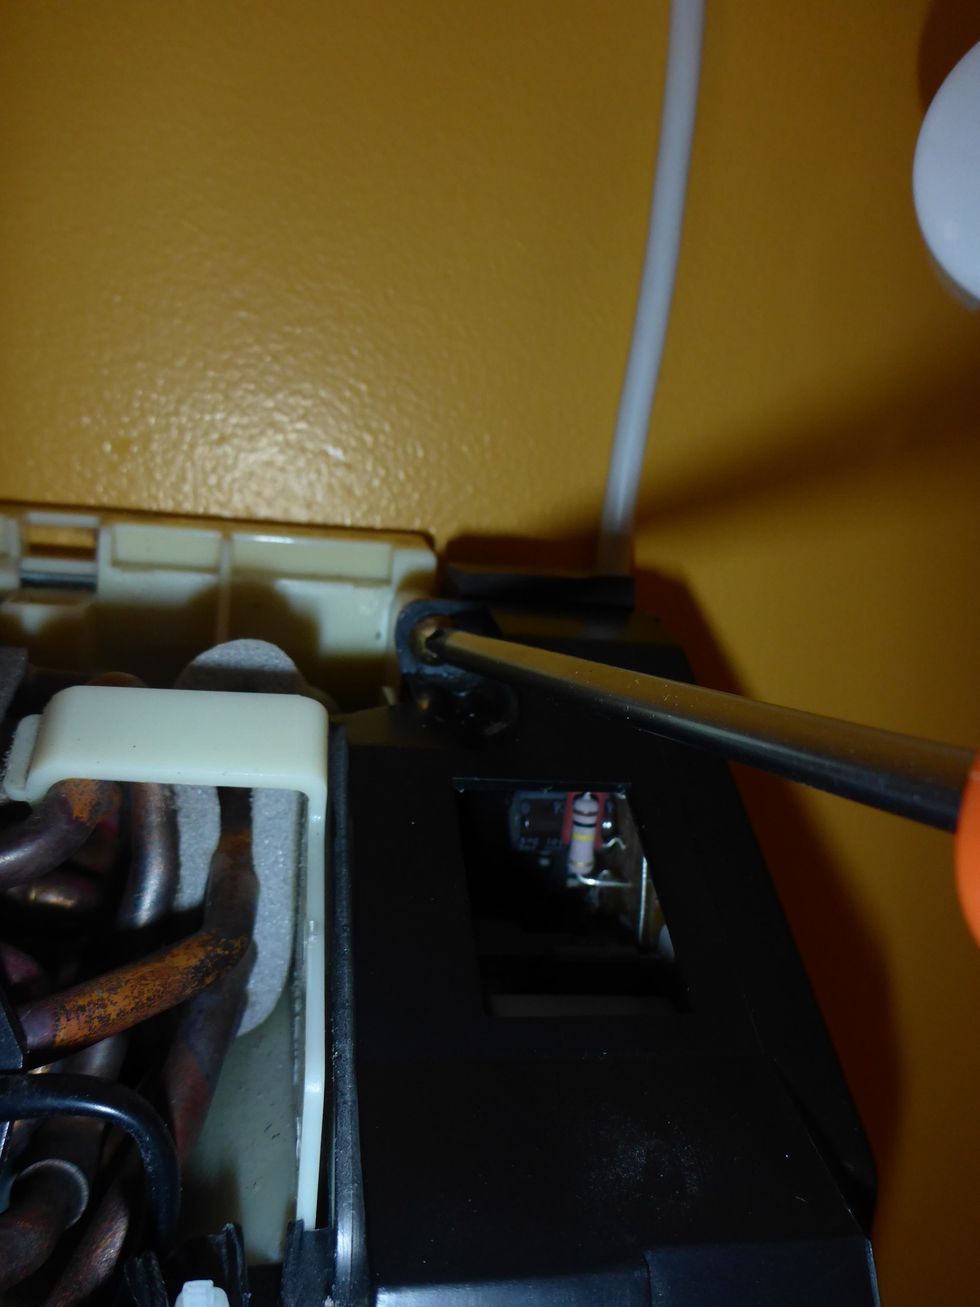
Disconnect the grounding cable. Notice that on this model, this screw is shorter than all the others.

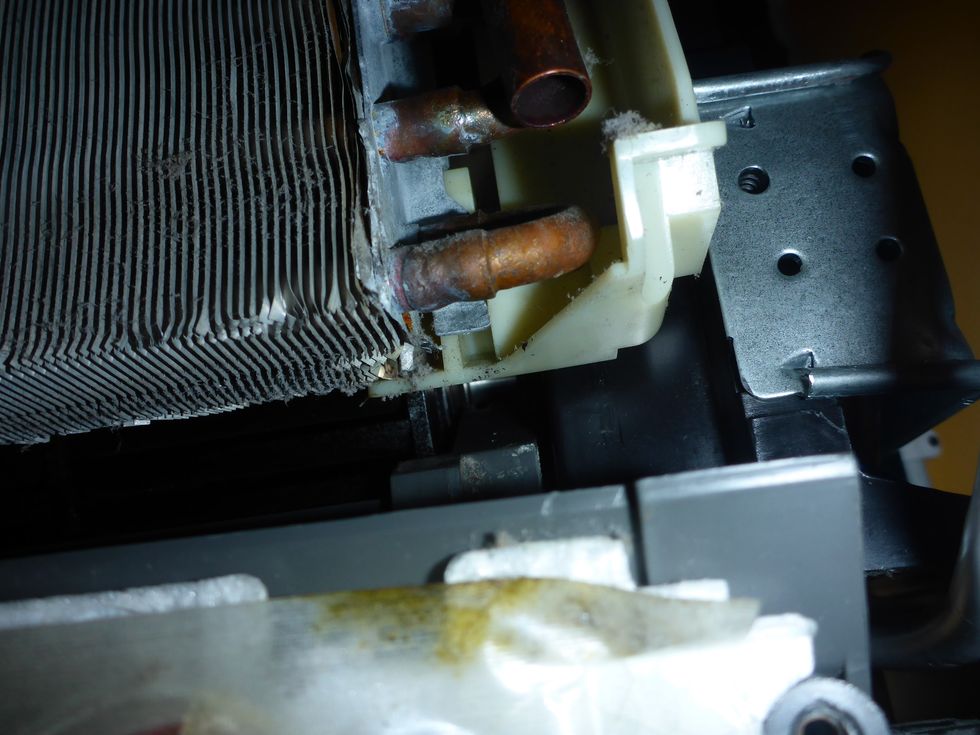
Pull the locking pin and temperature sensor out of the socket.
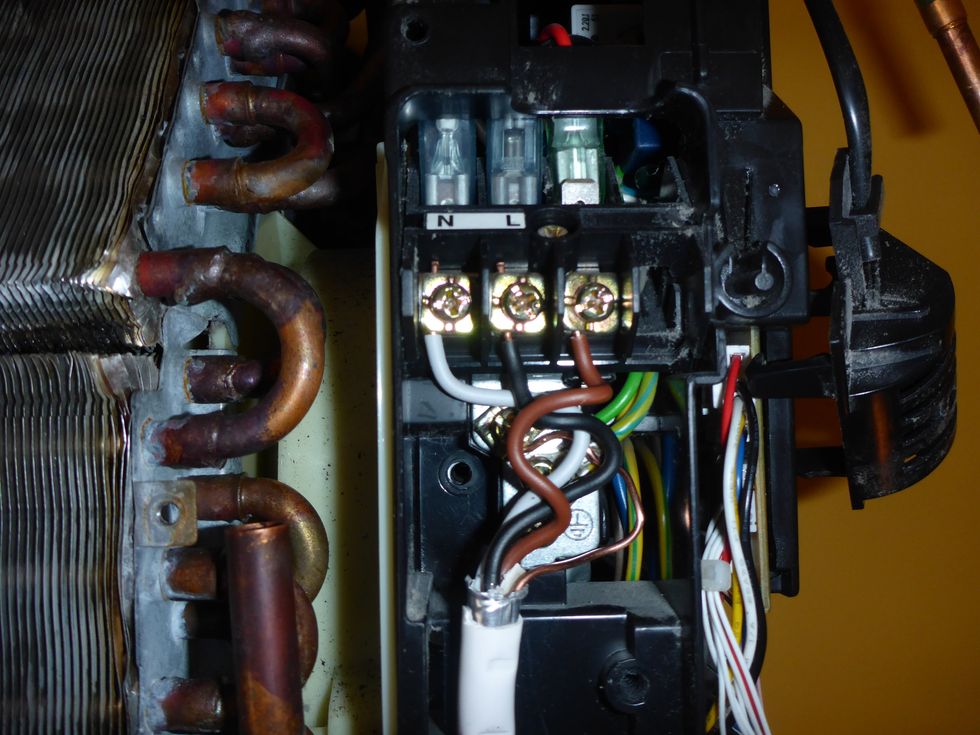
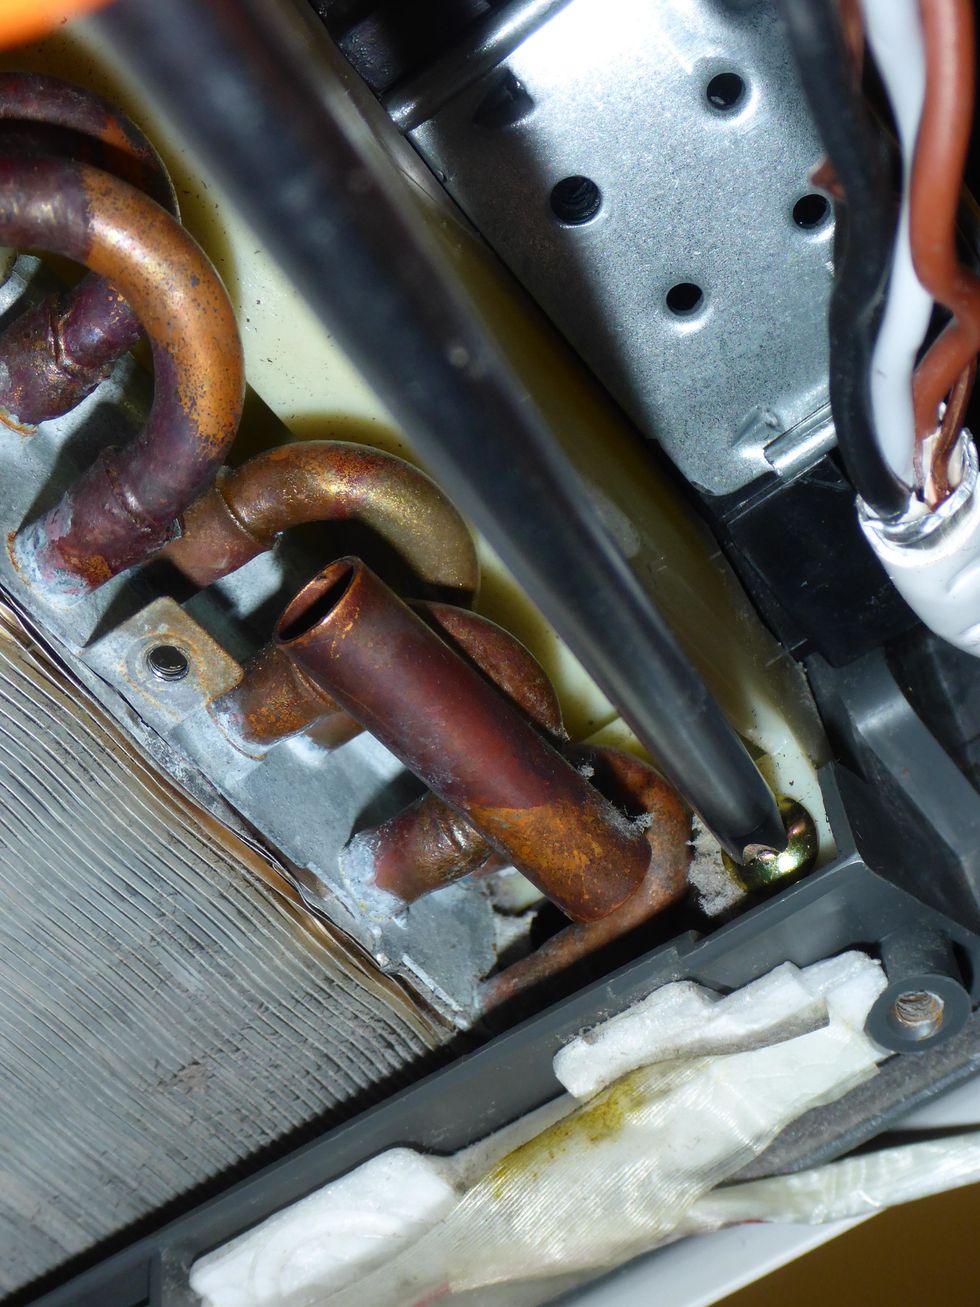
Disconnect the outdoor unit cable from the terminals. Make sure that you know which cable goes where. Color codes may vary between installations.
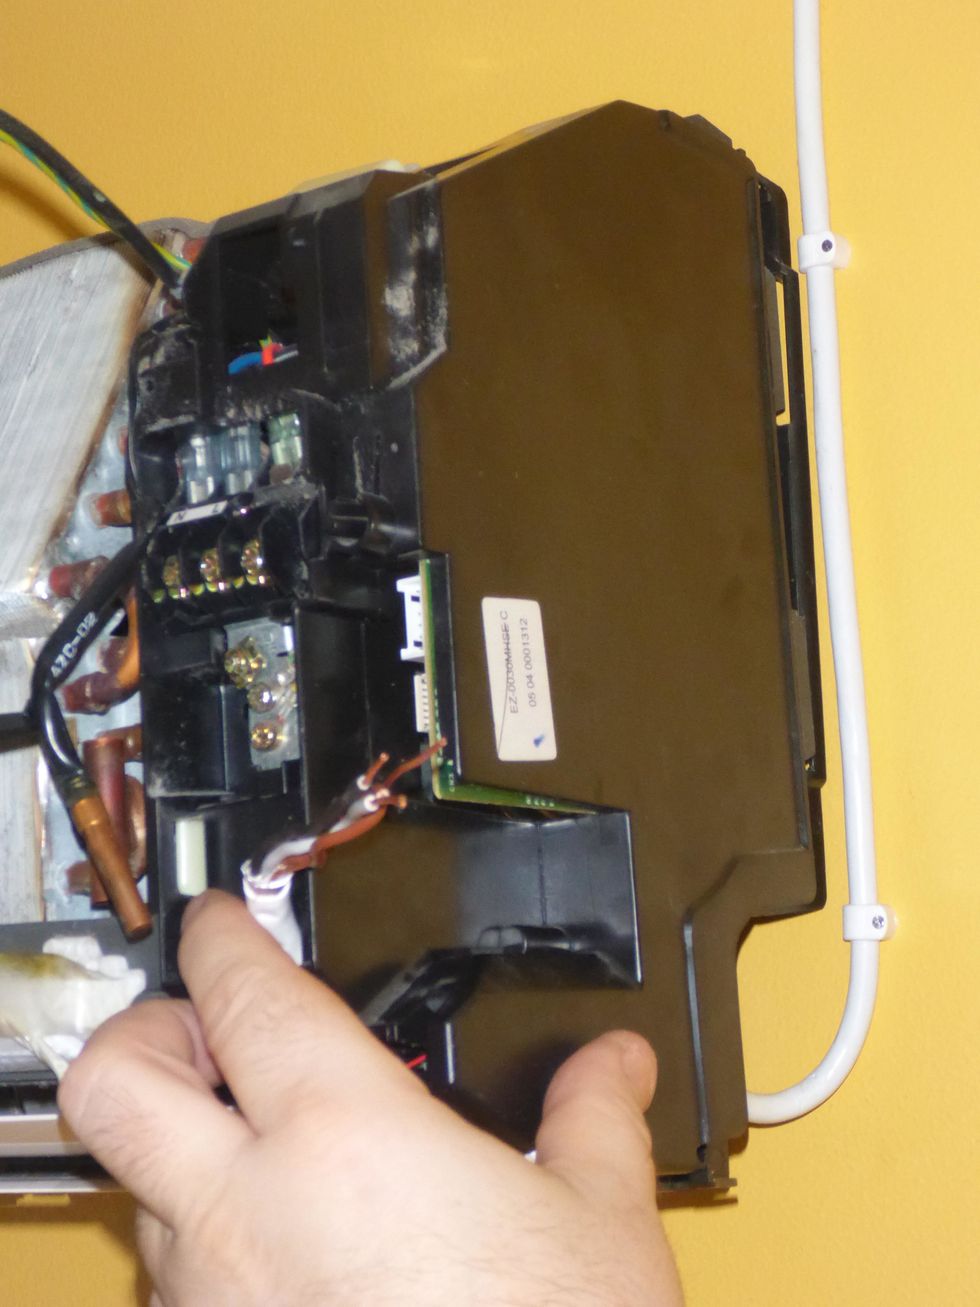
The circuit board unit should come off.
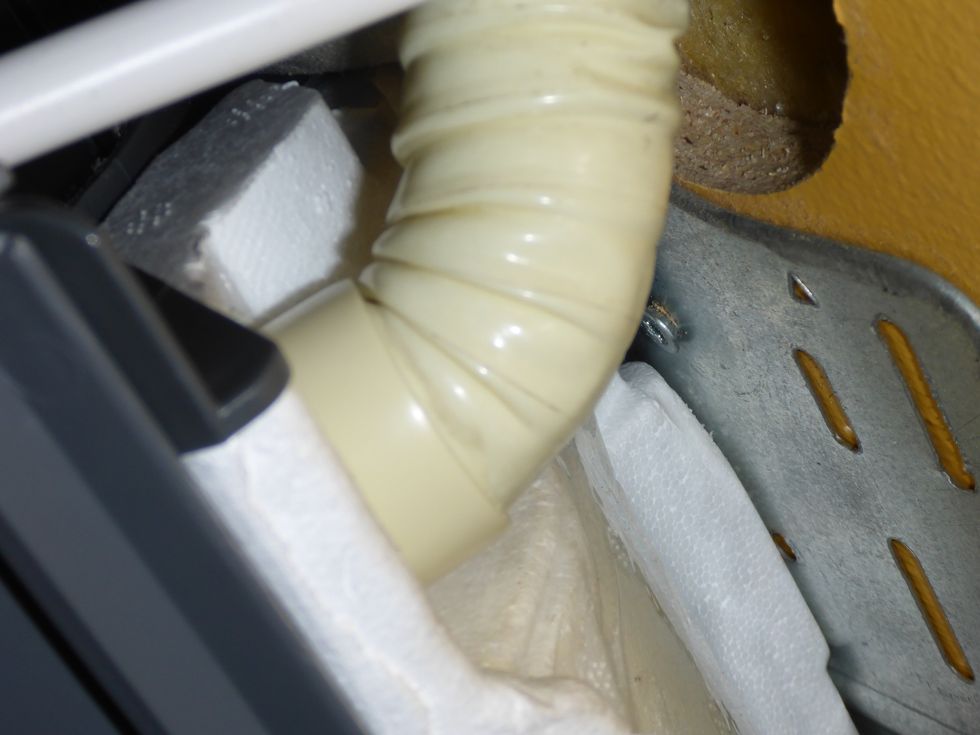
Disconnect the drain hose from the crossfan assembly by wiggeling and pulling towards the wall. Notice that some units have a locking screw on the drain hose connector. Use a mirror/camera to peek.
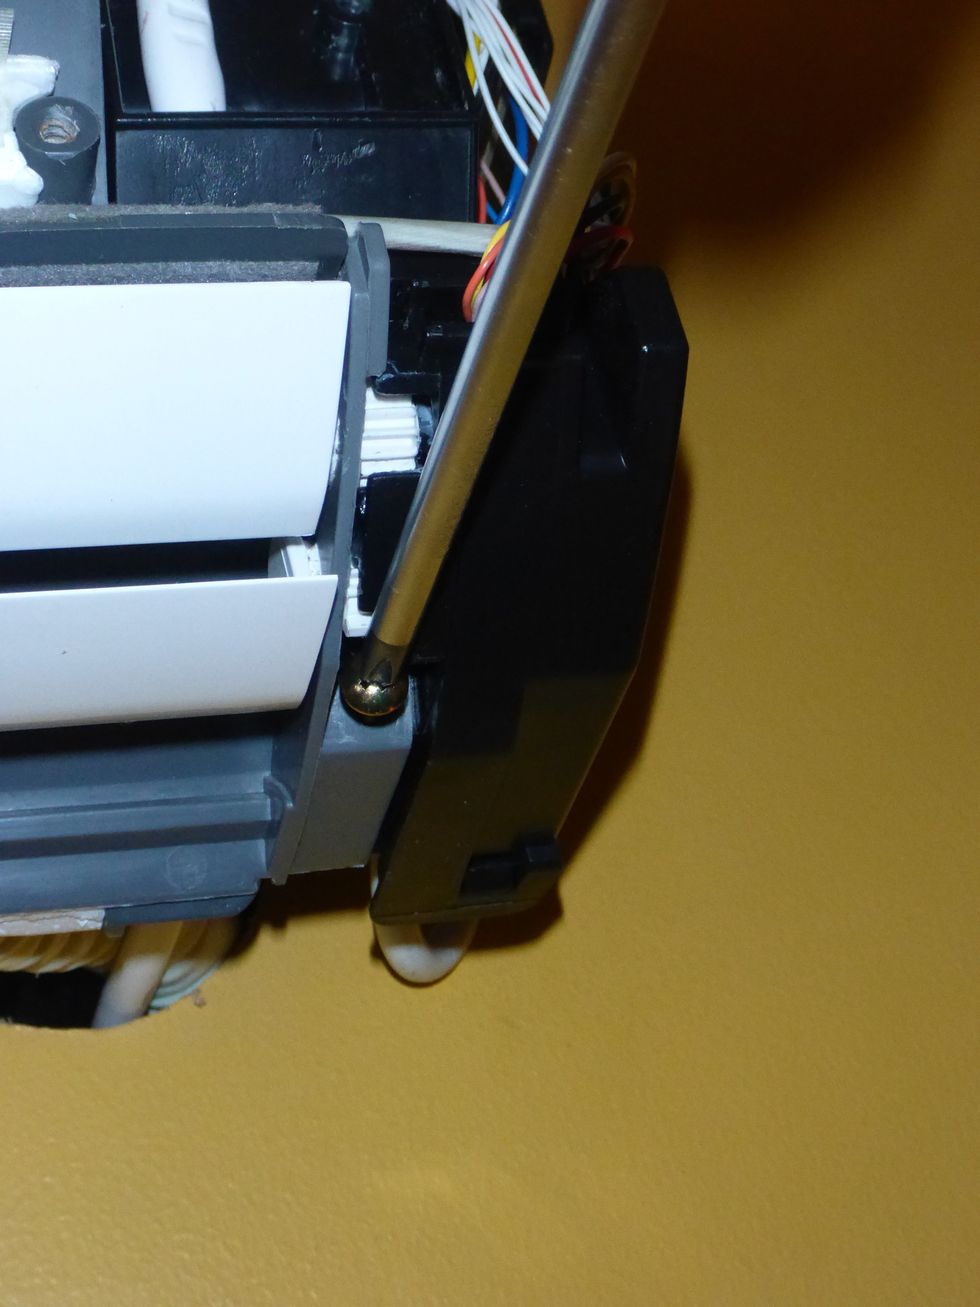
Remove this crossfan assembly screw.
And these two.
With some gentle wiggeling, the crossfan assembly should pull straight down and come off.
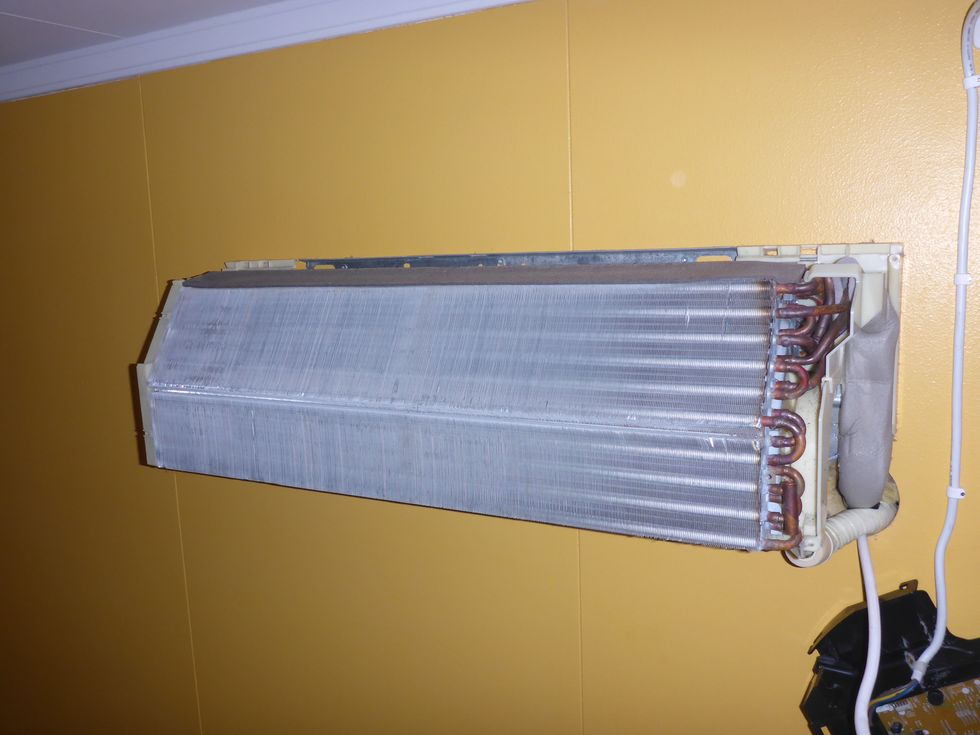
Which should leave you with the heat exchanger left on the wall, and the circuit board box hanging from the power cord.
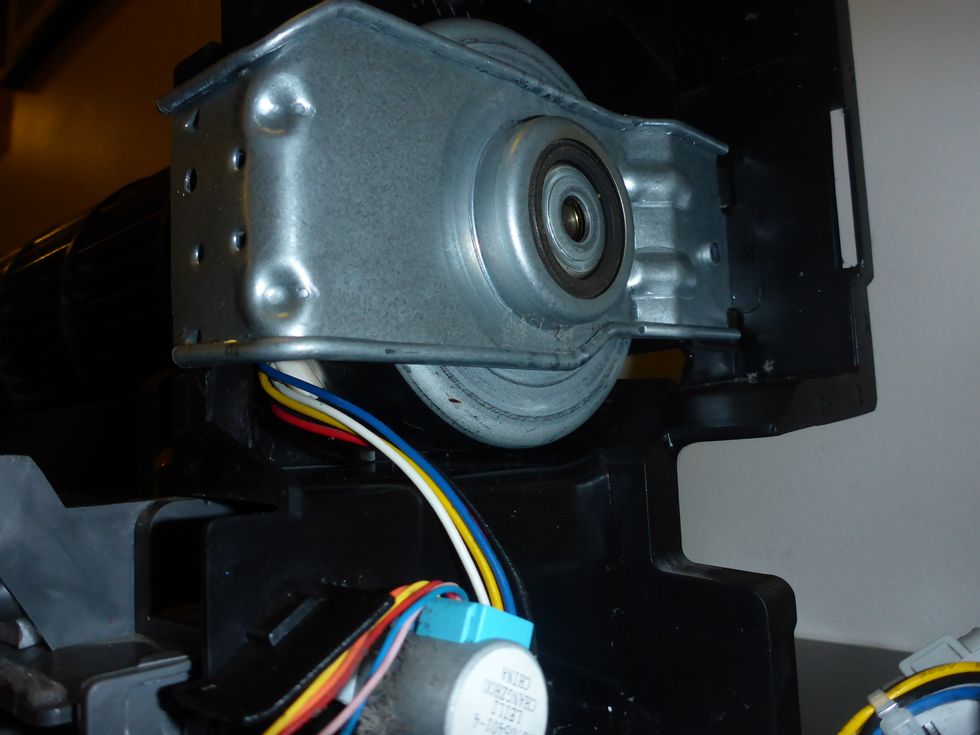
The fan motor should look like this. I've seen cases where the motor and it's connector has been rotated clockwise, which causes the motor axle to be slightly tilted (will lead to failure).
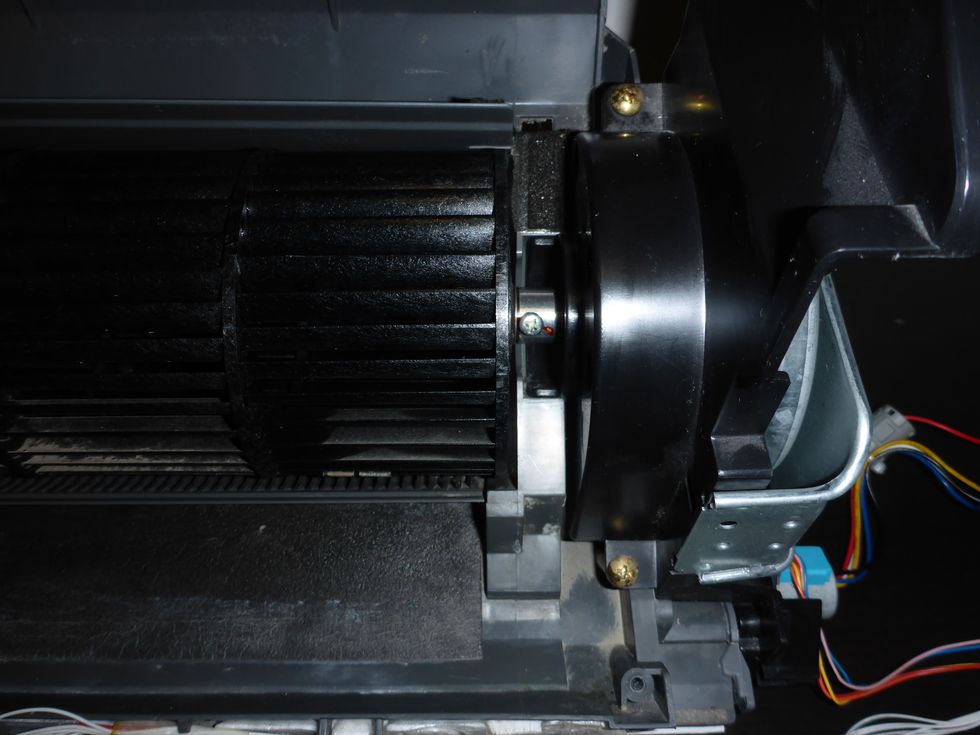
On my unit the crossfan was too close to the chamber wall. An easy fix: Loosen the fixing screw on the motor axle, and slide the fan a little to the left, then tighten.
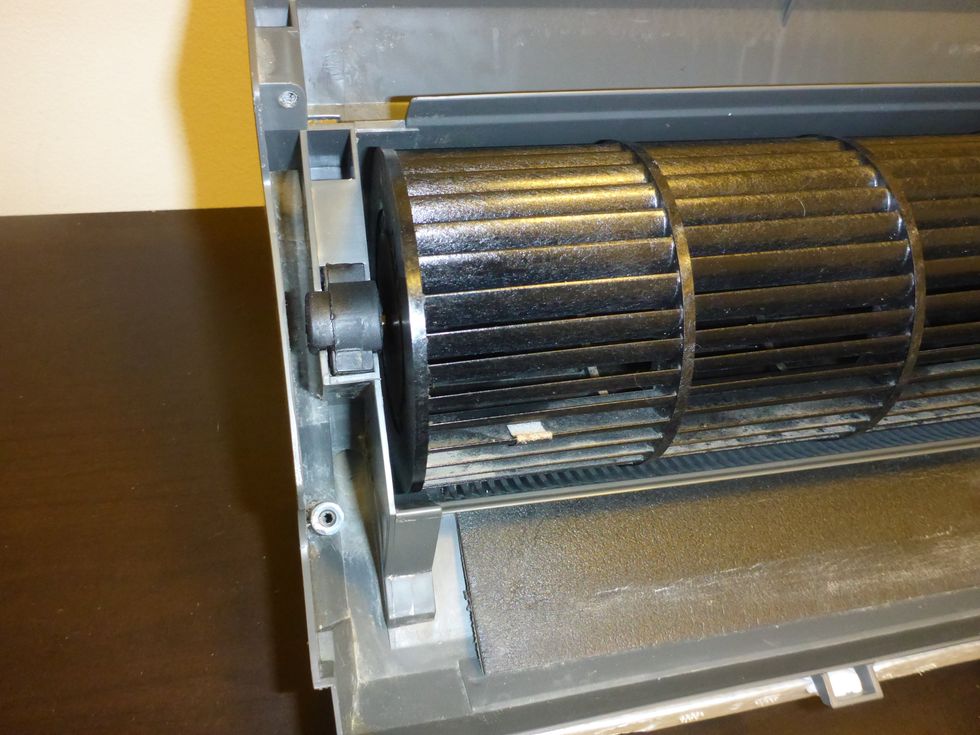
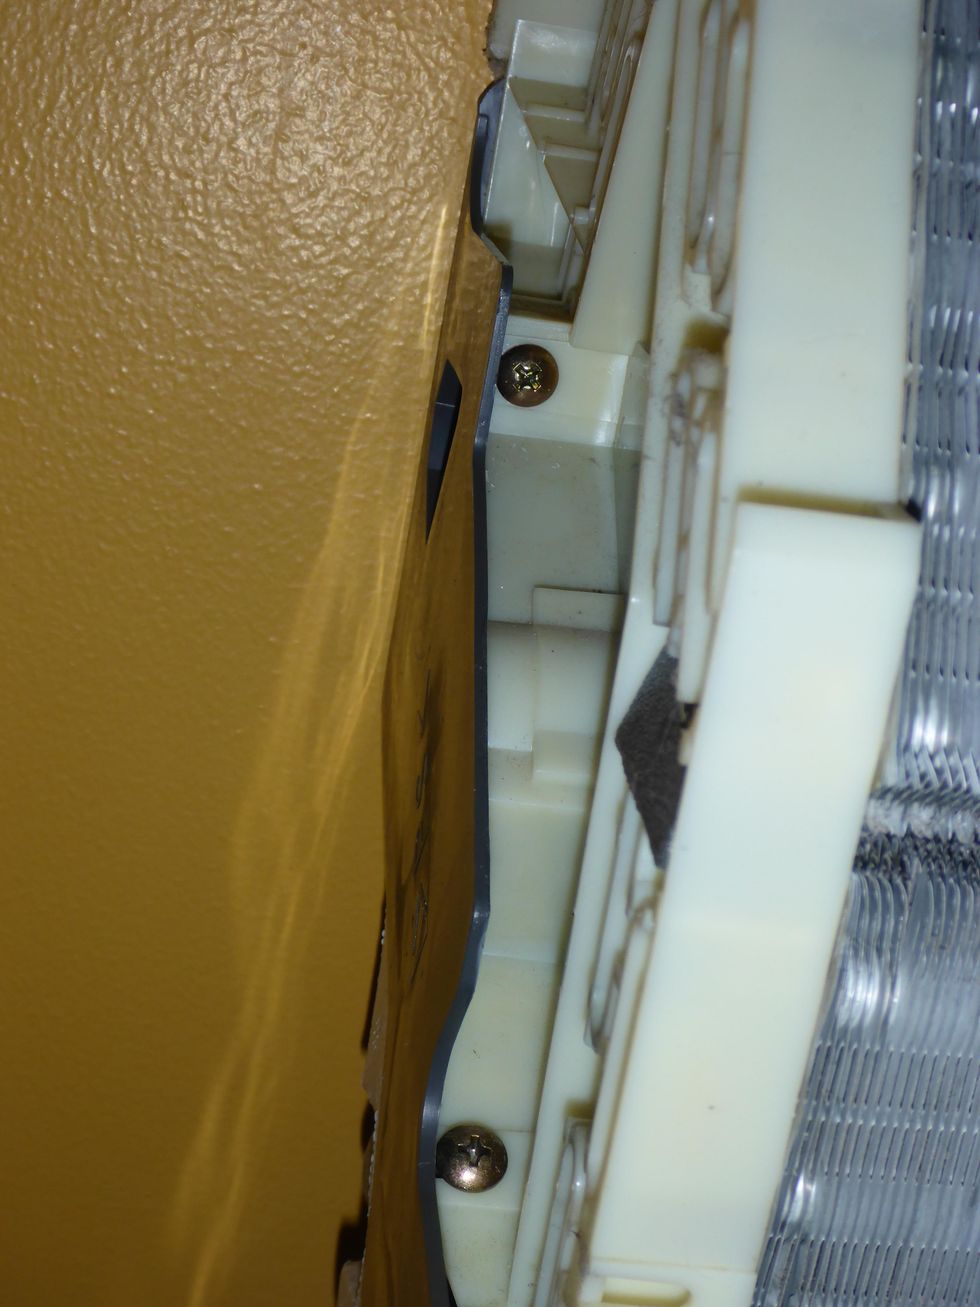
The gap on the left side should be about the same size.
At this point, you can easily remove the crossfan and clean it. It also allows you to clean the chamber properly. Just loosen the fixing screw and release the motor bracket. It should come apart.
Reassemble in reverse order back to step 13.
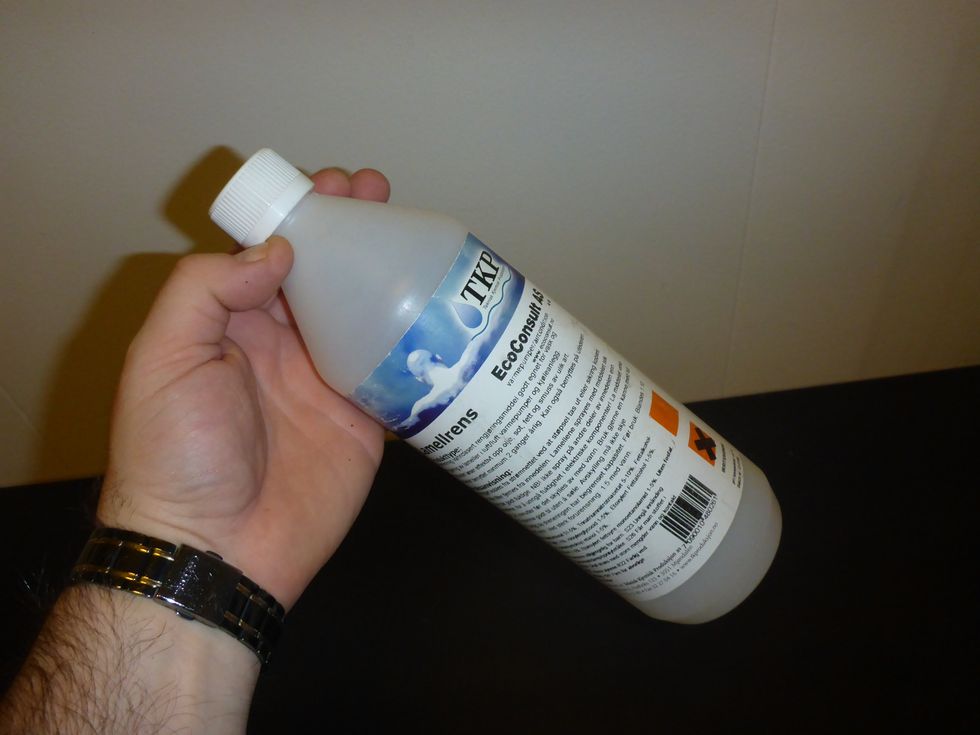
Use only approved cleaning chemicals. If you don't have any, it's safer to use just warm water. Wrong chemicals may damage your unit.

I use a pair of these bottles. One with a cleaning solution, and one with warm water to rinse off.

Spray all sides of the heat exchanger and let the solution sit for a few minutes. Rinse with warm water and repeat, then rinse untill most of the cleaning solution is gone from the drip pan.

Use lots of water, but avoid flooding the drip-pan. Let it drain before rinsing more.
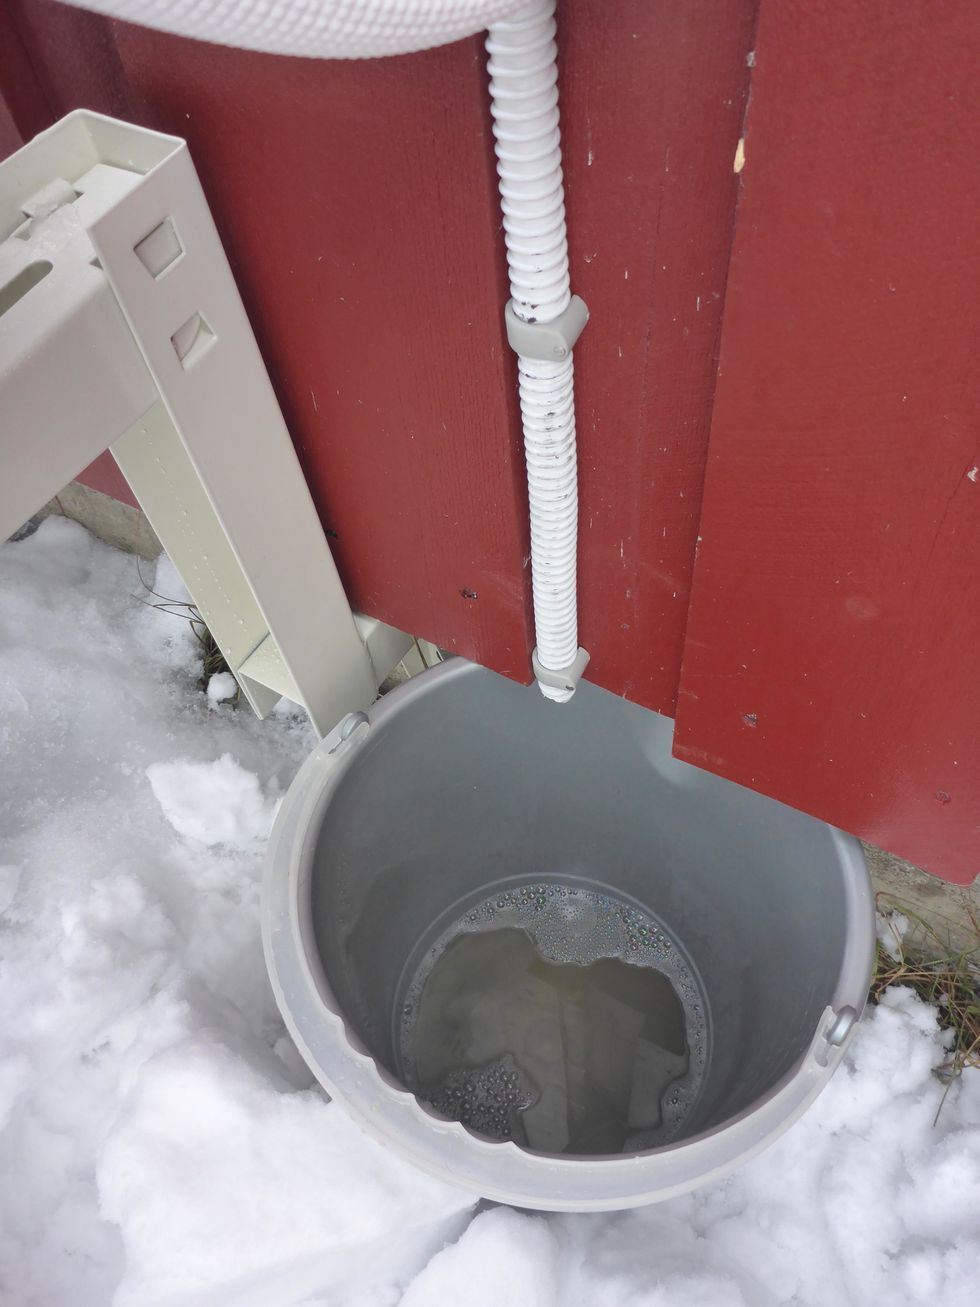
For the heck of it, collect the soiled water from the drain hose. You'd be surprised how dirty it is. This AC unit wasn't all that dirty. I rinse untill the draining water looks clean.
Reassemble in reverse order from step 12 back to the start.