STEPS
TOOLS
WARNING - I have no idea if this voids any warranty with the manufacturer. Having said that, I personally feel much better having cleaned this.
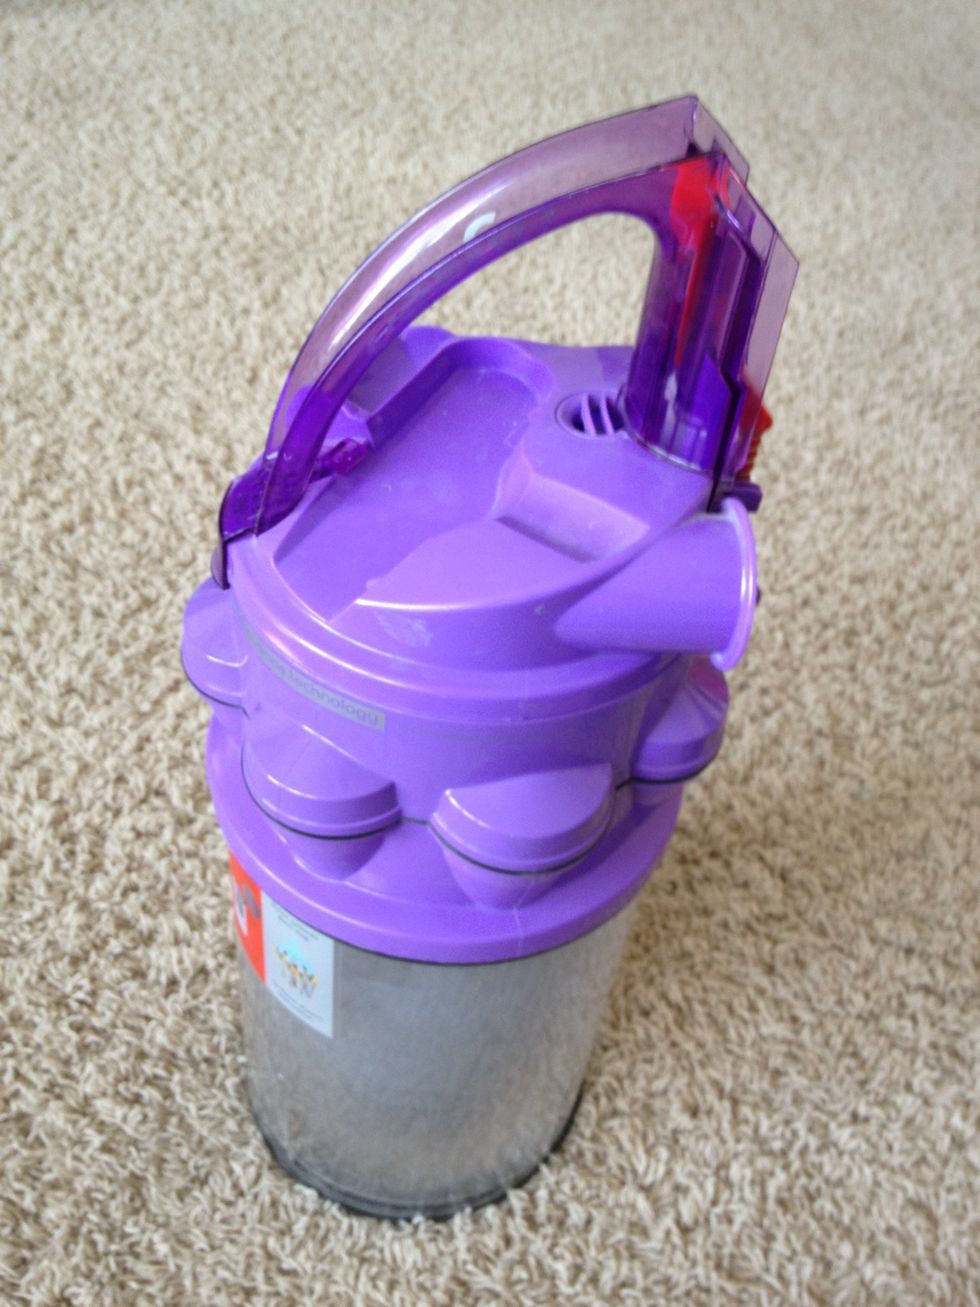
Remove the cyclone sucker from the Dyson chassis and empty as much filth as possible.
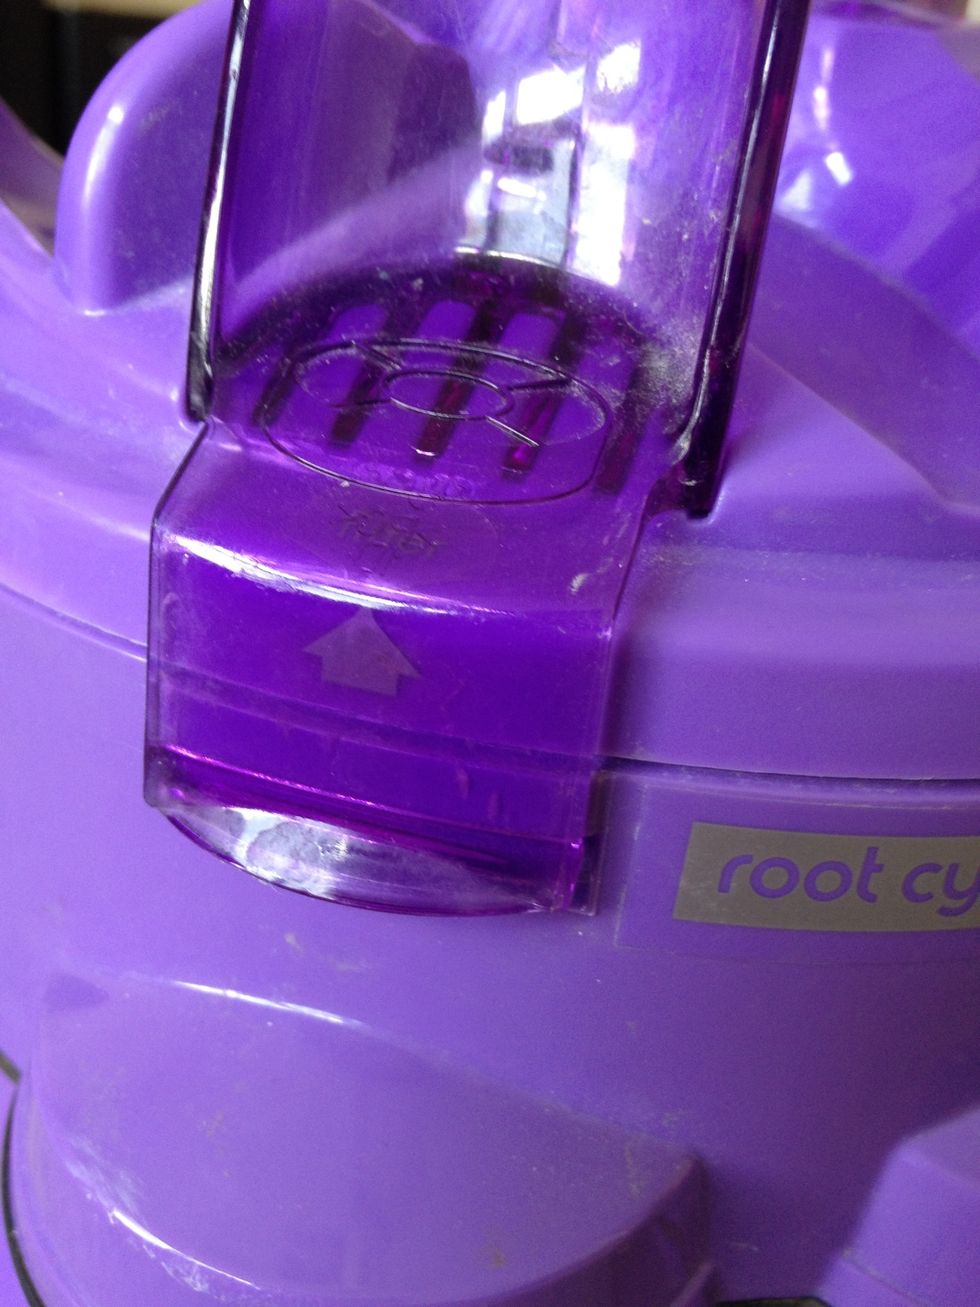
Pry open the lid on the top here to get to the filter.
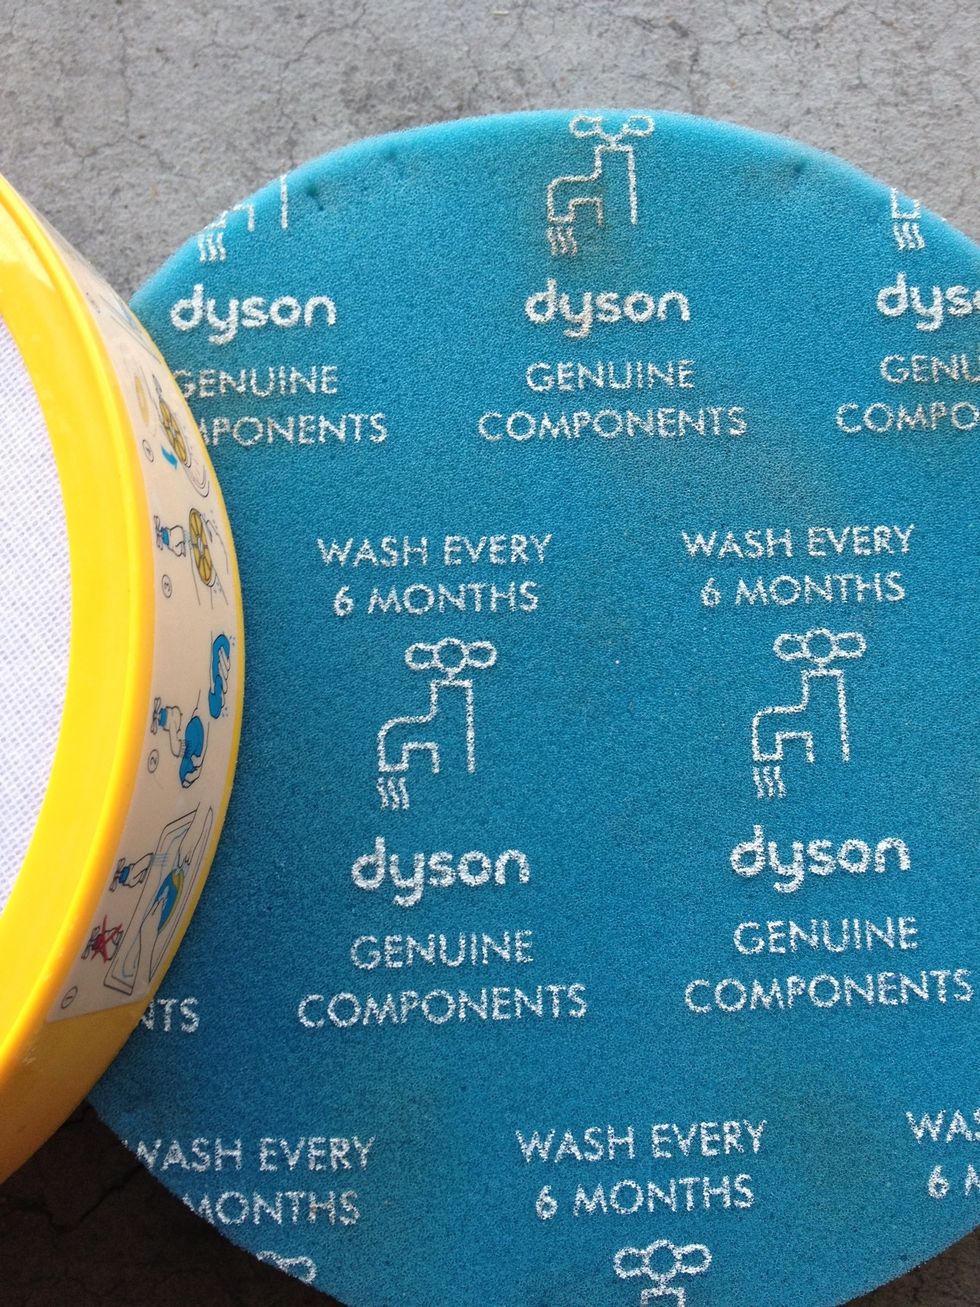
Inside you will find the filters. For some reason I think you should responsibly clean these every six months or so. Mine may have gone a little long. I'm guessing 18.
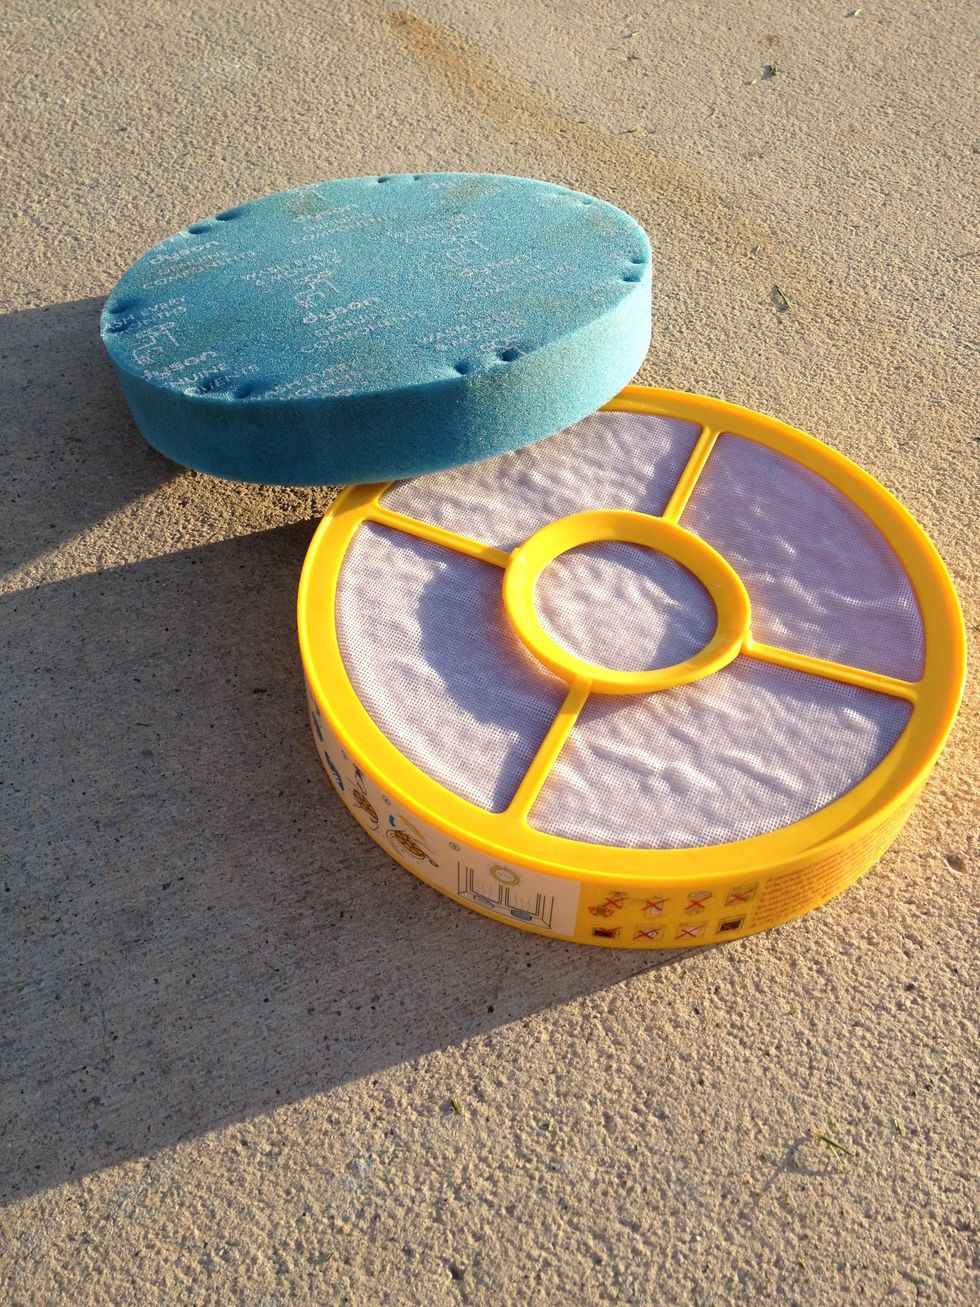
Rinse filters in cold water and let sit in the evening sun casting long shadows for dramatic effect. Then wait about 24 hours to dry all the way.
But what about all the nasty hair and effluvium still stuck up in the filter where you can't reach? And what about the fine particle build up inside the cyclone cylinder? Read on intrepid adventurer!
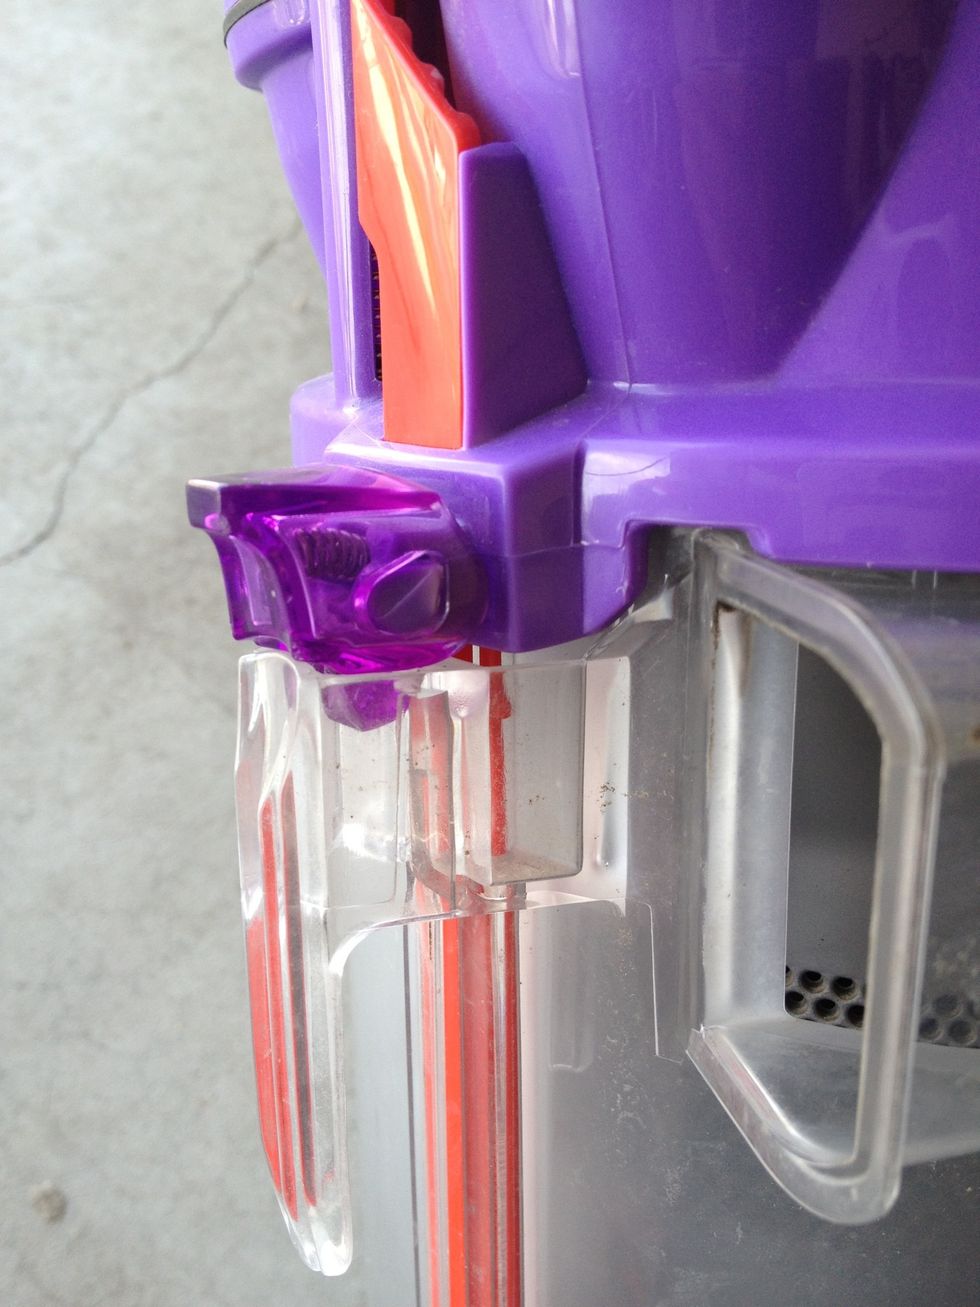
Start by pressing this little lever with your finely suited precision grip hands and remove the clear plastic housing from the cyclone filter.
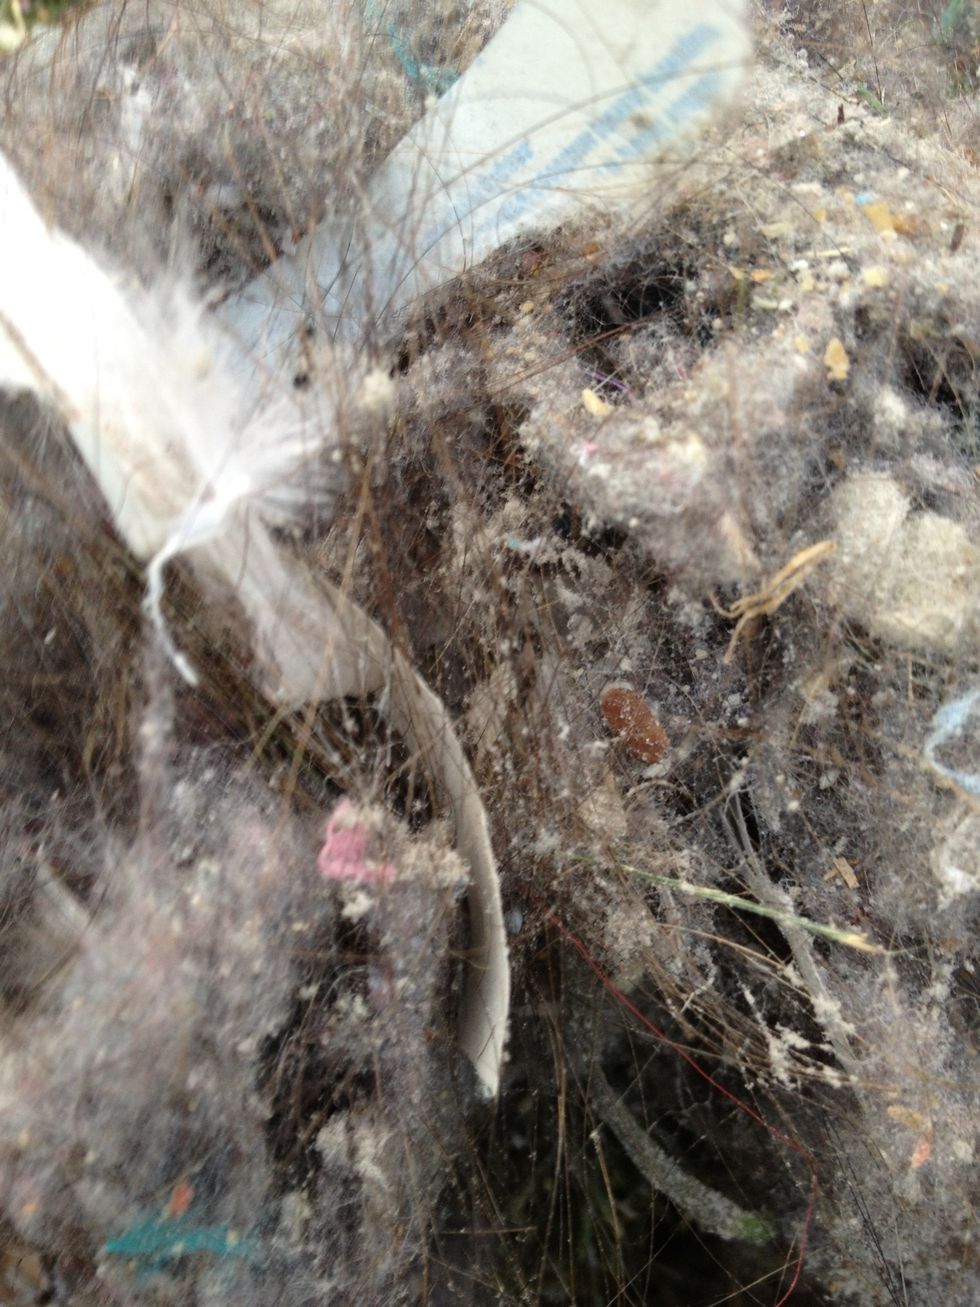
This heinous scene is what was trapped up in the cylindrical housing and the cyclone factory.
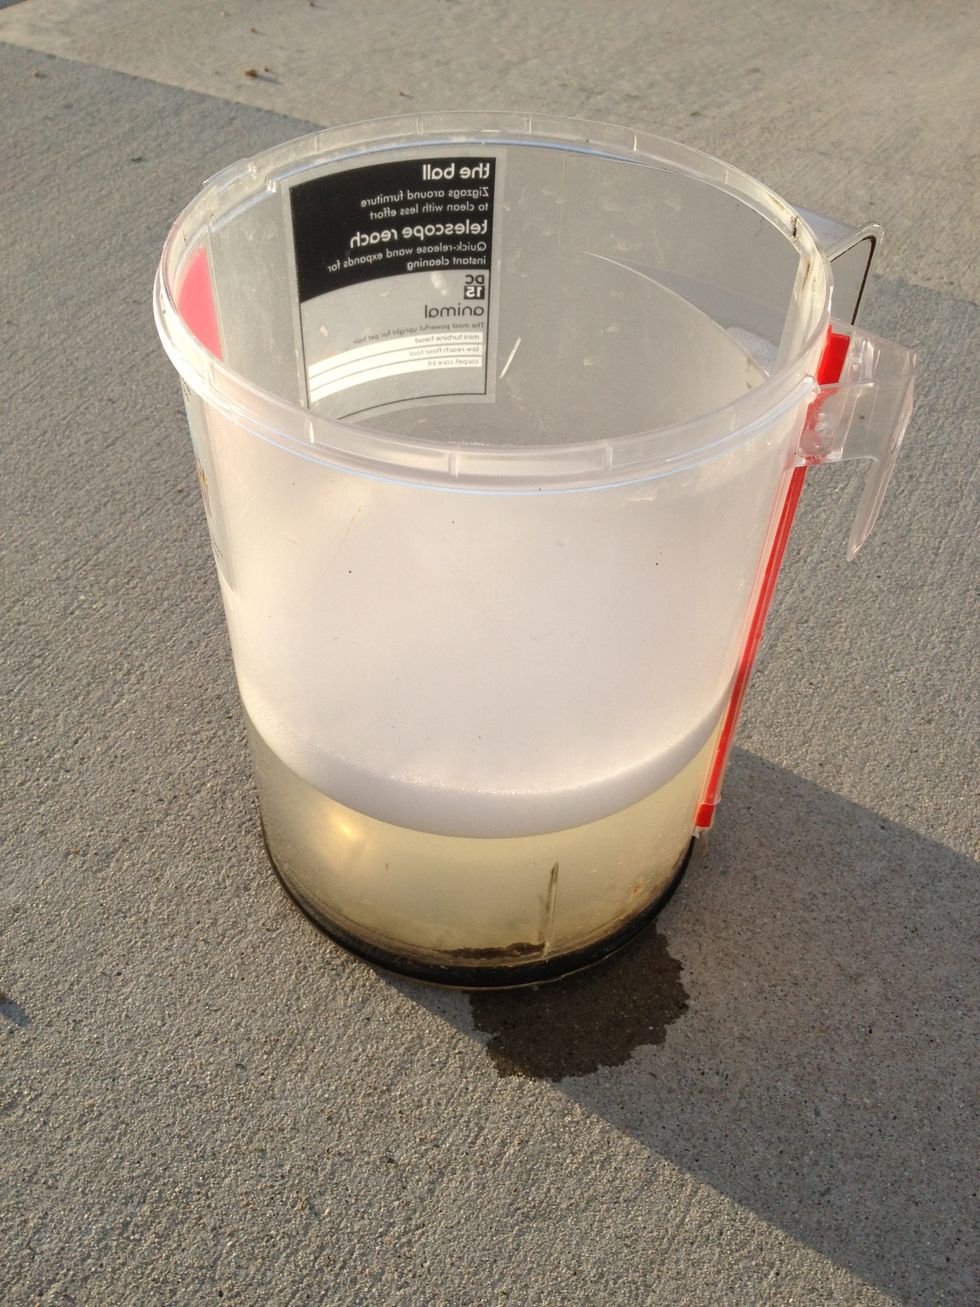
The main canister I had to let soak to loosen the fountain of filth.
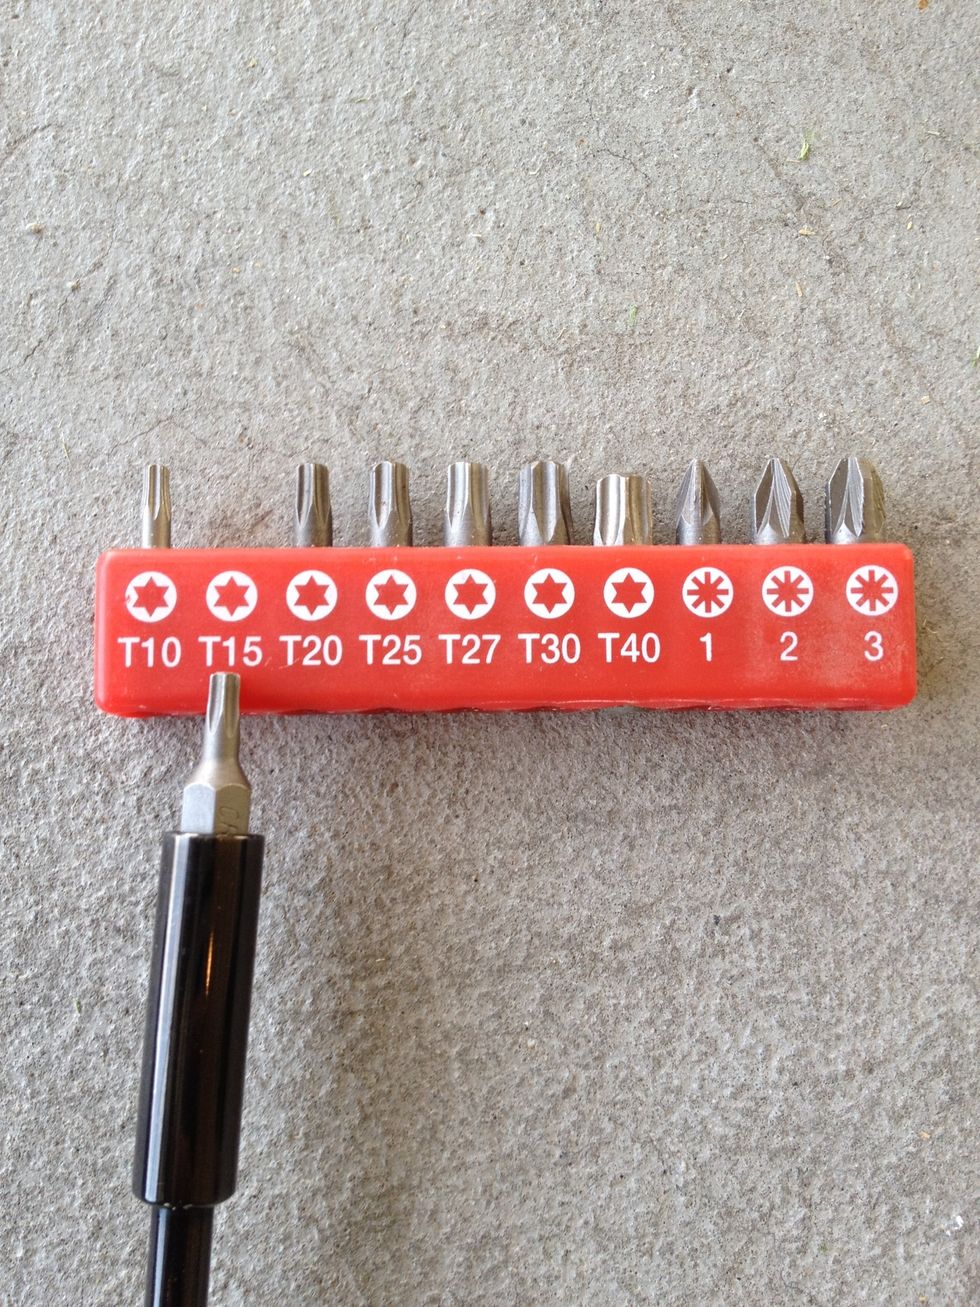
To proceed you must arm yourself with one of these crazy tools. I'm using a T15 top.
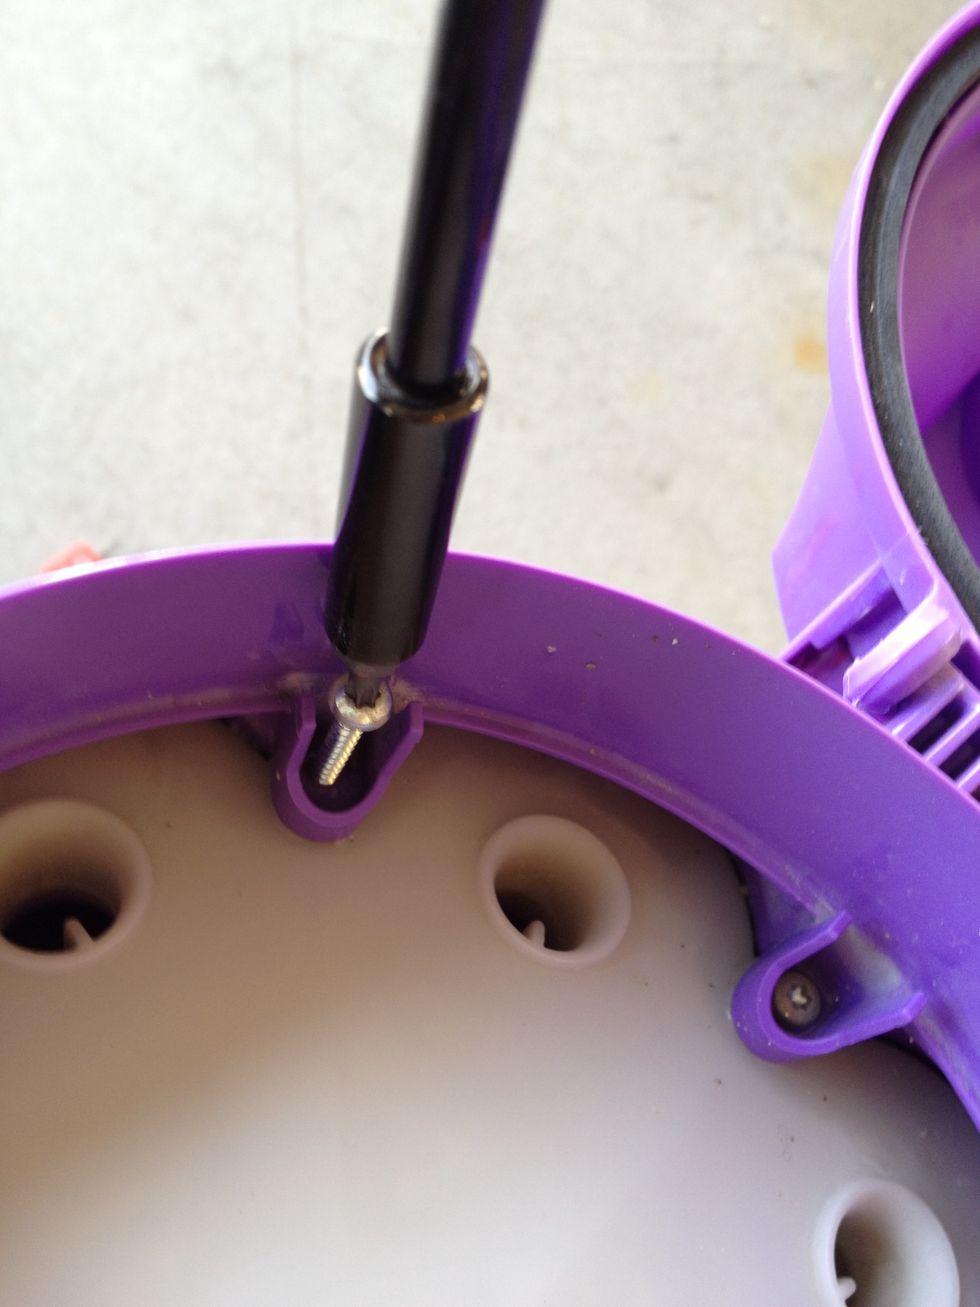
Now we dig in by removing the screws holding the secret inner workings hidden from us common people.
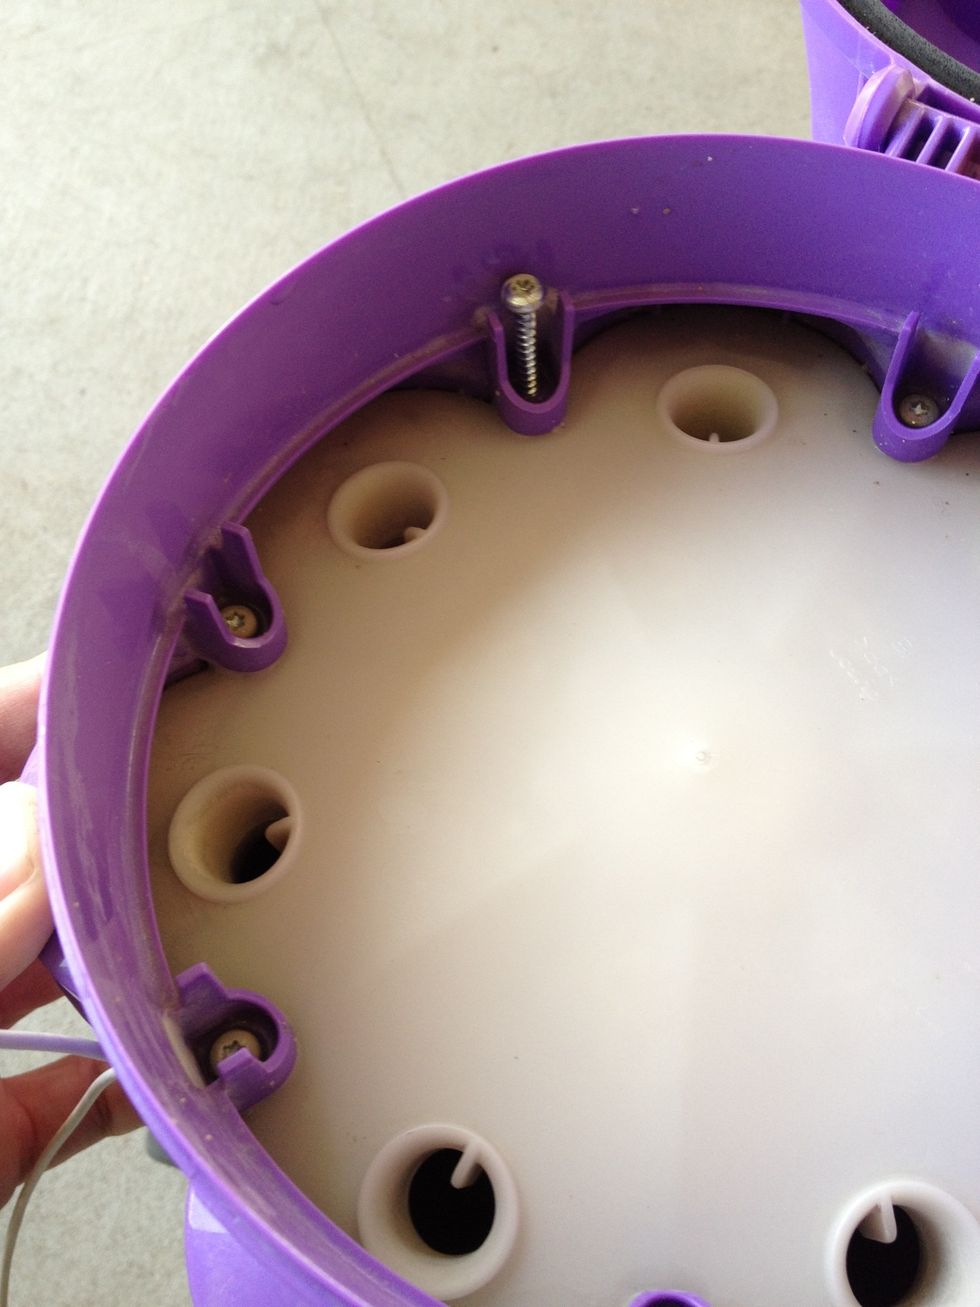
Loosen or remove them all.
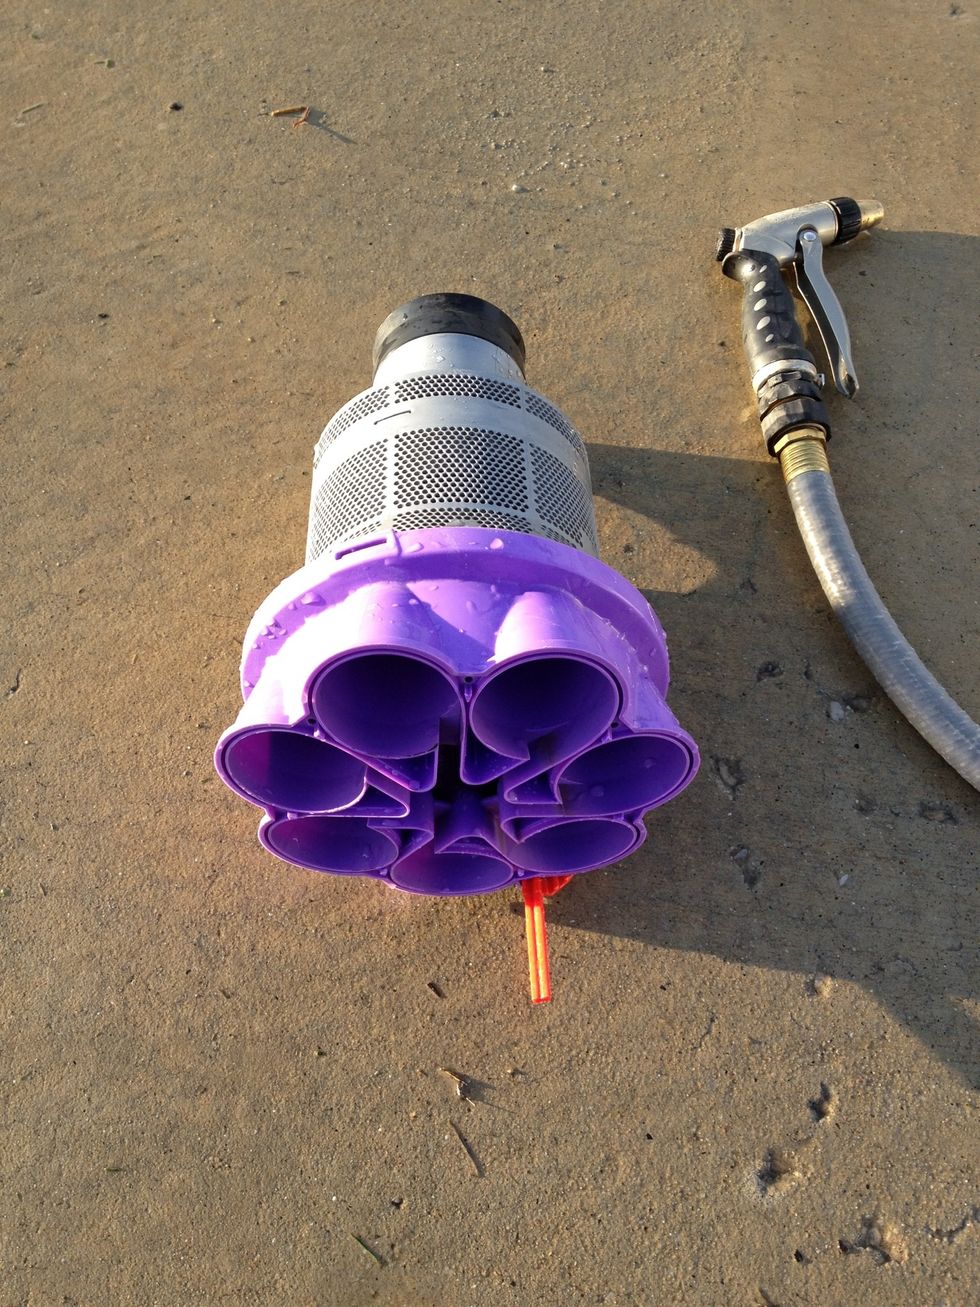
Next we are really going to supply an enima to the bowels of the sacred inner sanctum! Arm yourself with a good power washer and lets get dirty!
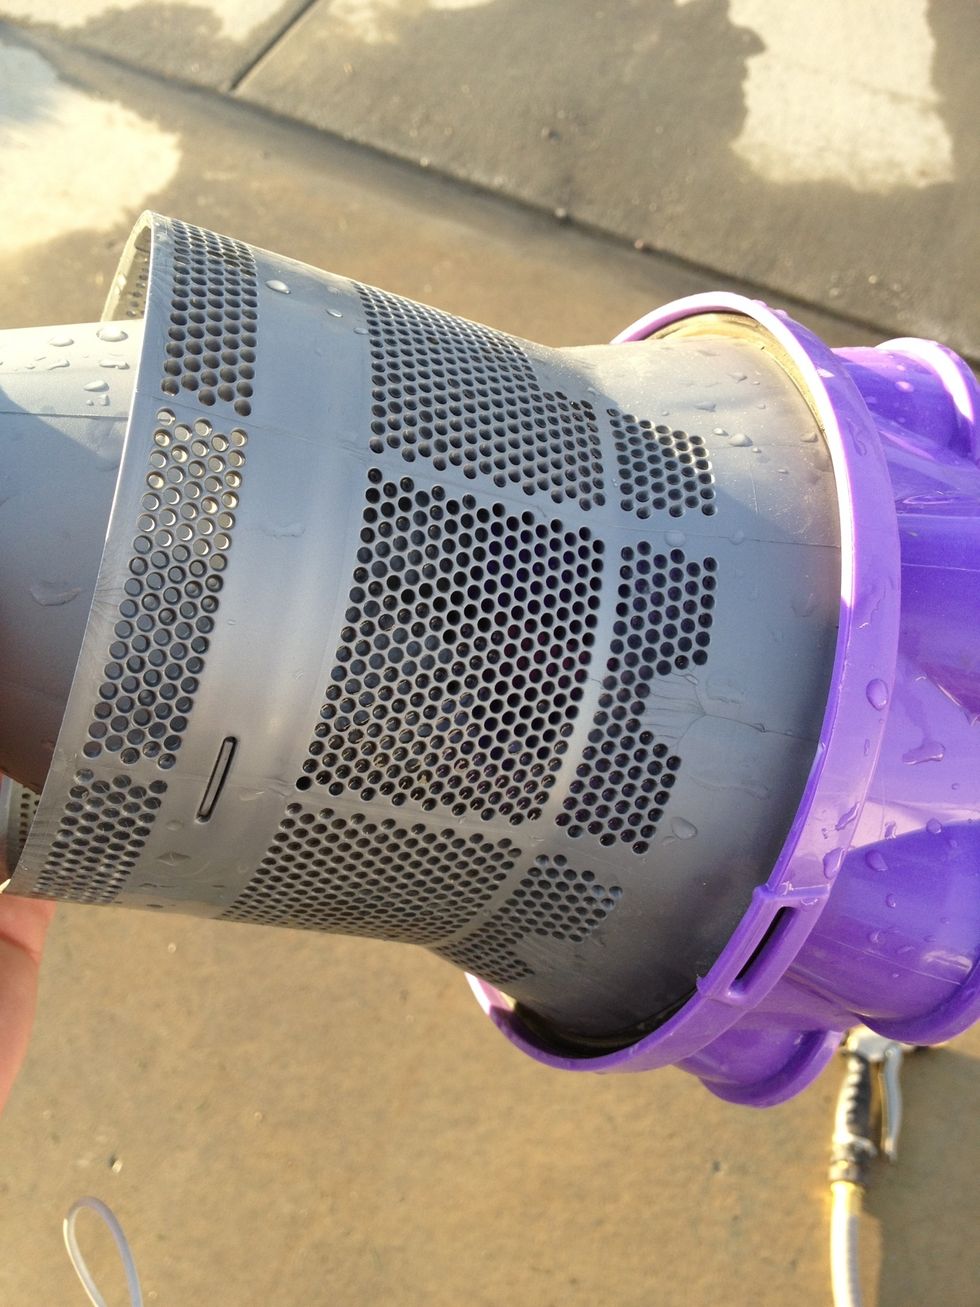
I sprayed into the holes trying to force out or loosen all the lint, hair and dirt.
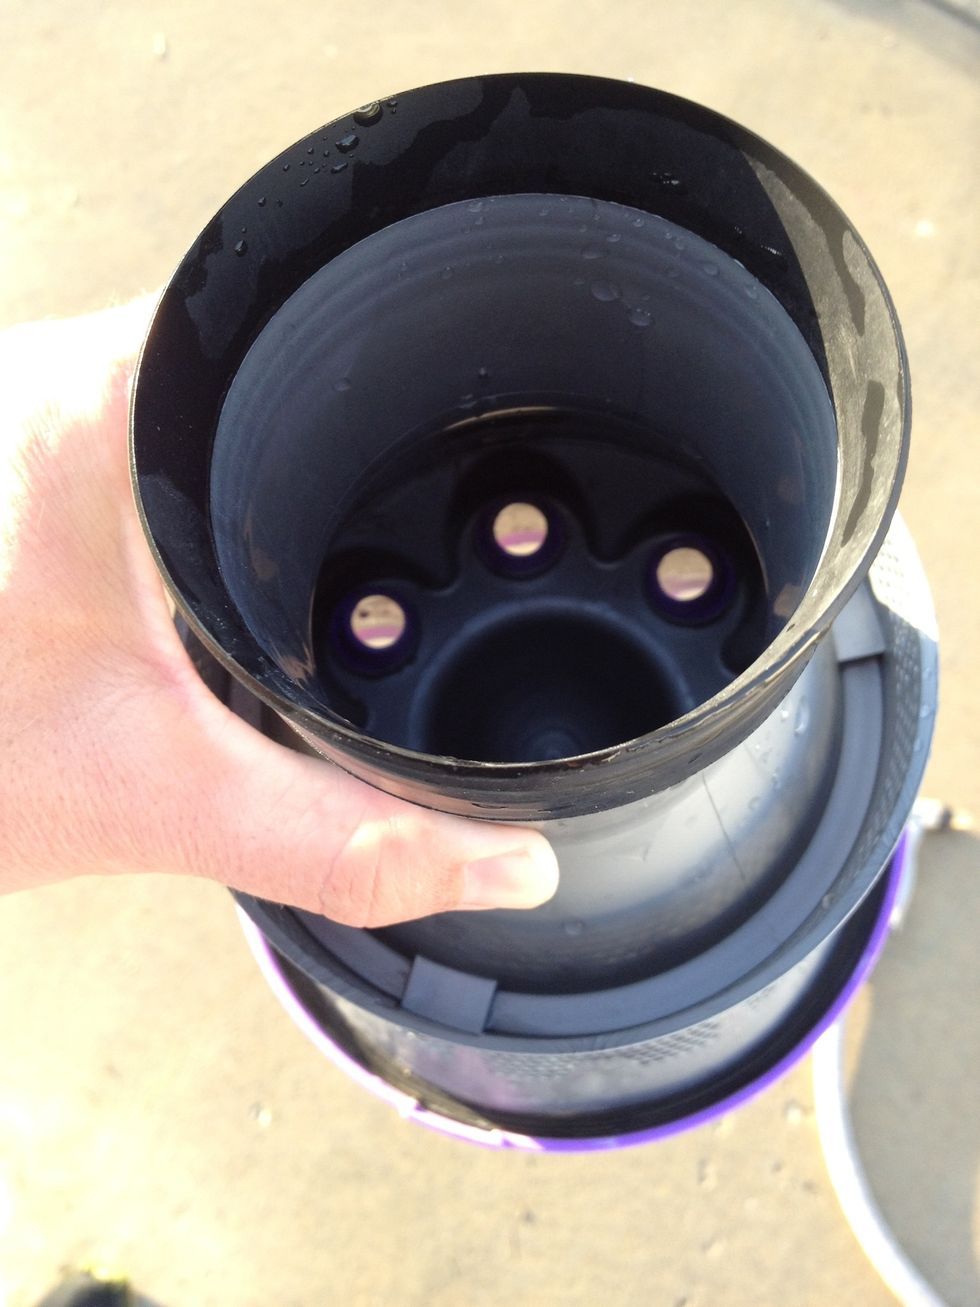
Next I vigorously cleansed what must certainly be the colon of the device. Lots of fine dirt gets stuck in here. It feels so good knowing it's now gone!
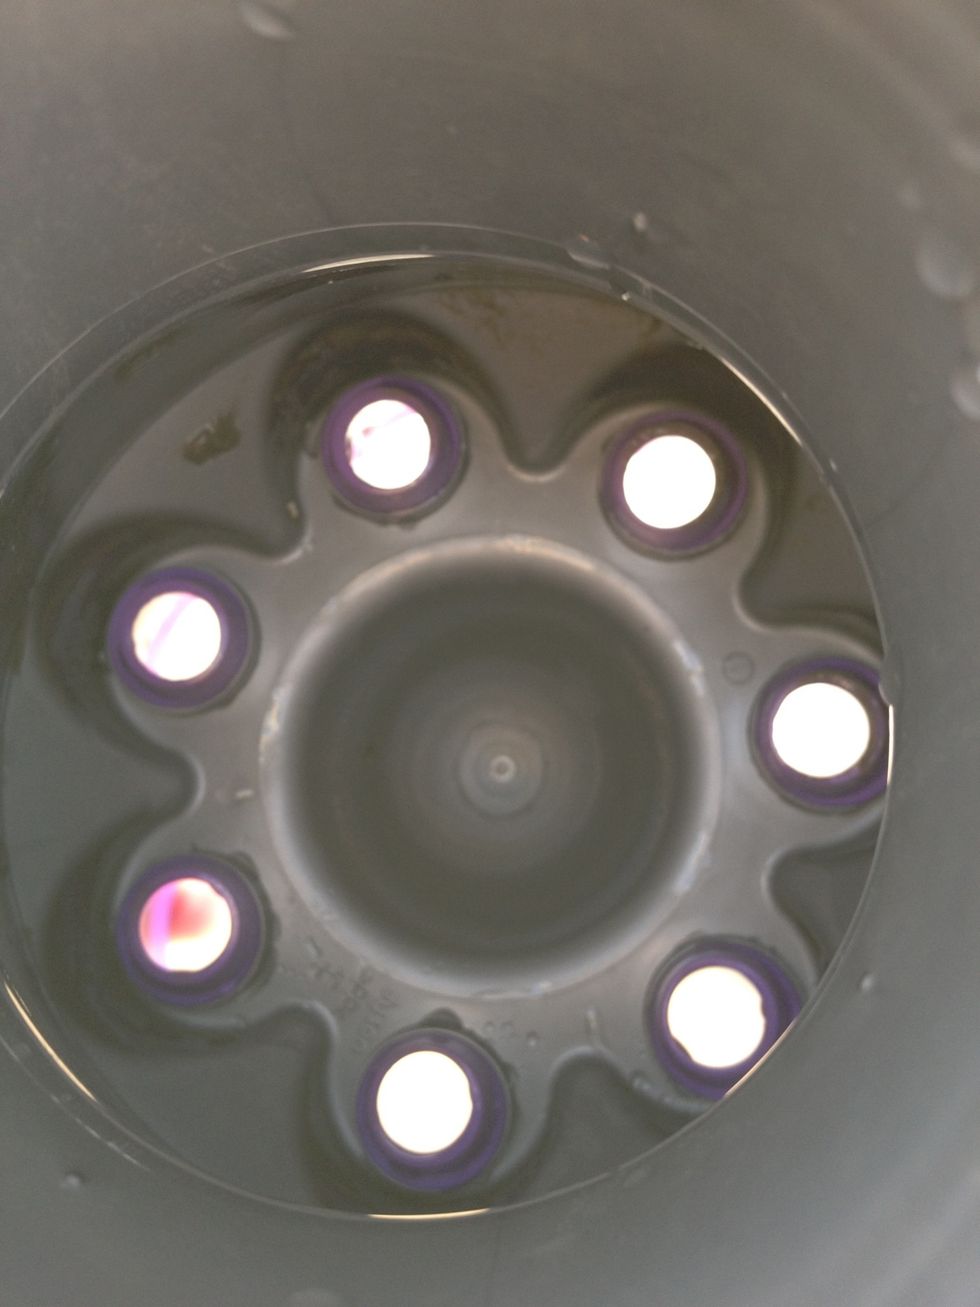
Closer look inside. Eww.
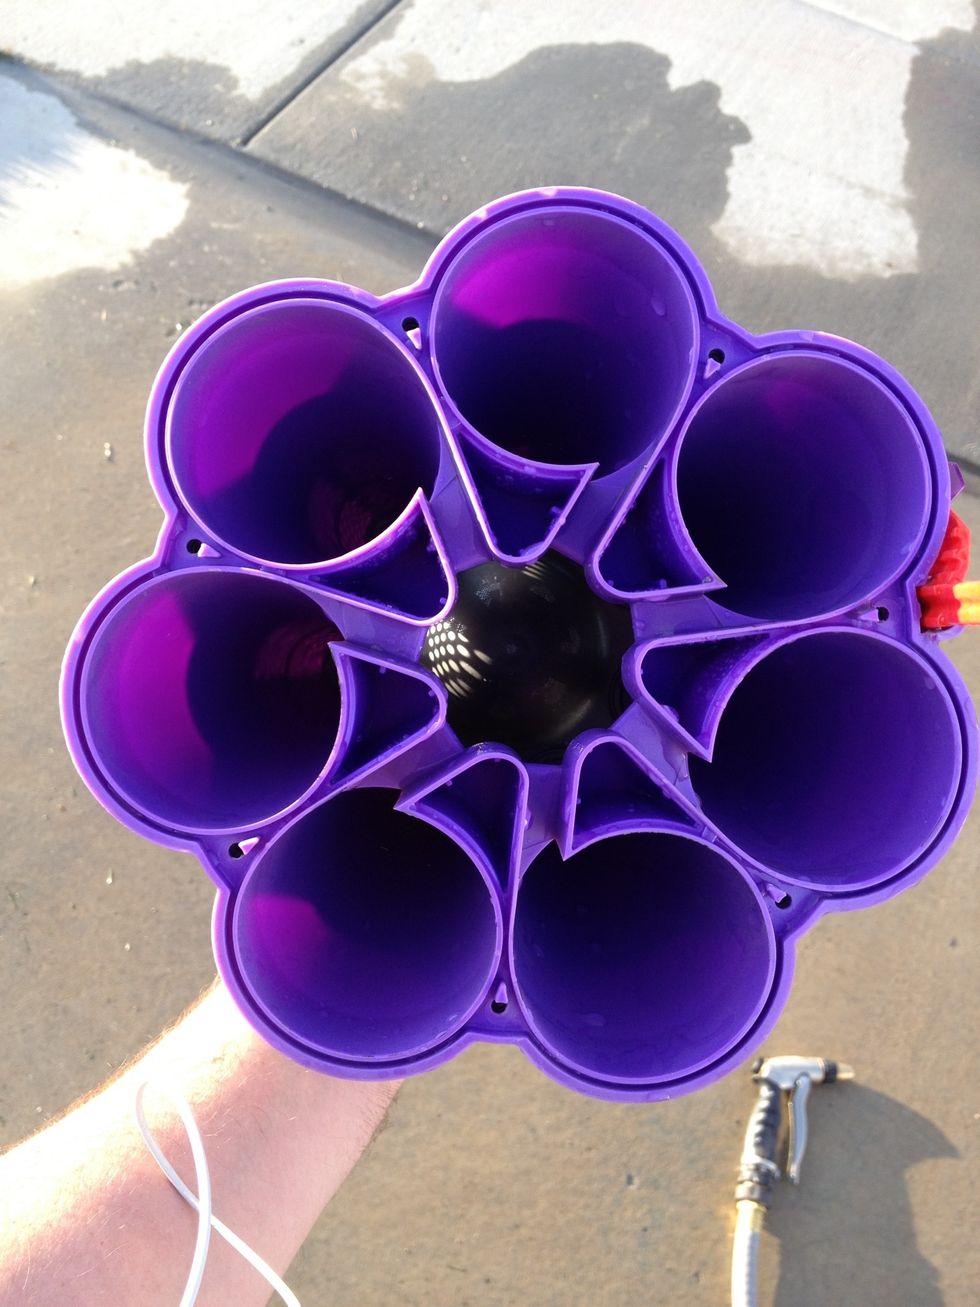
Next I turned it over and sprayed into the center, forcing caught debris out of the small holes. Also this is a cool picture.
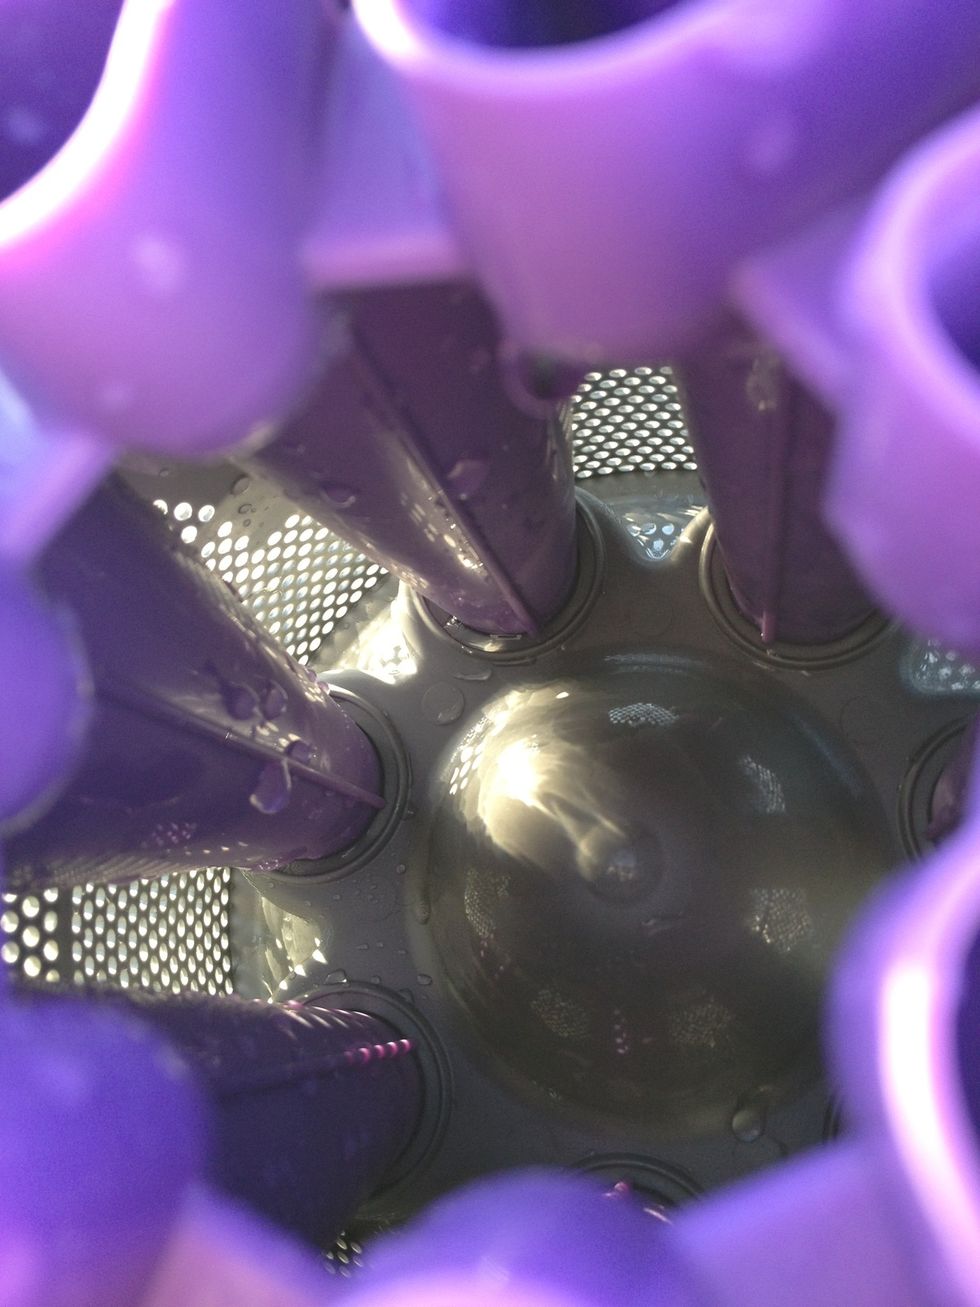
A close look inside of the top that I sprayed clean.
REASSEMBLE WHEN DRY!
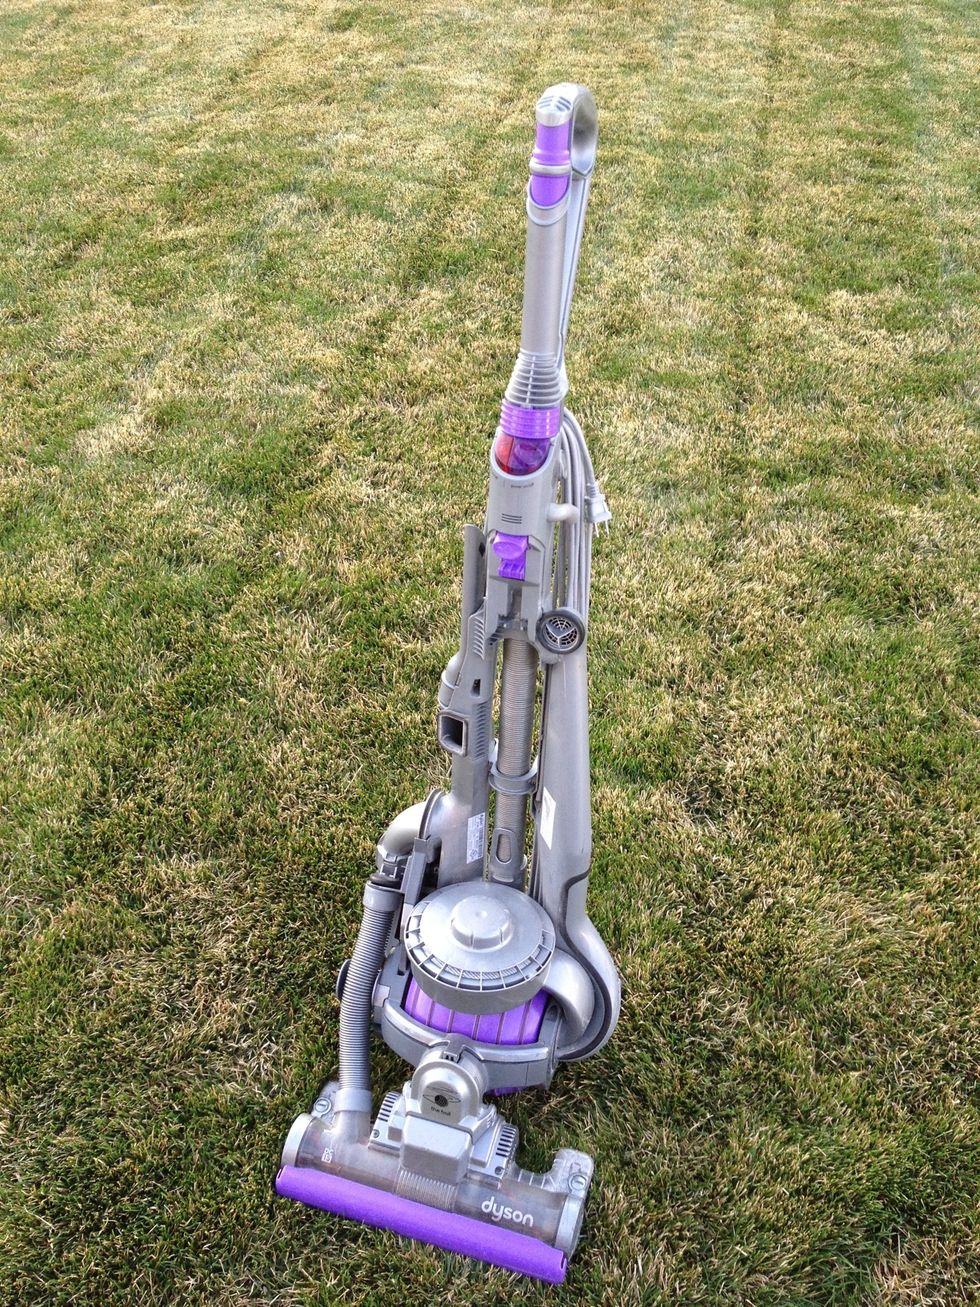
The chassis ready for action. *note: does not work on lawn.
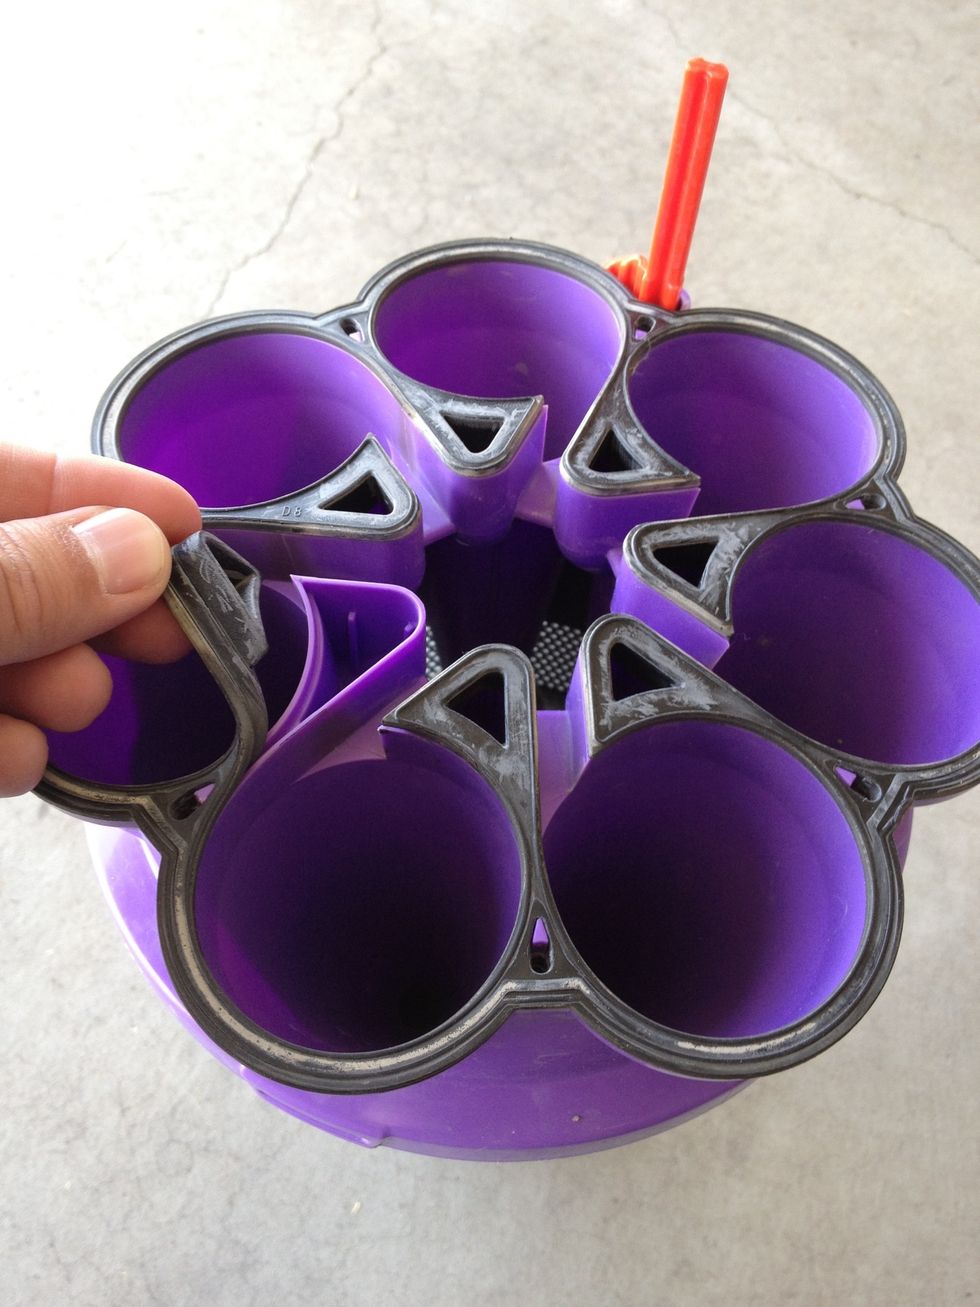
Put the cyclone back together by carefully replacing the top seal.
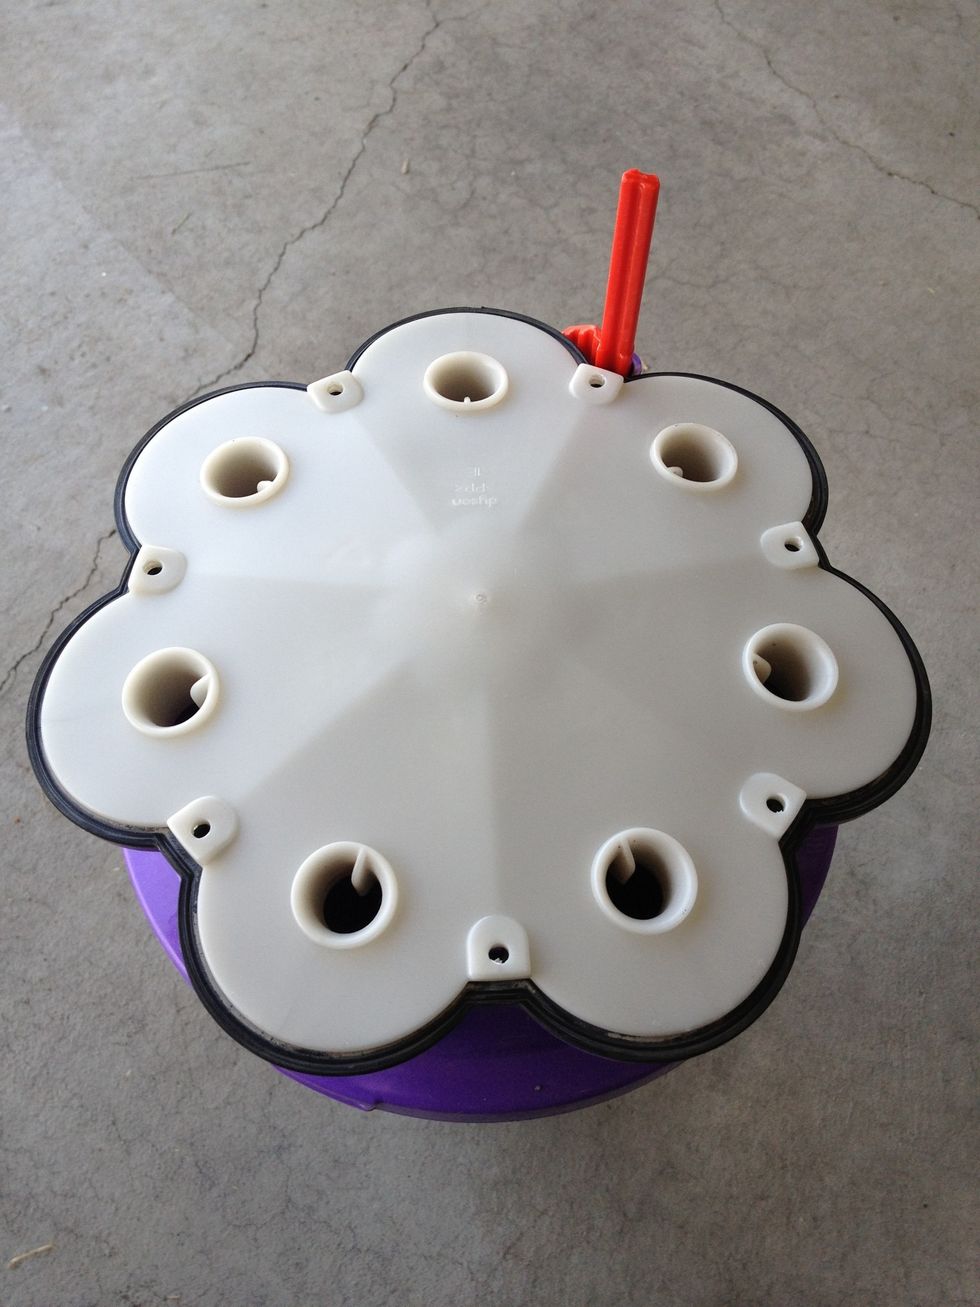
Then replace the cap.
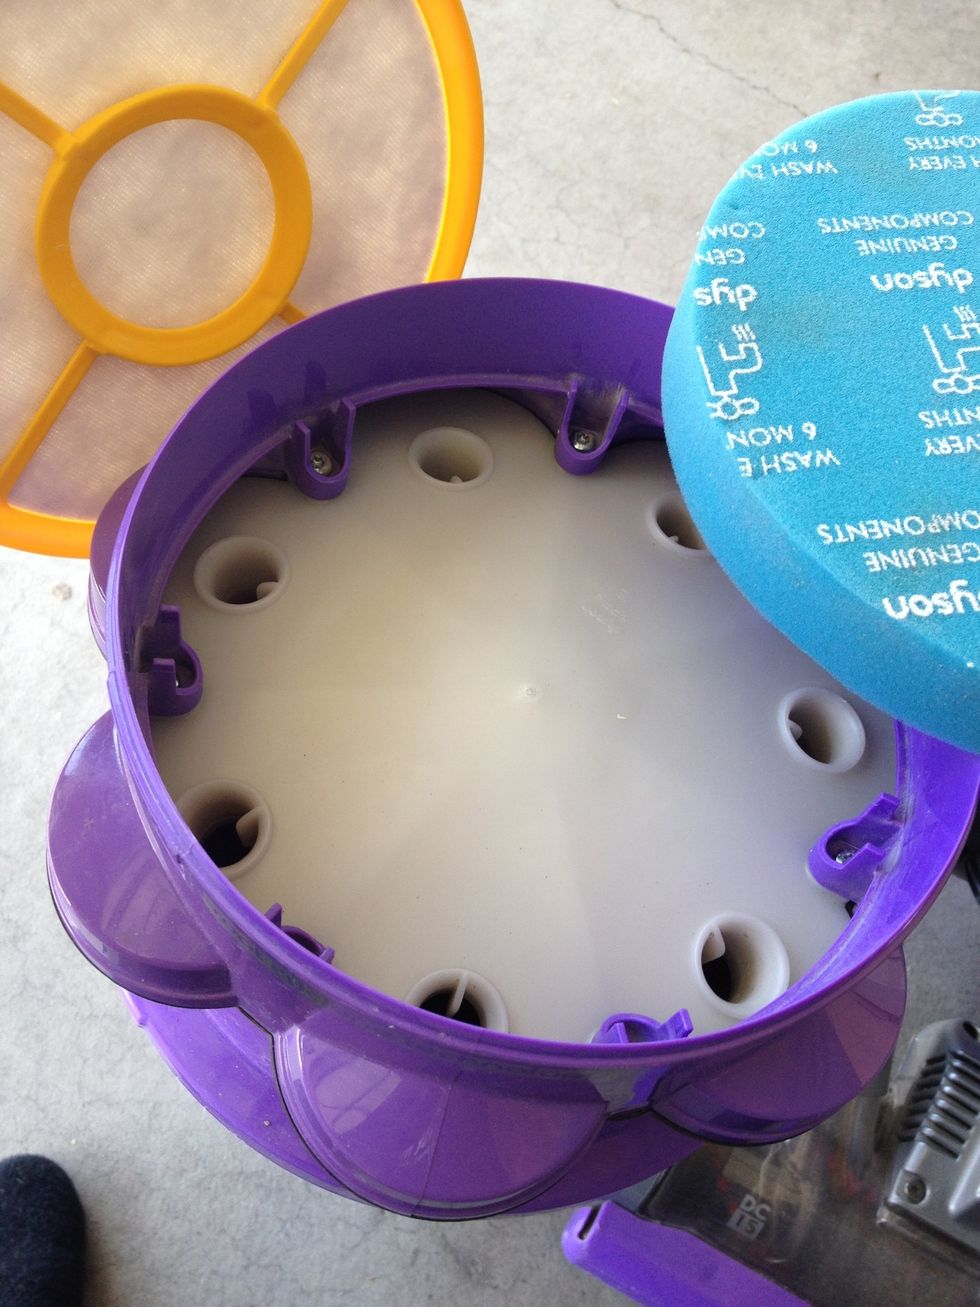
Screw back on the top lid and then get your dry filters
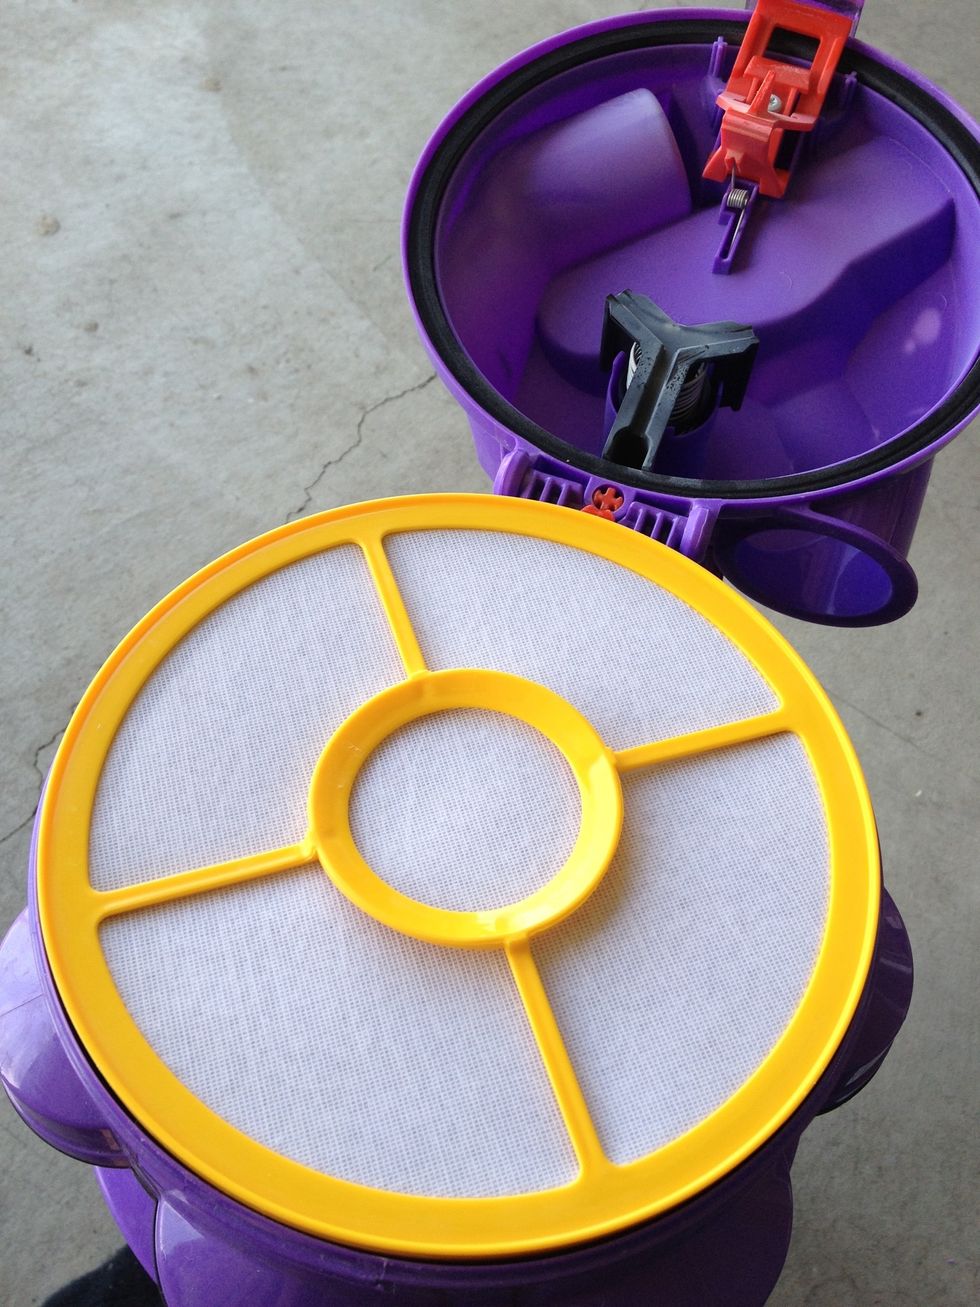
Place the filters back in the top and close the lid.
Prepare to be amazed at the renewed power of your Dyson as shown in the next photo!
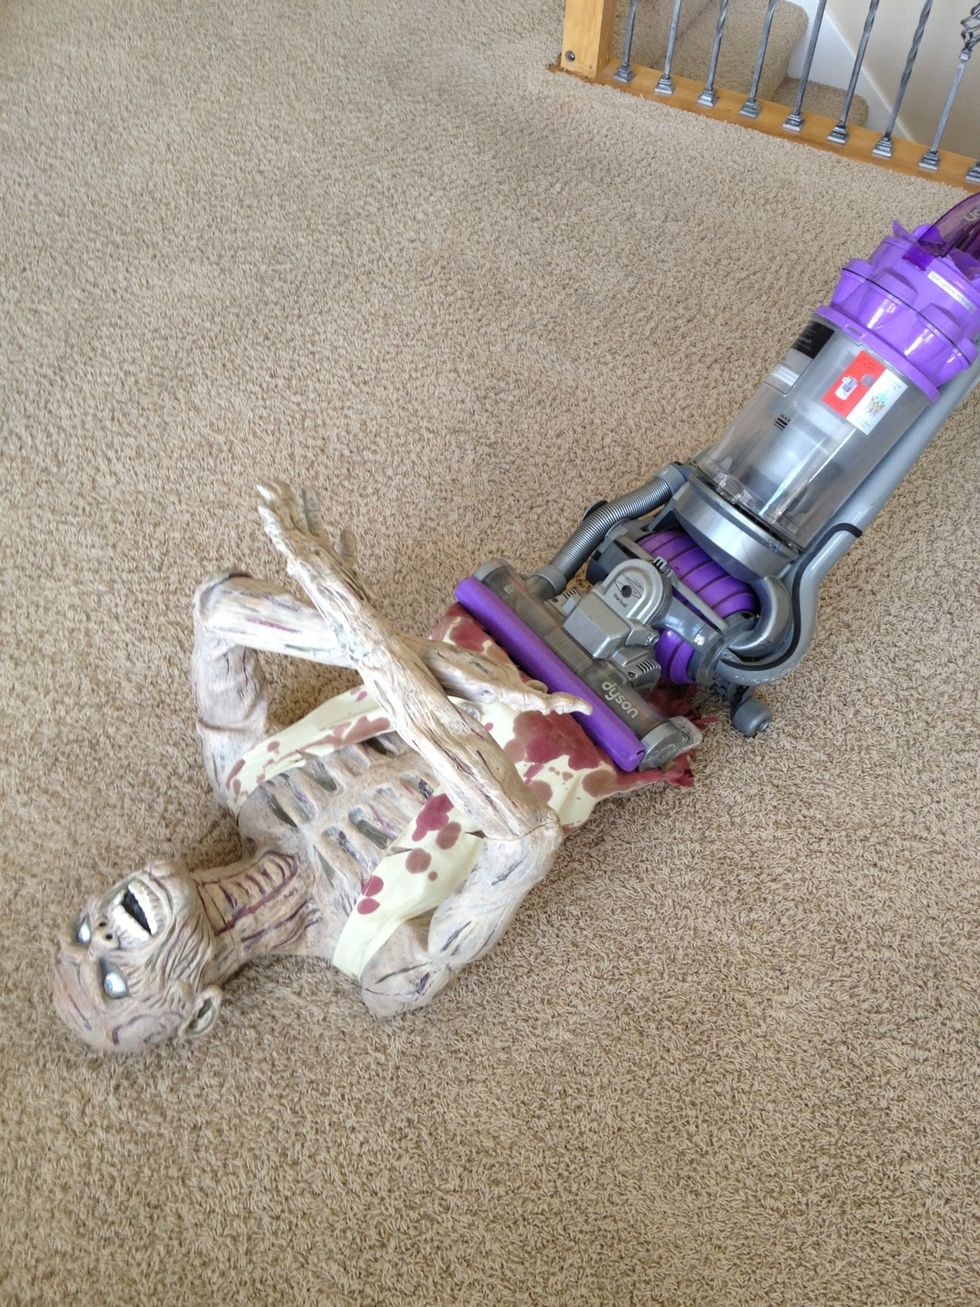
A vacuum so strong you can use it as a weapon in the next zombie apocalypse!
Thanks! Let me know if anyone has some better tips for this process.
- 1.0 T15 screwdriver
- Hose with pressure nozzle
Jeff Seal
Starting my own graphic / web design company has me working from my home office AND assuming more domestic duties. I love it! \nAny design needs, let me know!
Salt Lake City, Utah
The Conversation (0)
Sign Up