The Conversation (0)
Sign Up
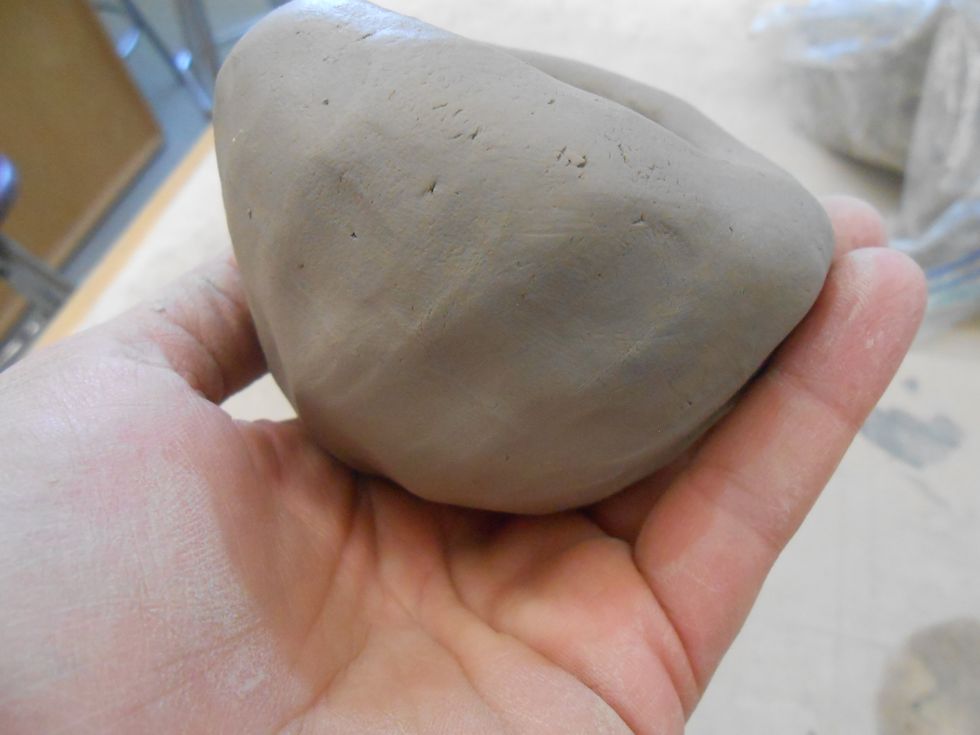
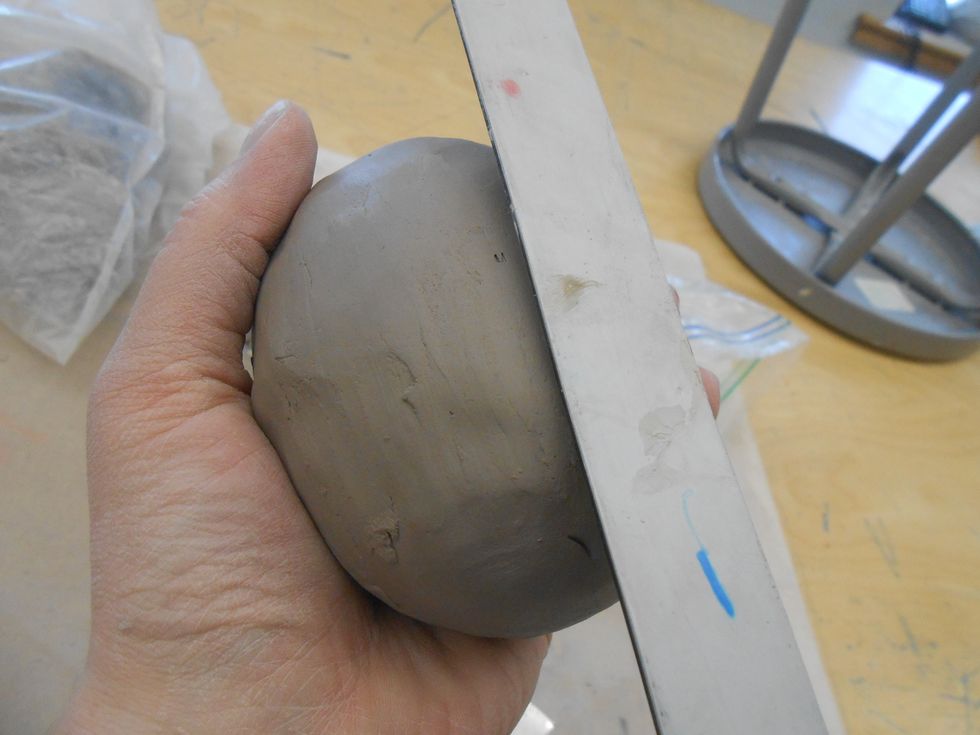
wedge up your clay
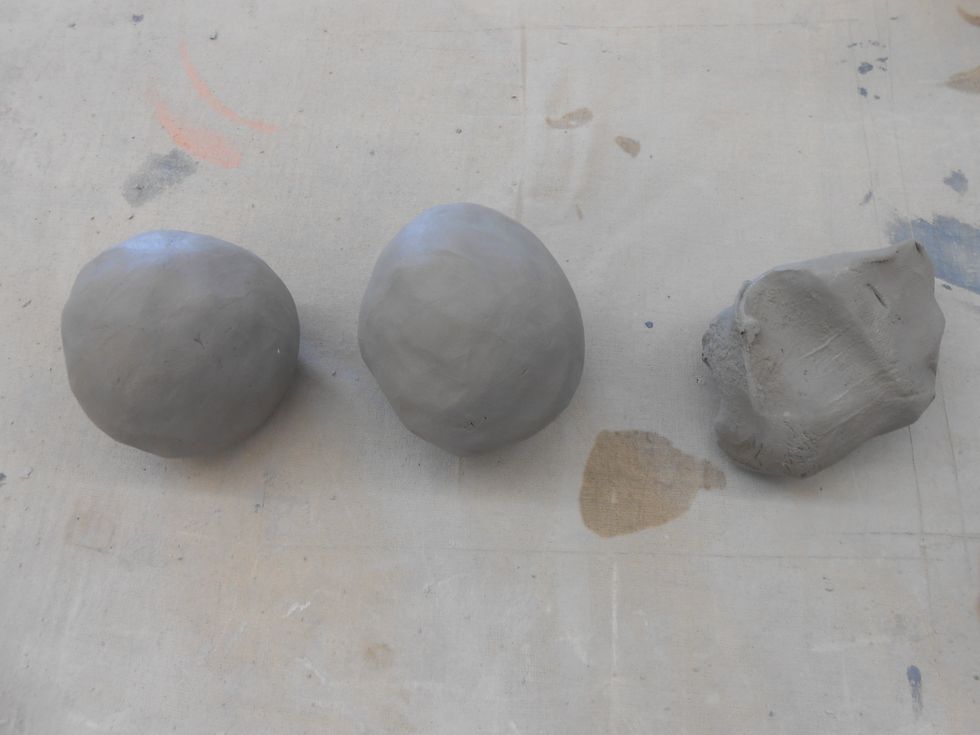
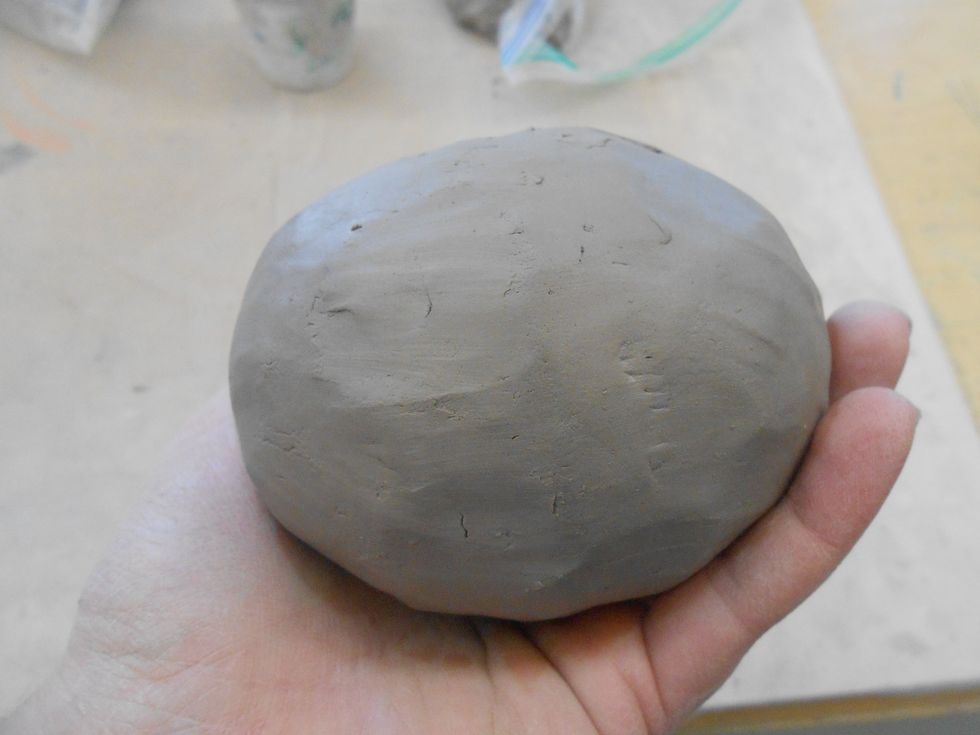
make two balls the SAME size and have some extra handy
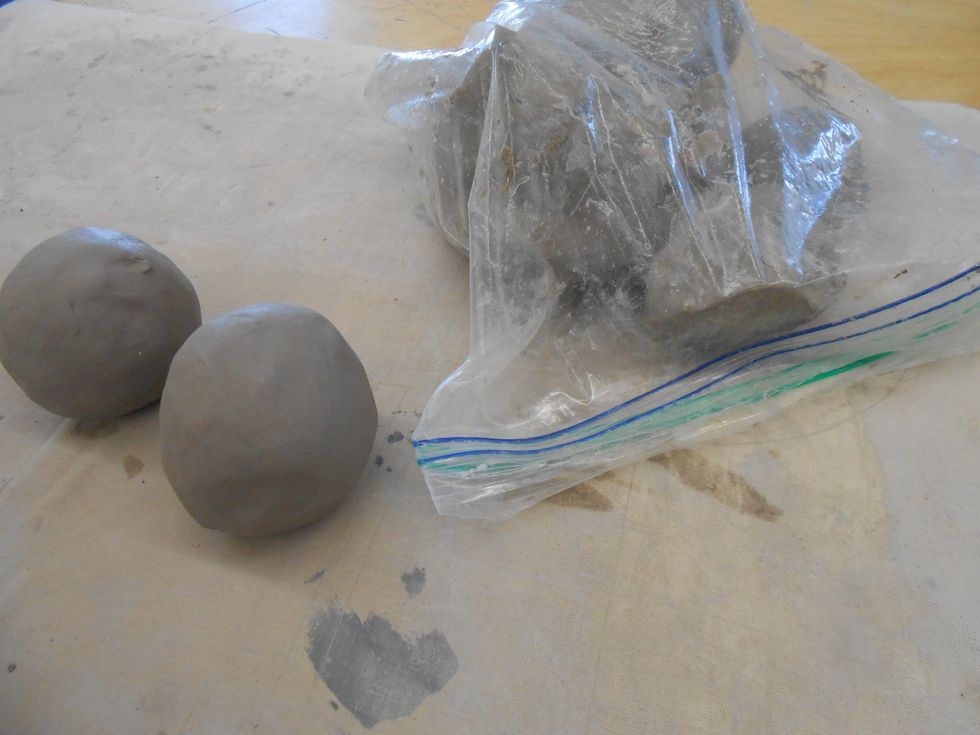
Extra clay place in the bag to stay moist
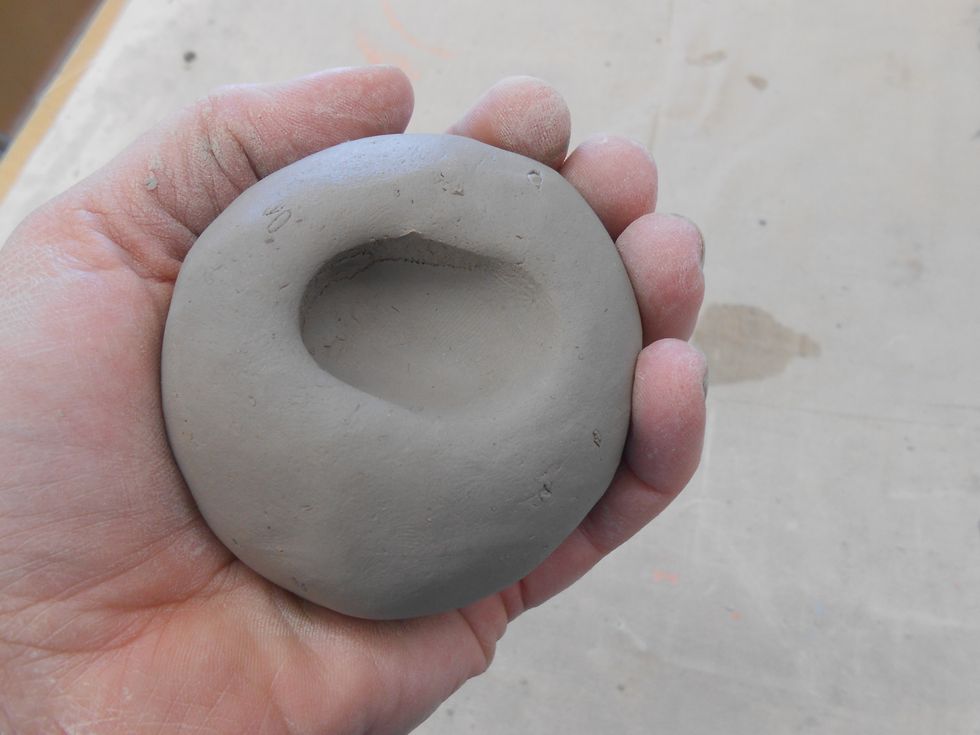
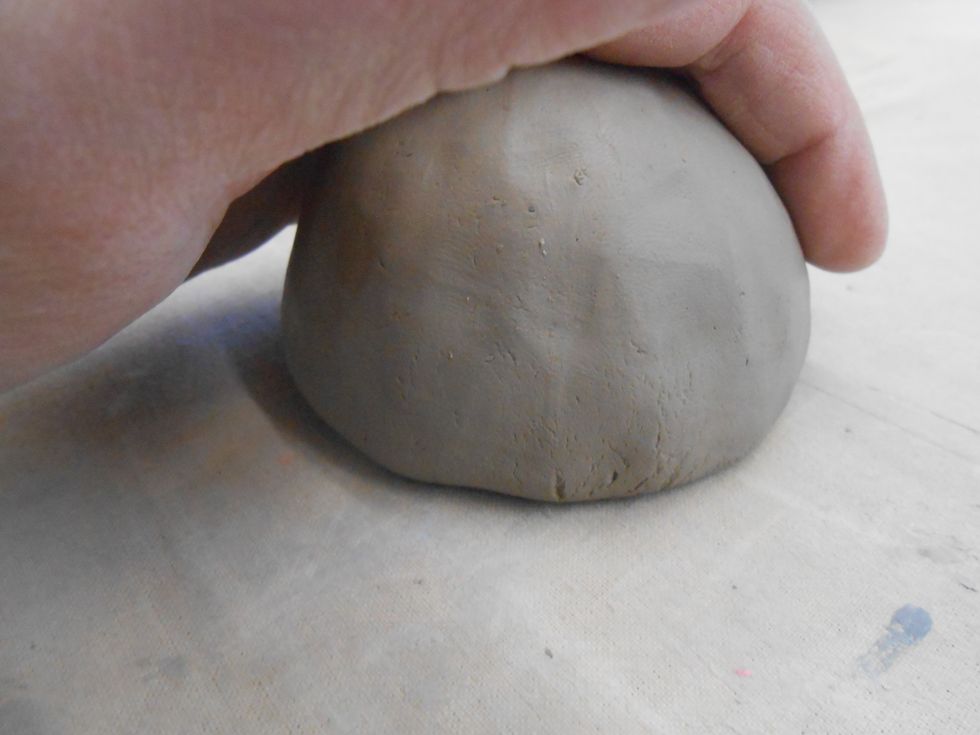
start making your first pinch pot by holding the ball of clay in your non-dominate hand and pressing your thumb in with your dominate hand
thumbs on the inside and fingers on the outside. thin out he bottom first
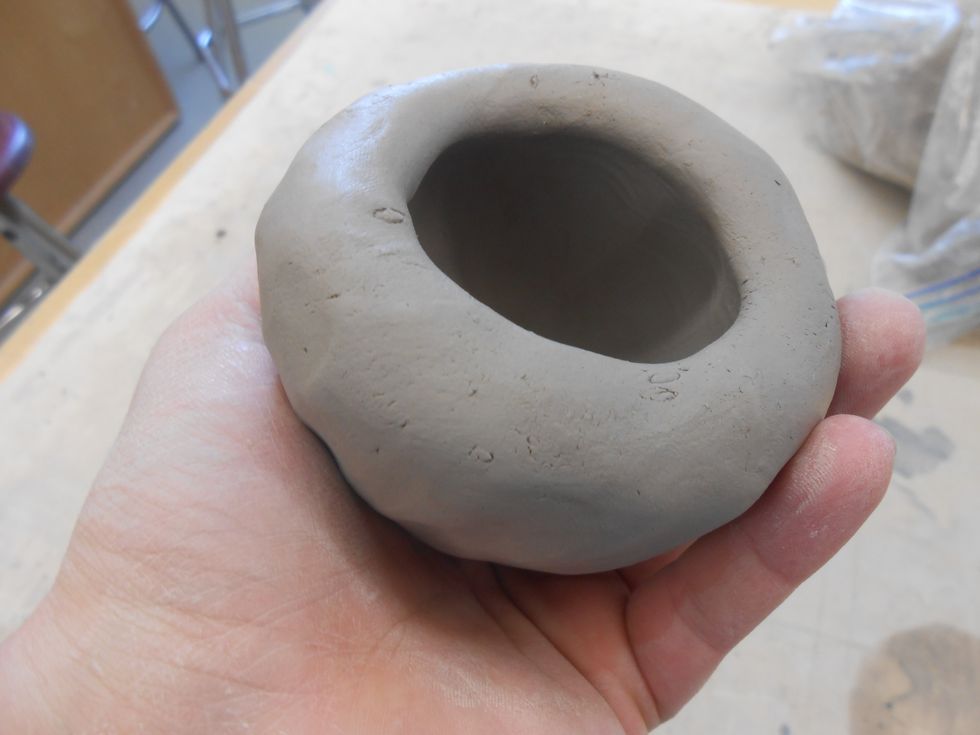
leave the rim thick, not thicker then your thumb
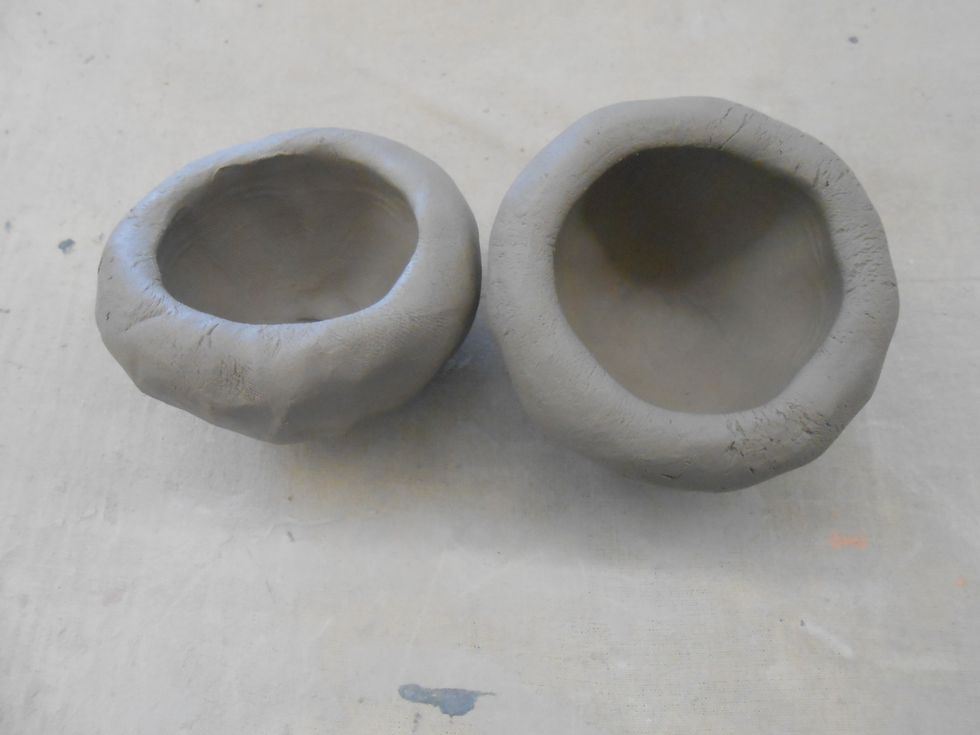
do the same with the second ball of clay. make both balls the same size pinch pots , if they are uneven it will be difficult to put them together
keep testing to see if they match up and are the desired size
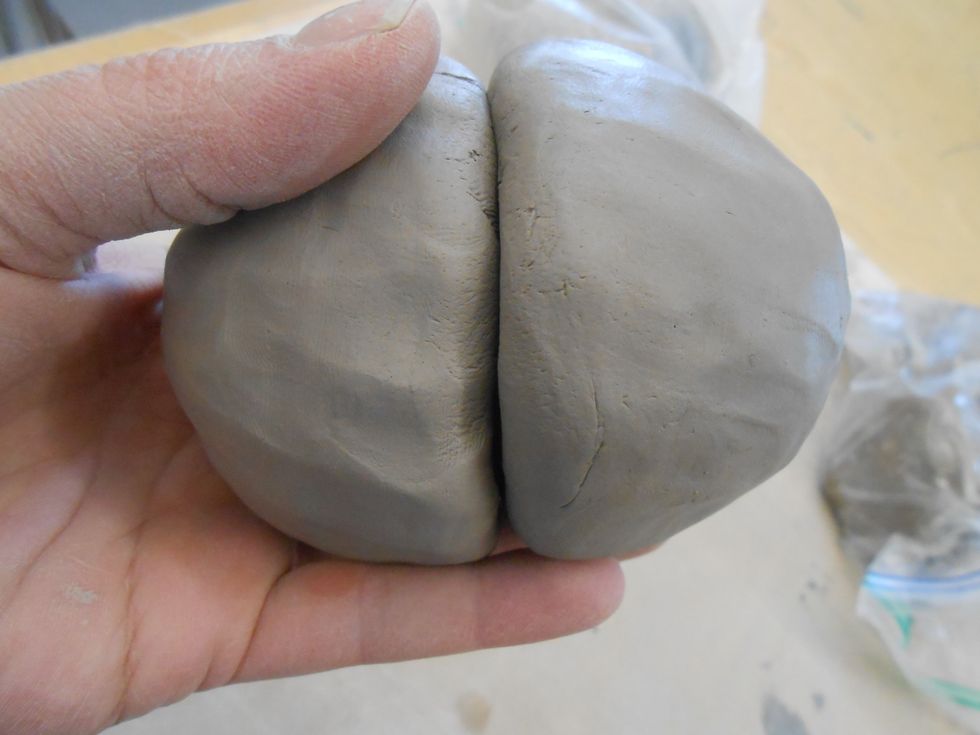
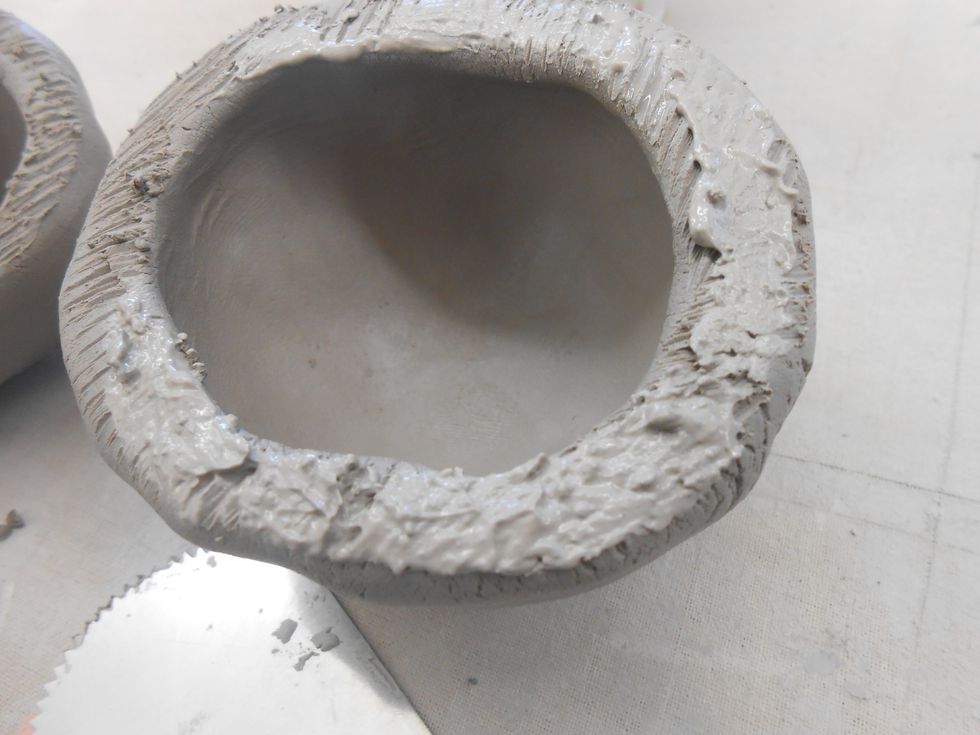
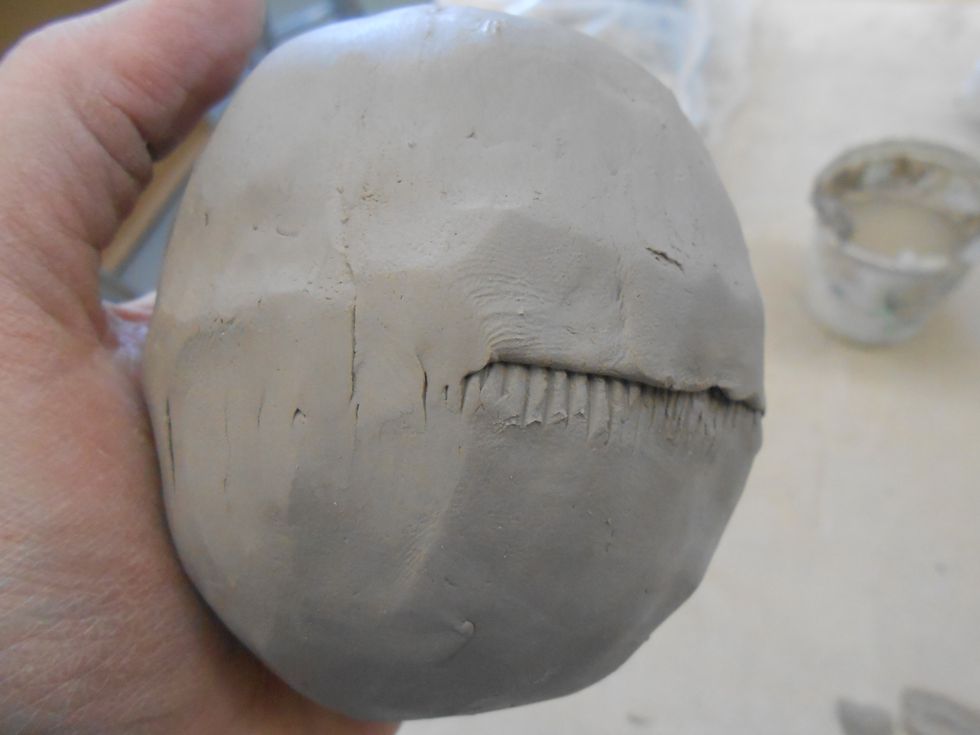
tap the rim down so it is flat

score both rims of the pinch pots
slip one of the pinch pots so you don't have slip oozing out
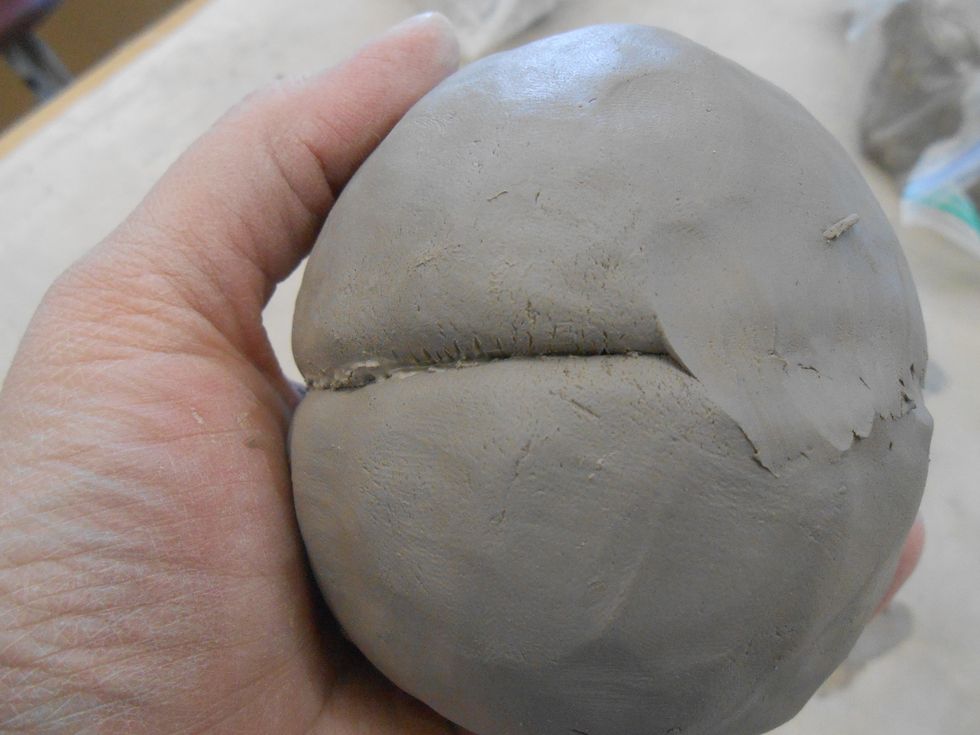
use your finger to lightly smooth two pots together
score the whole area where you smoothed
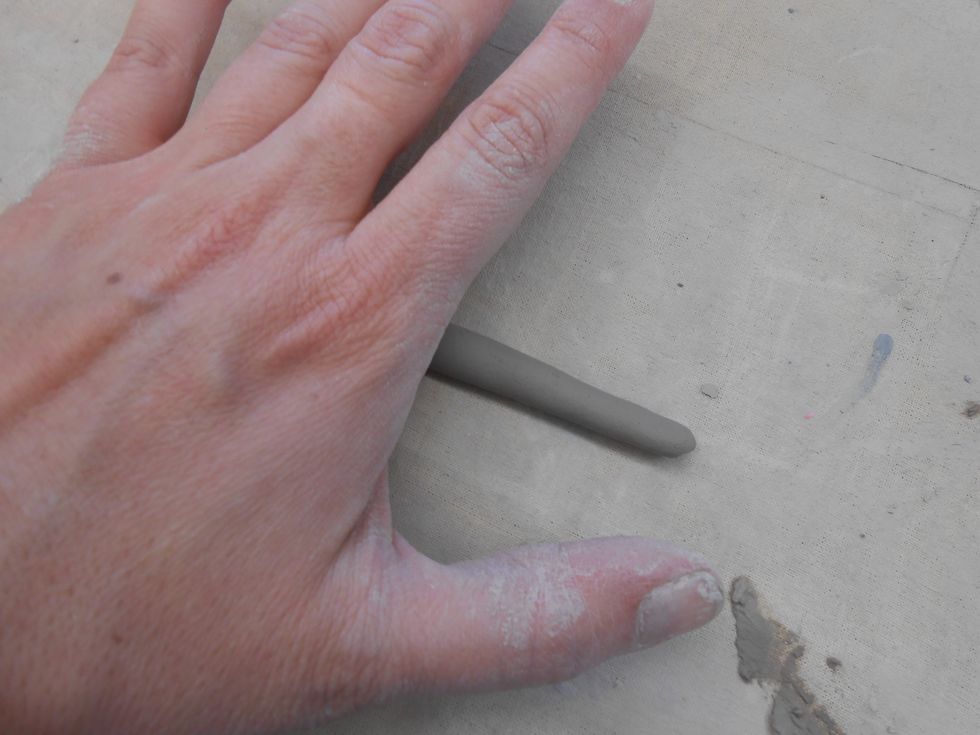
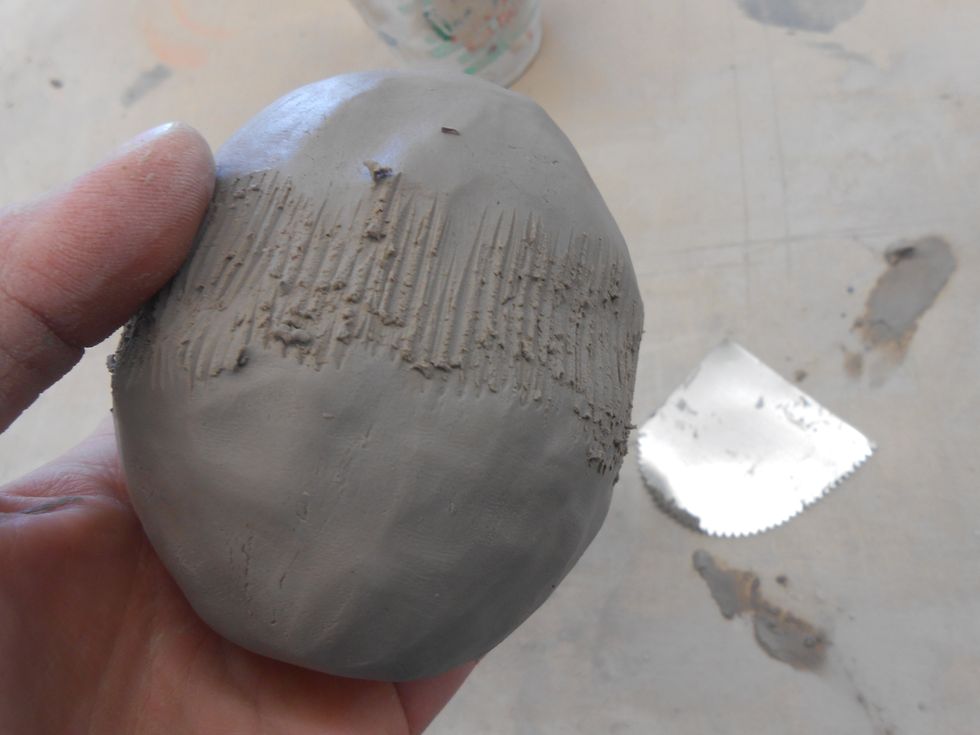
roll a coil, make sure it is very moist that way it will be easier to work with it it is all dried out it will not blend in well to the pod
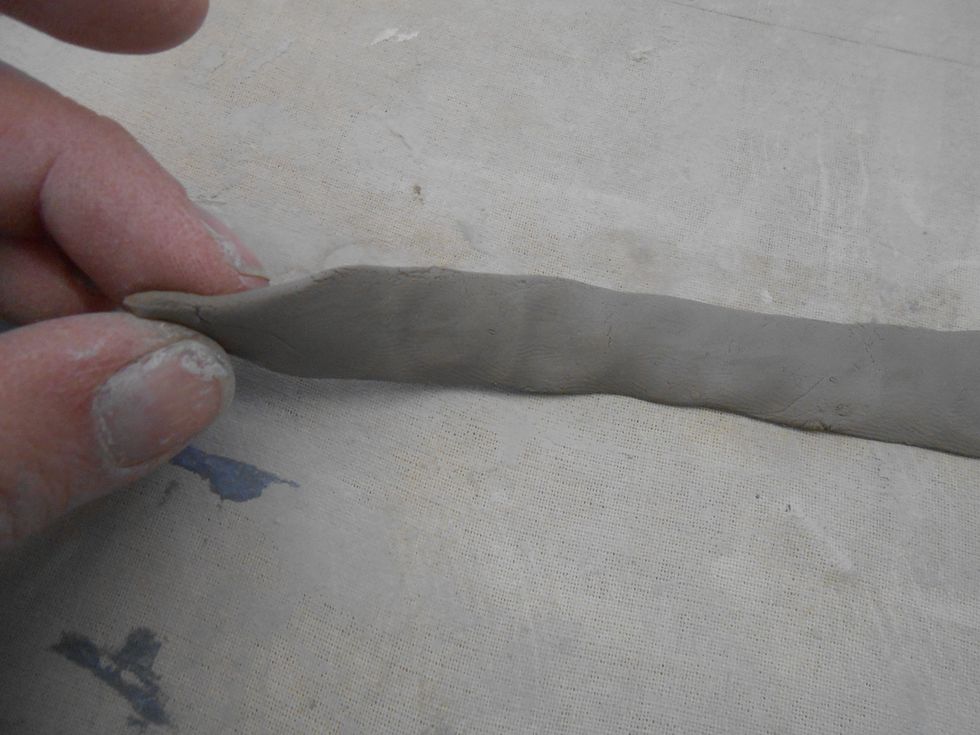
flatten the coil you need to work sort of fast so it doesn't dry out. i call it a band-aid that will wrap around the whole pod
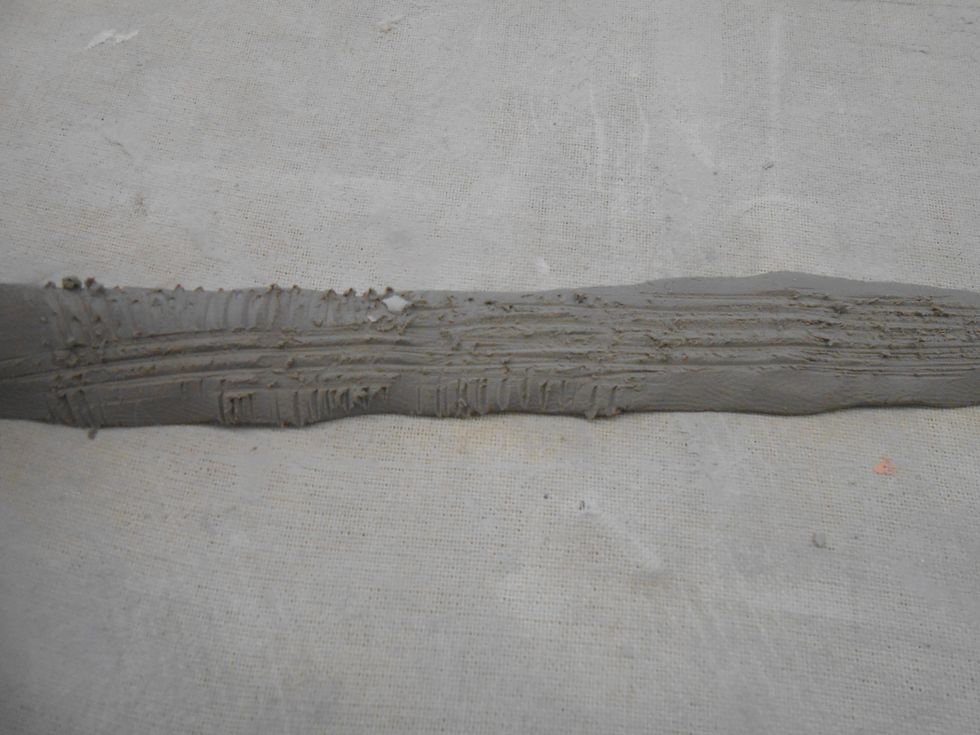
score it
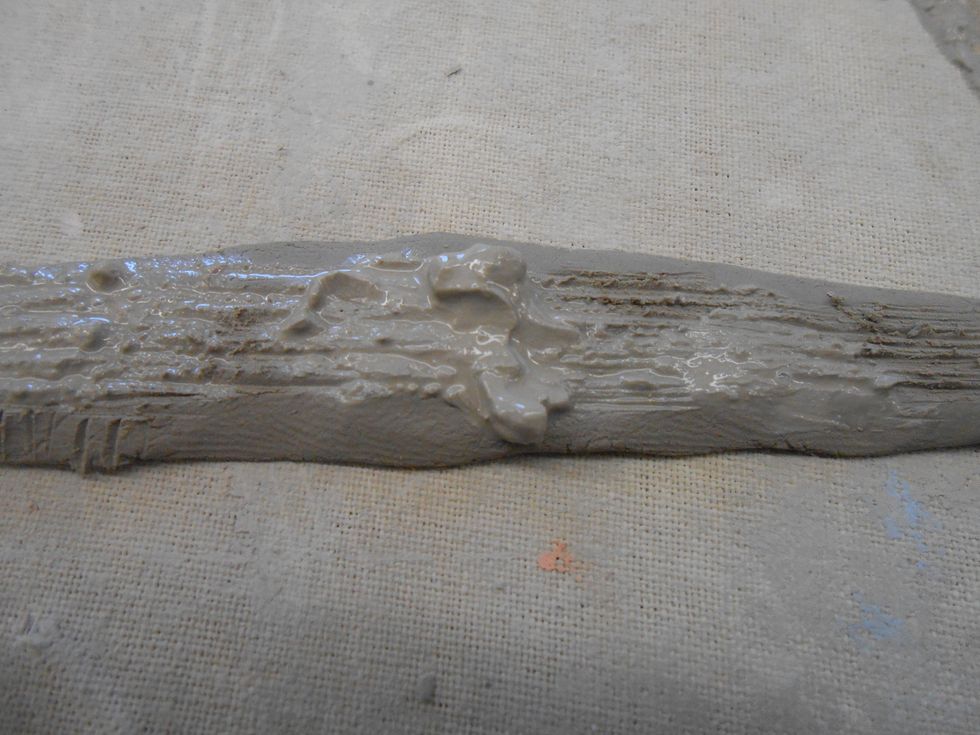

wrap the band-aid around on the scored and slipped area

smooth one side first
then the other
gently paddle the surface to smooth and get desired form (egg like or sphere like)
all smooth add water if you need to. NOW get creative... turn it into an animal or container. Most important make sure there is a small hole or opening in the pod so it does not explode in the kiln.