The Conversation (0)
Sign Up
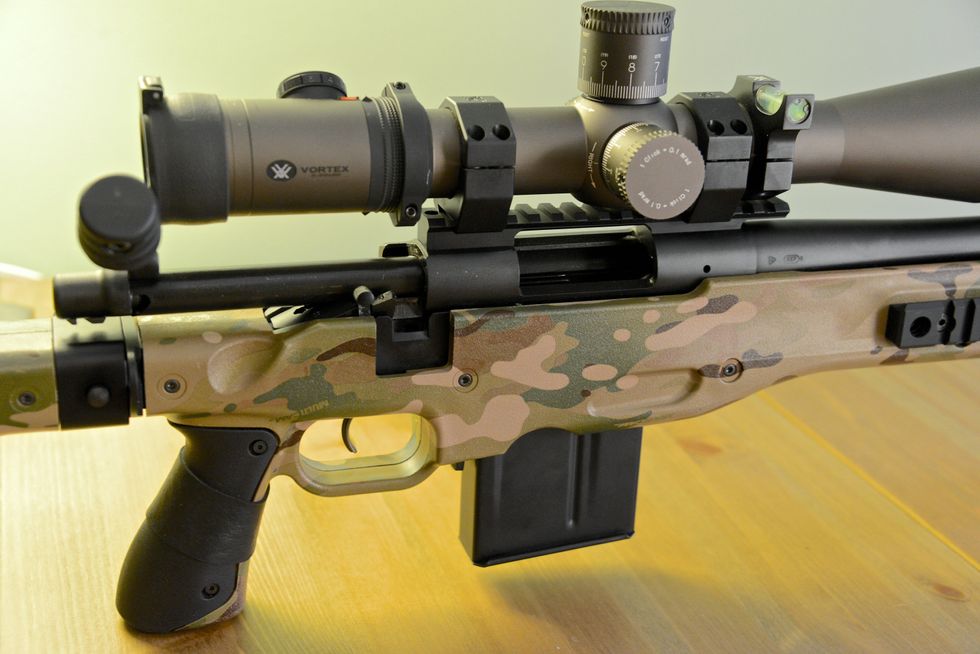
Is your Remington 700 part of the recent trigger recall? Why not just upgrade your trigger instead of sending the rifle away? Step 1: Ensure rifle is clear and empty.
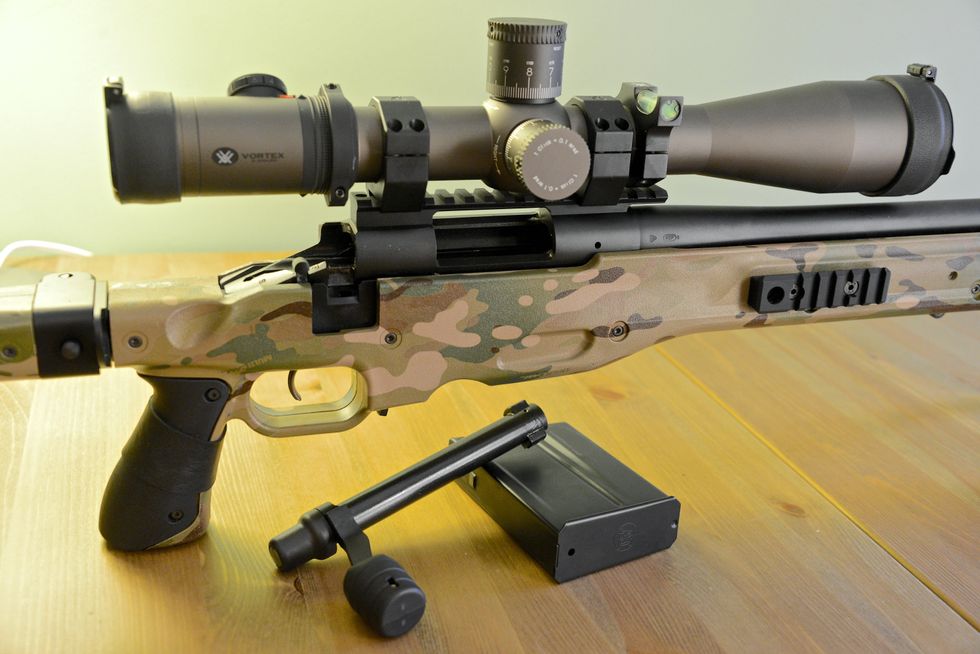
Remove the magazine and bolt.

Access your action screws.
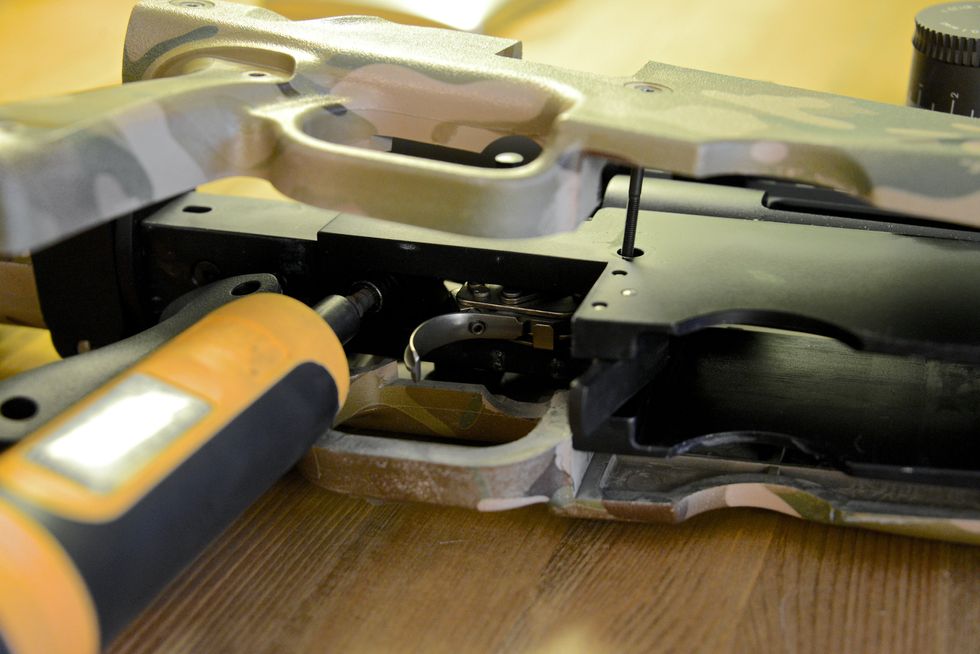
Loosen action screws (x2).
Remove the action from your stock or chassis.
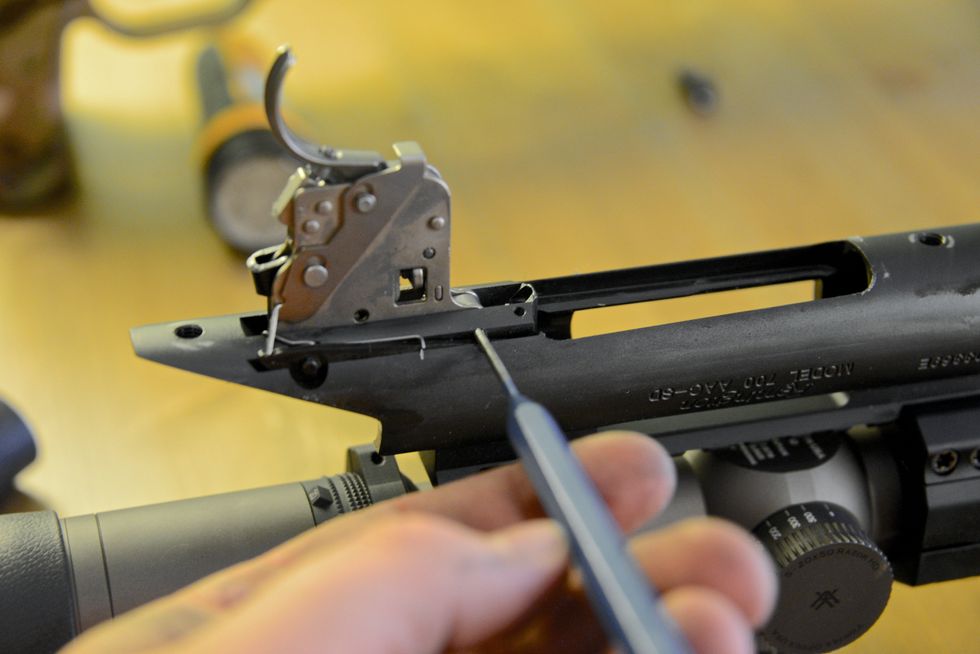
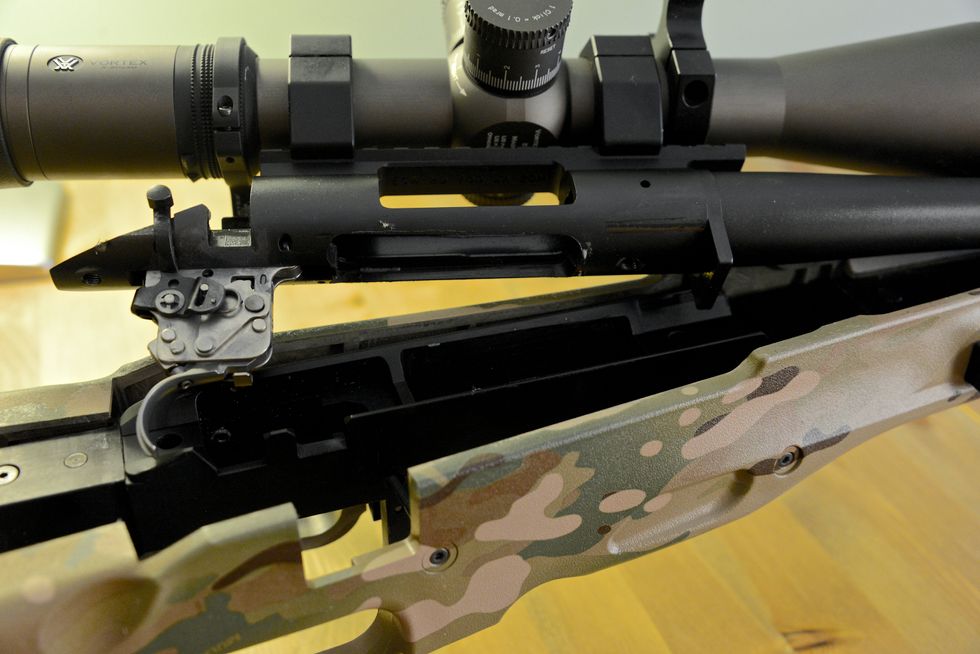
Drift the front trigger pin from left to right.

You don't need to punch it all the way out, just enough to get the trigger mechanism out.
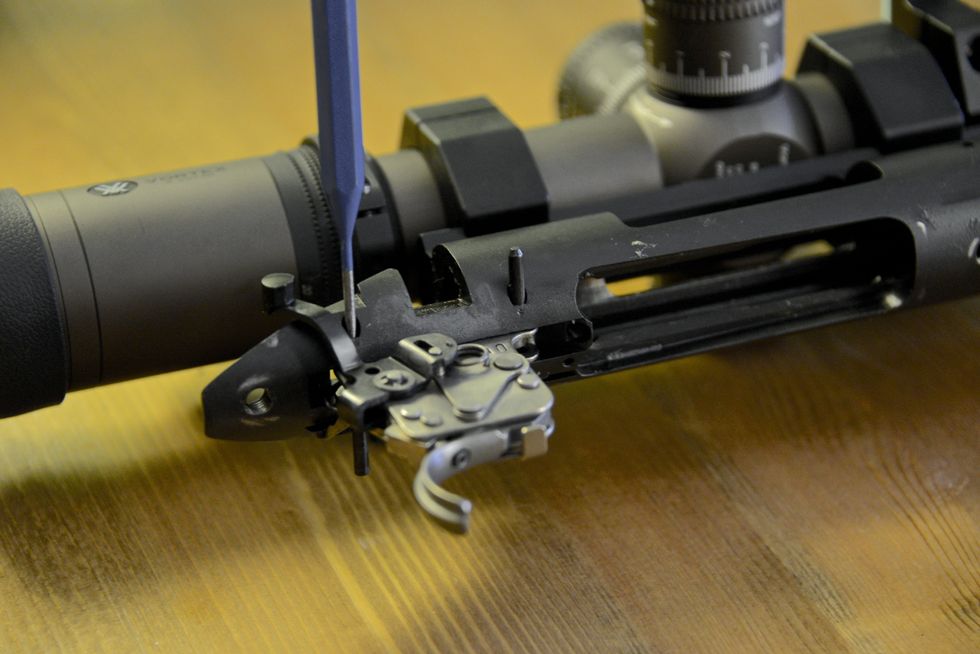
Drift the rear trigger pin in the opposite direction. Make sure not to punch it all the way out, or you'll have to re-install your bolt release.
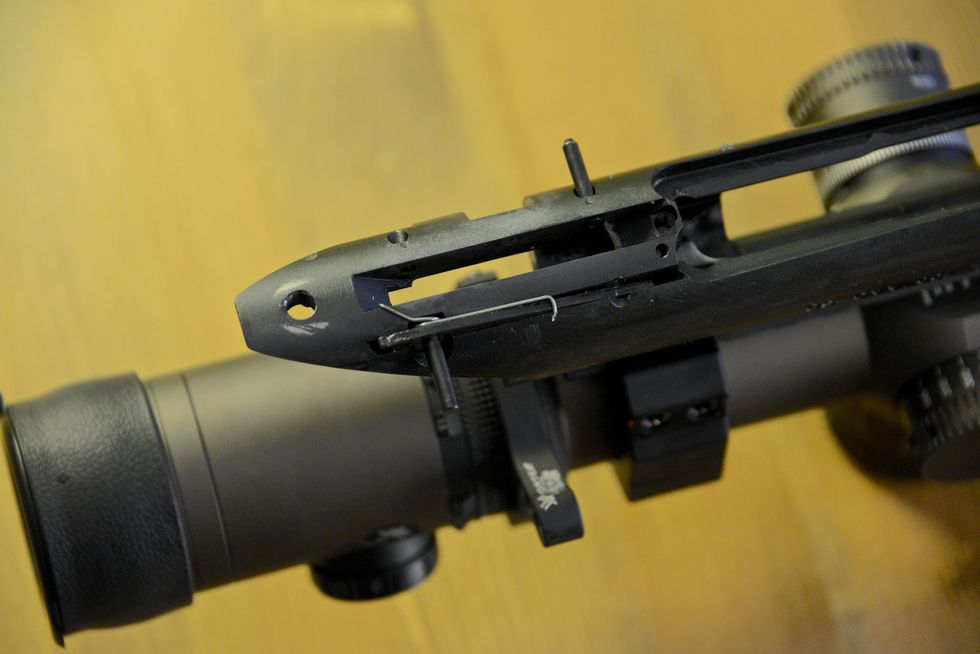
Bolt release is retained by rear trigger pin.
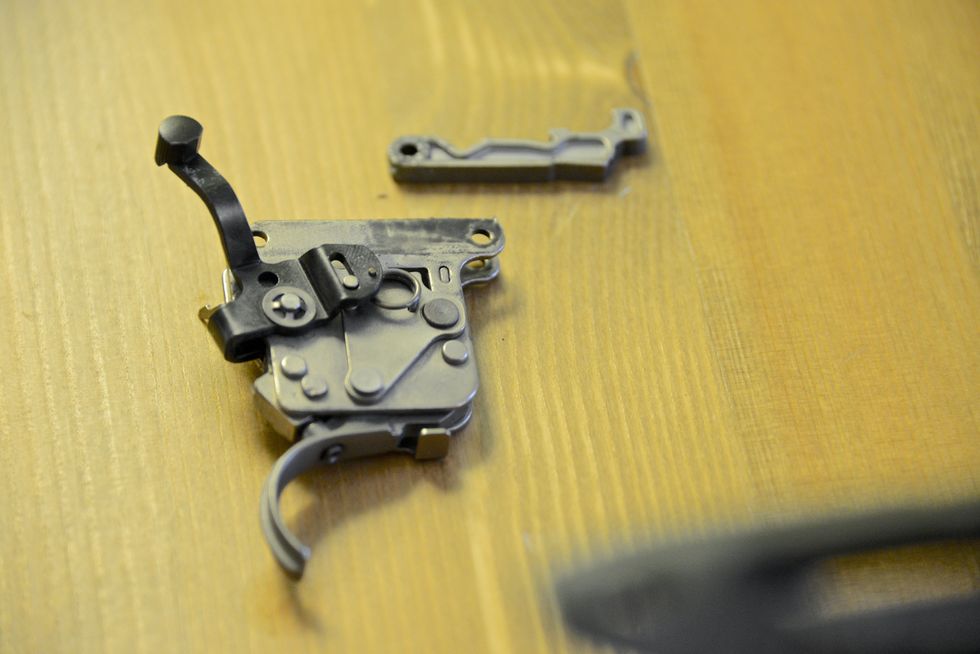
Stock trigger parts fall out of the action. Save for the memories.
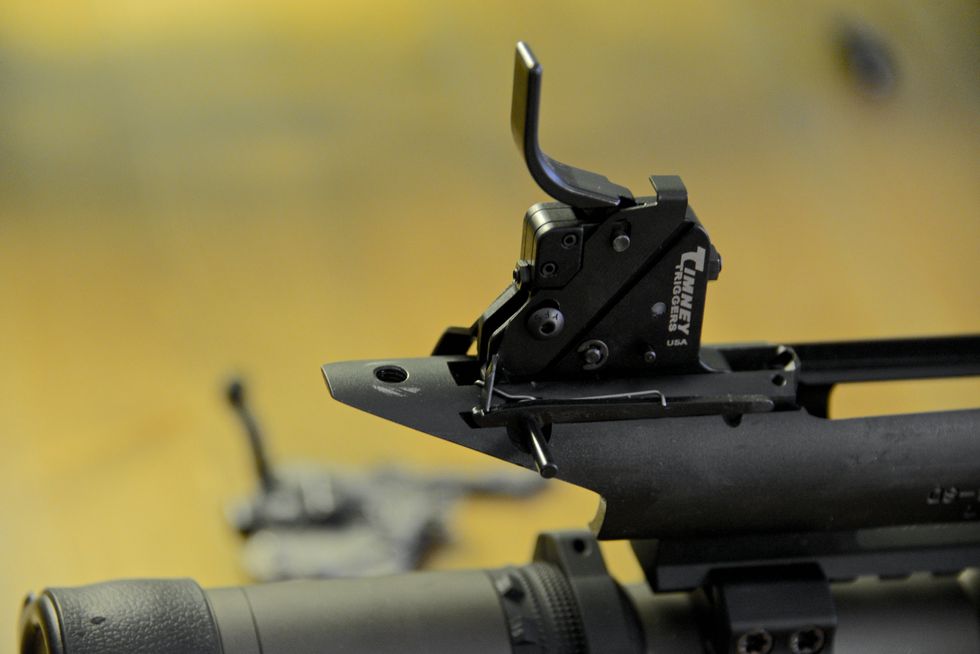
Insert new trigger assembly and drift the front trigger pin back into place.

Drift the rear trigger pin into place and ensure bolt release button functions properly. Timneys come with a pin guide that will fall out. This piece is no longer needed
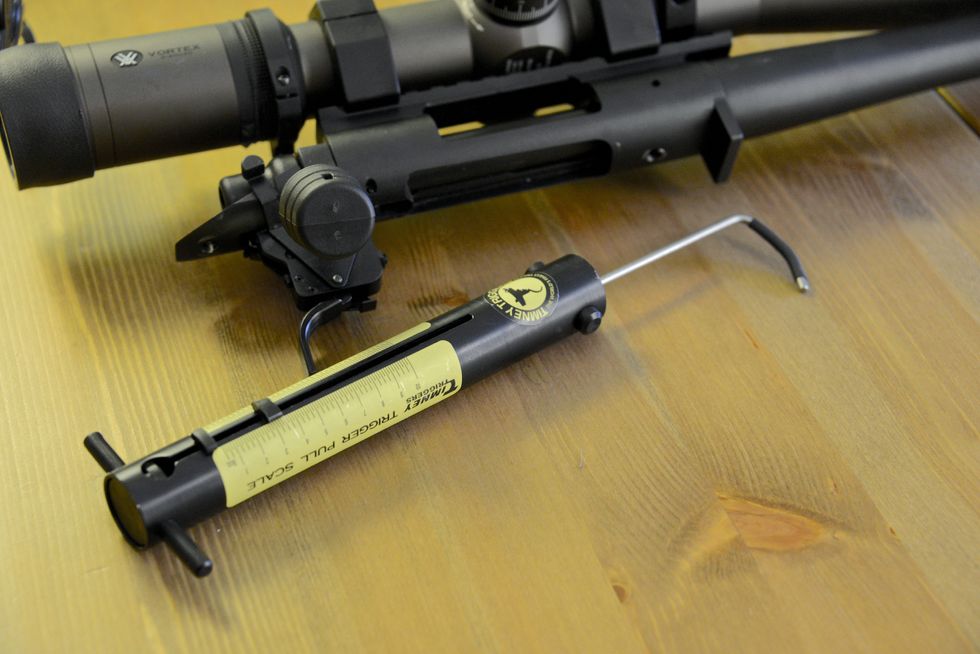
Re-insert bolt and test all trigger functions. Ensure proper safety functionality. Now is a good time to adjust your pull weight with the bottom front screw. Keep it safe - Timney recommends >1.5lb.
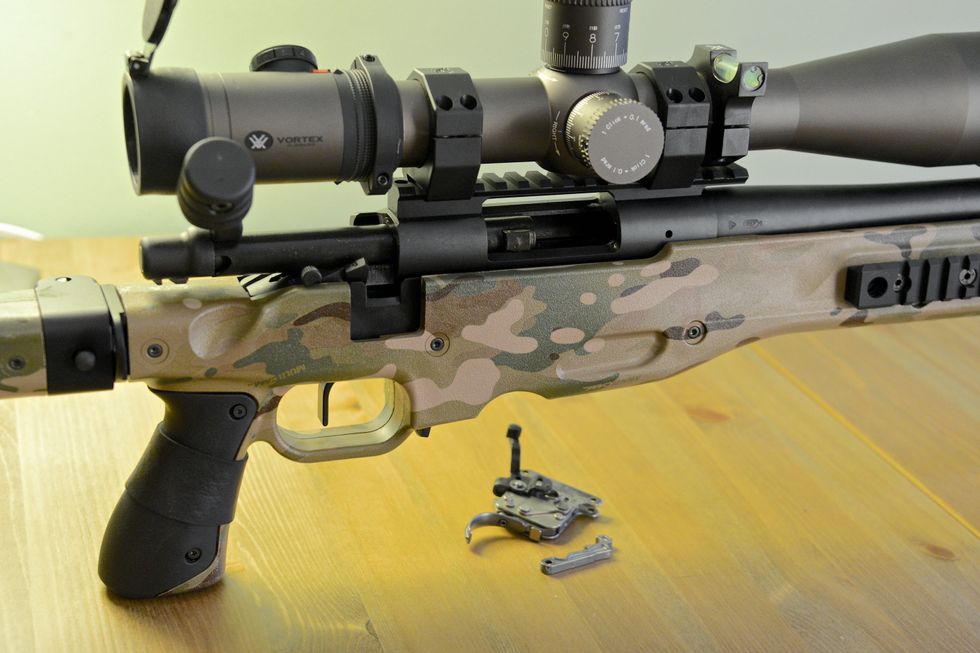
Re-install action into stock or chassis, ensuring to torque the action screws properly. The AICS requires 53in-lb. Test trigger and safety functionality again and enjoy!