The Conversation (0)
Sign Up
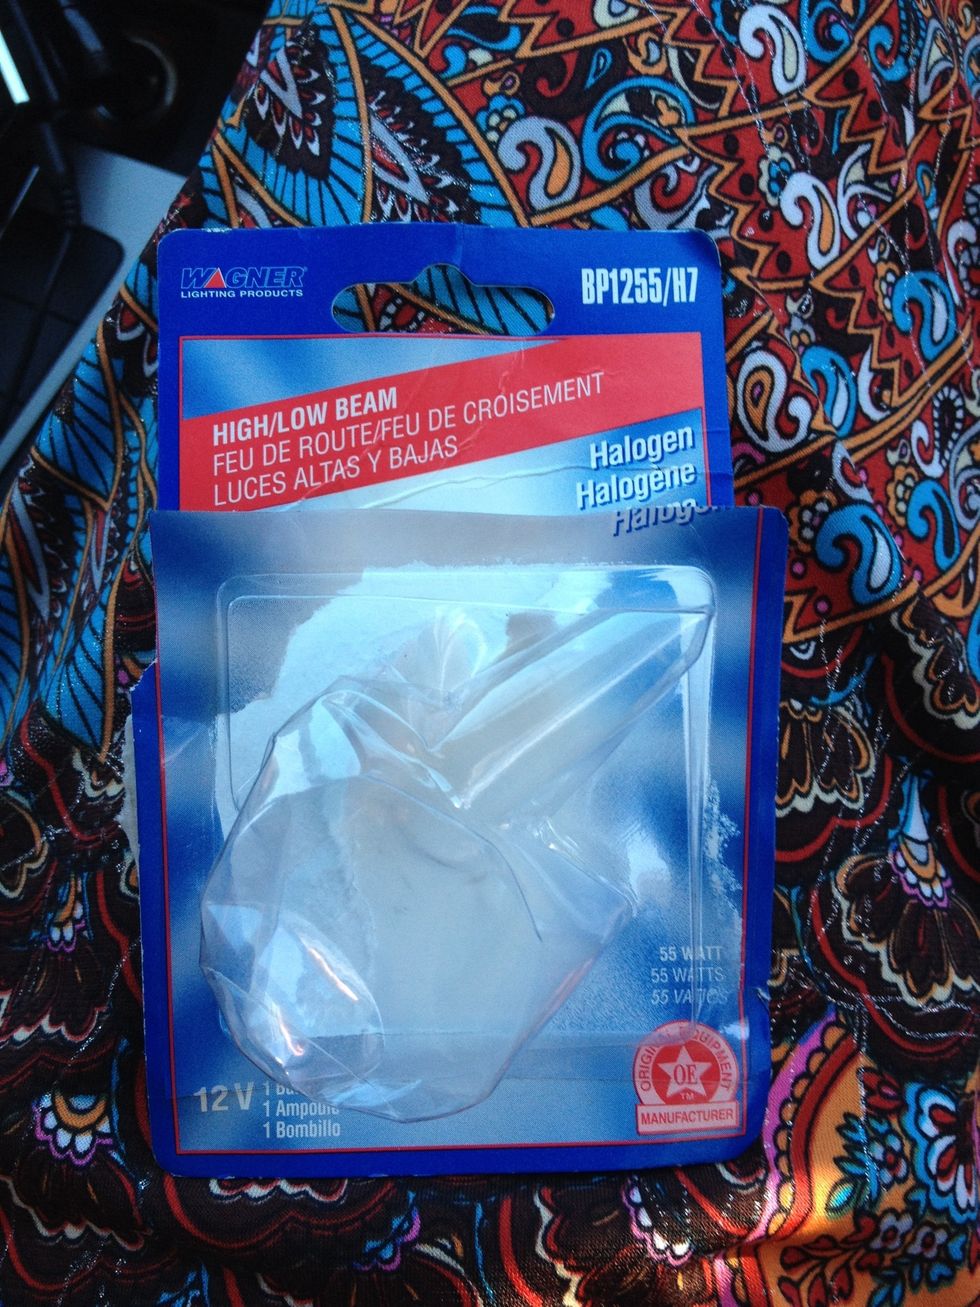
Here's the empty packaging. I purchased the bulb from Napa. They can help you look up what type of bulb your car takes. Any automotive parts place will do!
It's a good idea to perform a full lighting check first. With a helper, inspect the front high beams, low beams, daytime running lights, turn signals, side markers and fog lights if you have them.
Next, inspect tail lights, rear turn signals, reverse lights, brake lights, side markers and high mount brake light. Remember, not all cars are the same, so this guide may not work for your car.
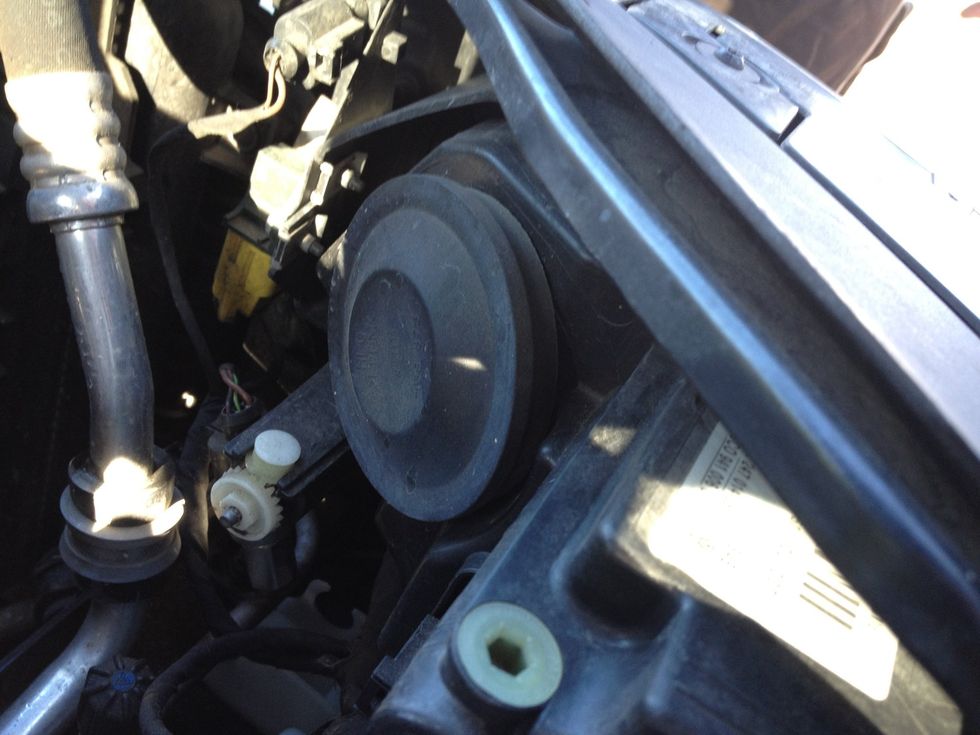
This time, the right front daytime running light or low beam is out. Pop the hood and locate the dust cover at the rear of the lamp assembly housing - remove it
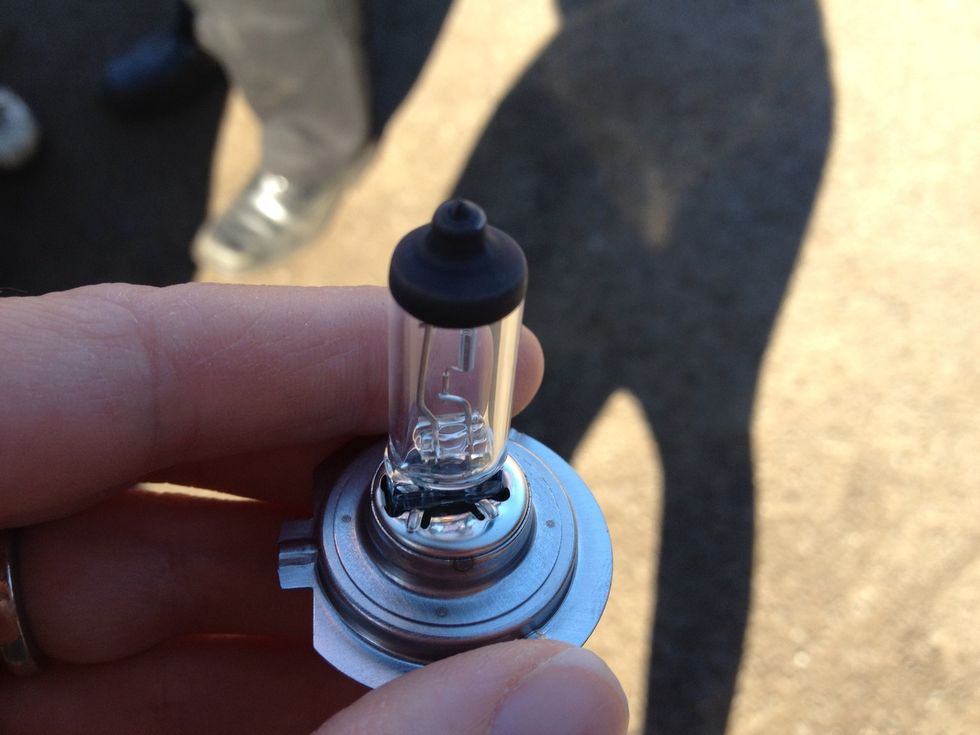
This car requires an H7 halogen bulb. Don't touch the glass portion of the bulb because the oils from your skin will shorten the life of the bulb. Handle it by the metal or plastic body.
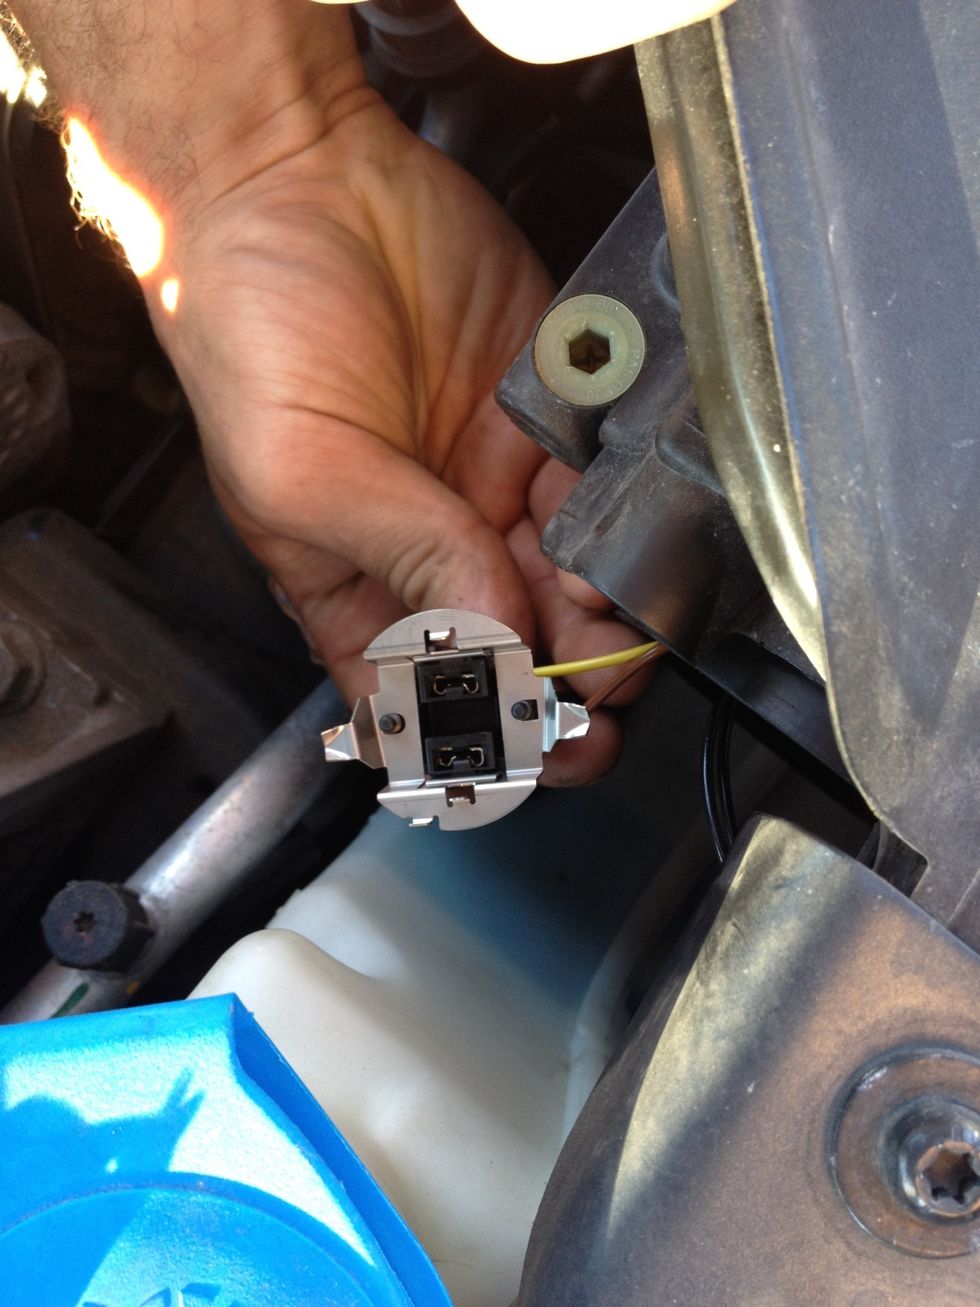
Here is the socket that was in the housing with the bad bulb already removed. Don't touch the hot bulb - ouch! The socket needed a slight twist to remove from the housing bracket to gain access.
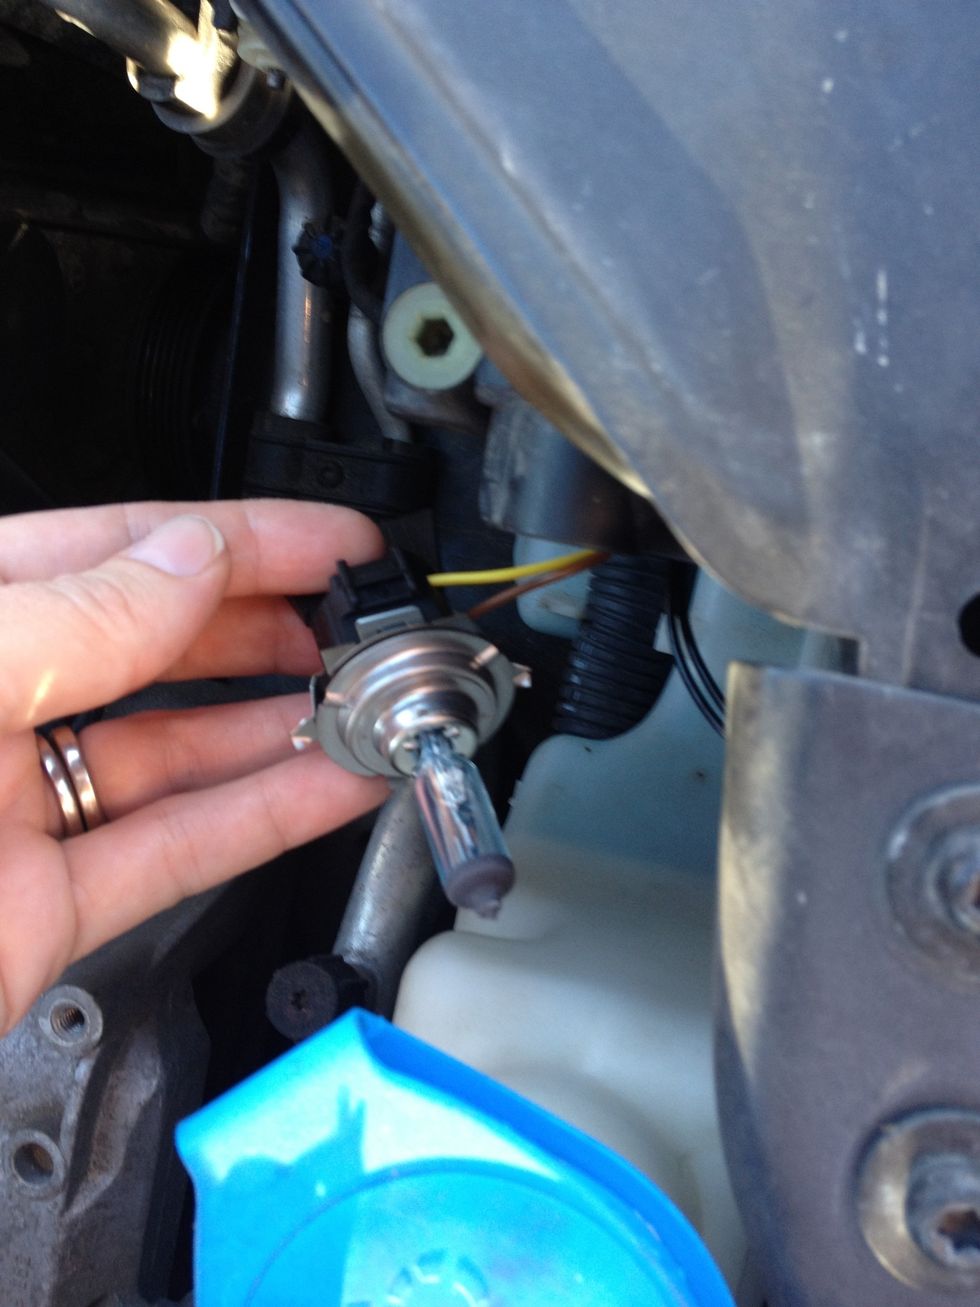
Insert the bulb into the socket ensuring the tabs are lined up. Note the winged tab that I'm holding onto. This is what you twist slightly when reinstalling or removing the socket from the housing.
It's a terrible shot, but the socket is back in securely. Its a tight spot and other parts of the car were hot! Reinstall the dust cover.
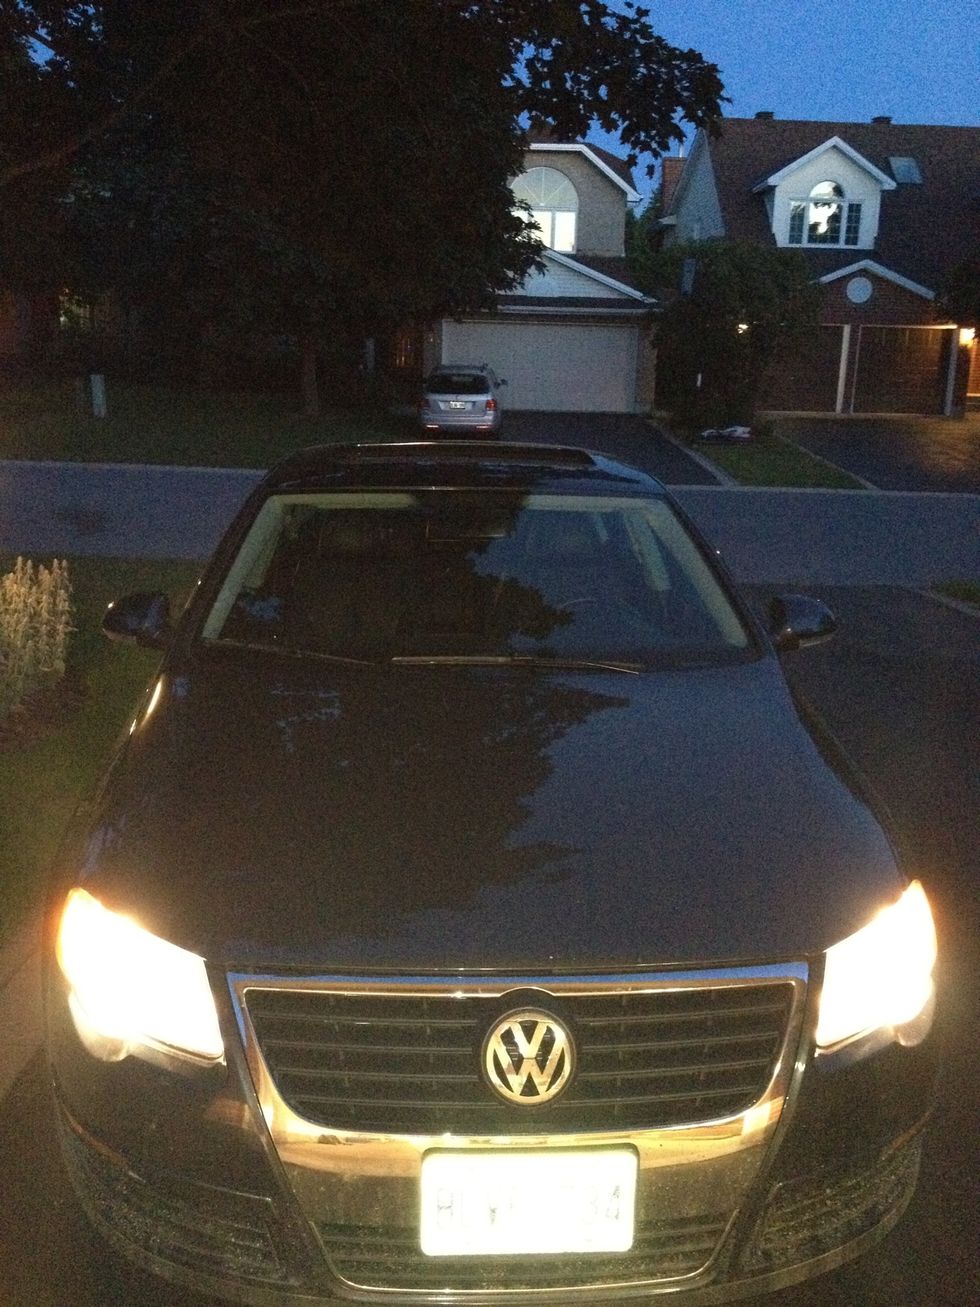
All done in less than five minutes! Let there be light...and no fine;)