The Conversation (0)
Sign Up
First things first, make sure you buy a chain that fits your bike. Most geared bikes use a 3/32" width chain. Fixies and single-speed bikes usually need a 1/8" chain. Ask the bike shop for help.

Flip your bike to rest on the seat and handlebars so it is easy to work with. Or, if you have a bike repair stand, by all means, use that.
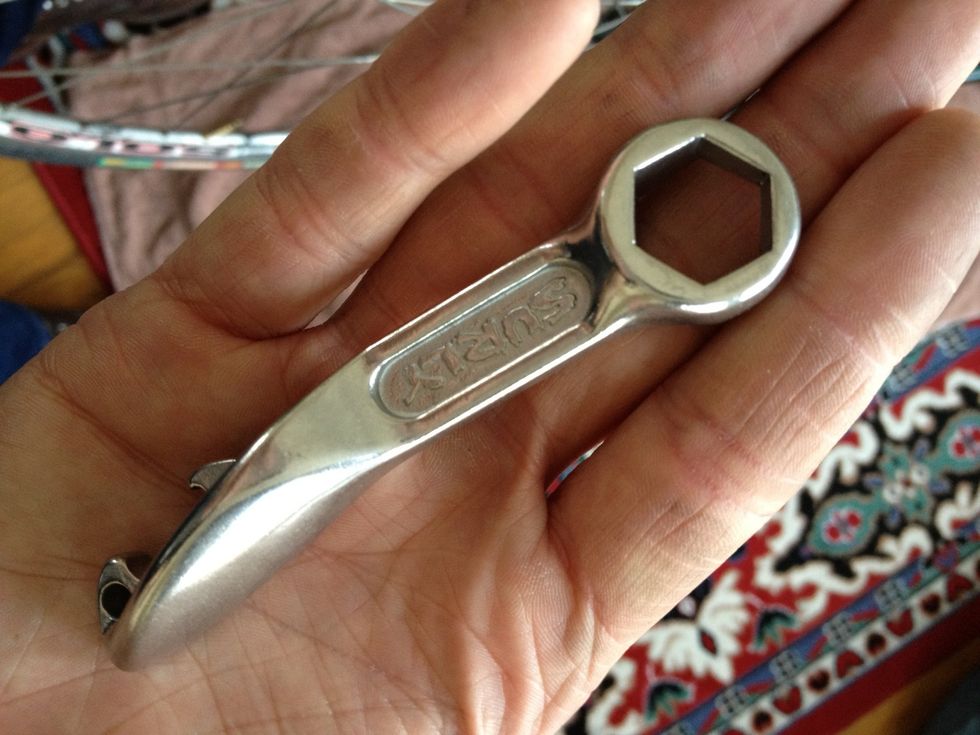
On most bikes the rear wheel is bolted on so you'll need a 15mm hex wrench to remove it. Road bikes usually have a clamp-down skewer that you can loosen by hand.
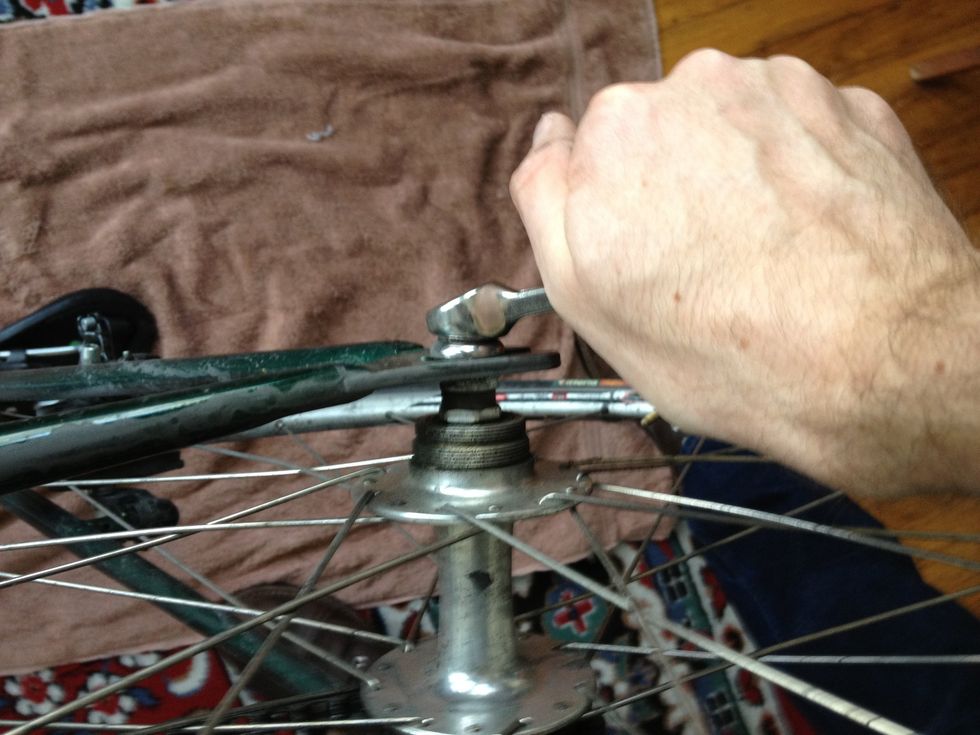
Loosen both bolts (or skewer) on the rear wheel and remove the rear wheel from the bike.
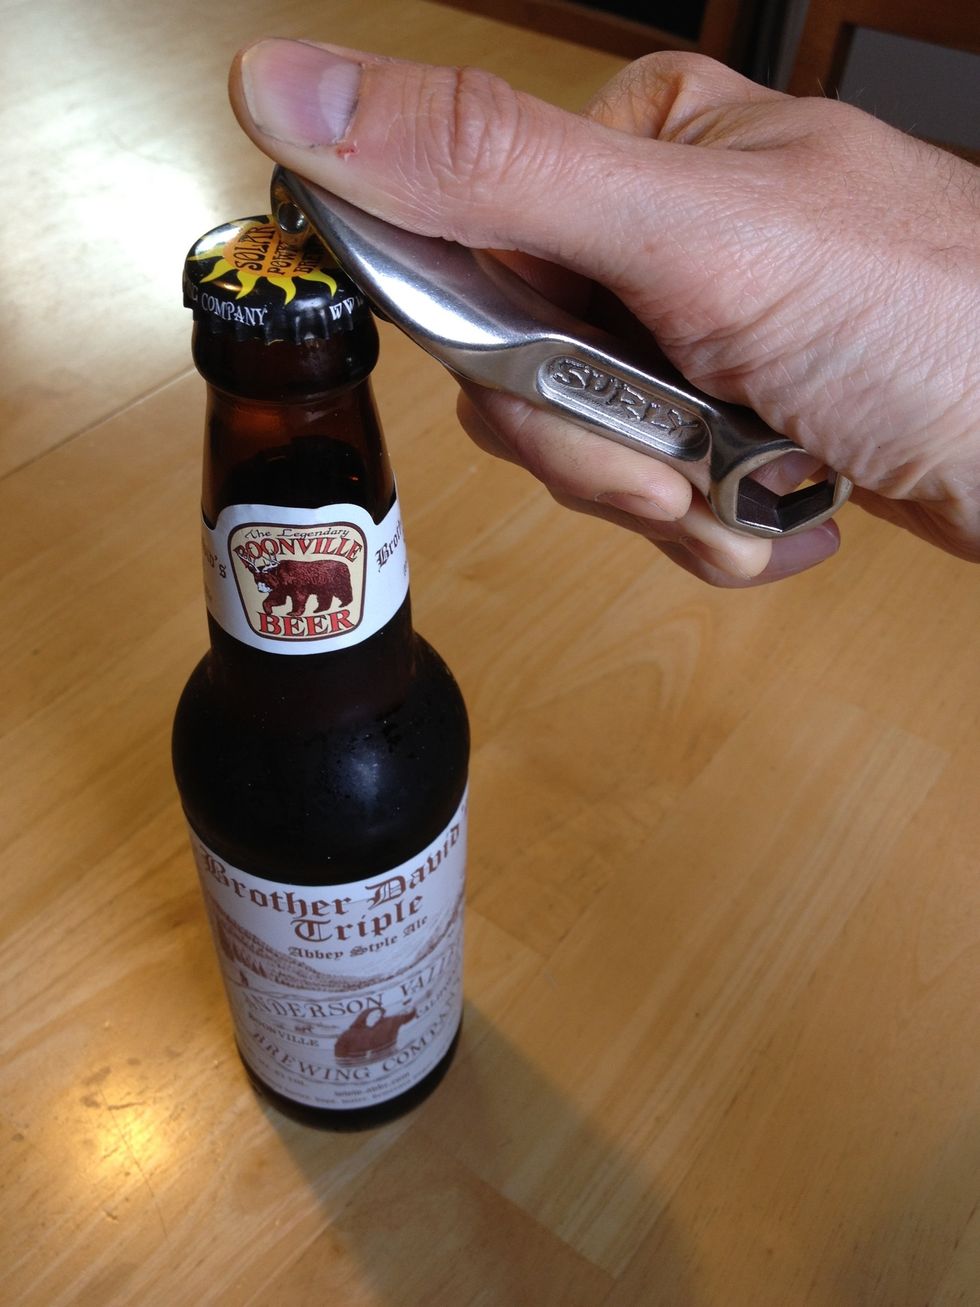
Now pop open a cold brew. Professional bike mechanics always have a tasty microbrew on hand while they work. With any luck your 15mm wrench has a built in bottle opener for this very reason.
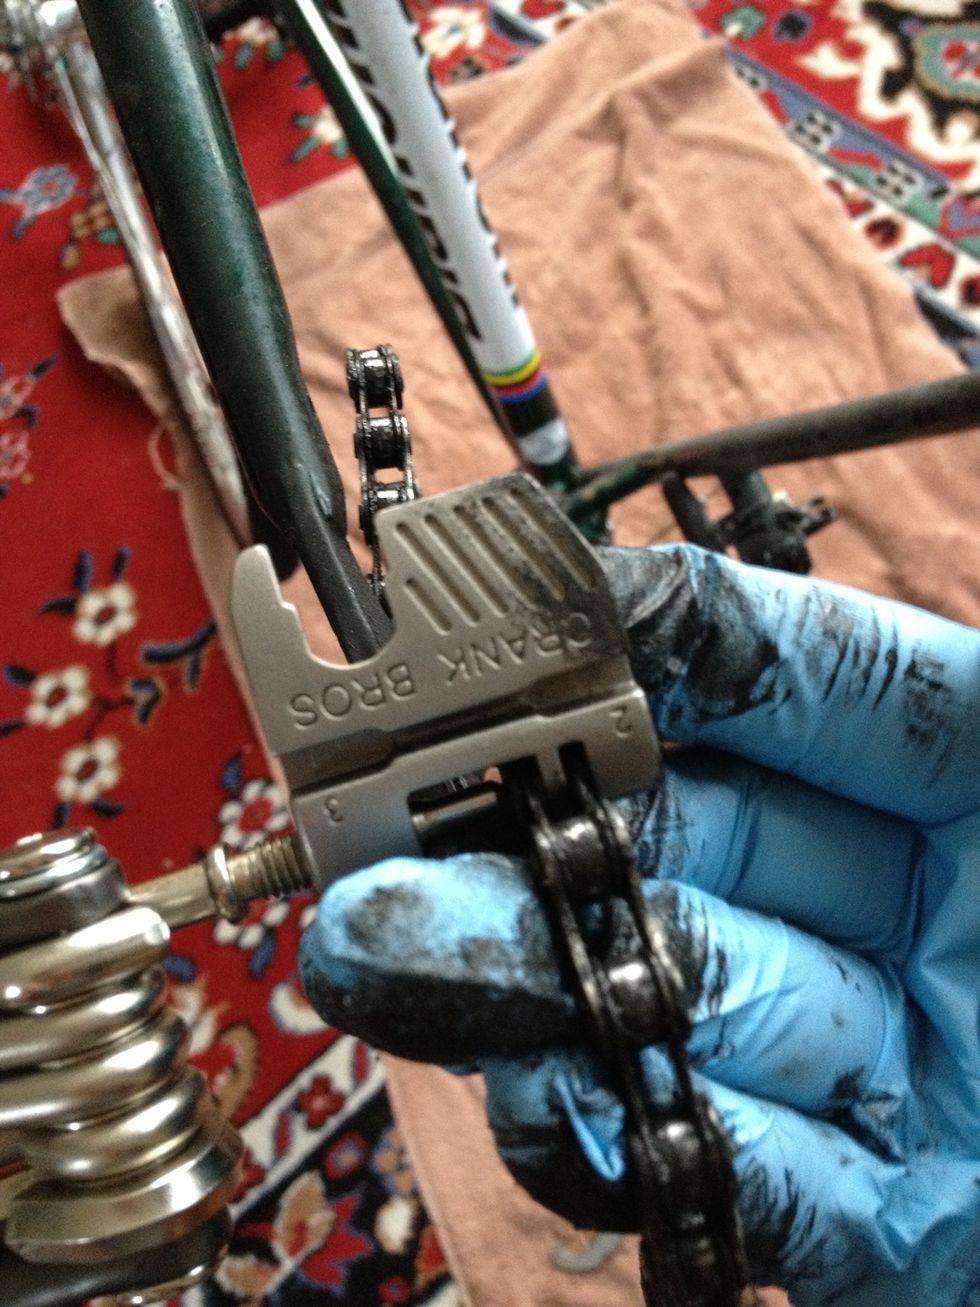
Use a chain tool to break open the chain at one of its joints. Align the tool along the top of the chain as shown and screw it down so it pushes one of the pins free of its link.
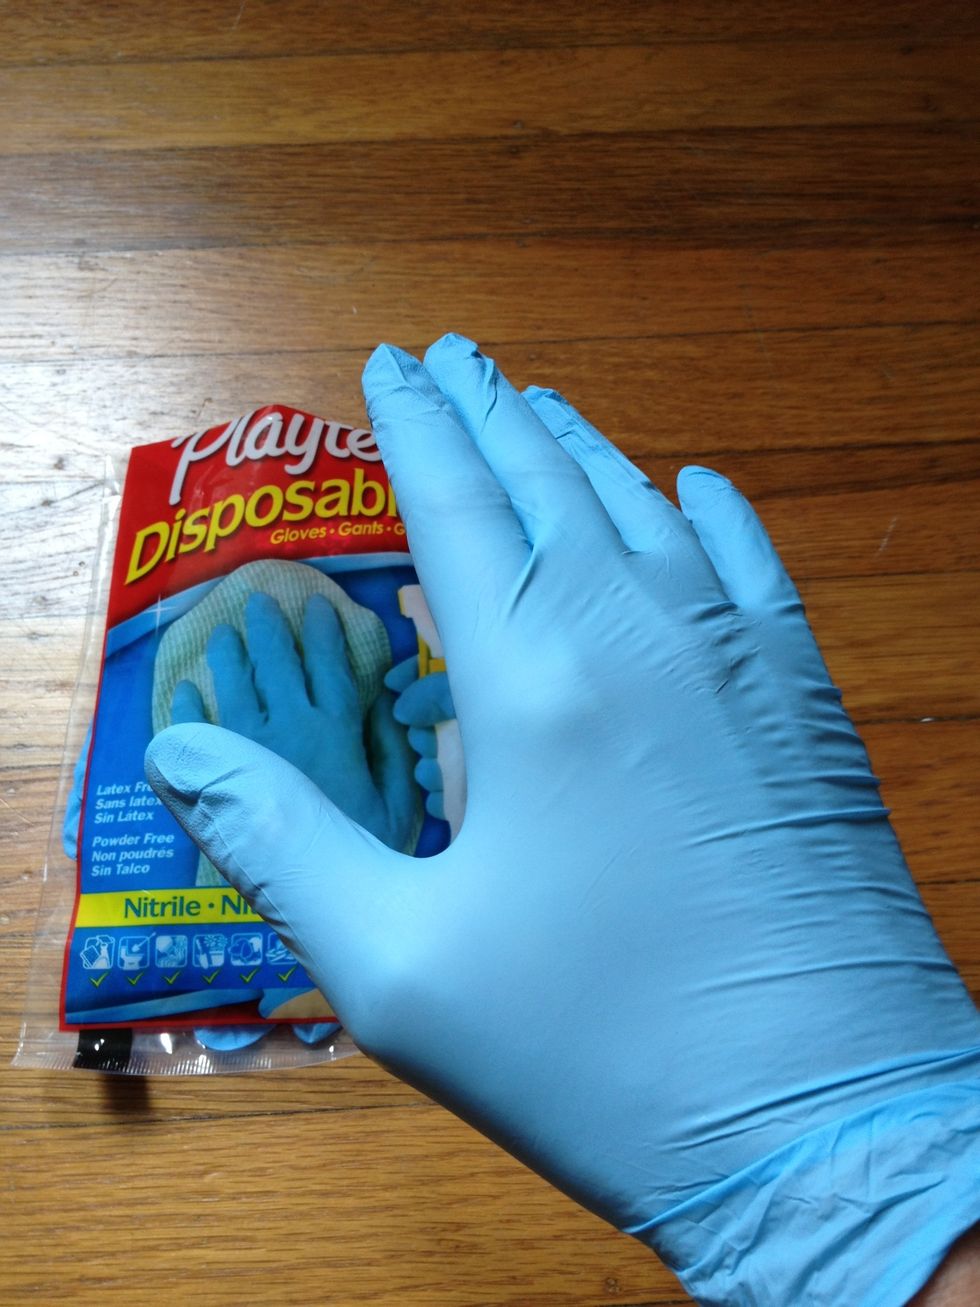
Chains are really grimy so it helps to have gloves. Blue nitrile gloves work best at keeping grease and lube from getting to your fingers.
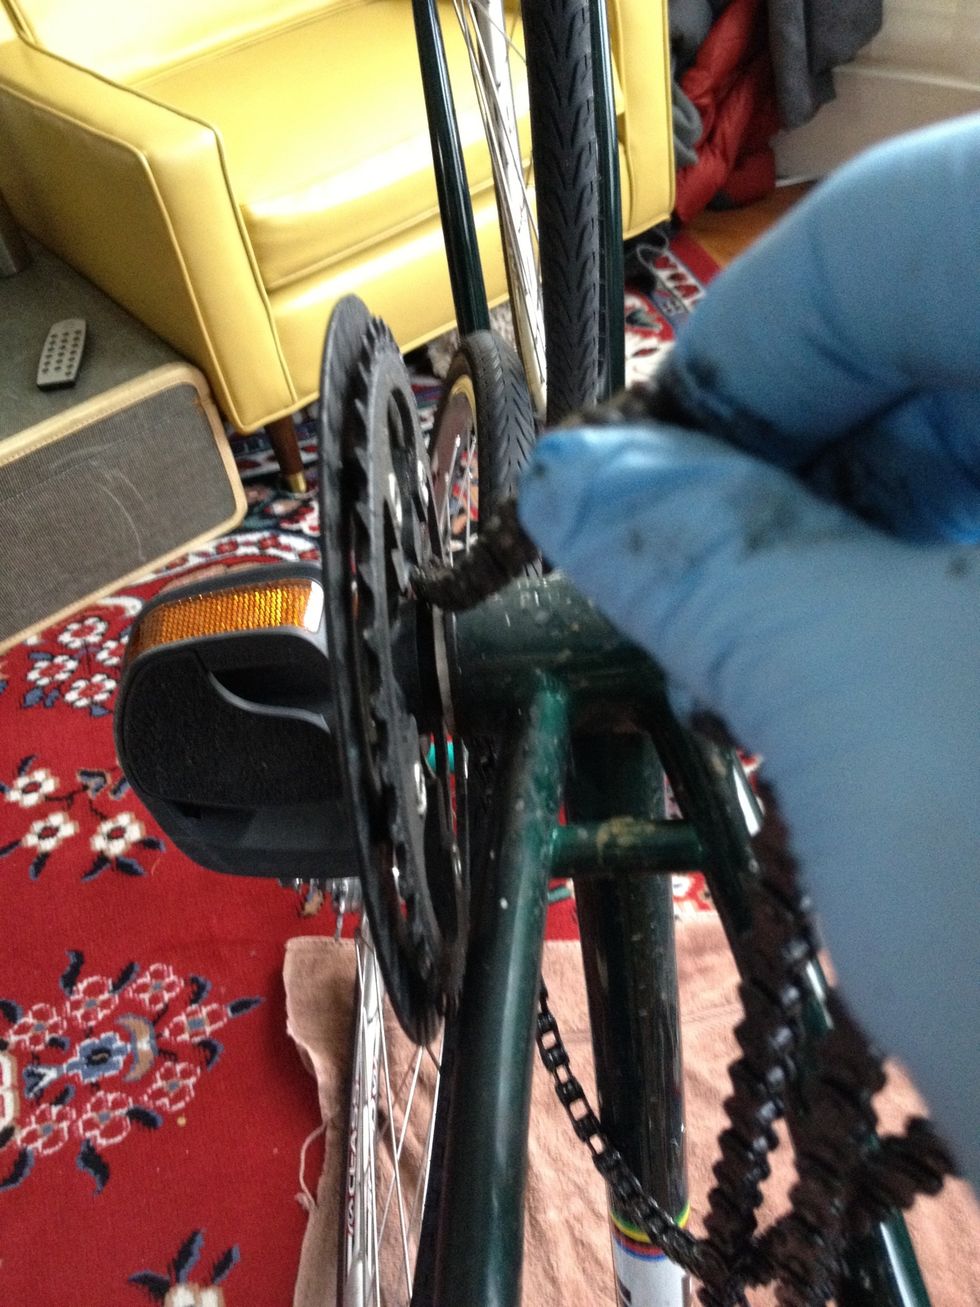
Remove the chain from the bike & save it so we can size the new chain. For multi-speed bikes, take note of how the chain is threaded through the front and rear derailers as you remove the chain.

Now is the time to give your gears a good scrubbing. You don't want all that dirt and grime quickly mucking up the new chain. Get all the cogs shiny and dirt free!
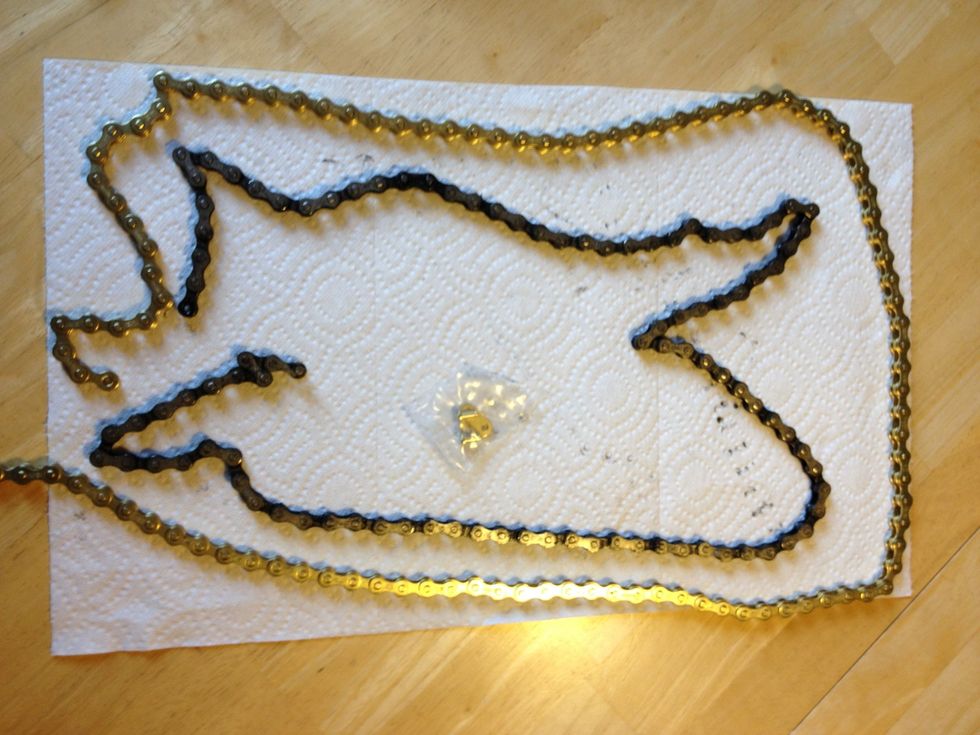
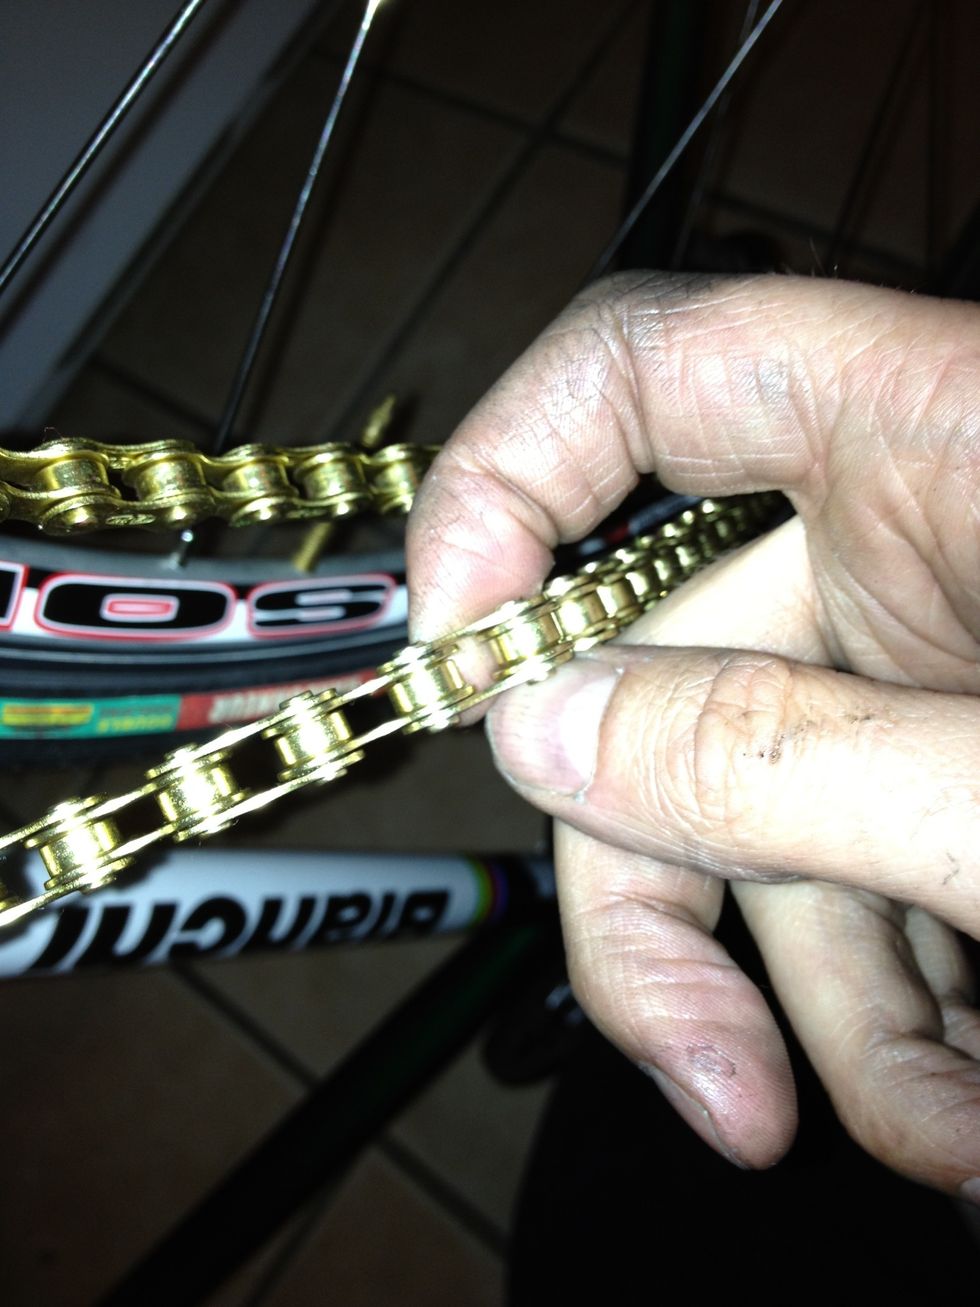
The new chain needs to be trimmed to fit your bike. Inspect the old chain to find the right length. I count links because the old chain has likely "stretched" a bit which makes measuring less precise.
Break the new chain at the proper length using a chain tool as before. Be careful not to push the pin free of the chain because you'll need it to close the chain later (Most chain tools prevent this).
Thread the new chain onto the bike taking care to pass through the rear frame and deraileurs (if you have them).
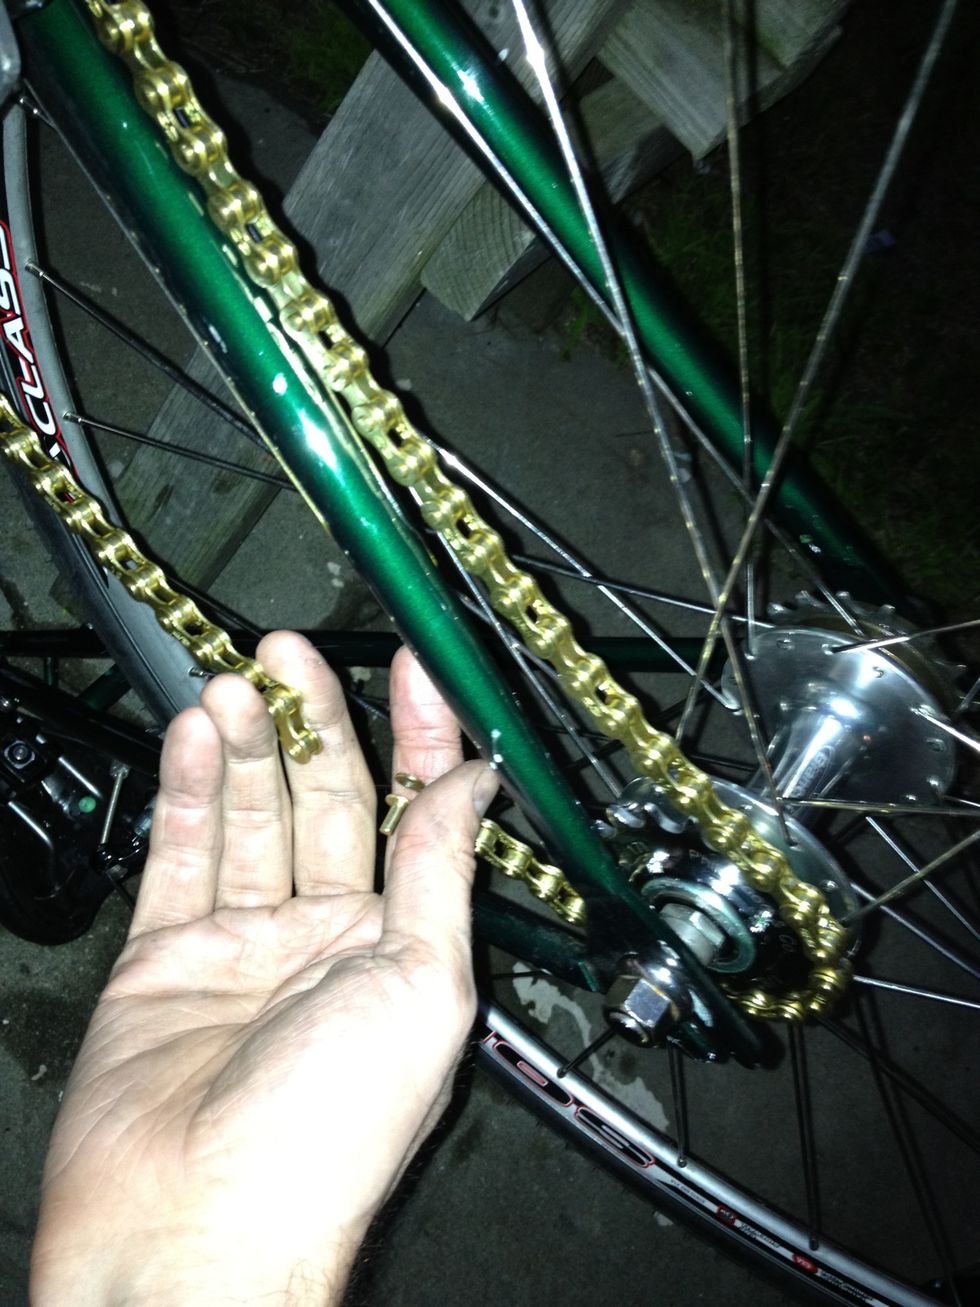
Use the chain tool to push the loose pin into the other end of the chain to complete the link! Make sure the pin protrudes evenly from both sides.

Thread the chain onto the rear wheel cog. If you have a single-speed bike or internal hub gearing, make sure to pull the rear axel back in the rear dropout until the chain is very tight.

Tighten the rear wheel back onto the frame — you are almost ready to go!
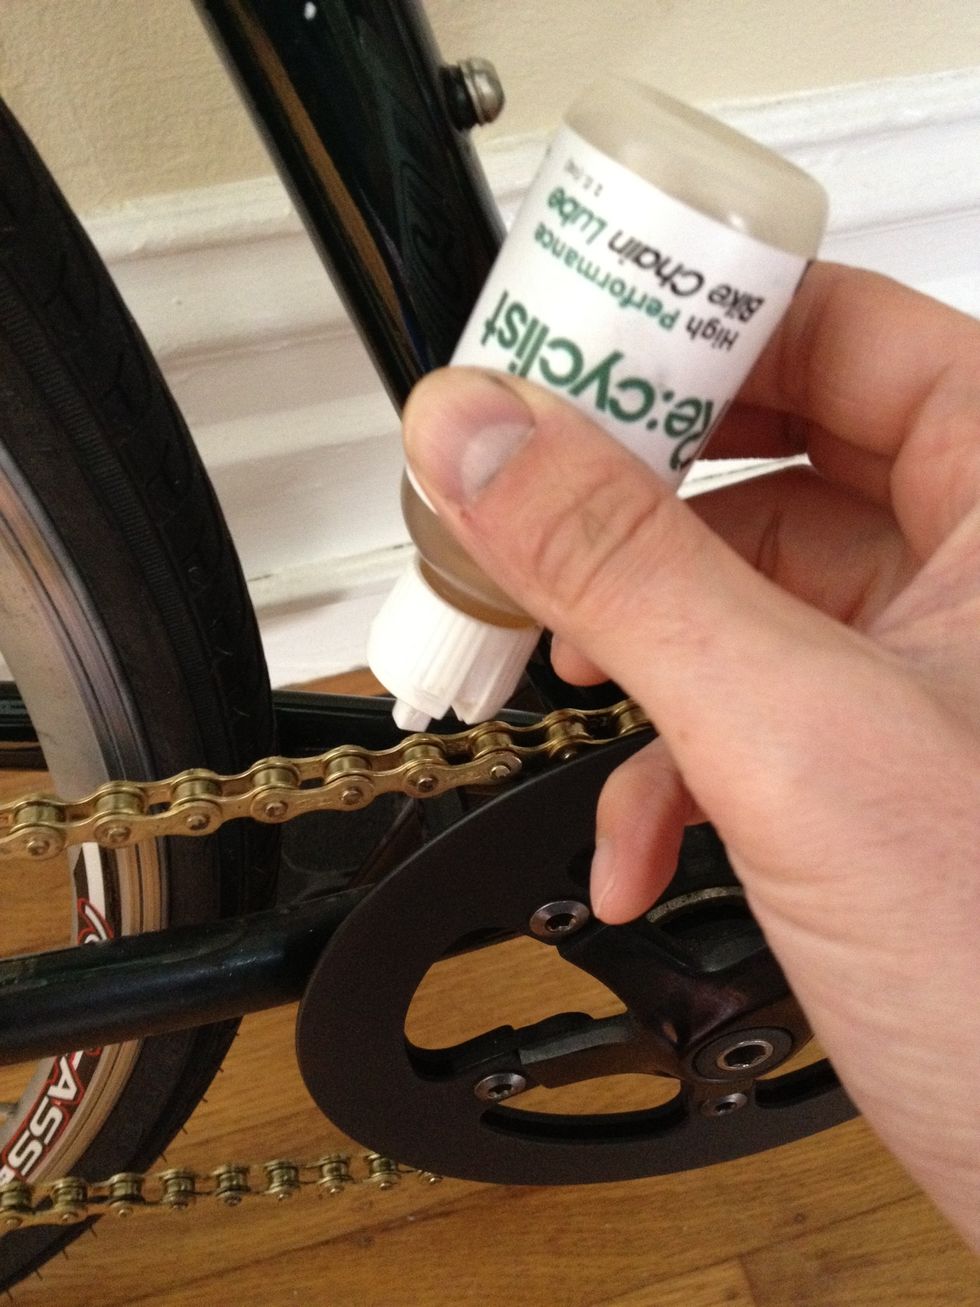
Finally, place a drop of chain lube in all of the links of the chain and wipe the excess off with a rag. Now you're ready to ride again!