The Conversation (0)
Sign Up
I split the process into three steps. 1. Remove fuel tank 2. Install the cable with better routing access. 3. Test the cable fitness and refit the fuel tank.
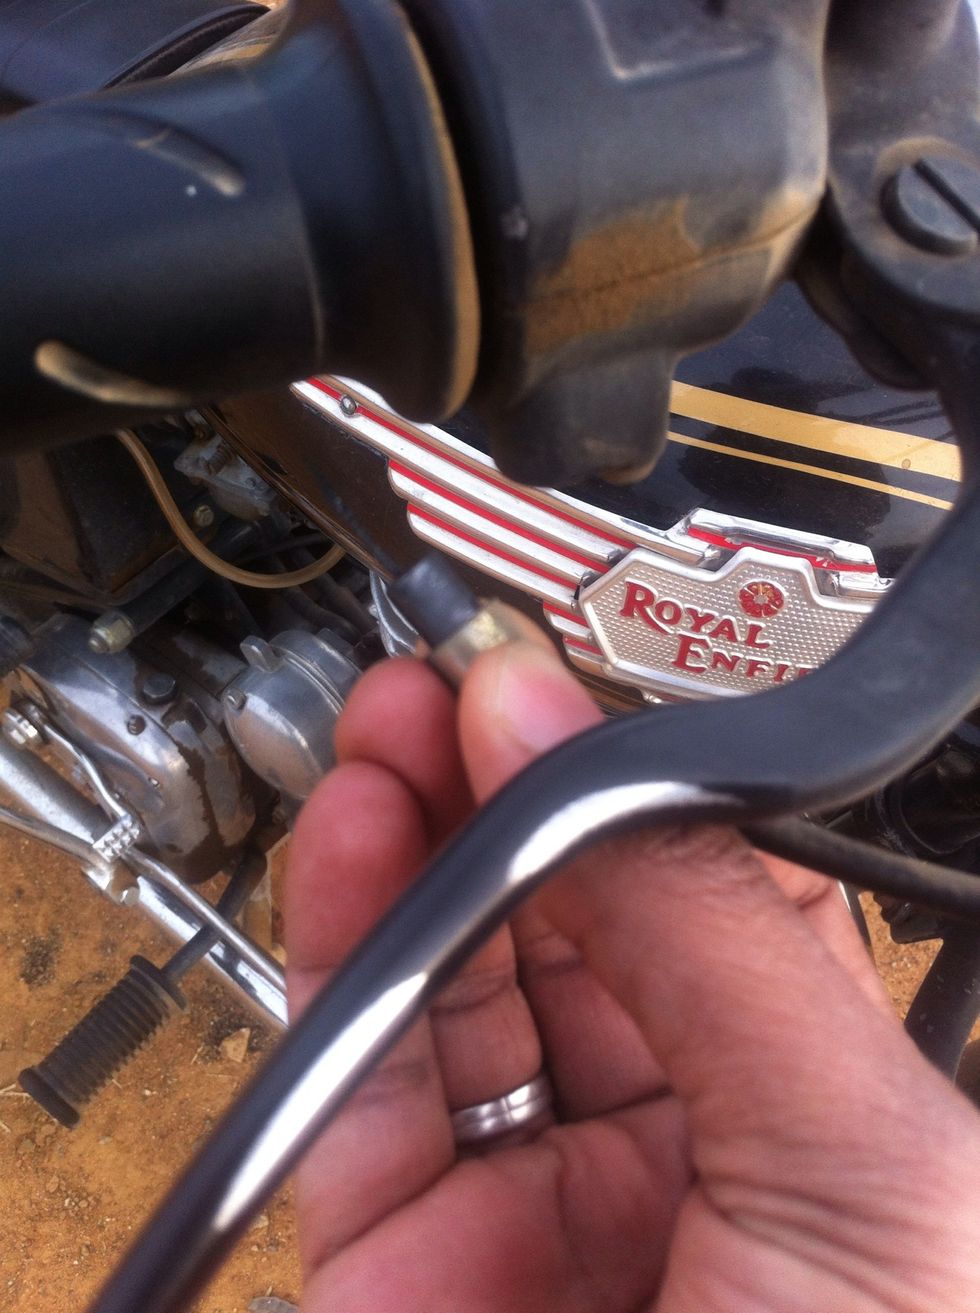
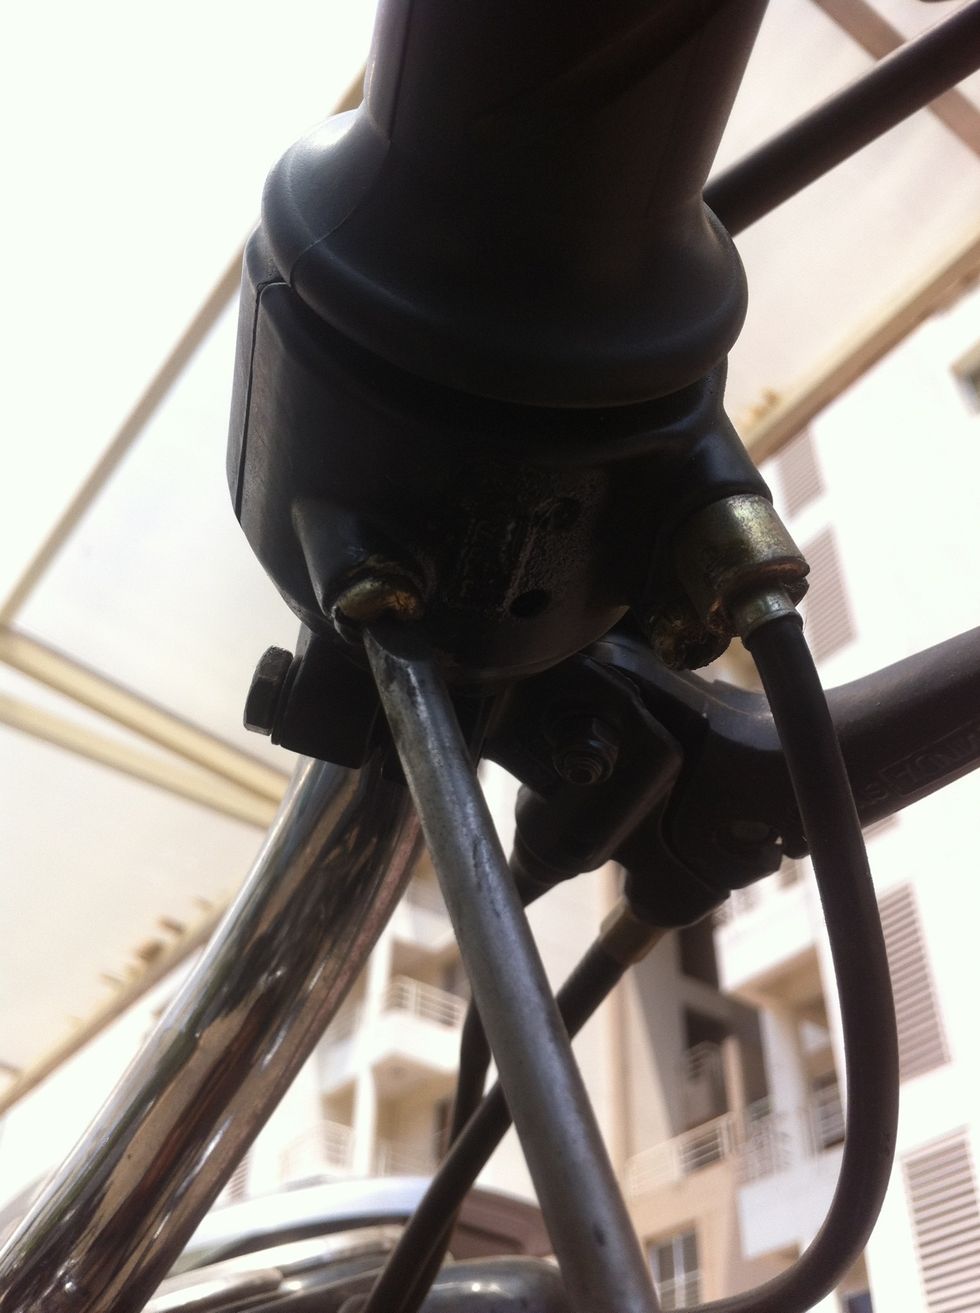
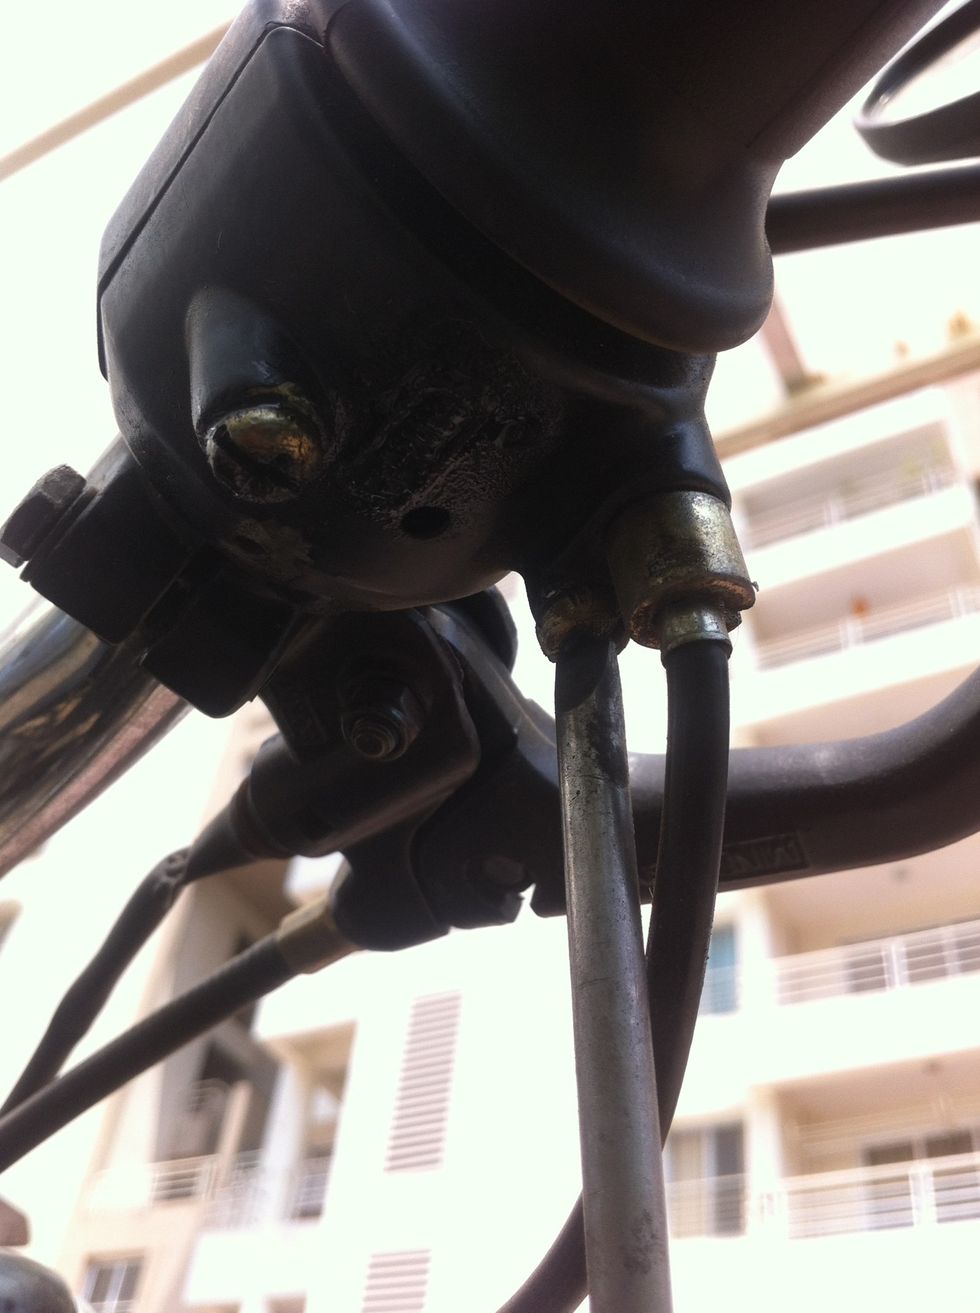
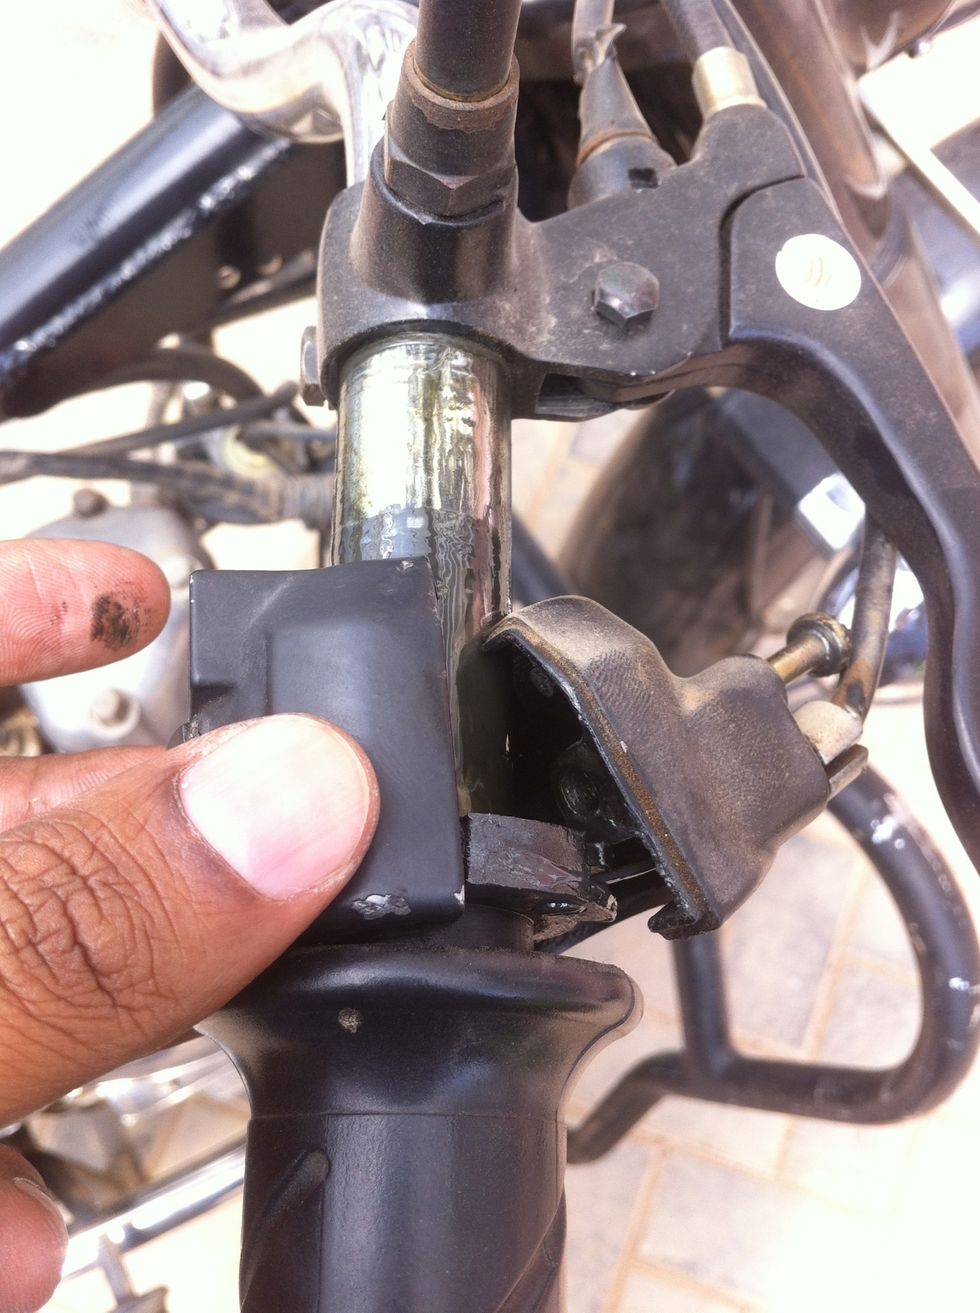
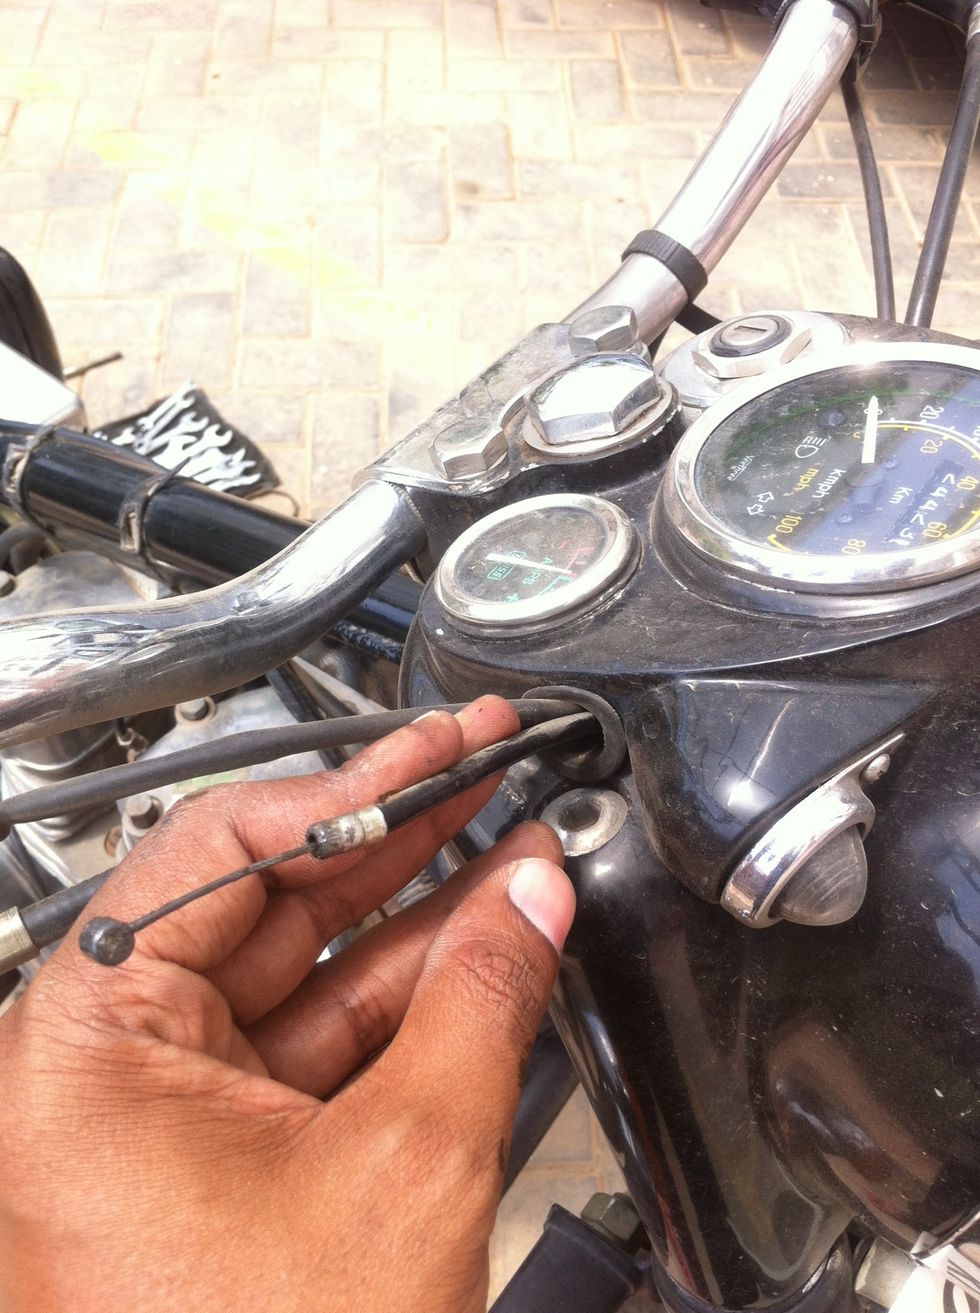
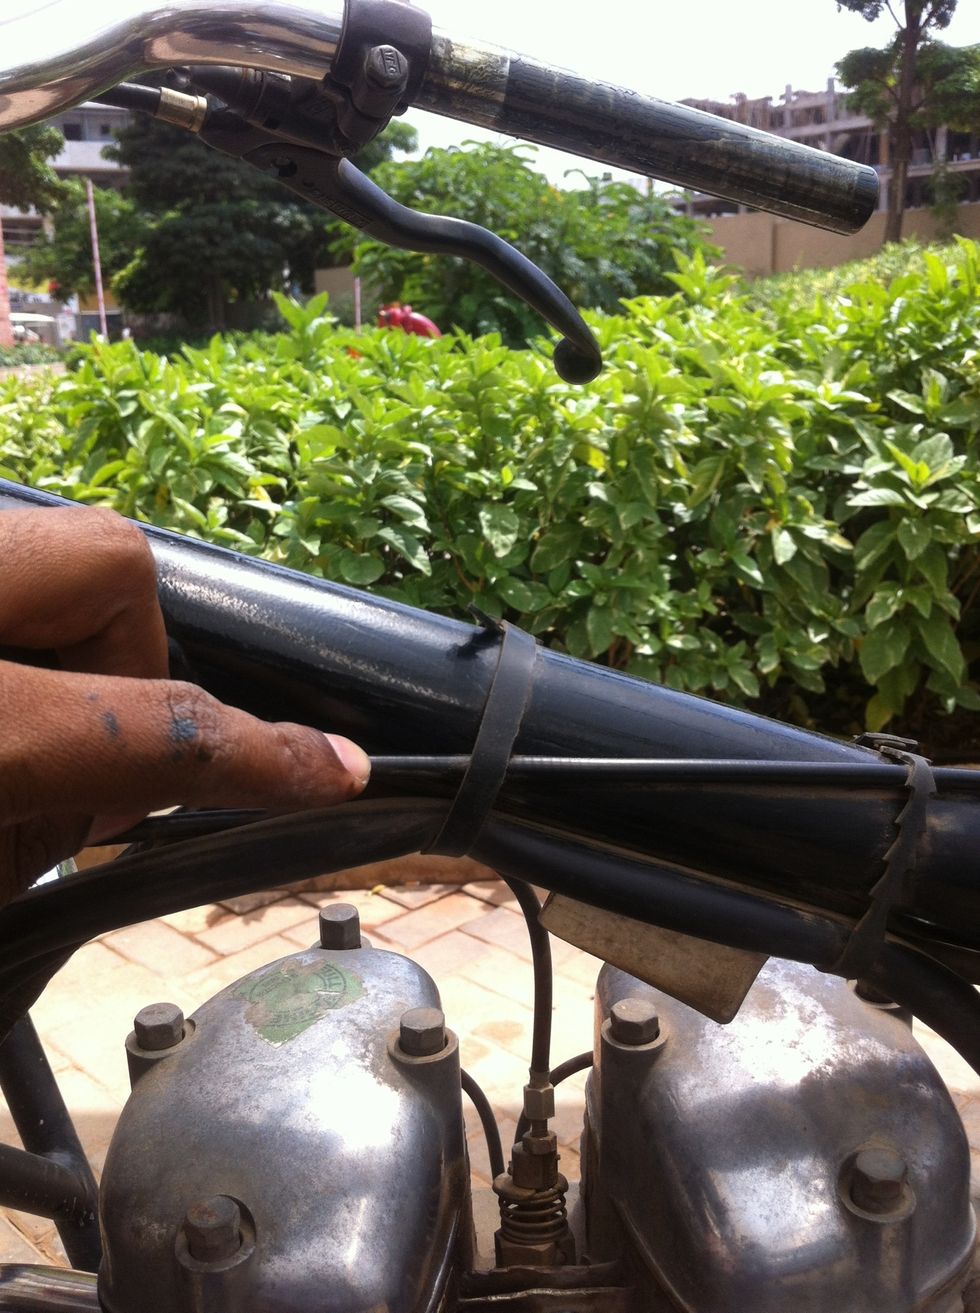
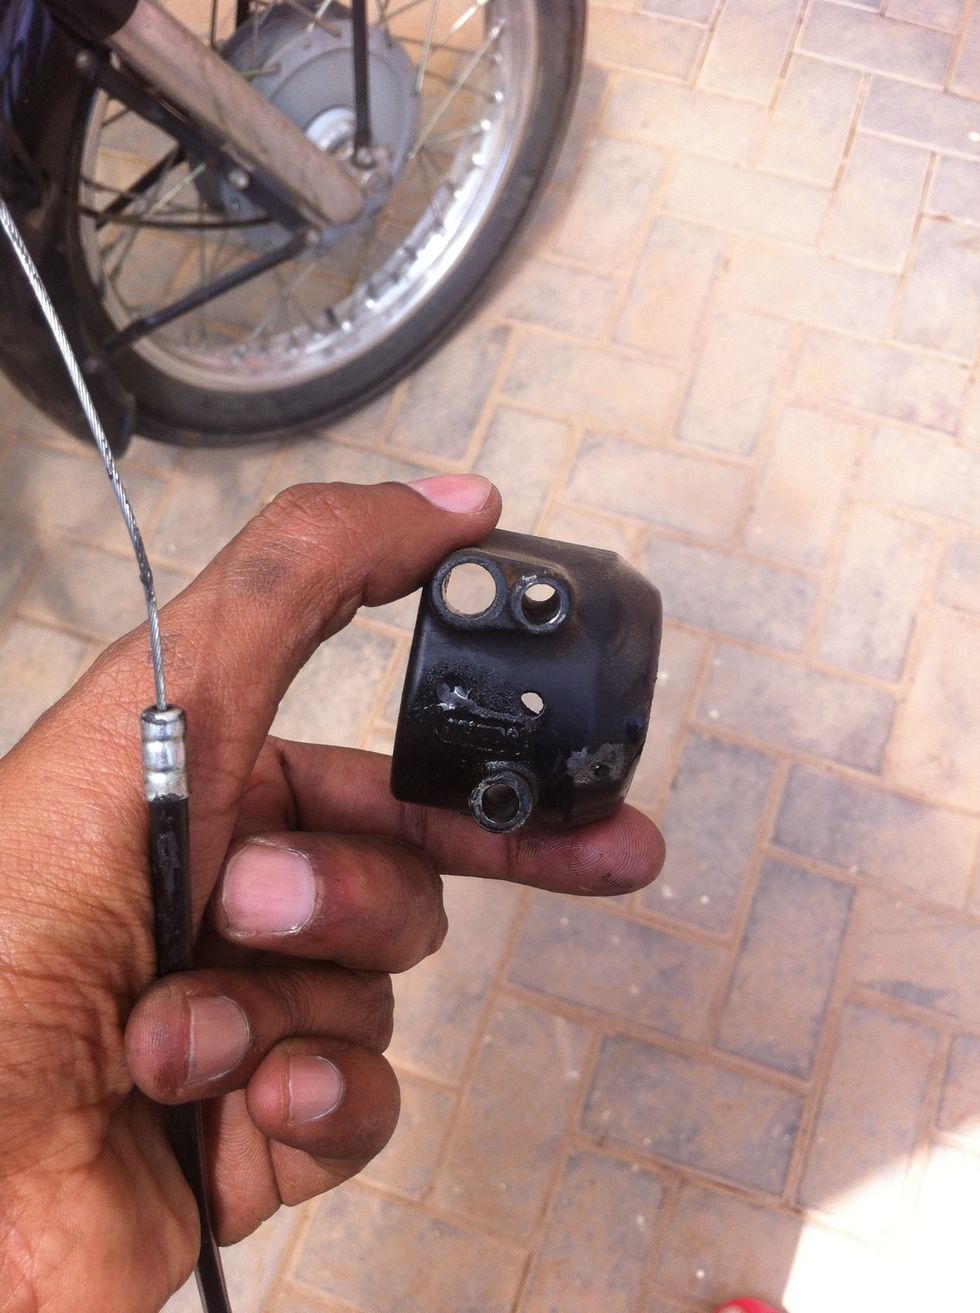
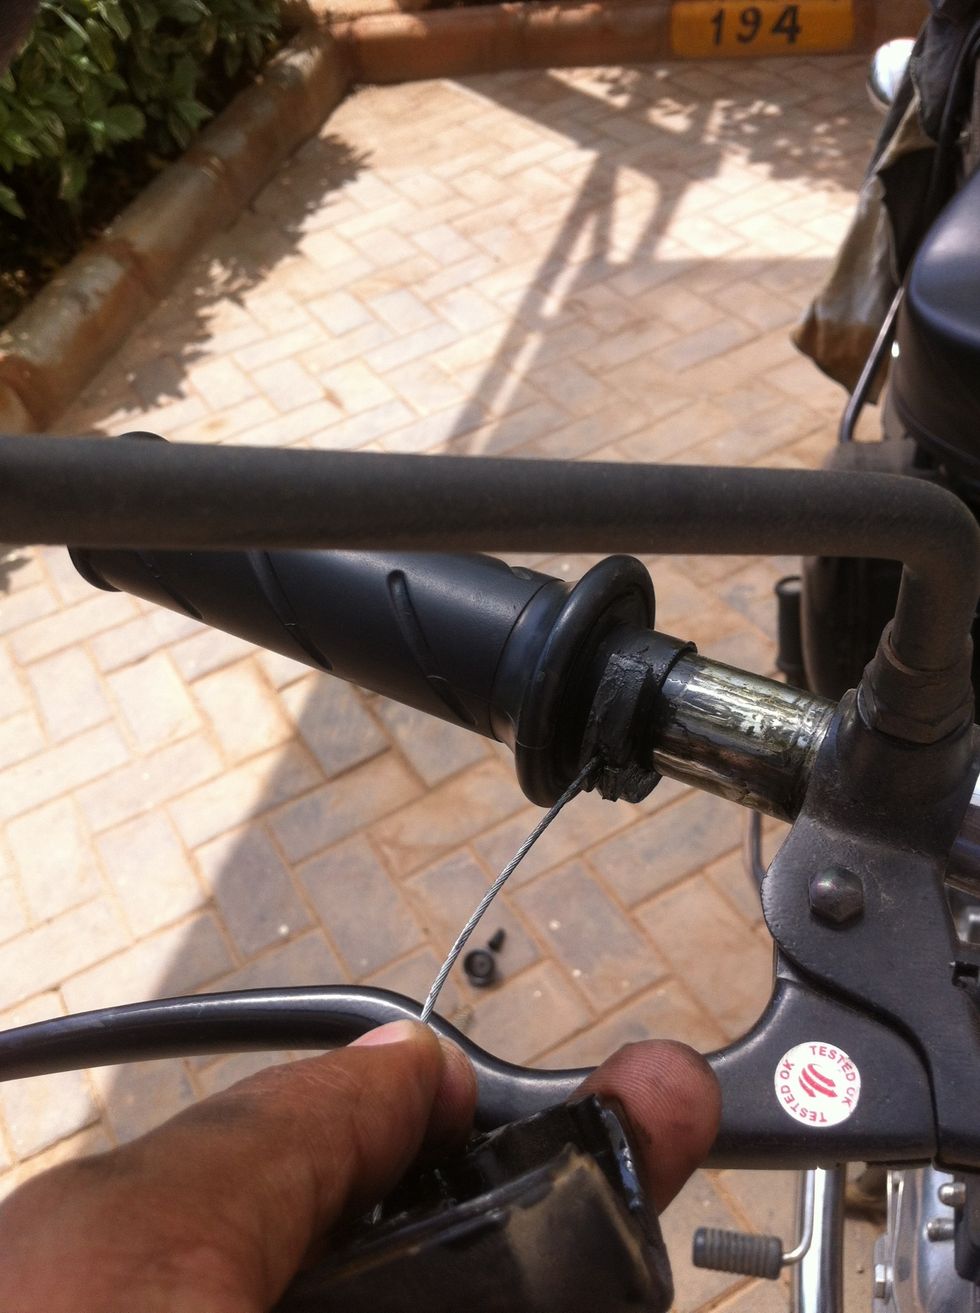
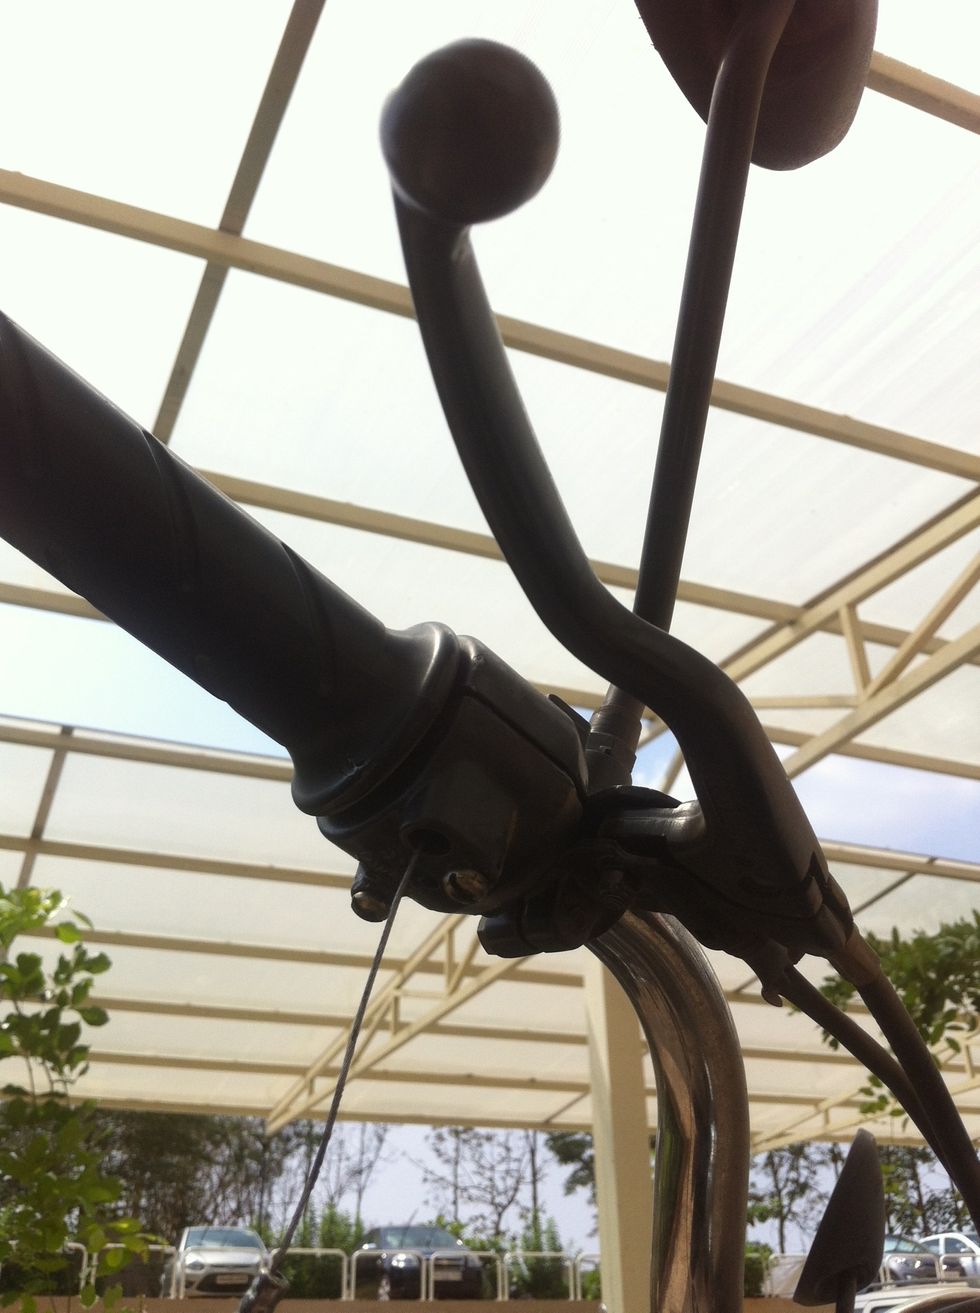
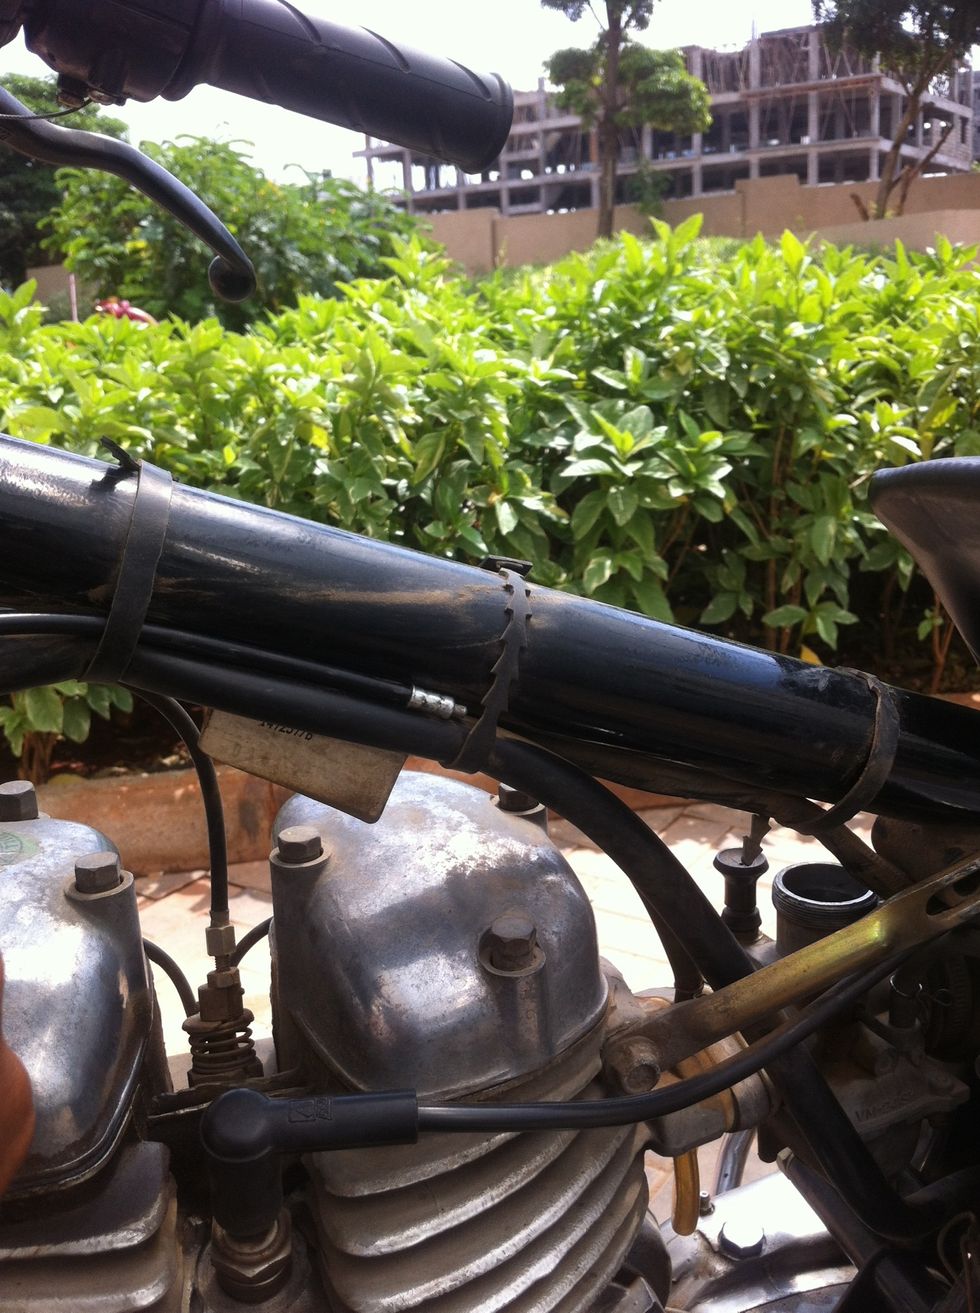
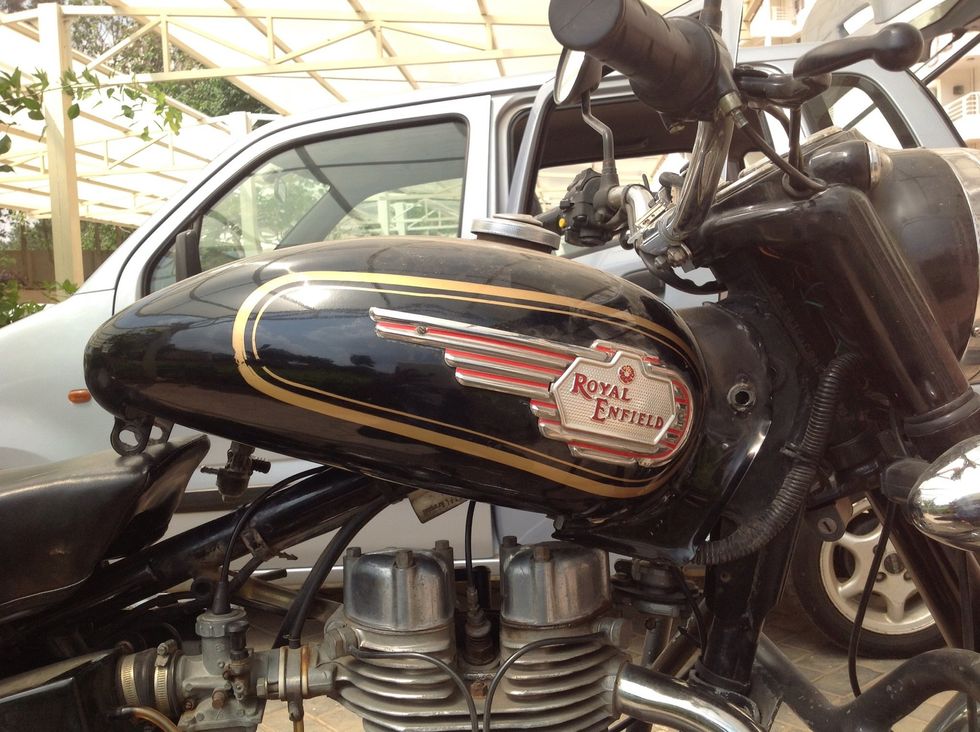
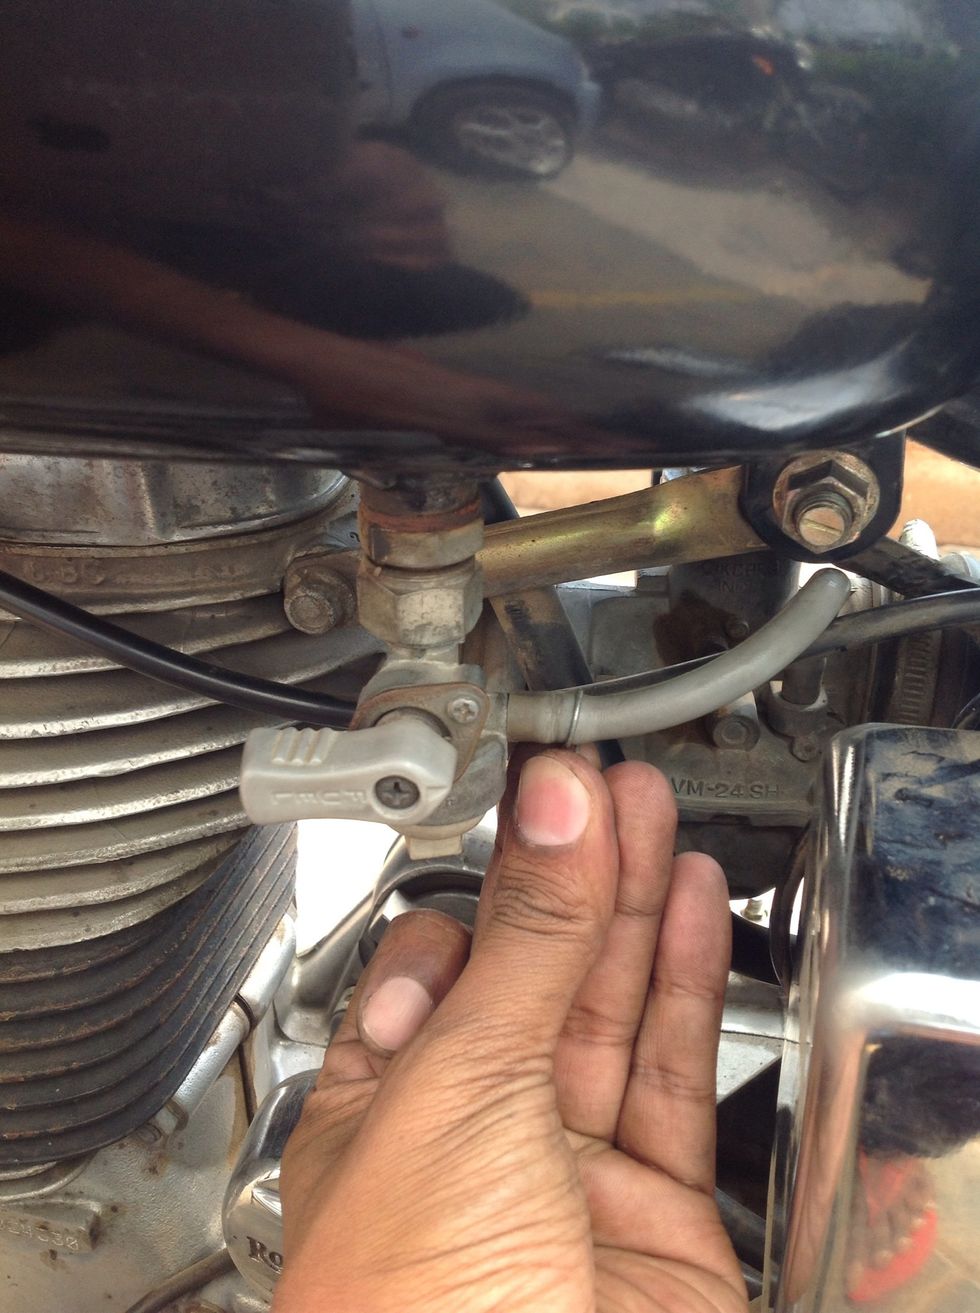
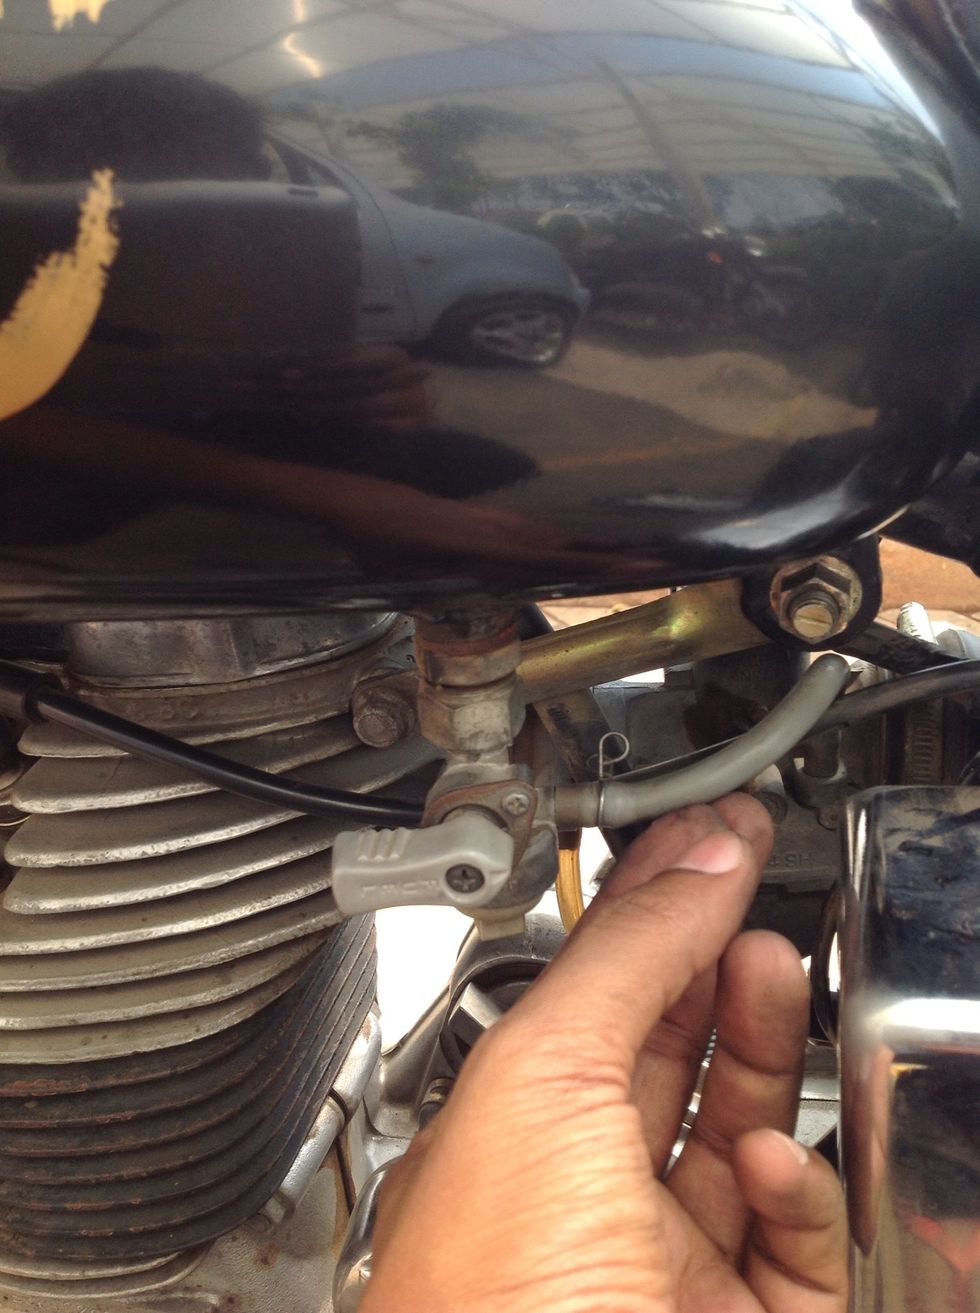
Most of the time the throttle cable gets broken at this place, after the throttle handle.
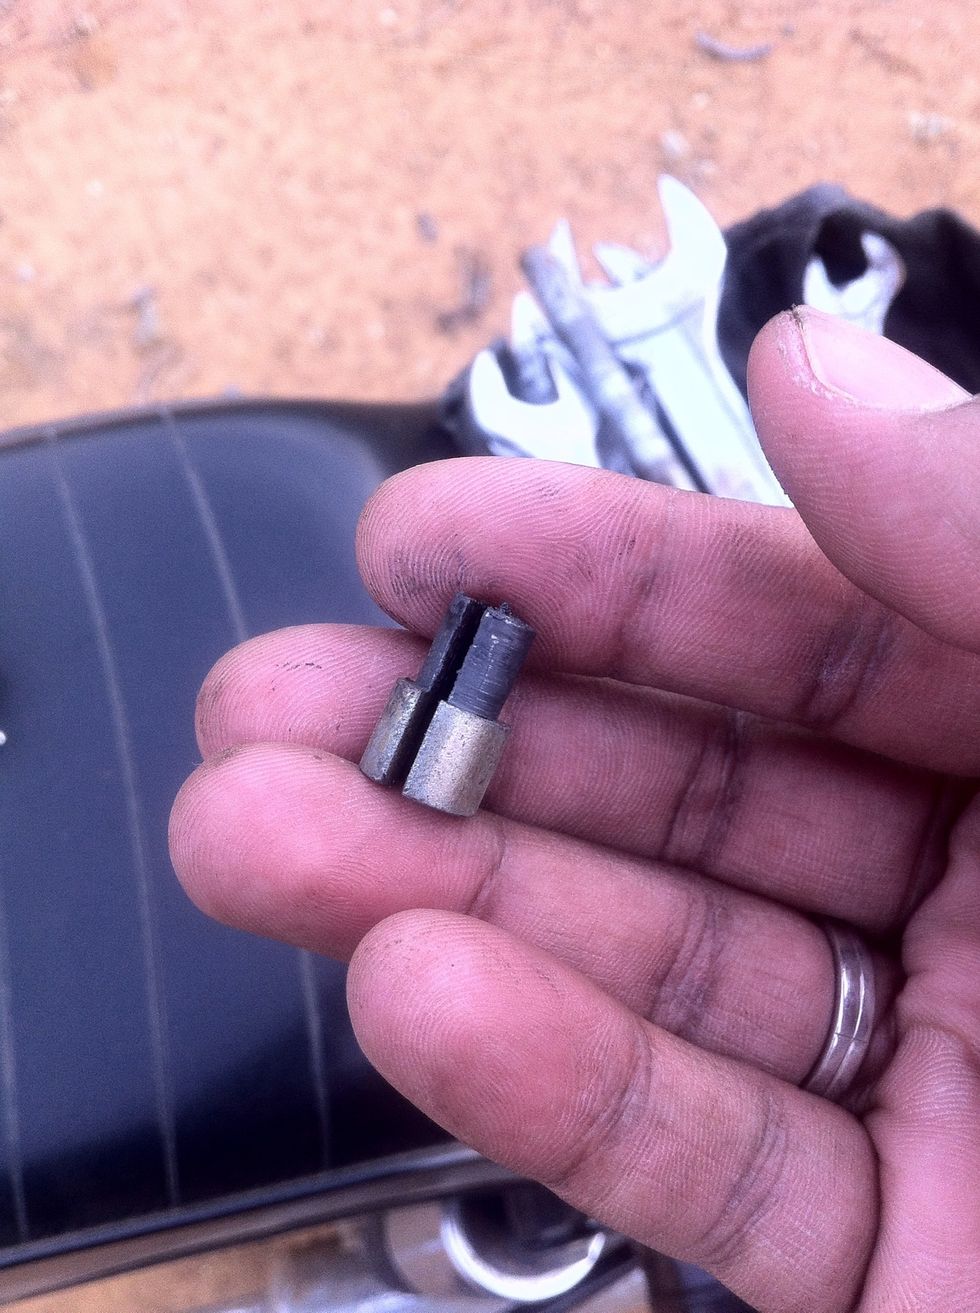
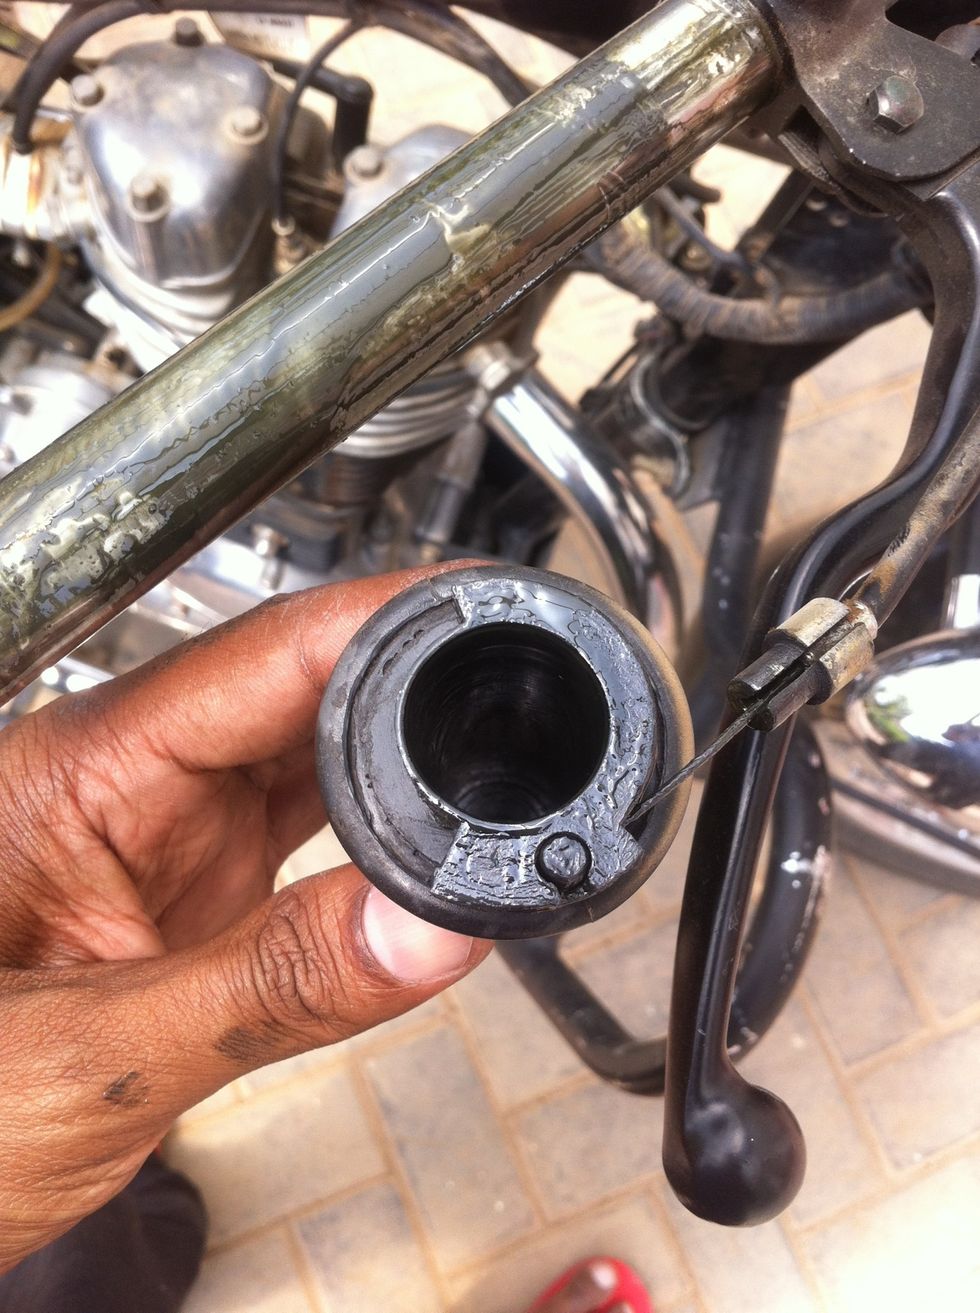
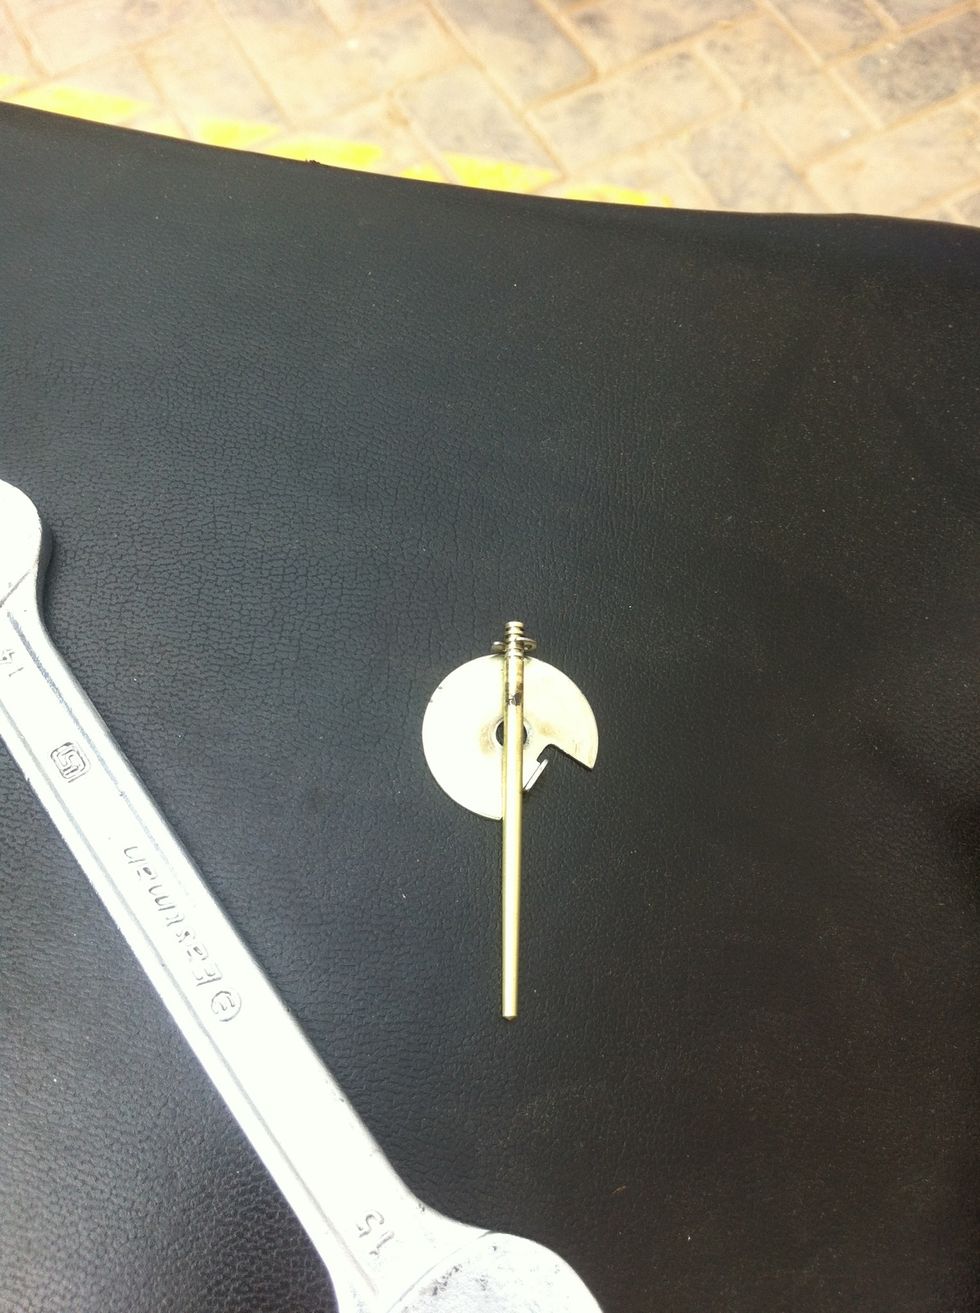
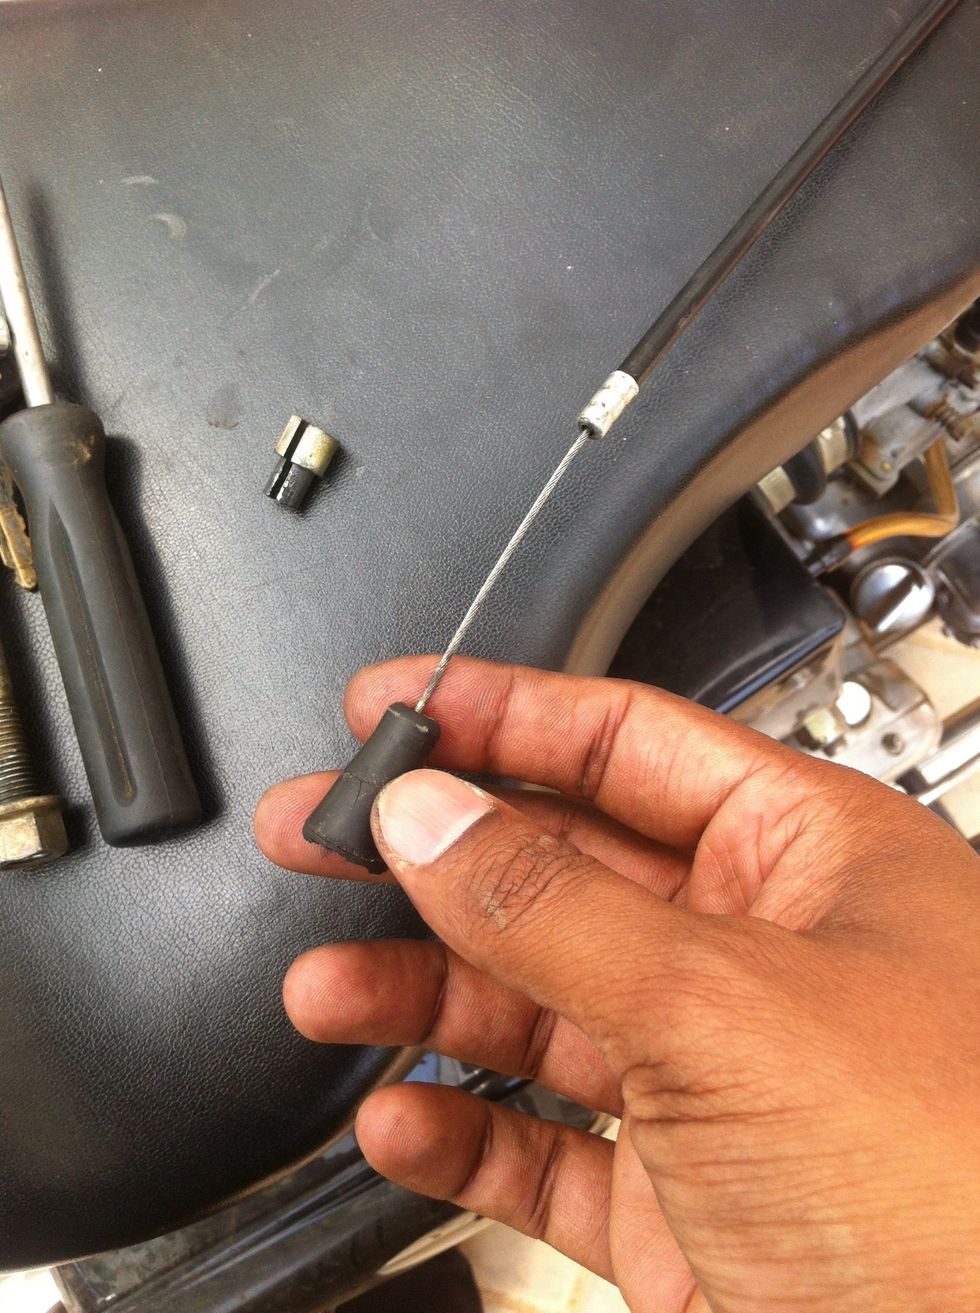
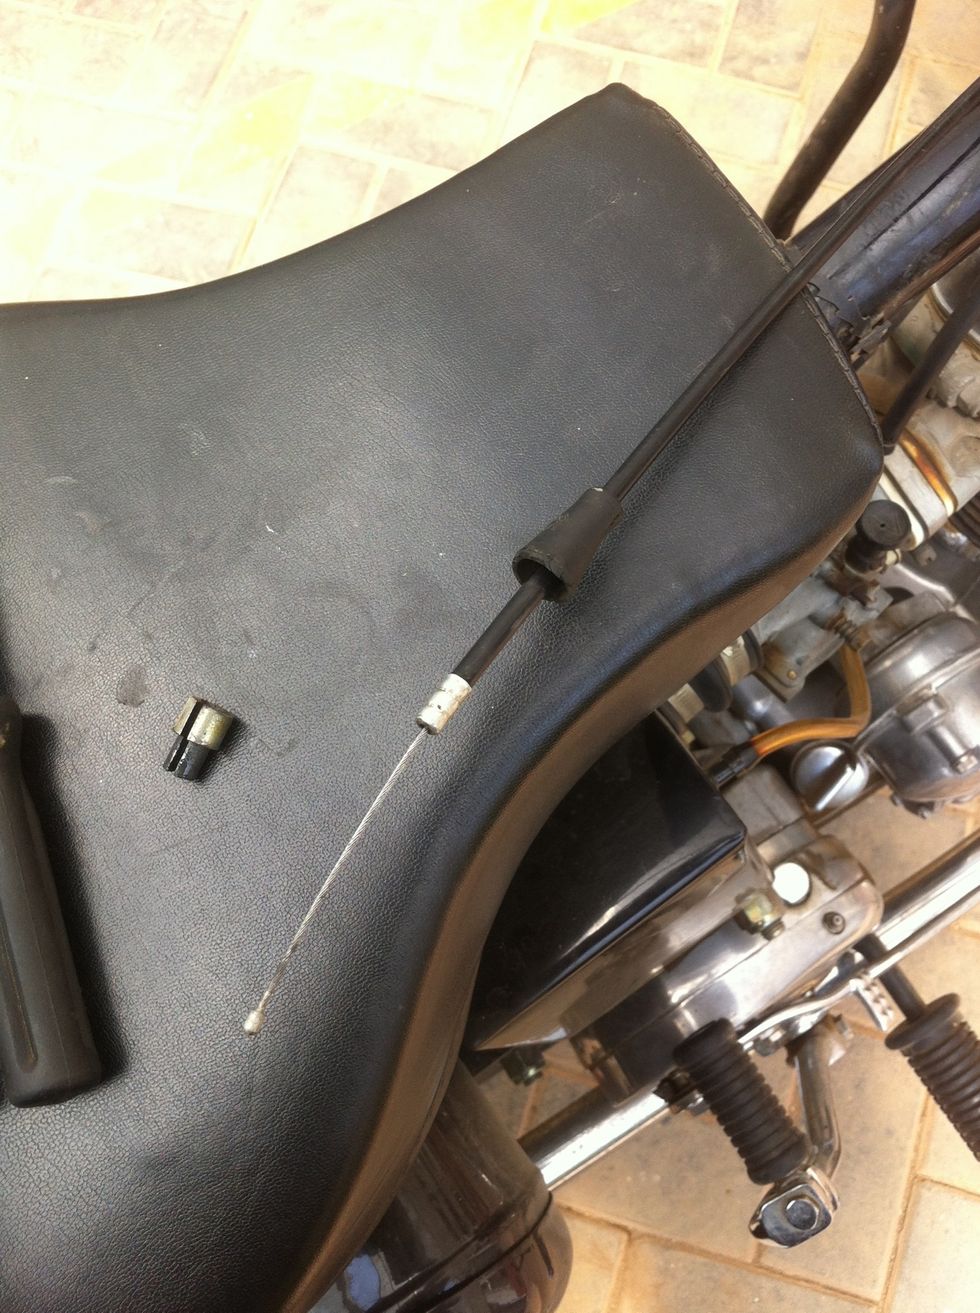
Make sure you don't loose this small adaptor, if your throttle cable broke on the road, might be a good idea to scan and find it.
It usually sits tight like this due to the oil, grease and dust.
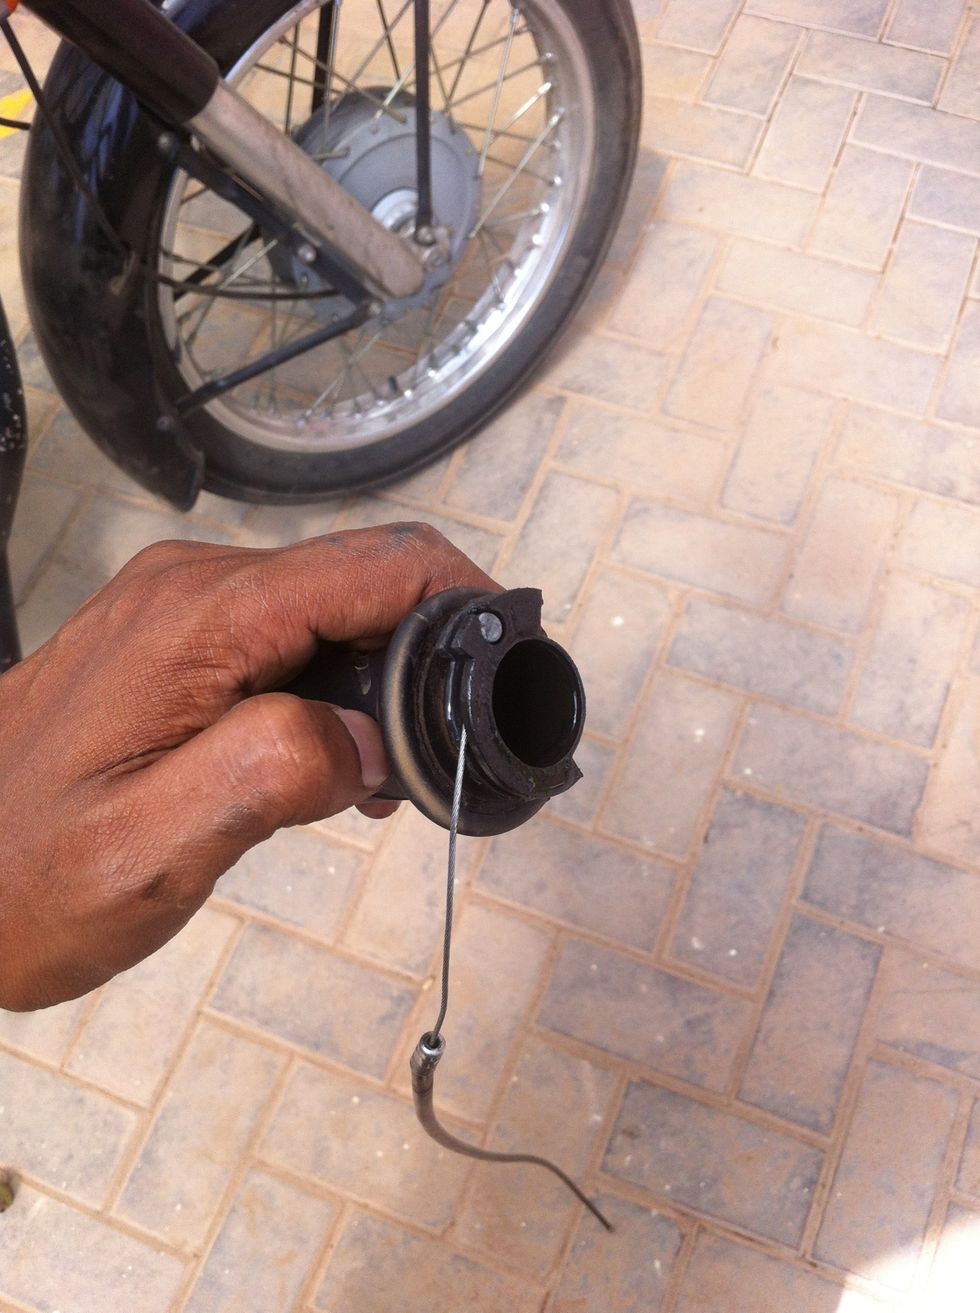
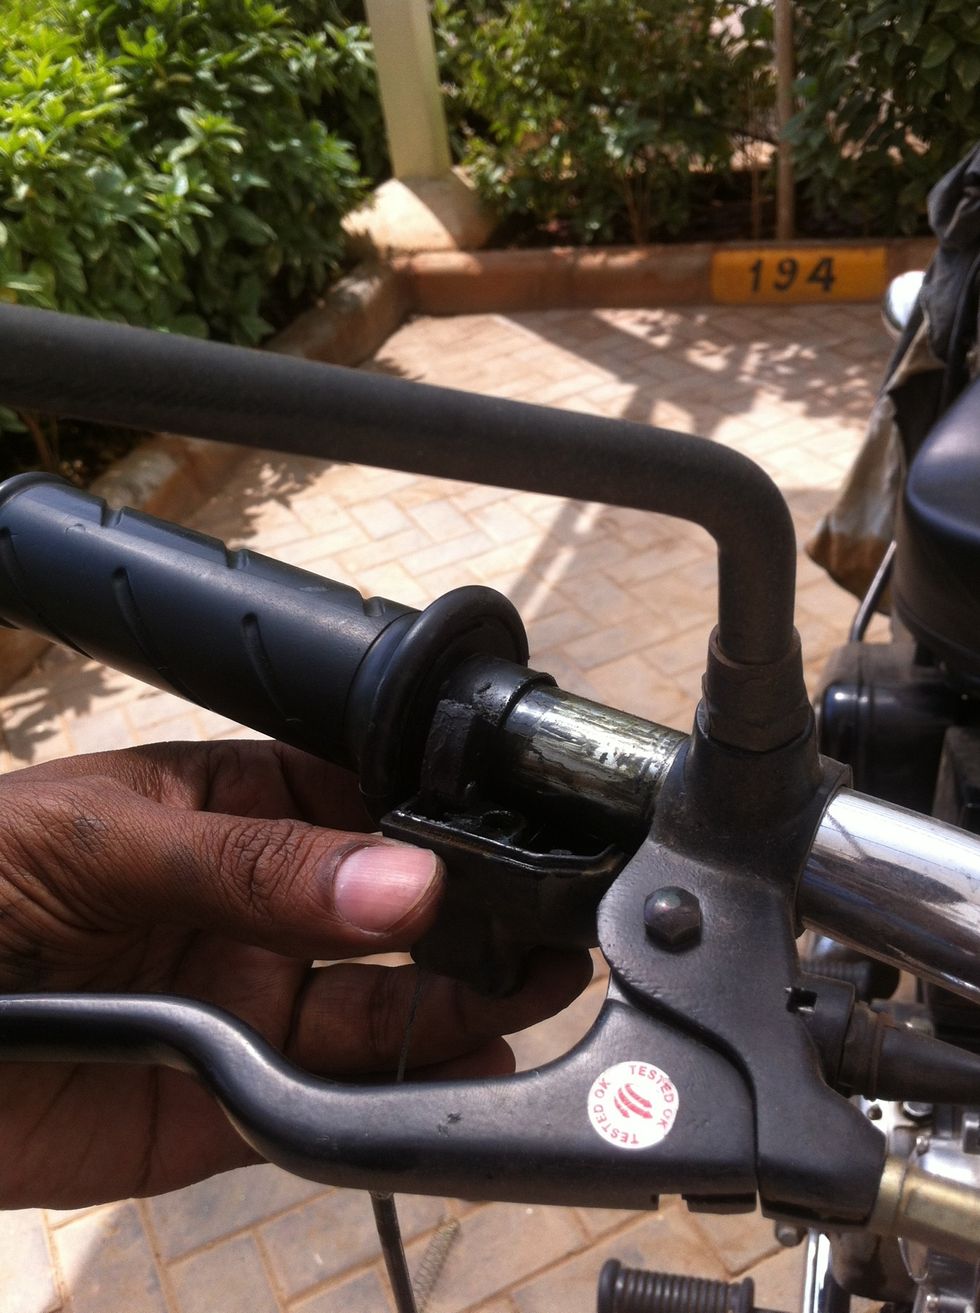
If it is on the throttle cable slide it out and keep safe. If you are doing a regular maintenance cable change, then pull down the cable and slide the adaptor out. Store in safe spot till reassembly.
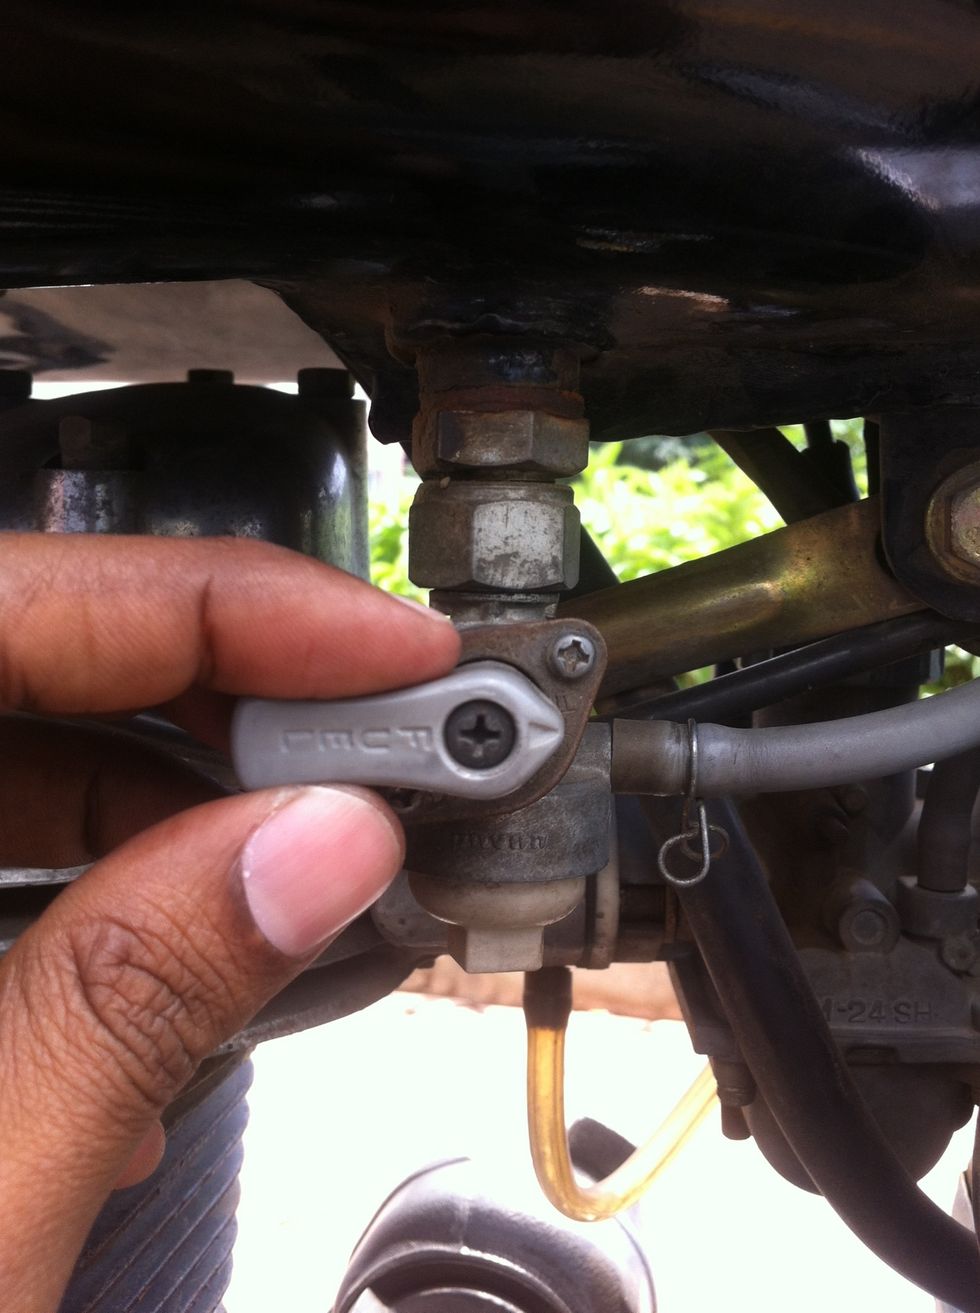
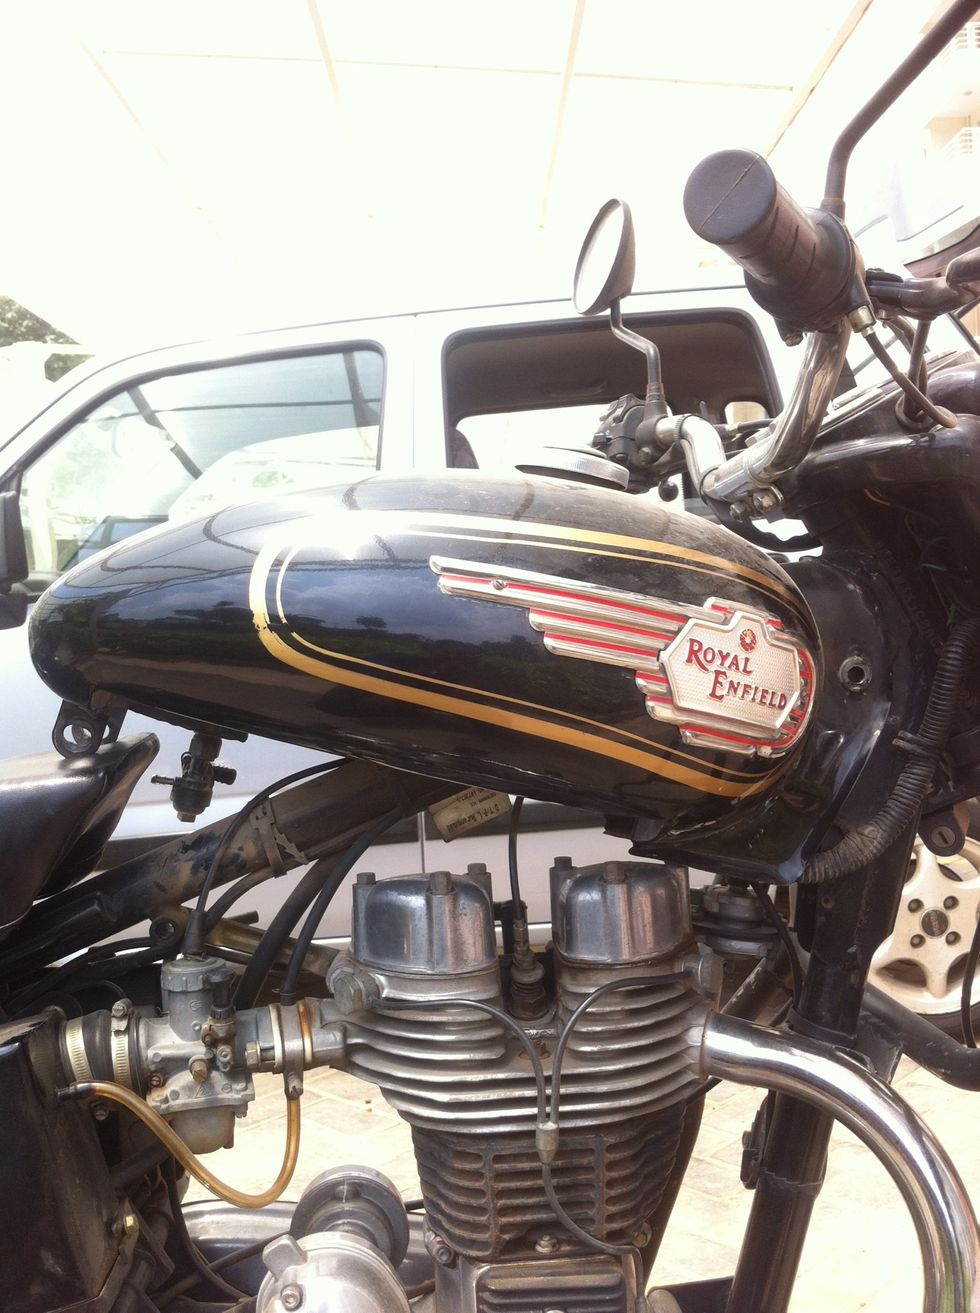
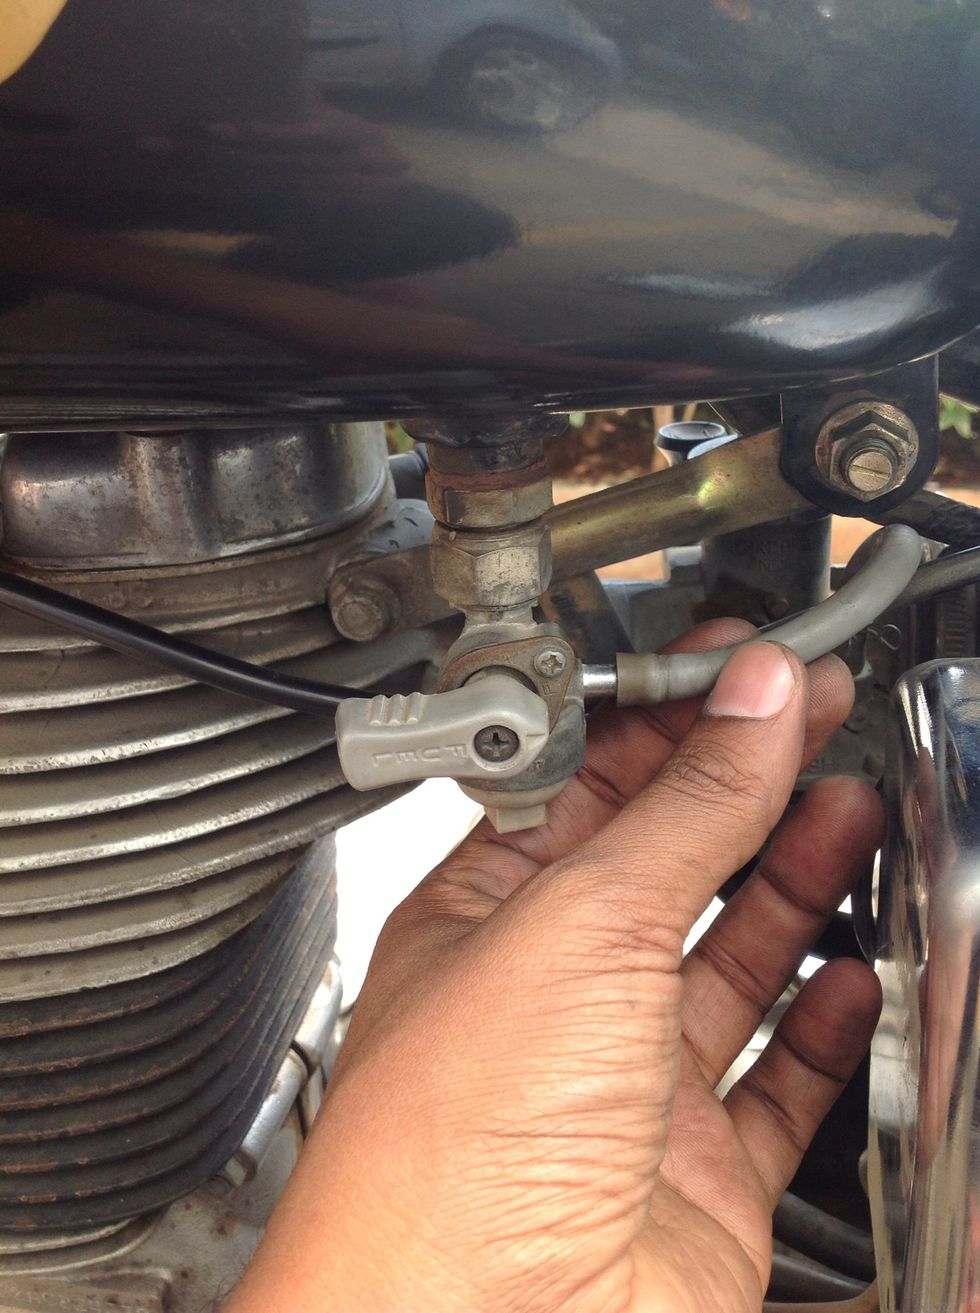
I prefer to remove the fuel tank for better access for routing the cable. Start by switching fuel off.
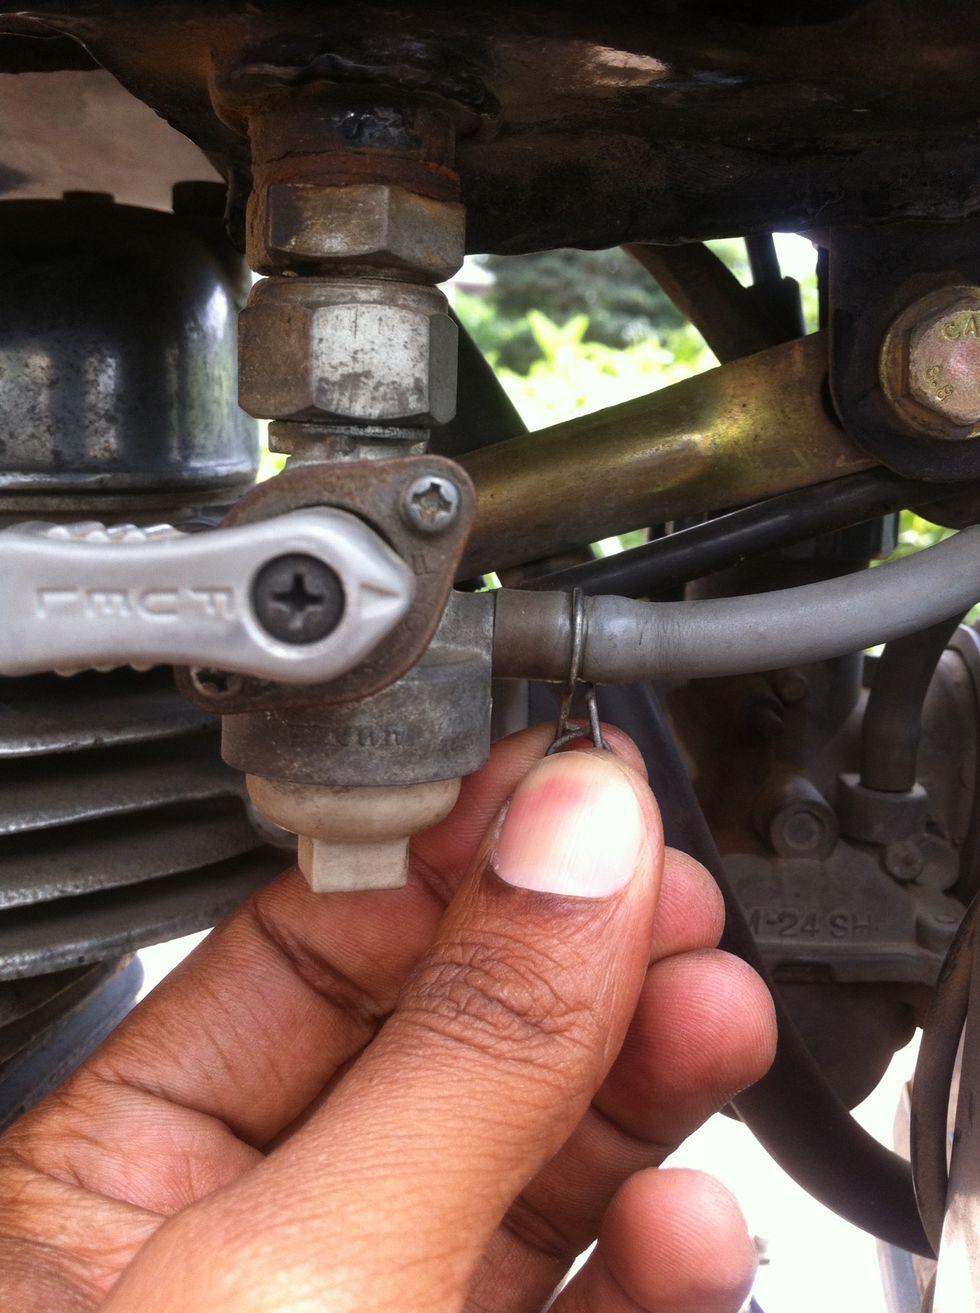
Press the holder clip and slide it out
Try to push the clip as much backwards as possible.
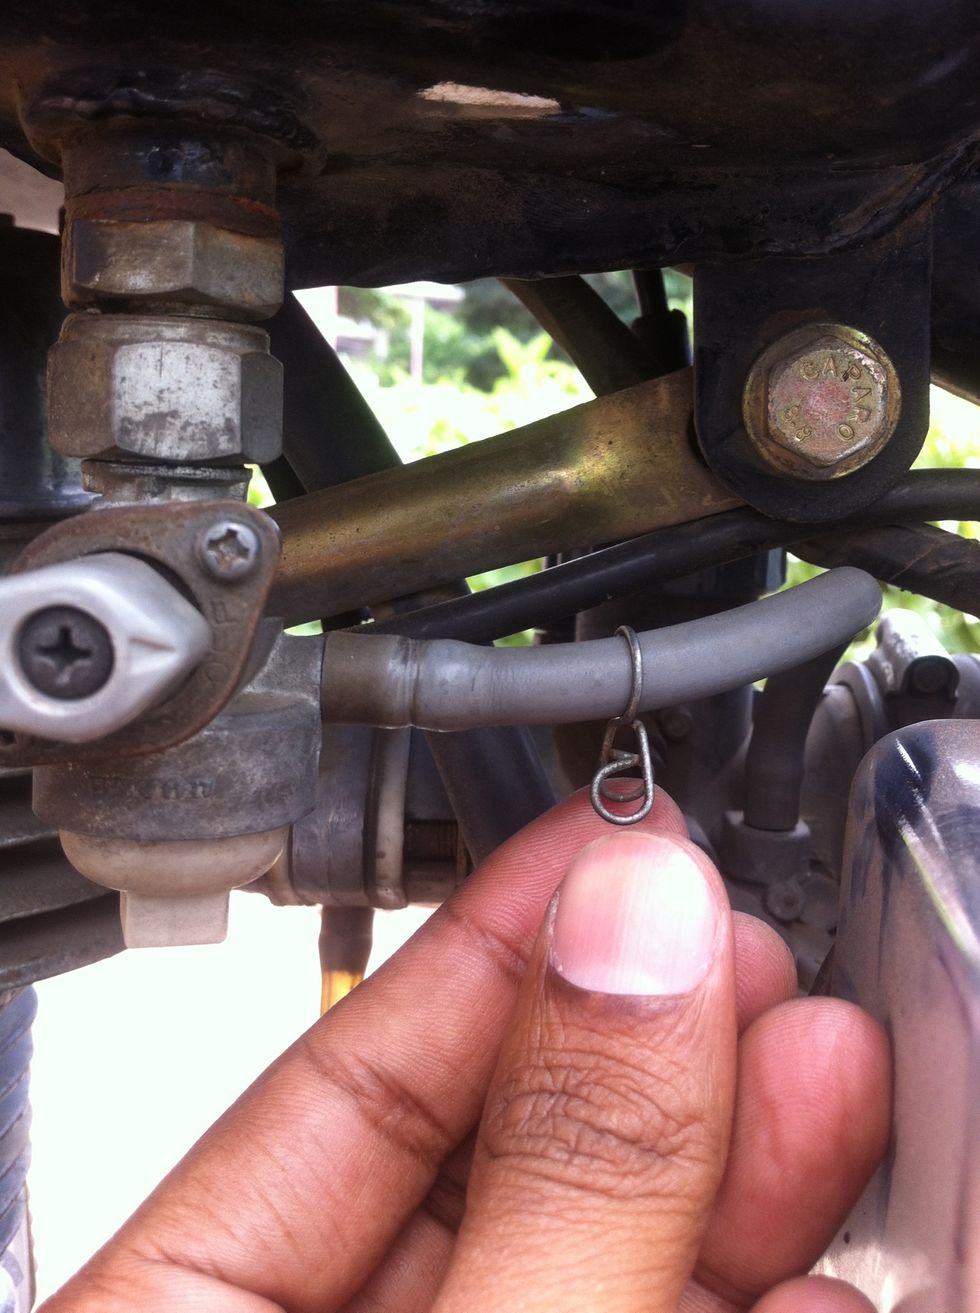
Pull the fuel pipe out.

Push the clip towards the back of the fuel pipe so you don't loose it.
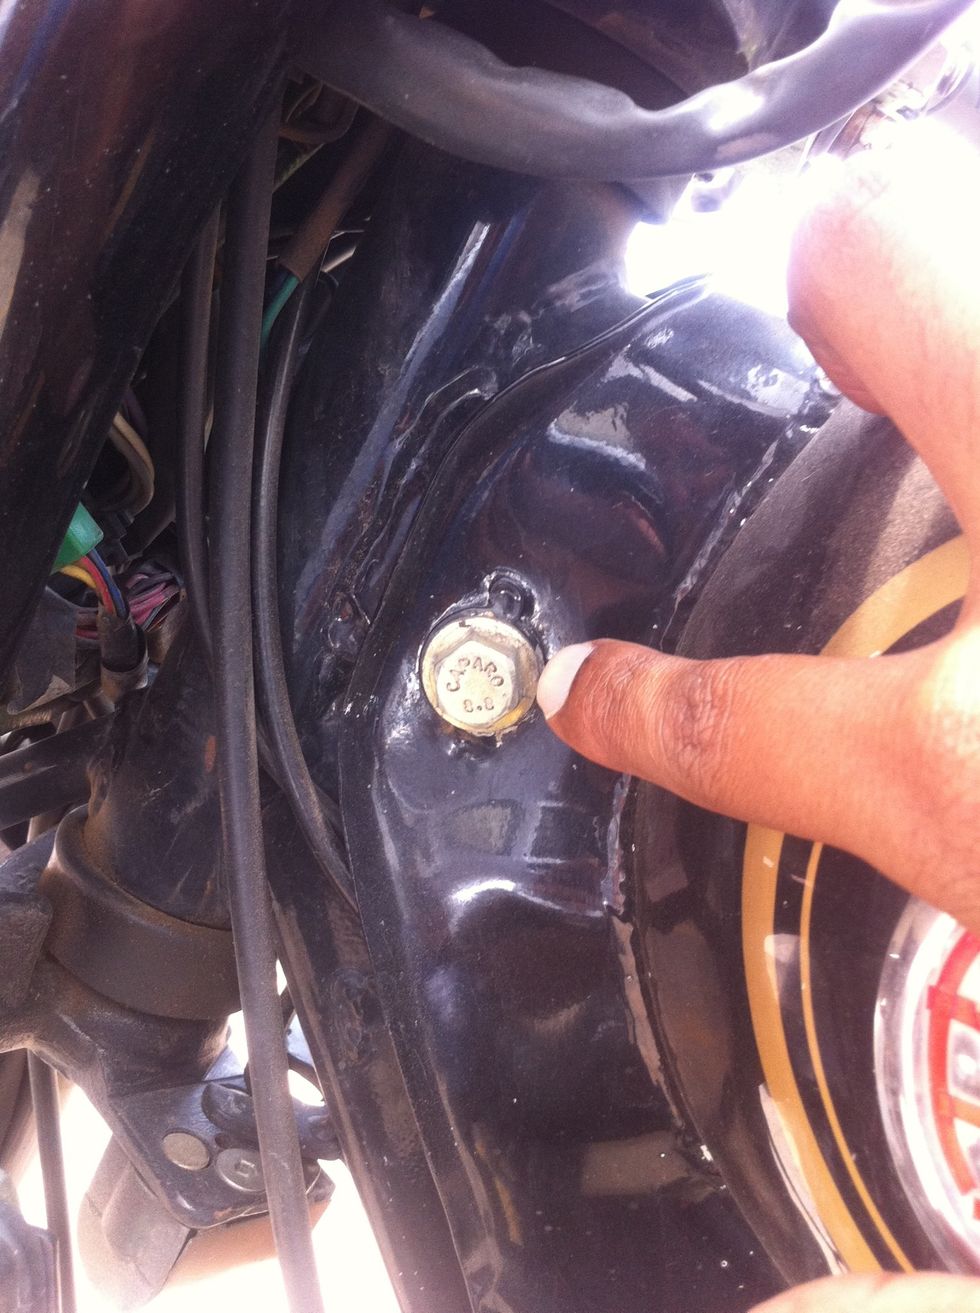
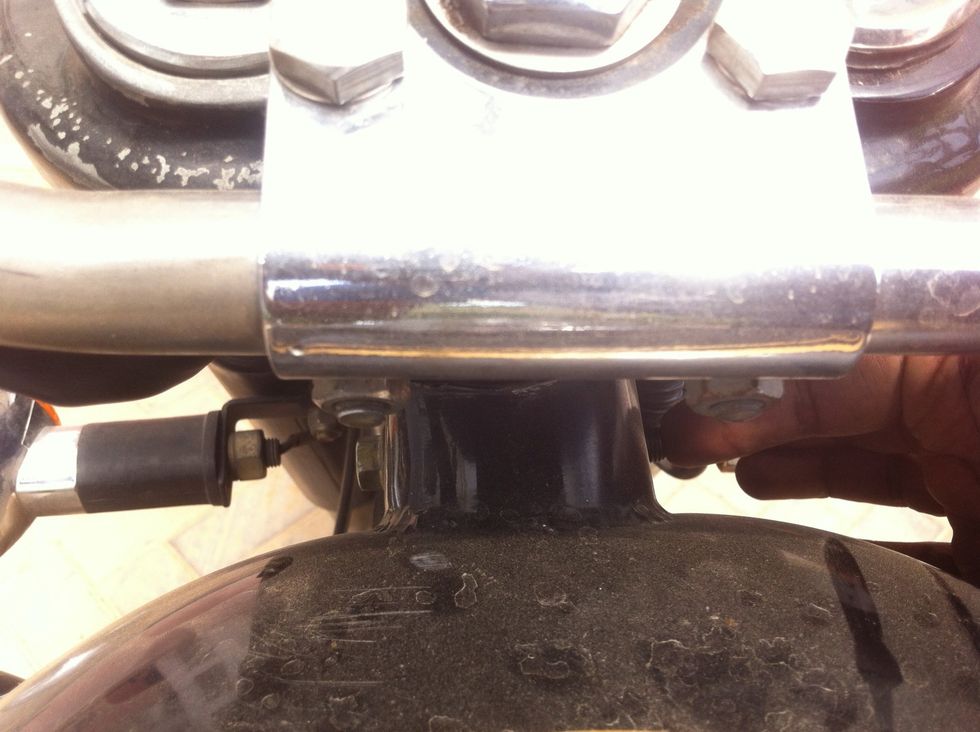
Now remove these 14mm bolts that secure the tank in its place. This is the one in the front.
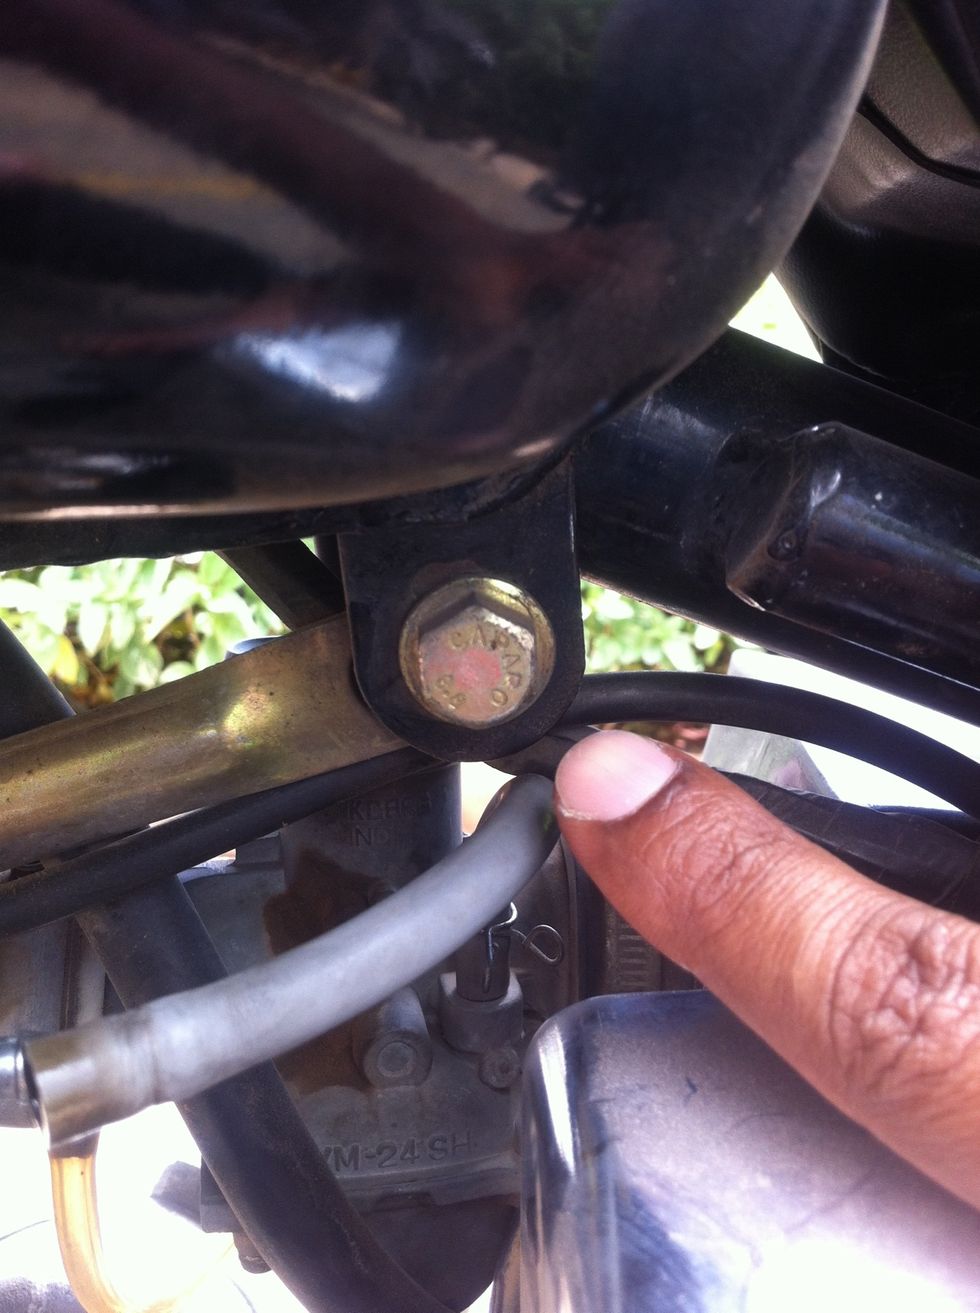
This one is at the rear of the petrol tank.
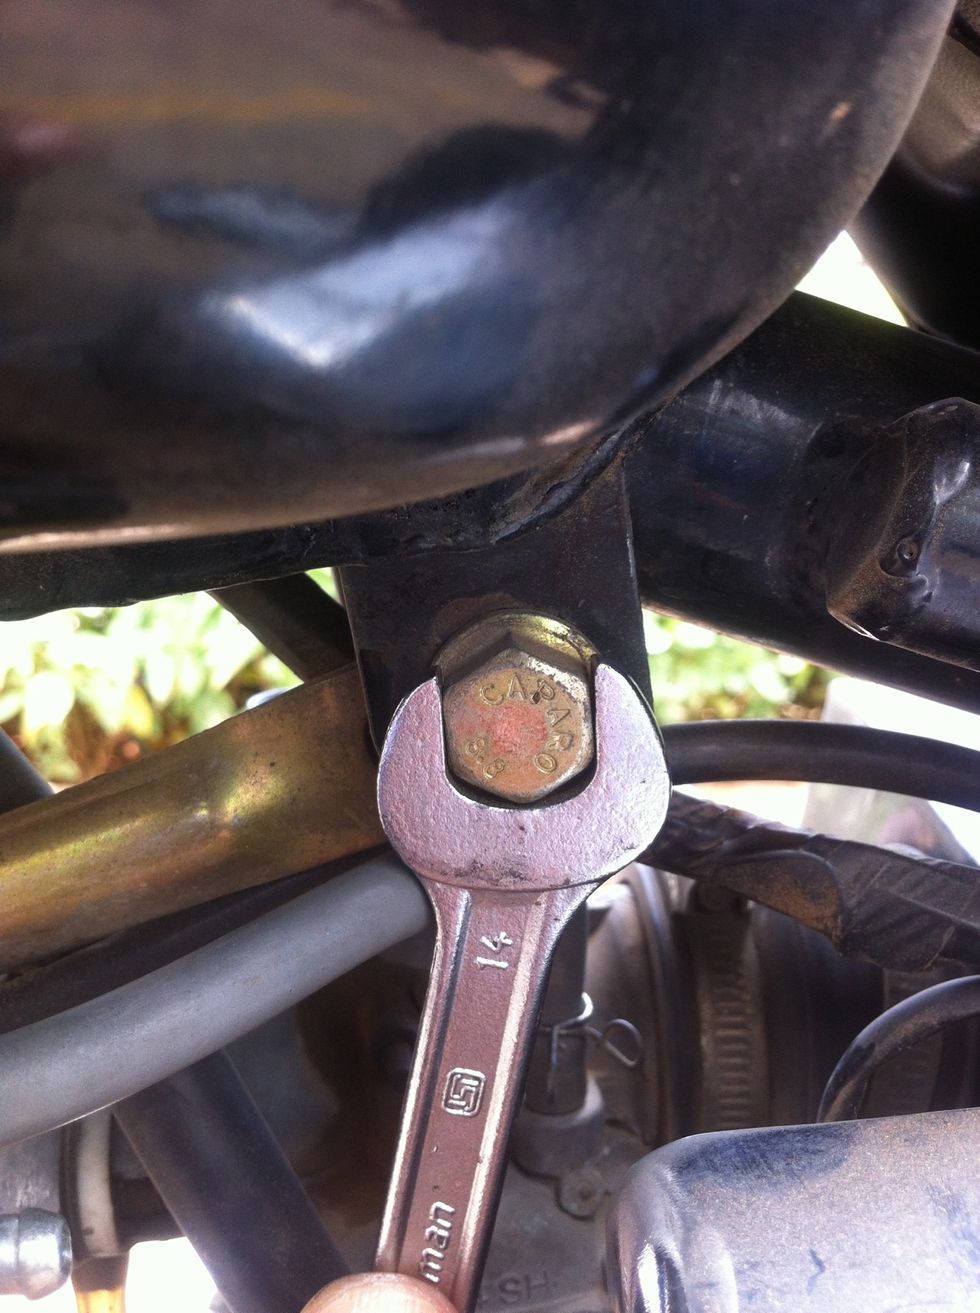
Use two 14mm spanners to remove the nut and bolt. You would need to to hold on one side and loosen on the other side. If you are super careful about your paint job, cover the body with cloth.
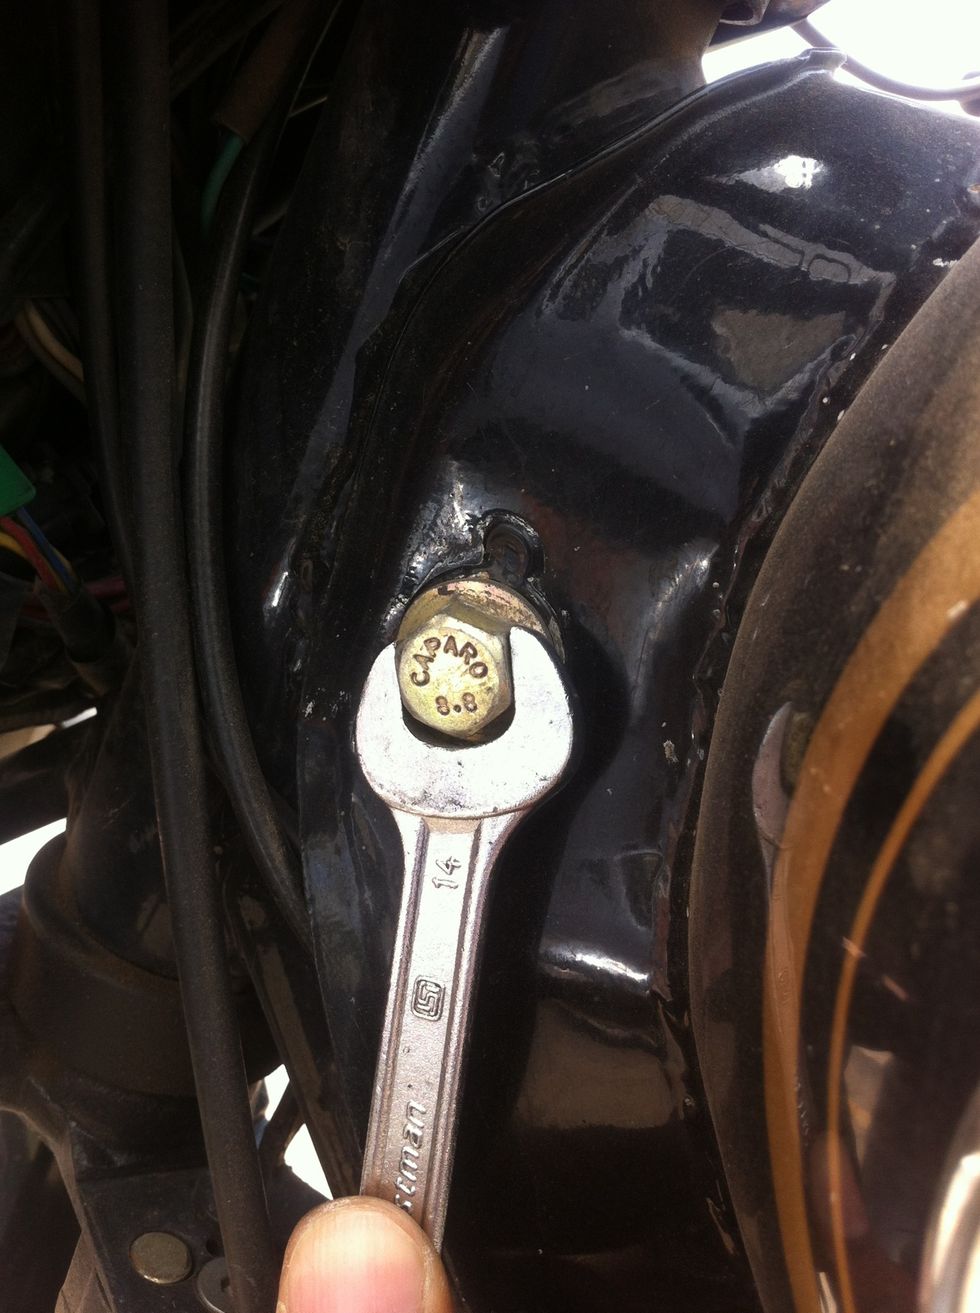
Loosening the front nut with a 14mm spanner while holding the bolt with a same size spanner on the other side.
Repeat the removal procedure at the rear side using two 14mm spanners.
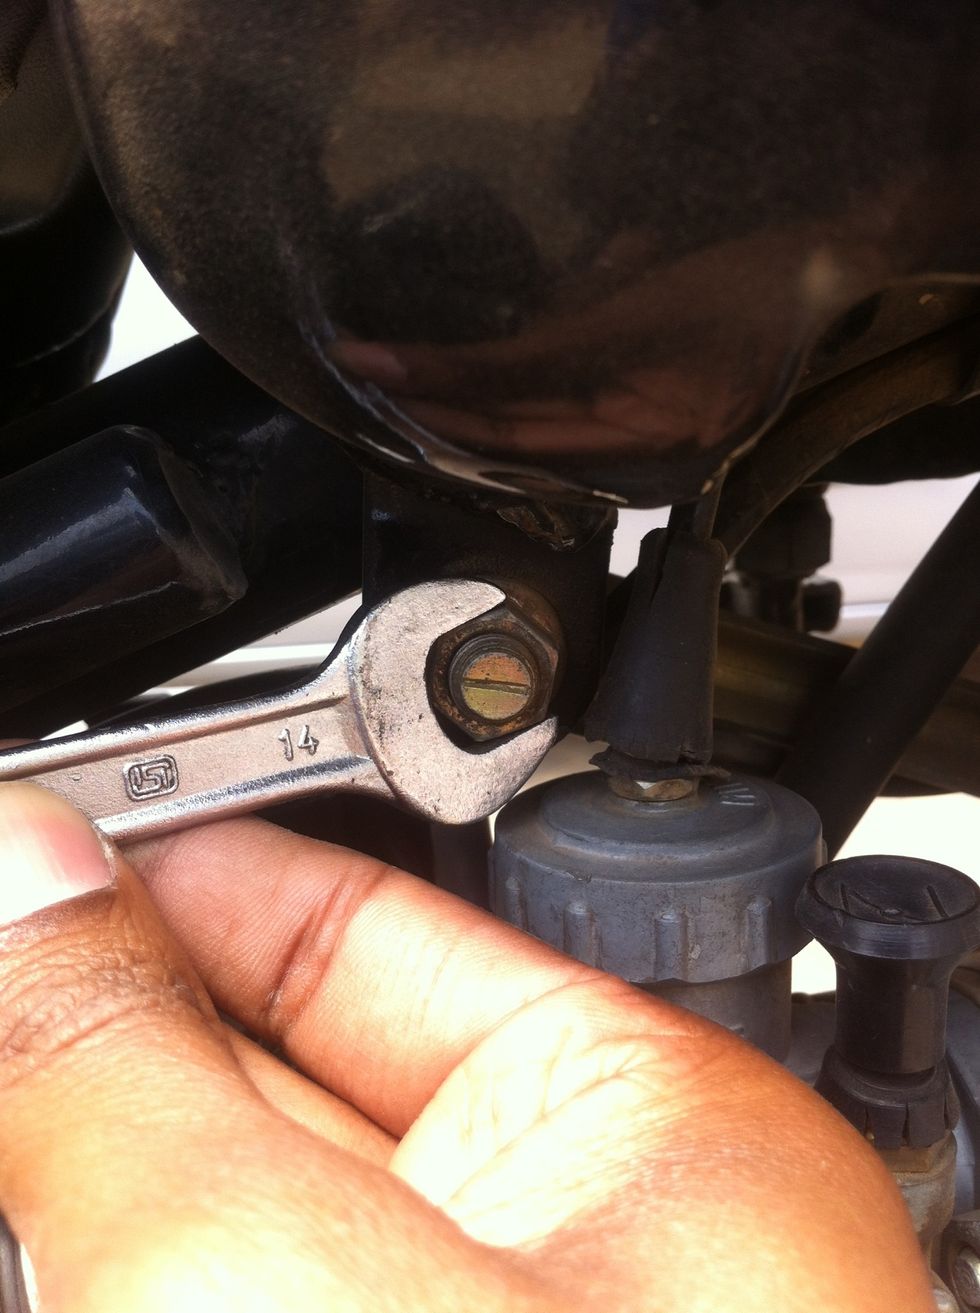
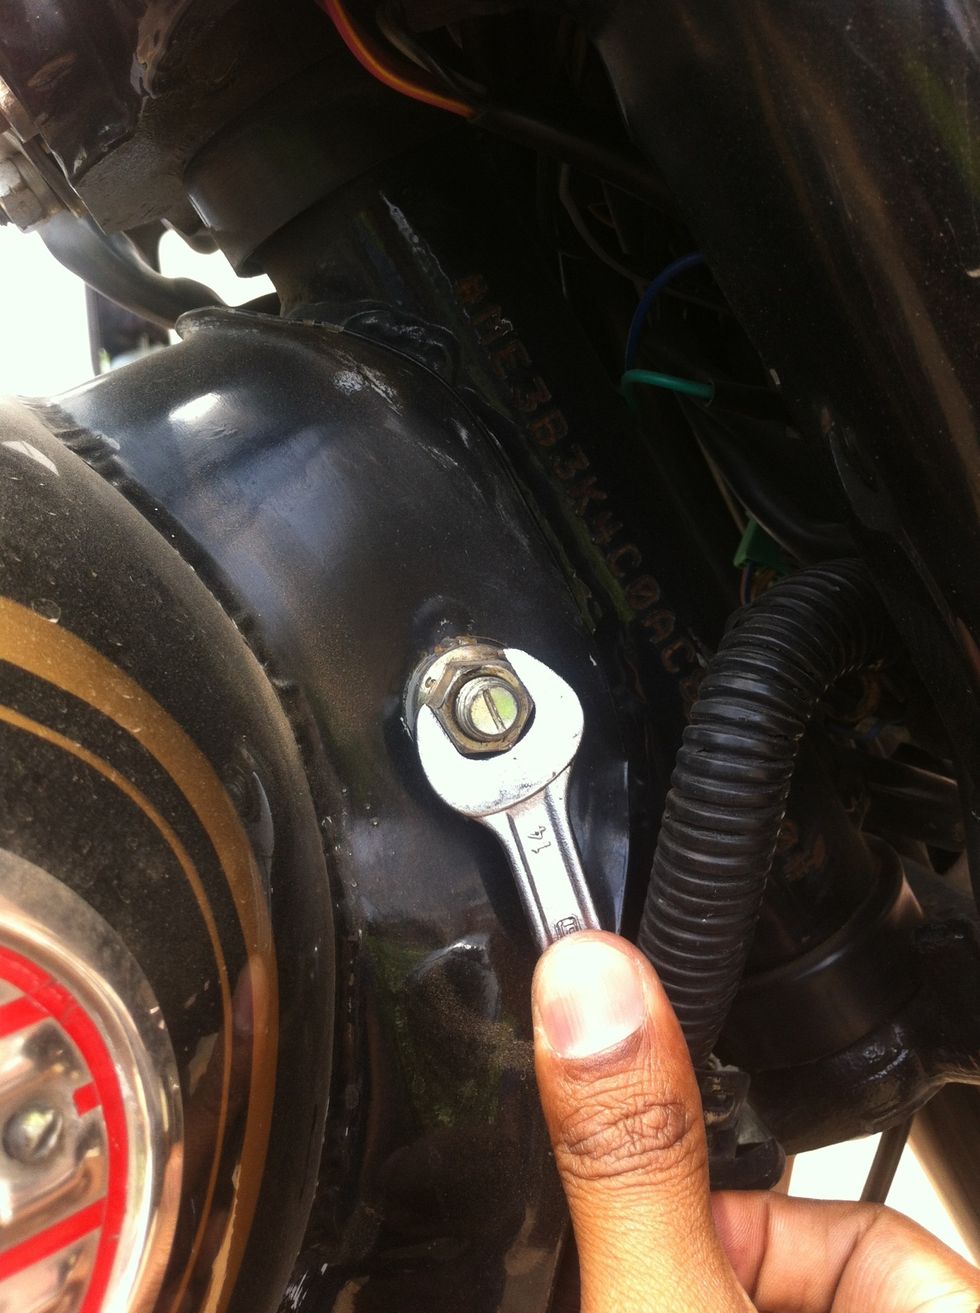
Loosening the rear nut with a 14mm spanner while holding the bolt with a same size spanner on the other side.
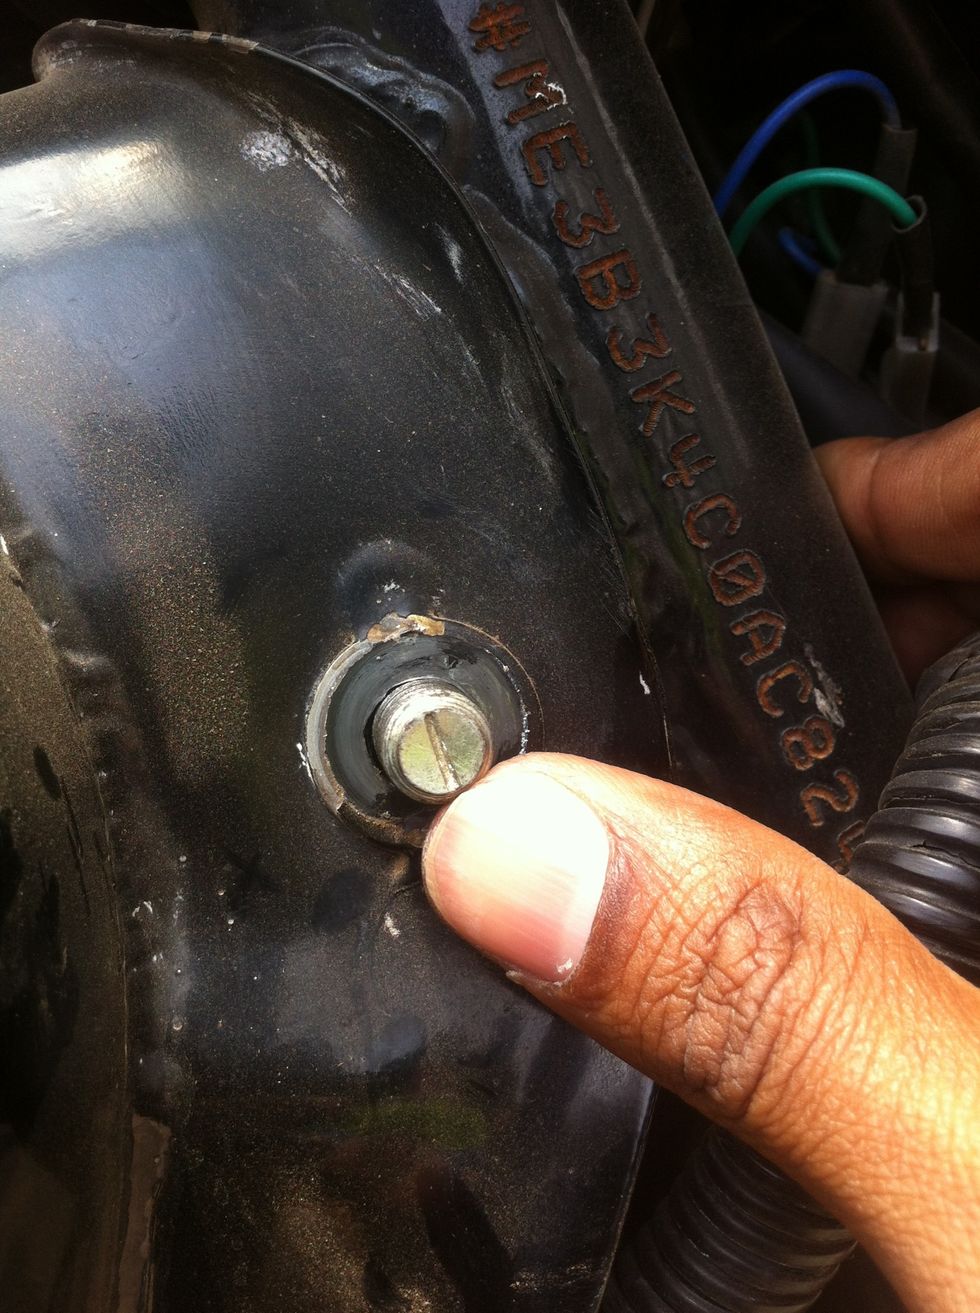
After removing the nut. Push the bolt carefully without scratching or damaging the bolt threads by slightly lifting up or pushing down the tank.
Repeat the same procedure as before to get the rear bolt out. Be very careful not to damage the bolt threads.
Aligning the tank so the bolt can be pushed out easily without damaging the threads.
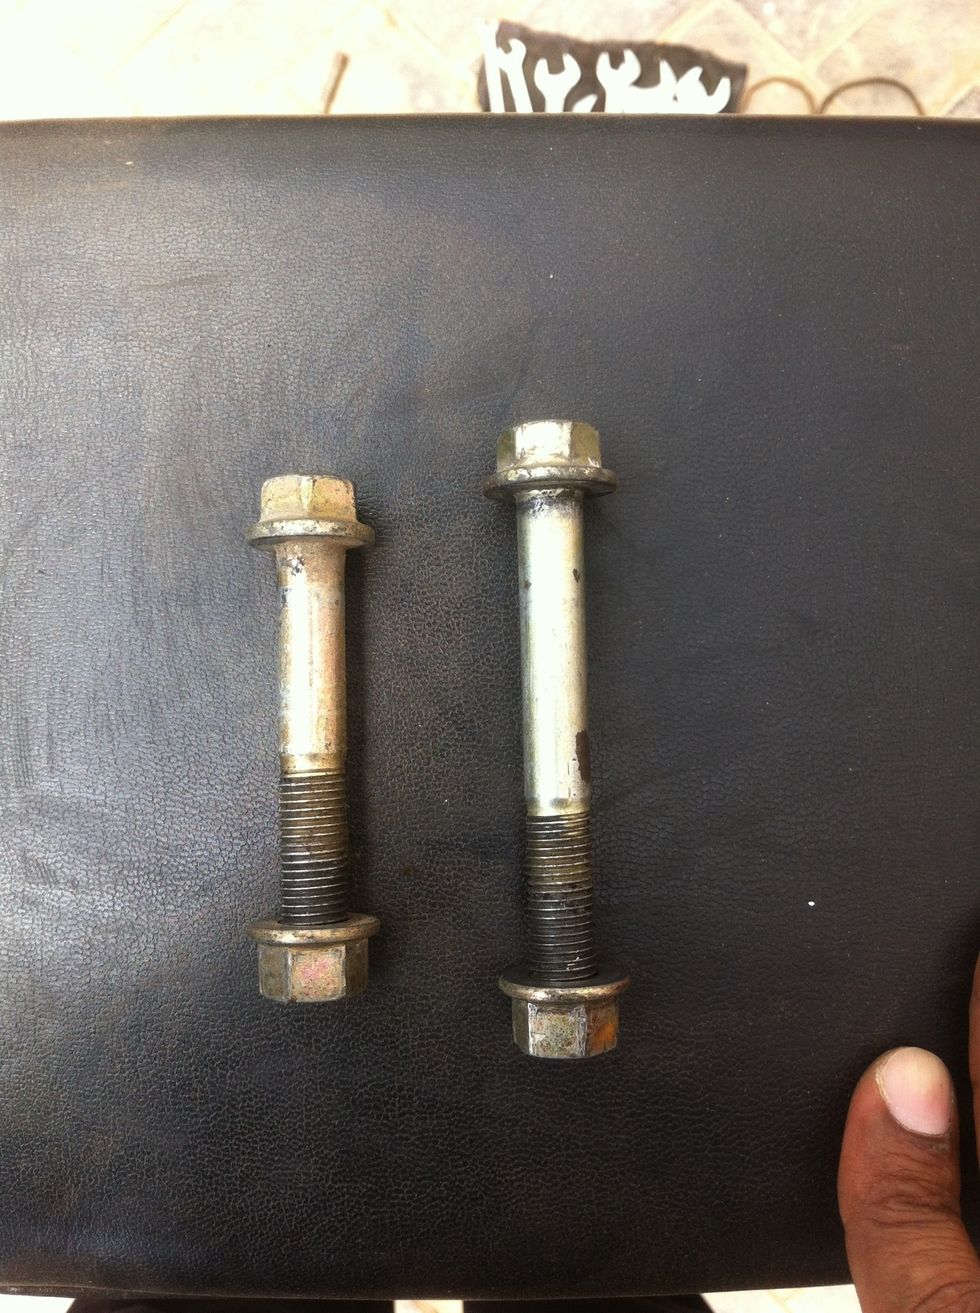
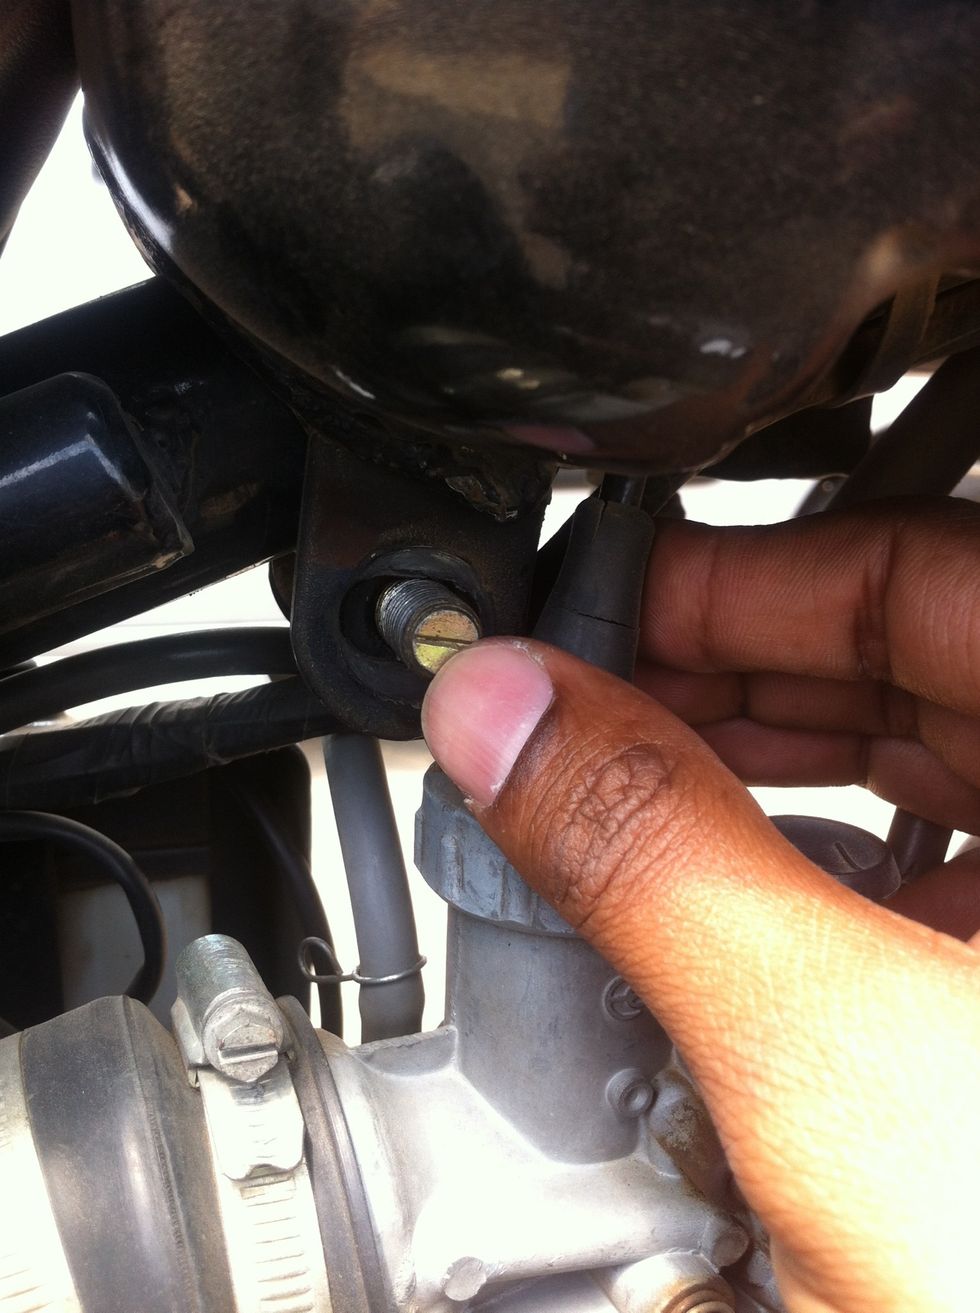
Put back the nuts and store in safe spot, if required clean with WD40 and apply grease.
Pull up the rear side of the tank
Take care that your handle bar bolts don't scratch the tank, cover the tank with cloth if you want to protect paint job.
Now you can see that the rear end has come free of the seat. Take the tank out by sliding it away from the handle bar.
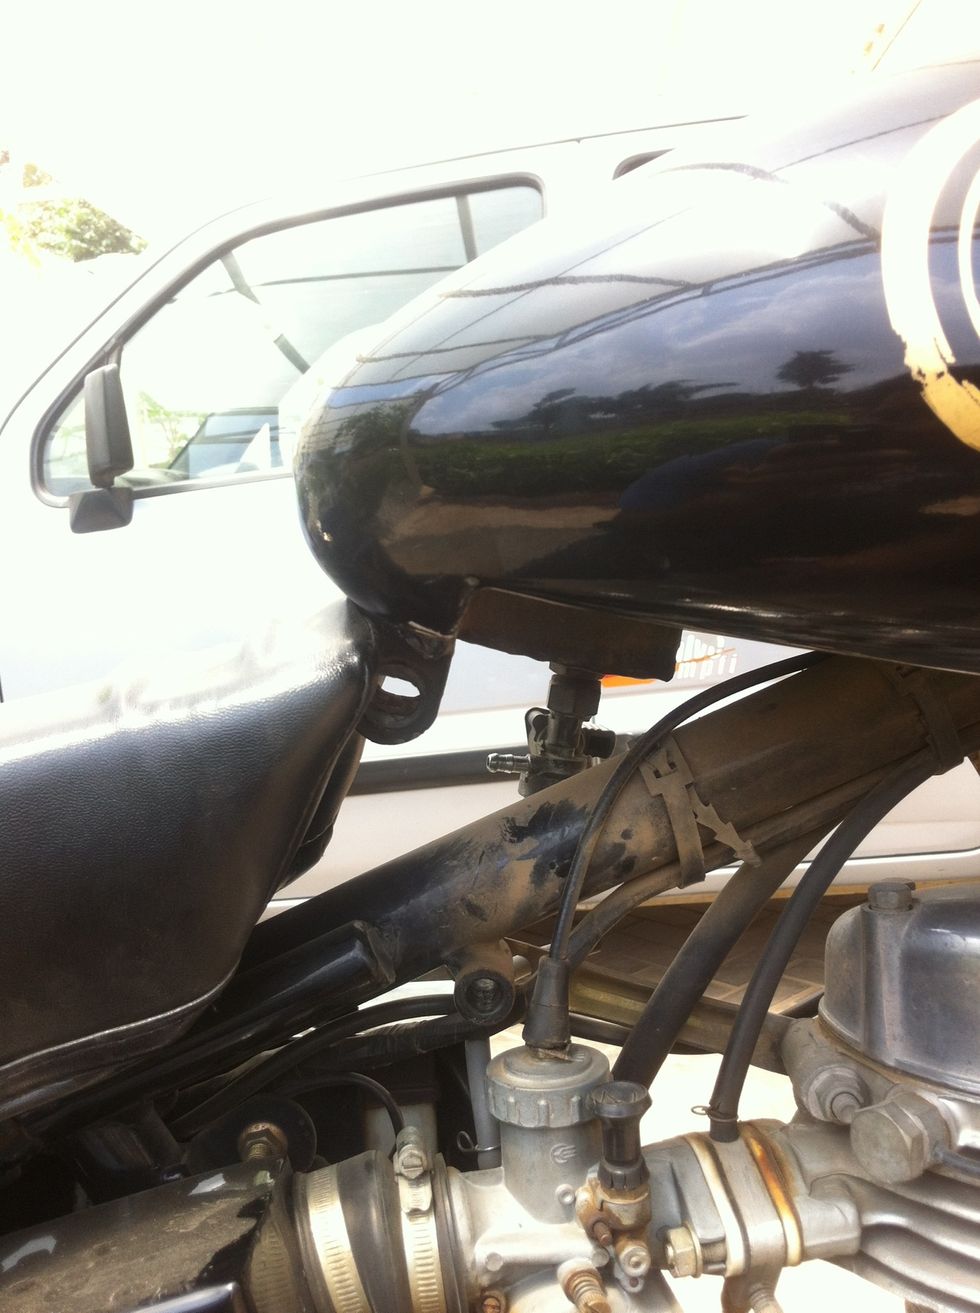
Keep the tank in a safe spot. Take care of the fuel tap, wrap it with cloth for protecting it until reinstallation.
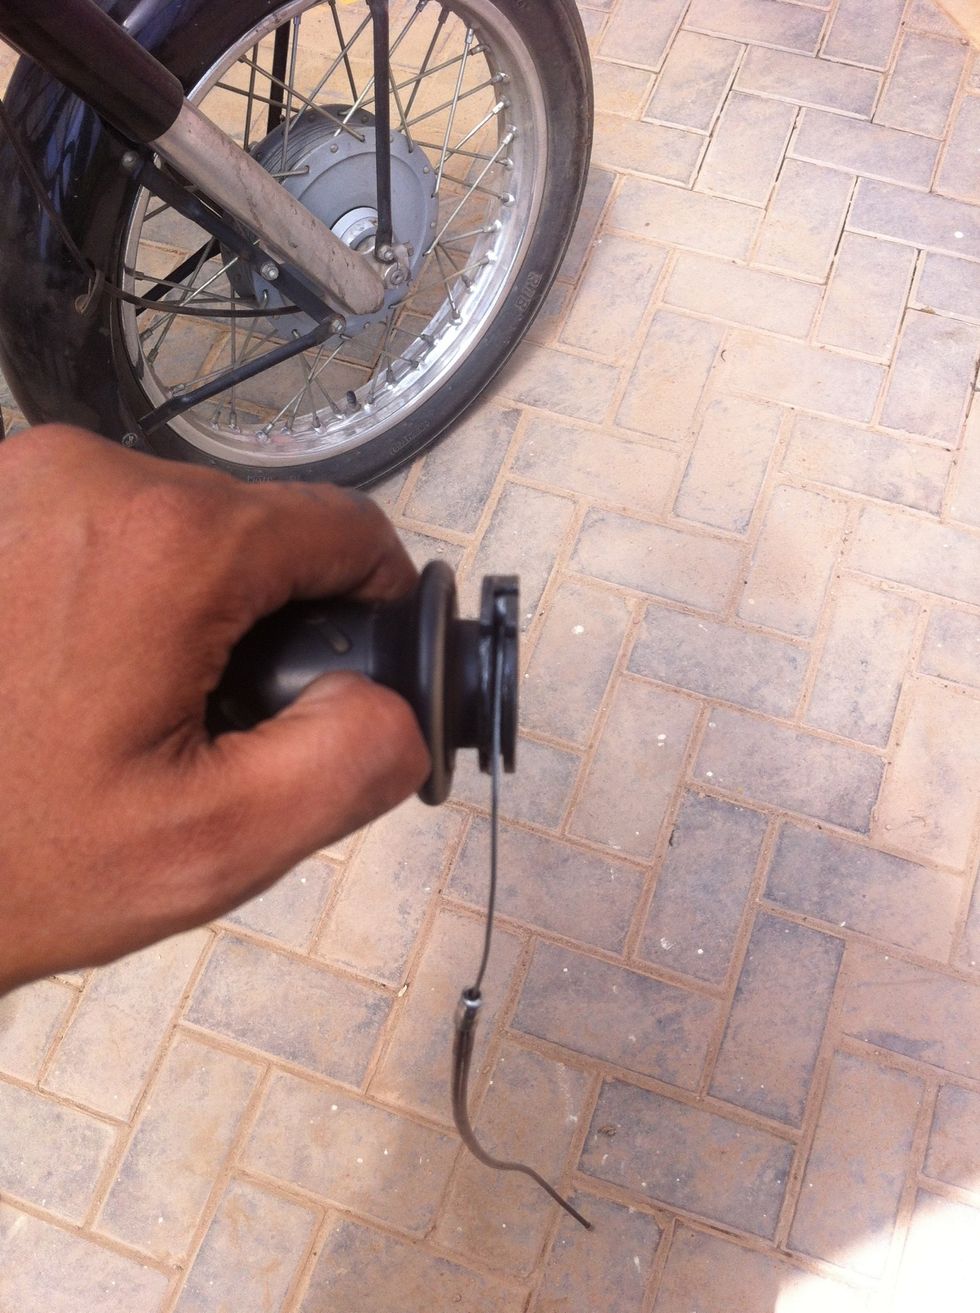
Unscrew the throttle holders
The second screw that secures the throttle holder is also removed.
Keep the throttle holder in a safe location, clean and apply grease before reinstallation.
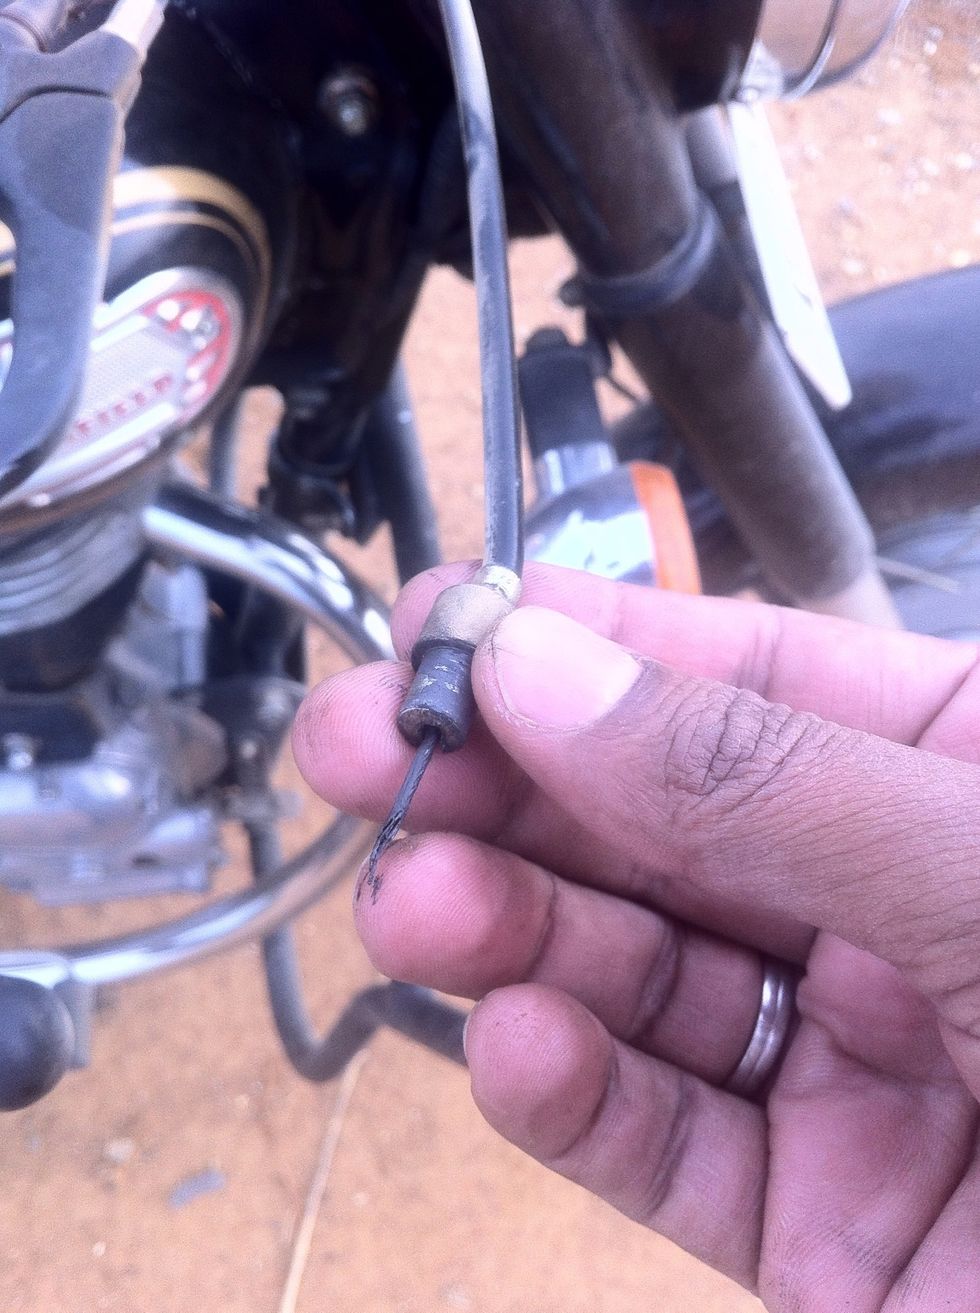
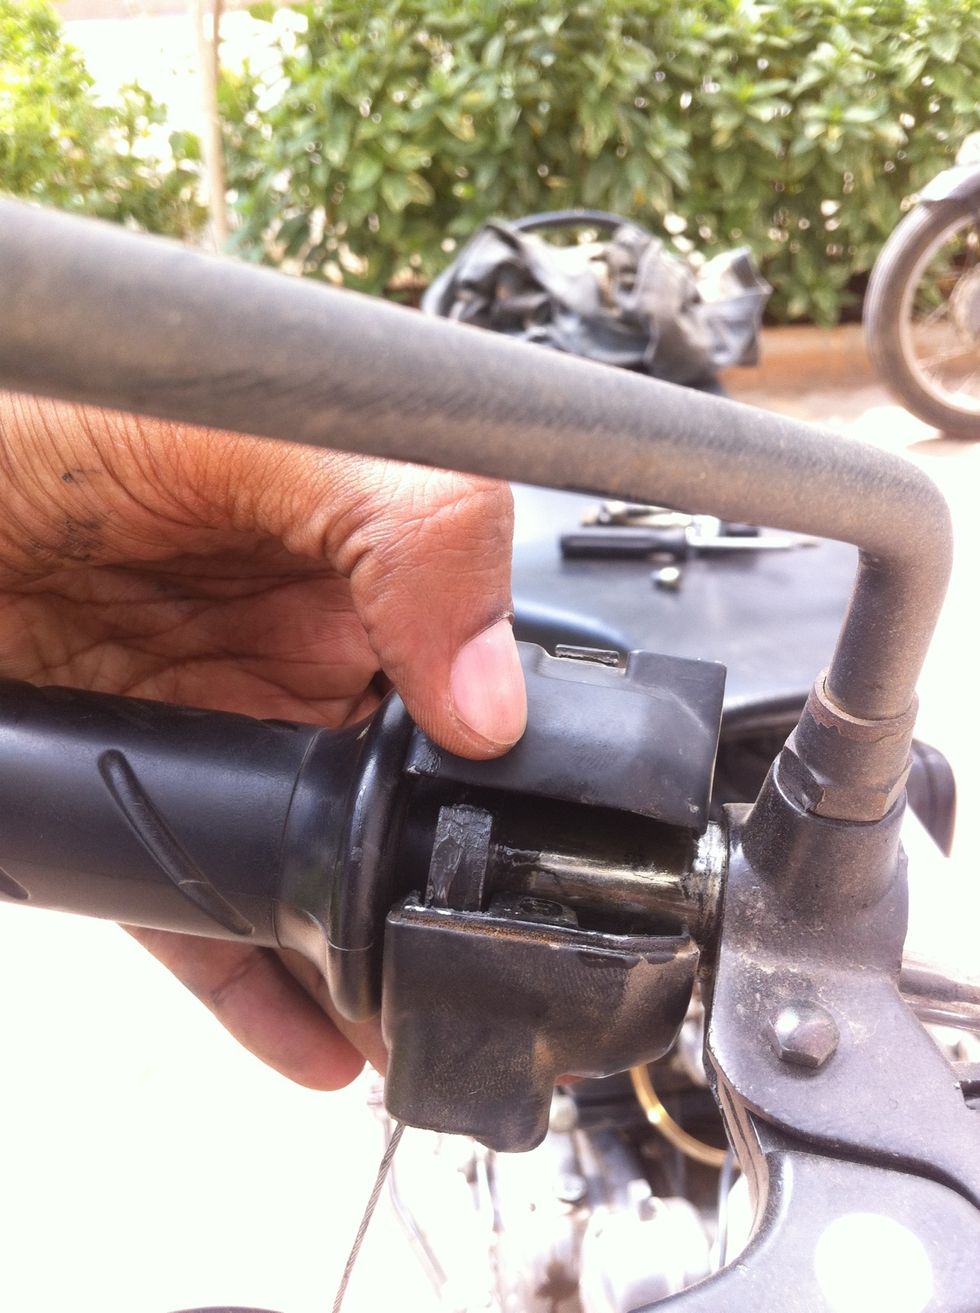
The throttle cable should hook on to the throttle as shown in the picture. If the cable broke, then you would see the broken hook end when you remove the holder.
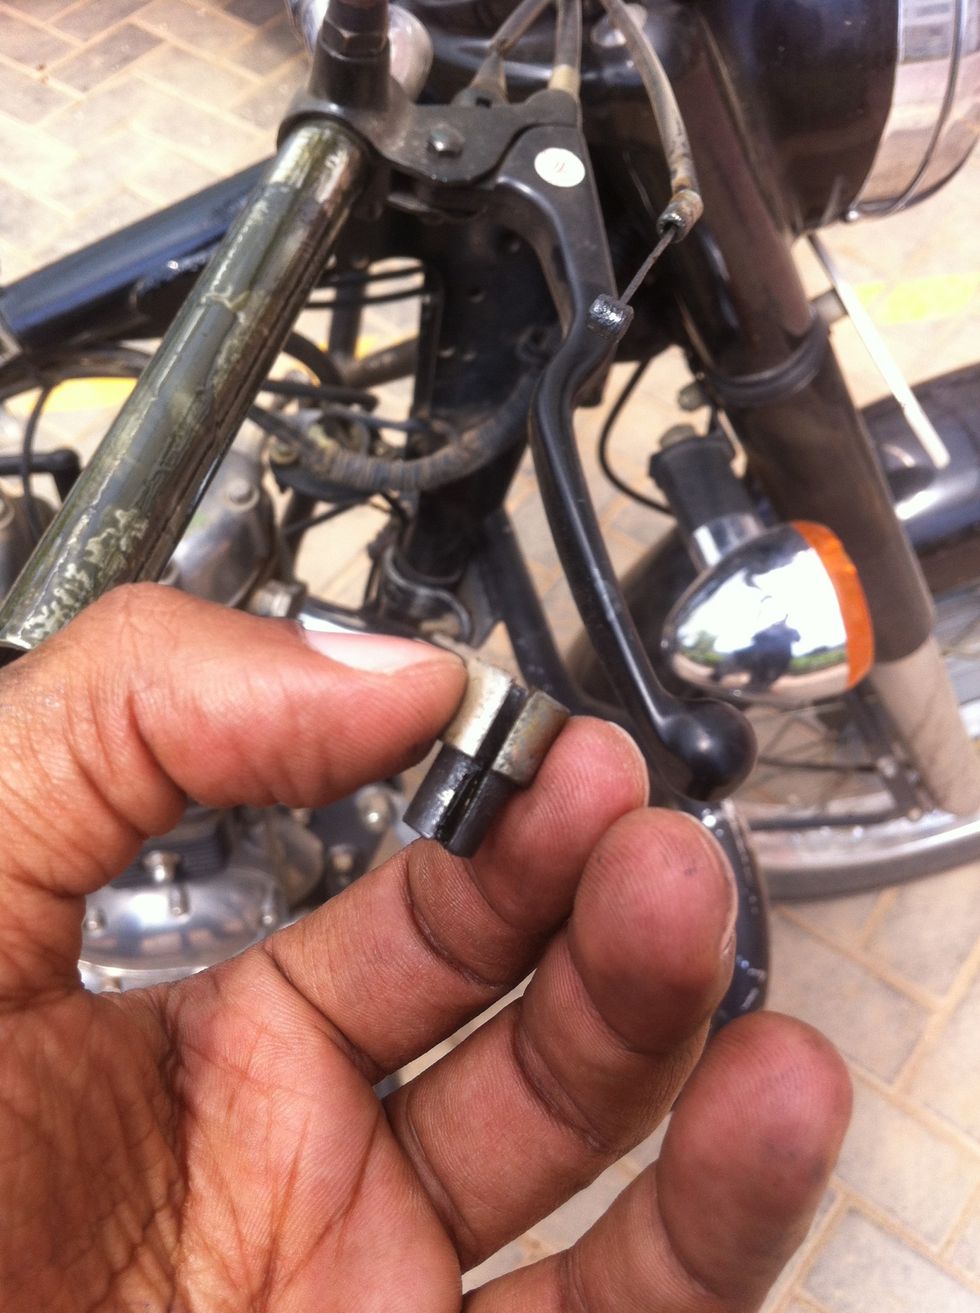
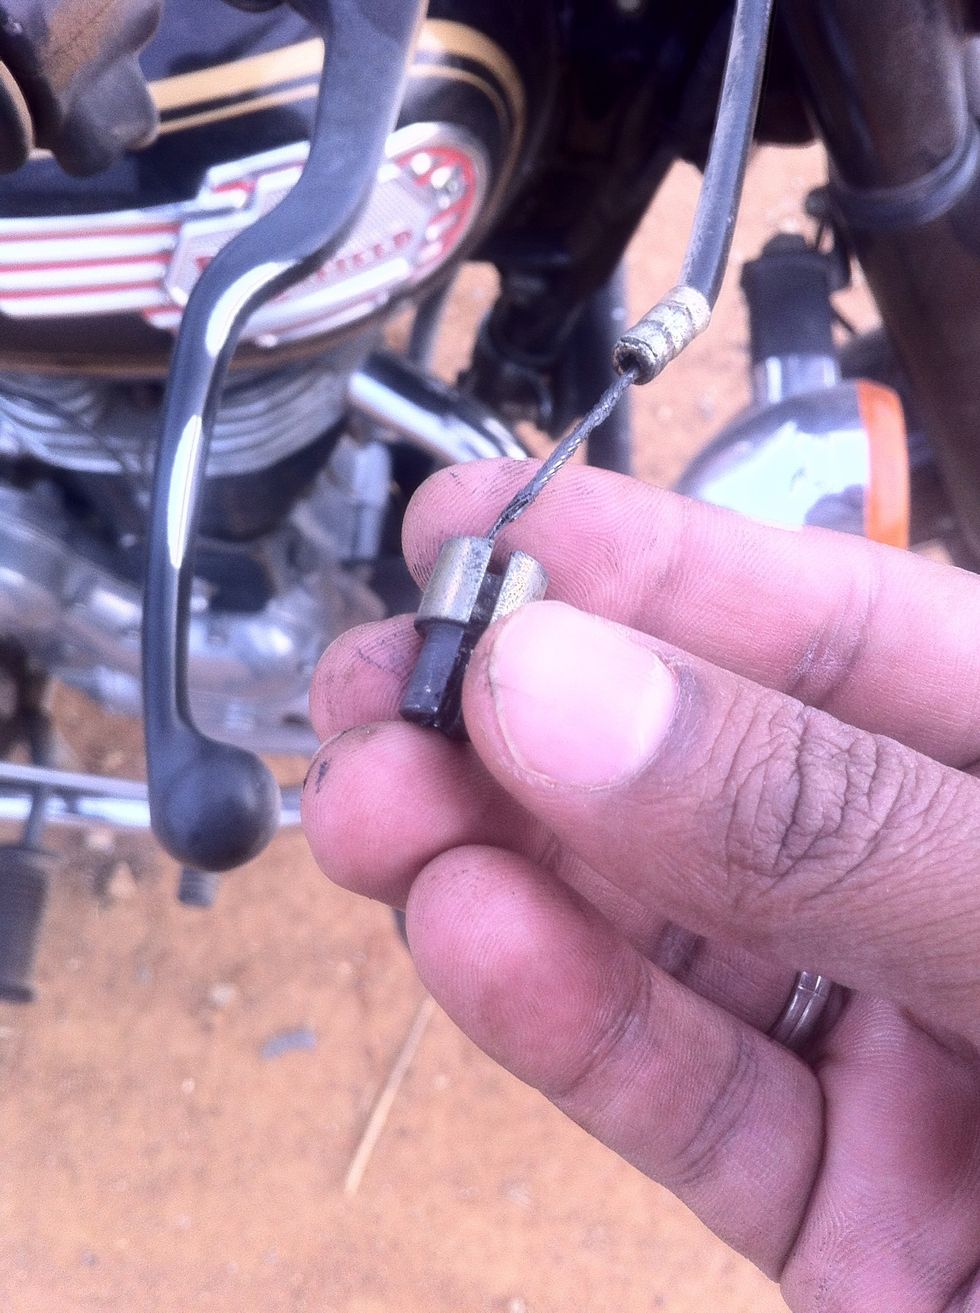
If it is a regular maintenance job, you will be able to take the adapter out at this stage. If the cable broke, you would have stored this as I mentioned before.
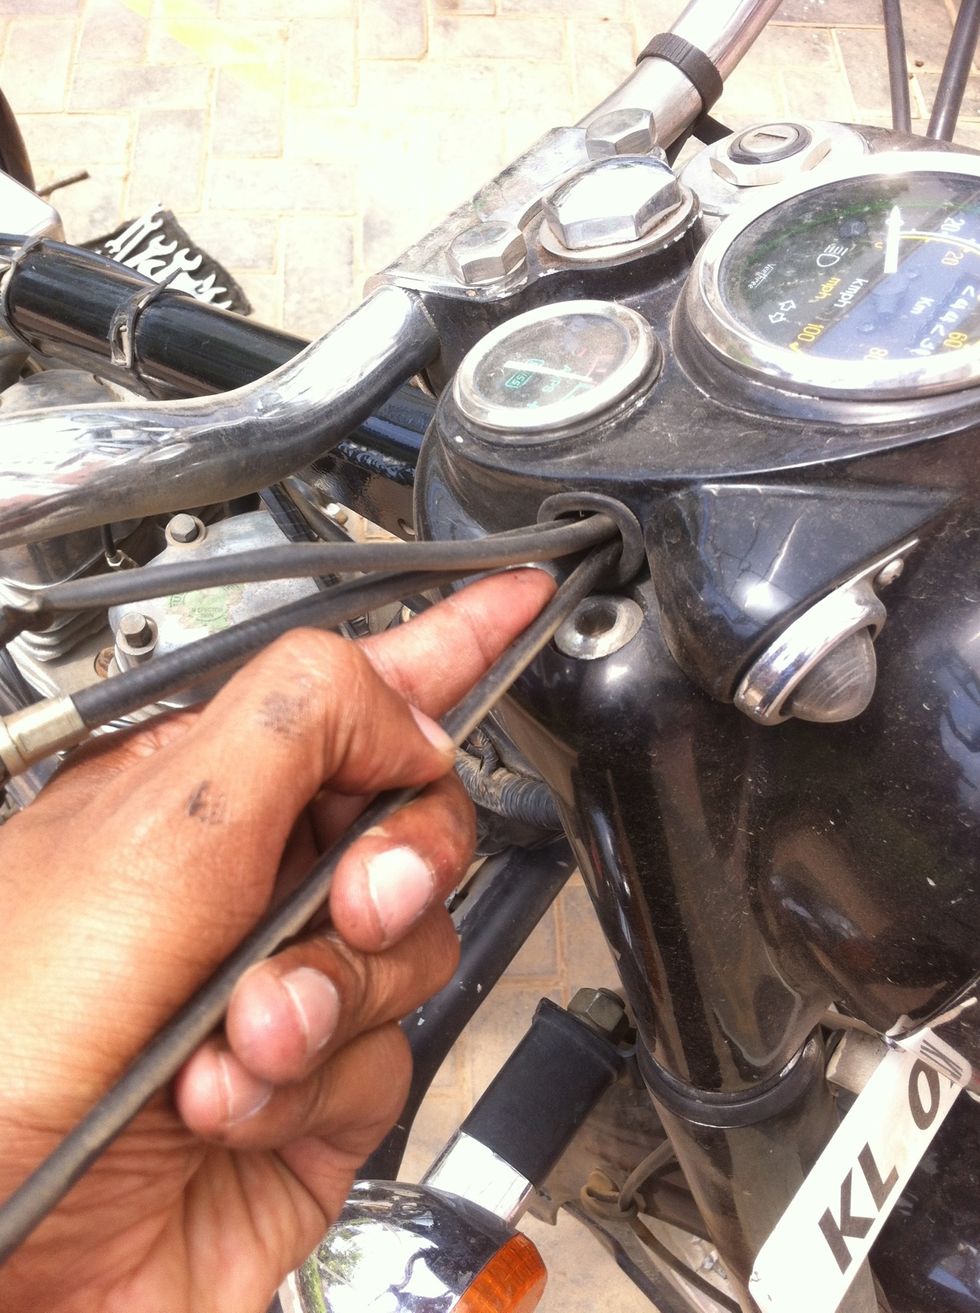
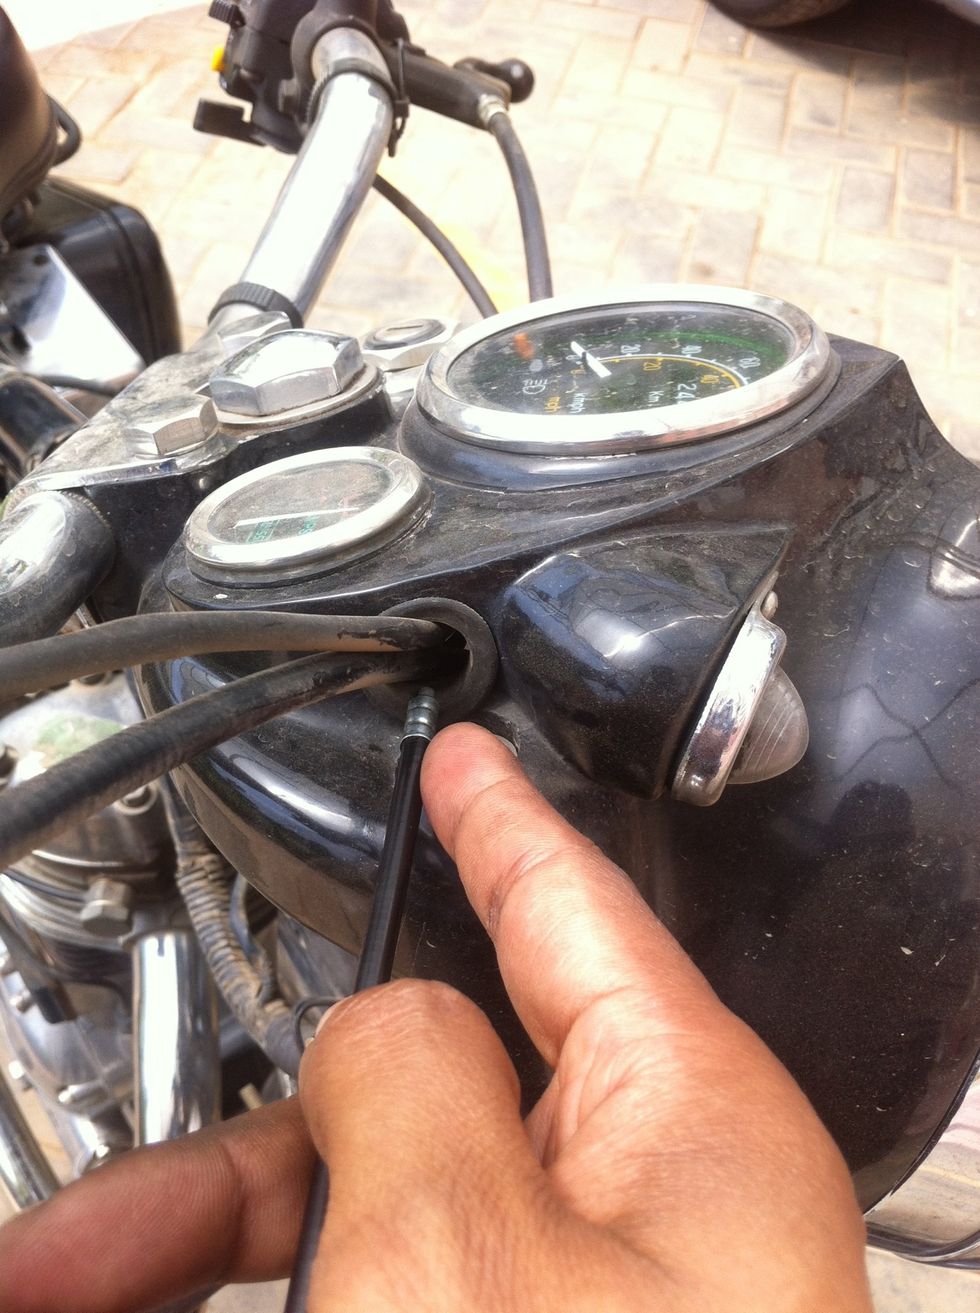
Push the cable out through the headlamp casing hole.
Push it until you feel resistance. Stop and don't use force at this point.
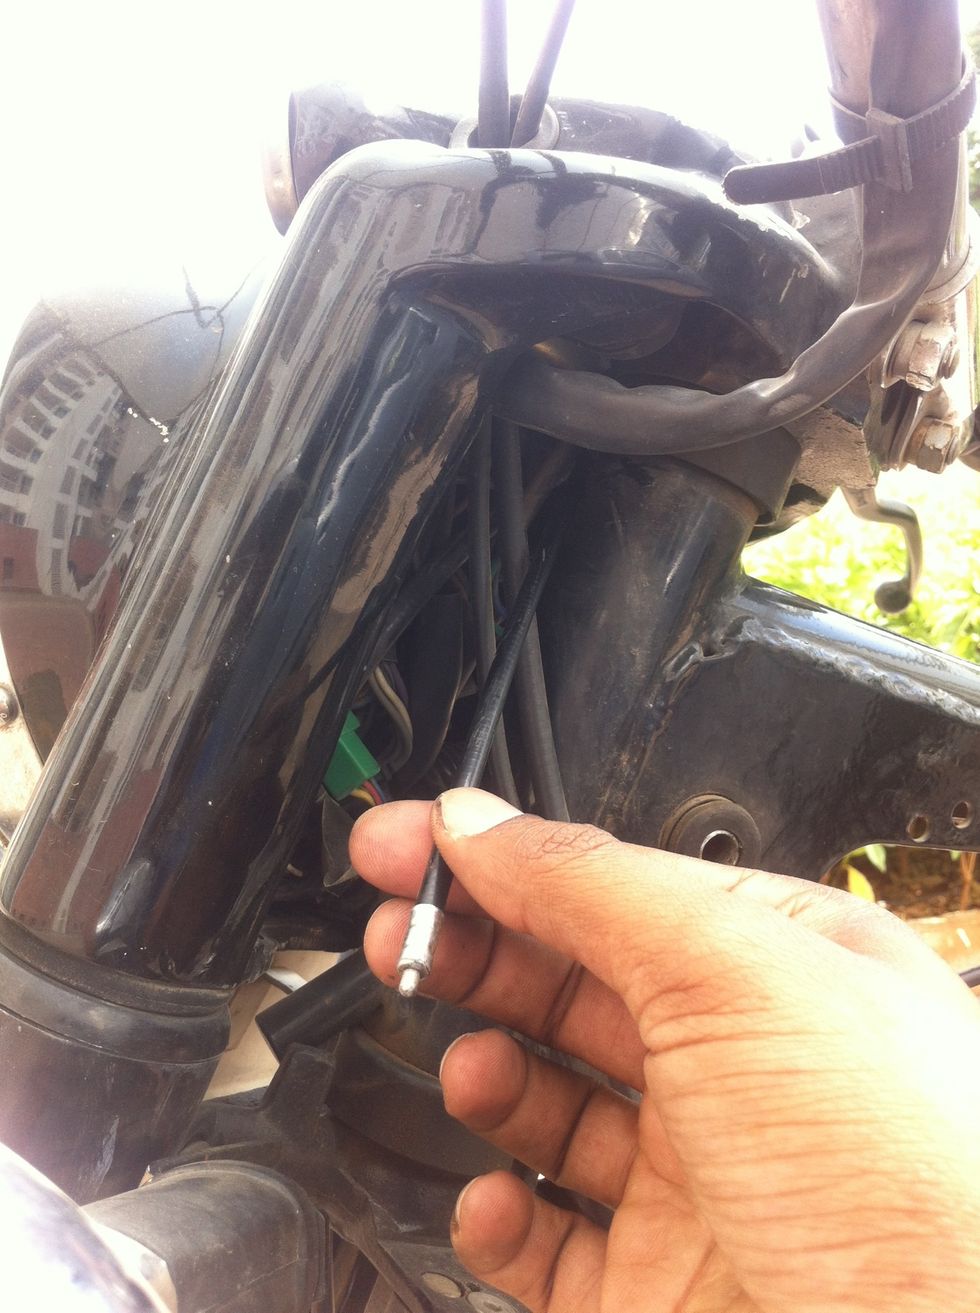
Tilt the handle bar away from you and pull the cable as shown in picture.
Pull it out until it frees from the headlamp casing.
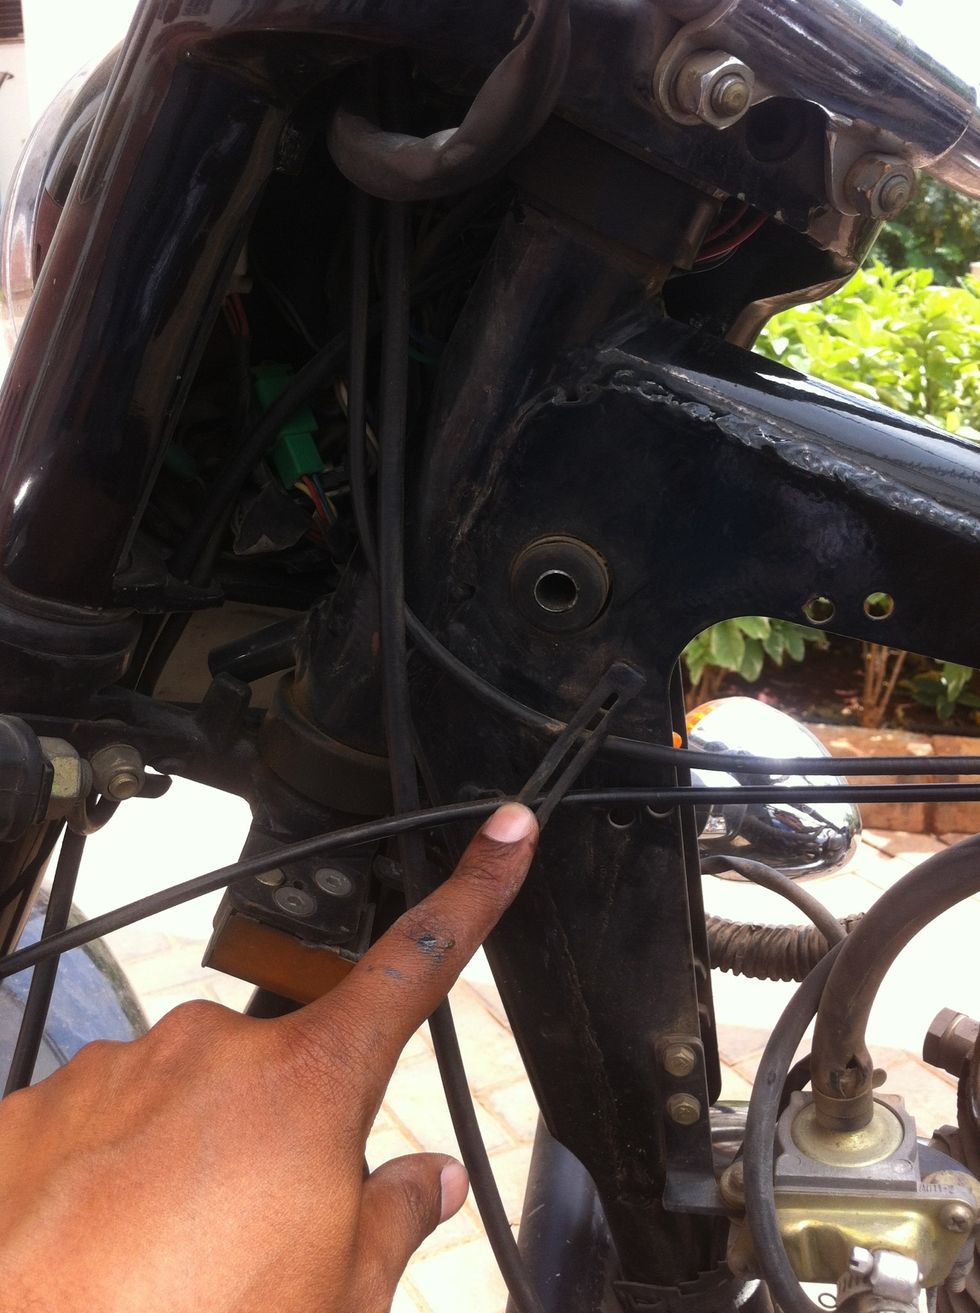
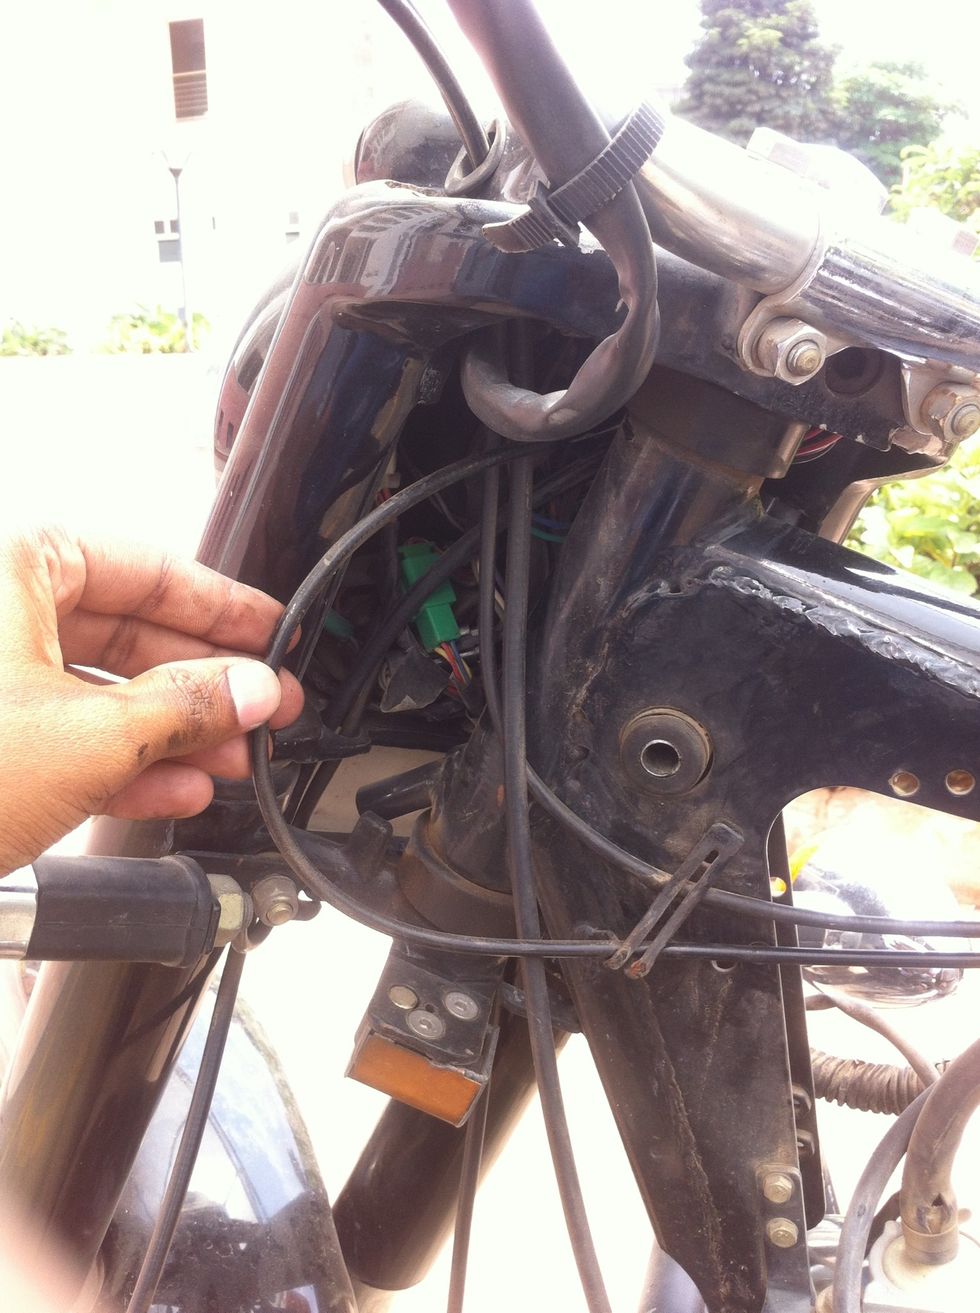
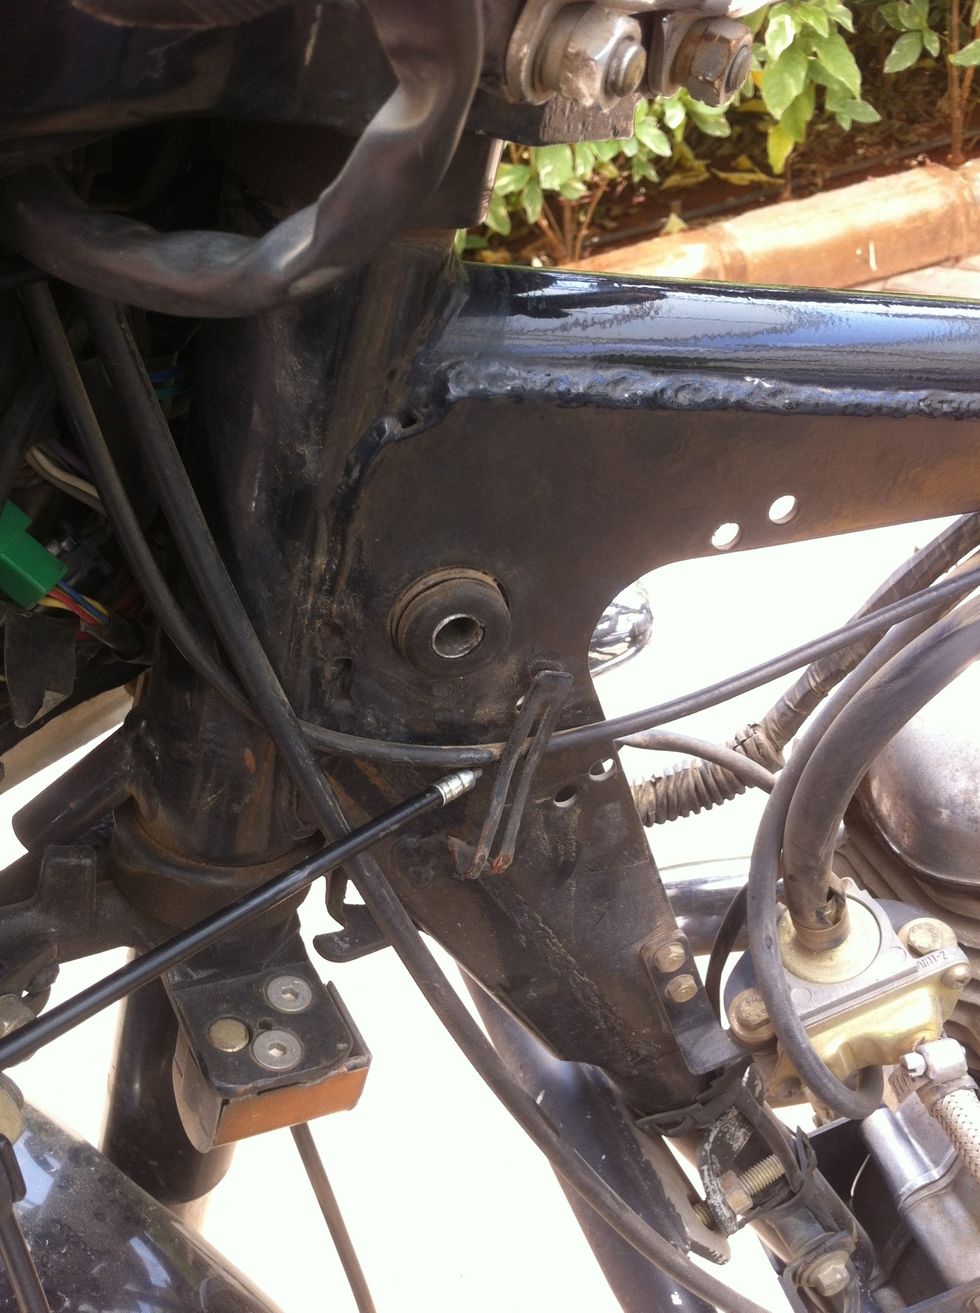
Slide the cable out of the frame clip. Take a moment to understand the cable routing at this stage.
Slide the cable out of the cable holders.
Slide the cable out through the last cable holder.
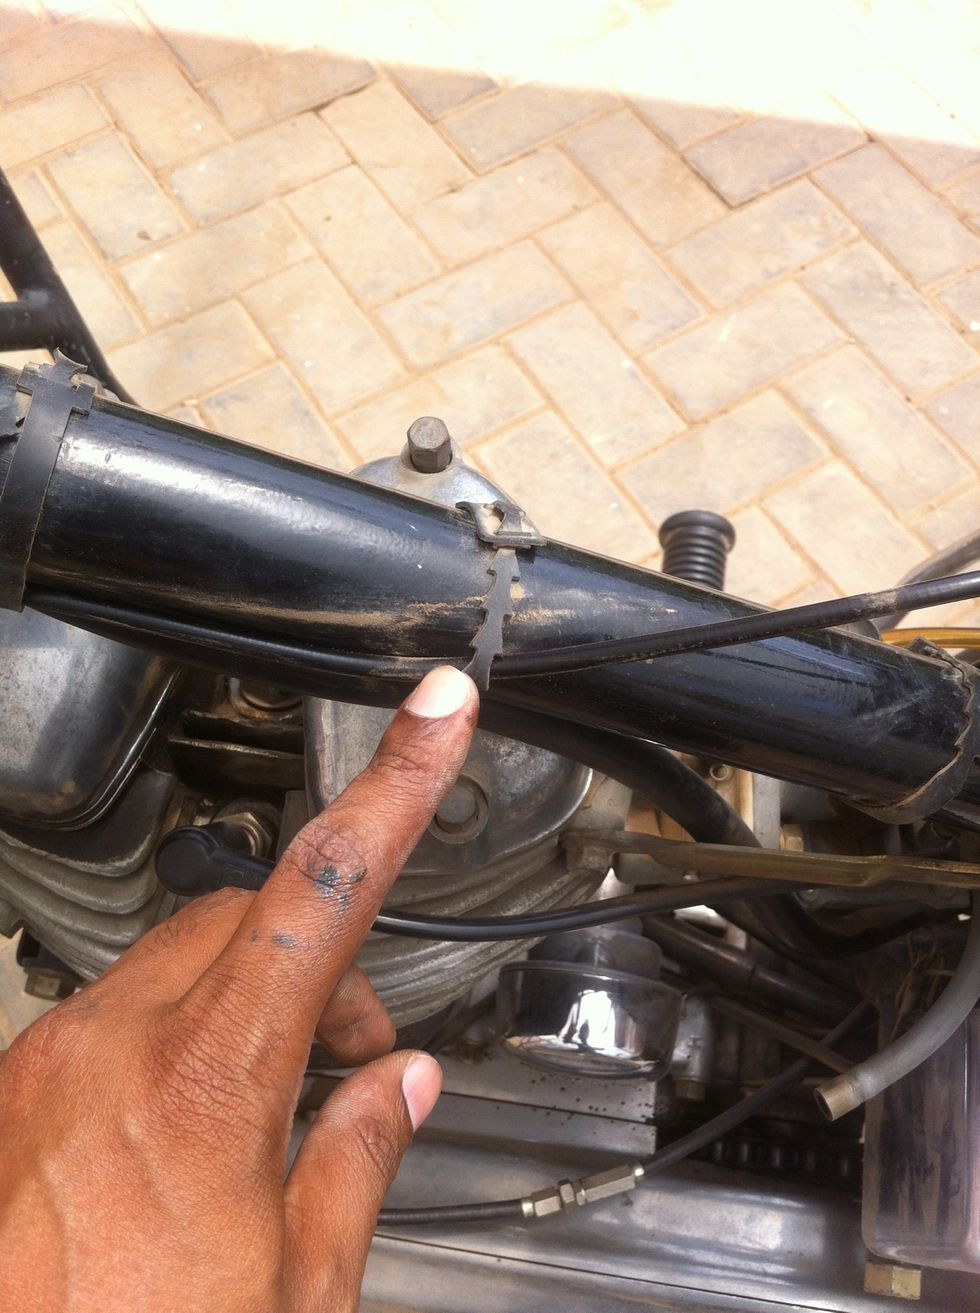
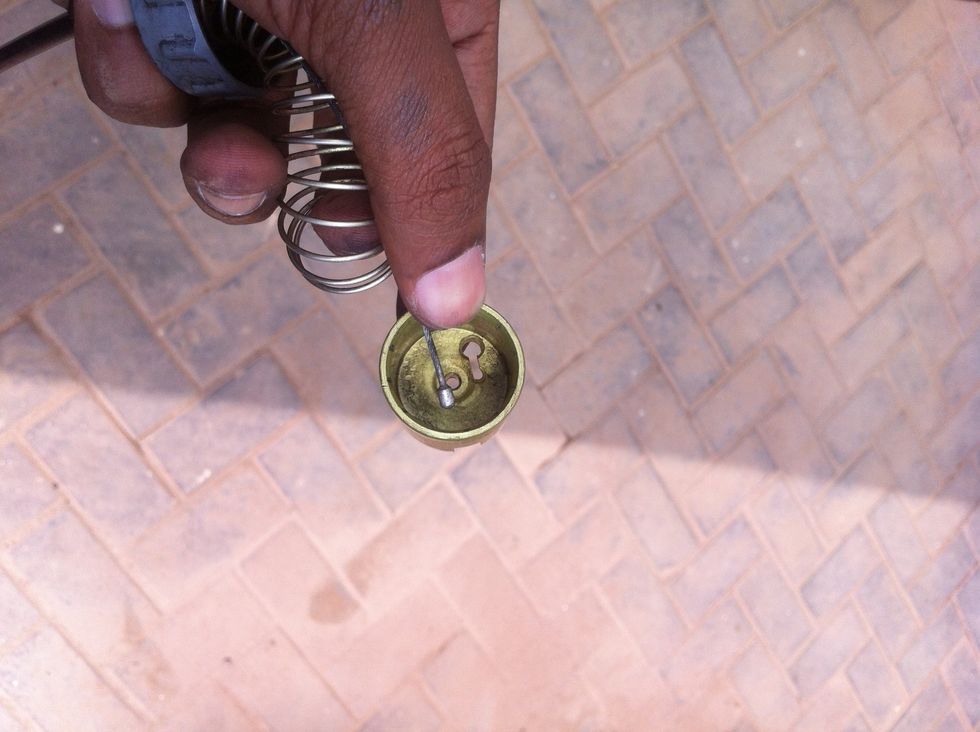
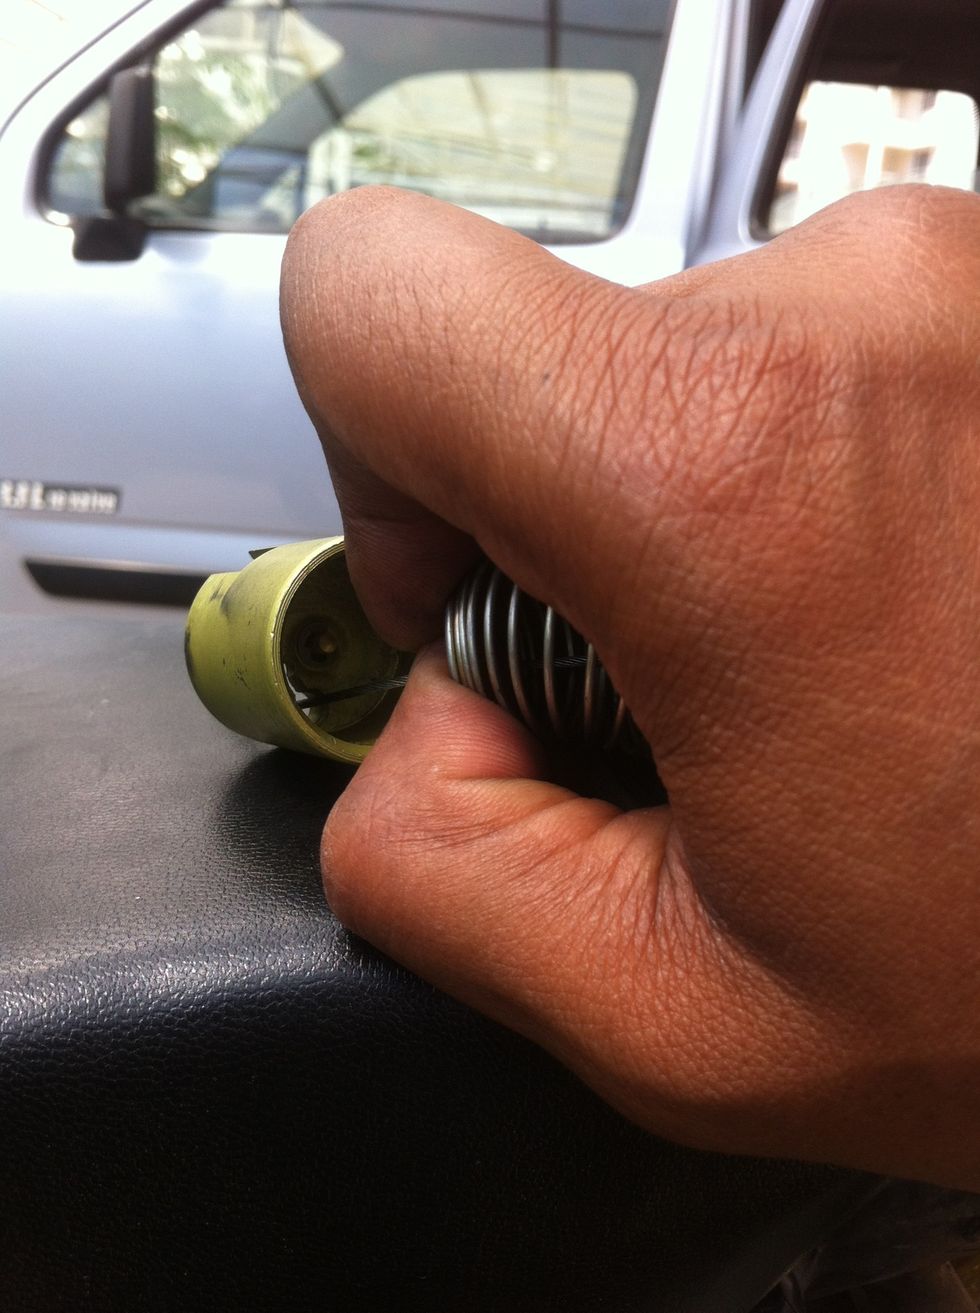
Inspect the cable and the cone shaped rubber cap of the cable stopper.
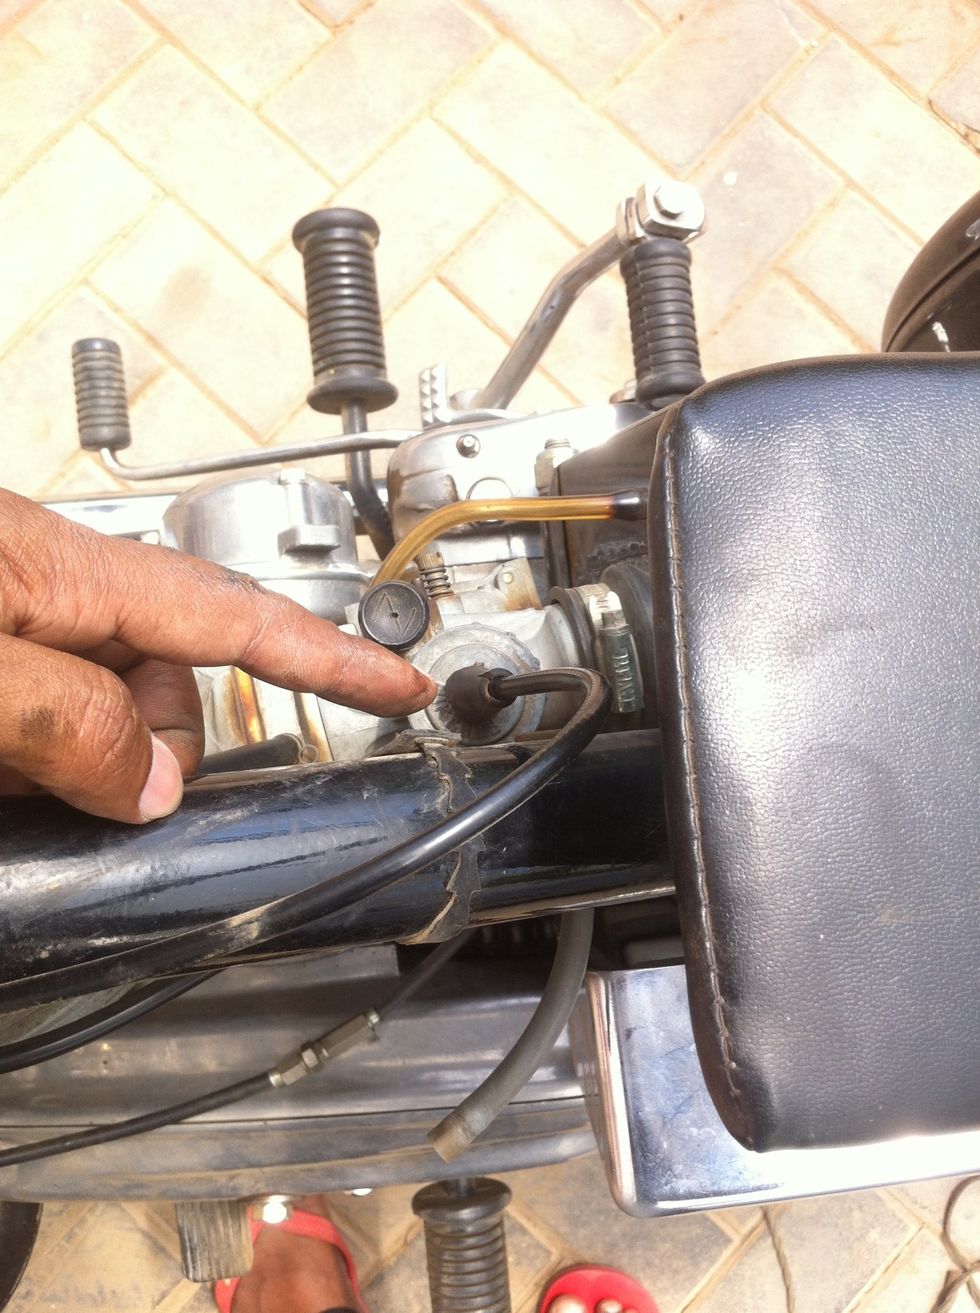
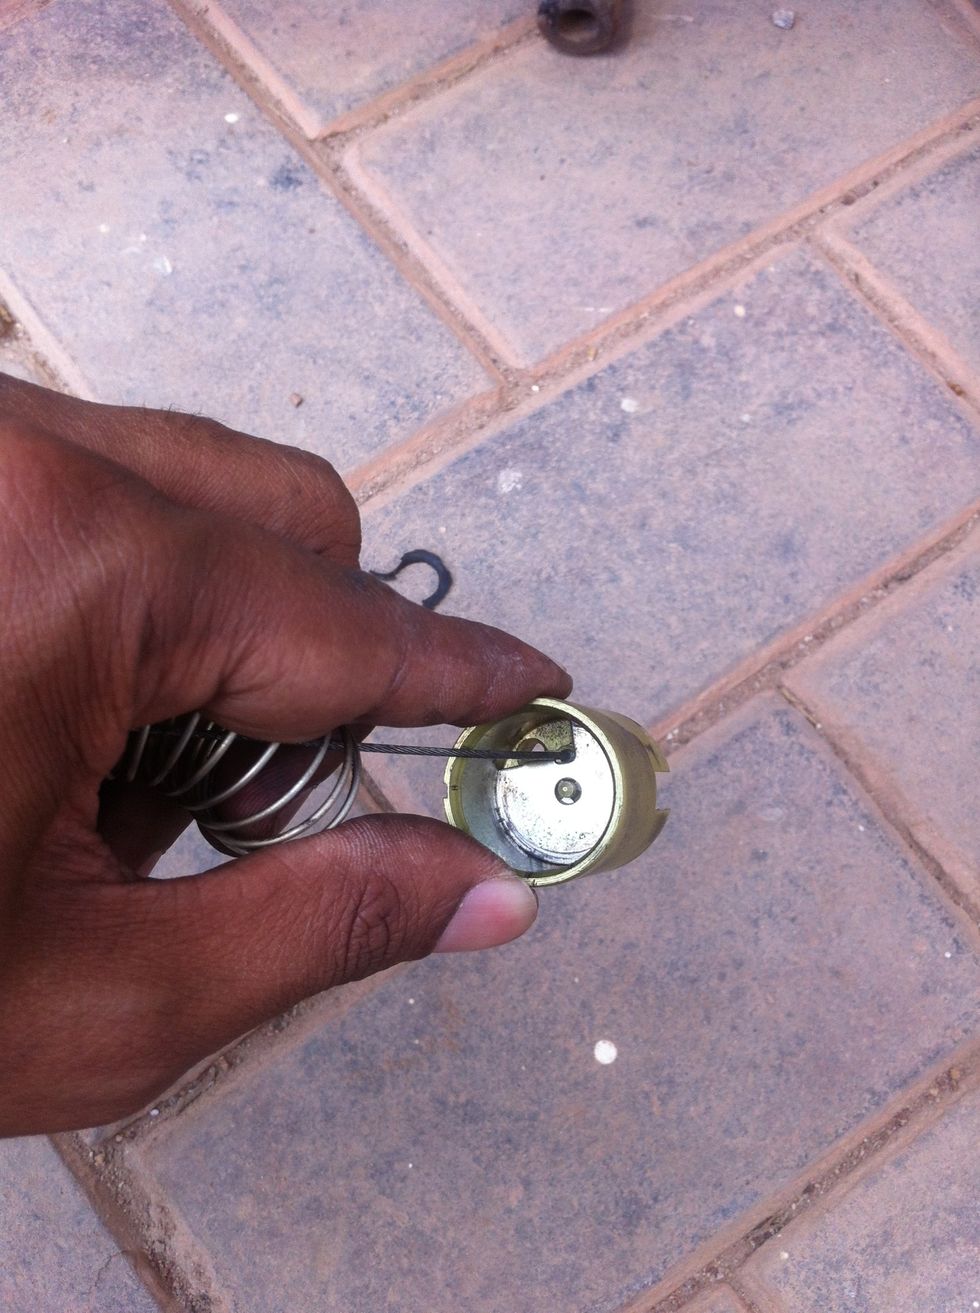
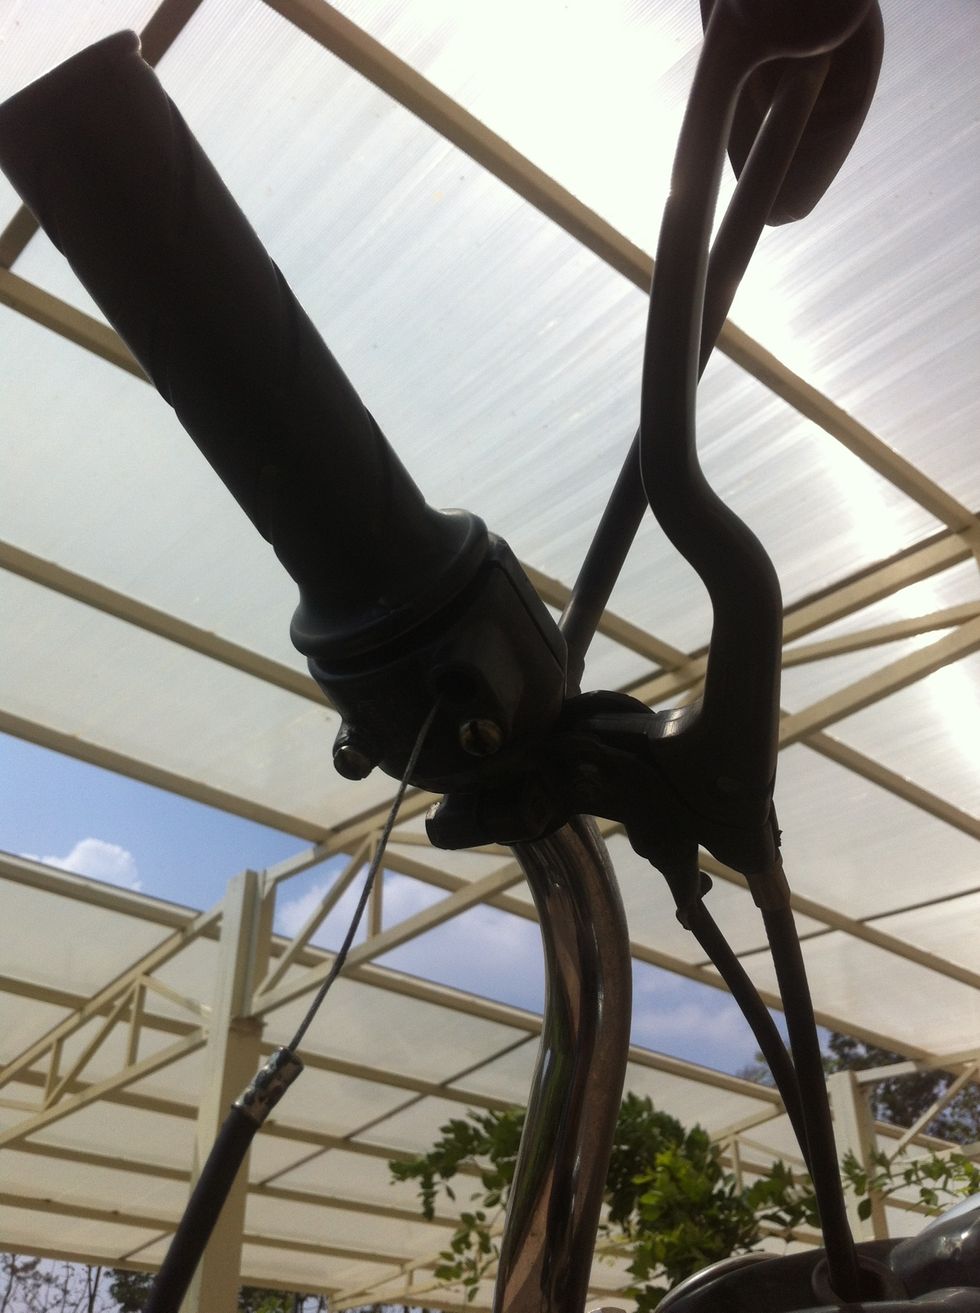
The freed cable will now be held only at the carburetor head.
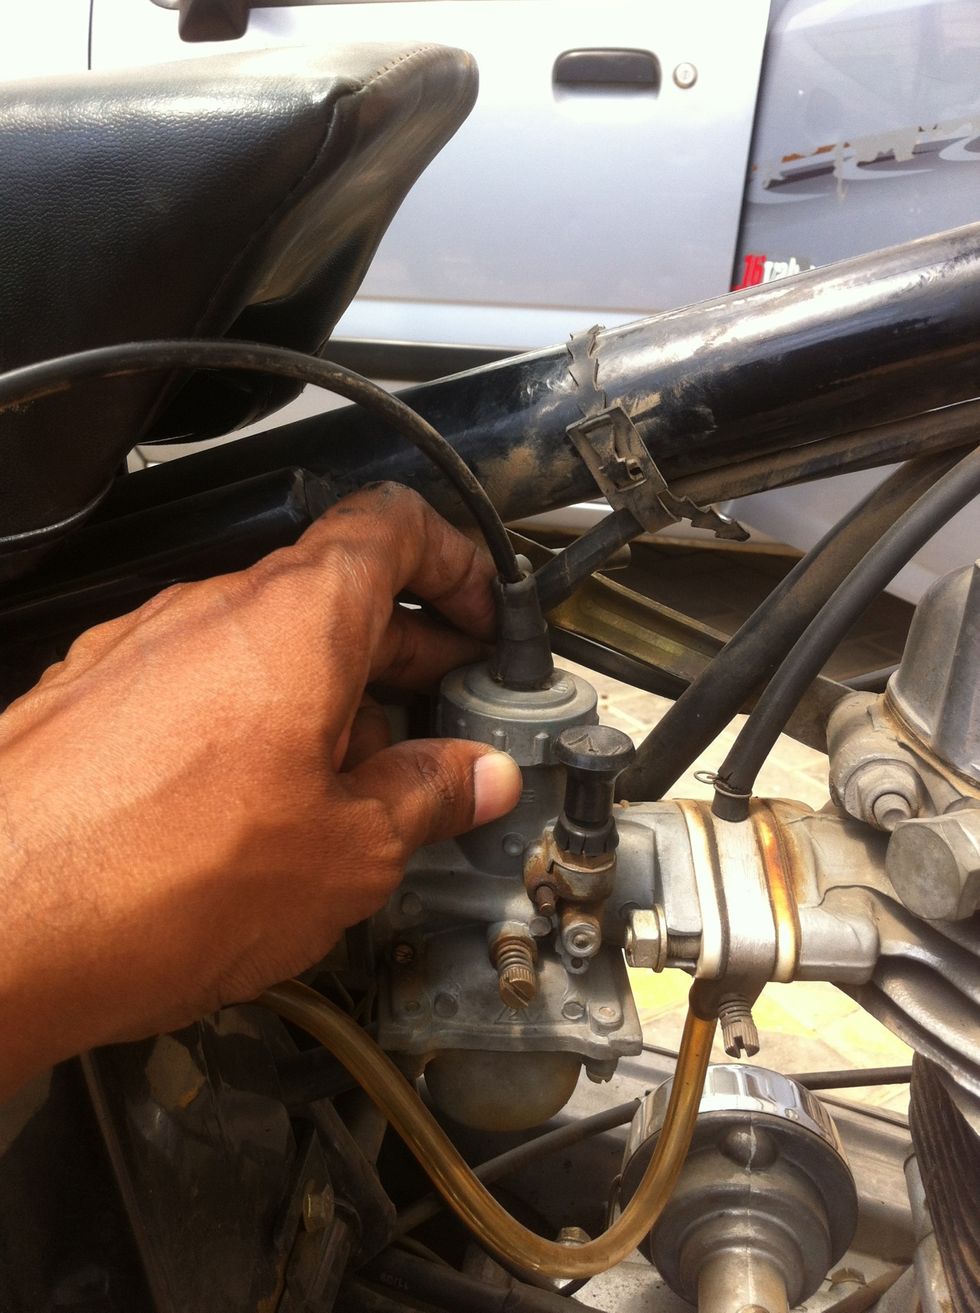
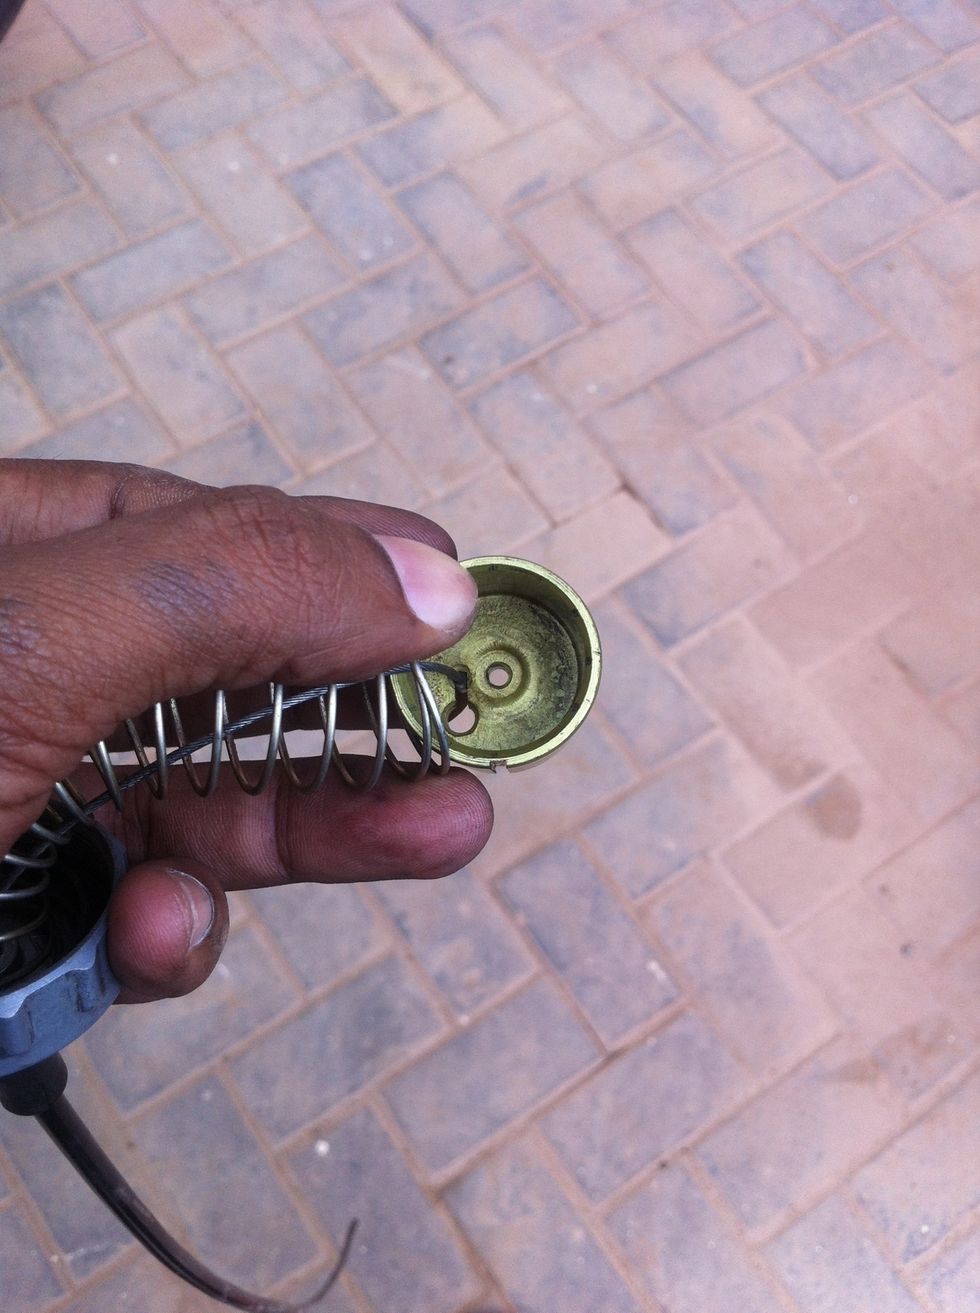
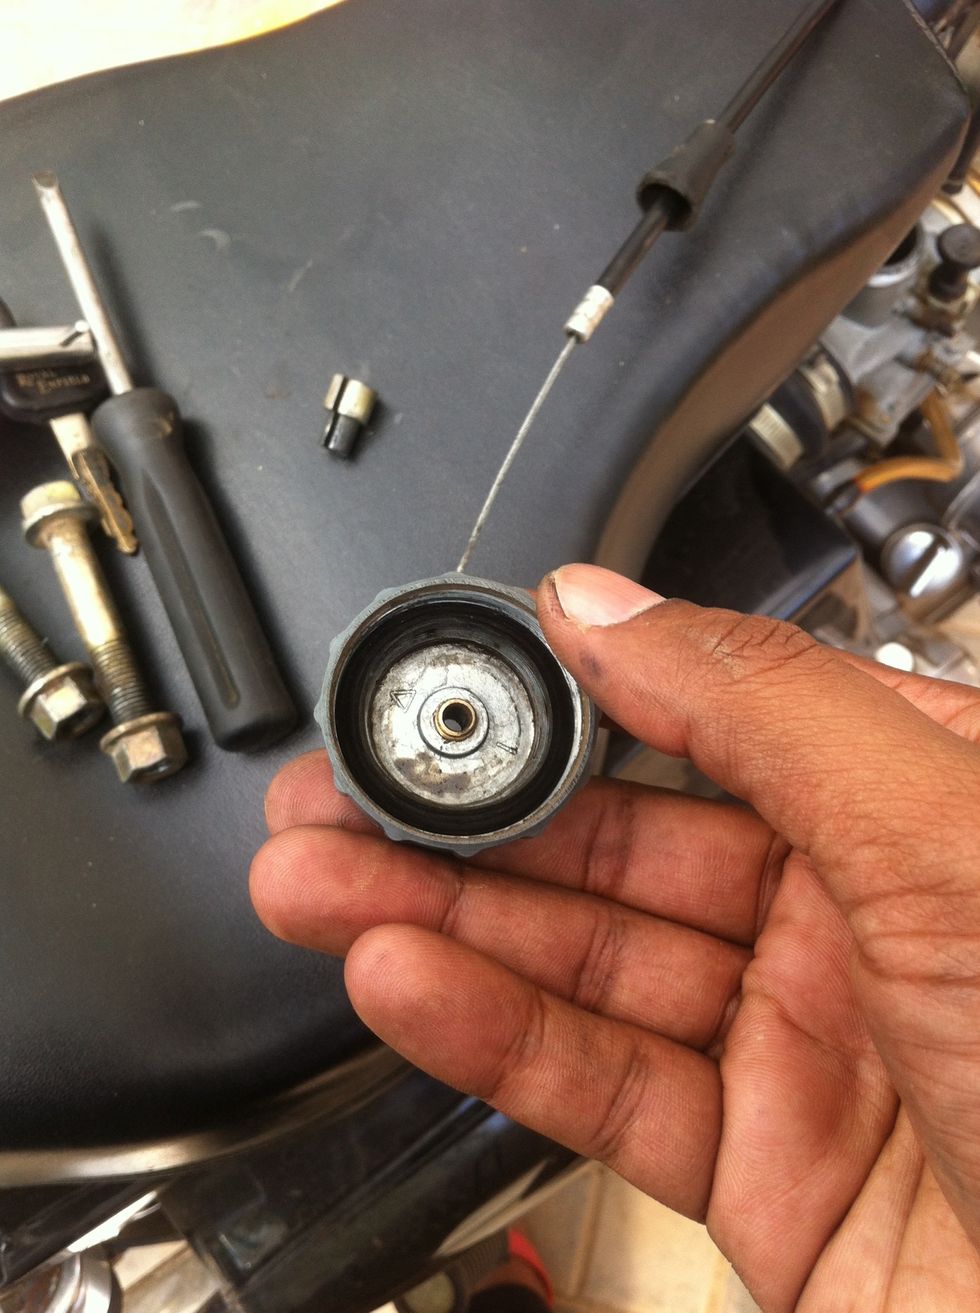
Rotate the lid anti clockwise and remove it.
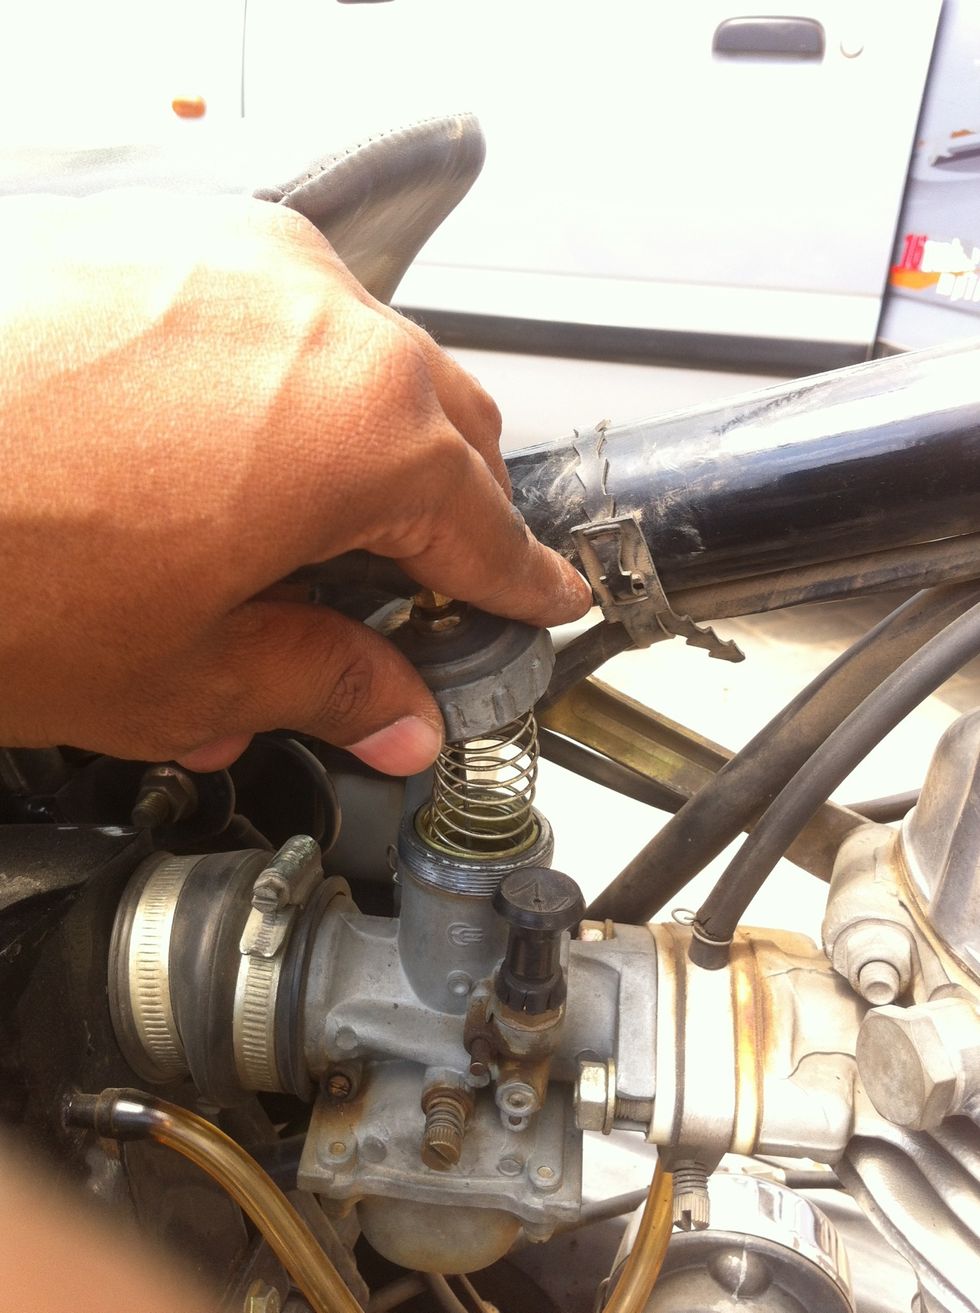
The spring will push the lid out, so be careful that all the components inside don't pop out.
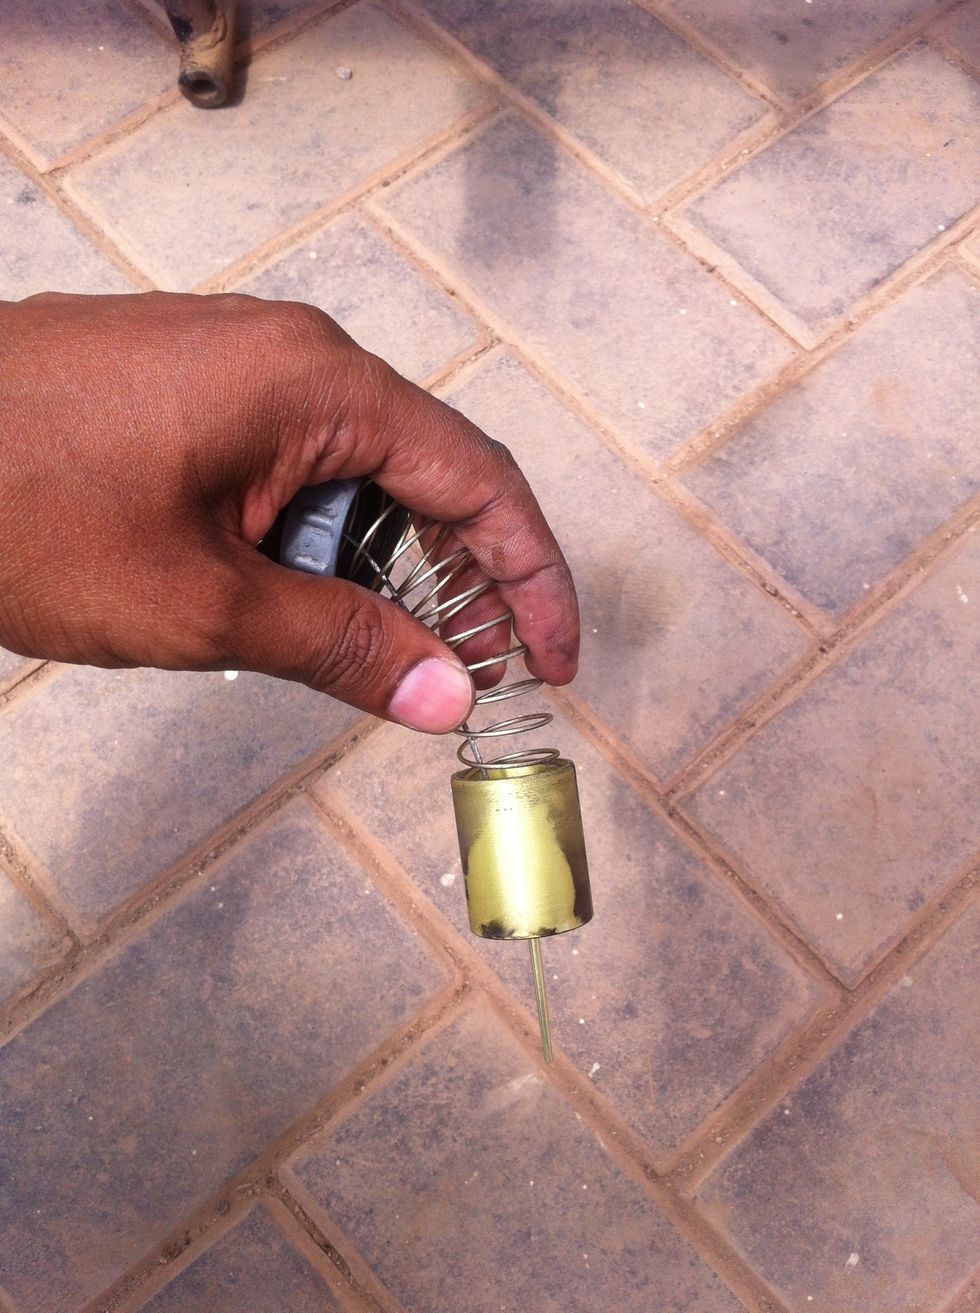
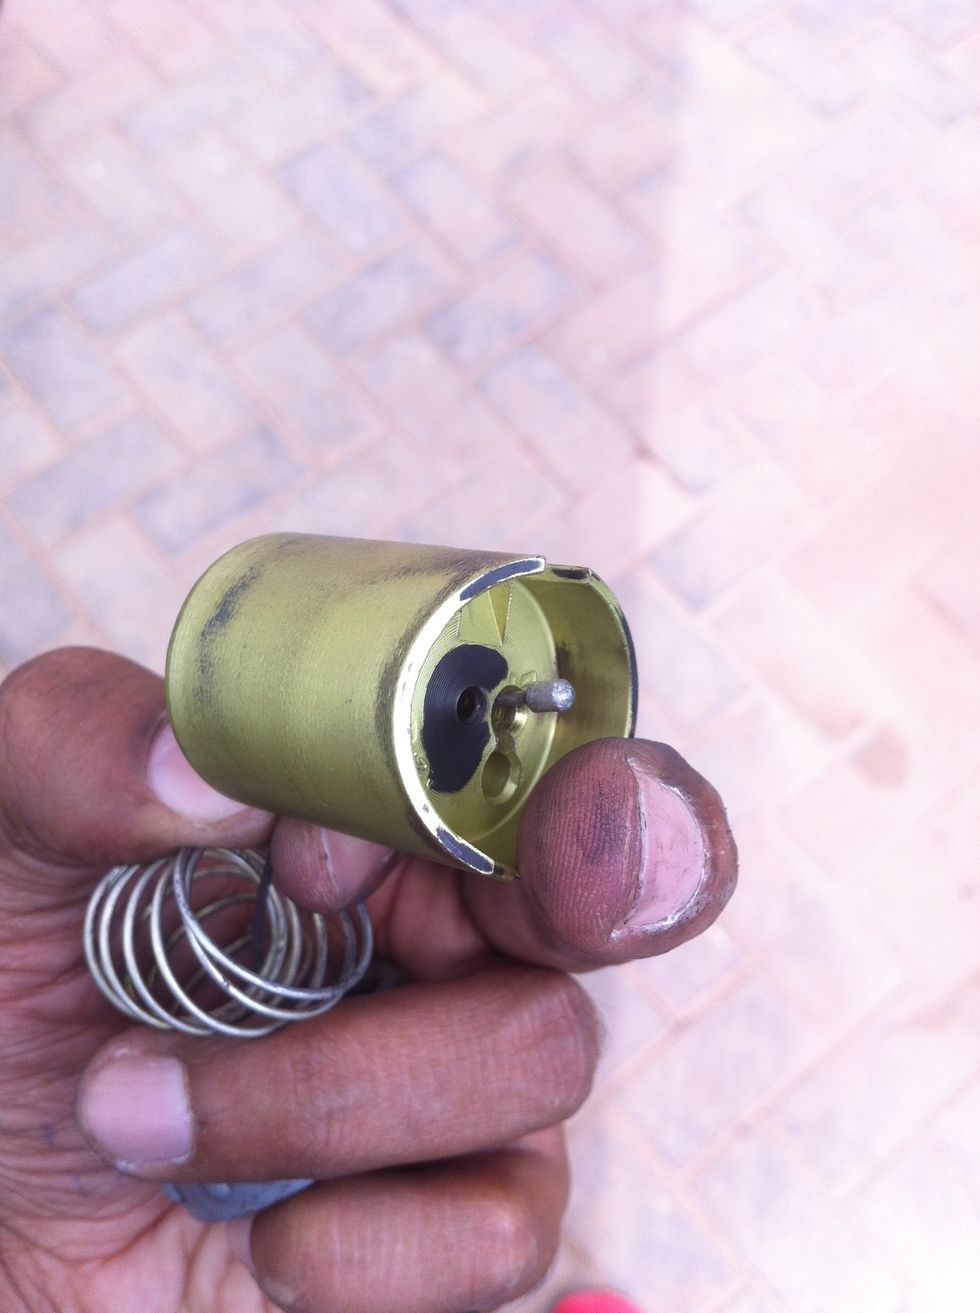
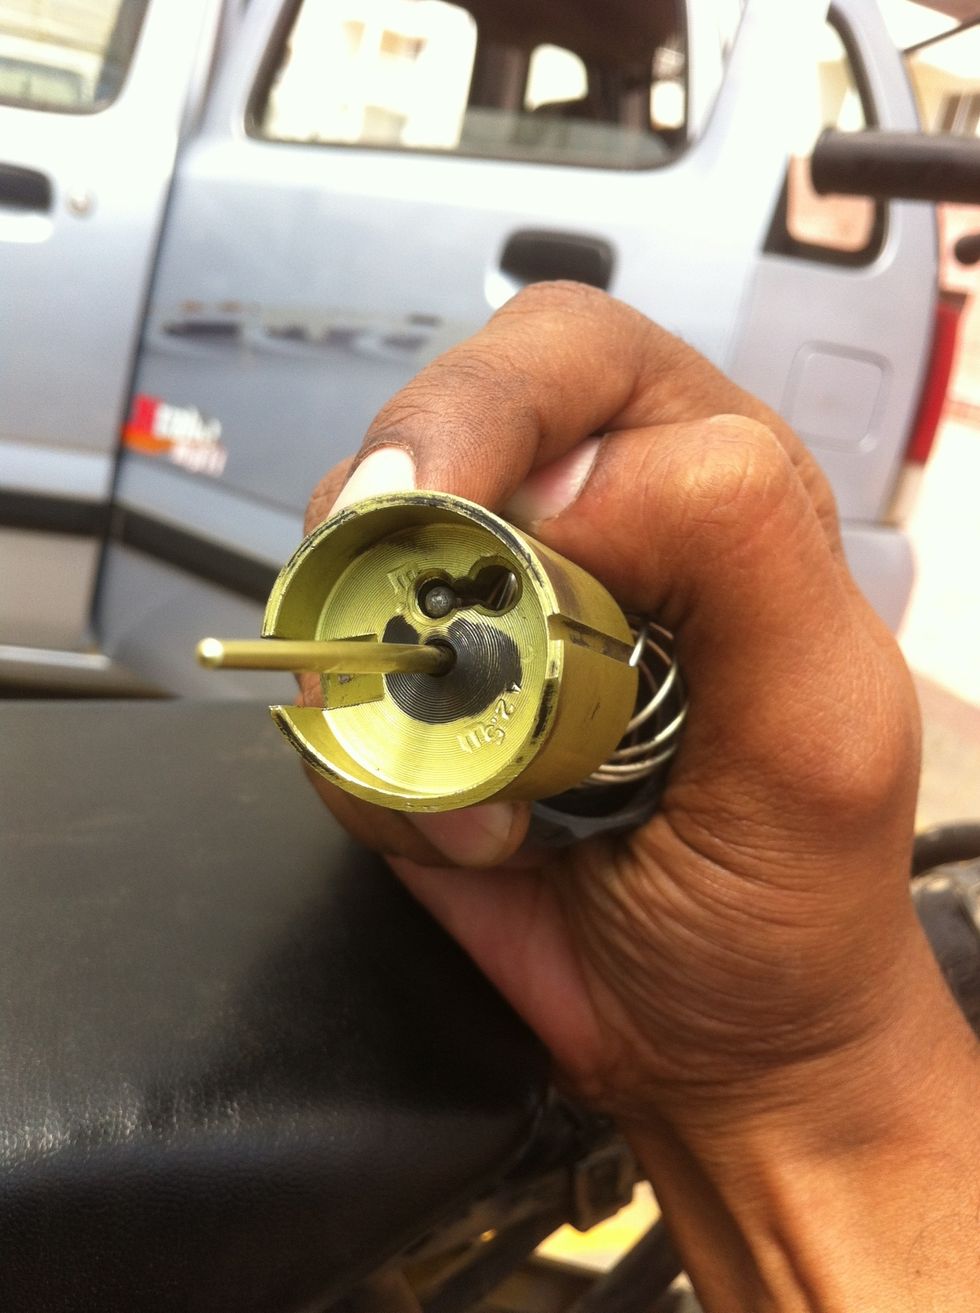
Hold the cap and the cable and pull out the carburetor piston, inspect for damages, clean or replace if required.
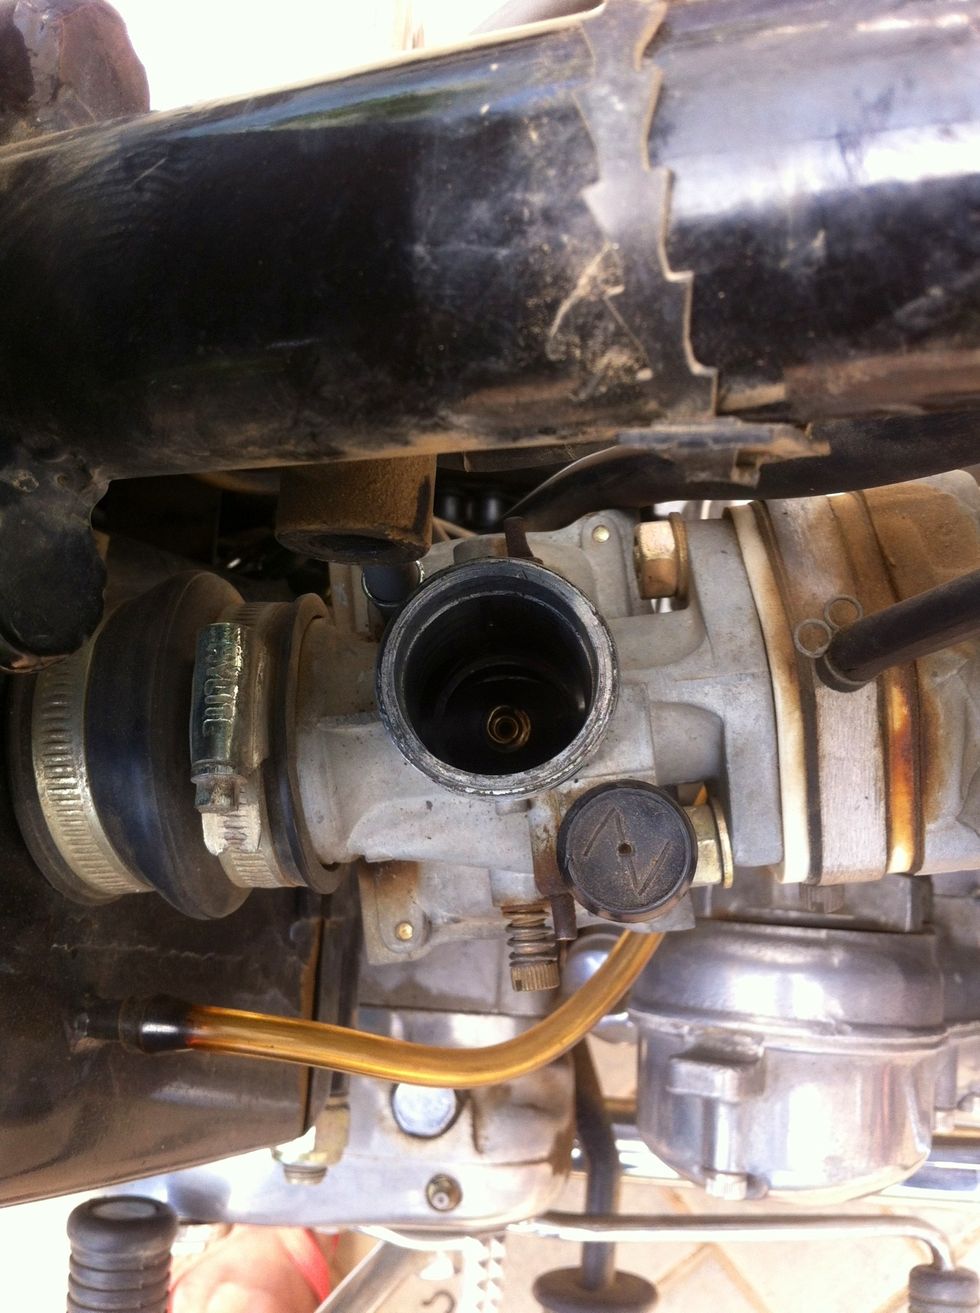
Inspect the carburetor cylinder, clean if required and cover it until reinstallation of the piston so debris and dust don't fall in while you are busy doing the replacement.
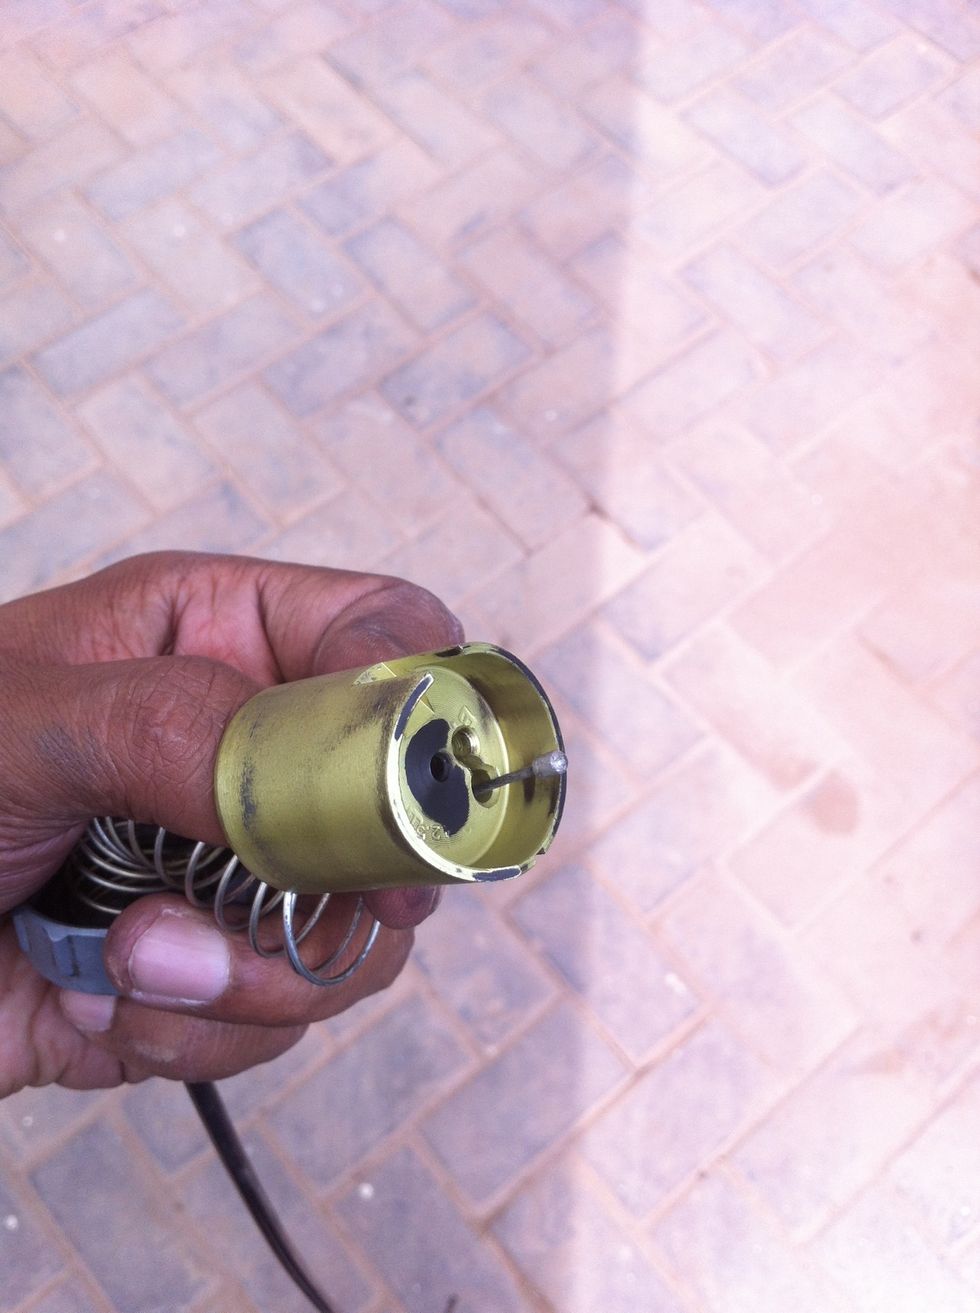
The cable is locked in the piston by a clip.
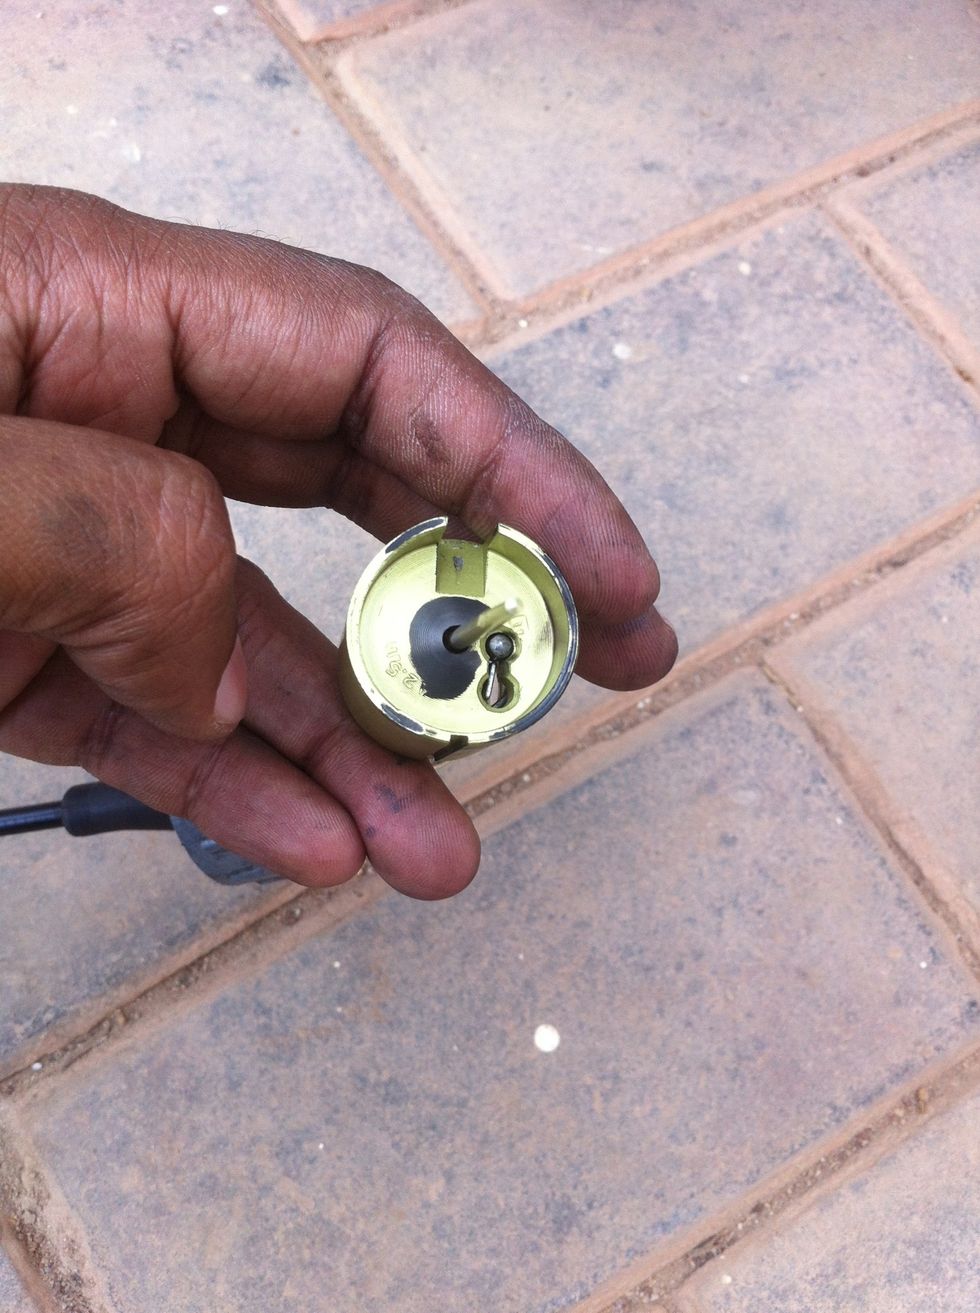
From the bottom of the piston you can see the two slots which are used for the cable to be routed in and locked.
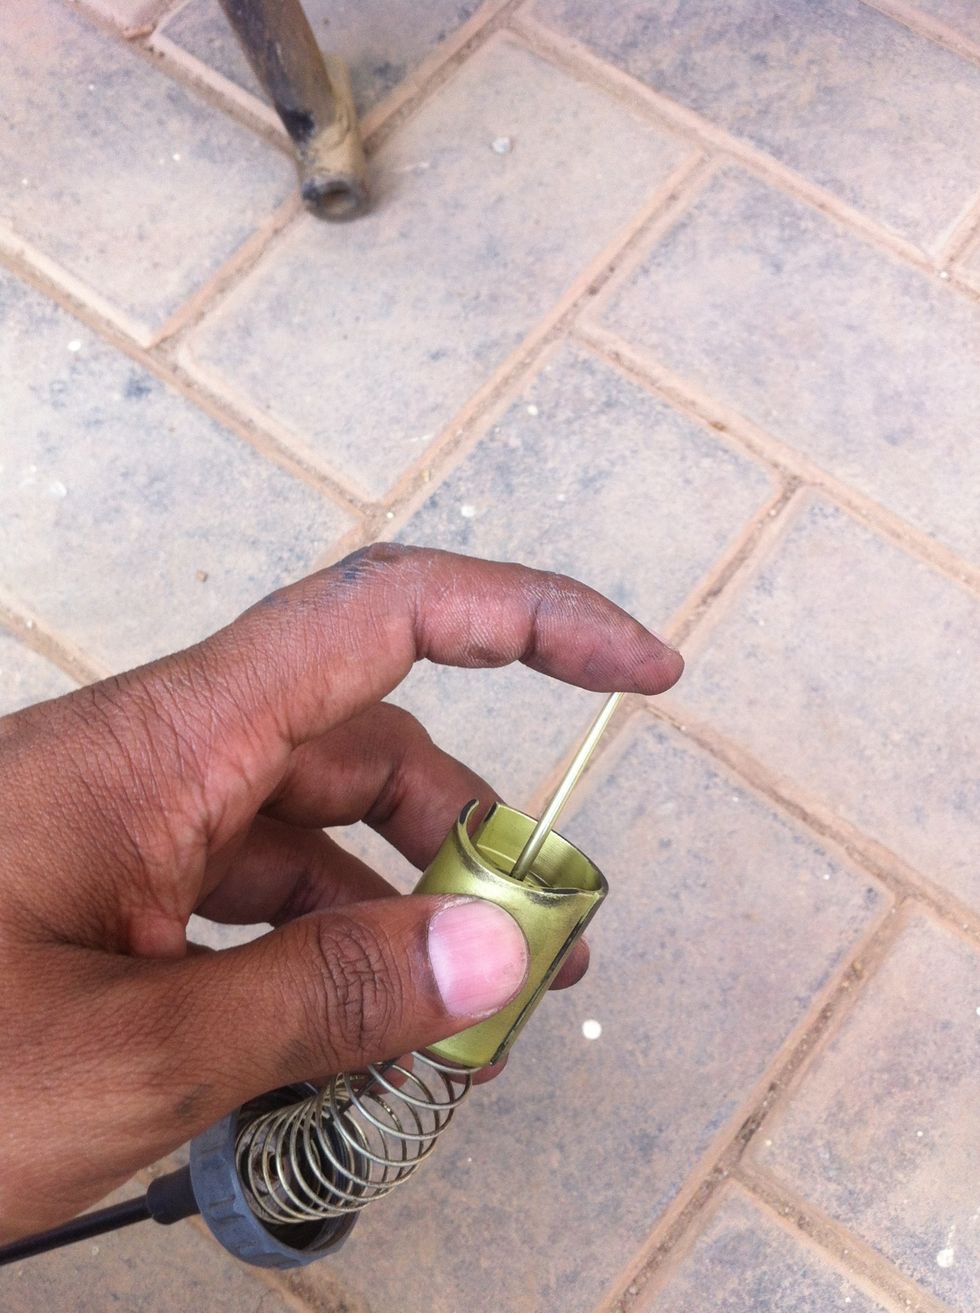
Push the pin down to release the clip.
The clip gets released.

Store the clip in a safe place until reinstallation.
Inspect, clean and store the pin and the clip.
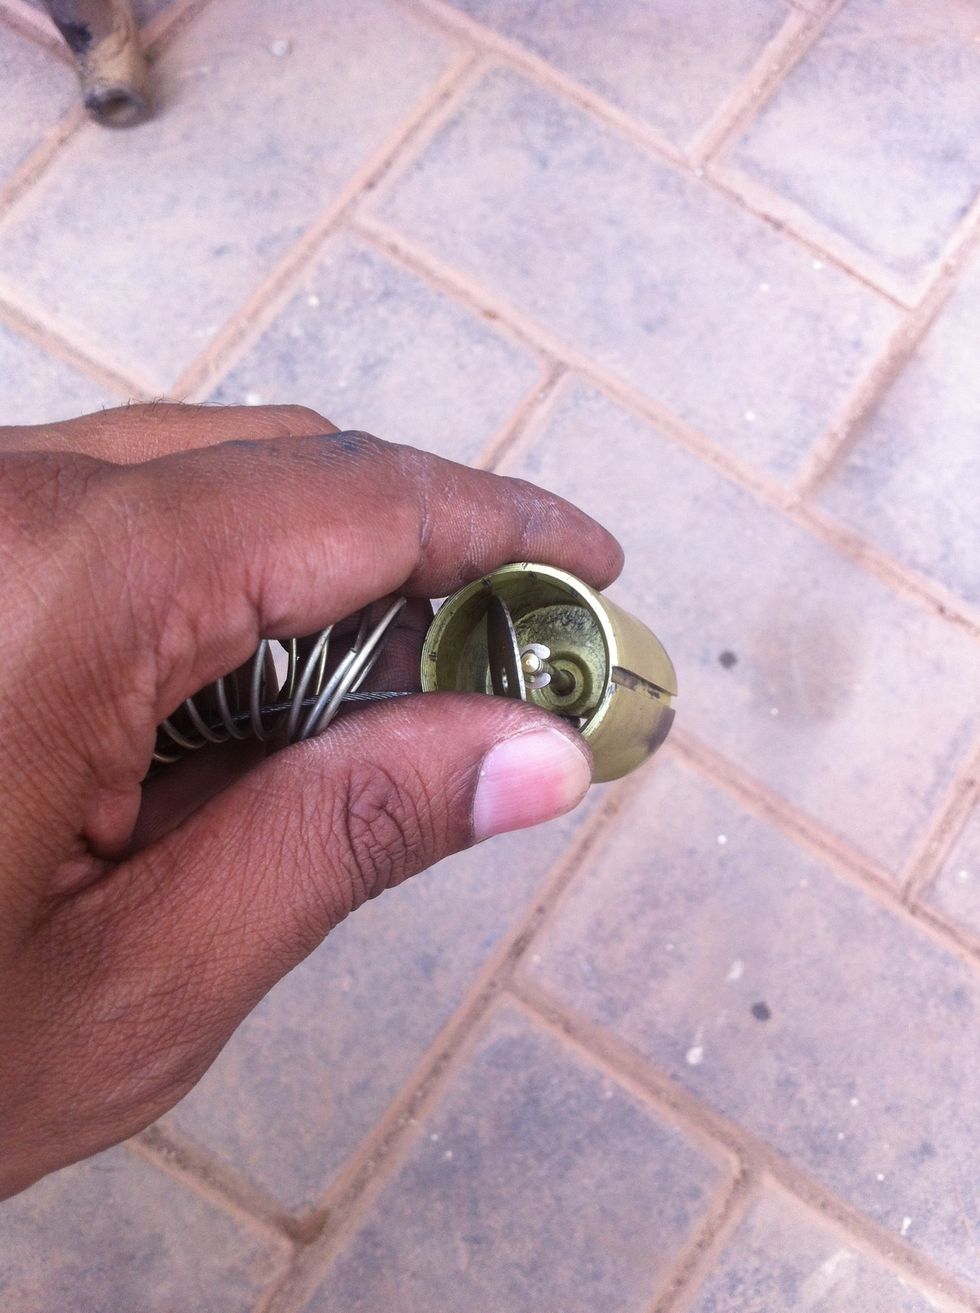
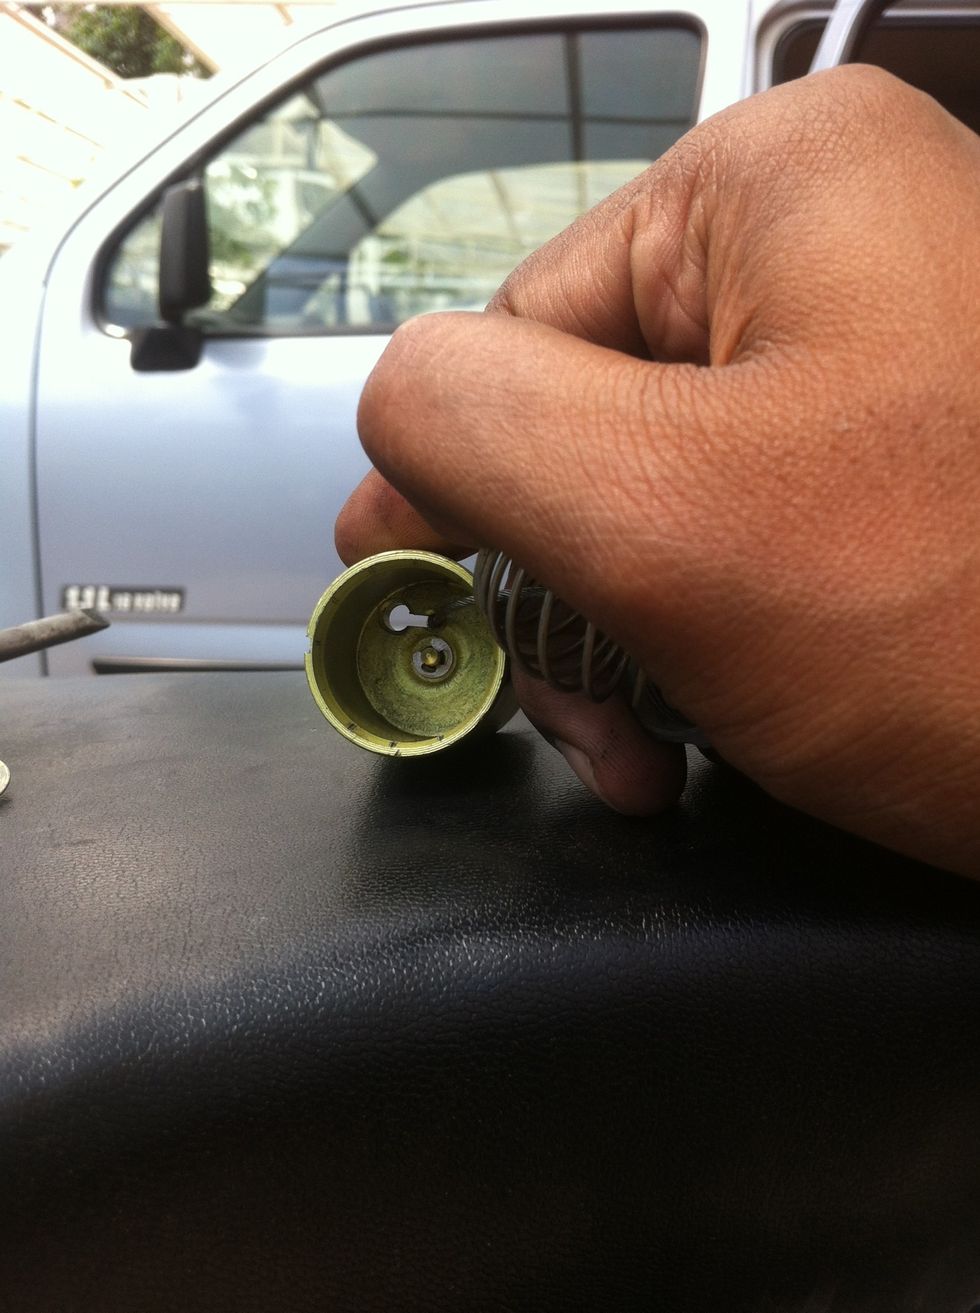
Retract the spring back to make room for pushing the cable out of the locking slot.
Push the cable end through the slot to the bigger hole to free the cable out of the piston.
You can see how the cable is ready to be pulled out of the piston.
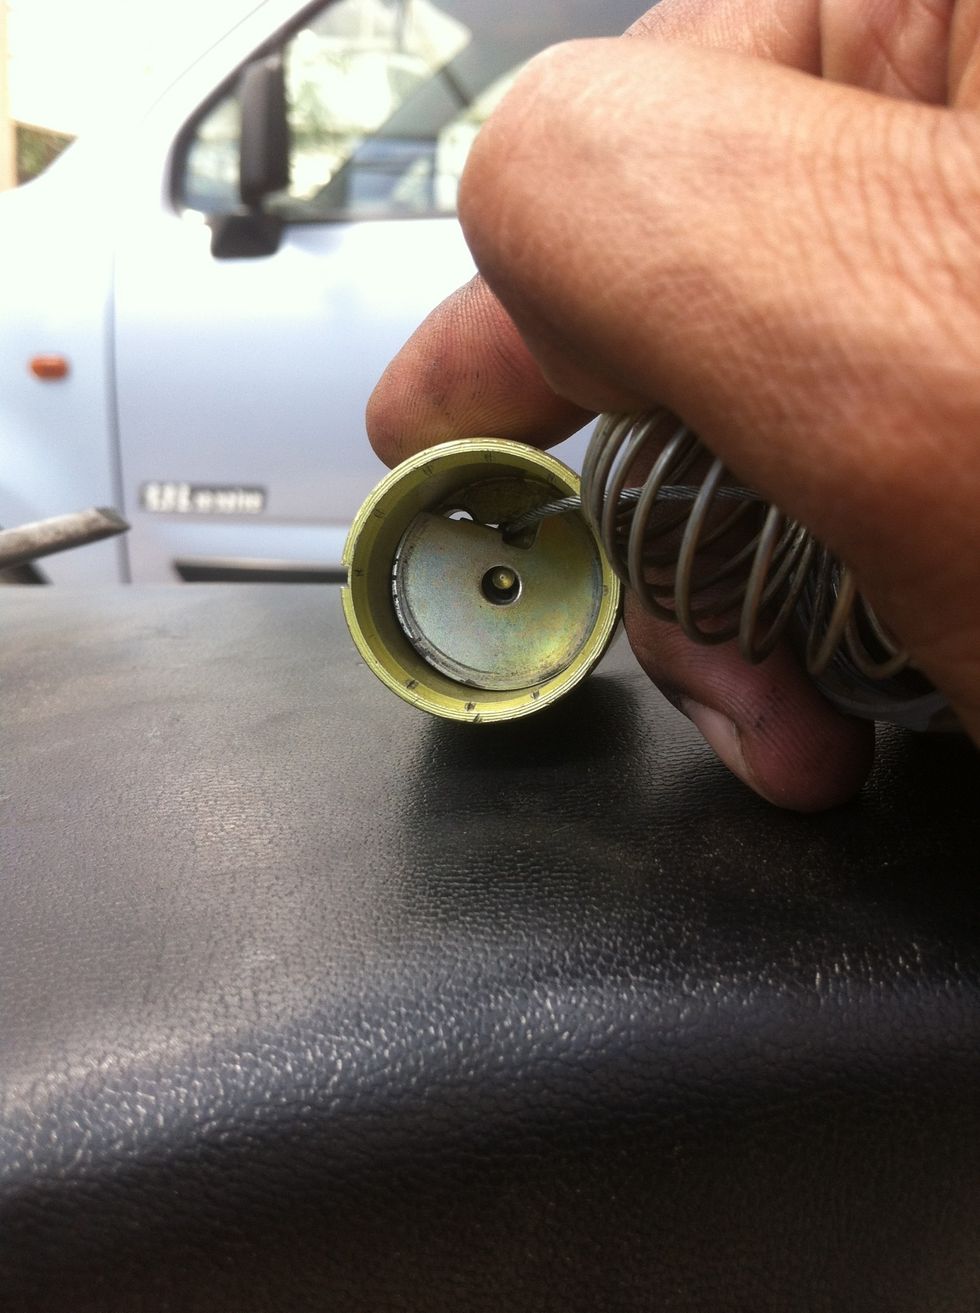
Released cable from the piston.
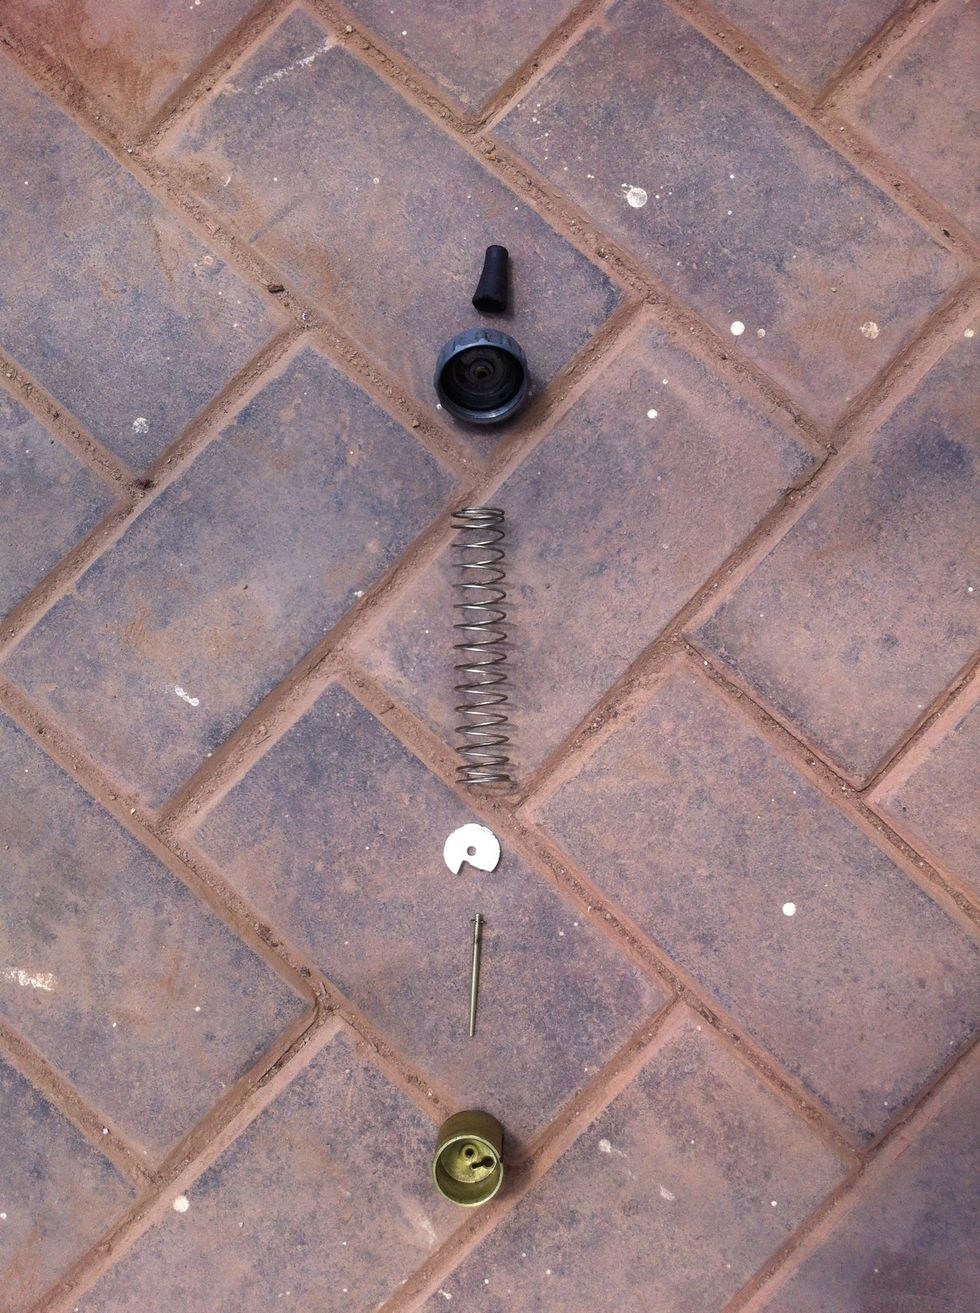
The entire assembly in its order. Take care to fit the round rubber gasket back into the cylinder head. ( in this picture the gasket is installed inside the cap )
This cable cone cap made of rubber is very important and prone to damage. Inspect and replace if required. Store in safe place until reinstallation.
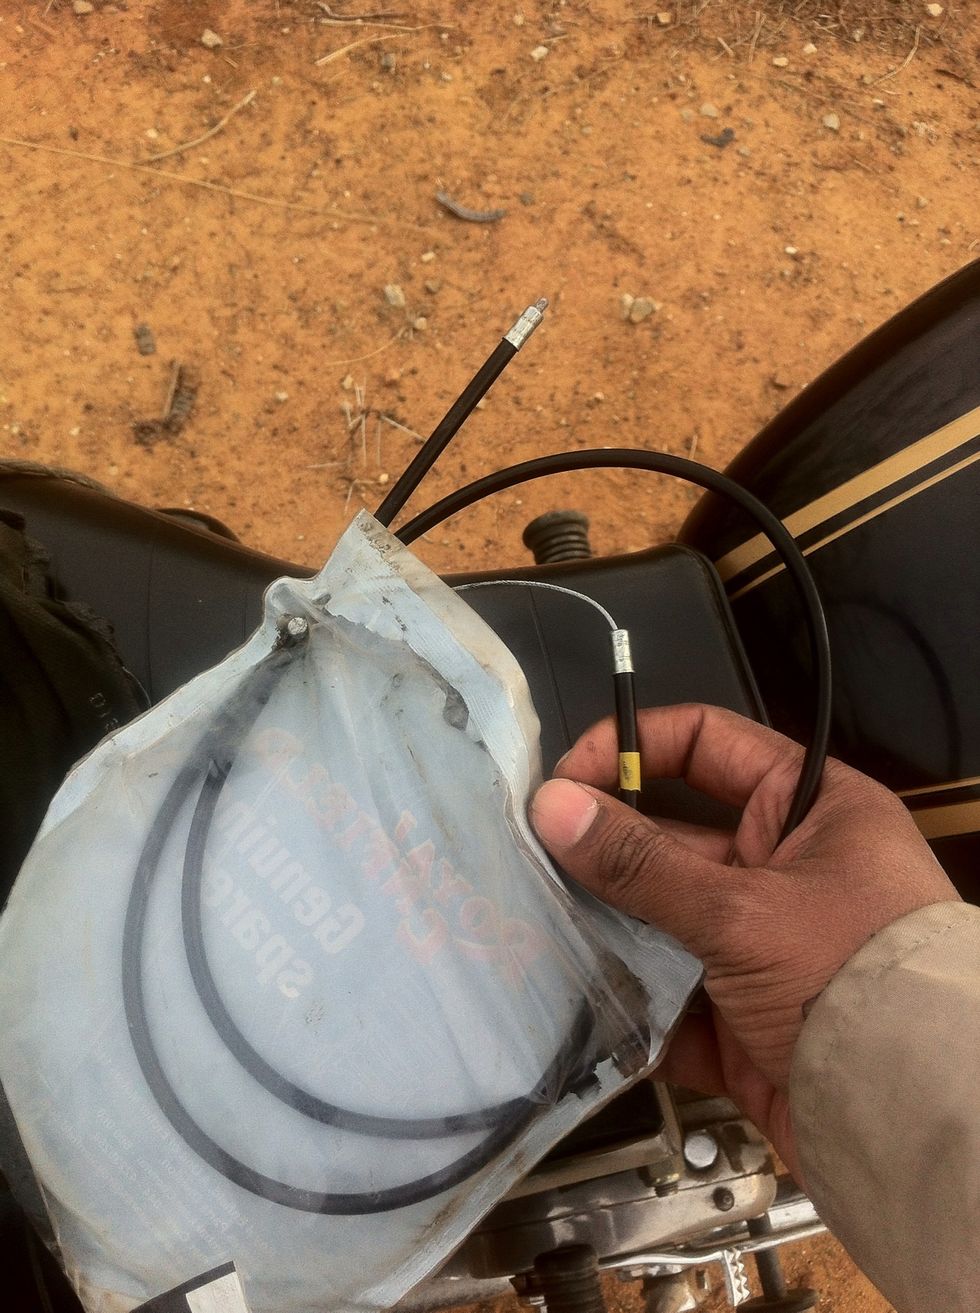
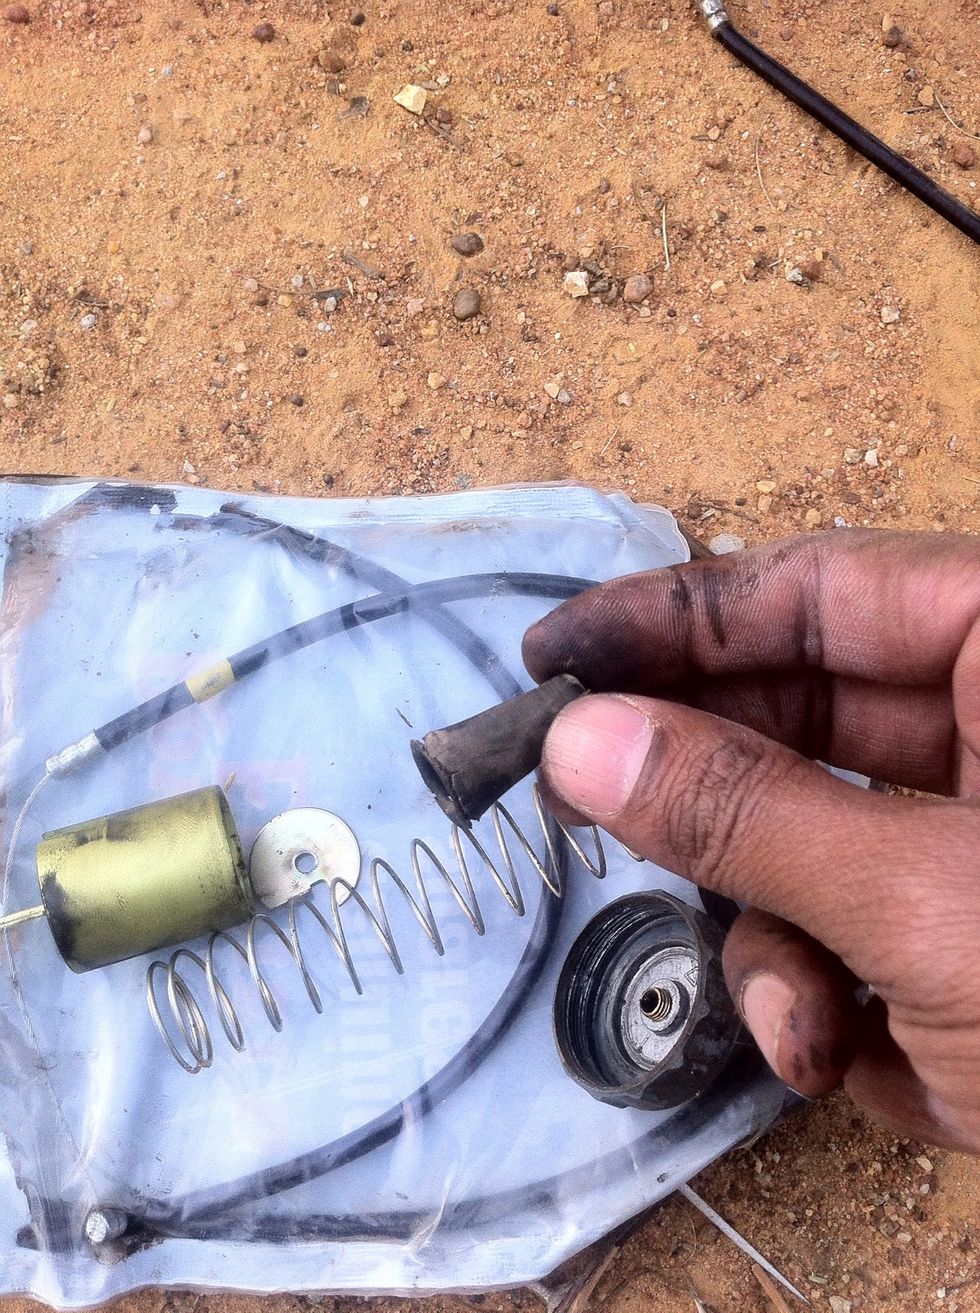
Open up a new throttle cable. Always stock one in your toolbox.

Start reinstallation from the throttle handle side.
Put the cable through the hole of the throttle holder

As shown above is the first step of cable reinstallation.
Hook the cable head in the groove and guide it in the curved pull slots.
As shown in picture, apply grease at this point if you want lubrication.
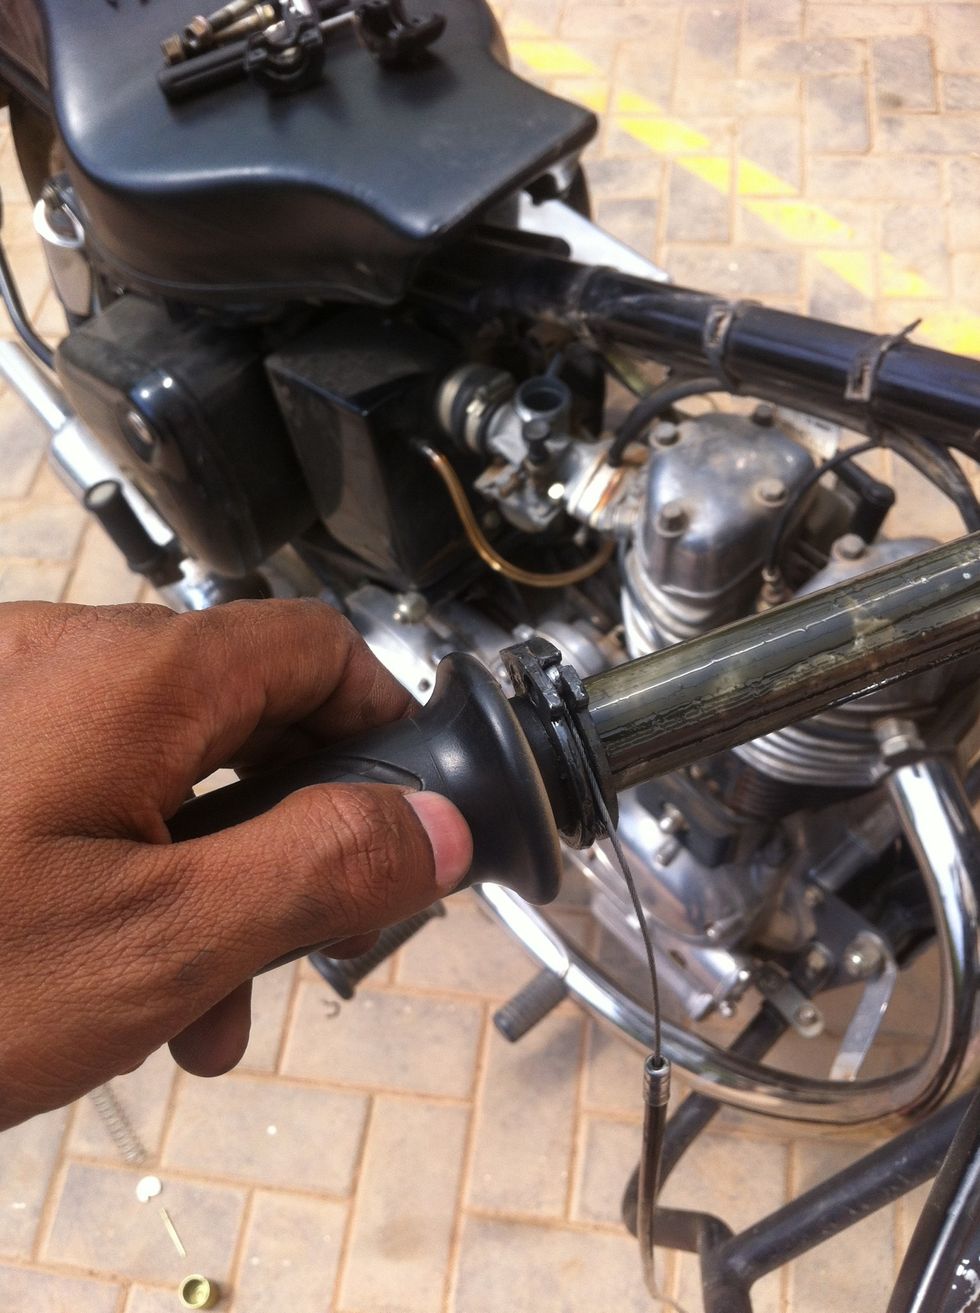
Guide the throttle handle on to the handle bar.
Push the throttle handle to the maximum depth on the handlebar.
Start fixing the throttle holder by aligning the bottom holder to the handlebar.
Align the top part of the throttle holder.
Install the screws that hold the throttle holder.
Do not tighten now, tighten after installation, inspecting for free play, checking ergonomics for throttle rotation angle to suit your physique.

Start routing the cable through the headlamp casing hole.
Push the cable through until resistance is felt.
Turn handle and gently pull so the cable comes out full length without much resistance.
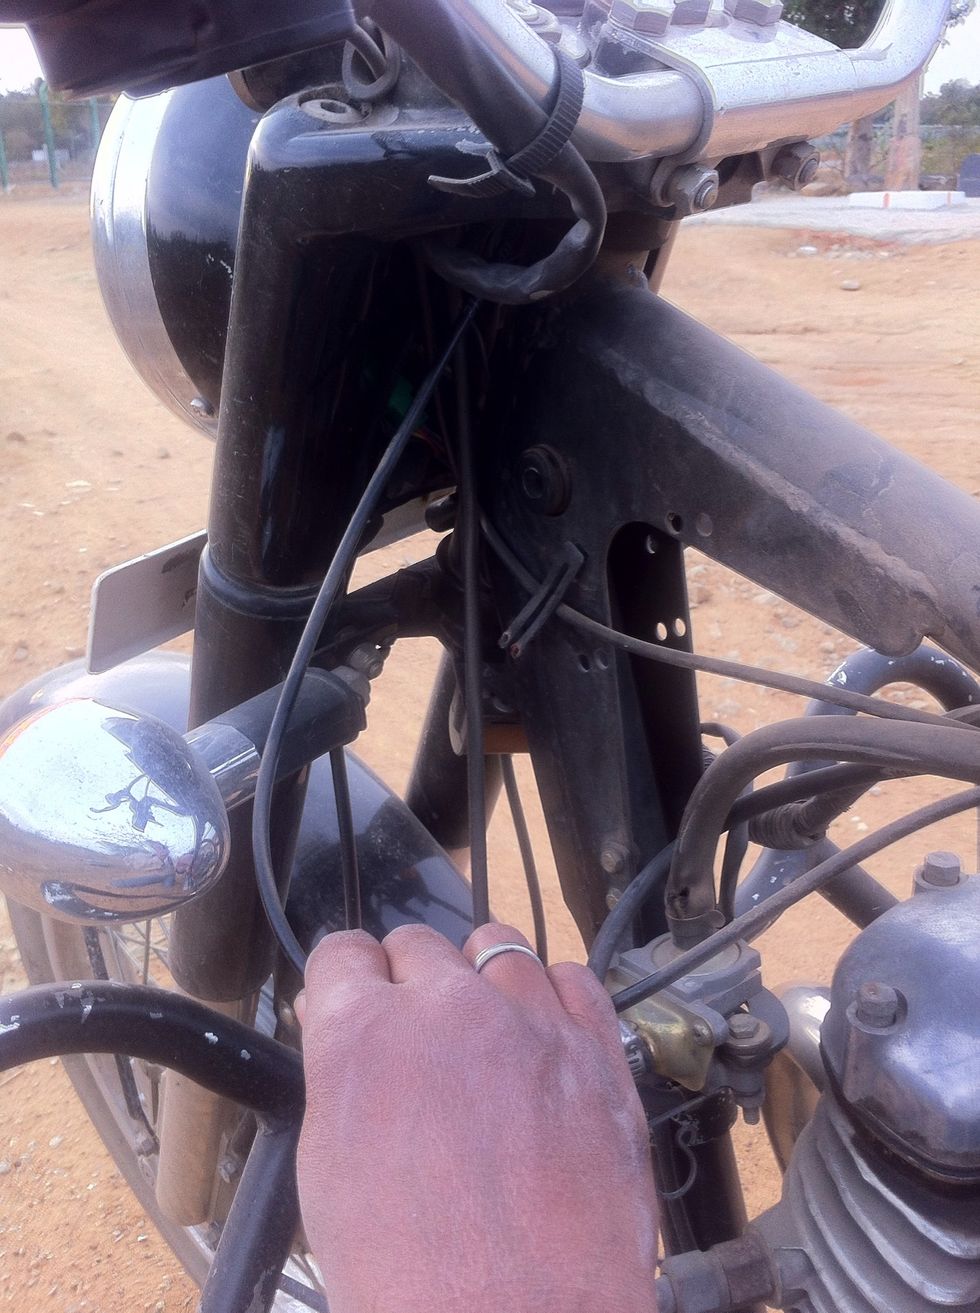
Route the cable through the frame hook.

Through the cable holders...
Smooth slide is expected.
Put on the cleaned or new rubber cone cap at the free end of the cable
Slide the cone cap onto the cable sleeve.
Slide the cable free end through the cylinder cap. Note the proper seating of the rubber gasket mentioned in the parts image.

The sleeve end will seat itself into the cylinder head cable length adjuster.
After the rubber gasket the spring is inserted.
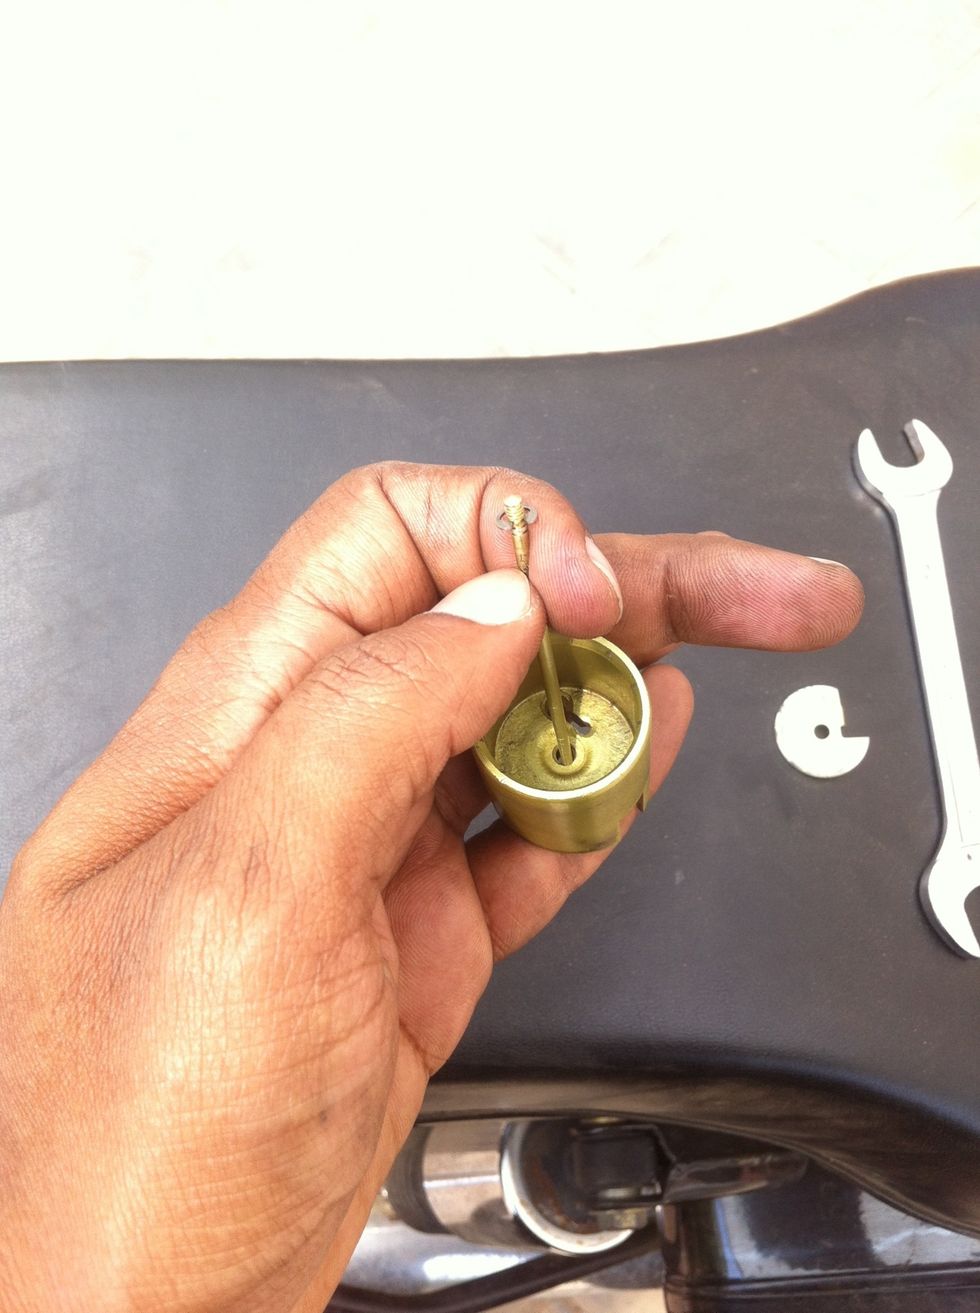
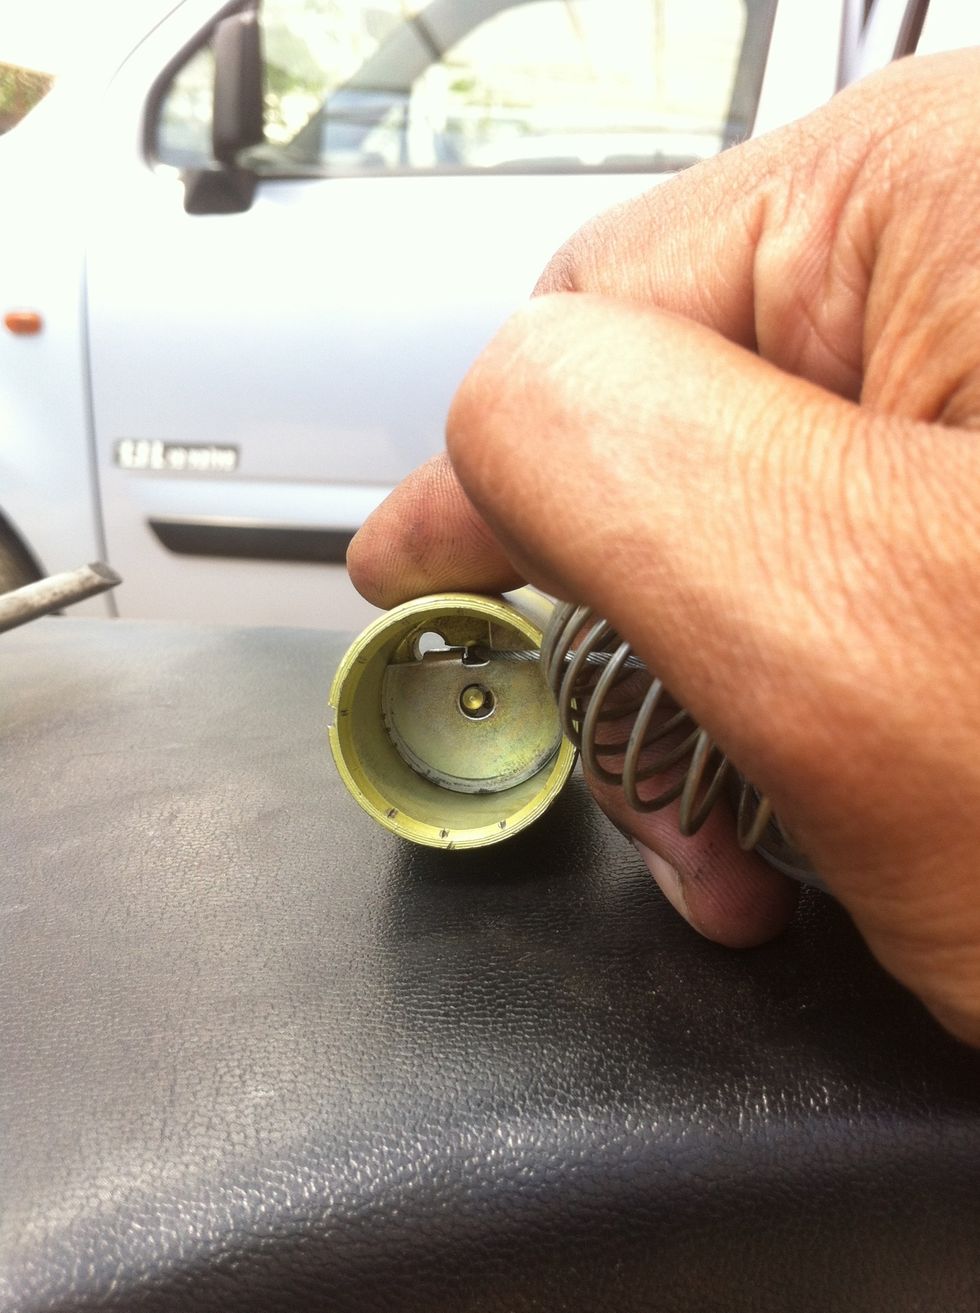
Prepare the piston by inserting the guiding pin through the center.

Pin is seated.
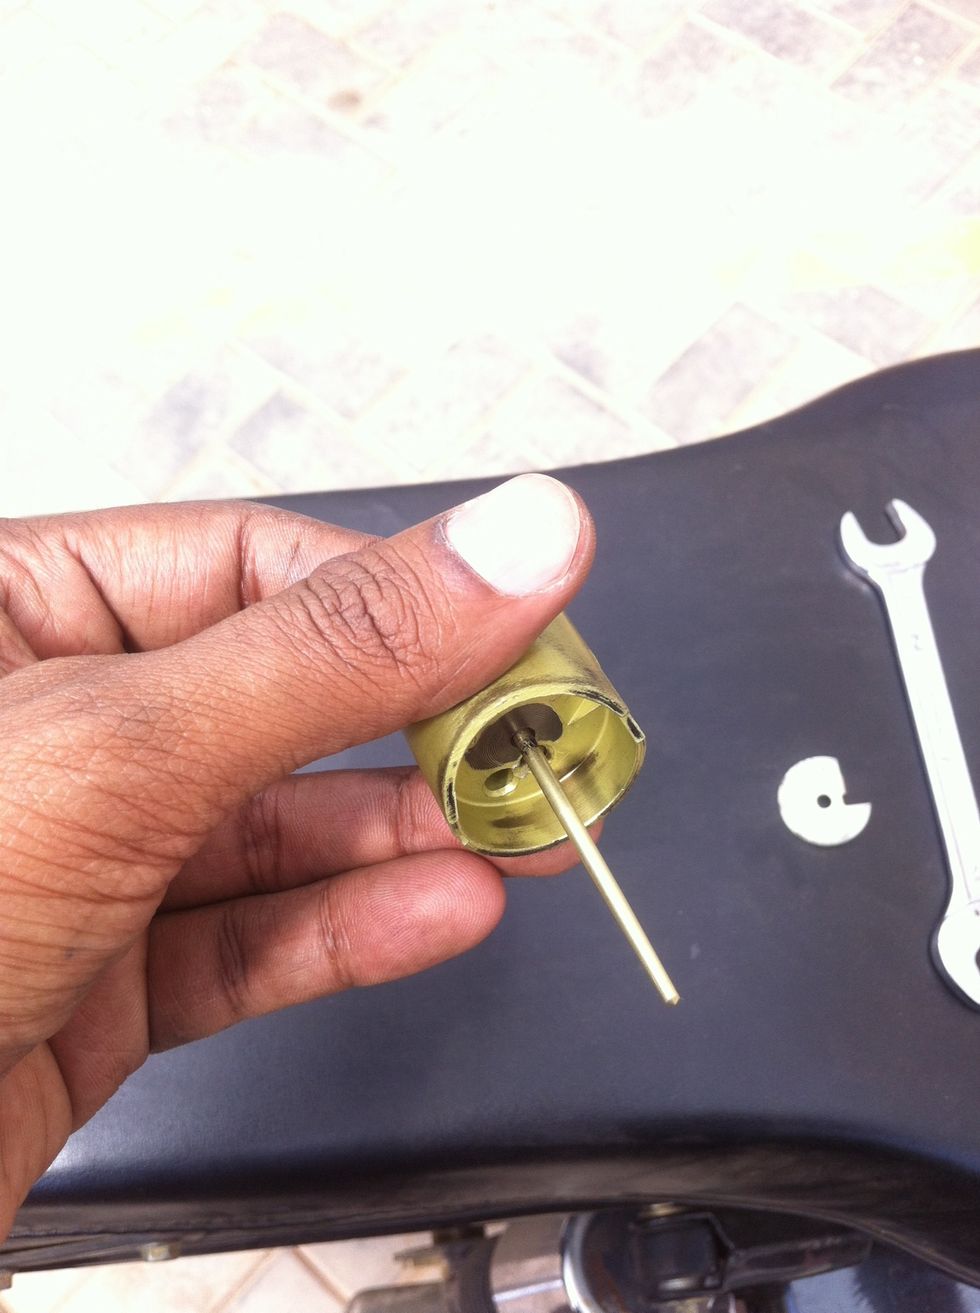
Seated pin from the piston bottom.

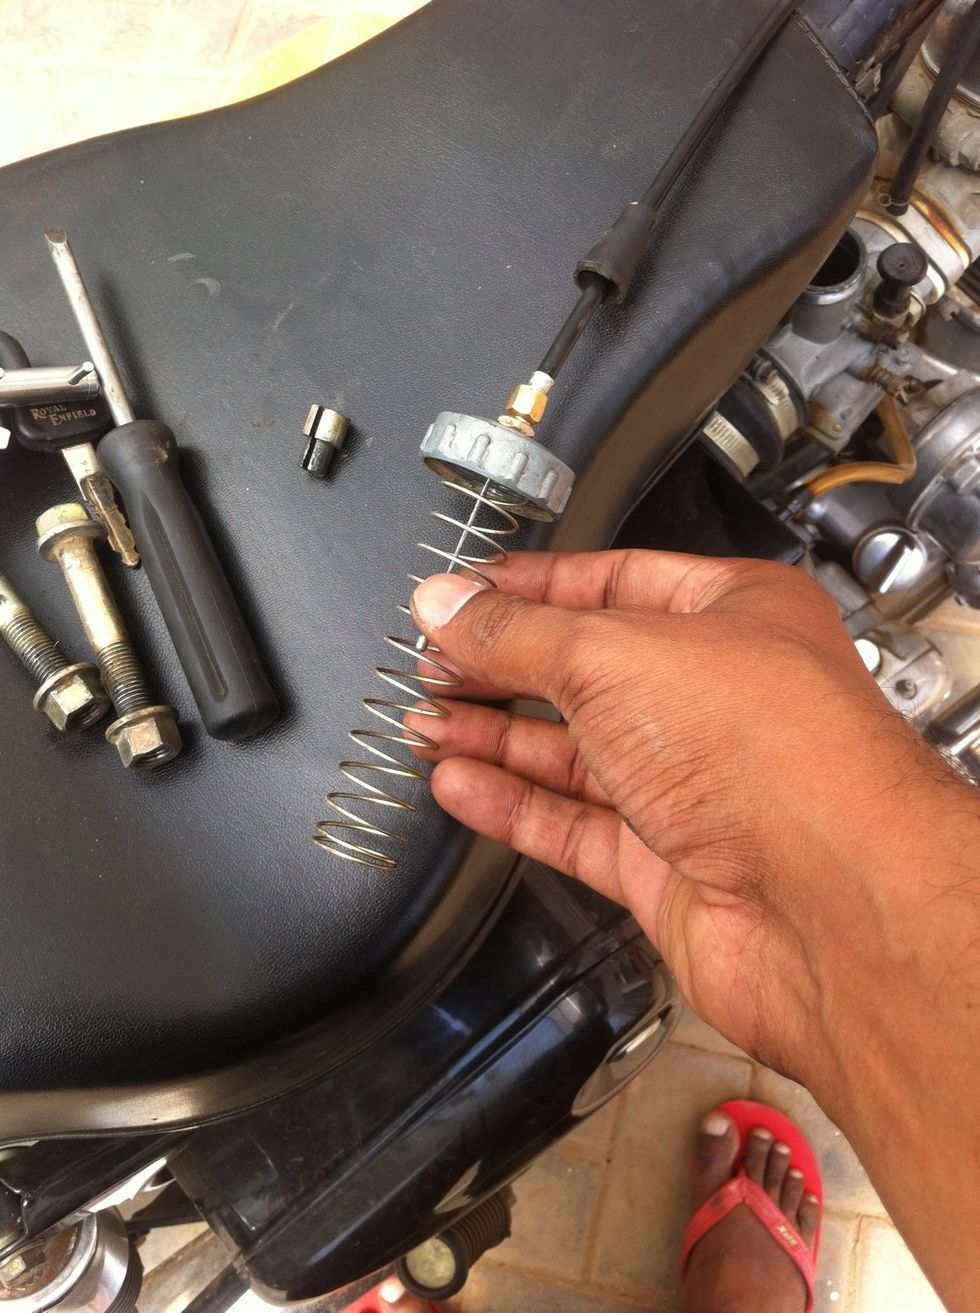
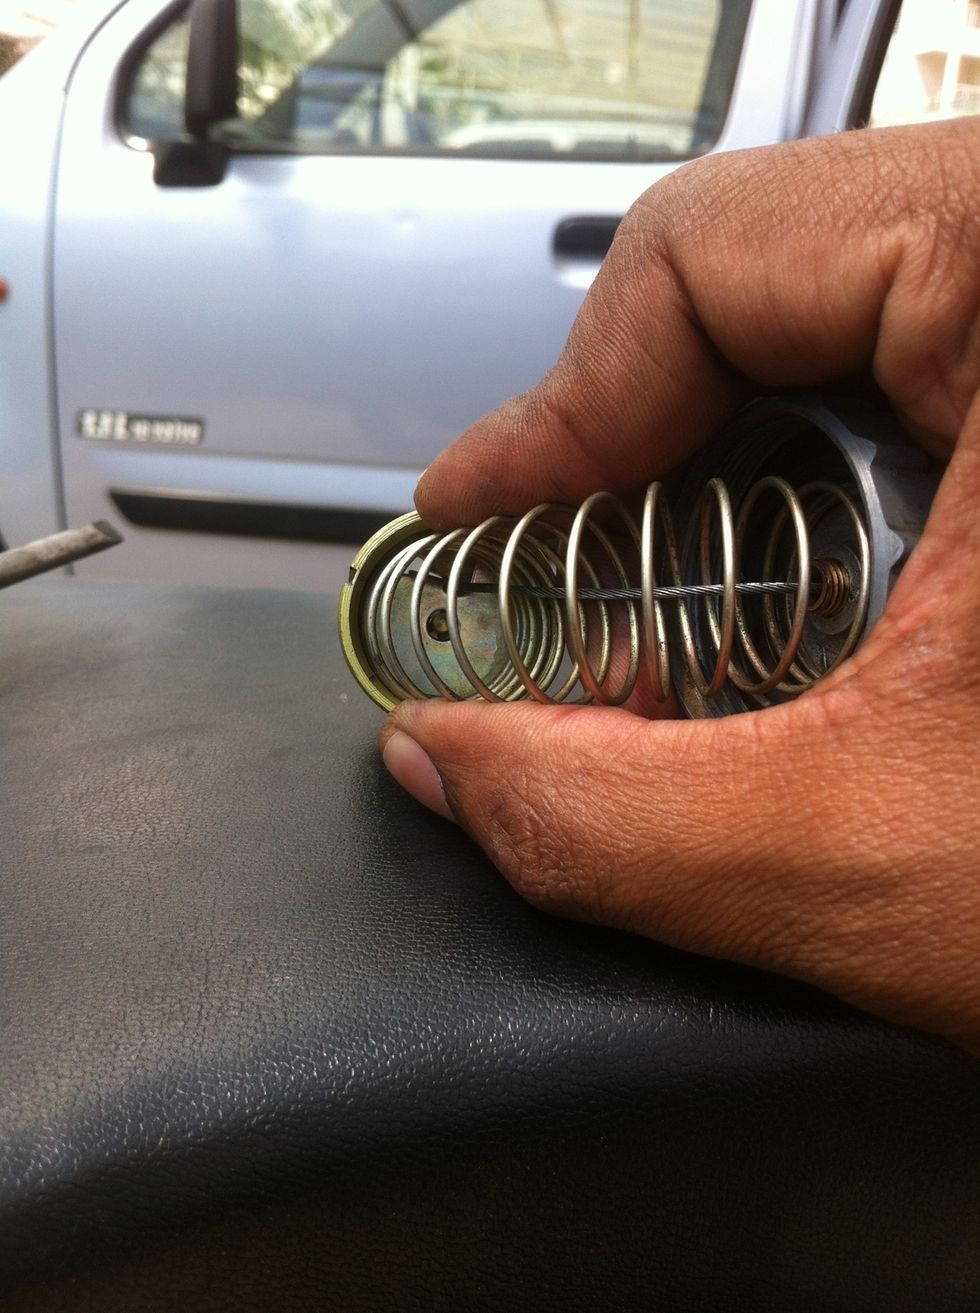
Compress the spring and get as much cable length that can be achieved.
Insert the cable free end through the big hole in the carburetor piston.
Compressing the spring will give more cable length to insert through the piston.
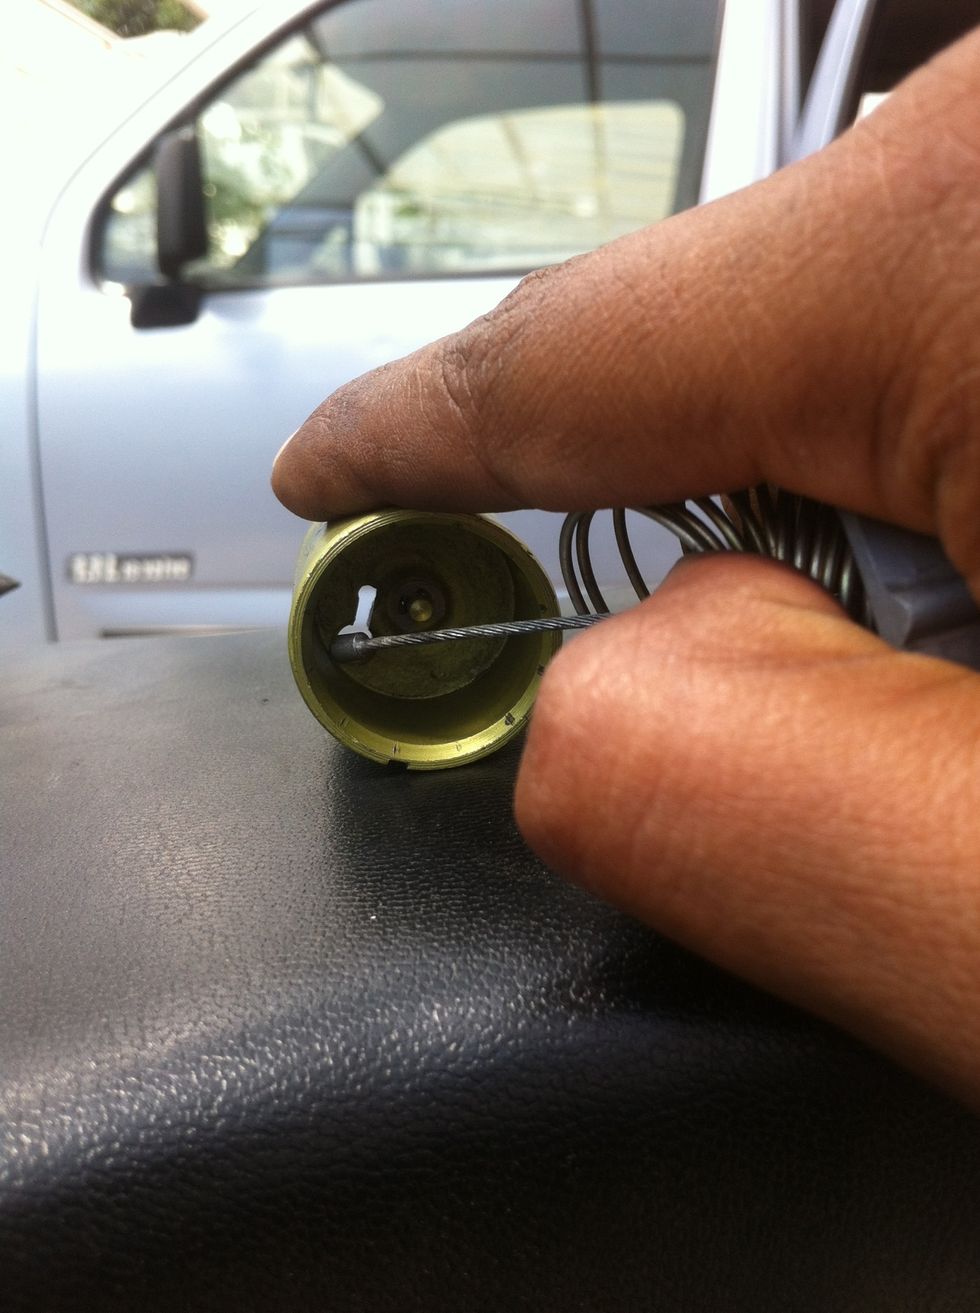
Once inserted through the big hole slide the cable head into the smaller hook slot.
Now the cable is hooked on to the carburetor piston.
Insert the cable holder clip with the bent edge towards the piston bottom.
Push the clip for locking the cable in place.
Release the spring to complete the carburetor head assembly.
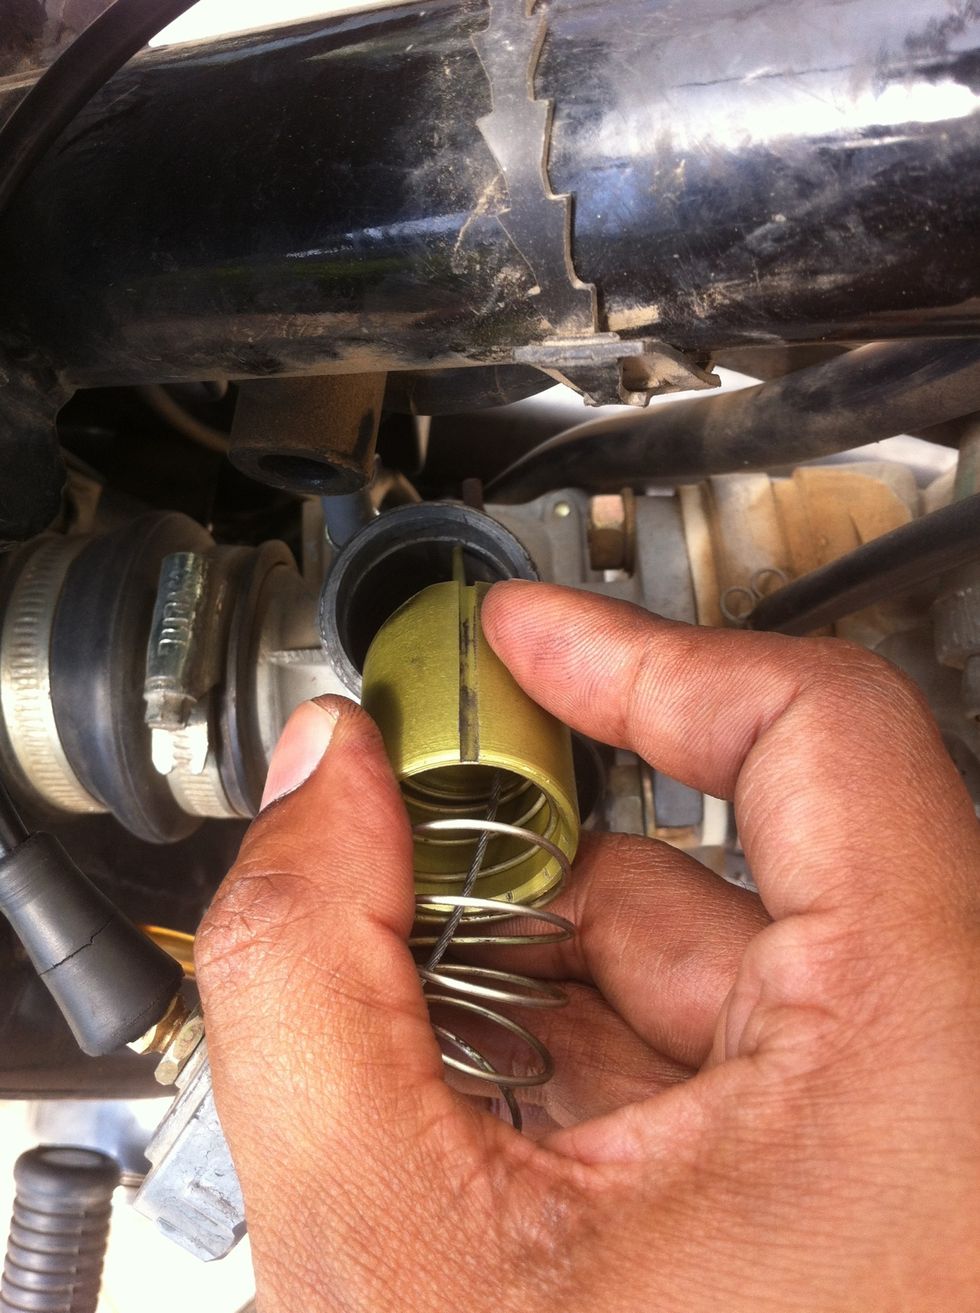
Insert the piston by aligning the slot on the side of the piston with the locking pin inside the carburetor bore. ( Not the guide pin as shown before ).
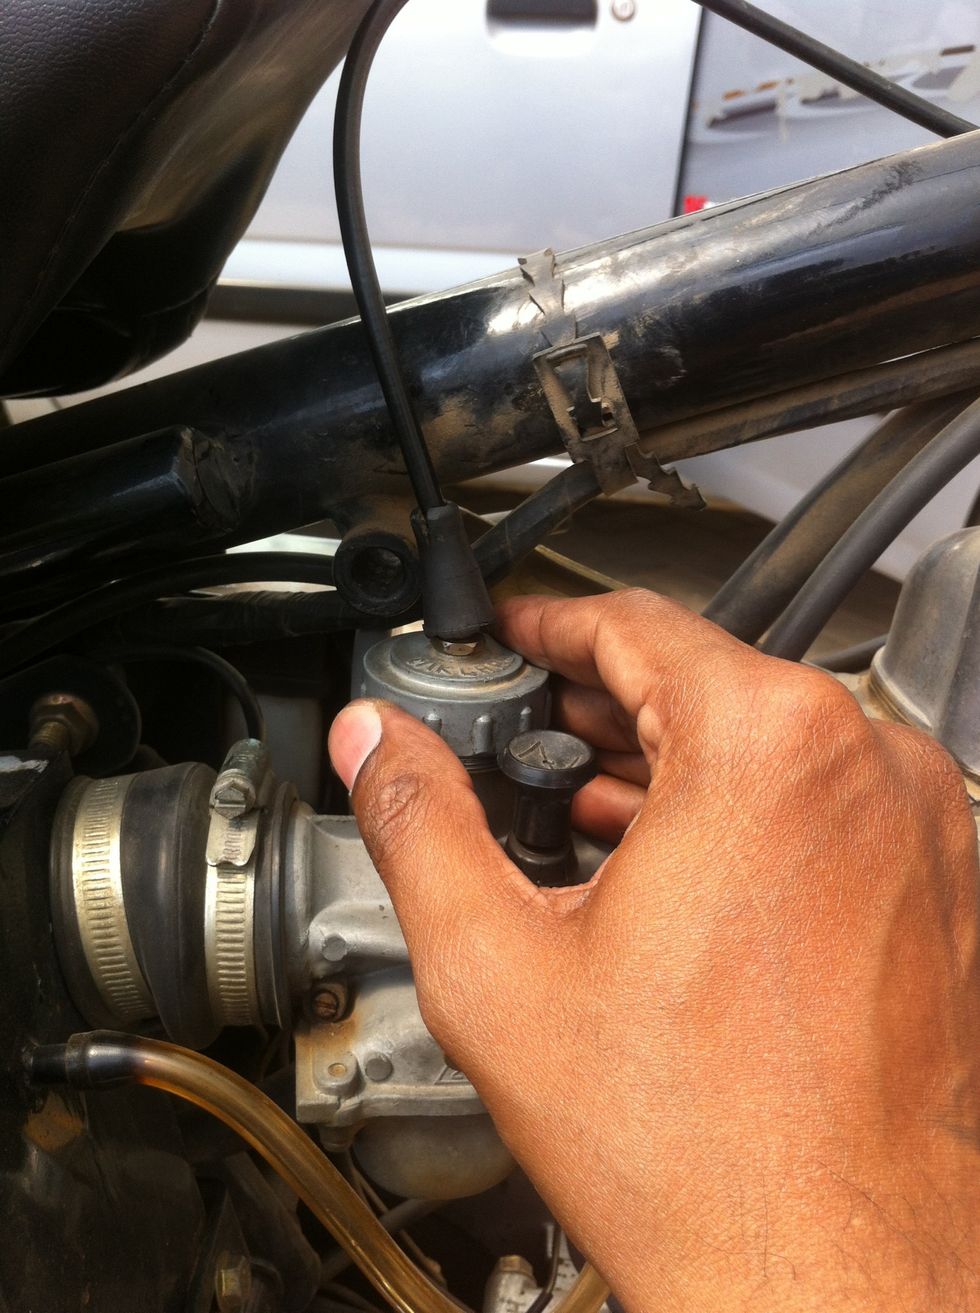
Insert the assembly and rotate the cap clockwise until tight.

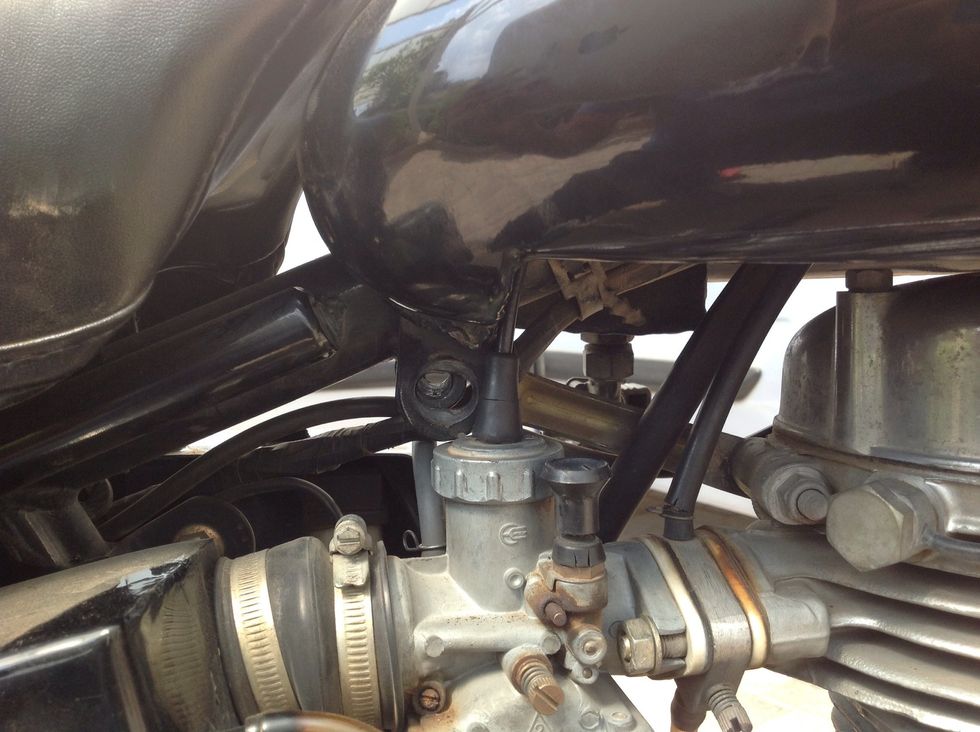
Check for any protruding cables or frame hooks and holders. Prepare for reinstalling the fuel tank.
Slide the front in and avoid the bolts of the handle bar holder from scratching the tank paint job
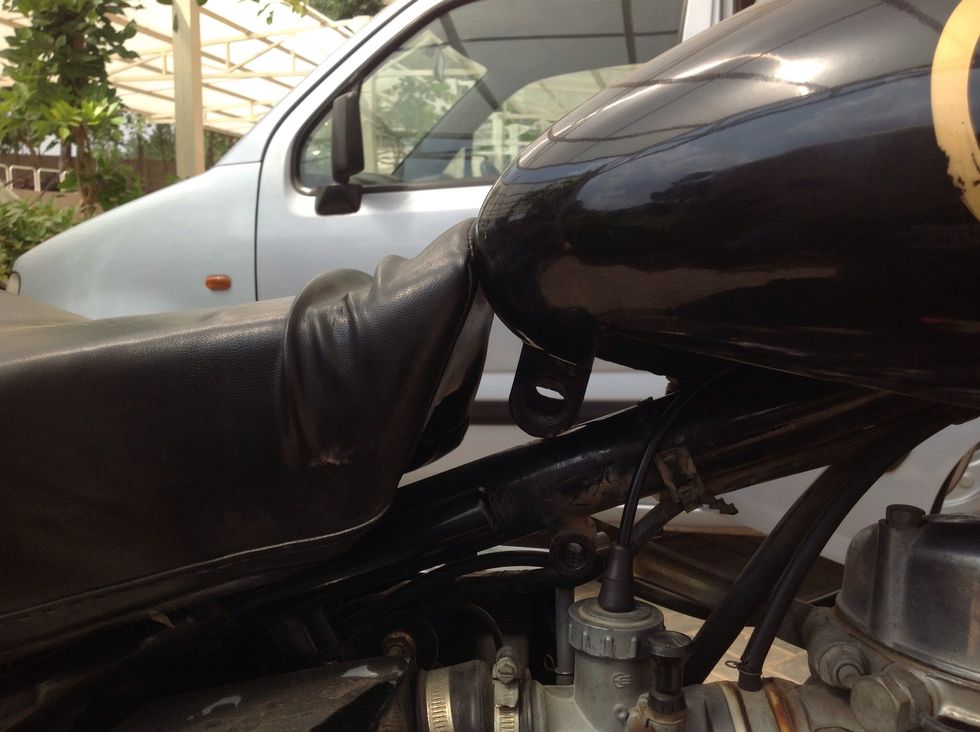
Pull the seat cushion back and press the fuel tank down
Align the holes for slotting in the bolts

Align the holes for inserting the bolts.

Insert the bolts without scratching the threads on the bolts and tighten with the nuts using a 14mm spanner hold the bolt using a same size spanner from the other side.
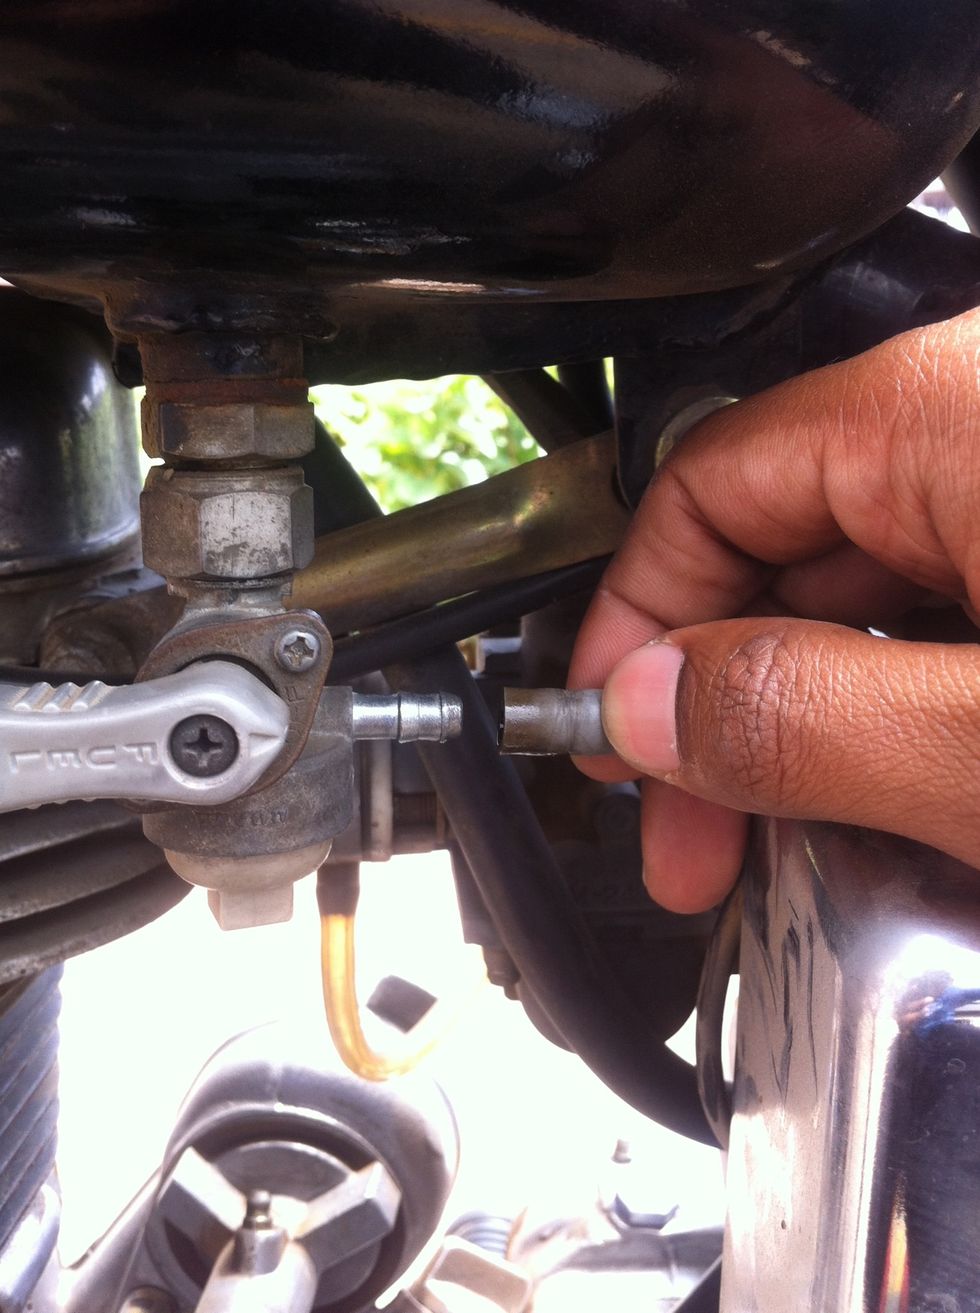
Slide in the fuel pipe.
Fix the holding clip back by pressing the clip and positioning it then release it for tight fit.
Turn the clip handles away towards the inward of the bike.
As always, wear helmet, protective gear and take the motorcycle out for a spin.