The Conversation (0)
Sign Up
I have purchased new triggers from Modsticks.com, as I will mention later on in this guide.
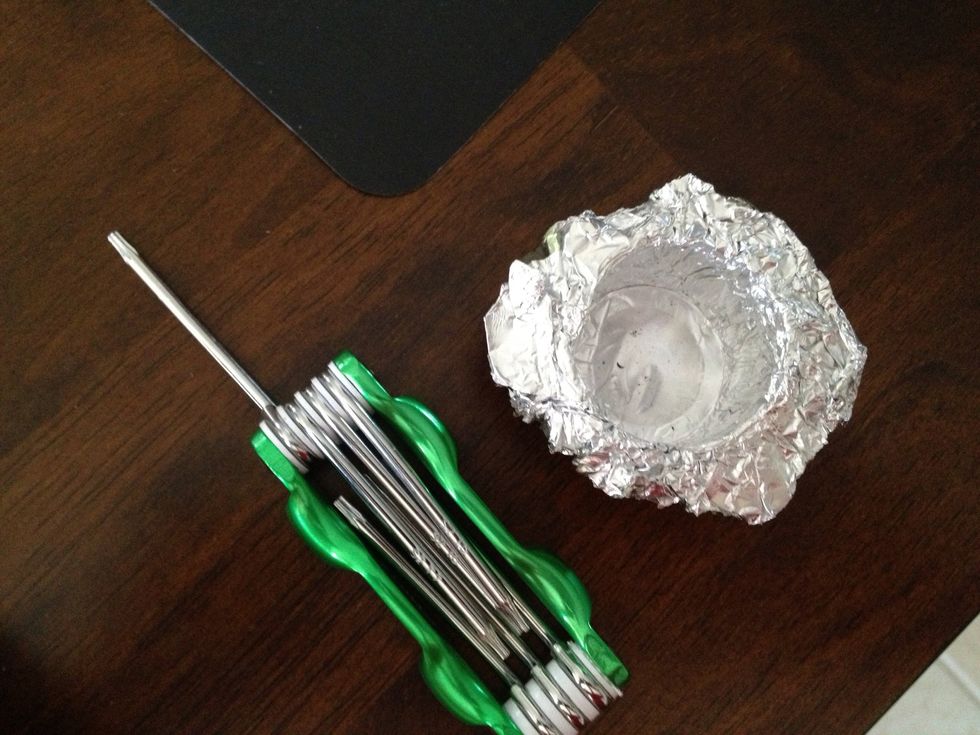
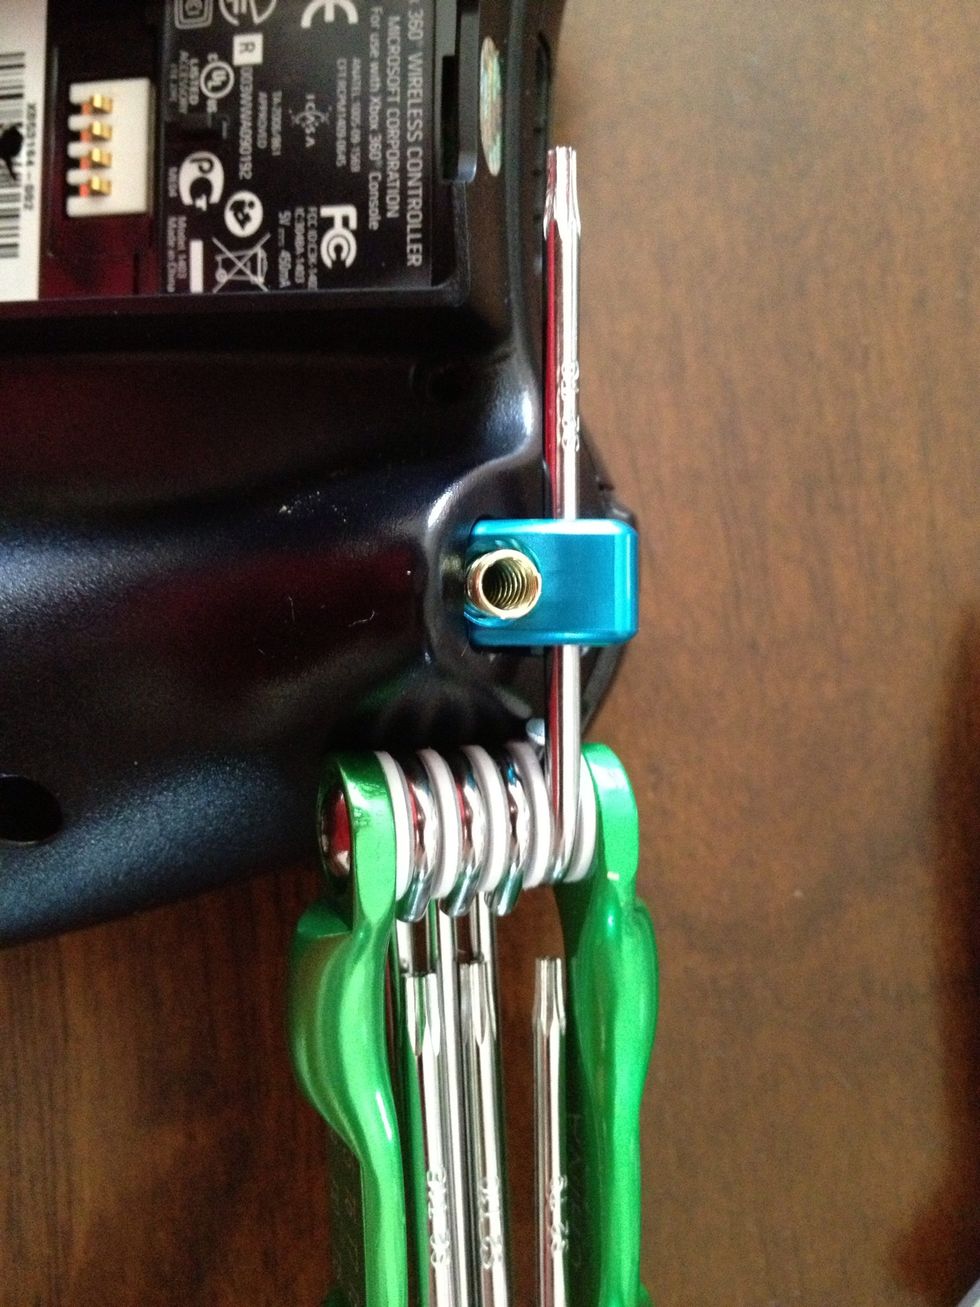
Here are the supplies that I chose to dissect my controllers triggers. A Security torx set and a fiberglass cup that I made to hold the screws.
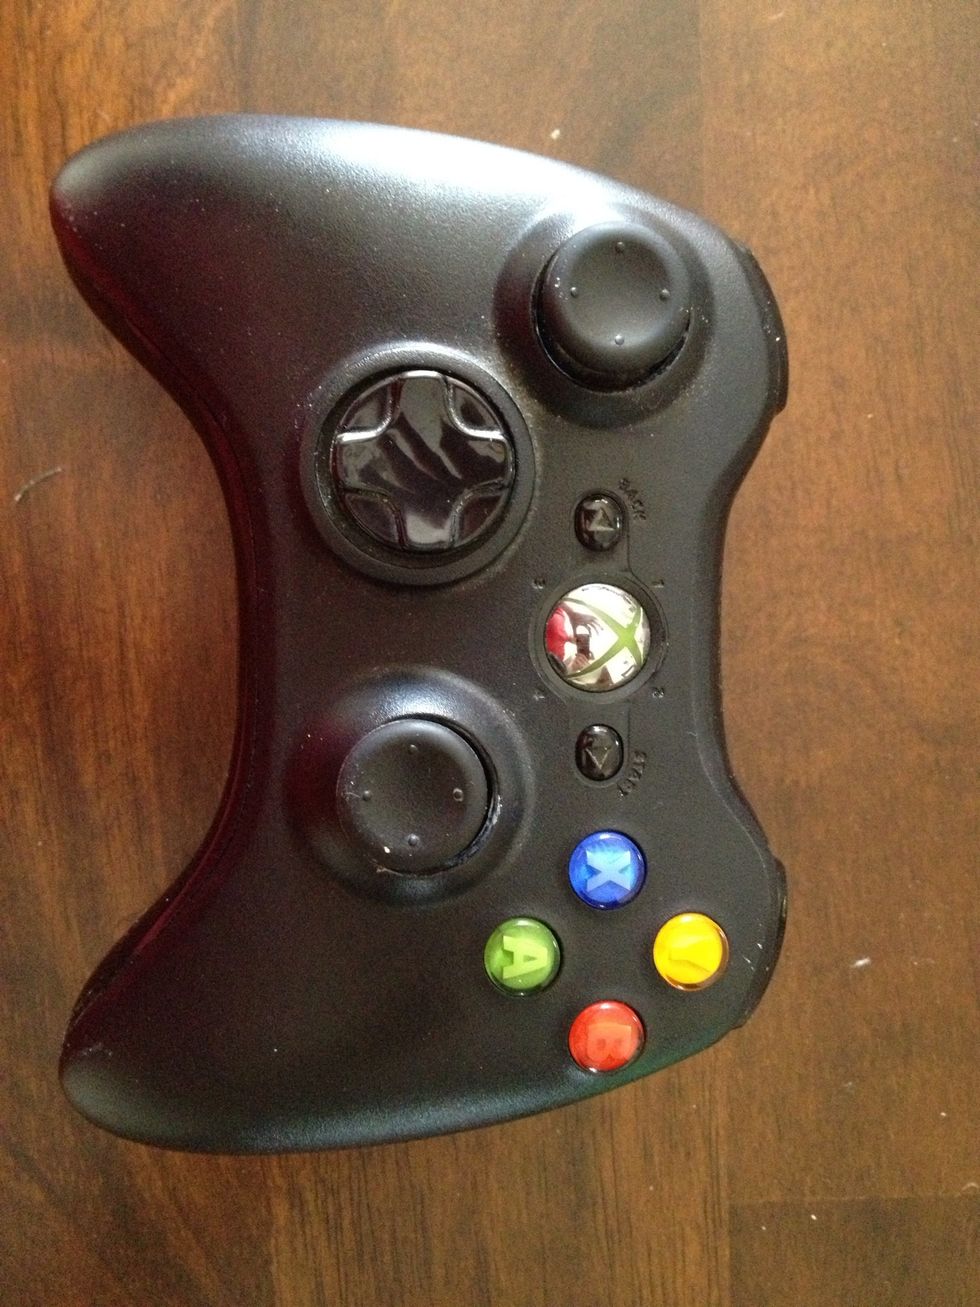
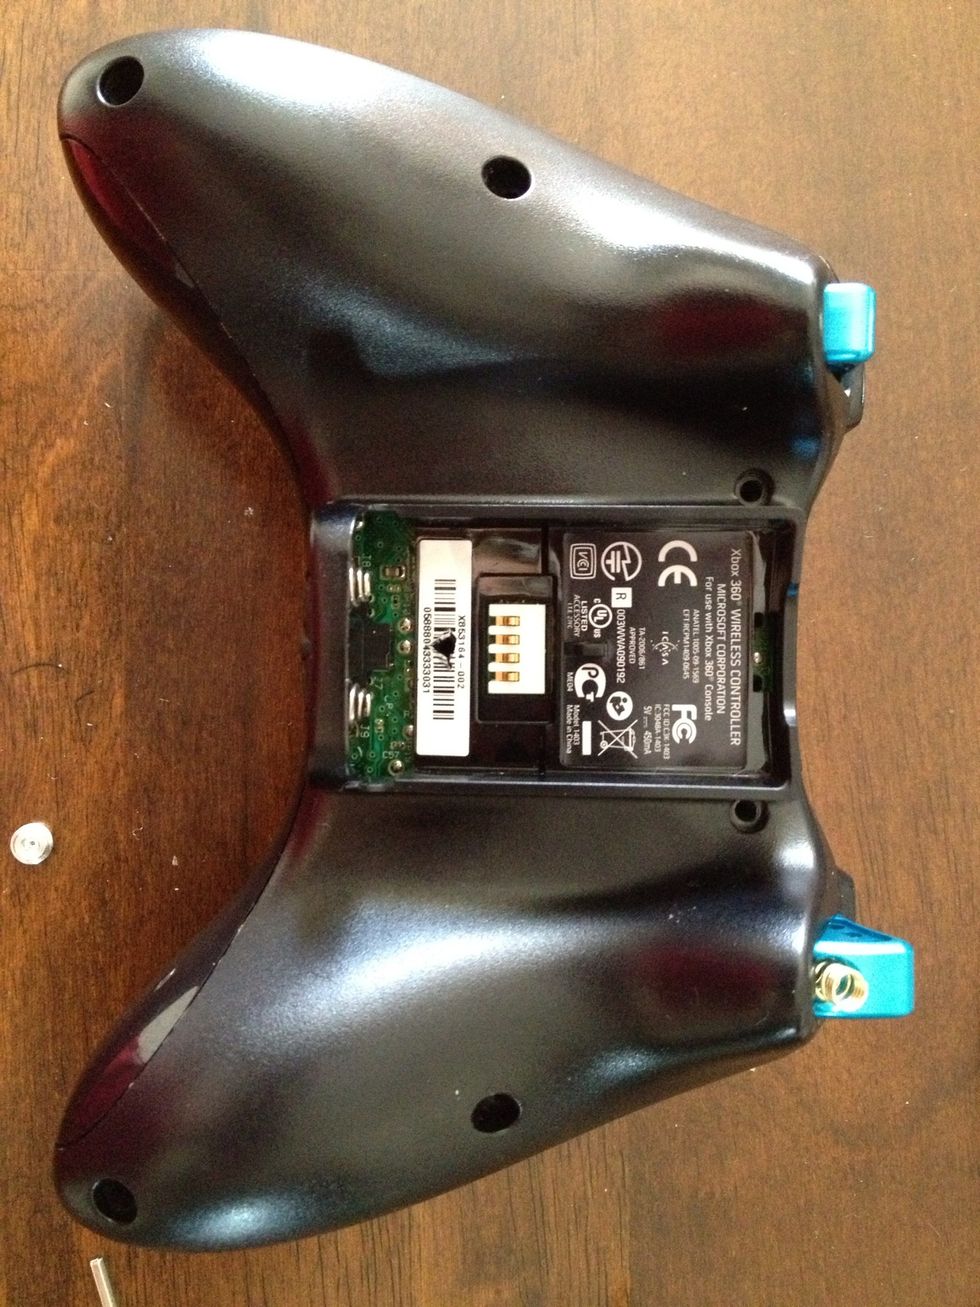
I started with my black wireless controller.
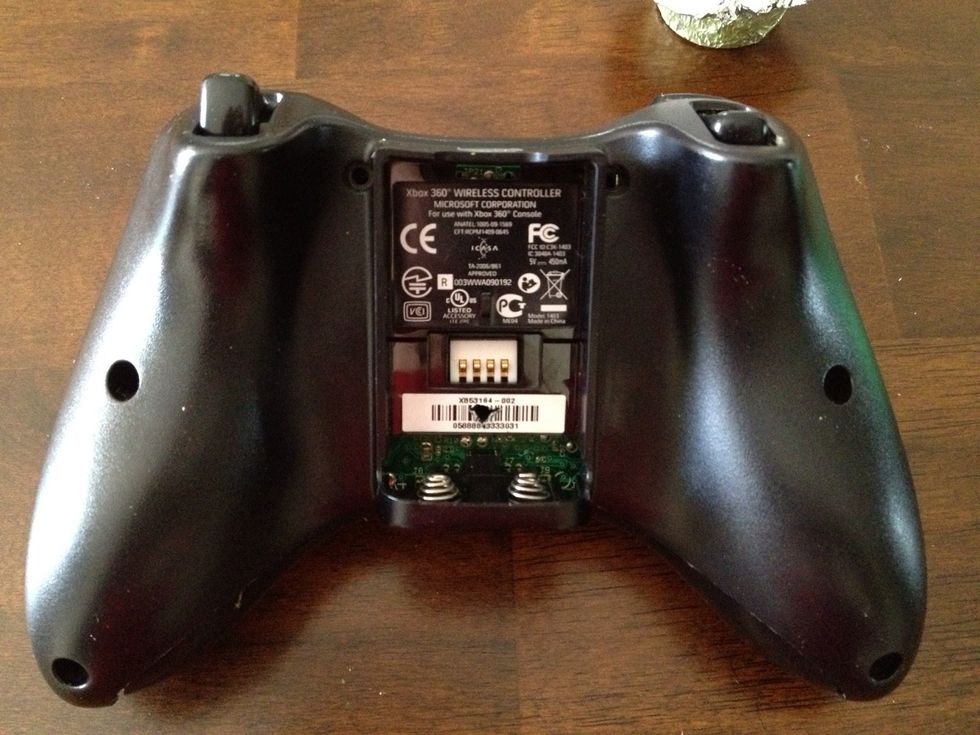
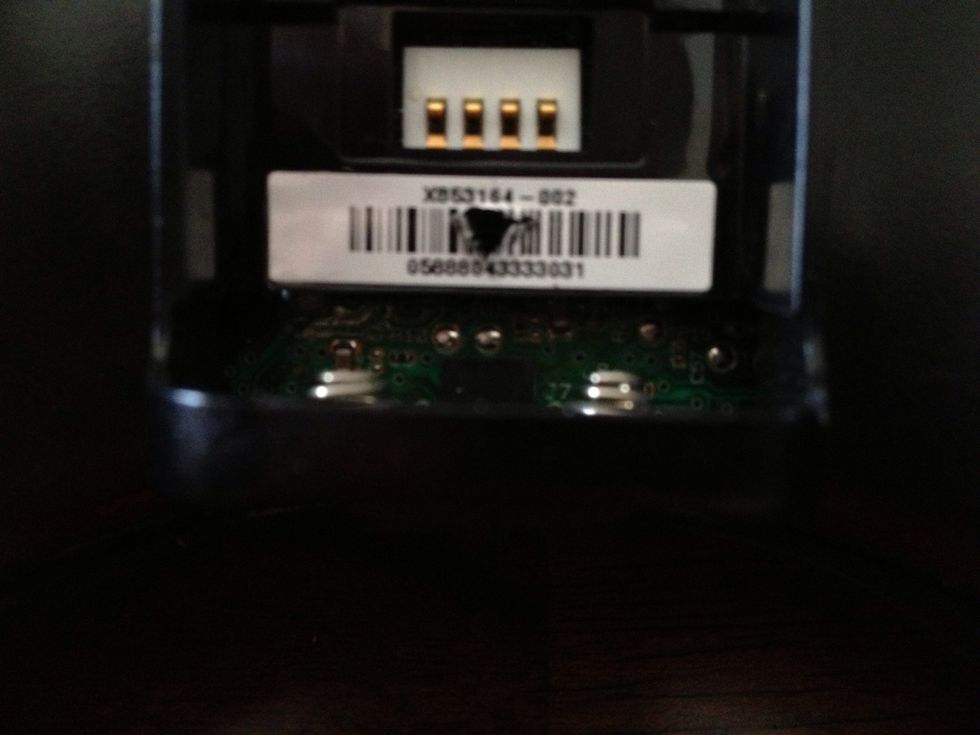
Remove the batter pack and take notice to the white barcode sticker. There is a screw right behind it. There are two on each handle of the controller and there is one on each side of the battery pack.
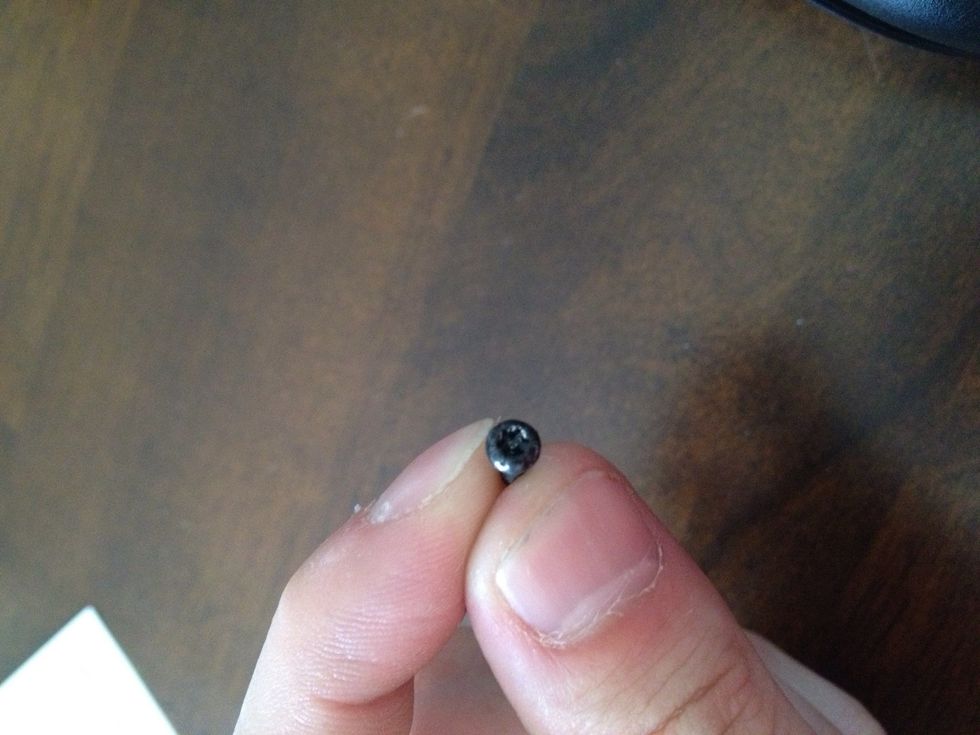
Tiny security screw. 7 total.
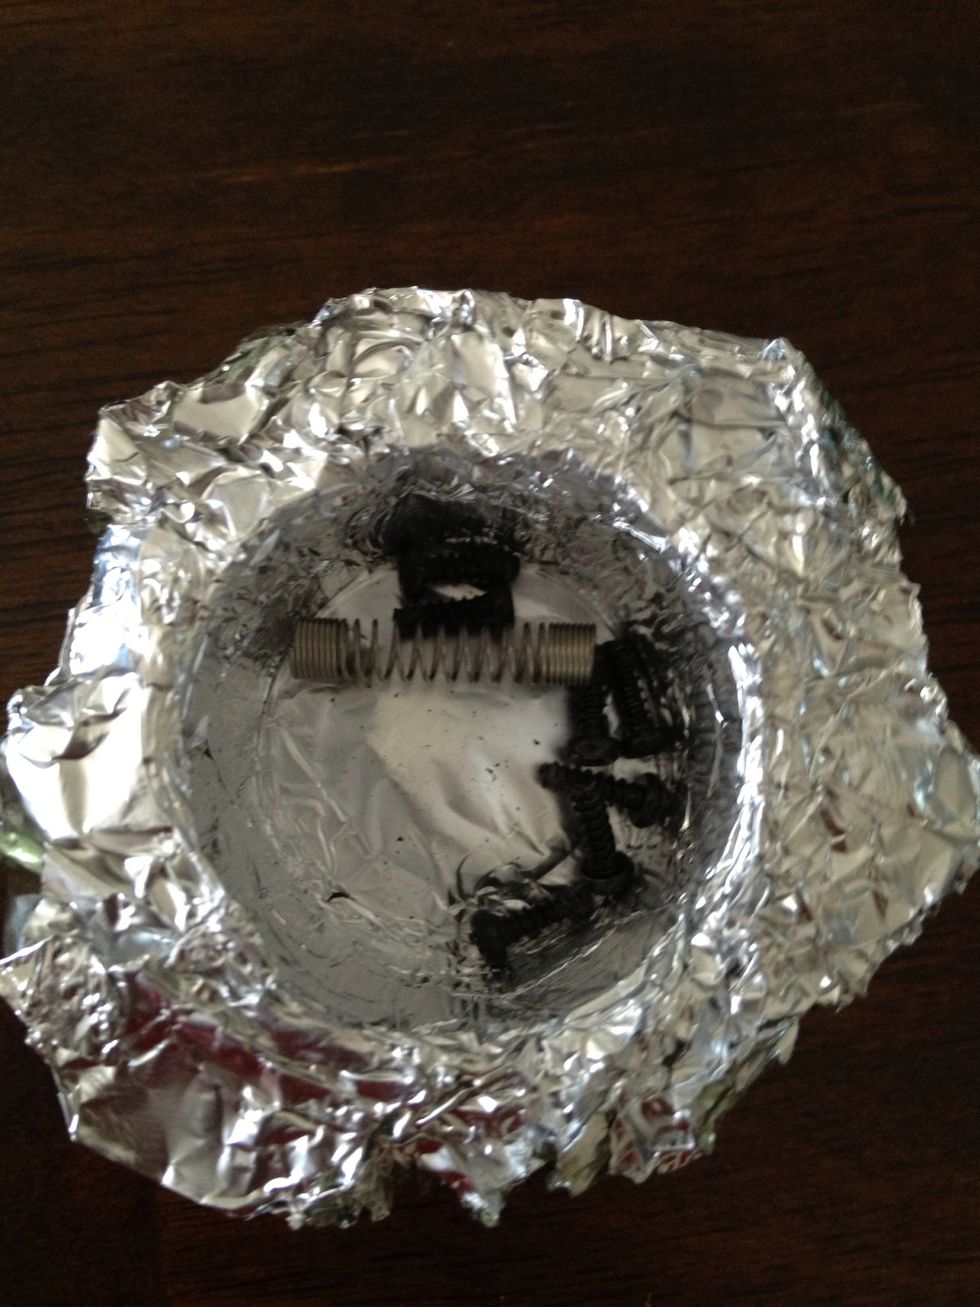
This is where I will be placing all of my controllers interior.
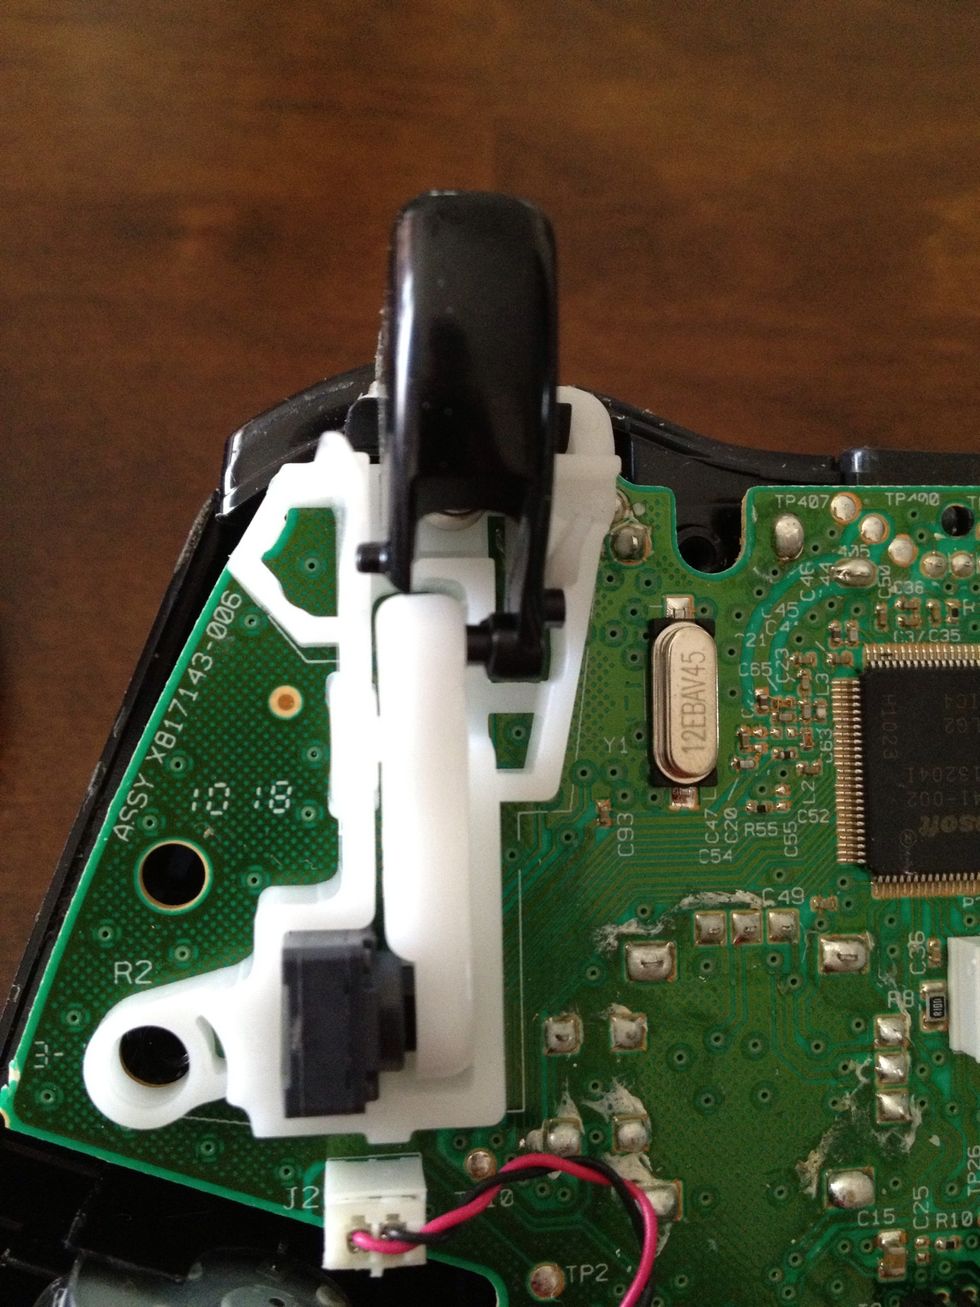
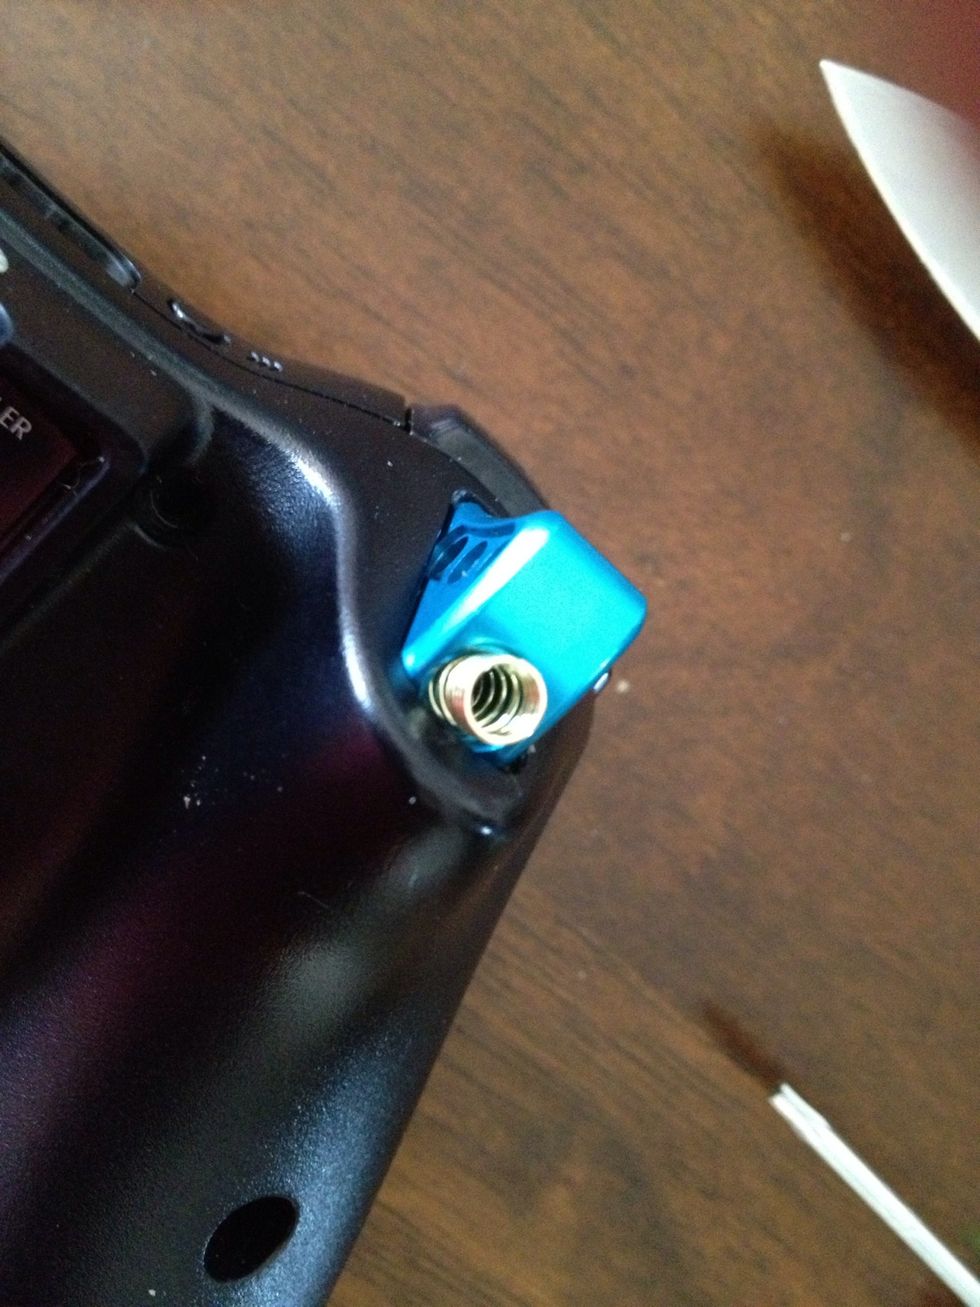
First screw is located here.
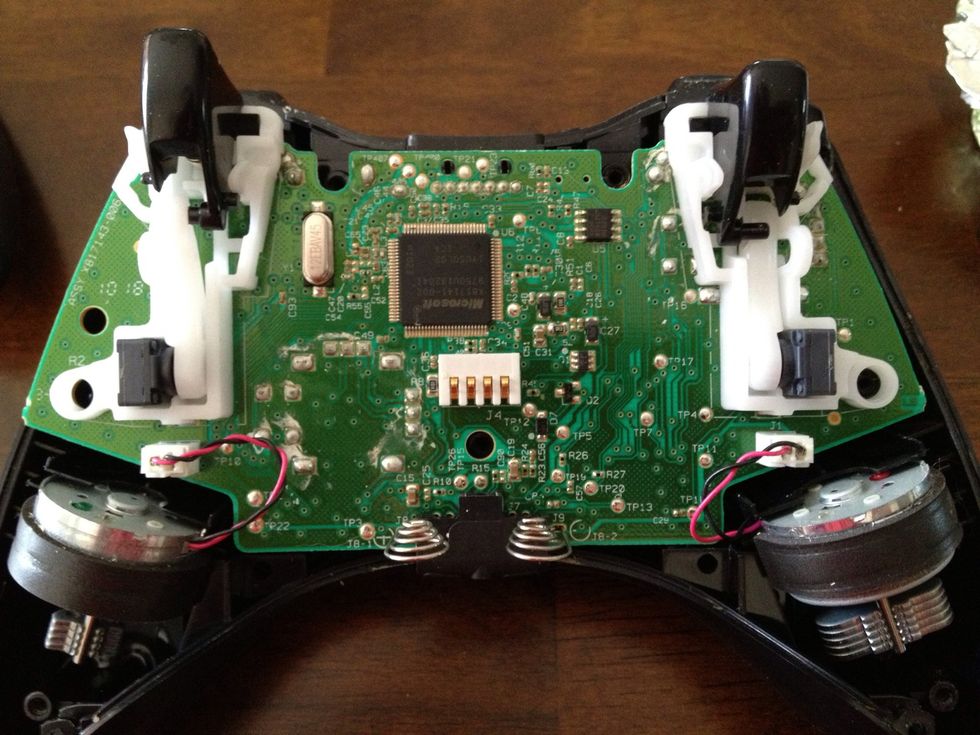
After they are all removed you can simply pull the controller apart. Take care to leave the board on the front of the controller so all of your buttons do not fall out.
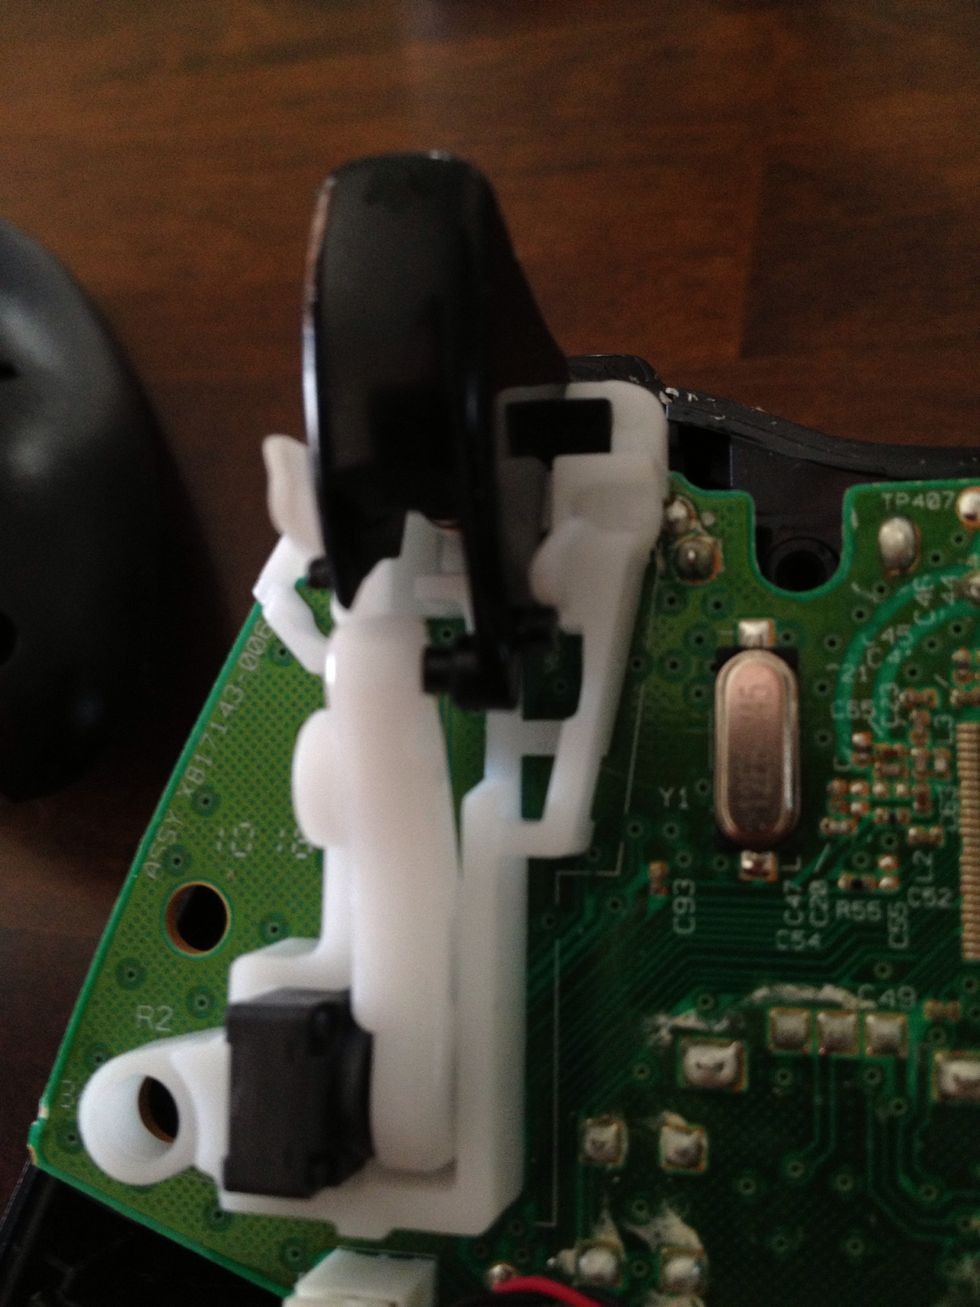
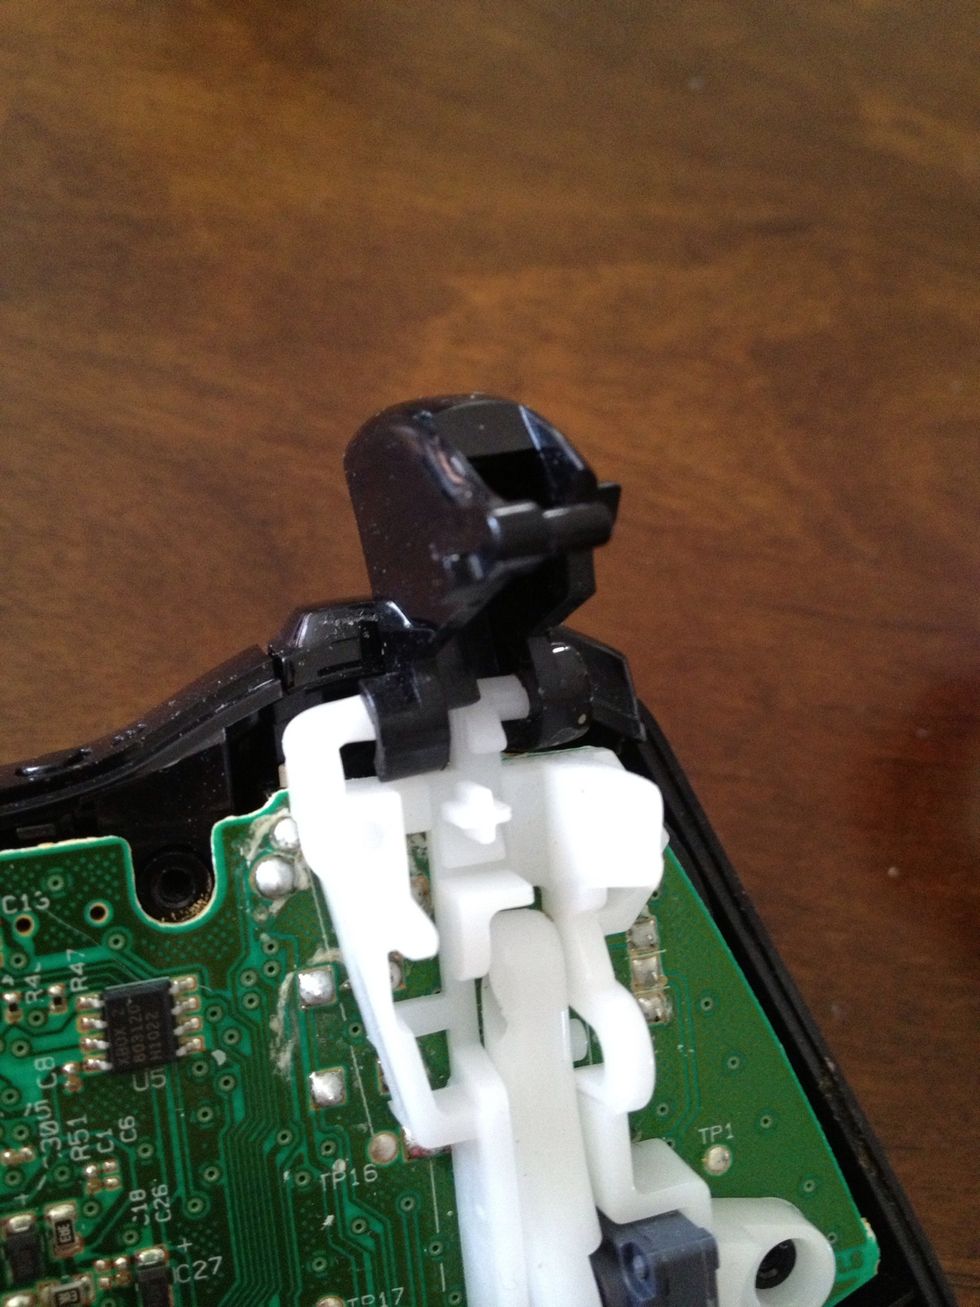
Here is the tricky part. There is a small peg on the trigger that needs to be removed from the white arm. Simply pull it out.
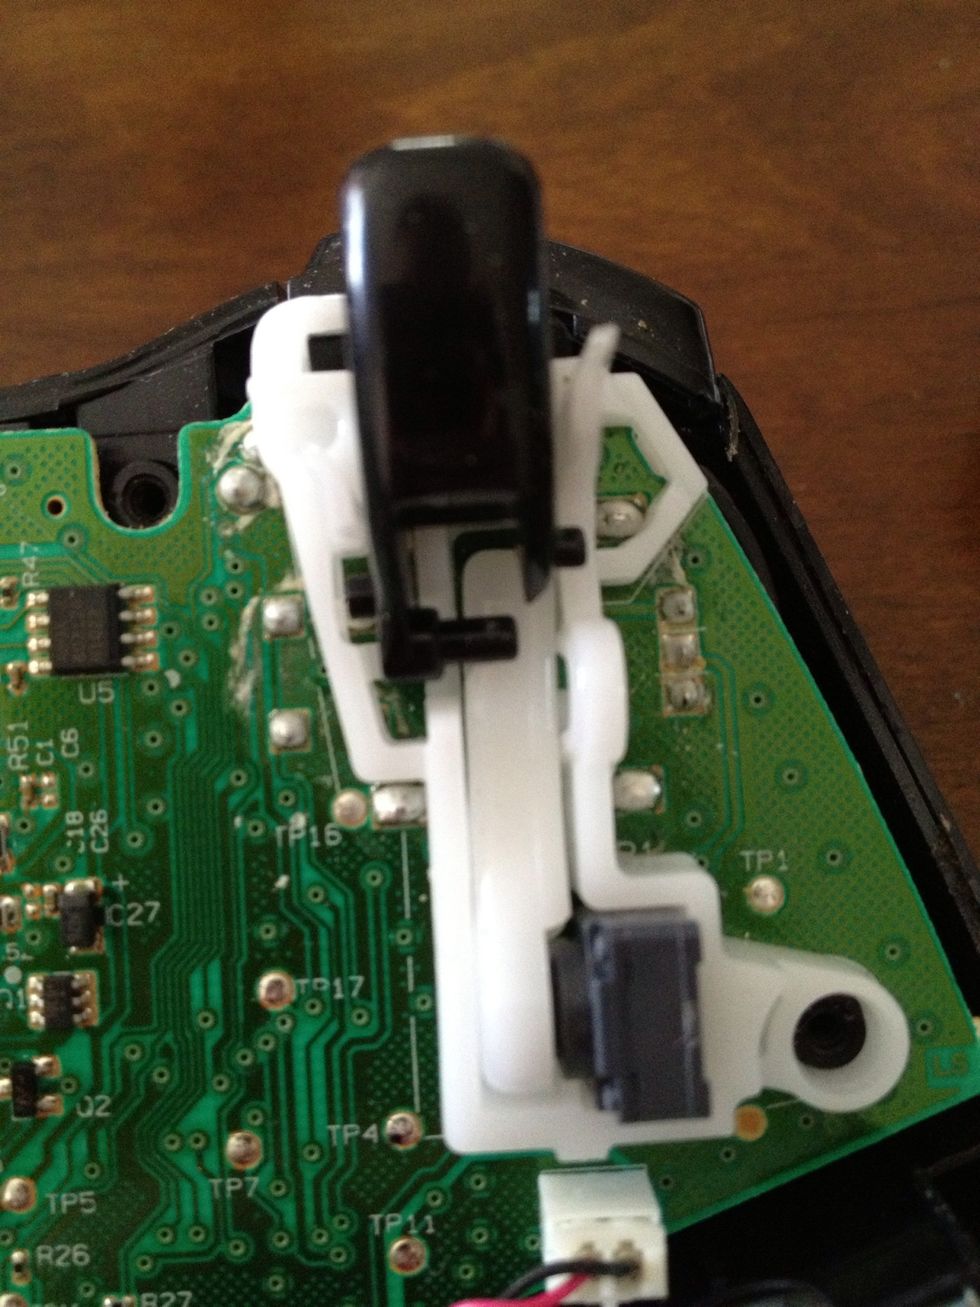
Here is a little better of an angle.
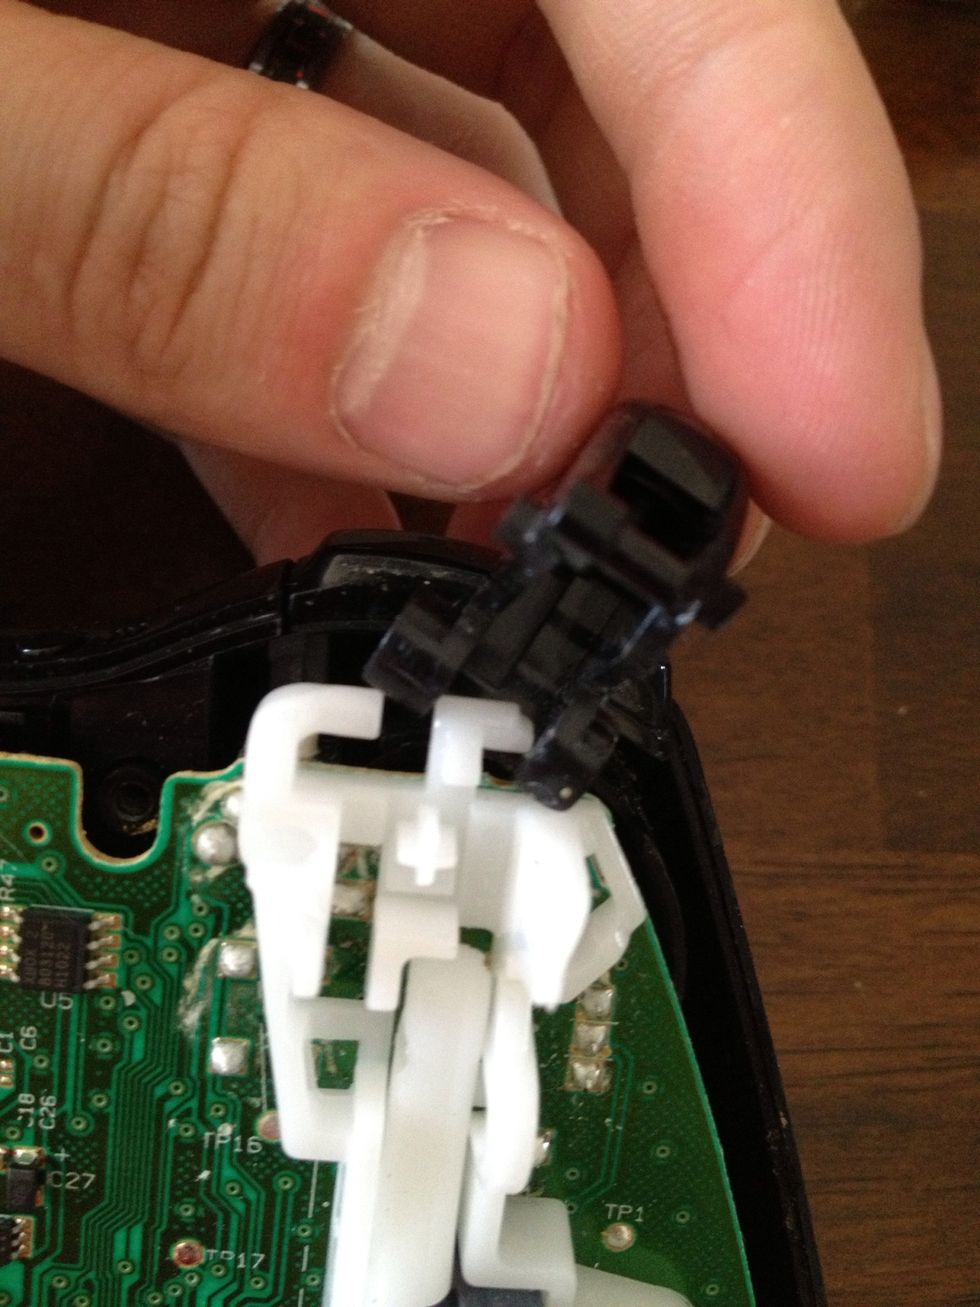
Removed peg.
Another angle of the removed peg.
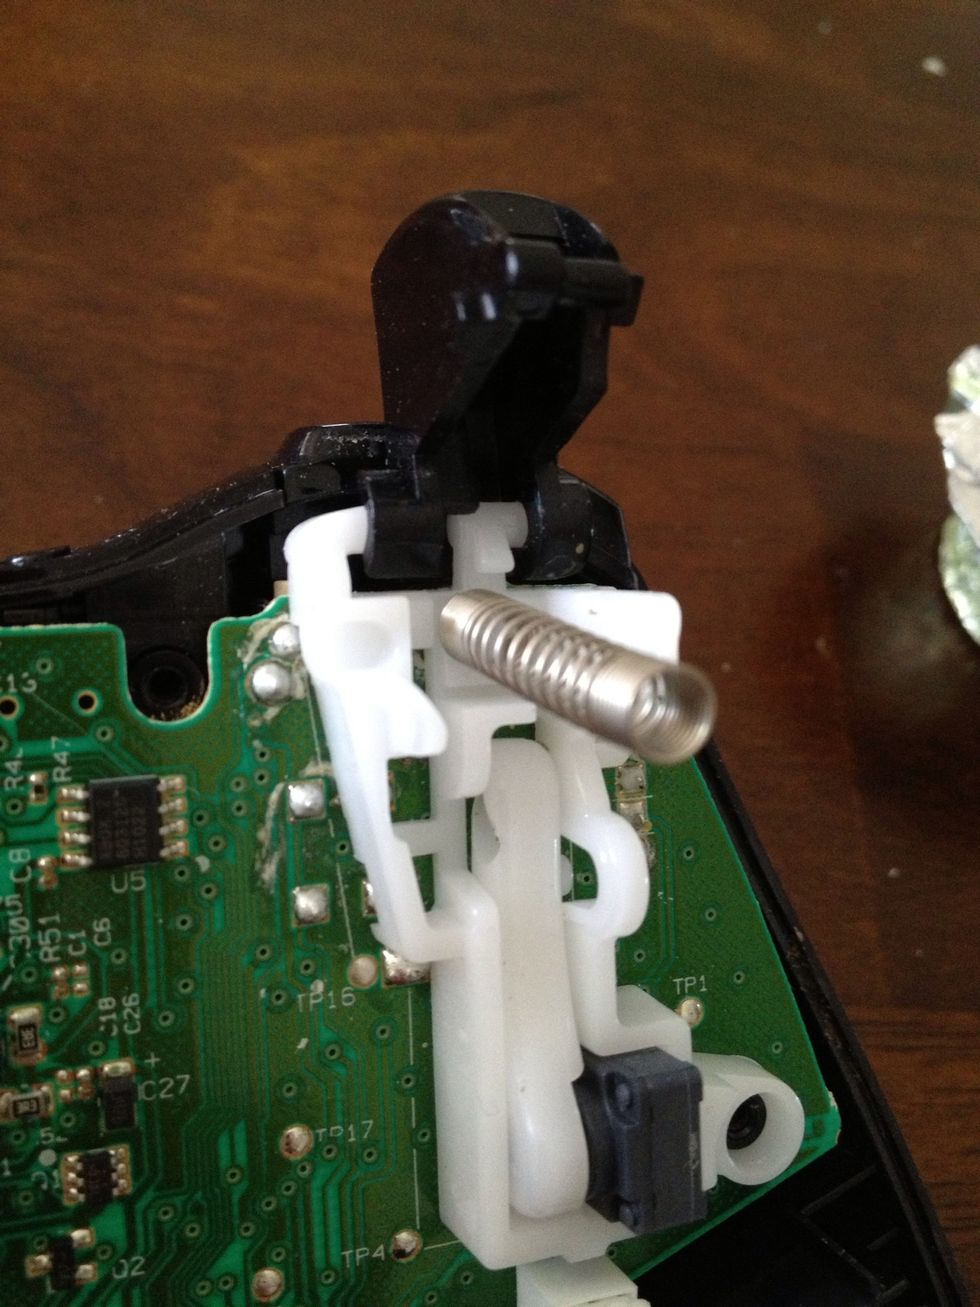
Remove the spring if you haven't already.
The trigger will be floppy like this.
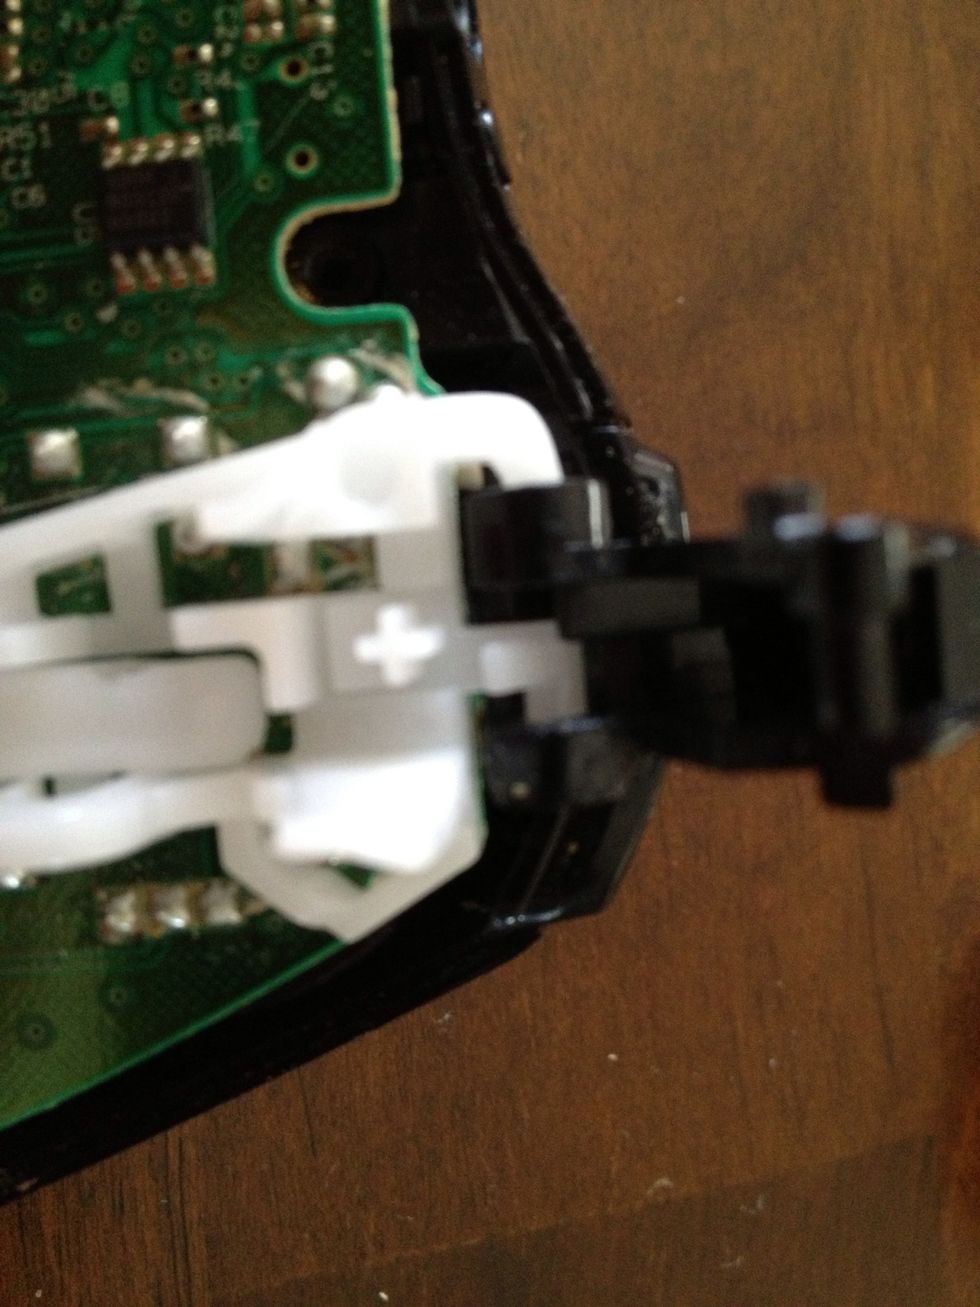
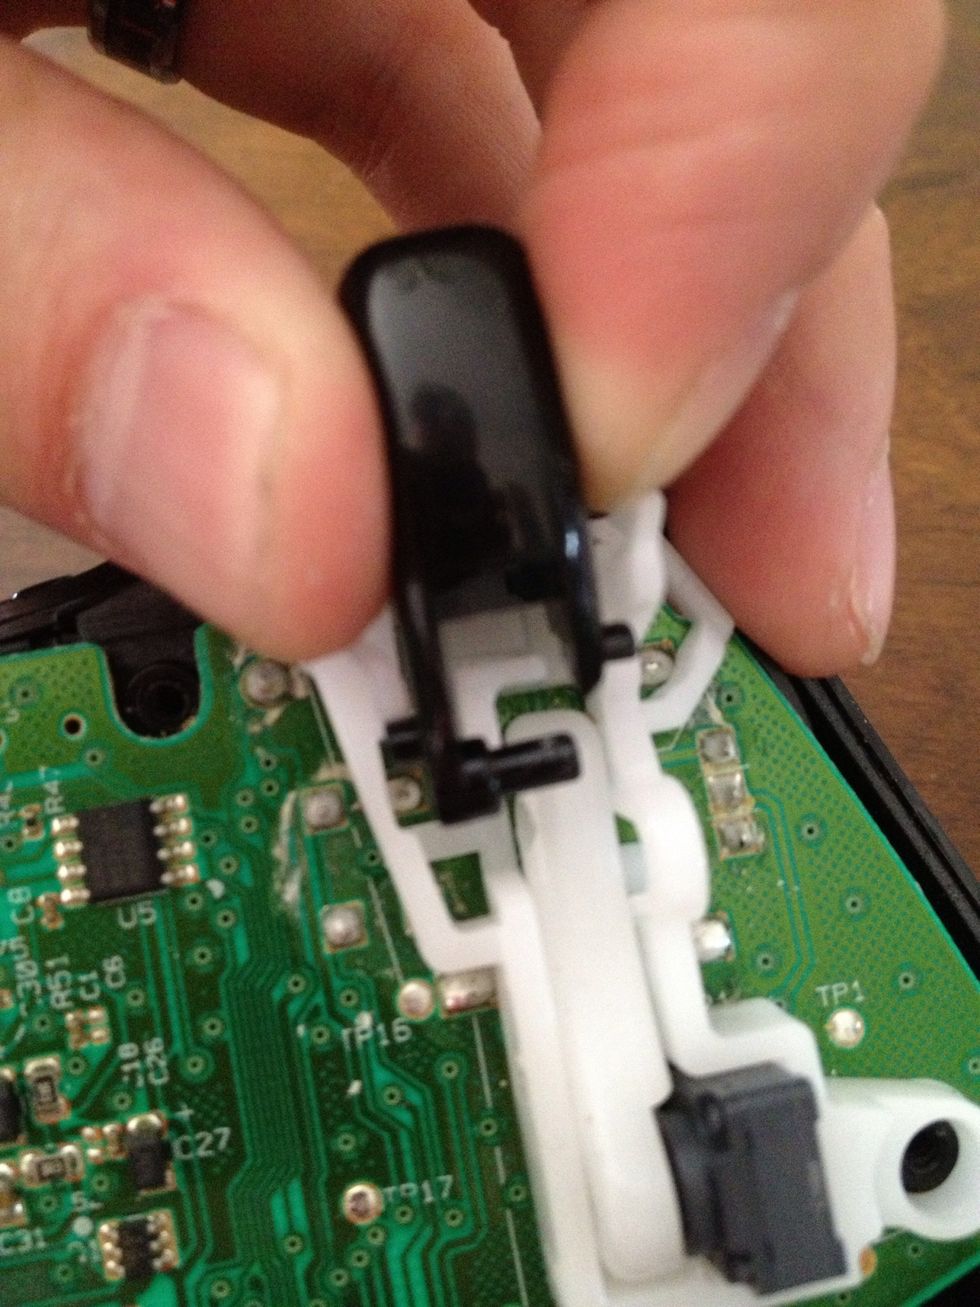
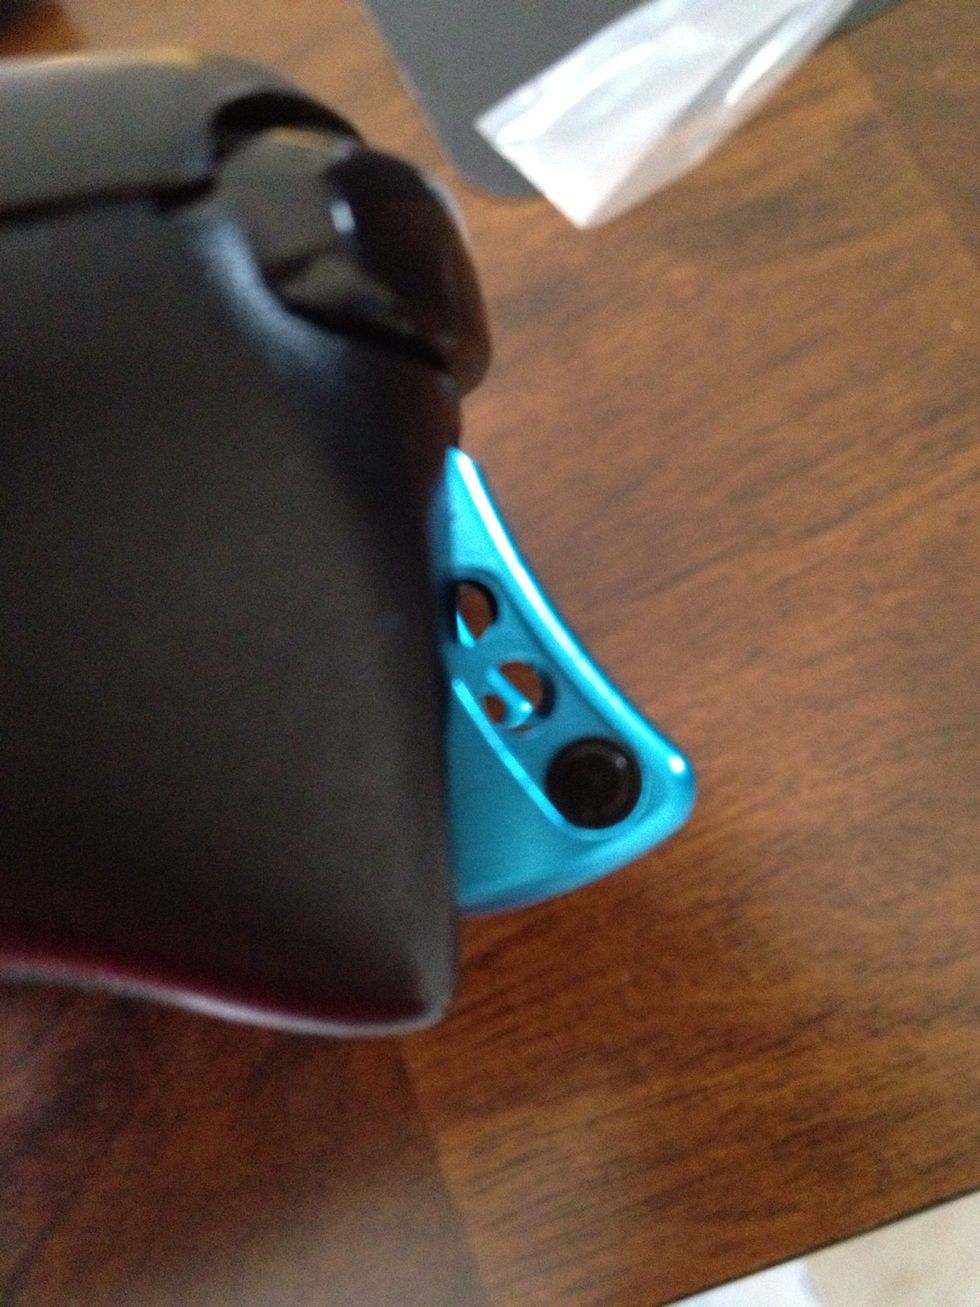
At the top of the picture where the white plastic looks kind of like a hook, the trigger needs to slide downward to come off.
Work it similar to this.
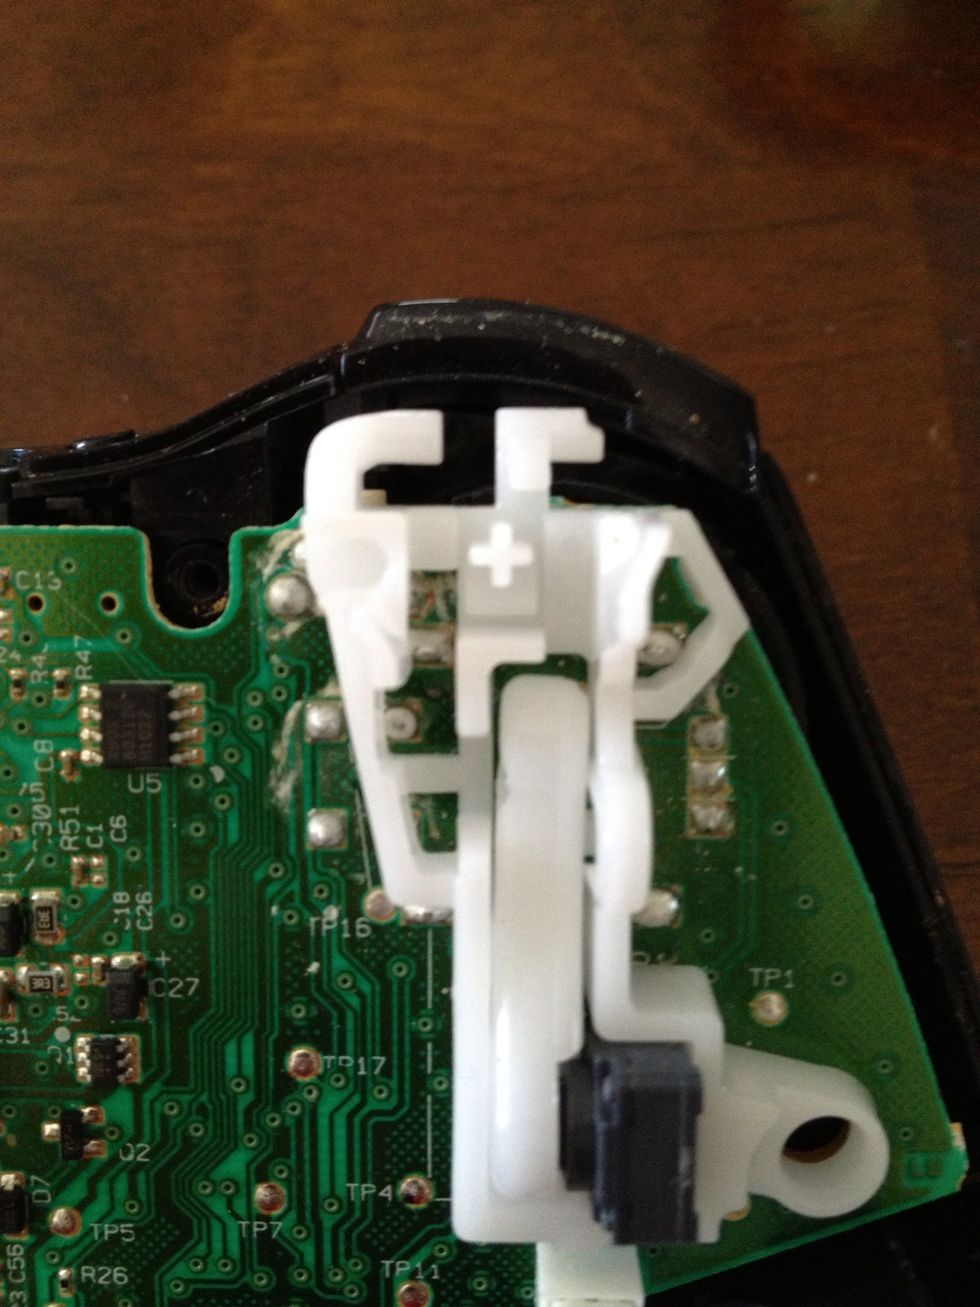
Removed!
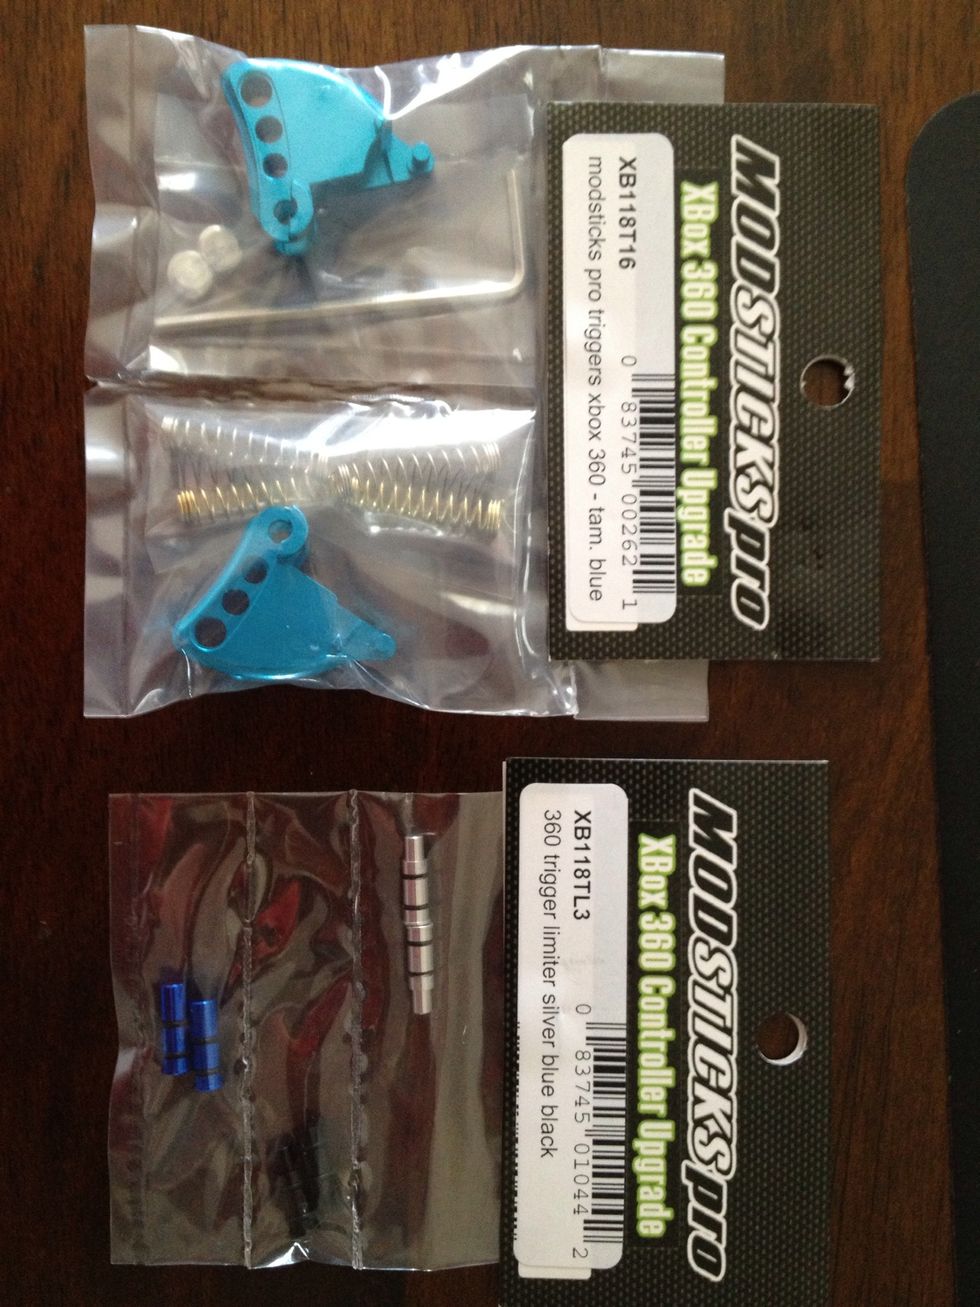
I chose my new triggers from Modsticks. They are a perfect gaming replacement and come with all of the gear needed for easy install.
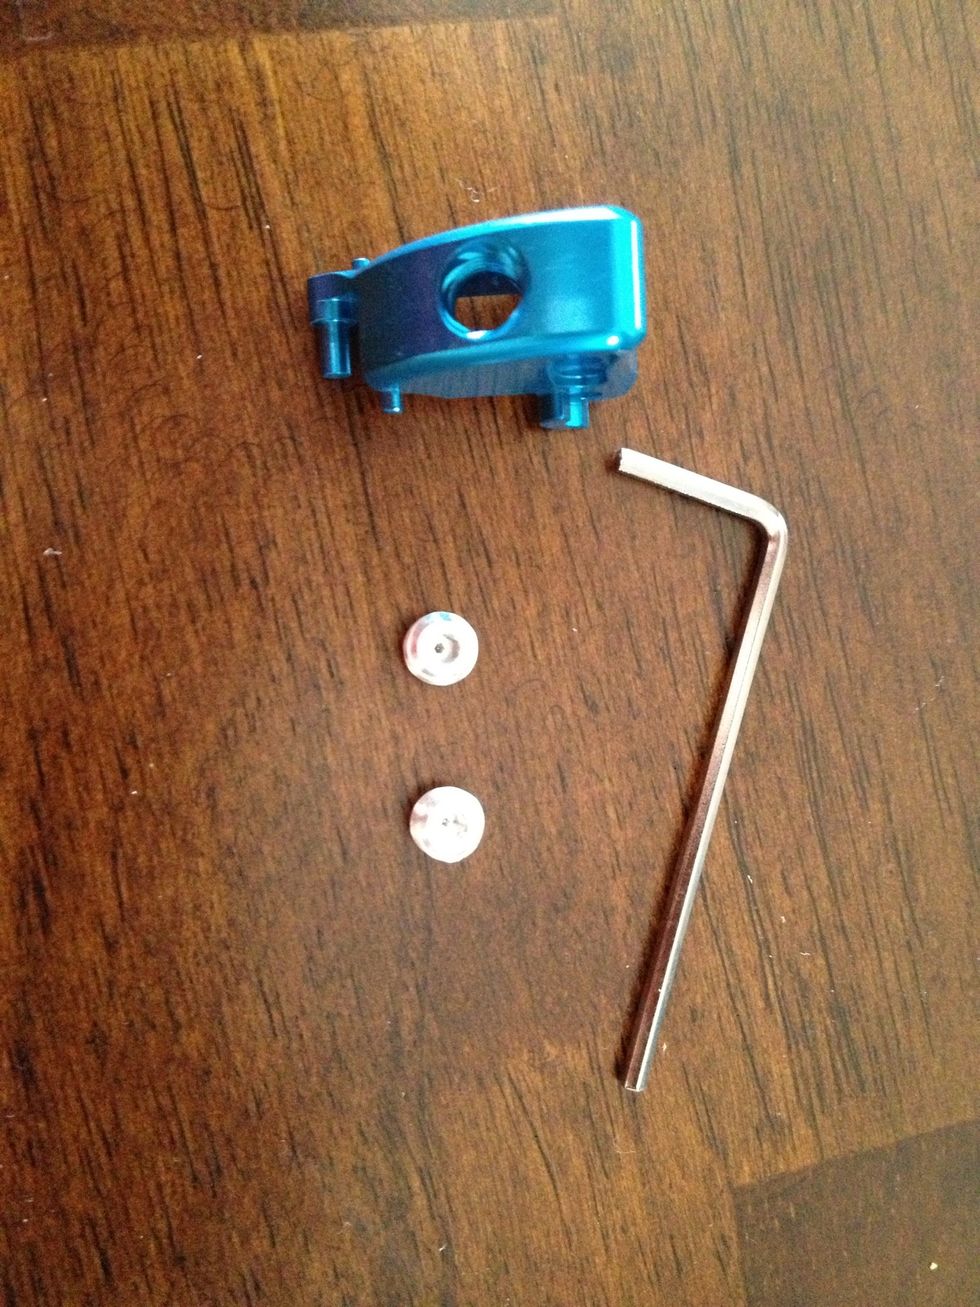
These triggers have set screws in them for easy access to the spring.
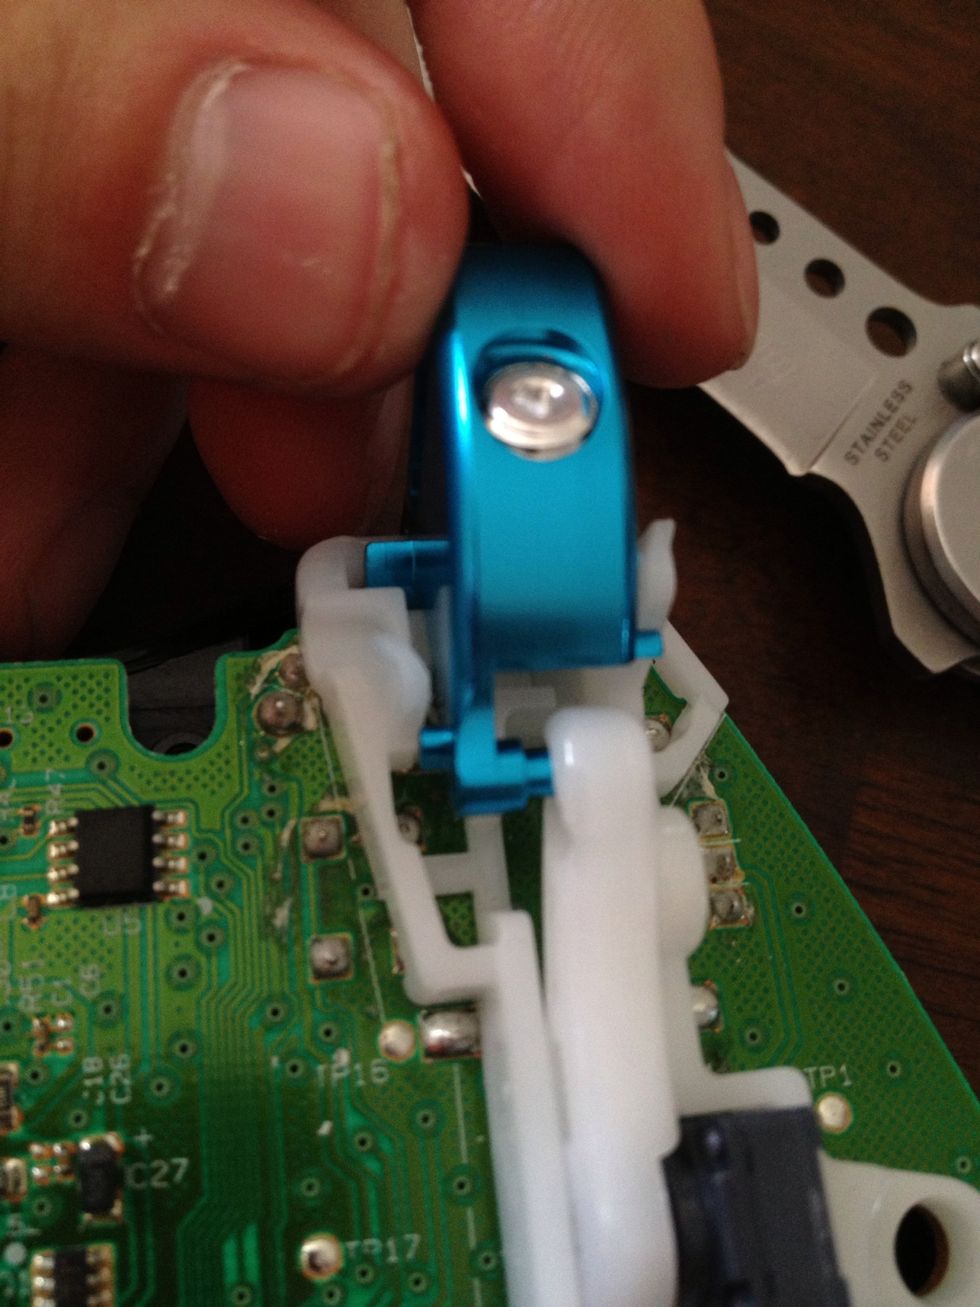
Slide the triggers in starting at the top. You may have to use something thin to assist you in getting the peg set back into the white plastic arm. It takes a bit of concentration.
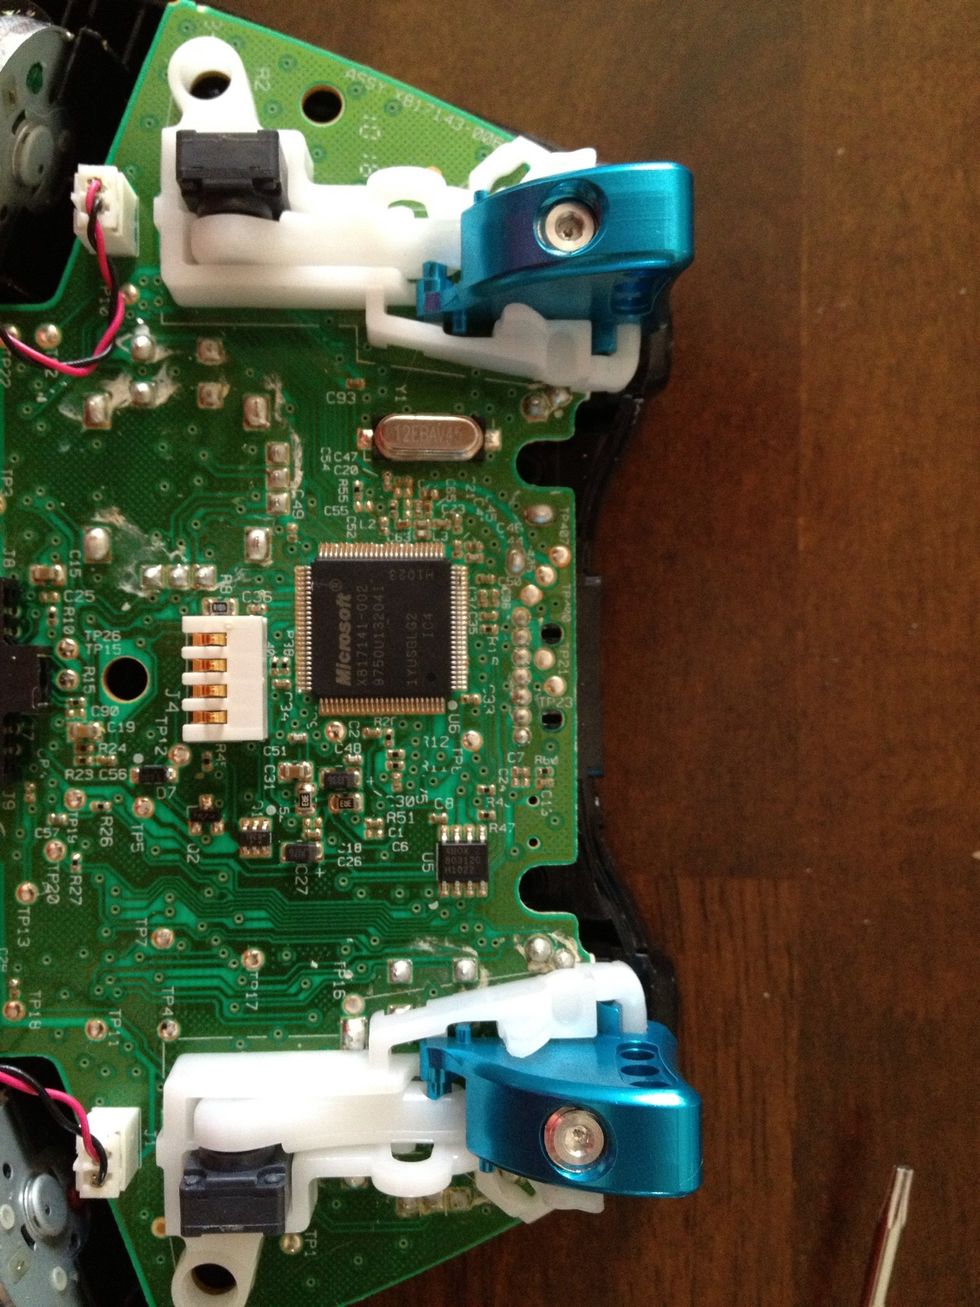
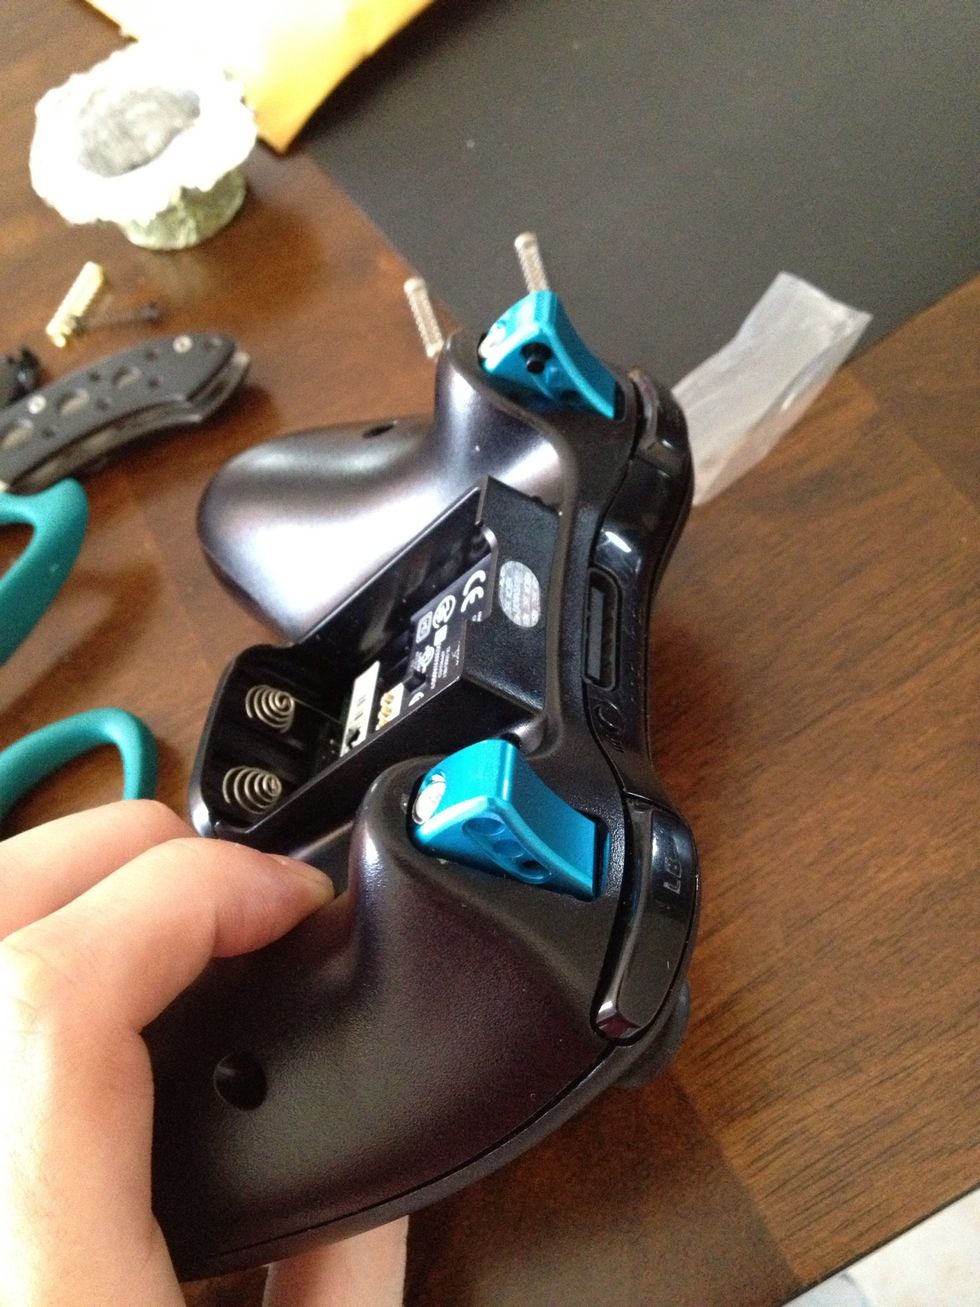
Triggers are set and ready. Spring are not installed yet!
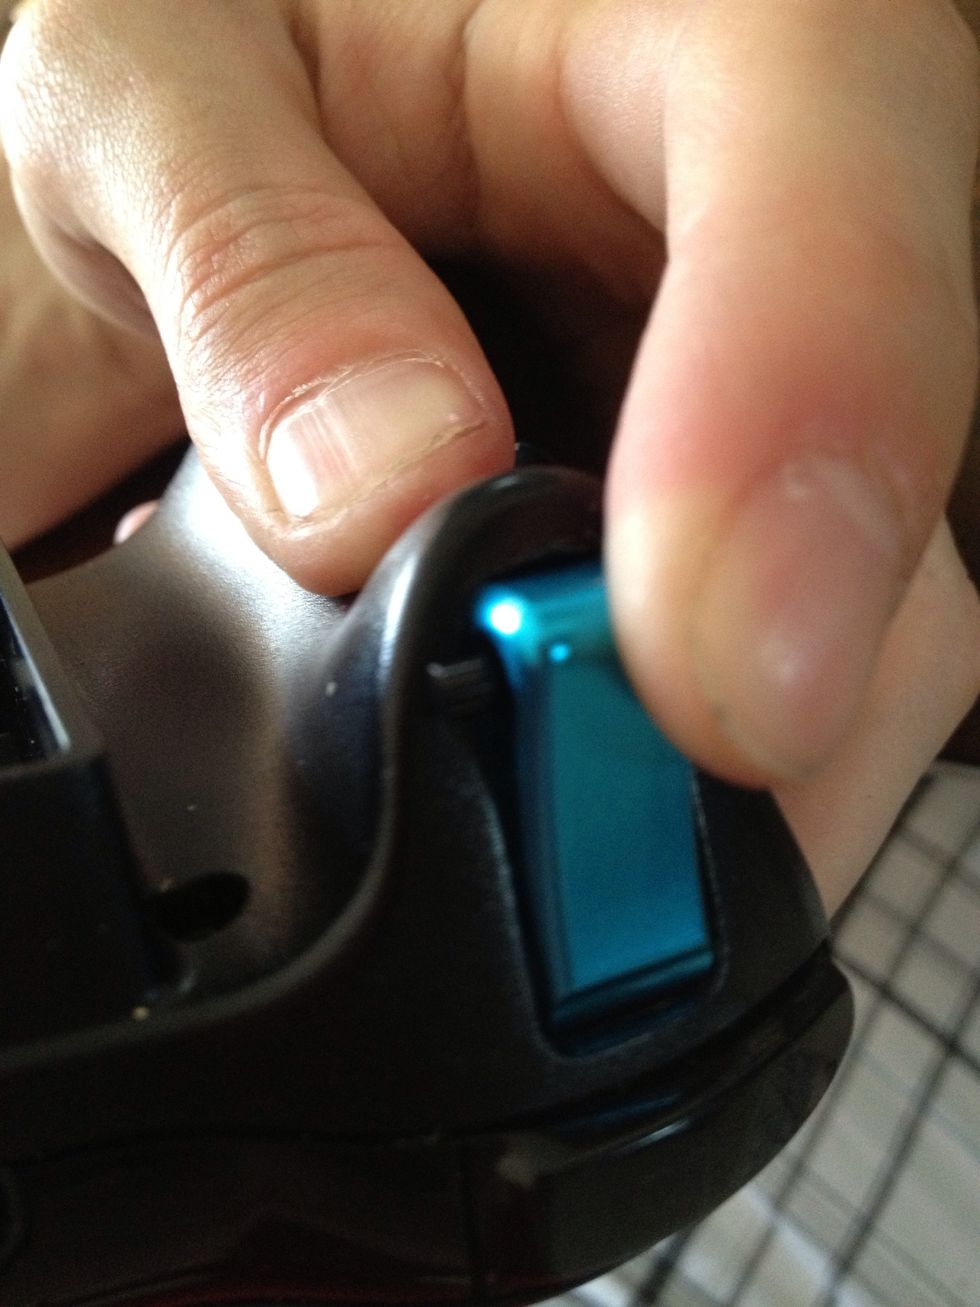
Case easily snapped back on, but triggers are still floppy.
Simply place the spring desired into the set screw hole in the trigger.
I stuck this through the side of the trigger to assist me in getting the set screw in. Took some serious concentration to keep my set screw from being launched by my springs.
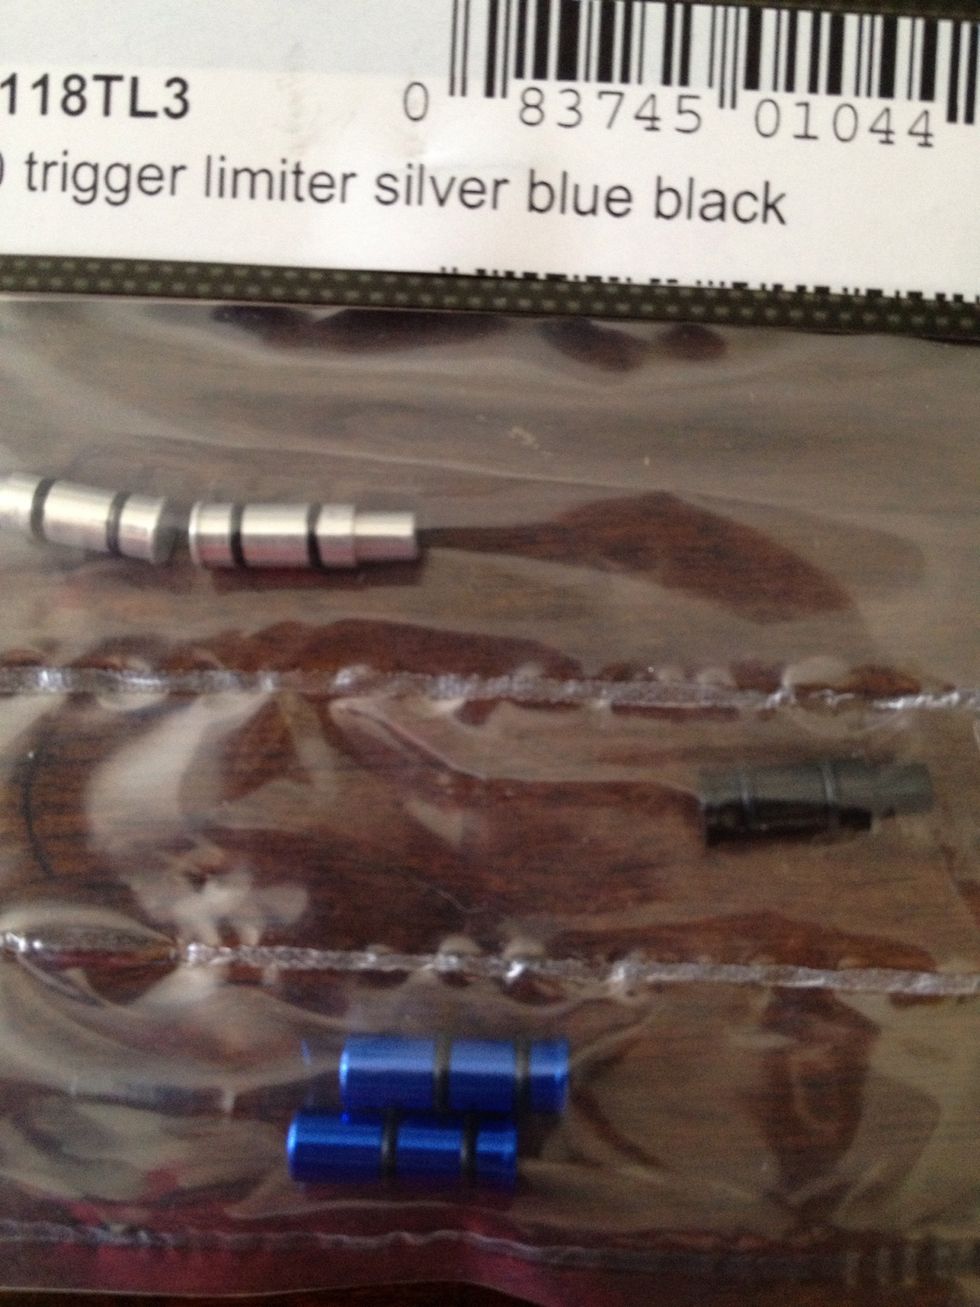
These came with my triggers. These are travel limiters.
They can be inserted here to keep from having to pull the trigger completely down.

See how this works?
Easy to push in and out of the hole ^.^
Finished product.
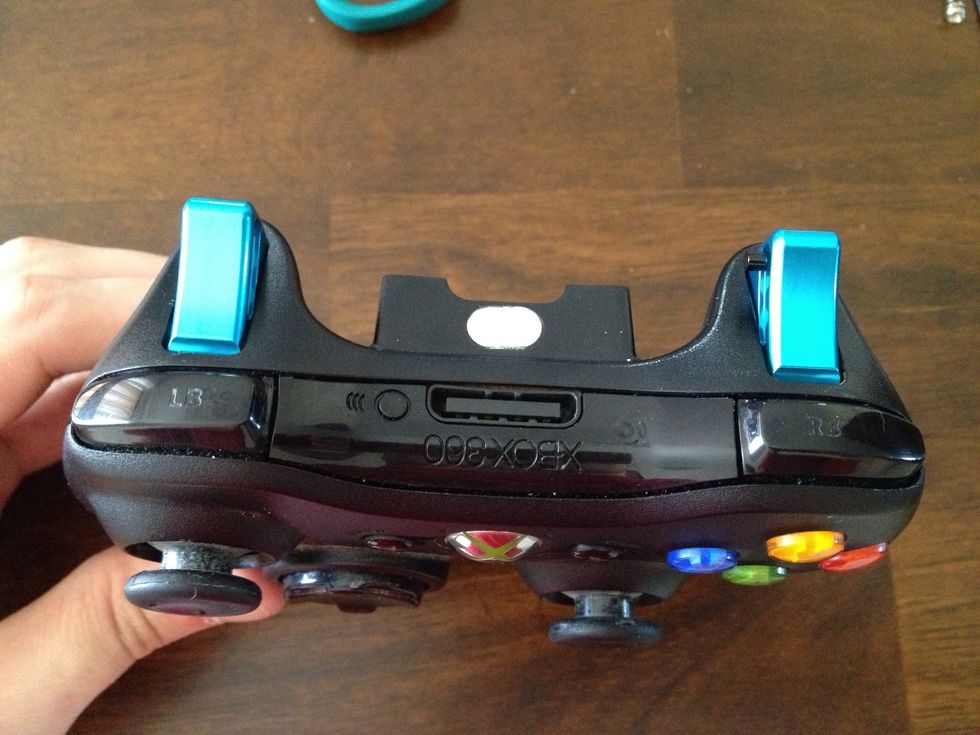
Ready to be played! I hope you have enjoyed my guide and if you have any more questions, please feel free to ask. I may try to squeeze a video in to this later on :) happy gaming!