The Conversation (0)
Sign Up
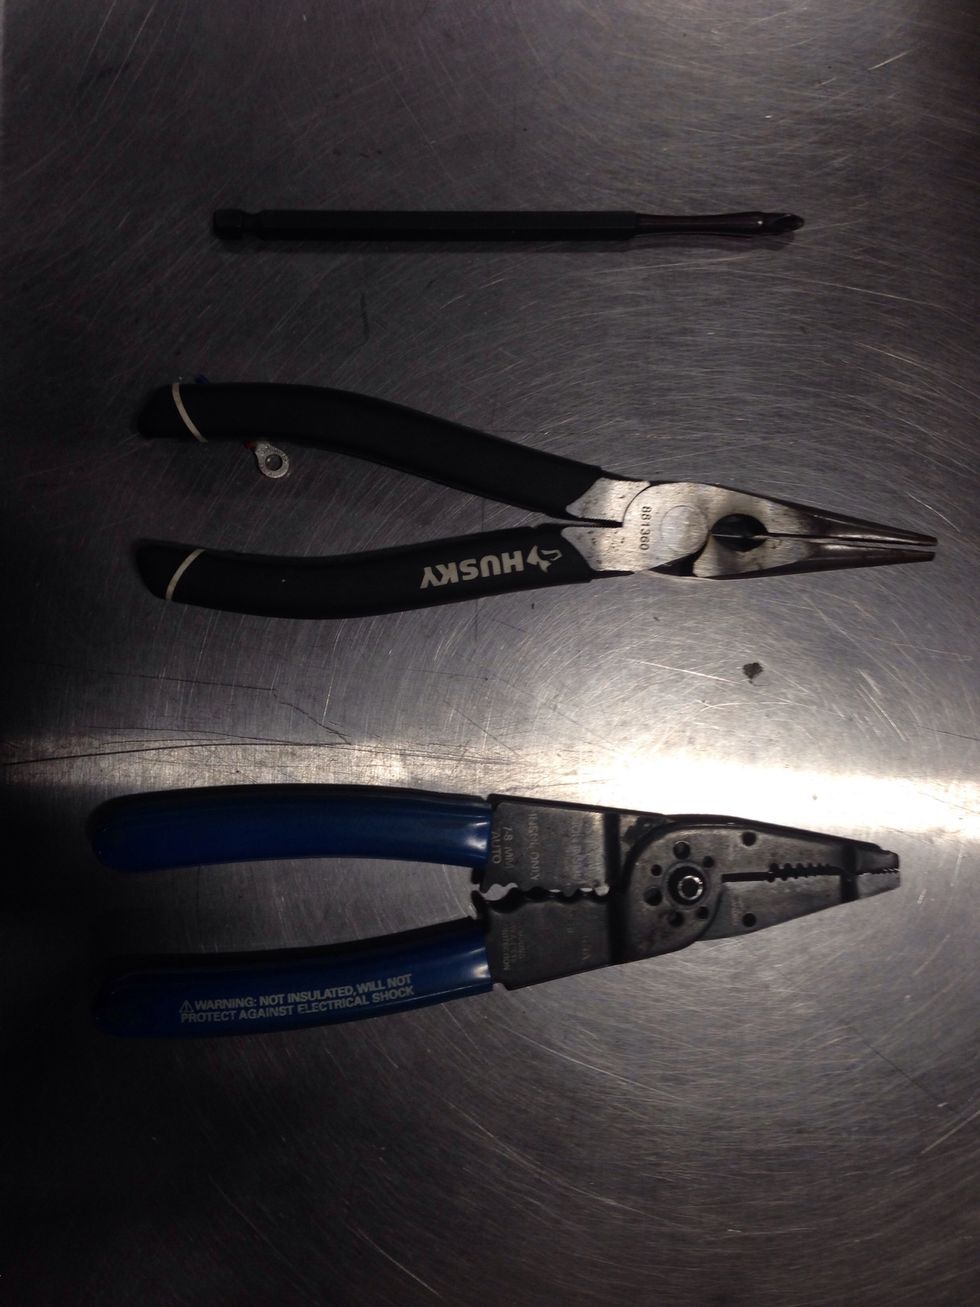
Commonly Used Tools
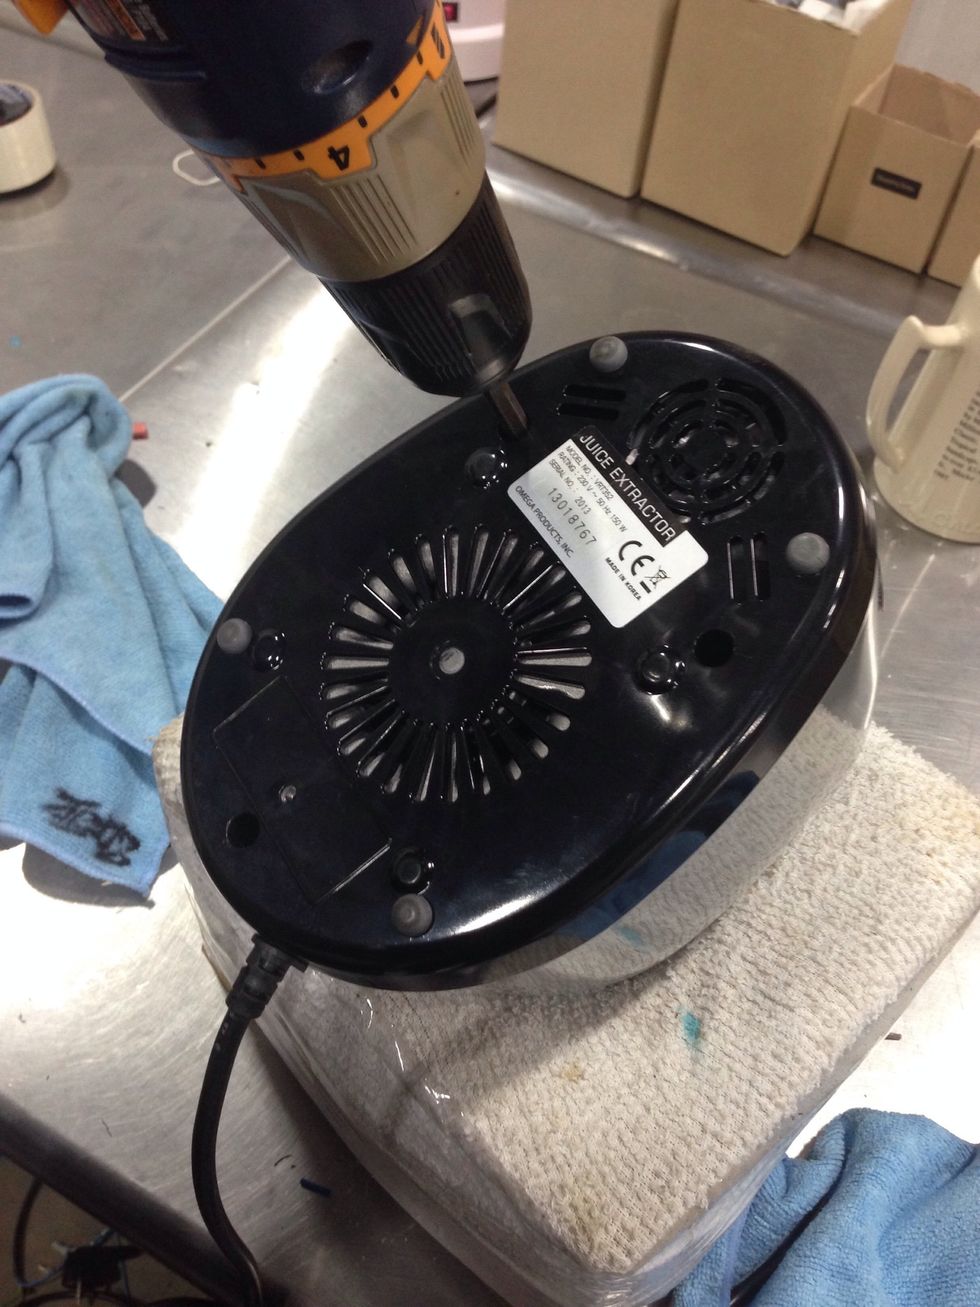
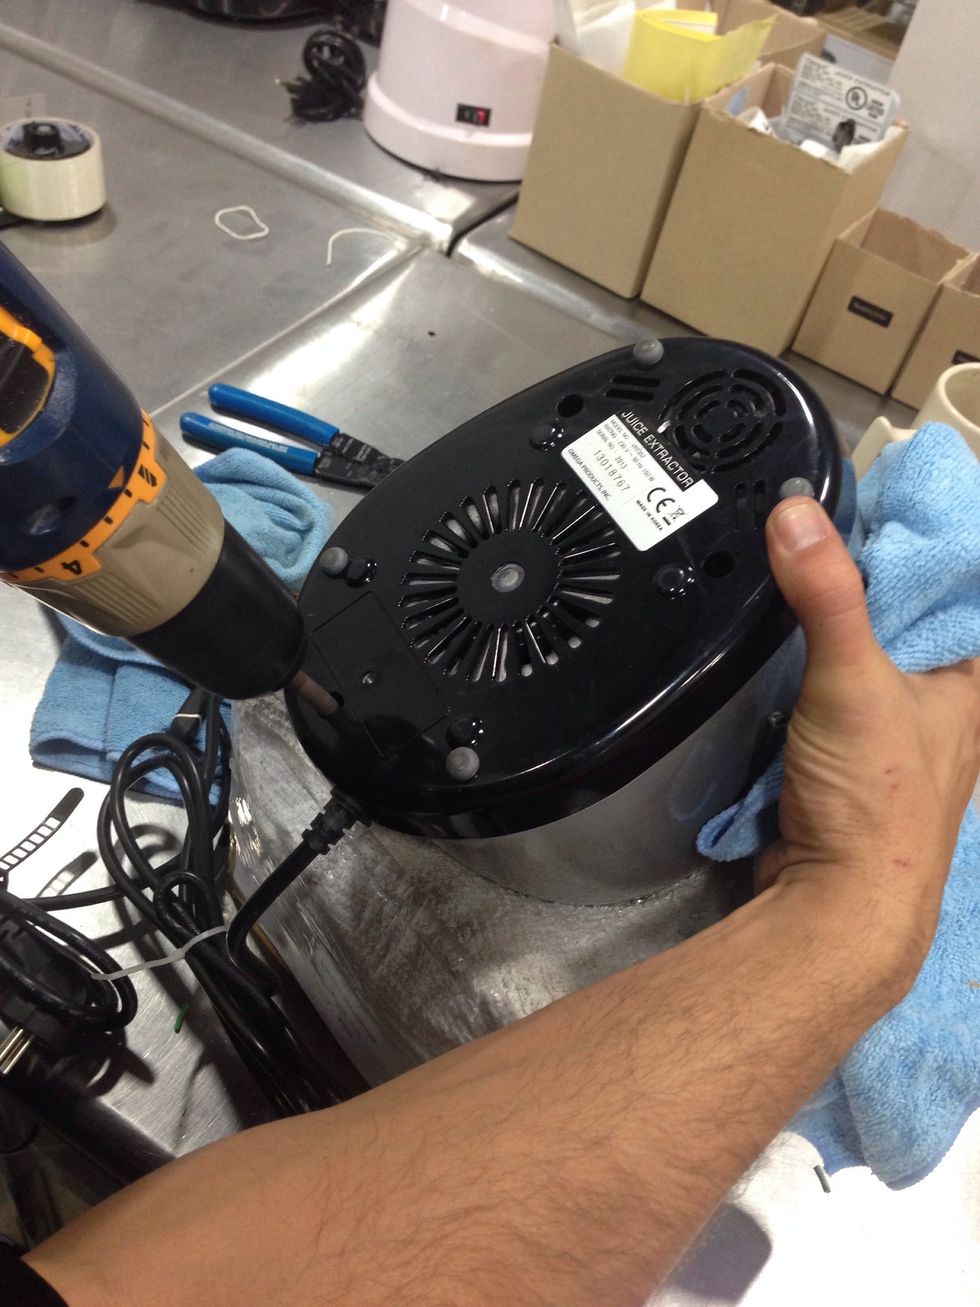
Remove 3 Philips Head Screws From The Base
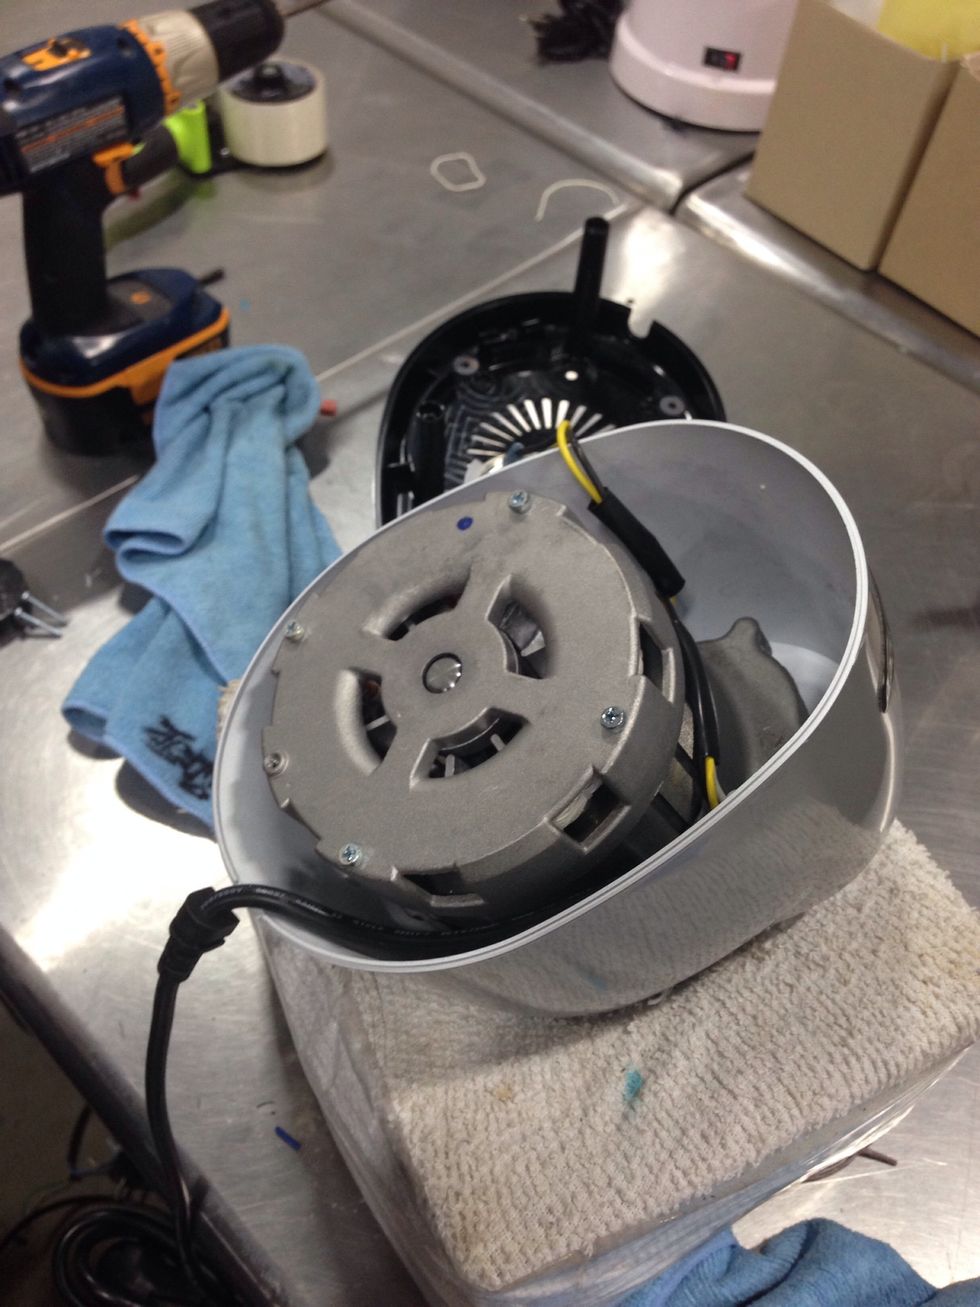
Remove the base, carefully set it aside
Cut the existing cord
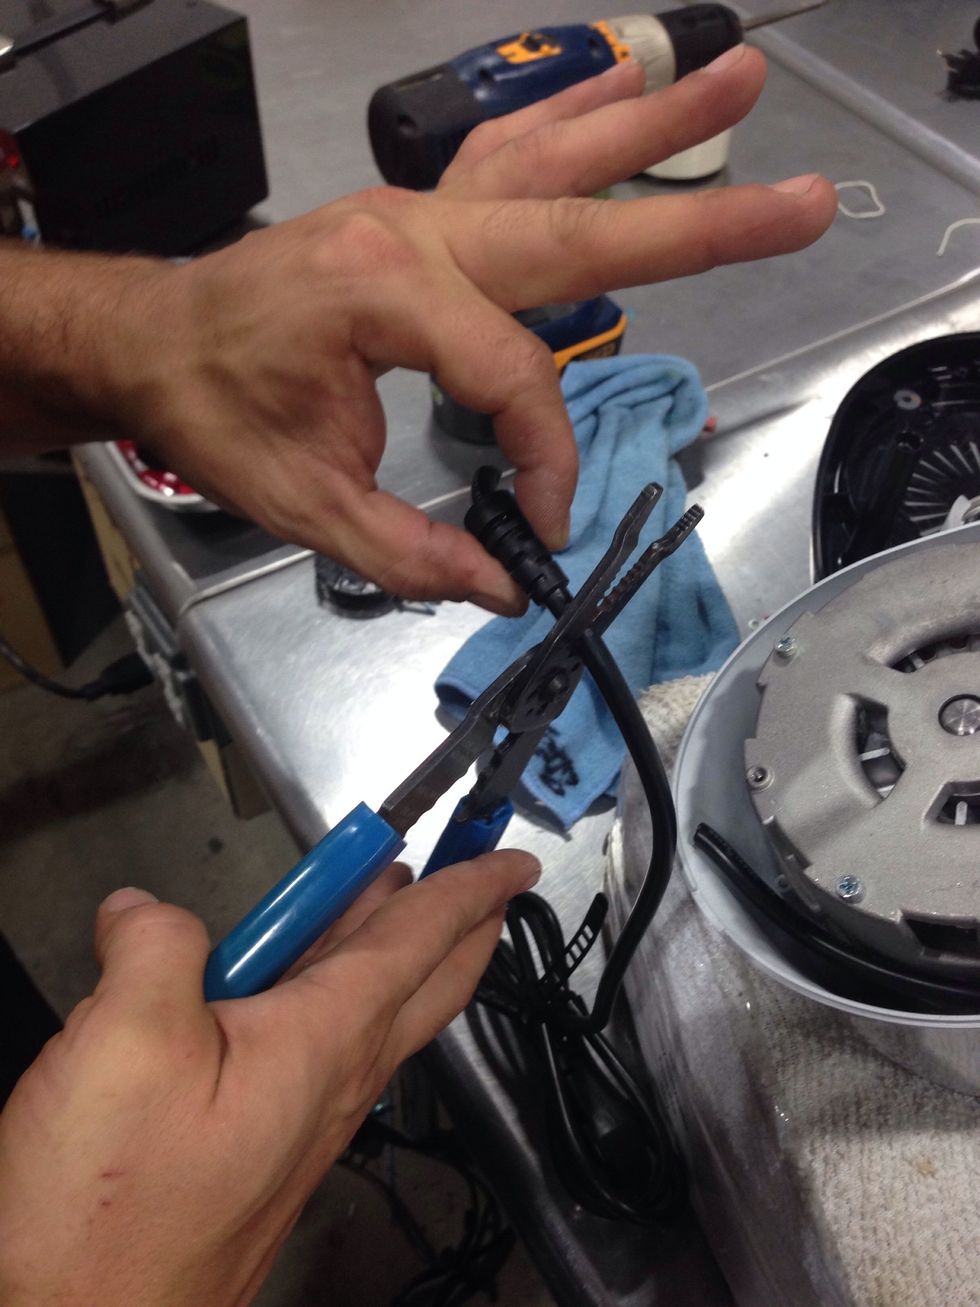
Please note the position of the tension relief while cutting
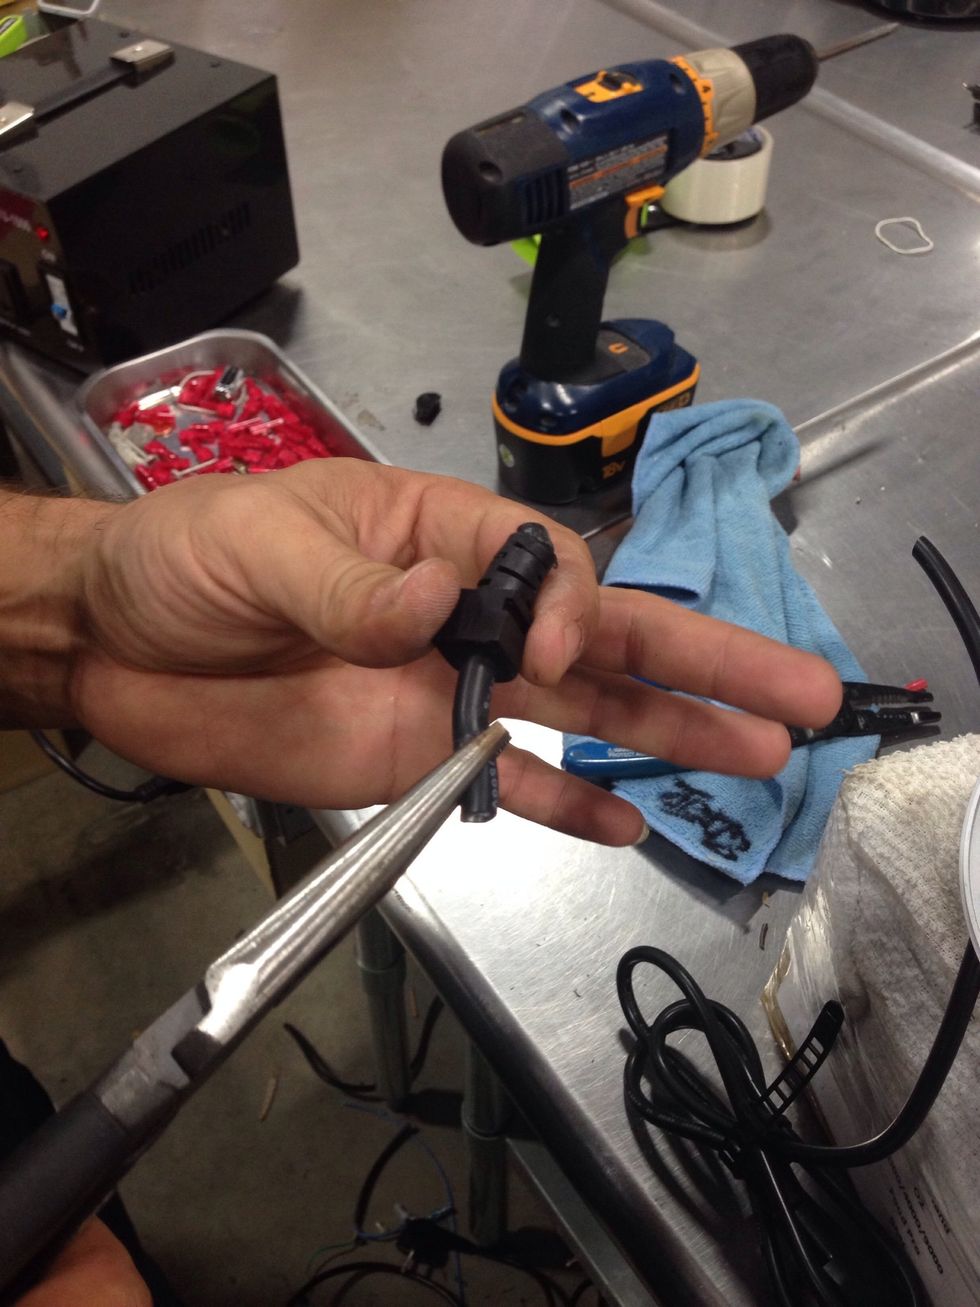
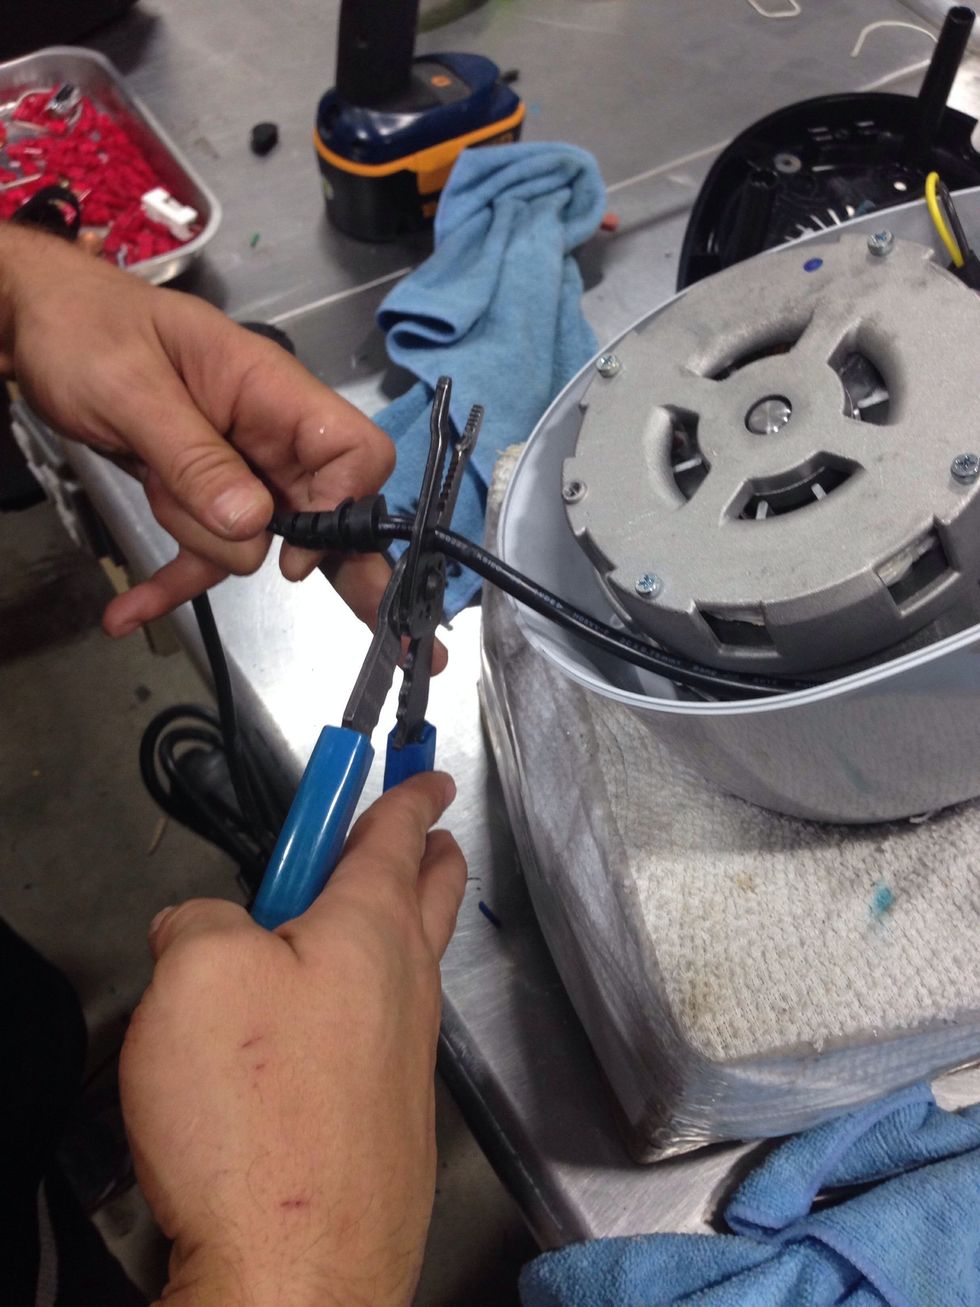
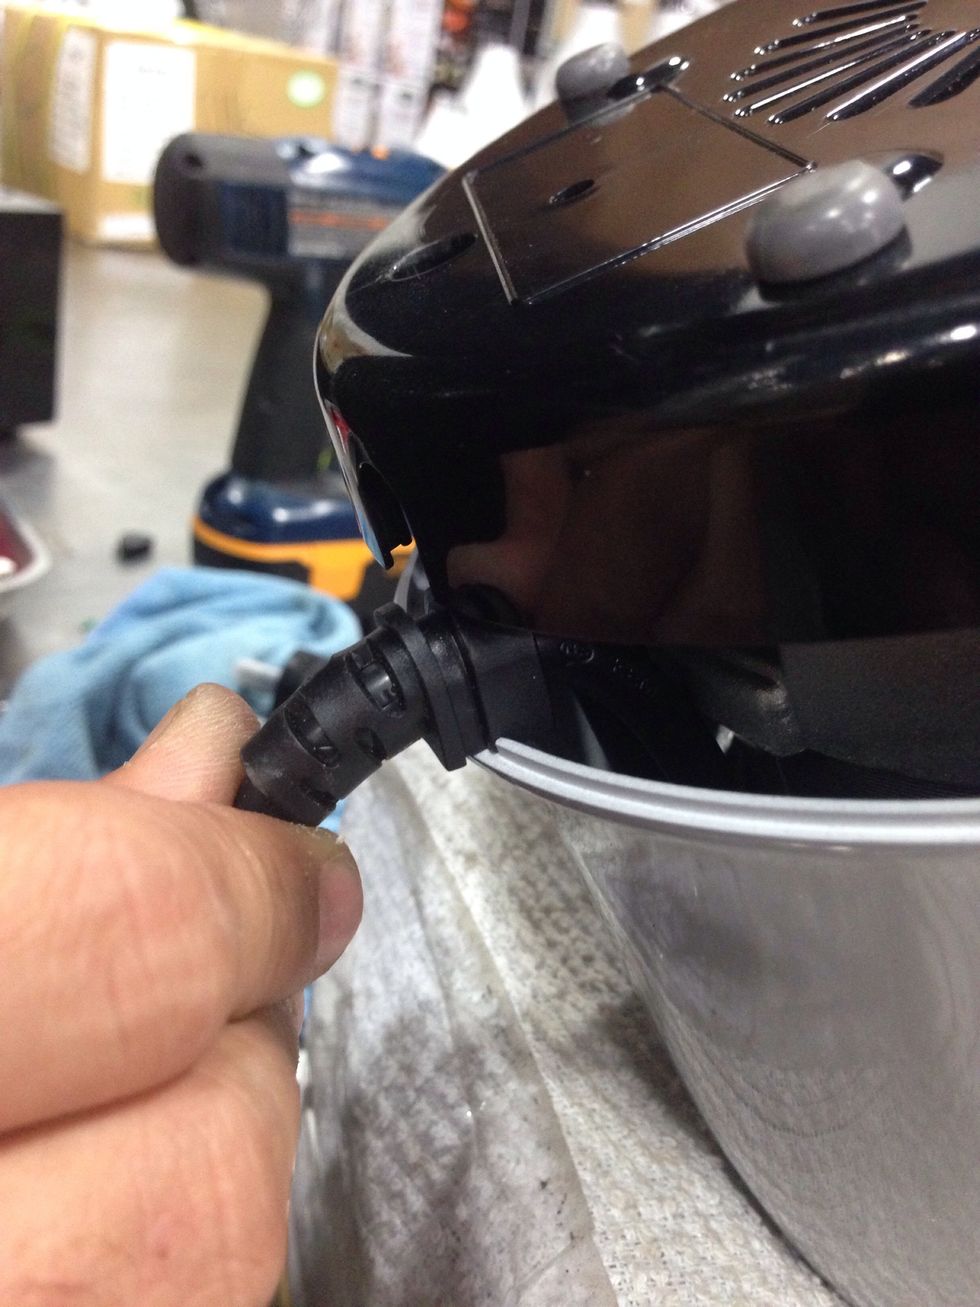
Using needle nose pliers, carefully remove the tension relief grommet
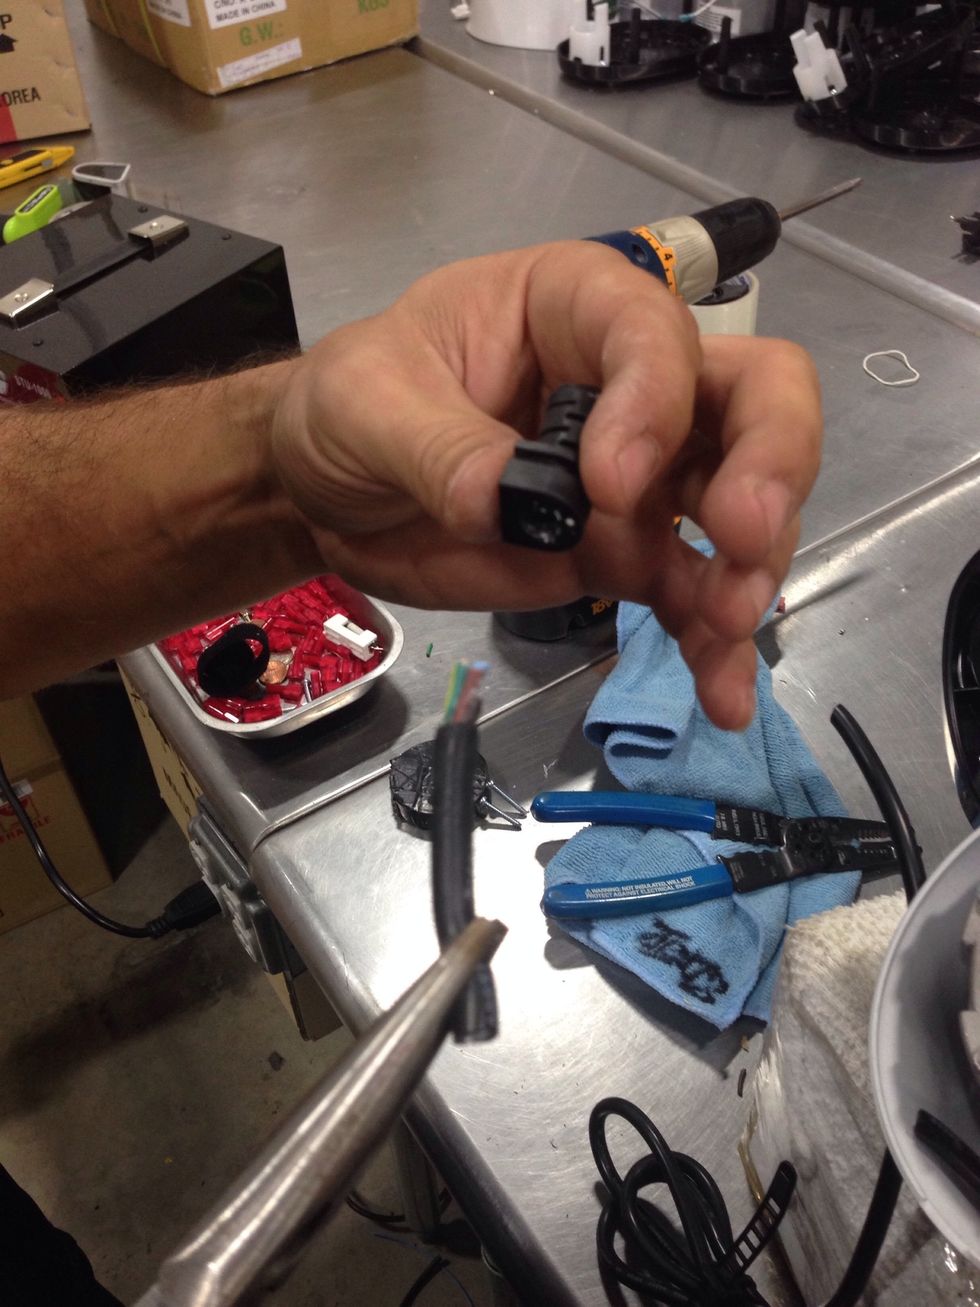
This is the desired outcome
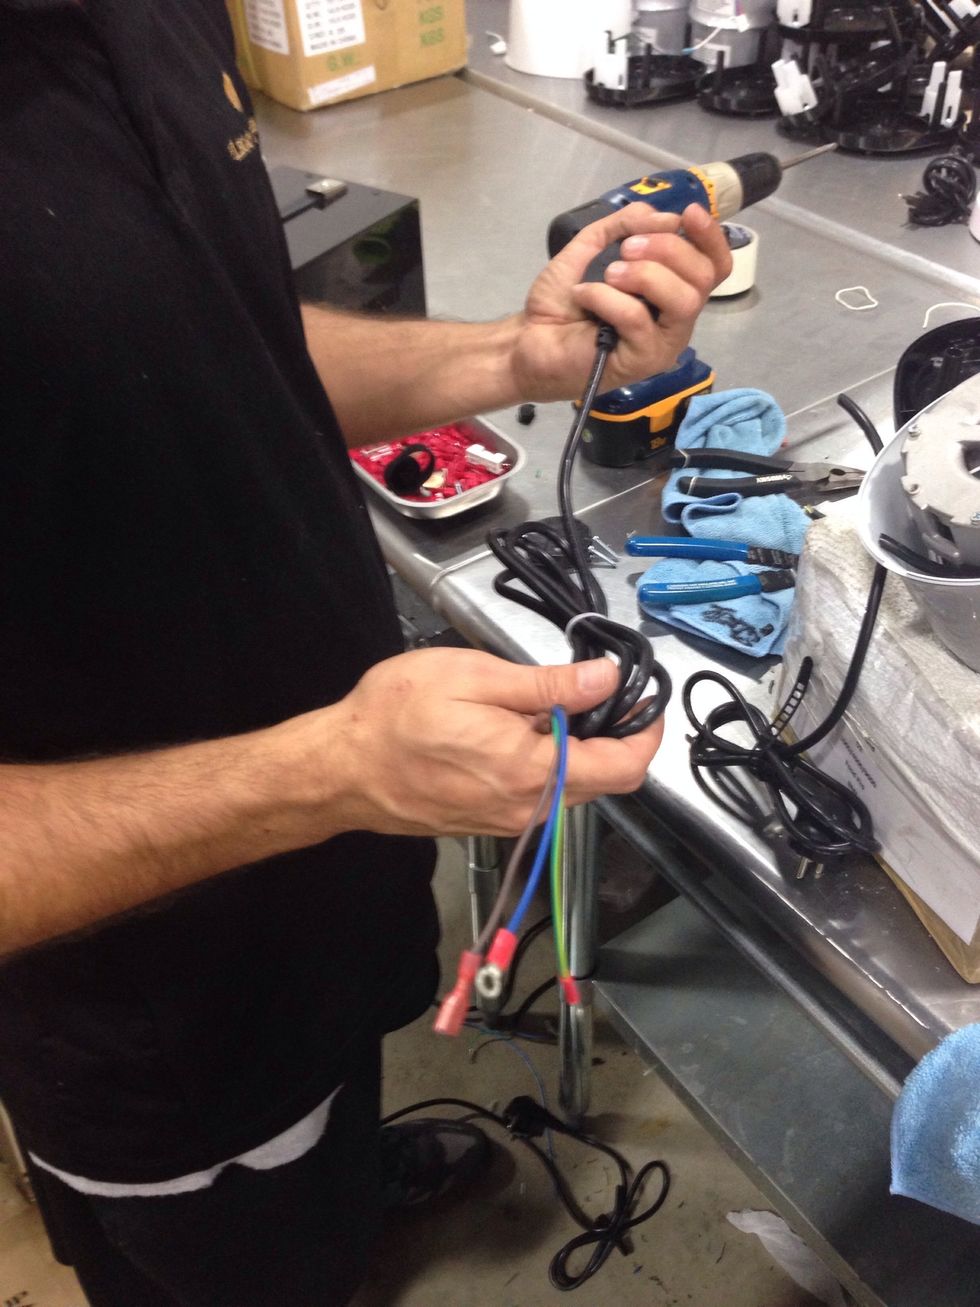
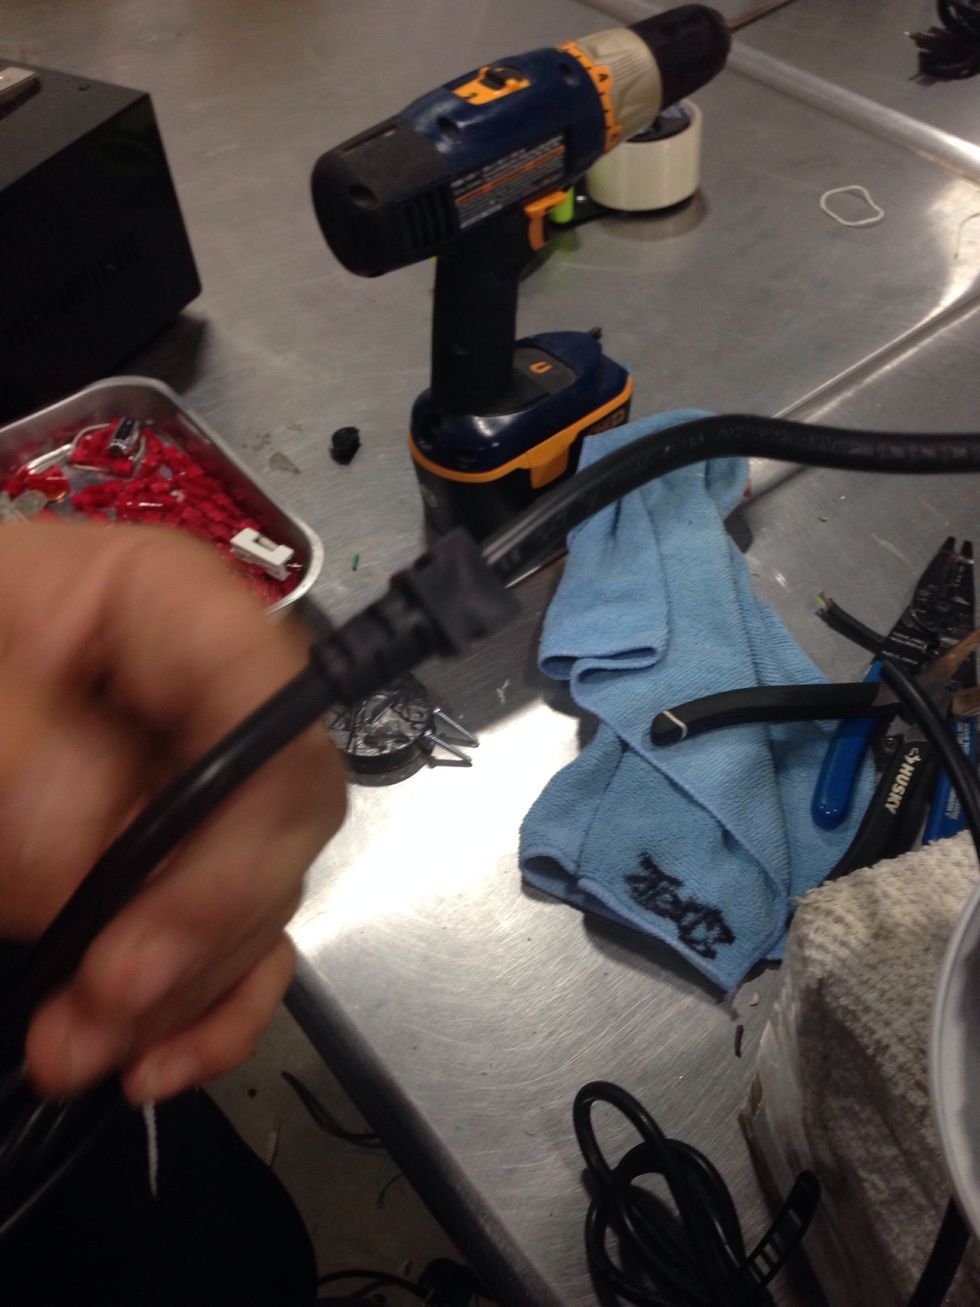
Gather the new cord
Cut off the existing connectors on the end of the new cord
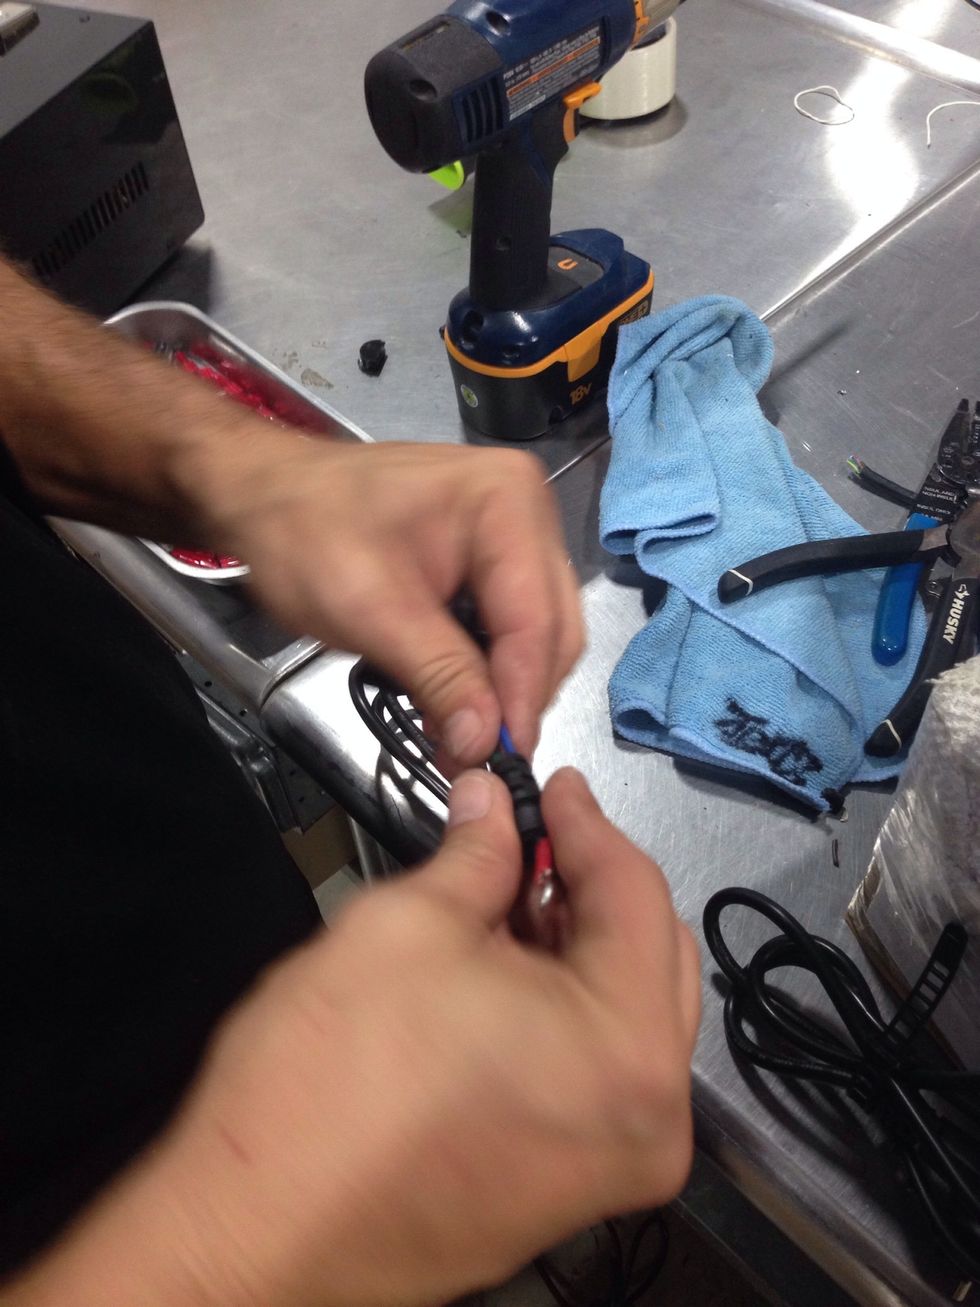
Insert the wires into the tension relief
Slide the tension relief down onto the new cord
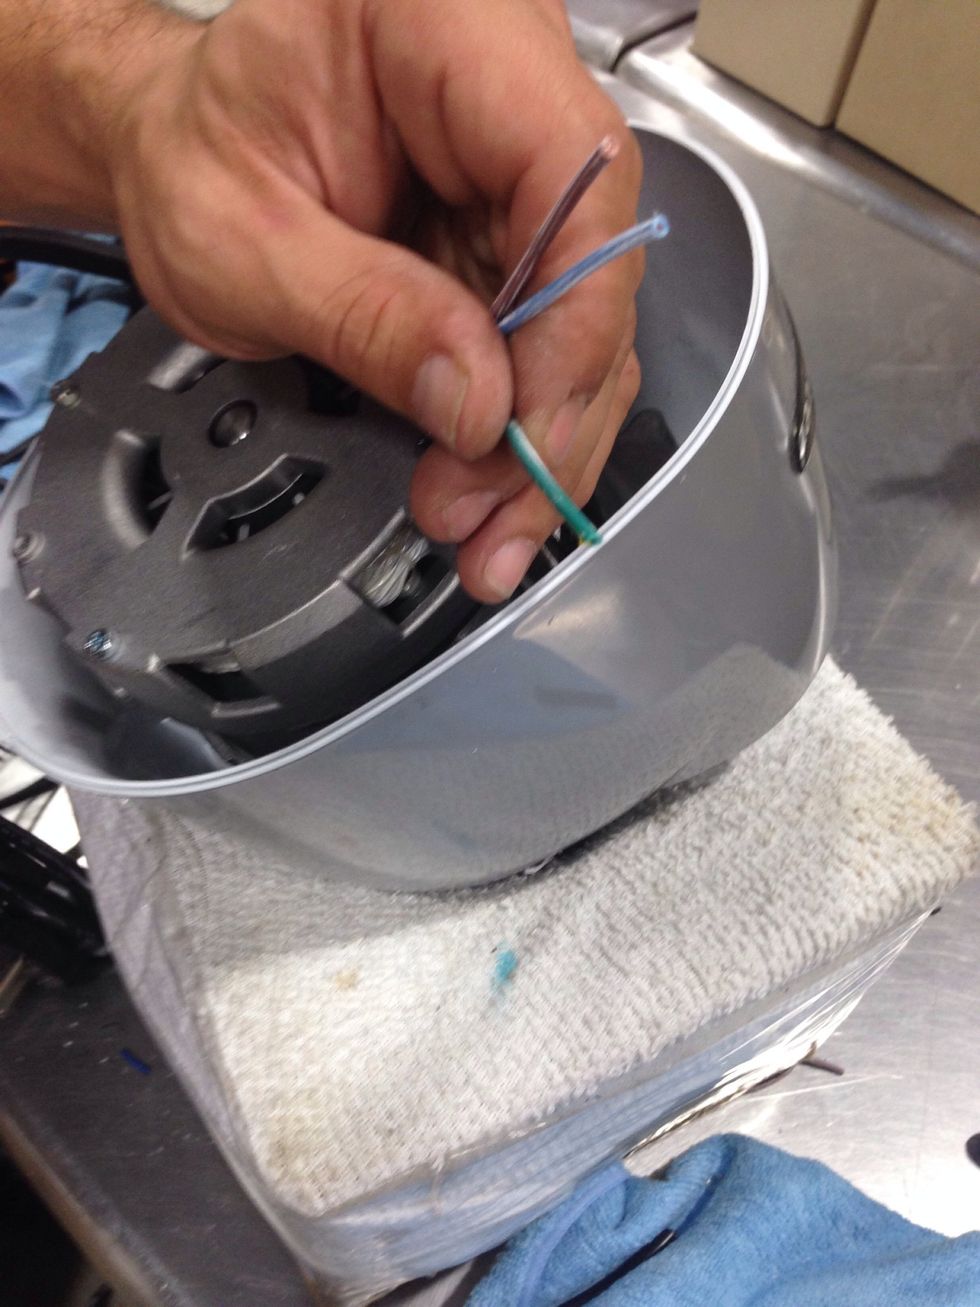
Remove the protective covering from the wires in the base of the unit
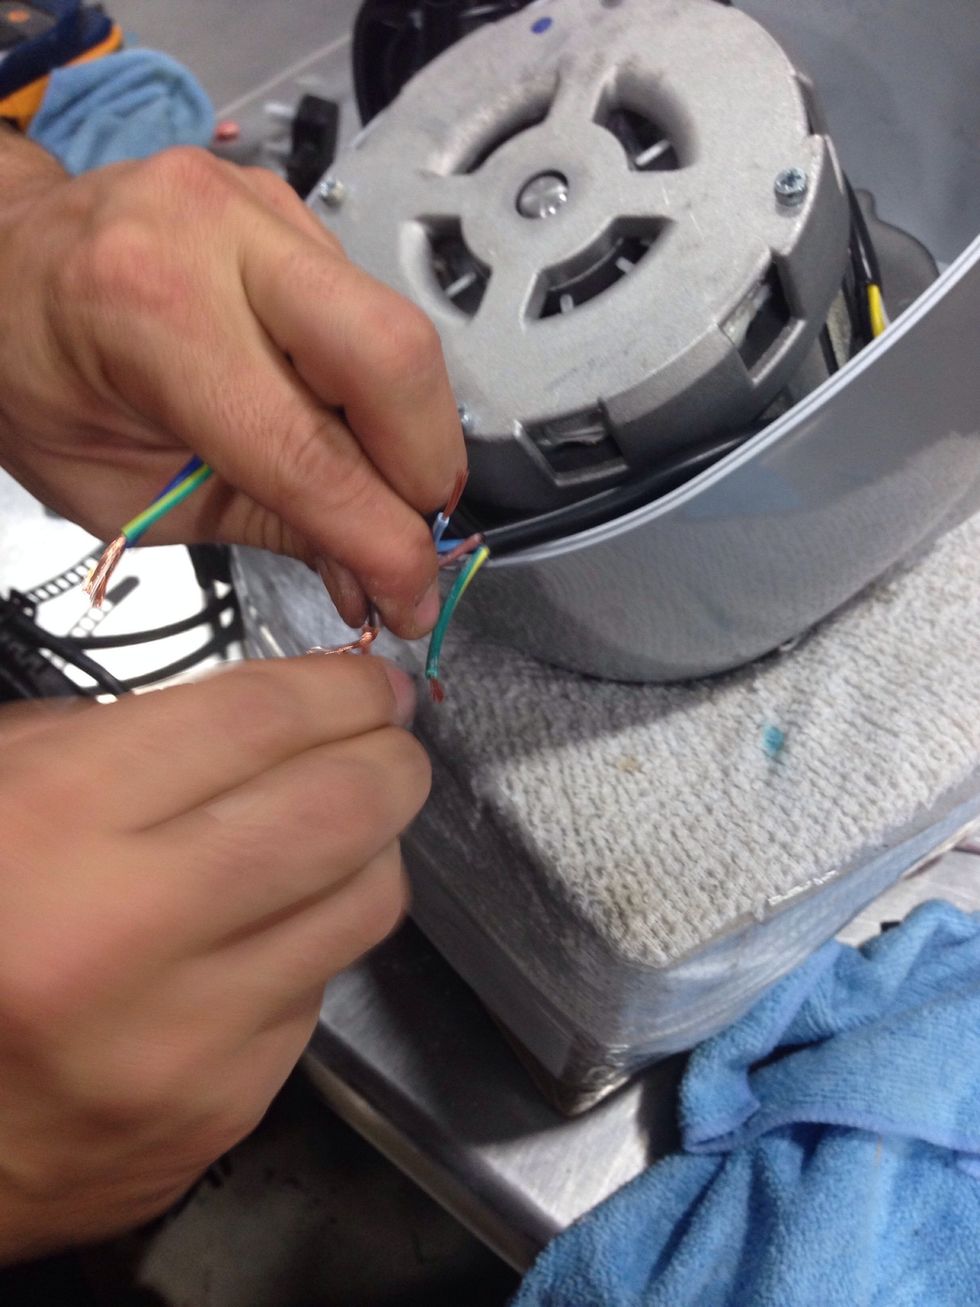
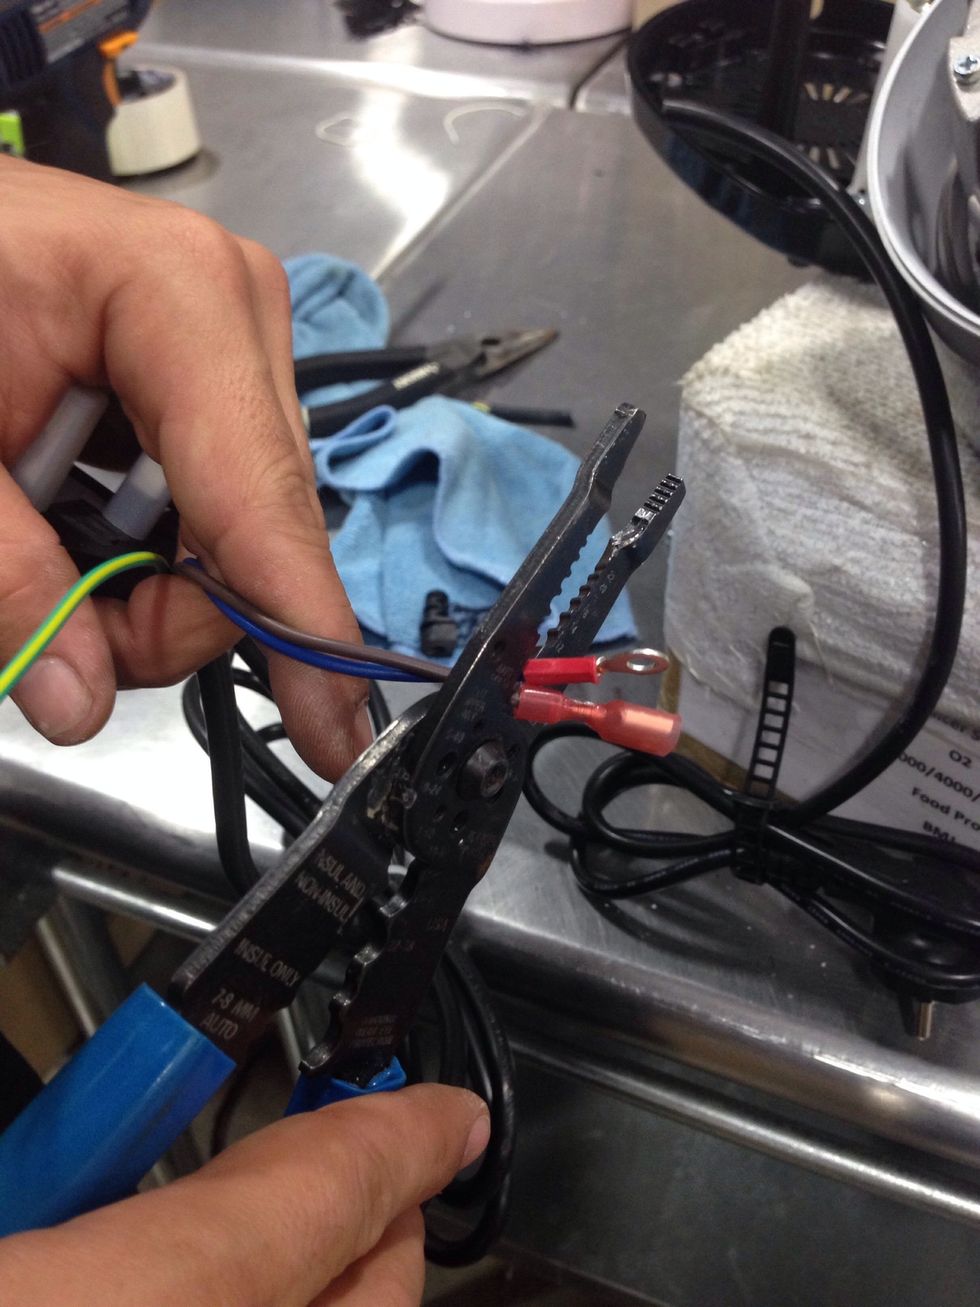
Strip off the ends
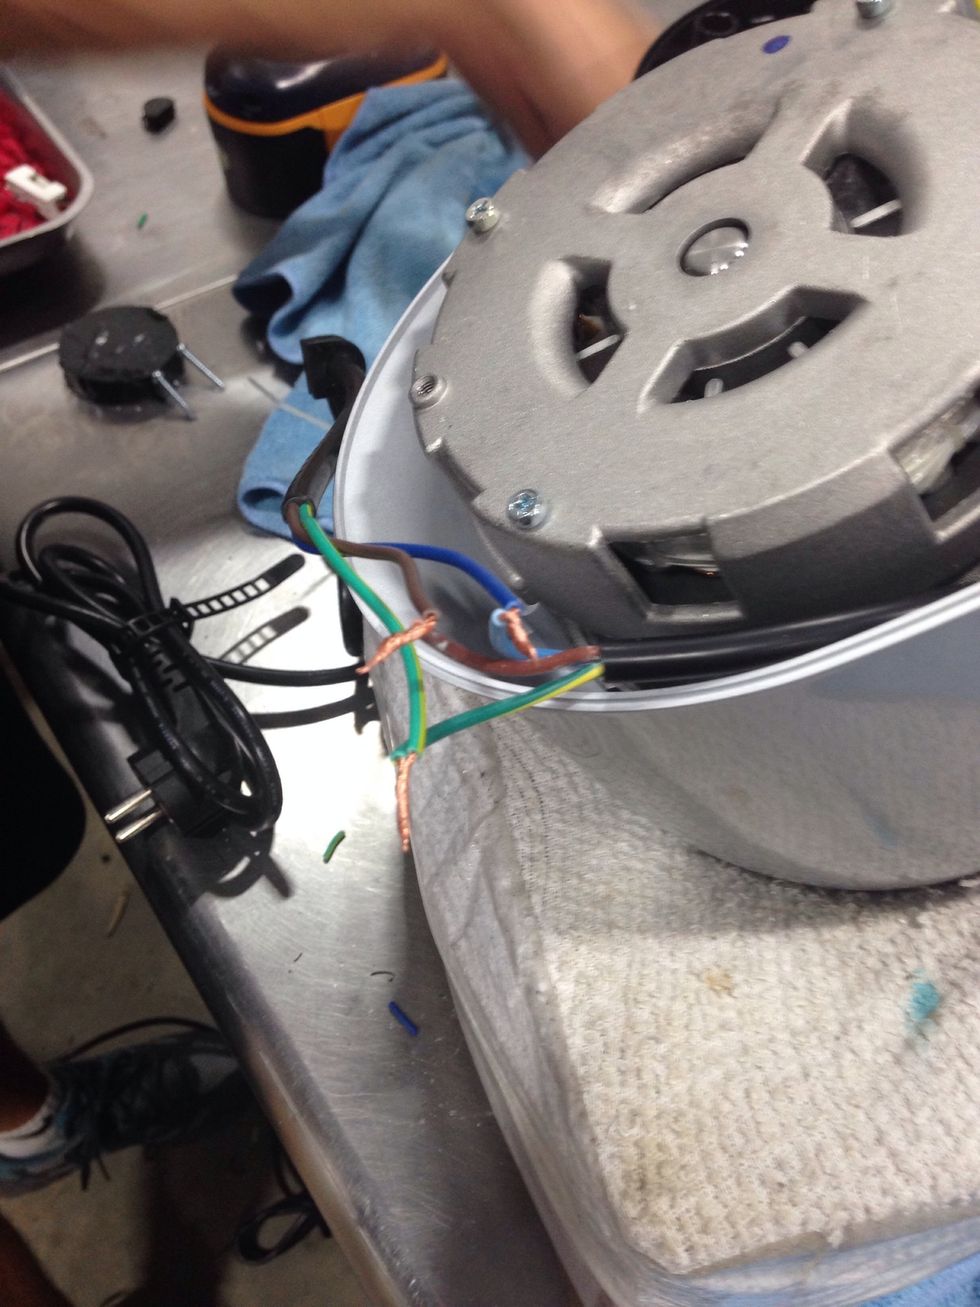
Attach the ends from the new power cord to the existing wires in the base
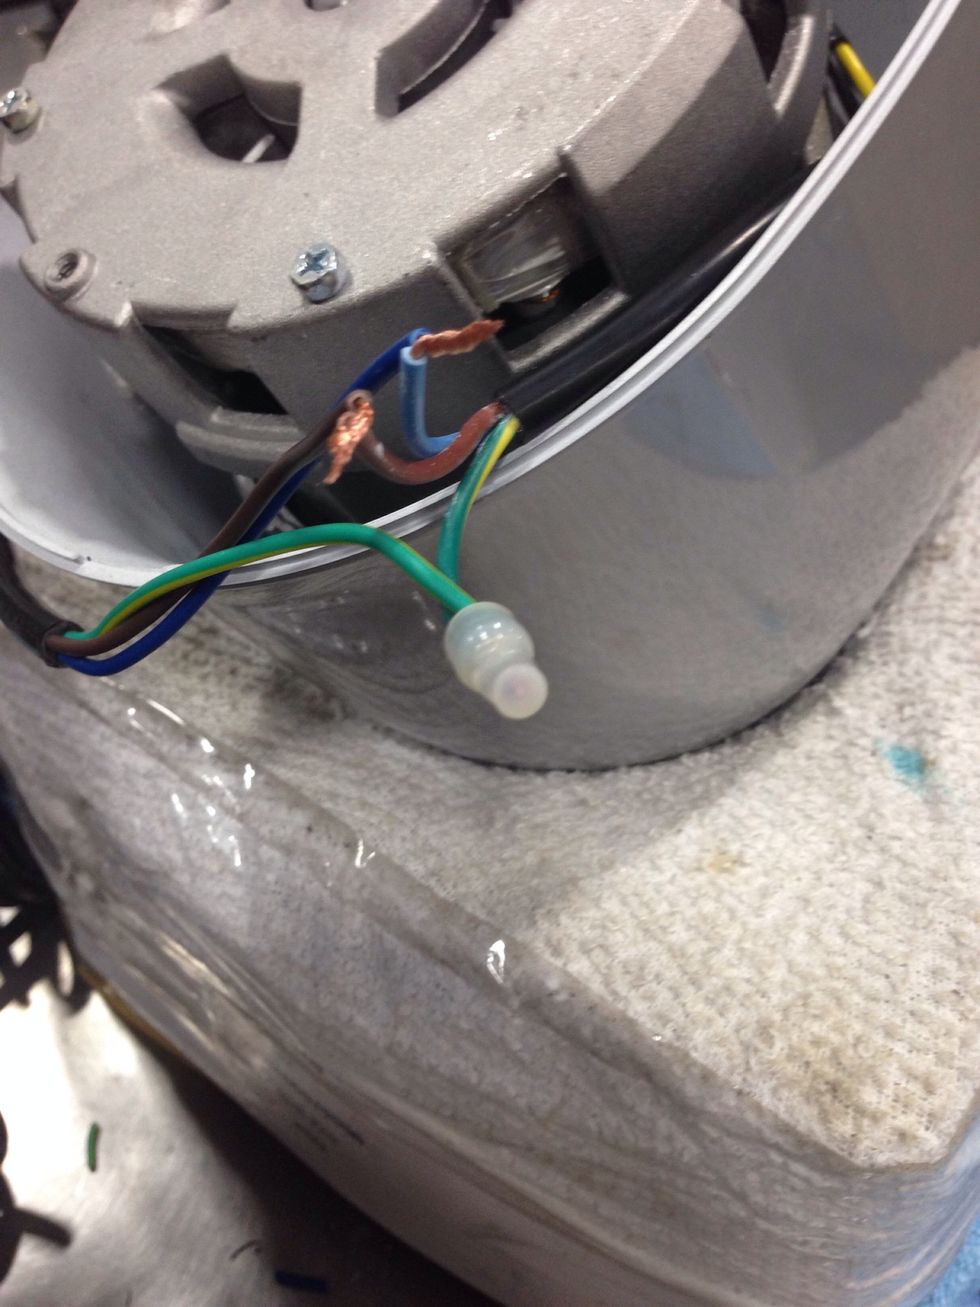
Use a butt type connector to secure the wires. Be sure to crimp them tightly
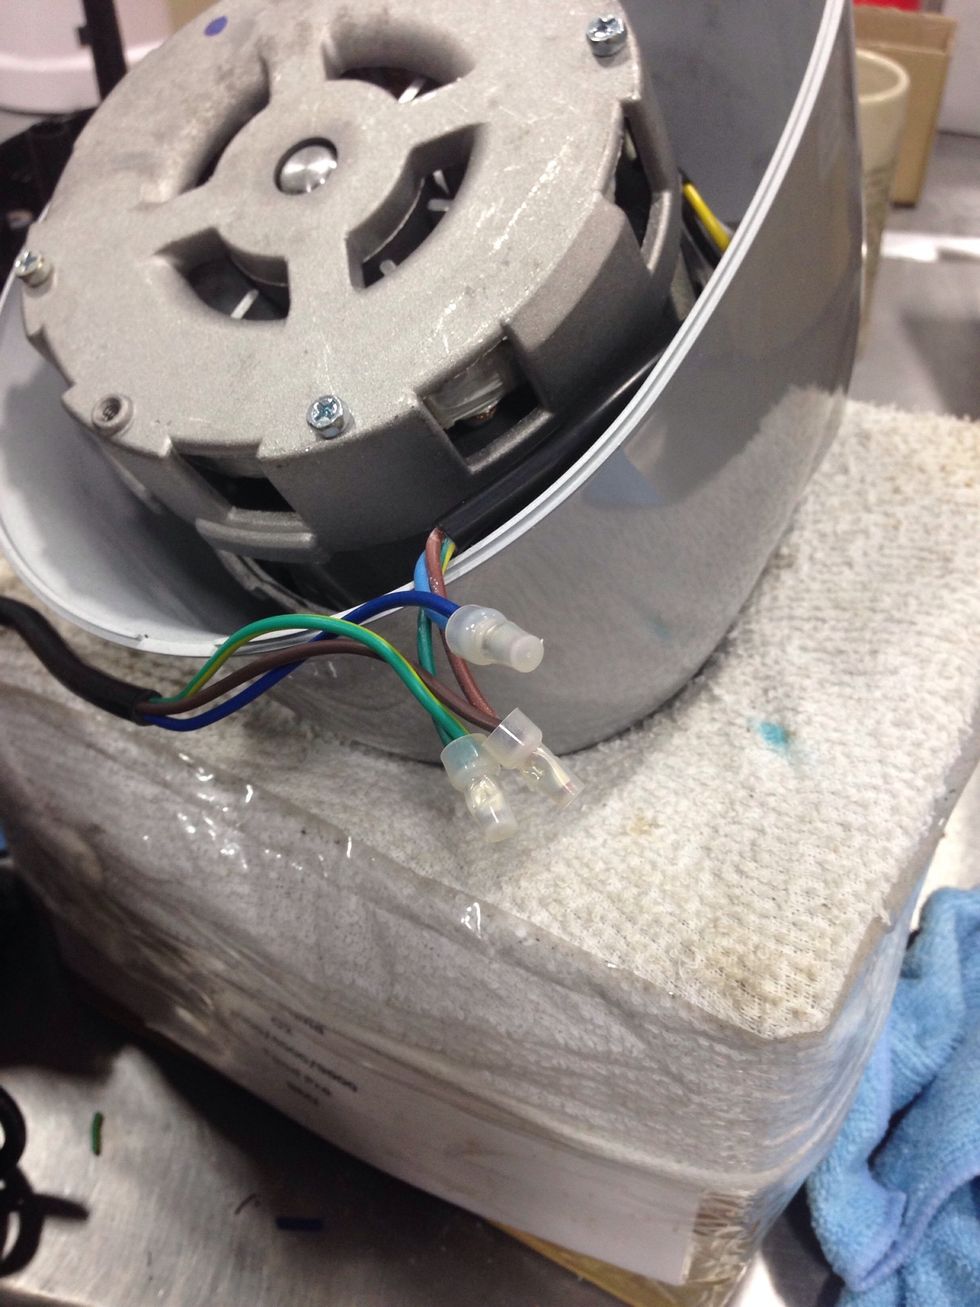
This is how your wires should look.
Replace the base plate, please note the position of the tension relief grommet. There is a spot that lines up with the base.
Re-secure all 3 base plate screws. This is the final step to complete the conversion!