How to change the oil pressure sensor on a ducati
Change the Oil Pressure Sensor on a Ducati
2487
STEPS
TOOLS
This is pretty much the same directions for 80's, 90's & 00's Ducatis. The sensor is the same for most models. This is an example using a 2000 Ducati 996S 4V water cooled motor.
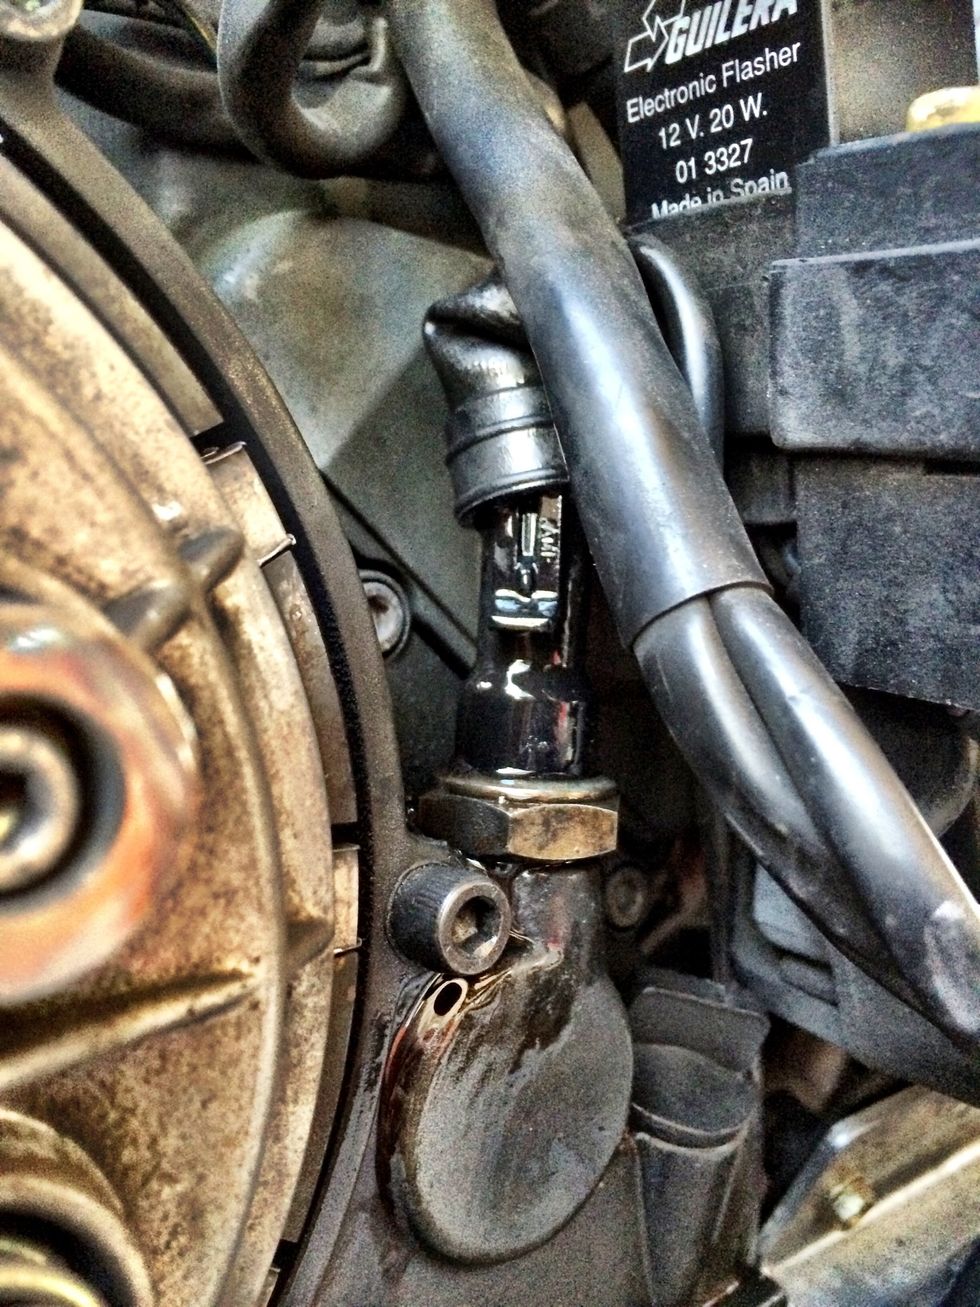
As you can see... The oil pressure sensor has sprung a leak!
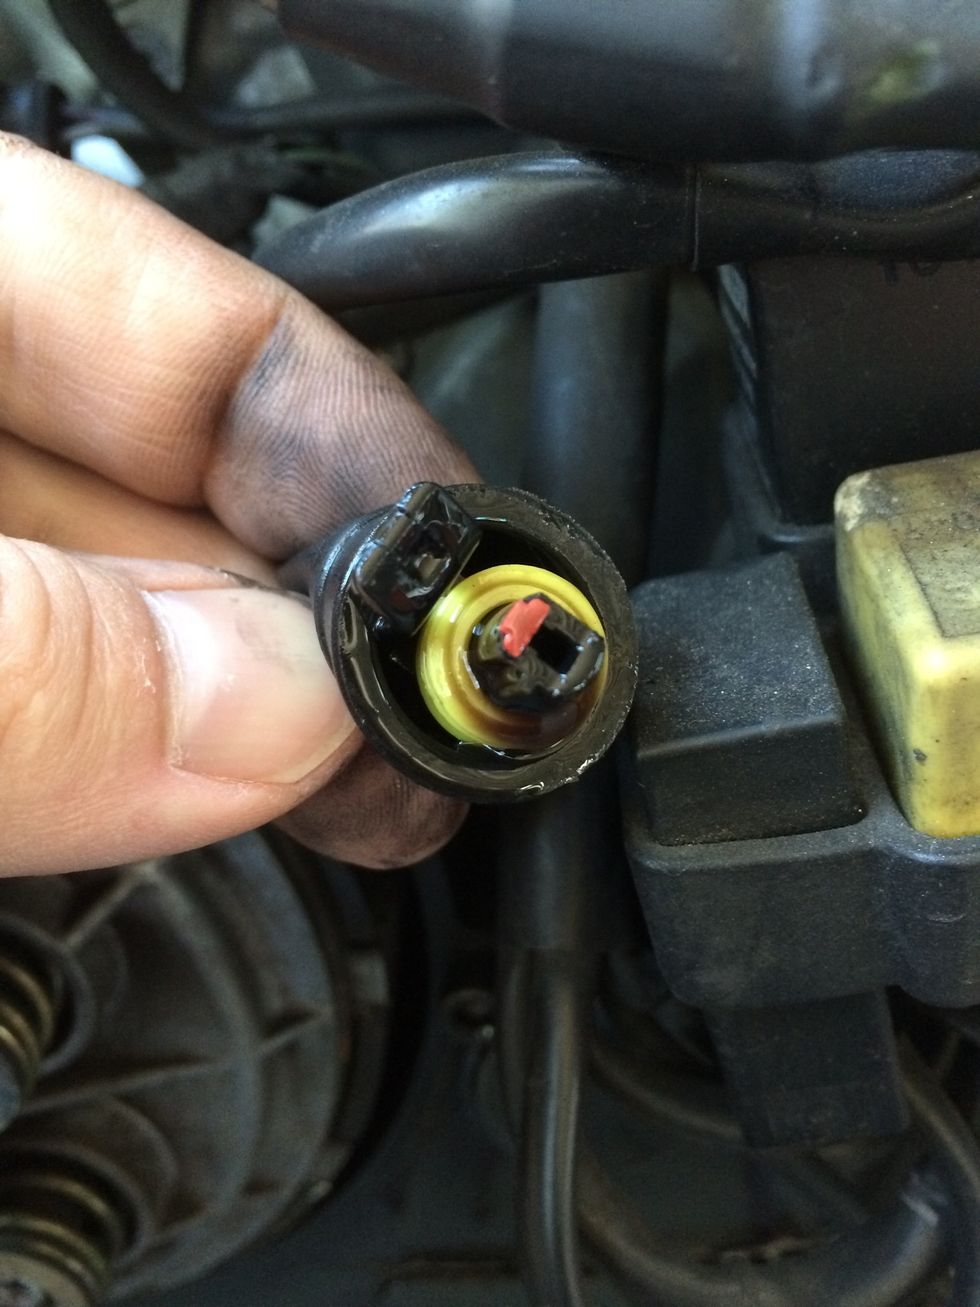
Remove the connector. You'll need to clean all the oil off the connector and engine case. I didn't wear gloves in the pic. I recommend you do.

The snap connector housing can be removed for cleaning. If damaged you can replace it with the one supplied with the sensor. If it's in good shape then I recommend keeping the original.
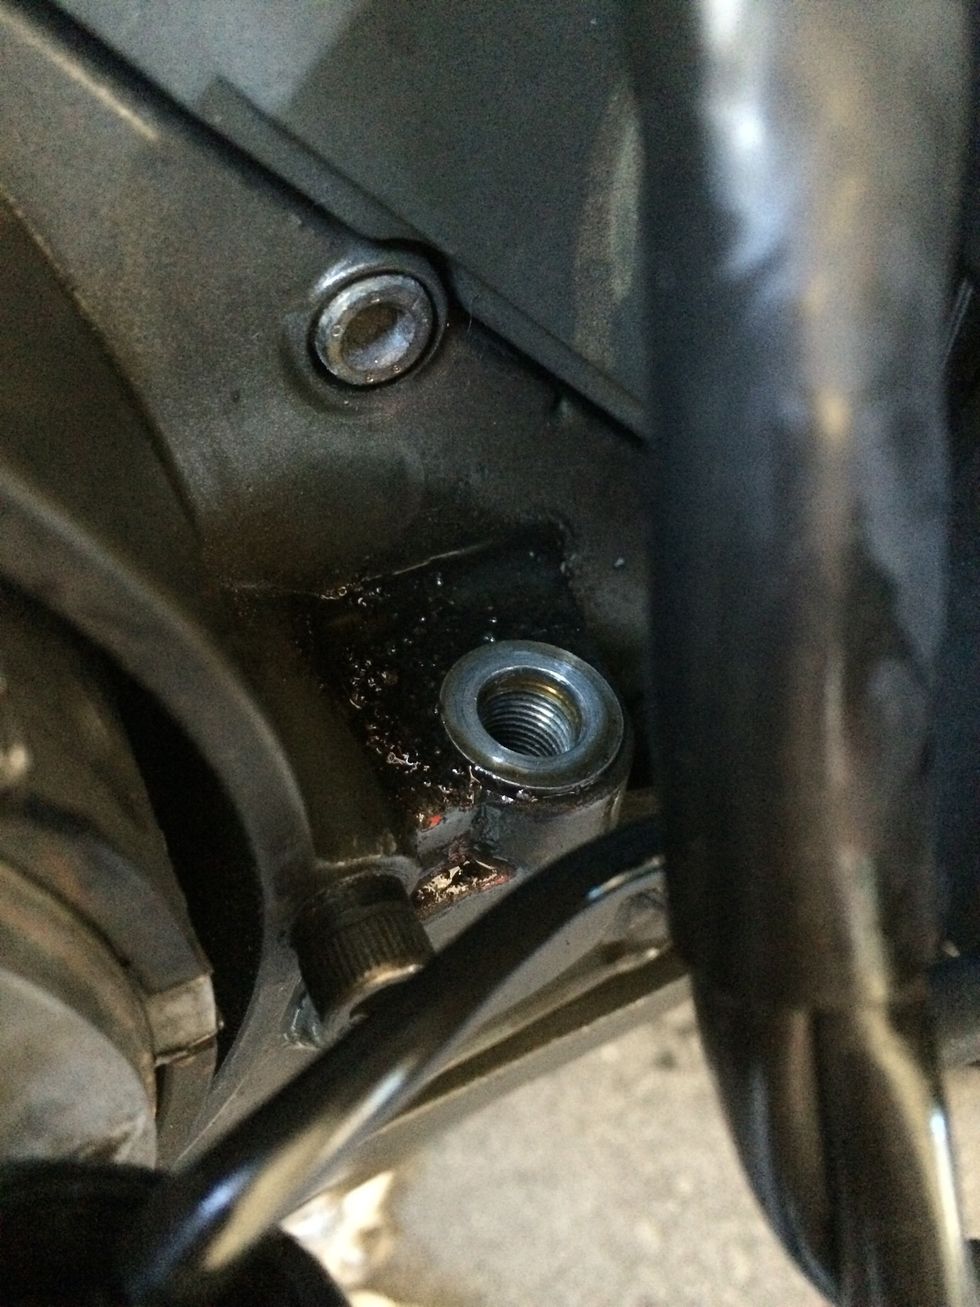
Try and clean around the sensor before removal. Dirt can deposit behind it and you DO NOT want to let it fall into the engine! Removal of the sensor should be fairly easy with an adjustable wrench.
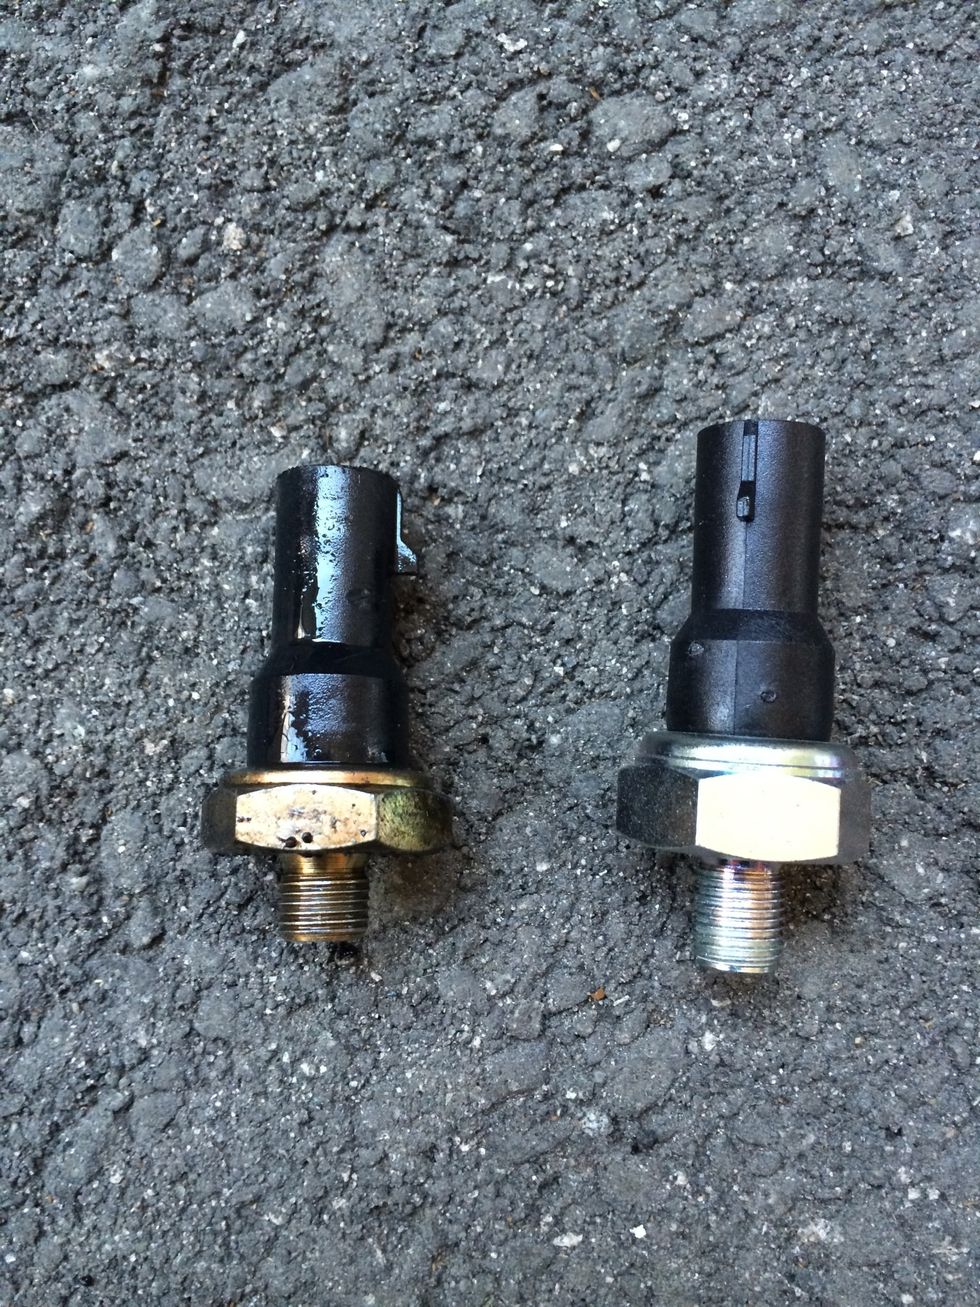
Old sensor on the left and new one on the right. The threads are longer and the bolt area is taller. This is fine. The engine will accept this without any issue.
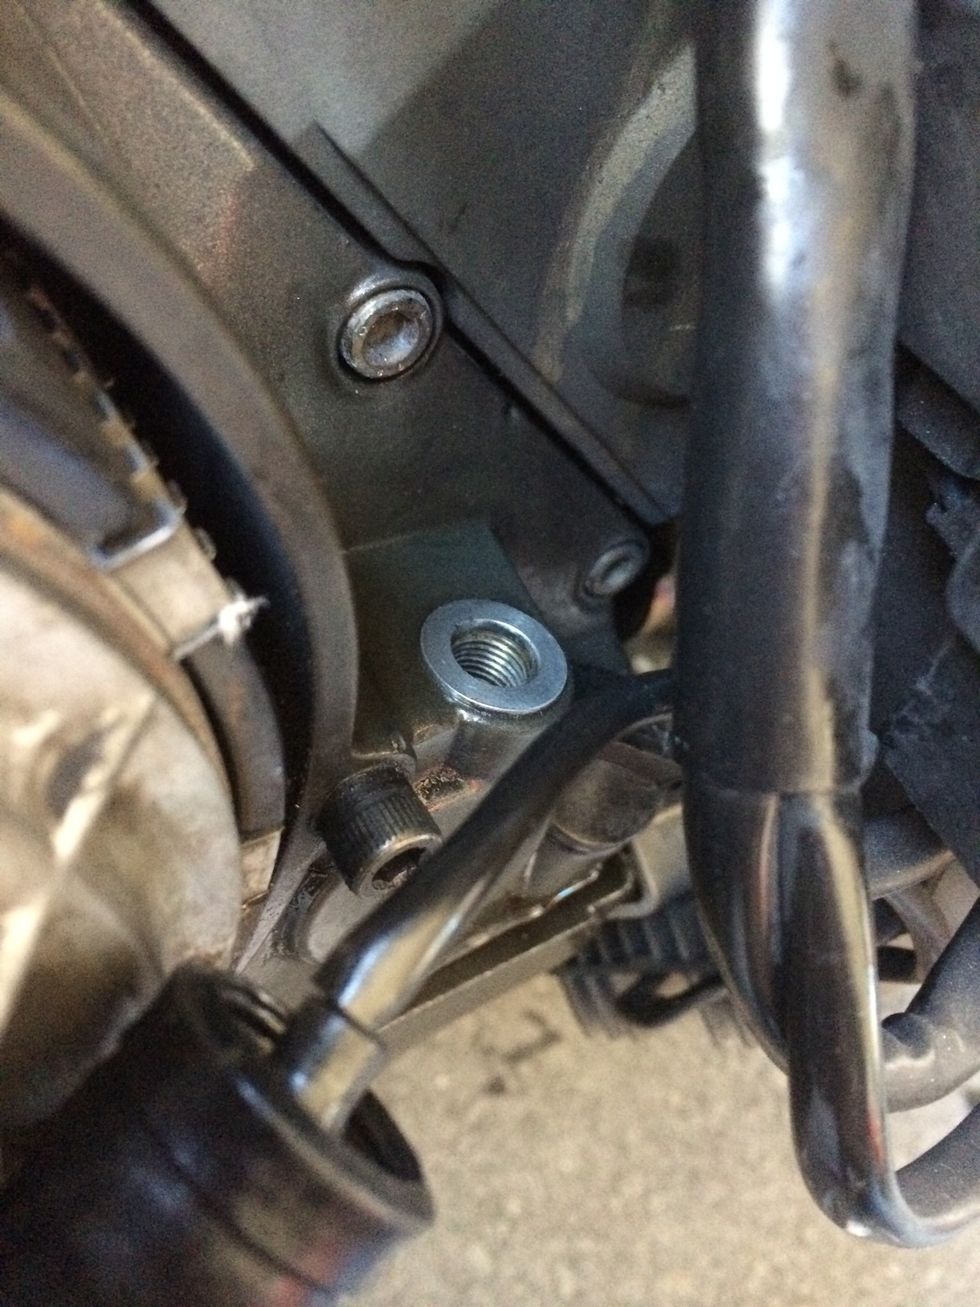
After you clean everything you may notice you're missing the crush washer. If you are, it's probably still stuck on the case as shown here. Clean it up and reuse it. It's thick aluminum & reusable.

The new sensor has longer threads and a deeper sensor. This is an updated design and should fit all engine cases without issue.
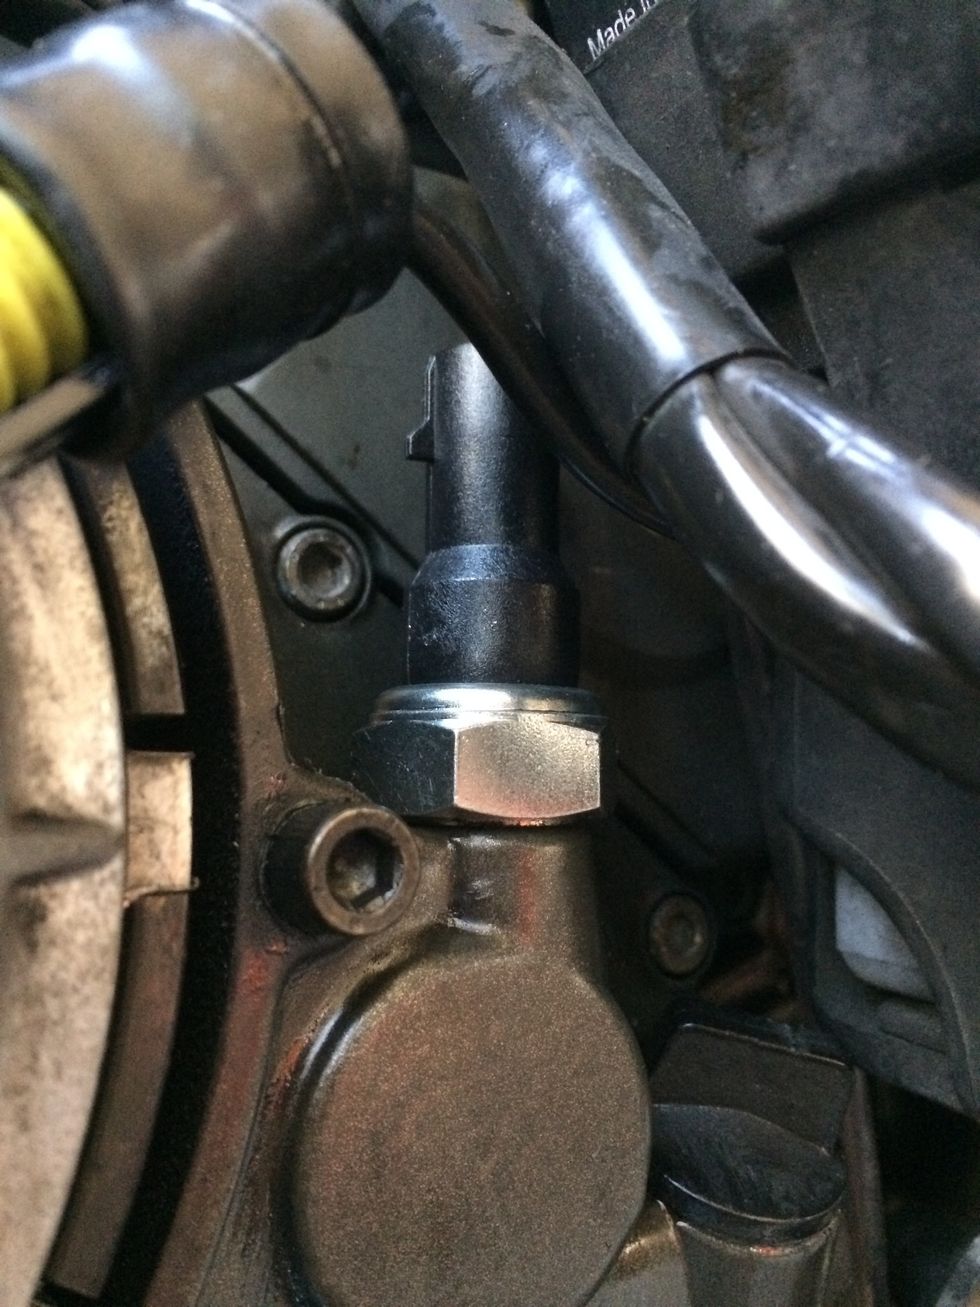
Here's what it looks like after you install the new sensor. Tighten it down snug but DO NOT over tighten! Snap the connector back on and fold over the water/dust cover.
Start up the bike and look for your oil pressure light on tour tach to go off and stay off. If it flickers then the connection could be bad. Allow the engine to warm up and check for leaks. Go ride!
- Adjustable wrench or 24mm thin wall socket
- 1.0part New oil pressure sensor
- 1.0part Crush washer (optional)
- 1.0part Carb cleaner
- 1.0bnch Paper towels or rags
- 1.0 Nitrile gloves