The Conversation (0)
Sign Up
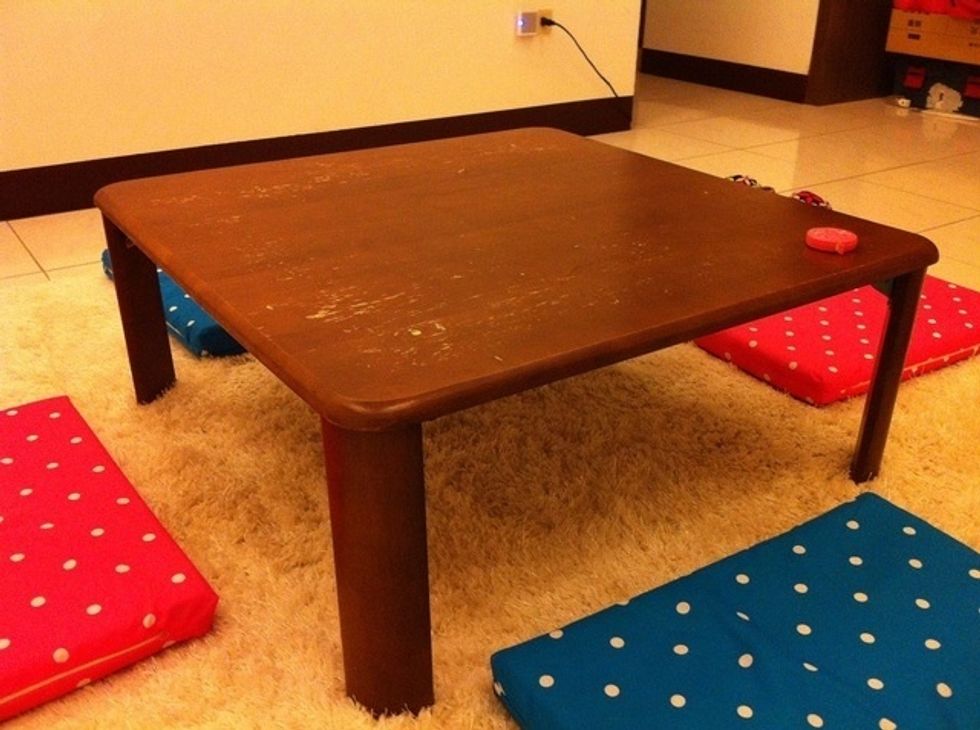
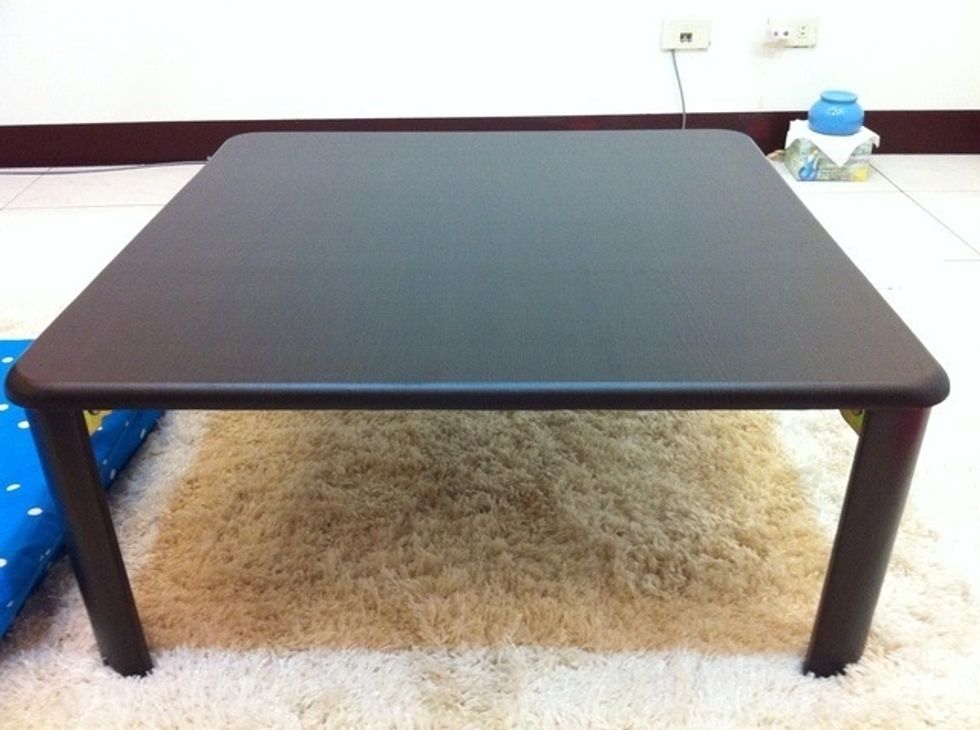
Few days ago, I've got an old table from my sister. It's a good chance for me to try PVC pad! 因為還沒找到喜歡的桌子,妹妹搬了張和室桌給我擋,桌子樣式還不錯,可是因為買很多年了,所以桌面傷痕累累的。 前兩天忽然想到以前一直很想玩看看卻苦無機會實驗的波音軟片,徵求過妹妹同意後,開始我替桌子換衣服的計劃。

The very first thing I have to do is MEASURE. To make sure how much PVC pad we need to buy. 首先當然是測量,要儘量把邊緣都量到,才能計算所需的面積以及要購買的尺寸。
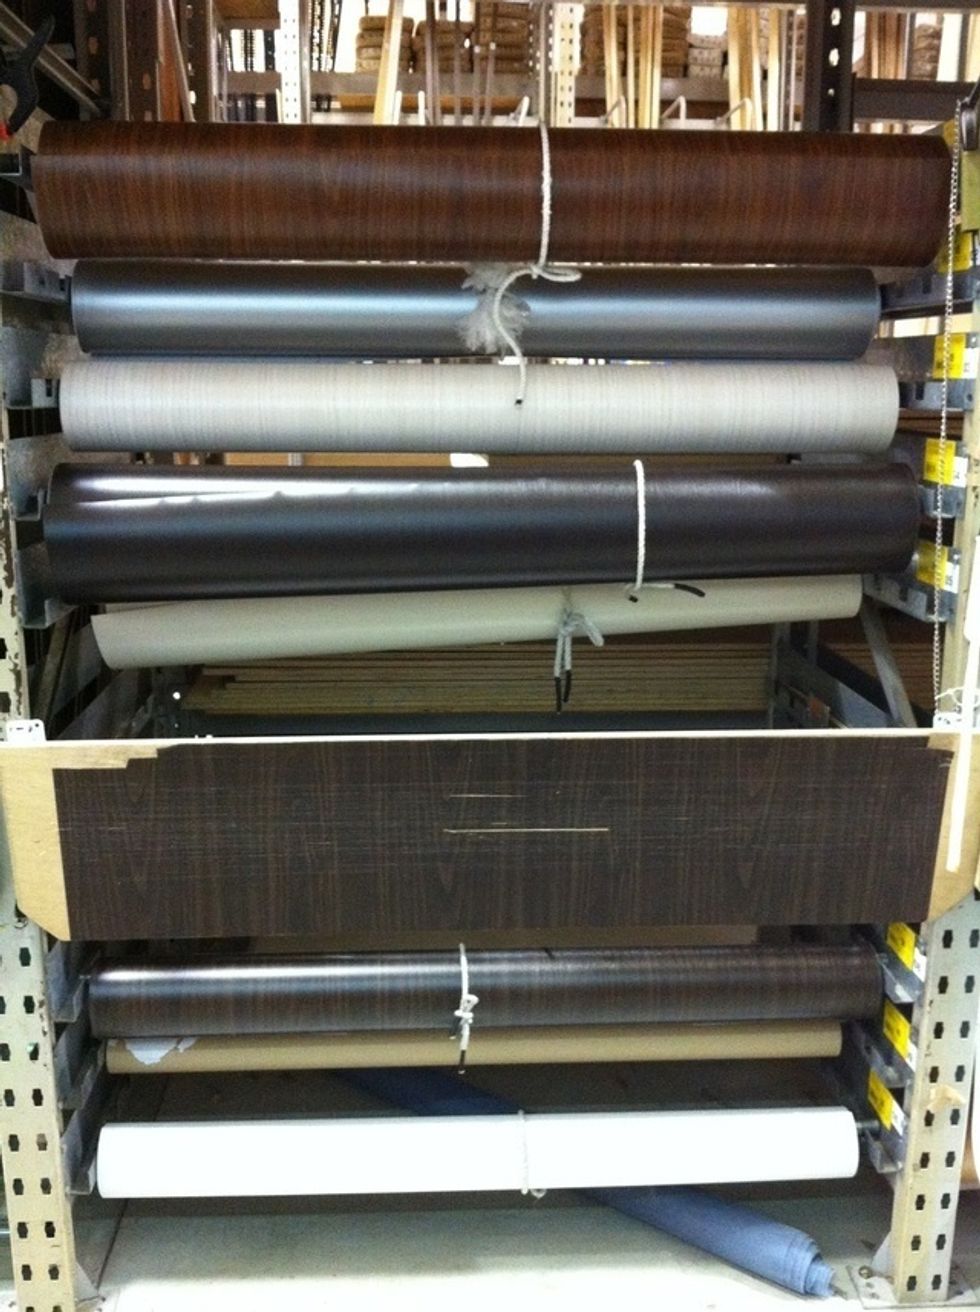
I came to the PVC pads area of B&Q and choose the color you like. You also can find the pads in any other DIY shop. 來到B&Q的波音軟片區,開始挑選需要的色調。
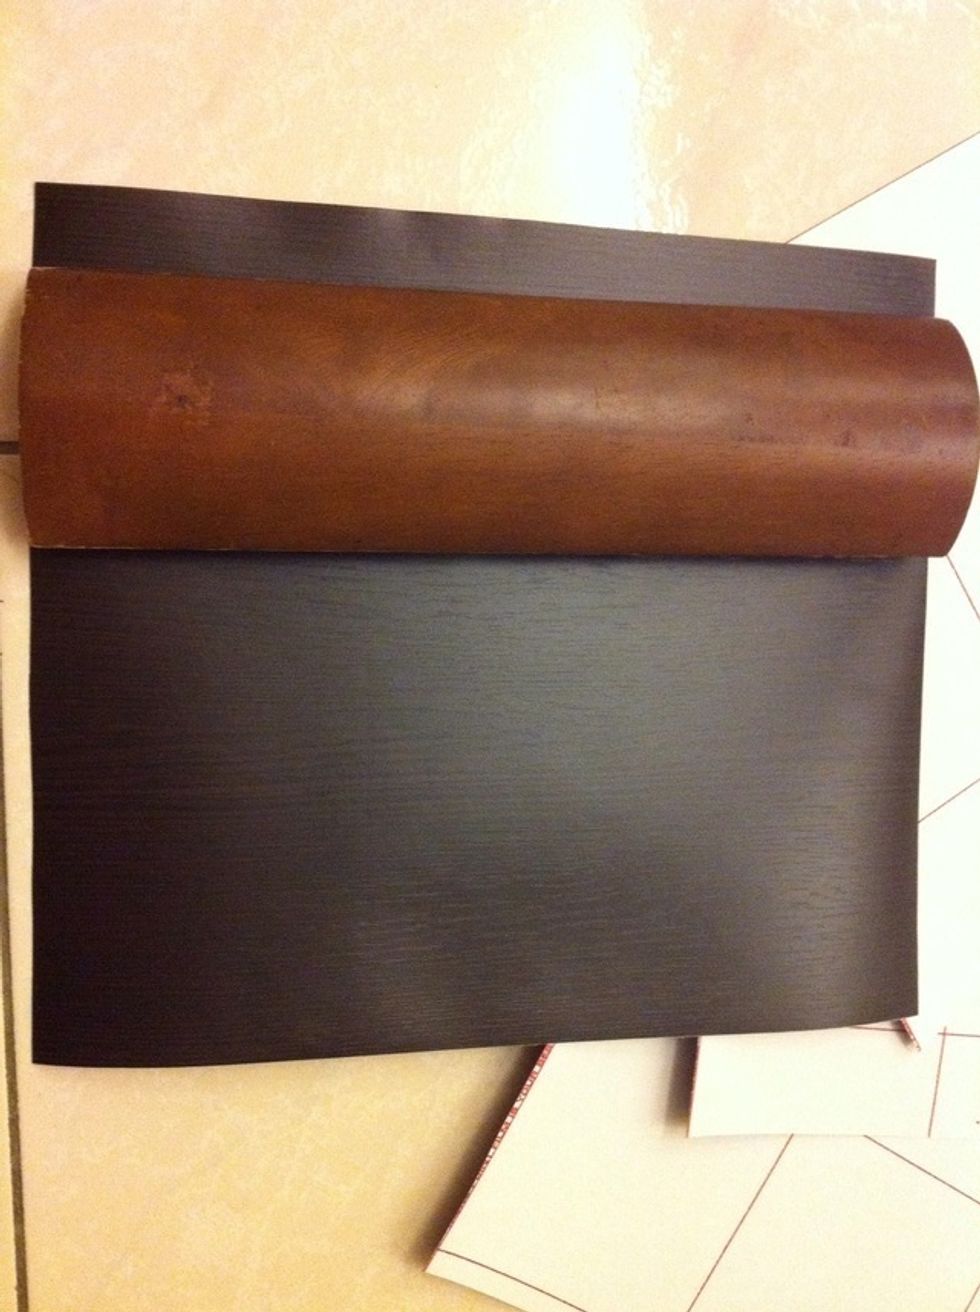
![I choose the darkest color :) \u7531\u65bc\u6211\u7684\u5730\u6bef\u662f\u767d\u8272\u7684\uff0c\u4e5f\u9810\u5b9a\u6703\u8cb7\u6dfa\u8272\u6c99\u767c\uff0c\u6240\u4ee5\u6211\u6311\u4e86\u6700\u5b89\u5168\u6c88\u7a69\u7684\u9435\u5200\u6728\u7d0b\u3002\u2730 [\u9435\u5200\u6728\u7d0b\u6ce2\u97f3\u8edf\u7247]\uff1a\u5bec120cm\uff0c\u6bcf\u5c3a$45\uff081\u5c3a=30cm\uff09](https://guides.brit.co/media-library/i-choose-the-darkest-color-u7531-u65bc-u6211-u7684-u5730-u6bef-u662f-u767d-u8272-u7684-uff0c-u4e5f-u9810-u5b9a-u6703-u8cb7-u.jpg?id=23841651&width=980)
I choose the darkest color :) 由於我的地毯是白色的,也預定會買淺色沙發,所以我挑了最安全沈穩的鐵刀木紋。✰ [鐵刀木紋波音軟片]:寬120cm,每尺$45(1尺=30cm)
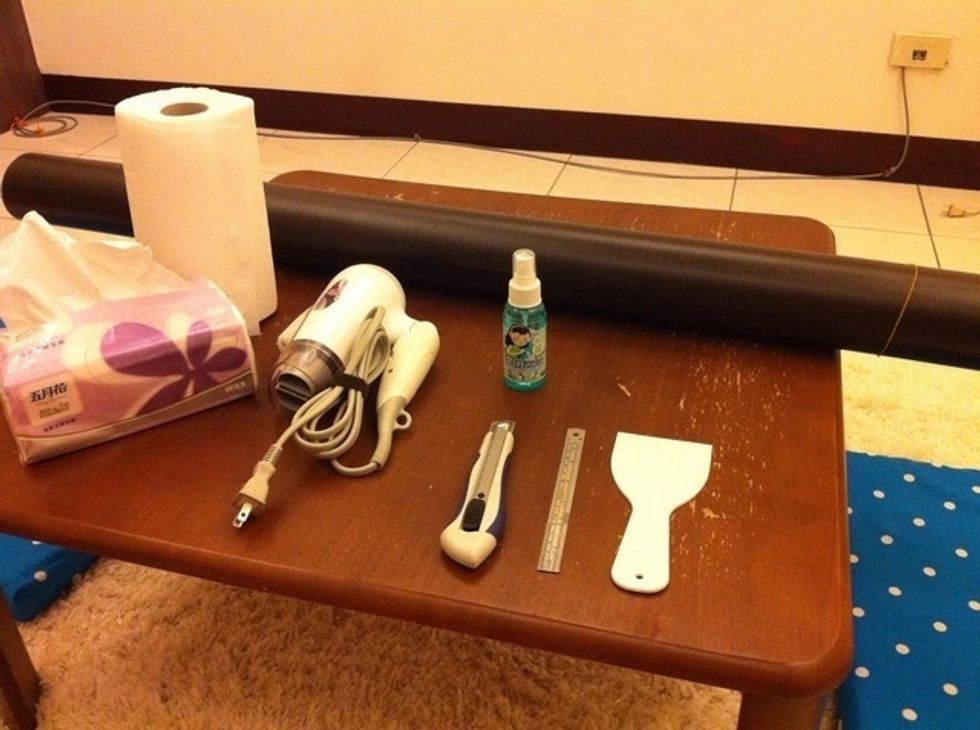
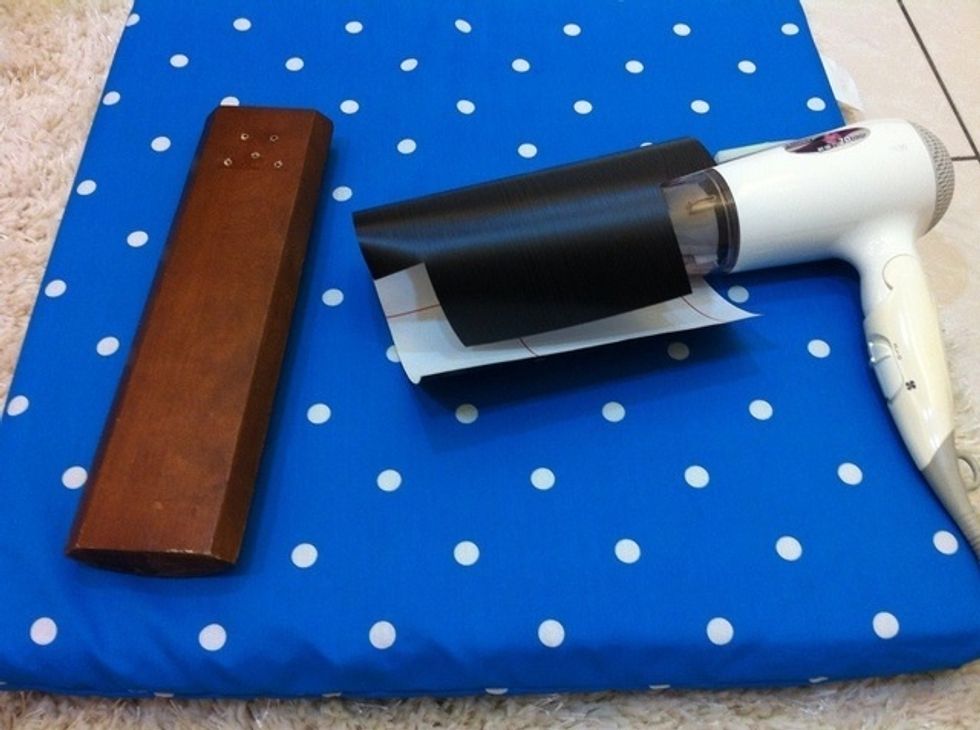
Prepare these tools. 把傢俬請出來集合吧〜酒精噴霧用來清潔桌面,塑膠刮刀是避免起泡,如果沒有也可以用塑膠尺或者不掉絮的軟布替代。衛生紙跟廚房紙巾只需要一種,重點是不要容易掉屑的,當然,廚房紙巾最佳。 吹風機是只要是會出熱風的吹風機就好,沒有負離子並不礙事的囧
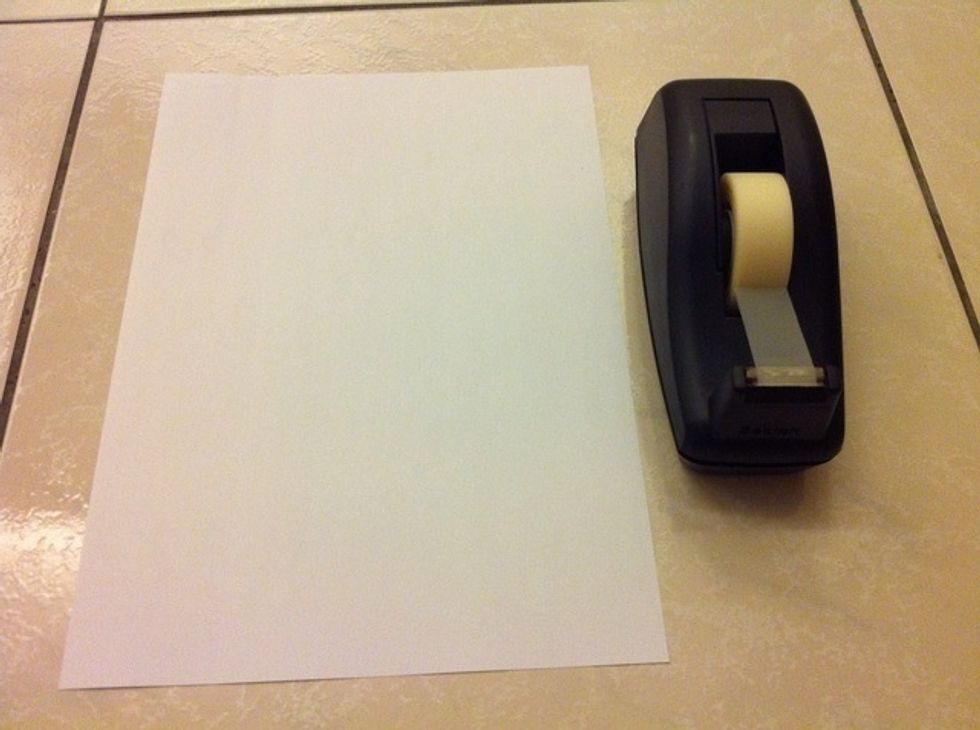
Don't forget the tape and a A4 paper. 還有膠帶好朋友跟A4紙一張。
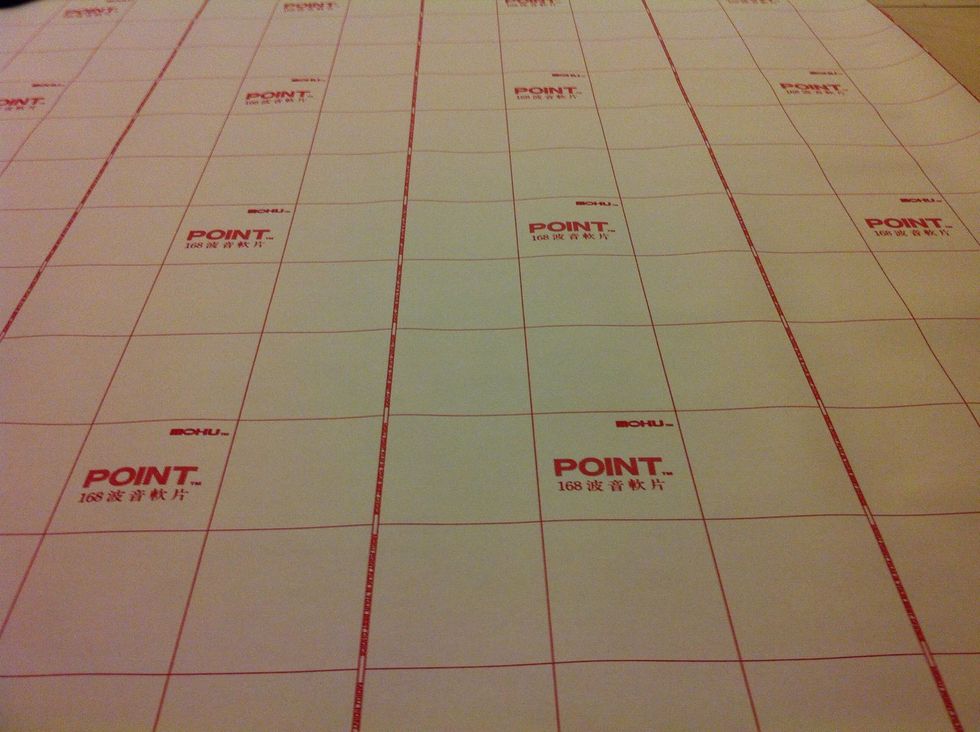
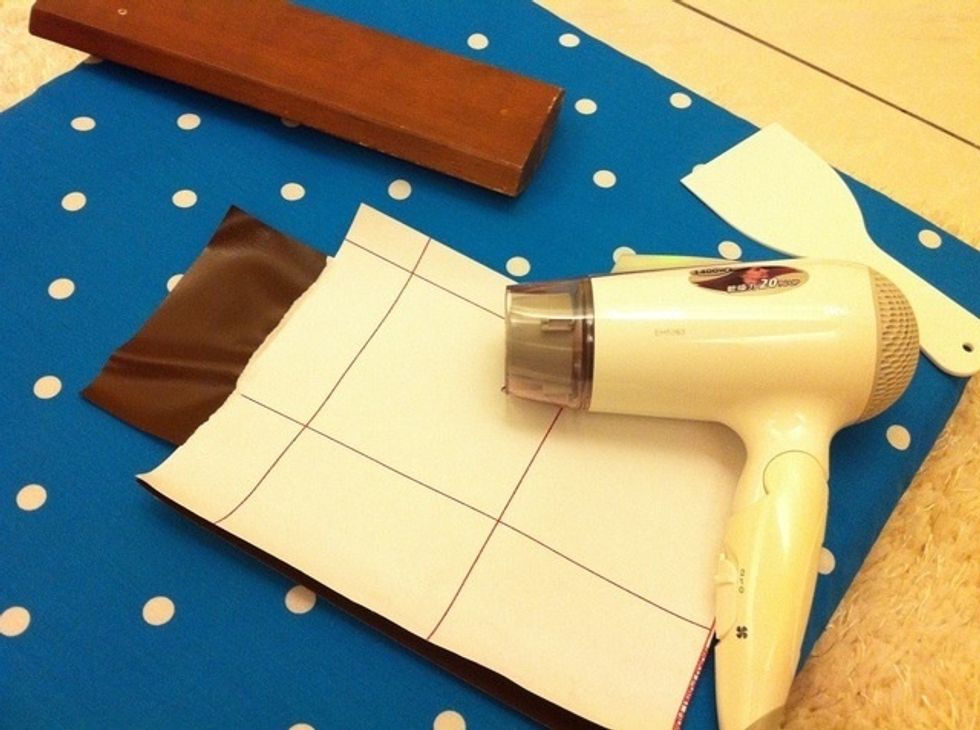
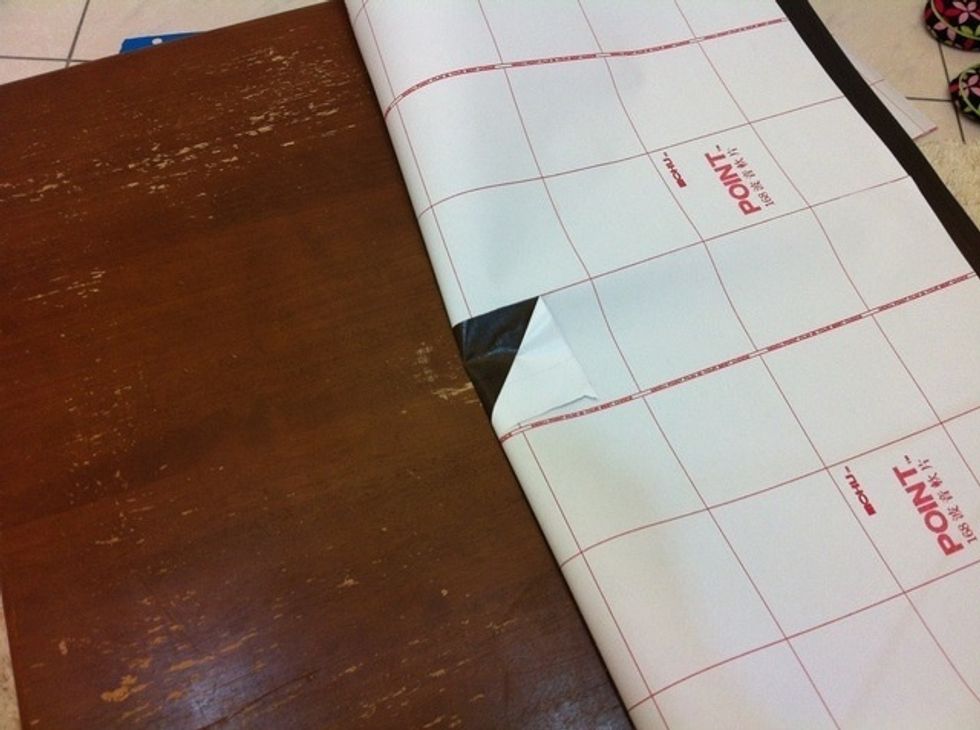
There are grid on the backside of pad and each of them is 10cmX10cm sized. So we will how long or wide we are cutting if we don't have a ruler by us. 波音軟片背面都有格子,每格為10cm,方便沒尺時的裁切與計量。
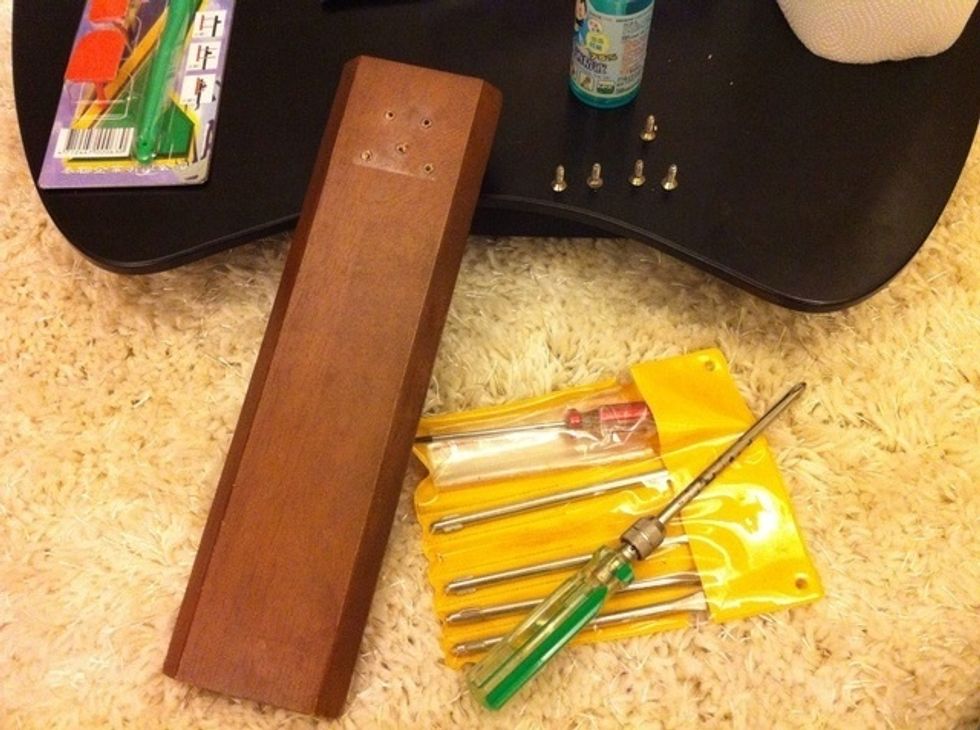
I removed the screws of the table legs and take the legs one side. It will be much convenient for the later works. 因為我有「看見螺絲就想拆」的強迫症,所以桌腳被我卸下來了。不過我建議最好還是都卸下來,這樣要貼軟片的時候比較方便。
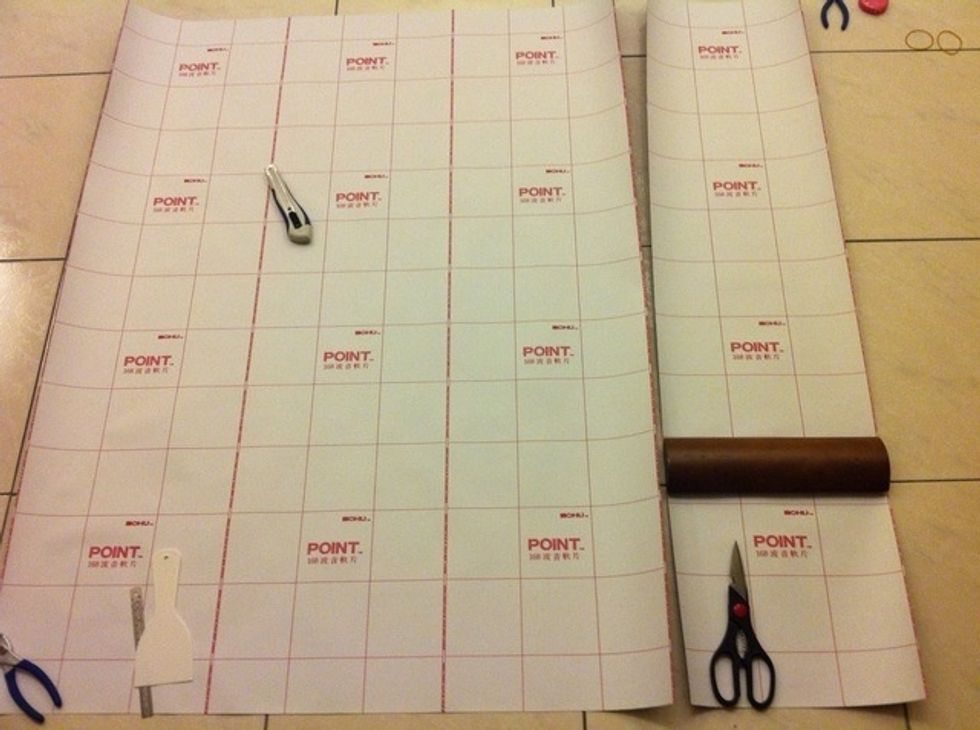
I've cut the pad to two parts. The left part is for table and the right part is for table legs. 將軟片分成兩部分,左邊是桌面的,右邊是桌腳的。
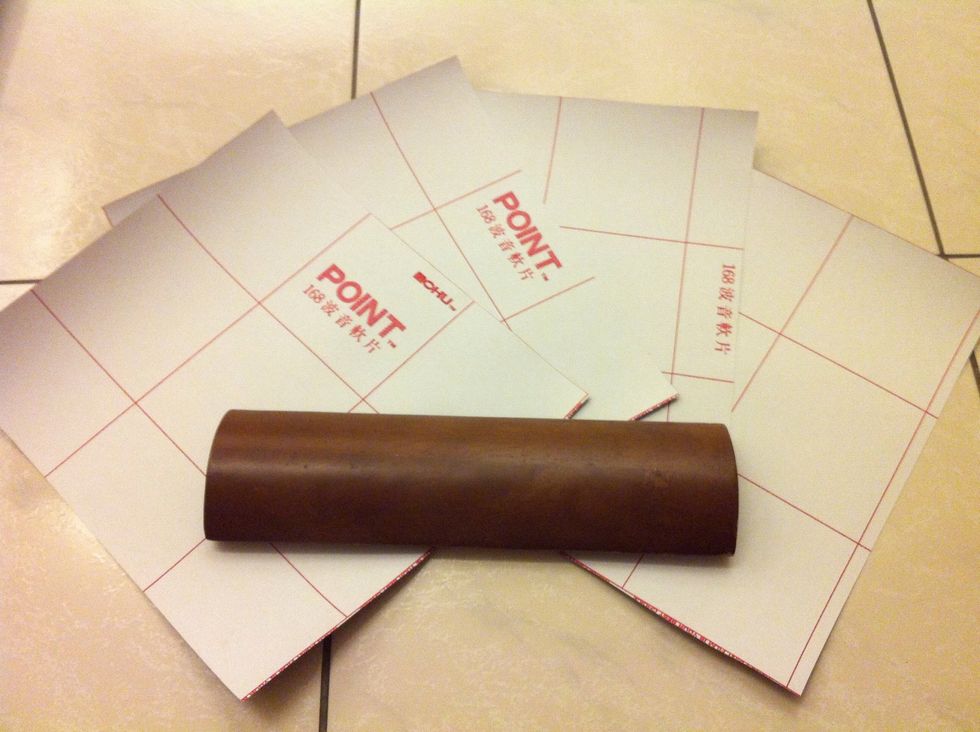
And cut the table pad to 4 parts. 簡略地將桌腳部分分成4份。
注意木紋方向,我喜歡它貼好後呈現直條的紋路,當然如果你不那麼注重這方面的搭配感,也隨意啦〜
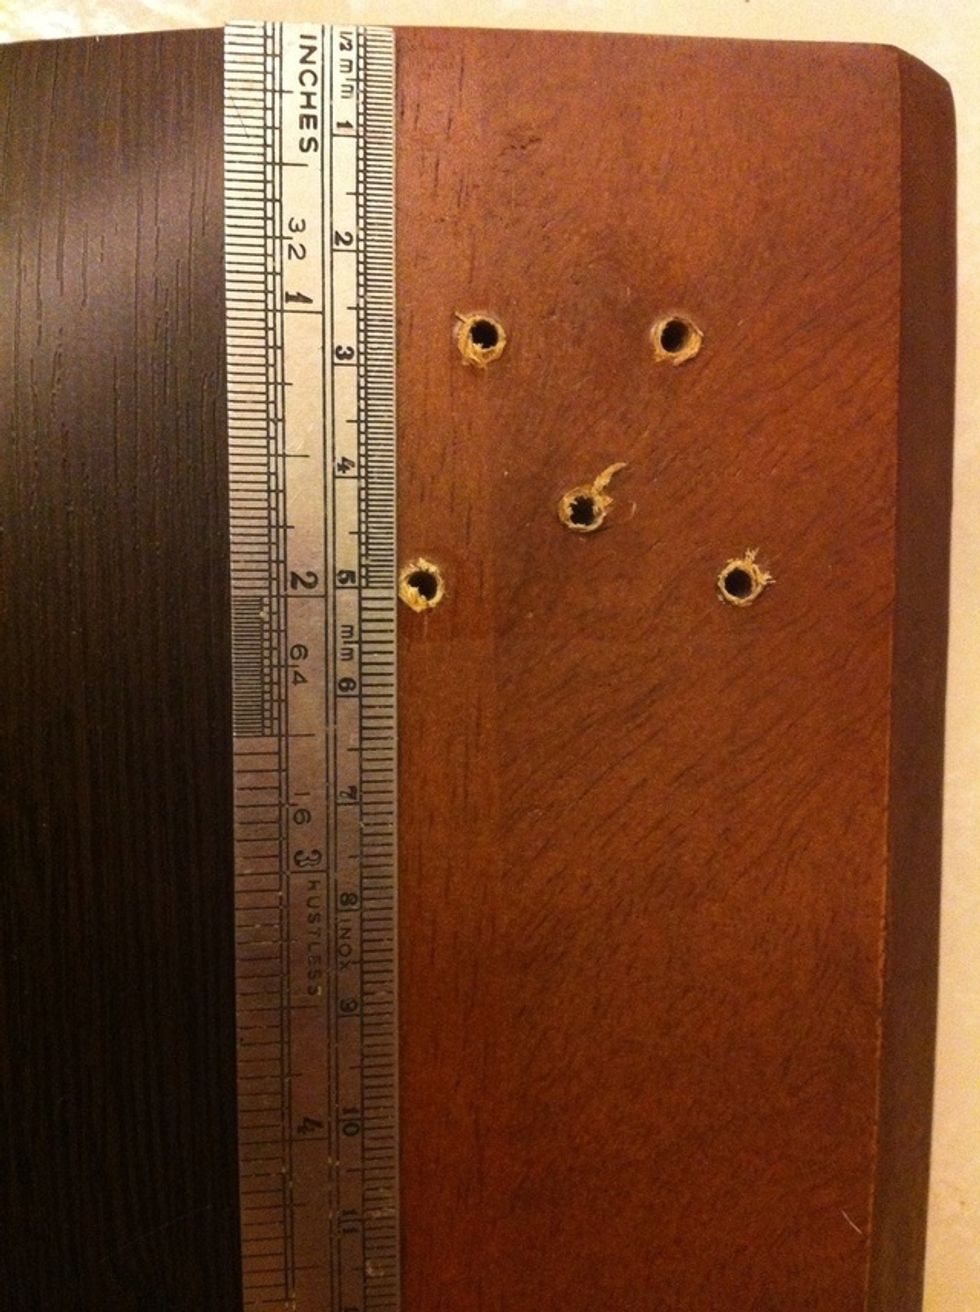
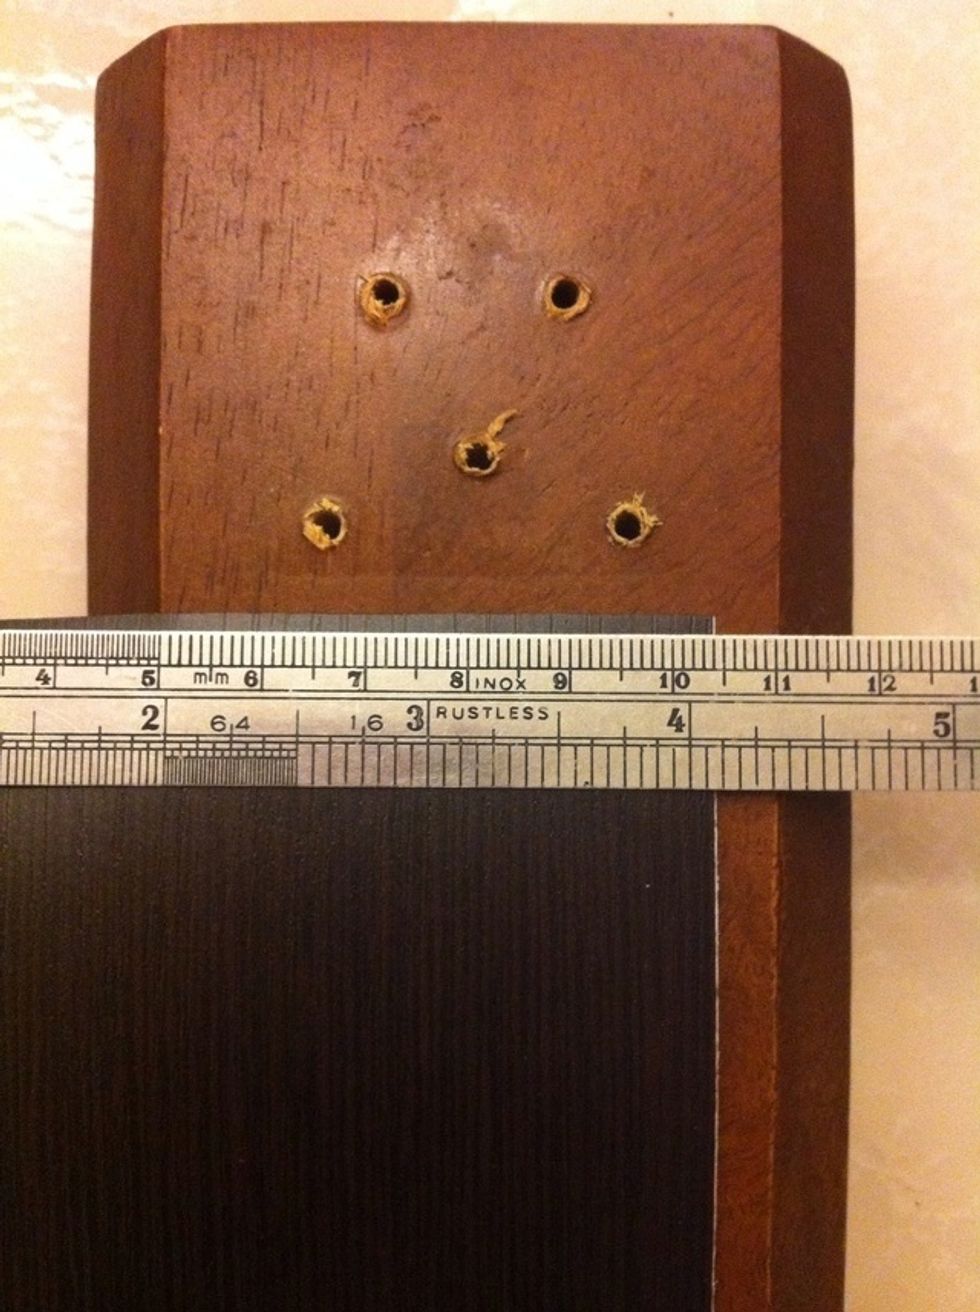
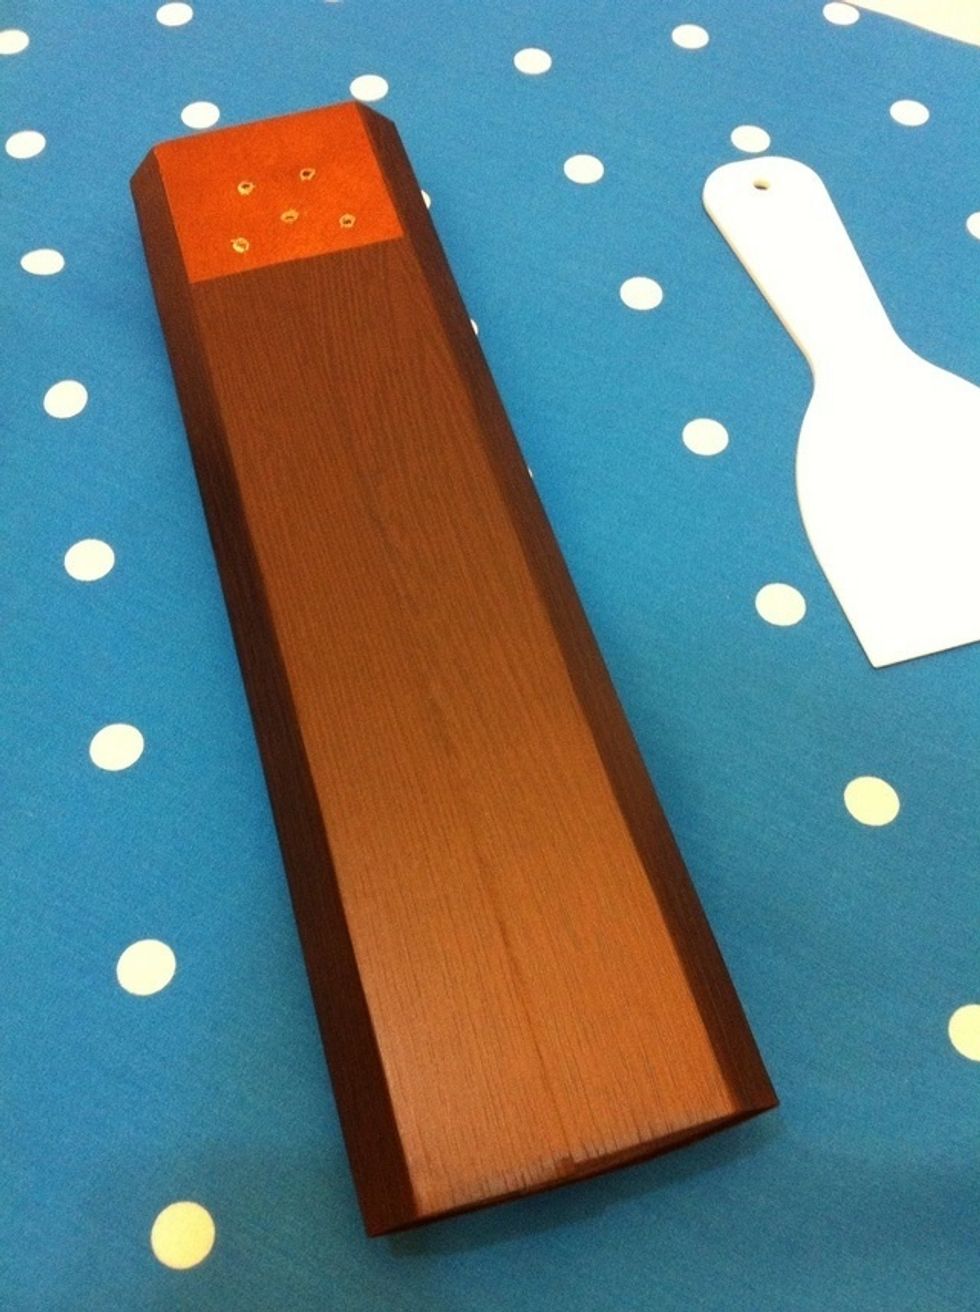
測量螺絲區域的大小。
其實懶一點的話也可以整支桌腳都包起來,螺絲孔要鎖時再挖就好了。
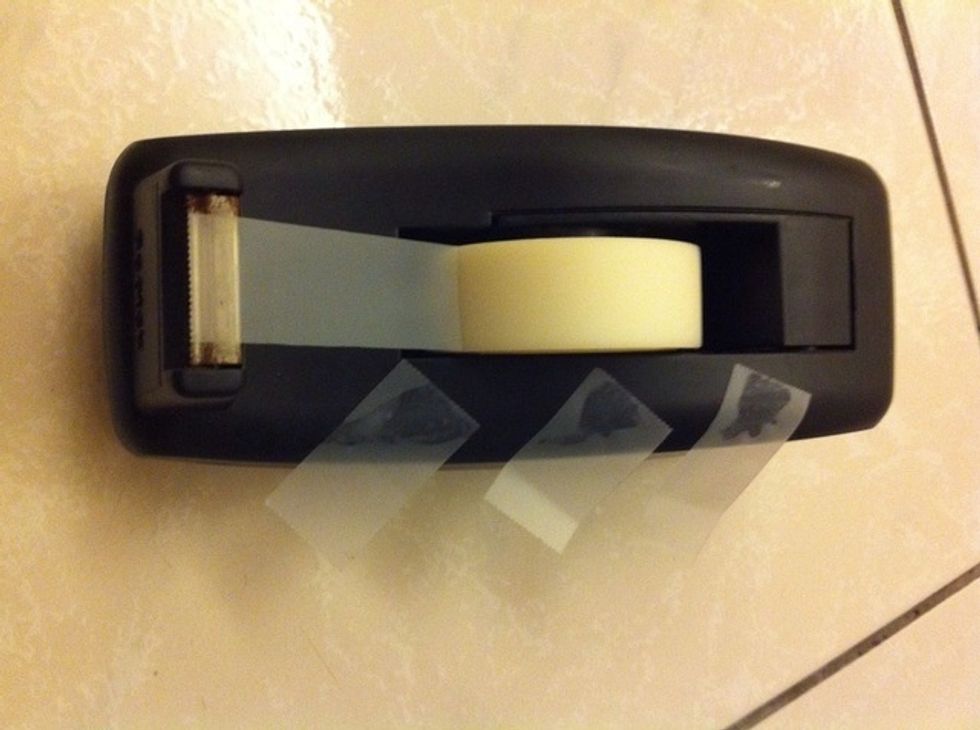
請膠帶好朋友先standby。
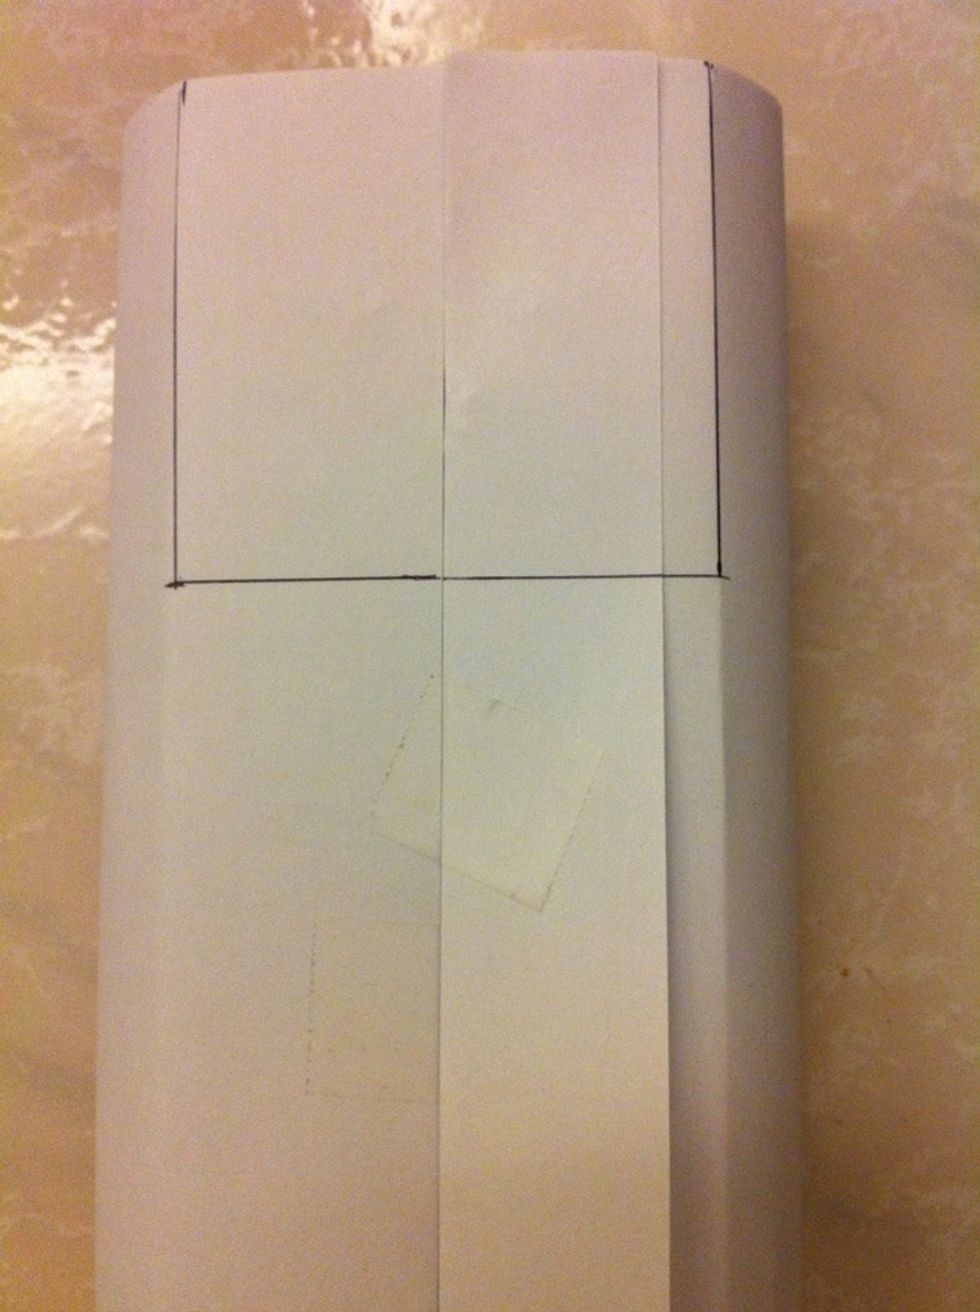
取出A4紙,貼合包住桌腳,並標記要裁掉的區域。
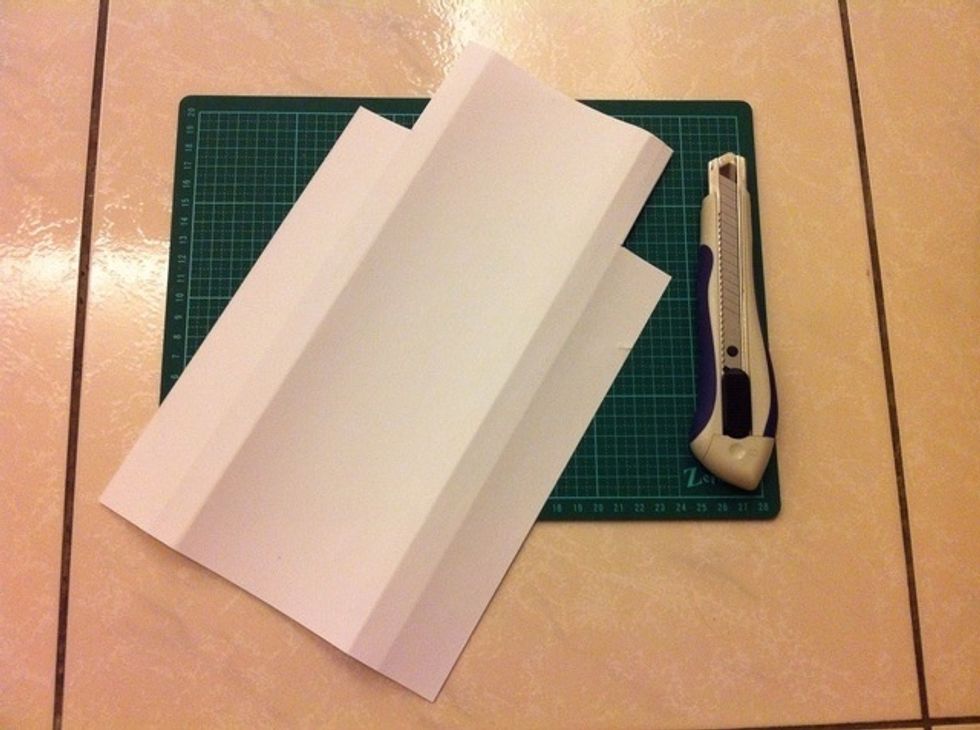
拿掉膠帶,裁開標記區域,桌腳的紙樣就完成了。
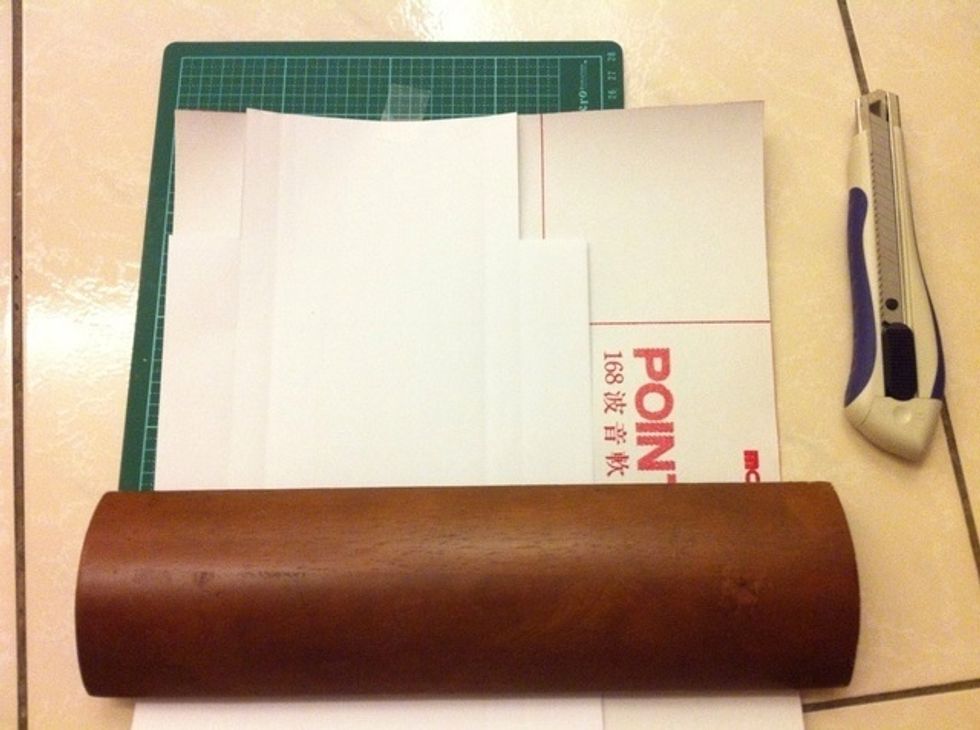
對到剛剛的桌腳區塊軟片,裁剪所需大小。別忘了預留一點邊,畢竟多了可以修掉,少了就醜了。
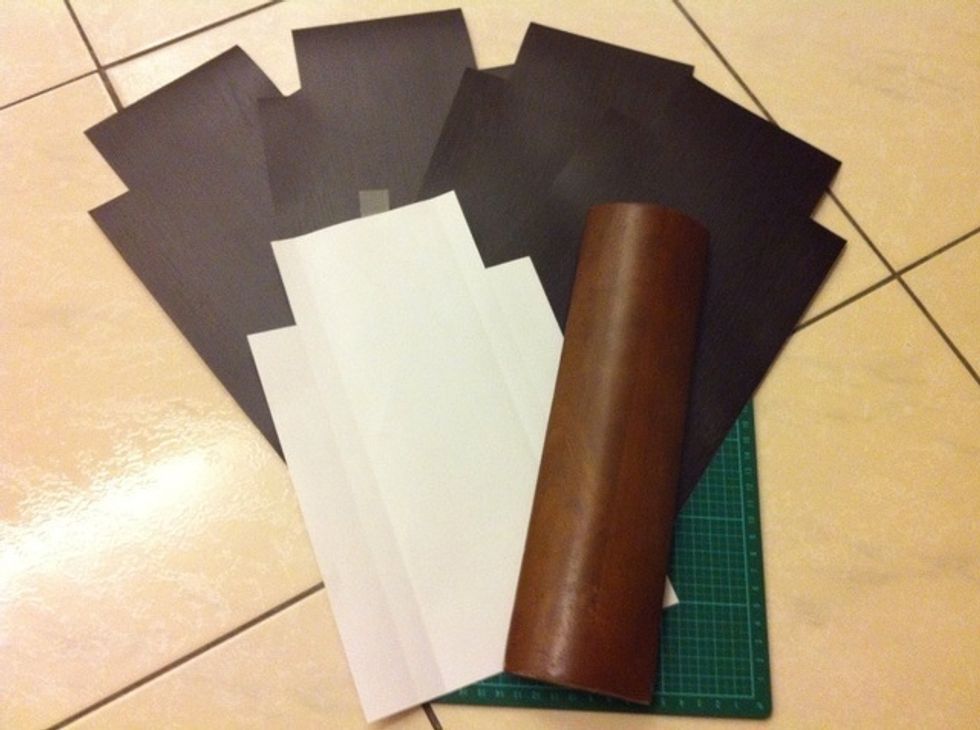
將4片桌腳的貼片都裁好備用。
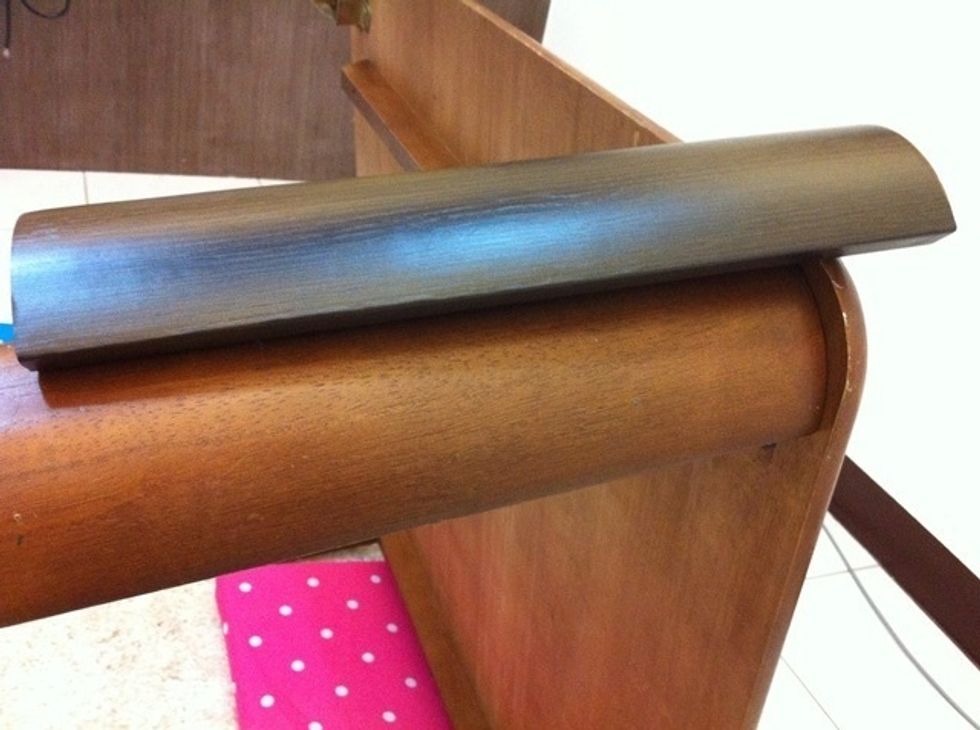
取出吹風機,將軟片吹熱,一來膠會較黏,二來可以使軟片有較佳的延展性。
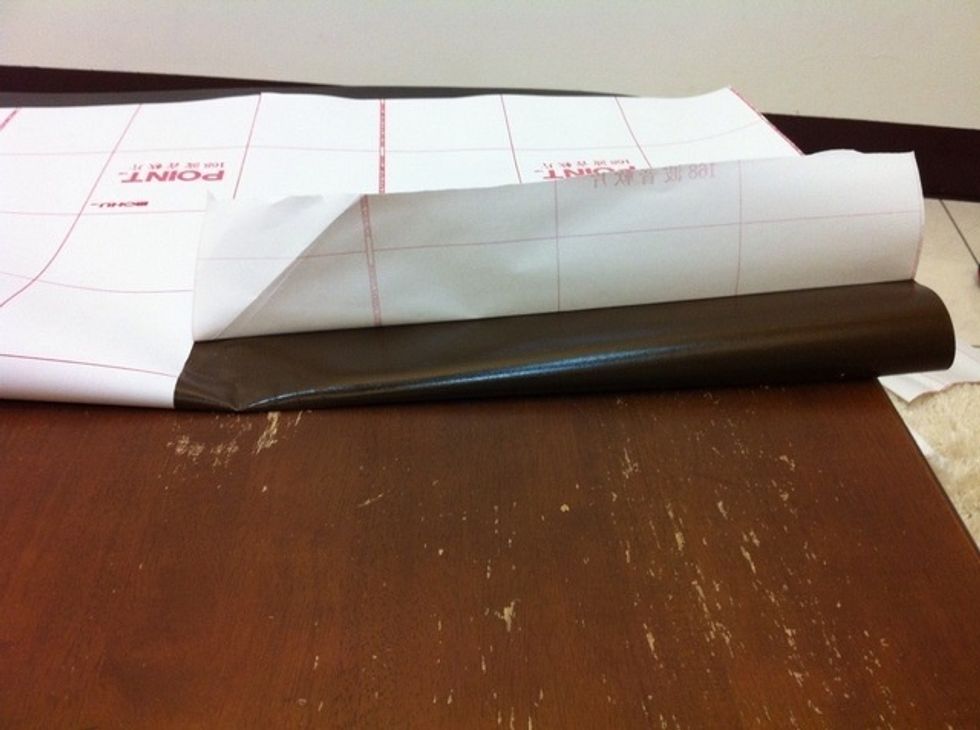
要從哪裡貼起其實是看個人,我是選擇有缺口的部分來對齊貼上,所以先將該部分的離型紙撕掉,再吹一下。
慢慢貼,搭配吹風機與刮刀可以讓軟片不容易起泡。
也來疊一下。
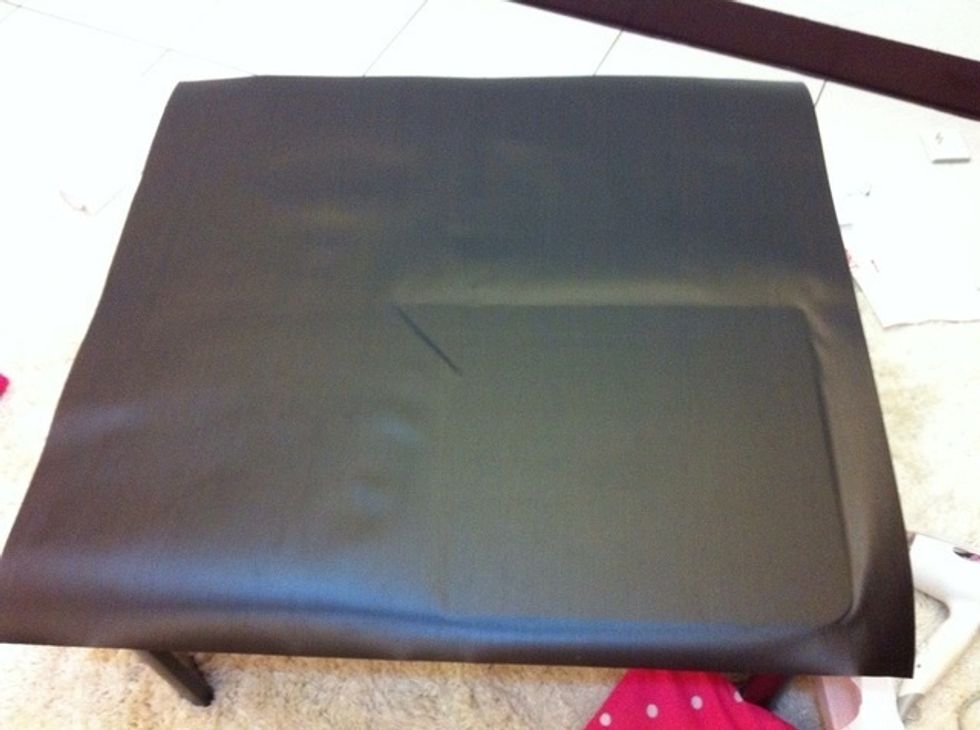
完成4支桌腳後就是桌面了。先將過大的區域裁掉,只留約5cm以方便施工。
接著翻到背面,取出大約的中心點,將離型紙以十字切開,小心別割到貼面。然後折出一個三角型貼至桌面中心點,這樣軟片就不會歪七扭八到處跑了。
選擇手順的方向,搭配吹風機與刮刀,一次一點距離,開始貼合。四周的圓角的技巧只有一個:吹給他熱燙燙軟綿綿,然後用力往外下方抓貼,再以吹風機一面吹一面修圓角,等冷了硬了再修掉多出來的裙裙。
加油!只剩一半了!
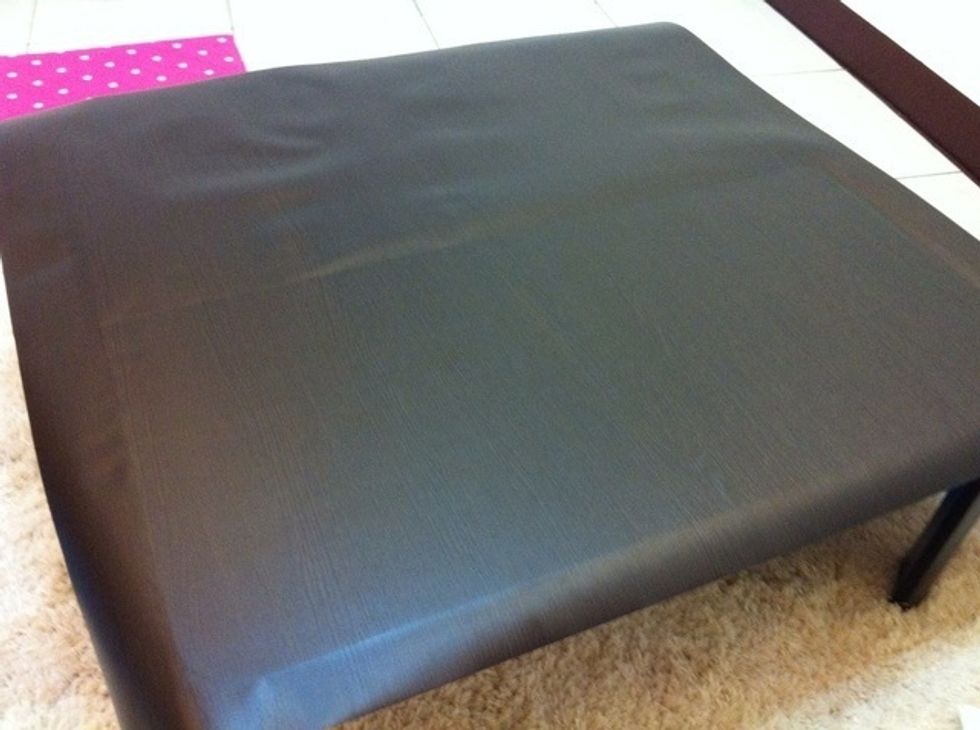
終わりました!
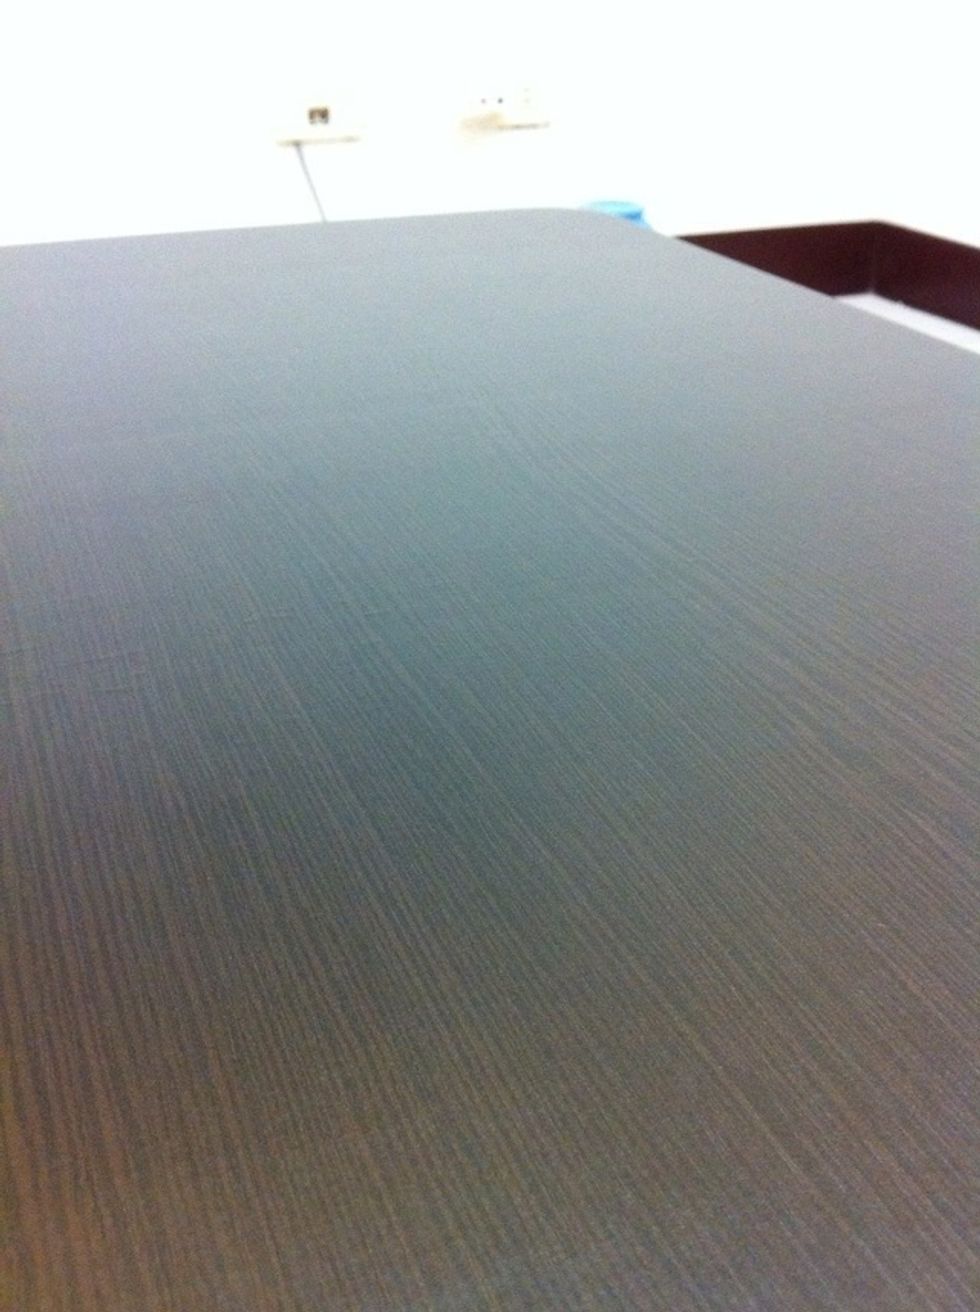
才花180就把桌面的坎坷都變不見囉!

是不是變得很有質感呢?
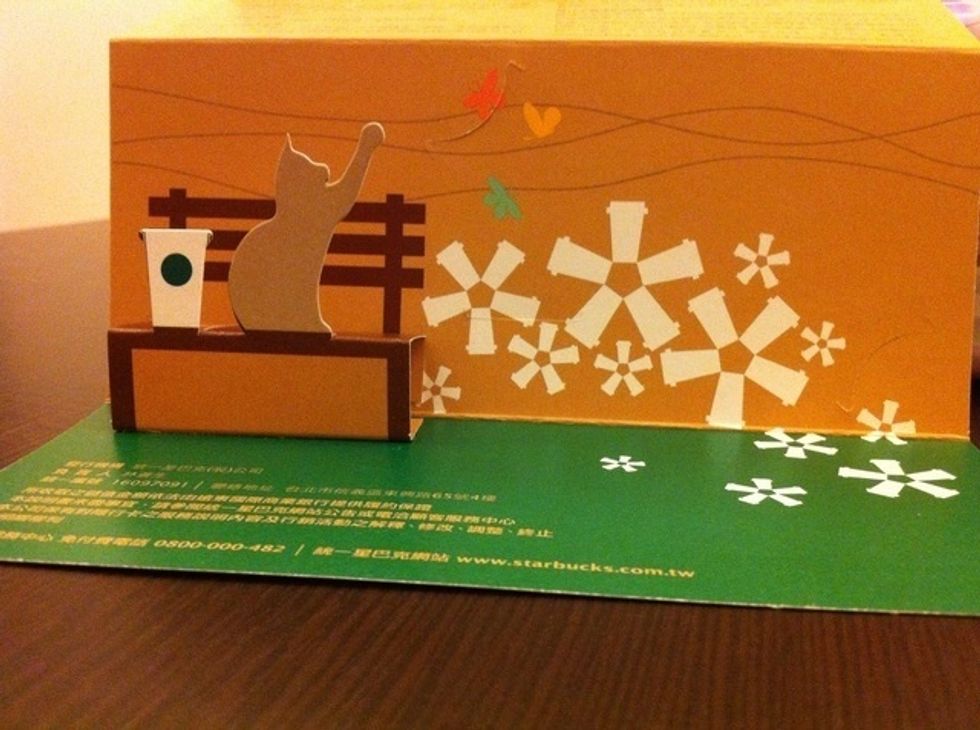
拍一下今天剛拿到的二代隨行卡套,鐵刀木紋真的很有喝咖啡的fu啊〜