The Conversation (0)
Sign Up

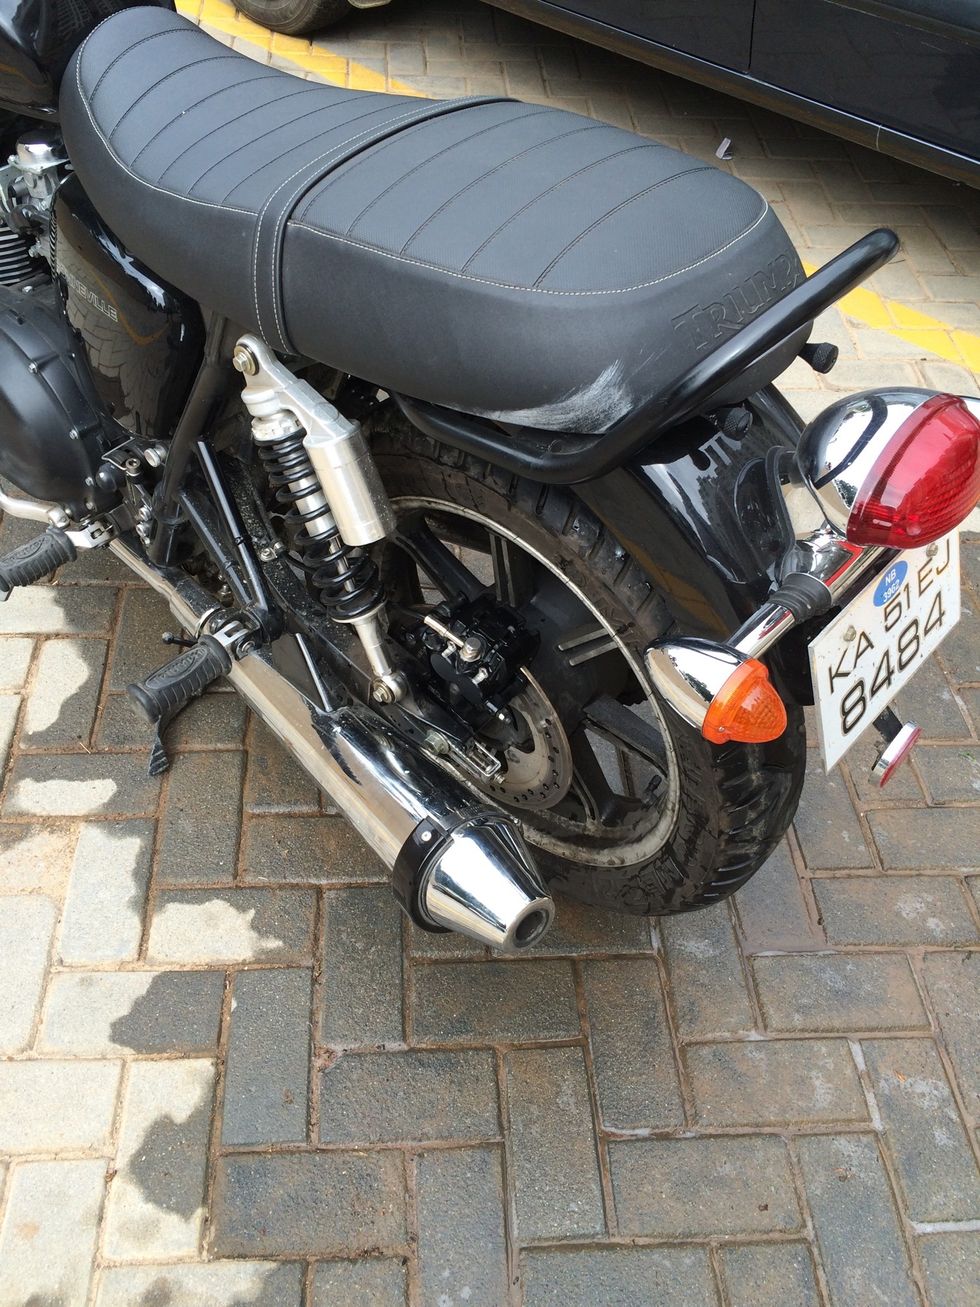
Put the motorcycle on center stand or paddock stand
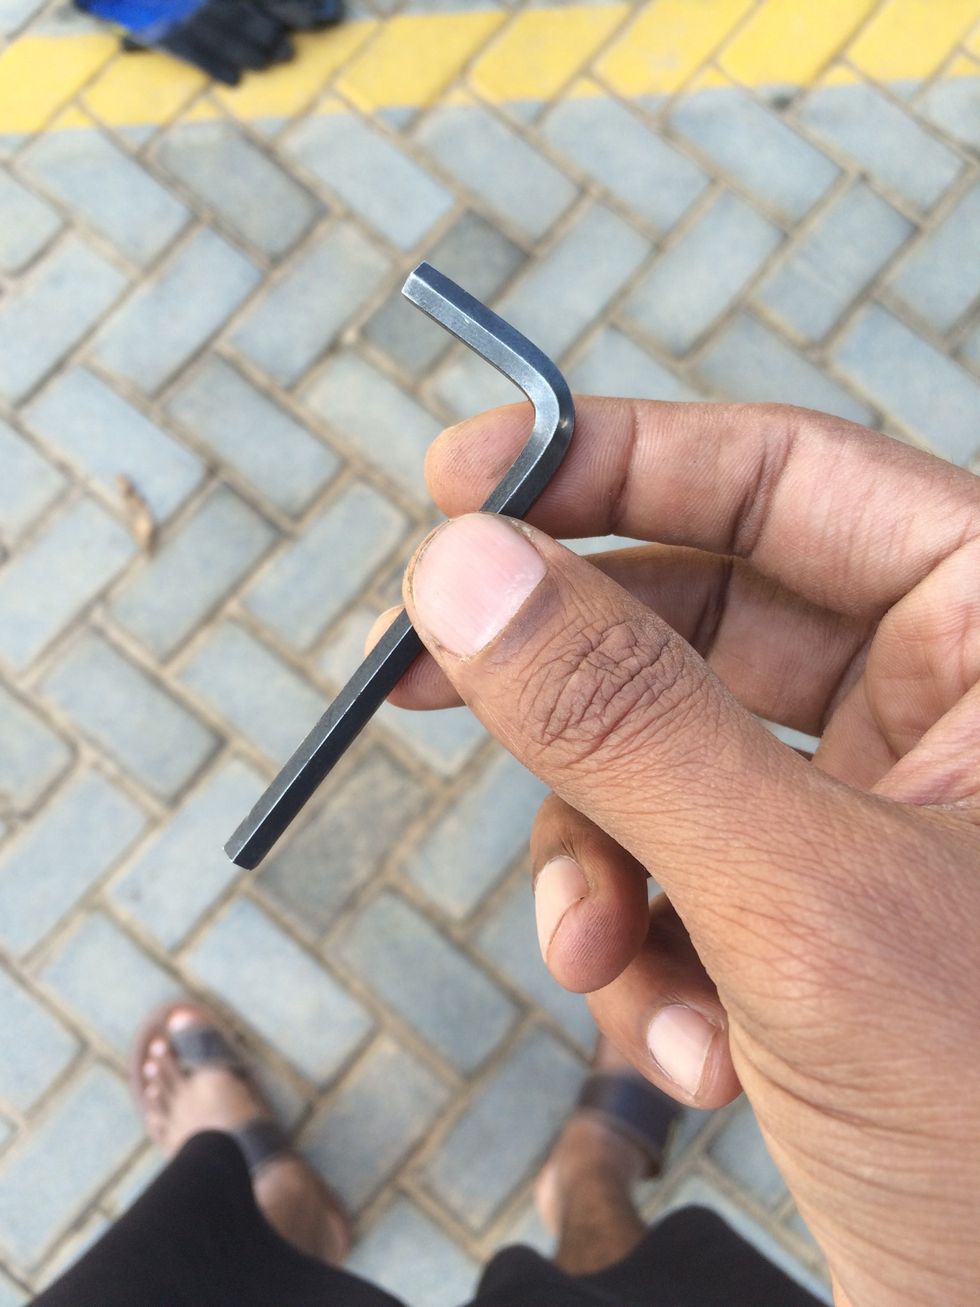
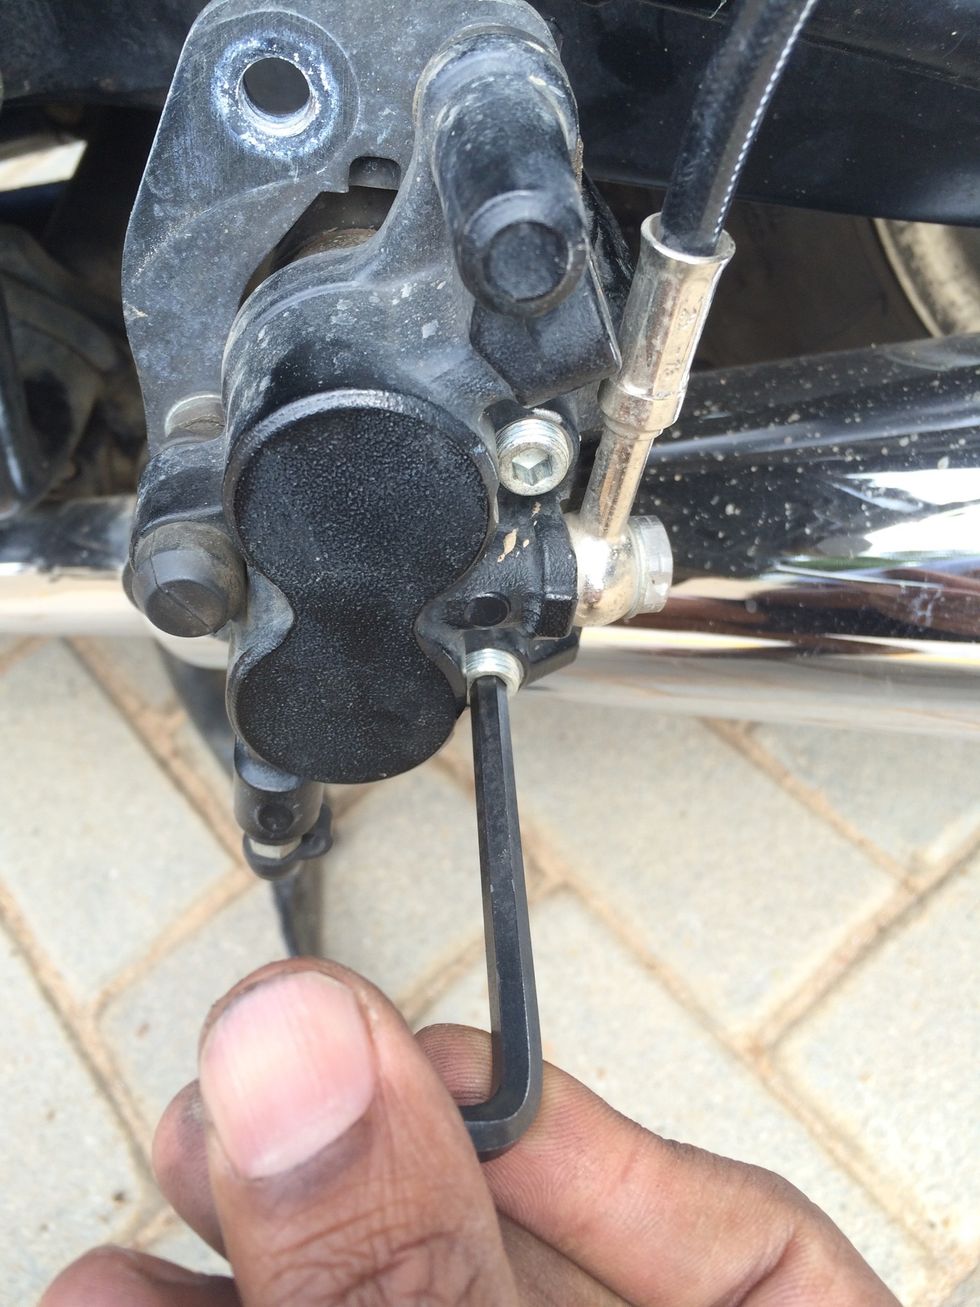
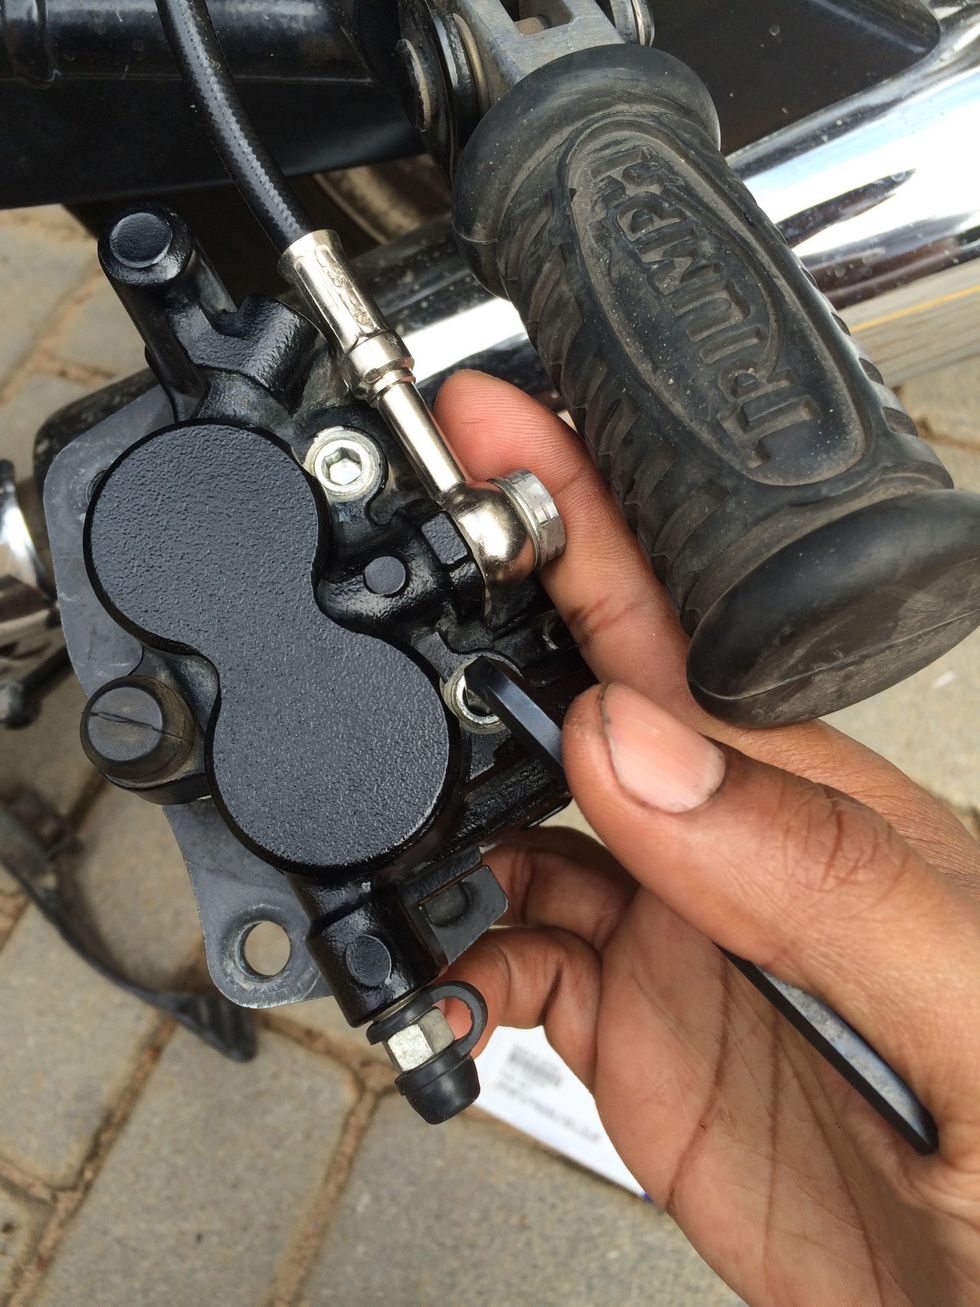
Use 5mm allen key to loosen the pad retaining pins
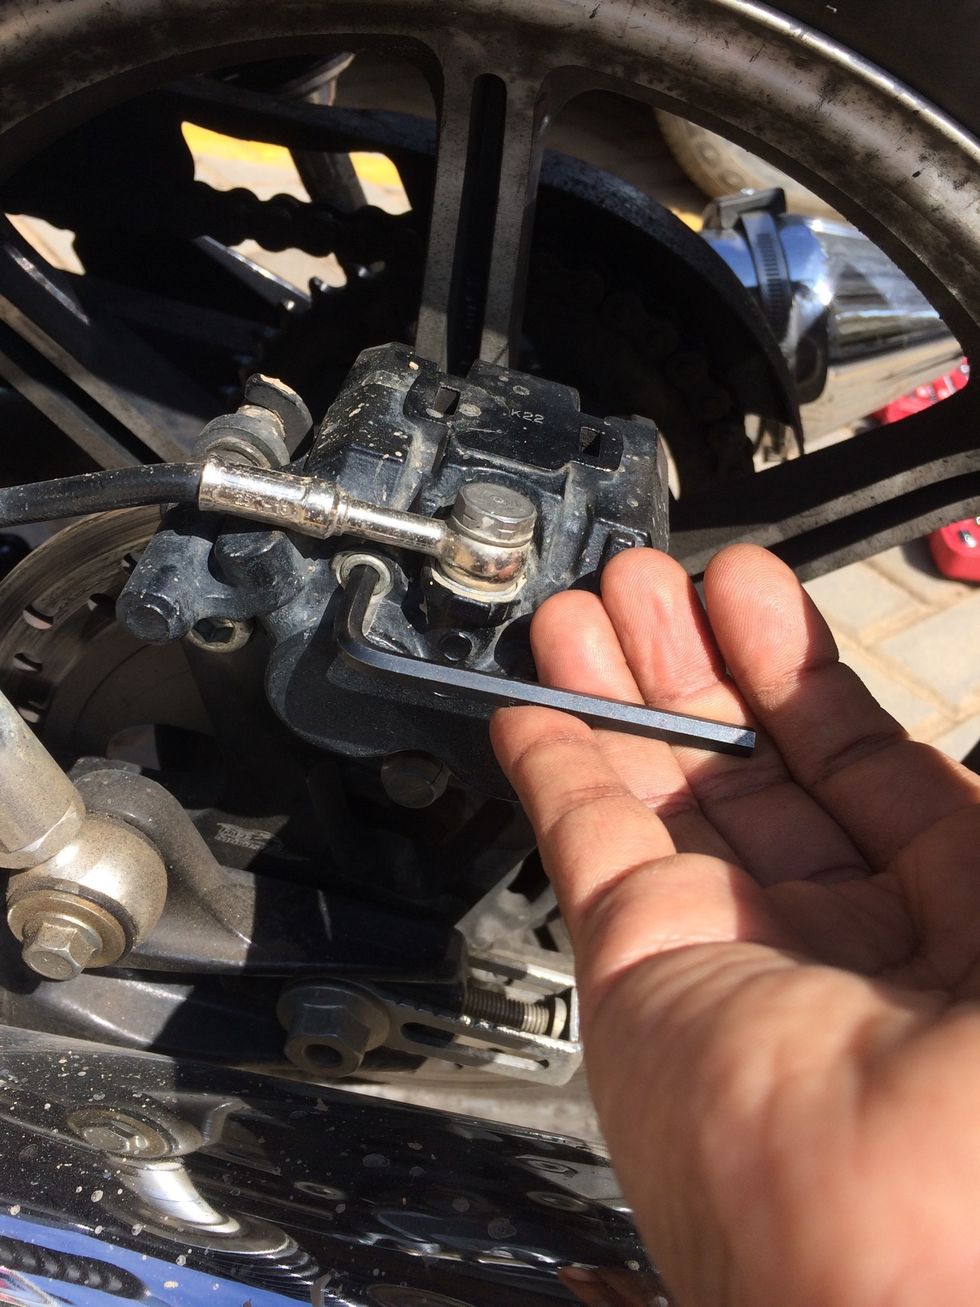
Loosen the pad retaining pins by turning anti clockwise
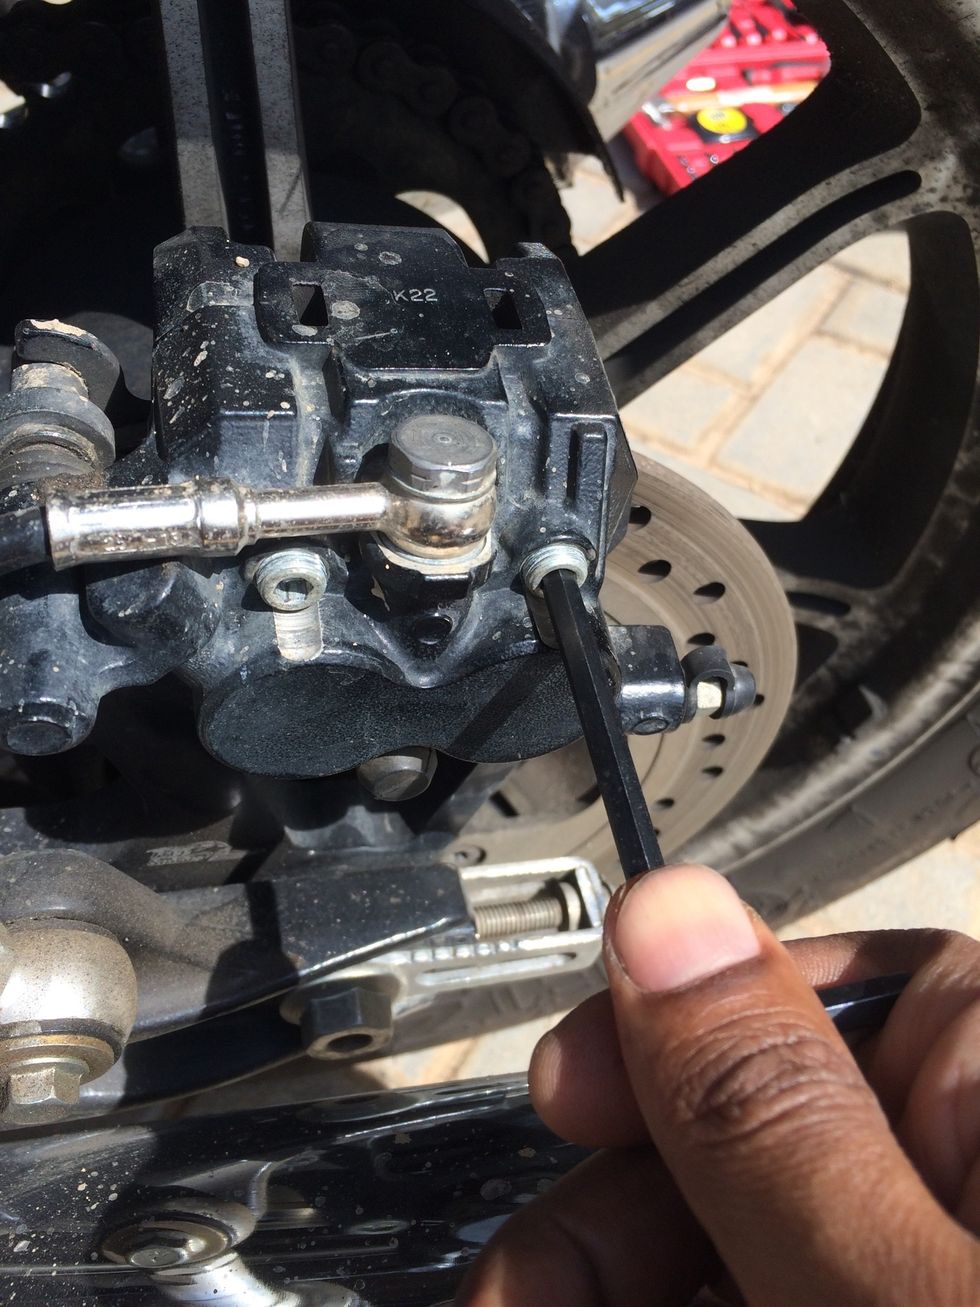
Loosen the pins but do not remove them yet

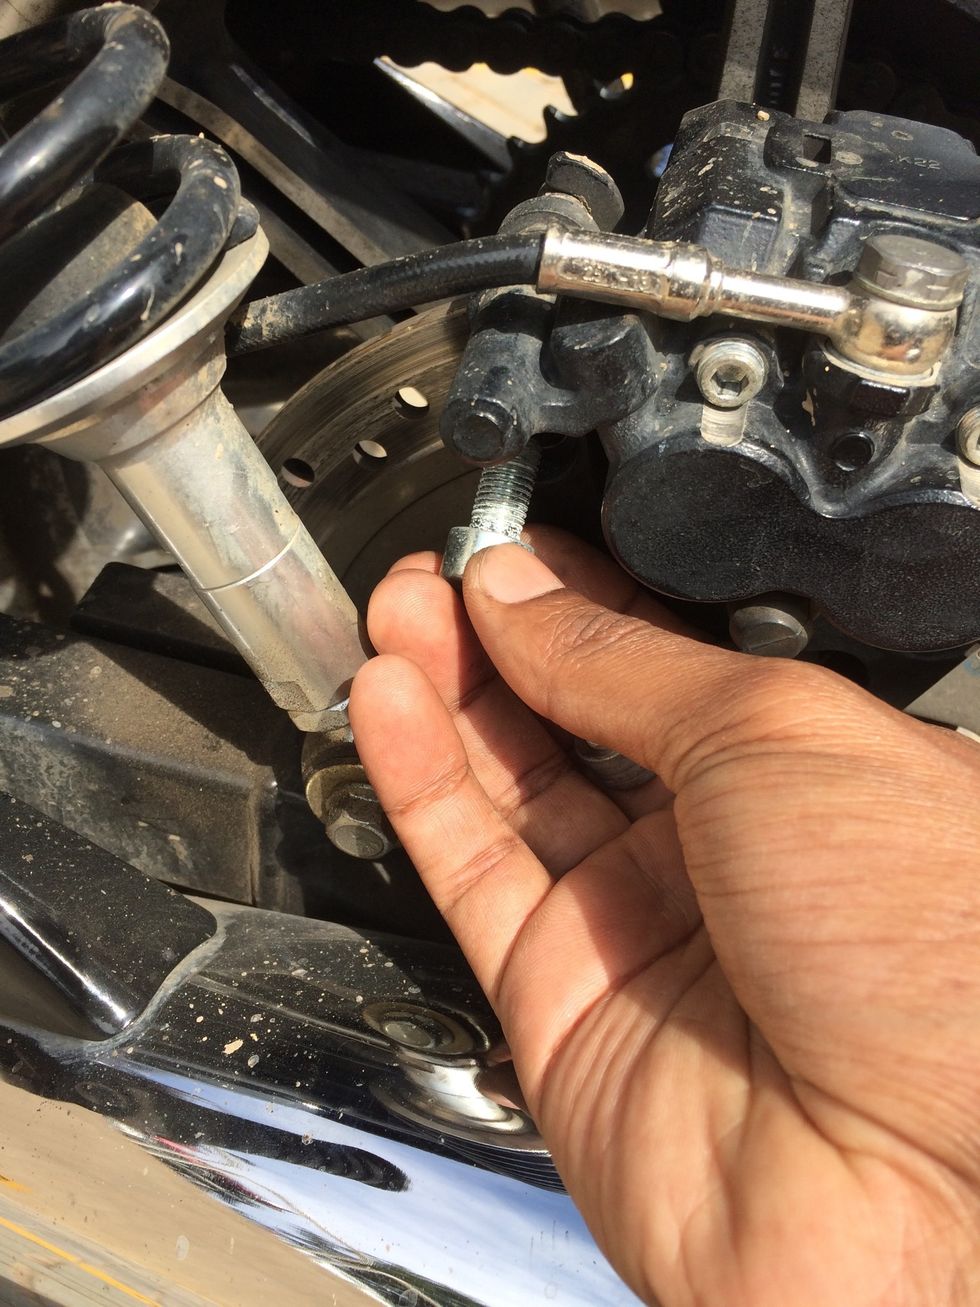
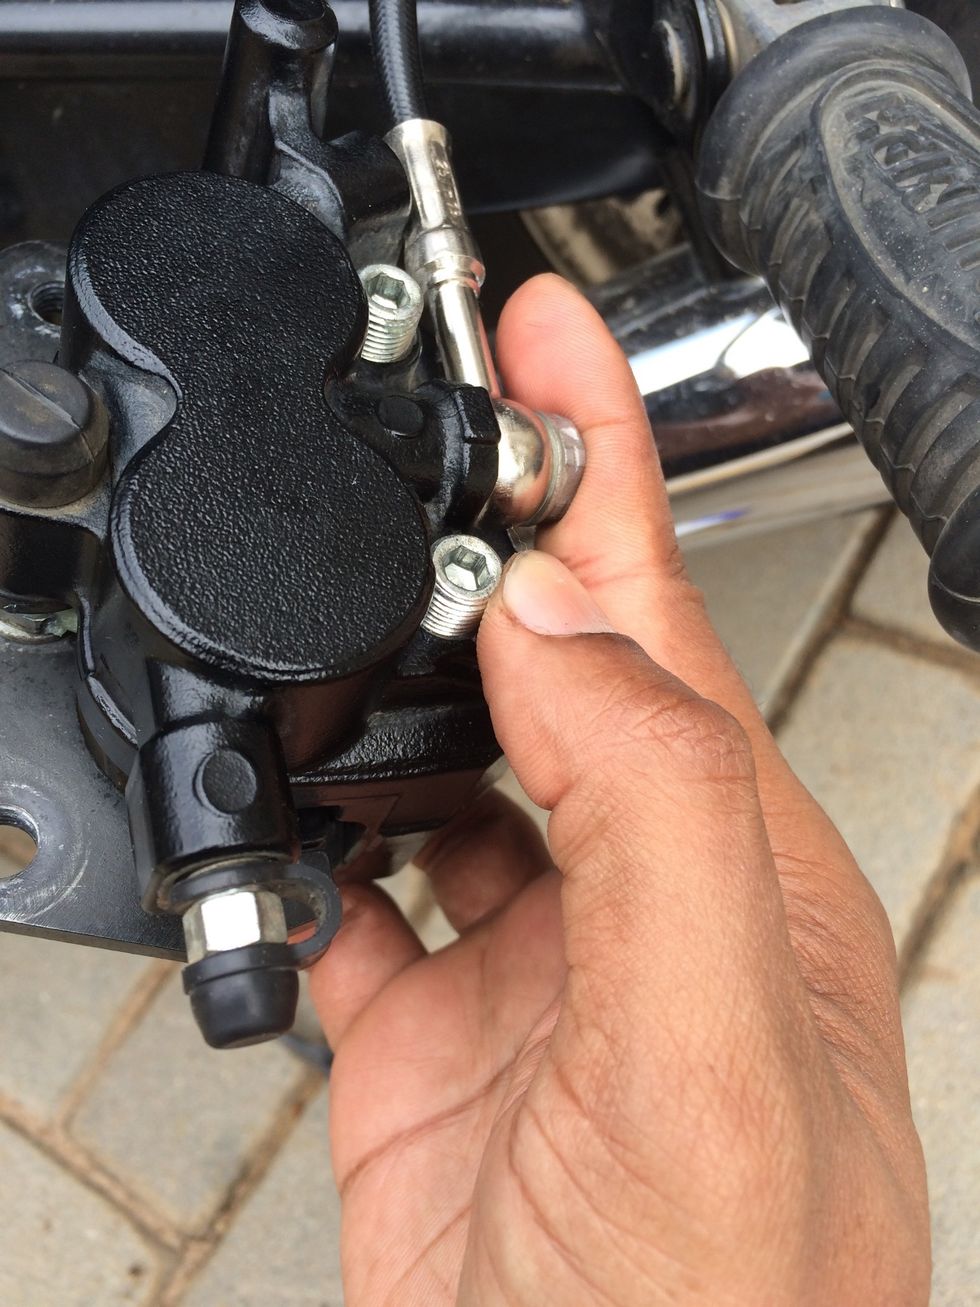
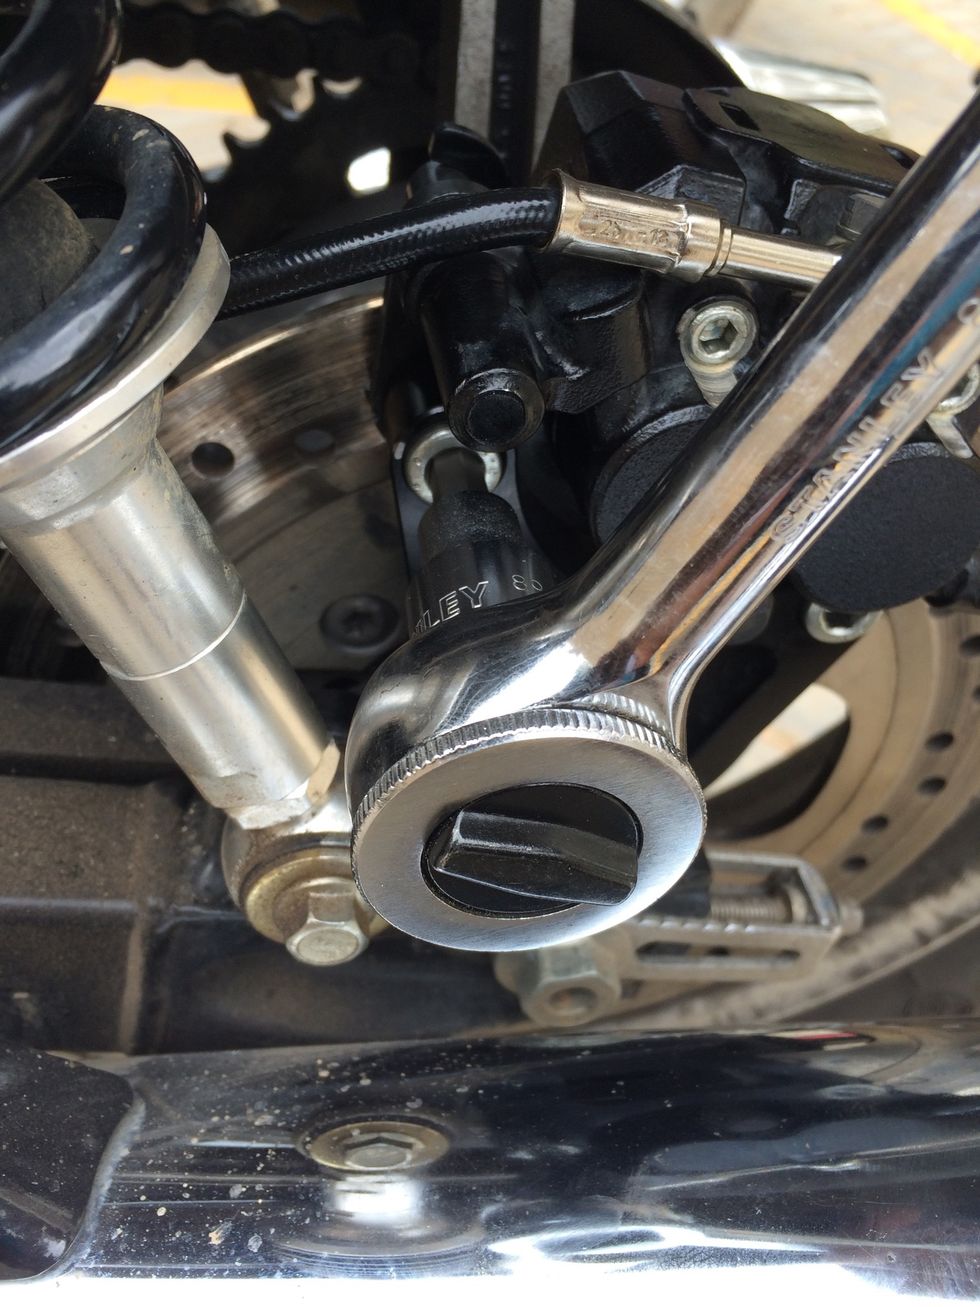
8mm hex bit for removing the mounting bolts ( it could be a normal bolt from manufacturing- I had changed my caliper mounting bracket hence the hex bolt )
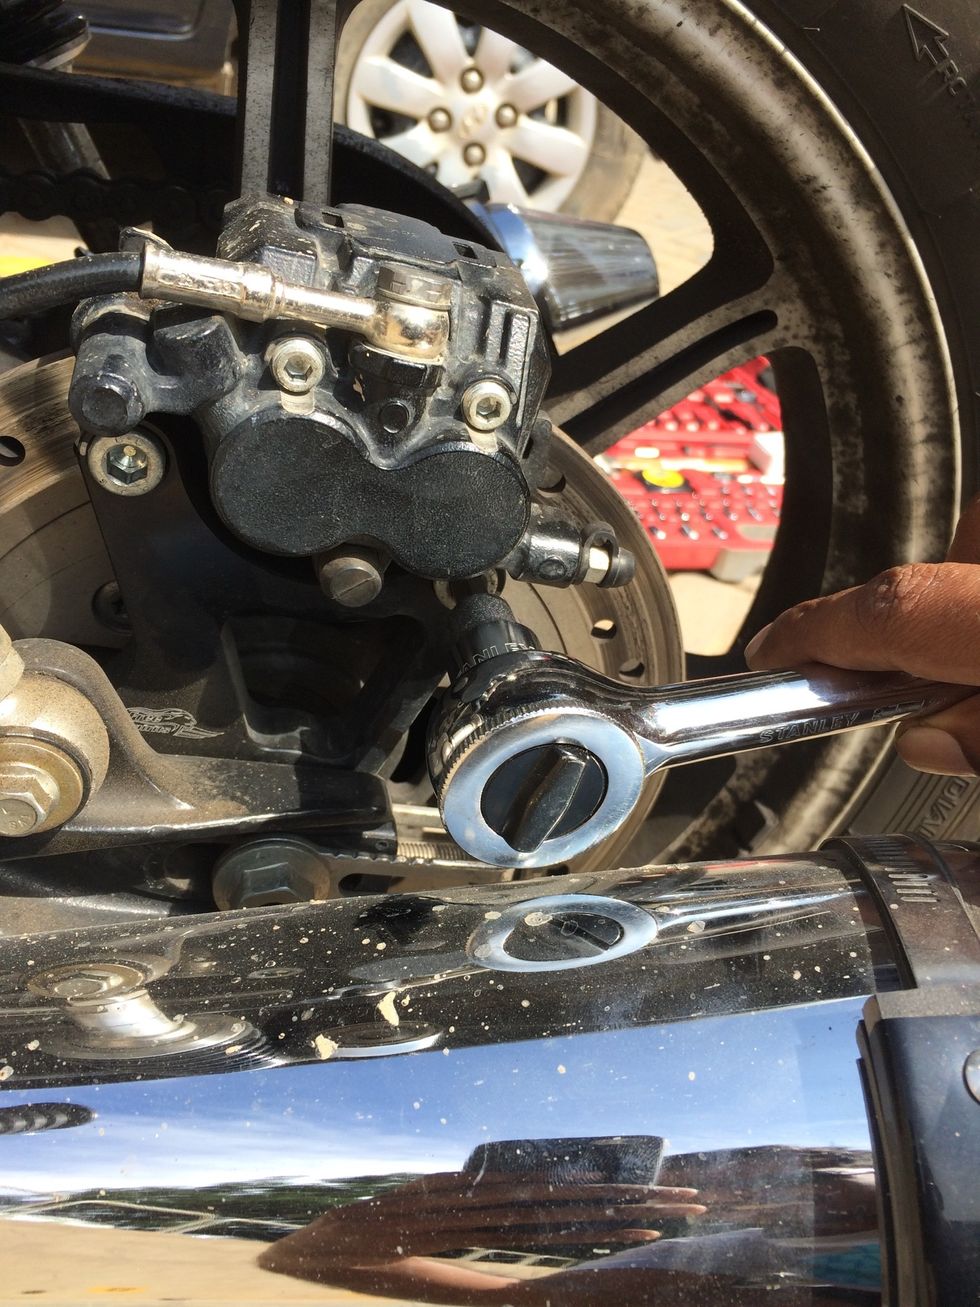
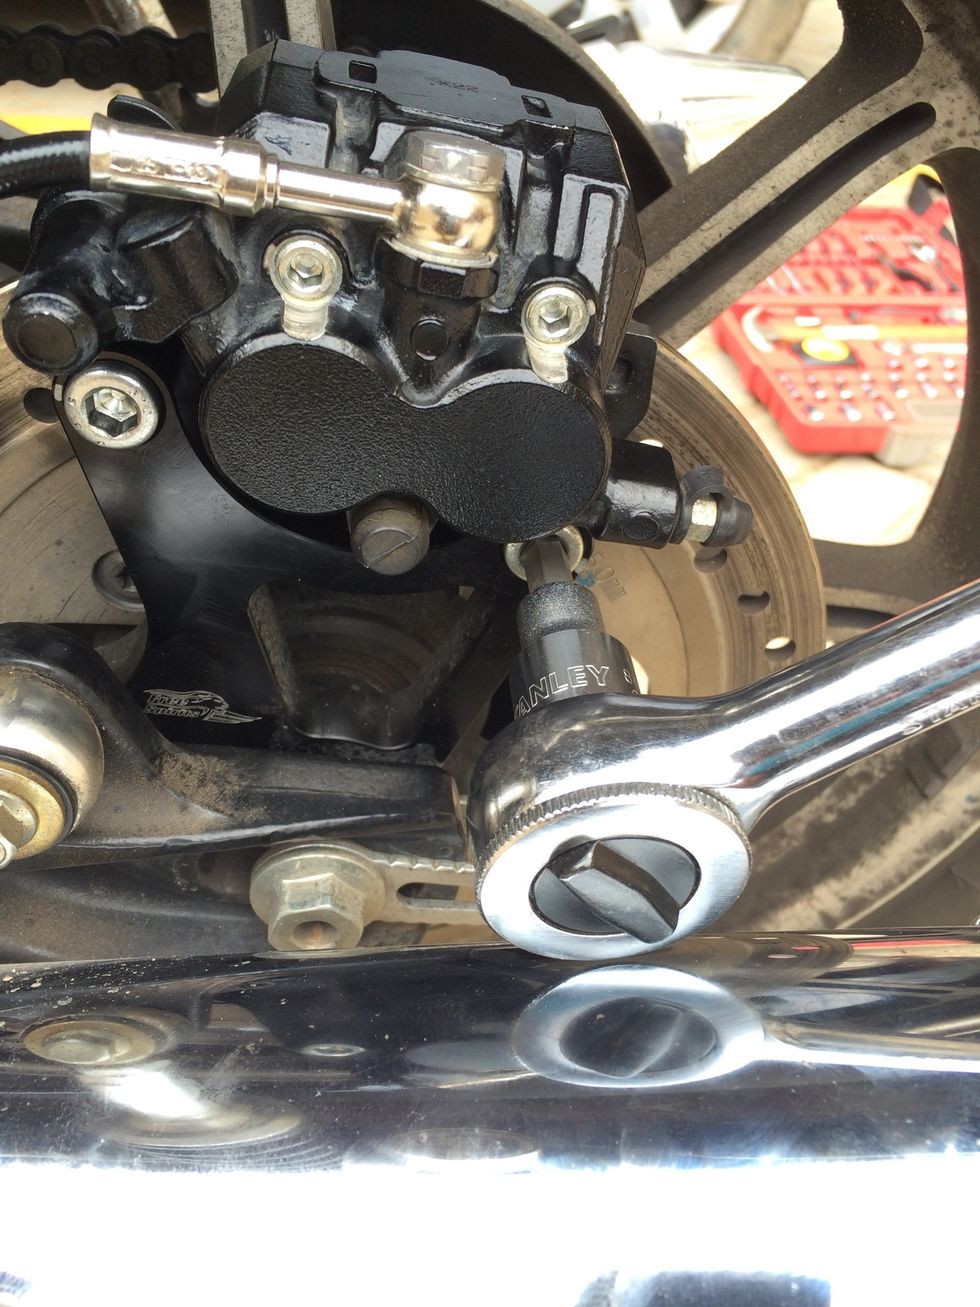
Use the 8mm hex bit and loosen the bolts alternatively

Loosen the bolts alternatively and remove them.
Remove the bolts
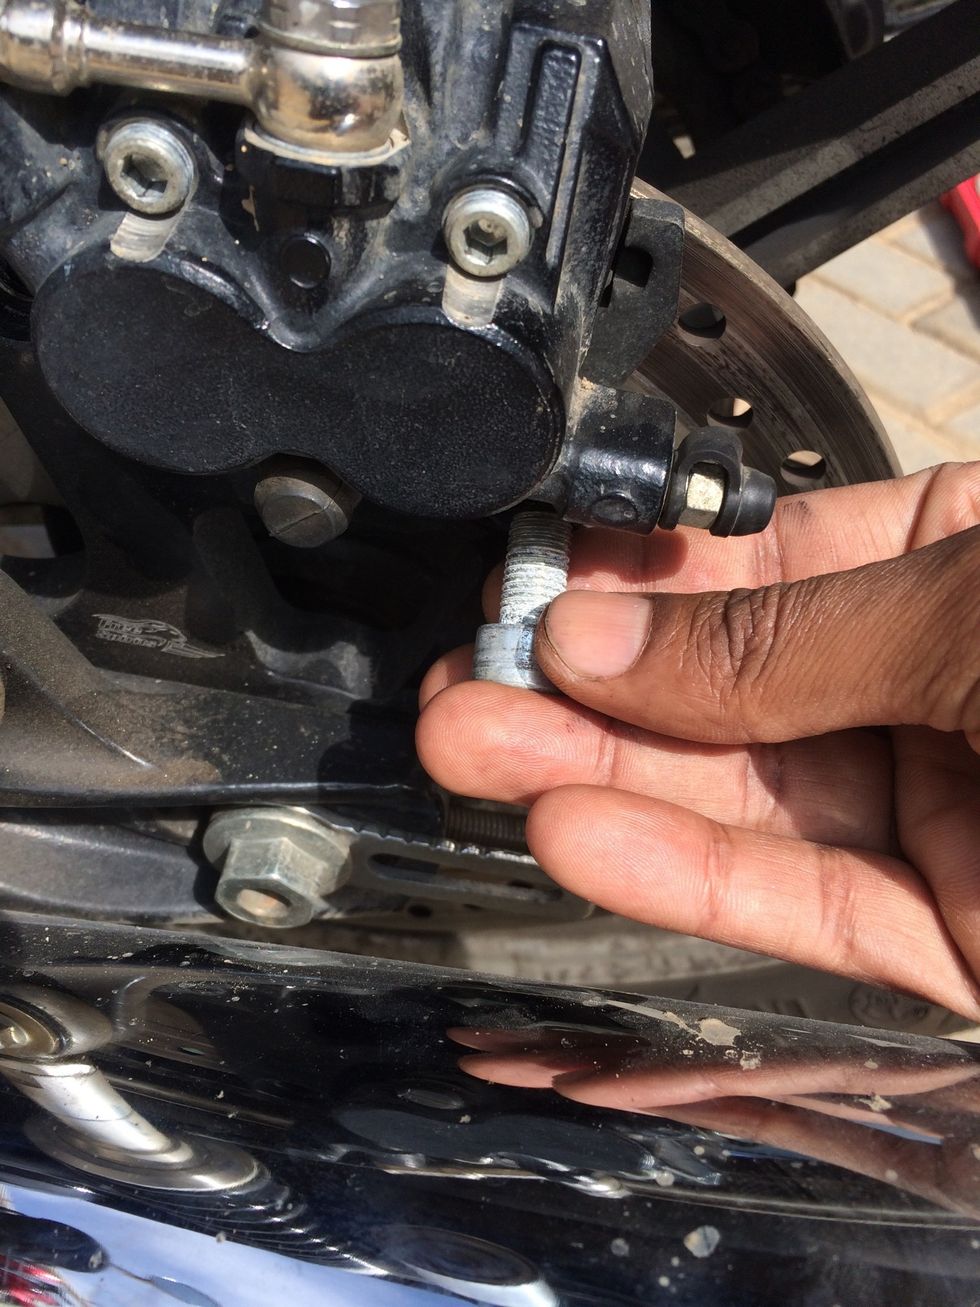
Removing the second one
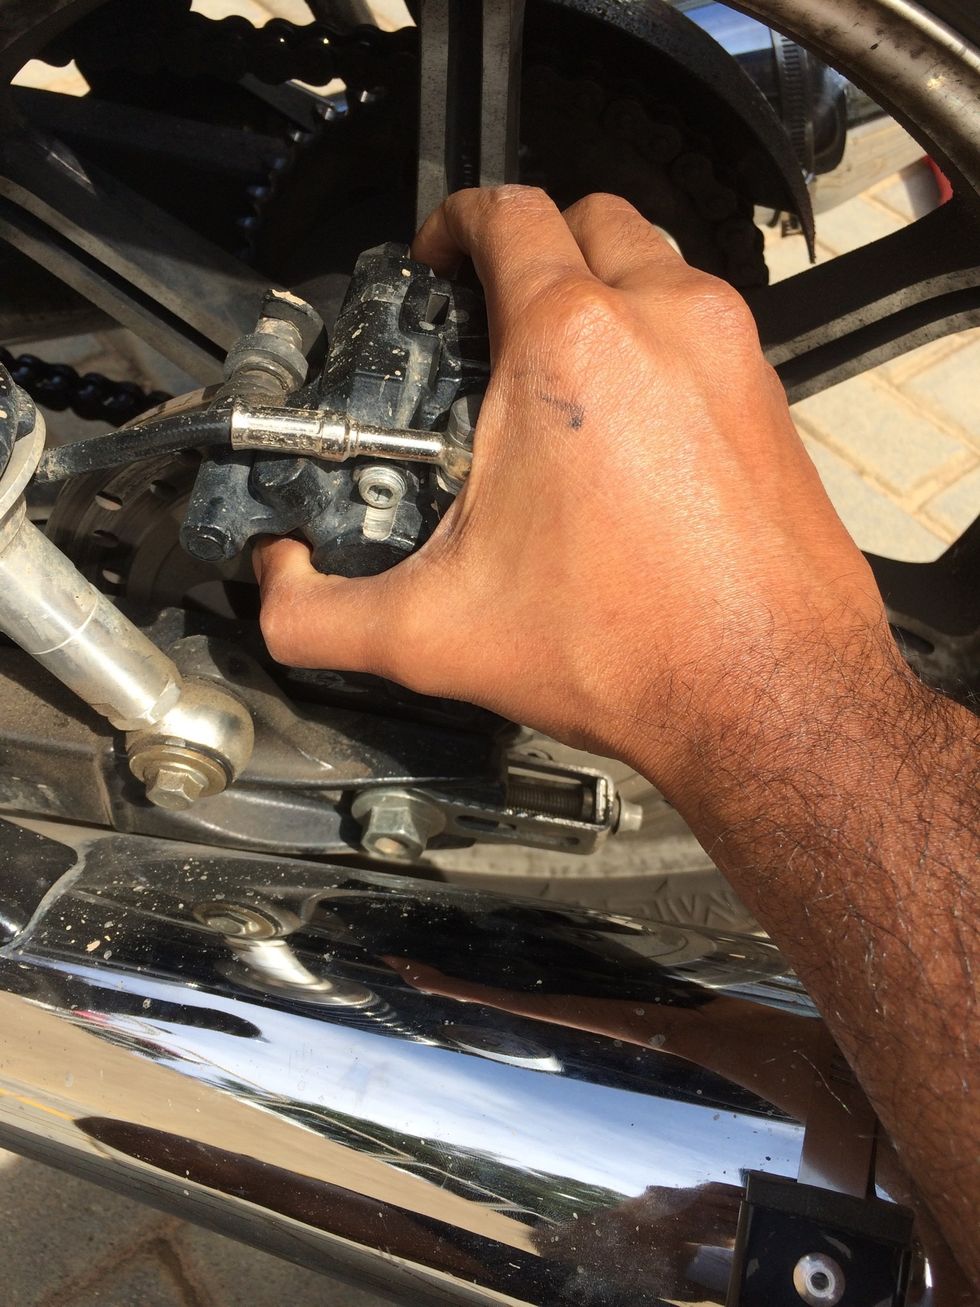
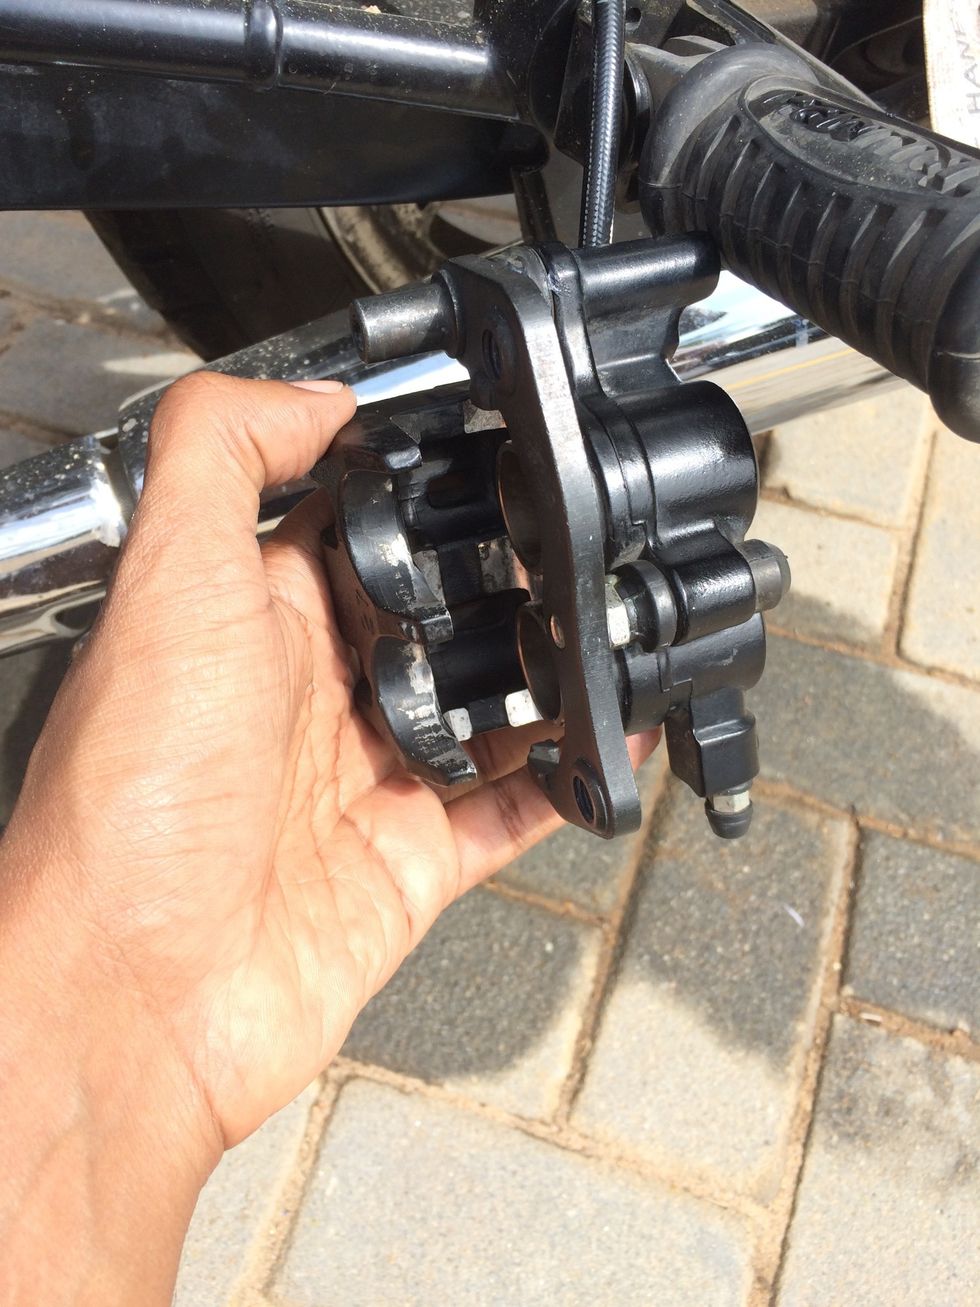
Twist the caliper against yourself

Twist the caliper towards yourself and the caliper will come loose
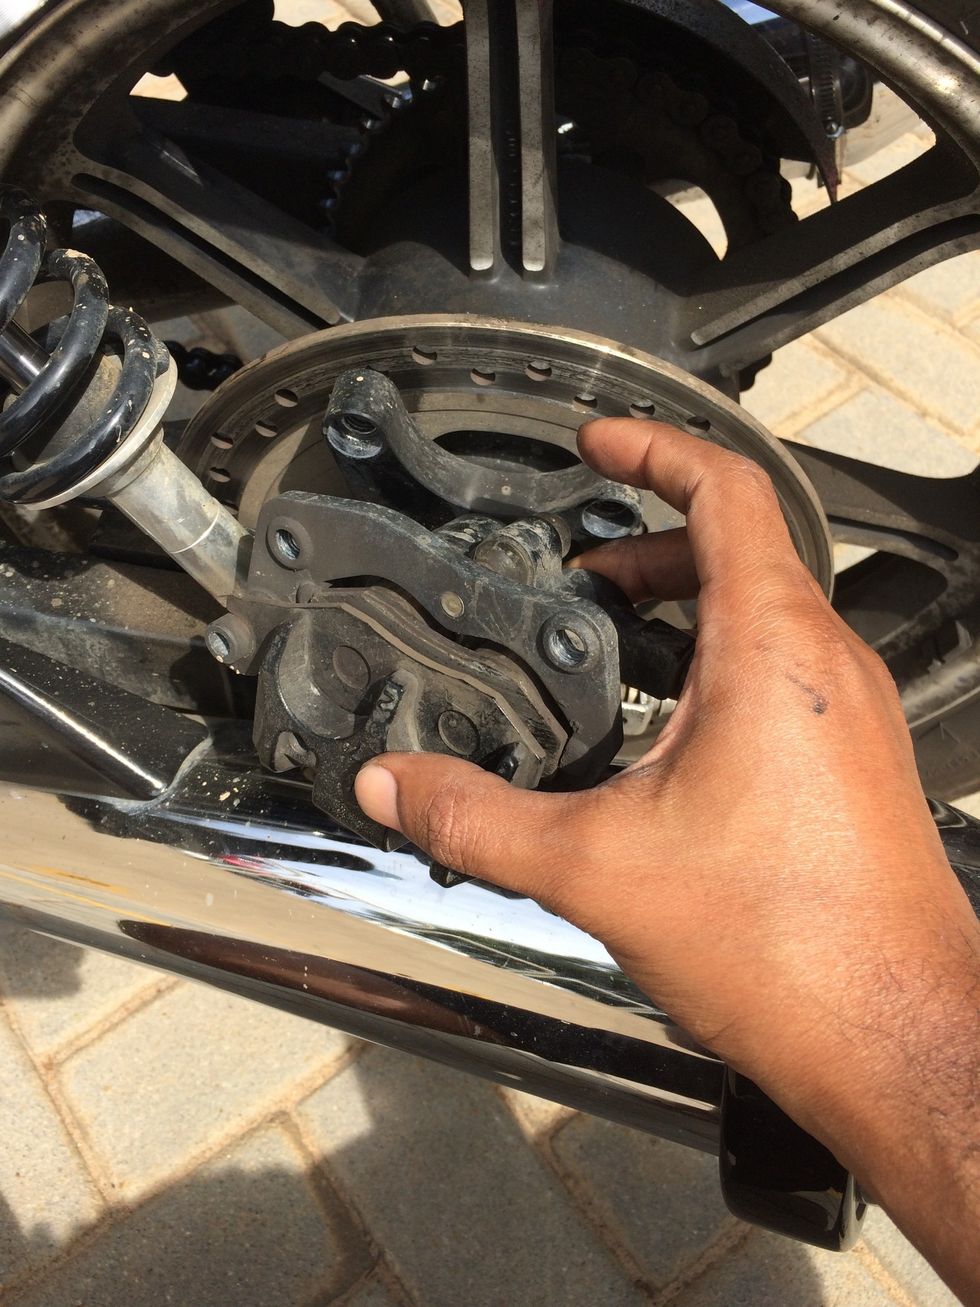
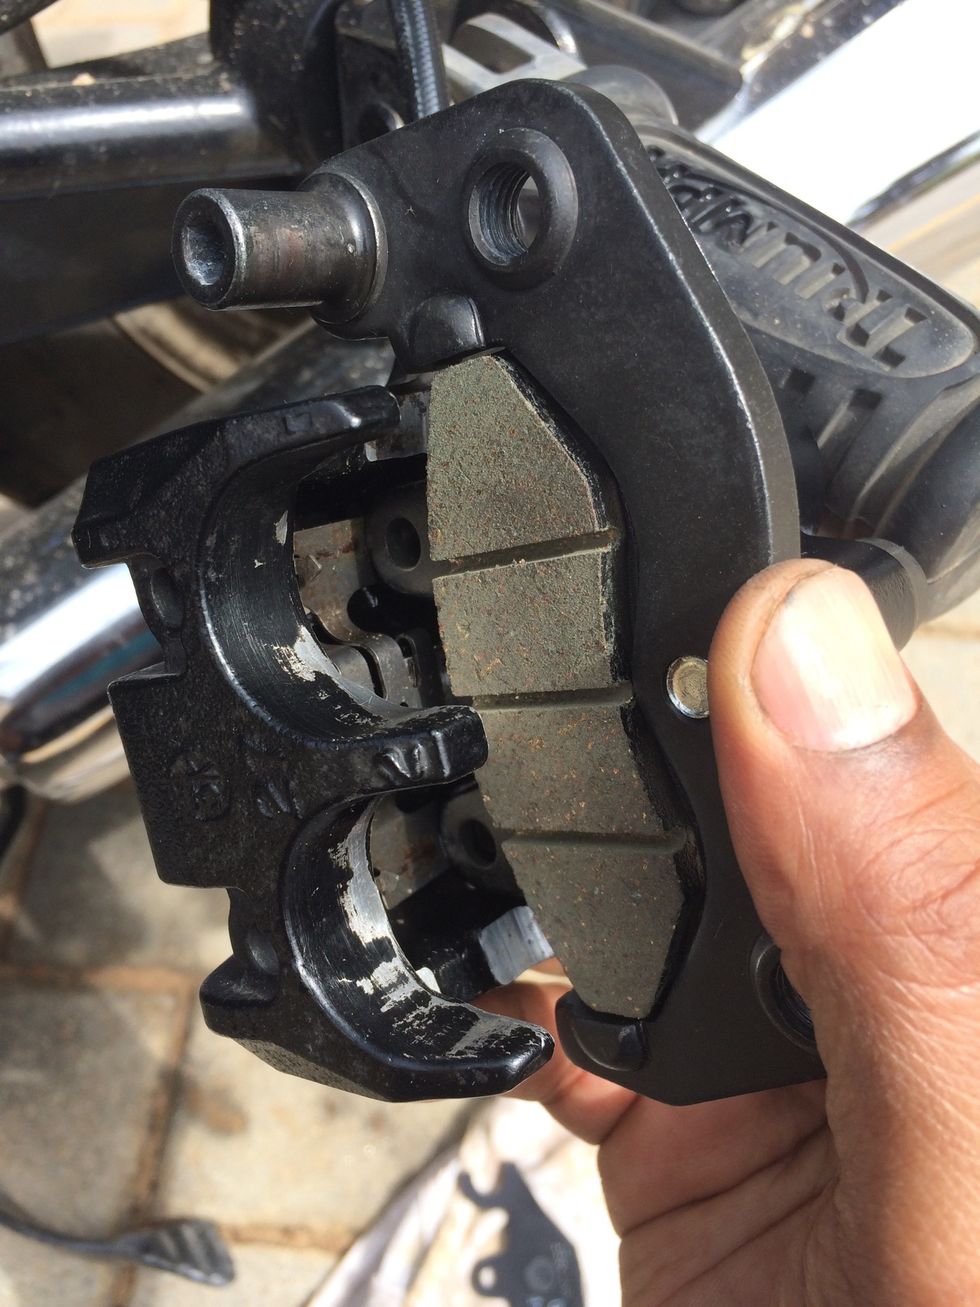
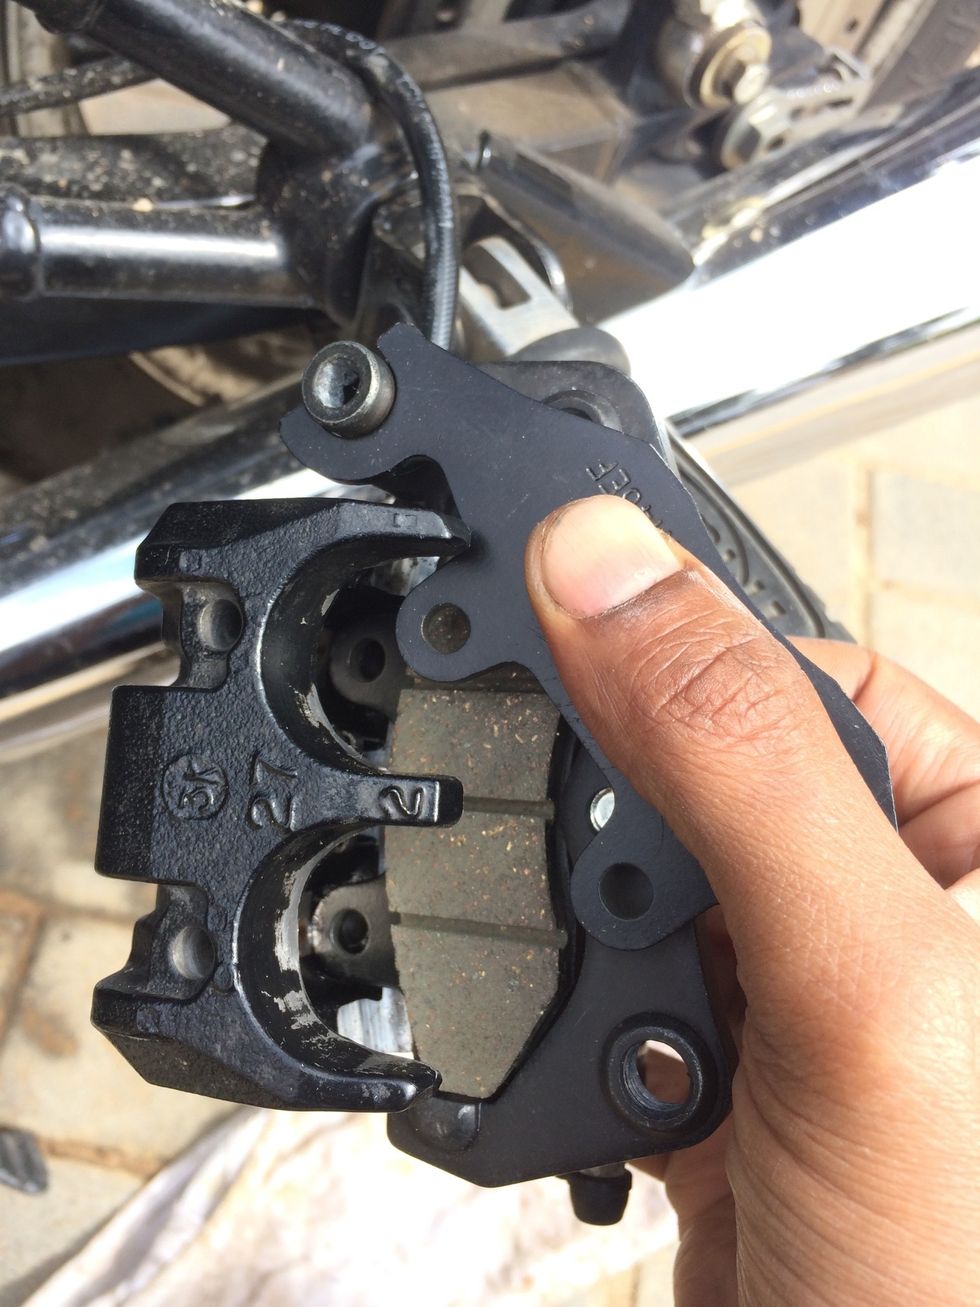
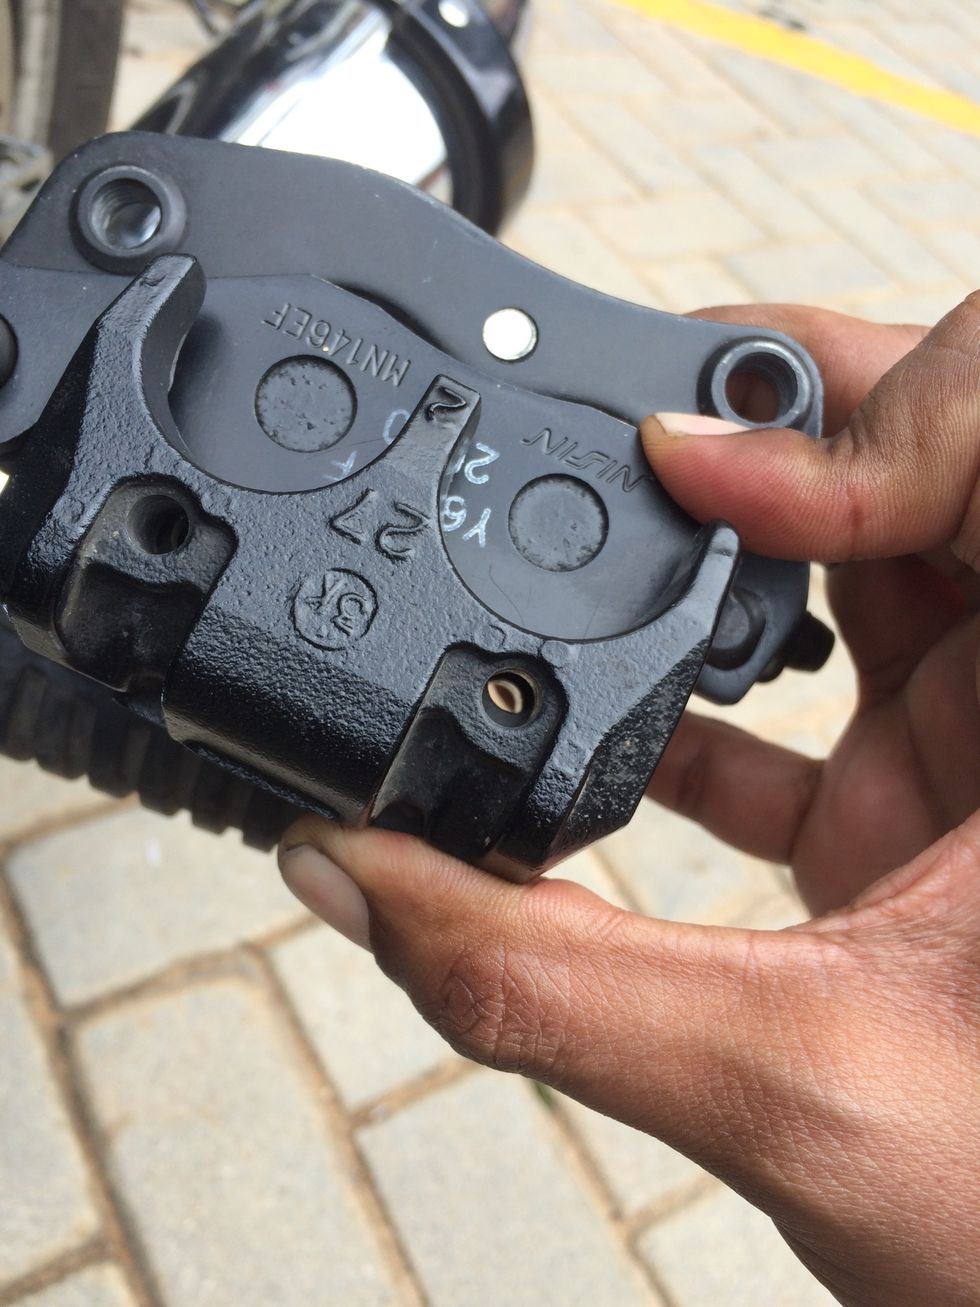
Removed rear caliper
Remove the loosened retaining pins
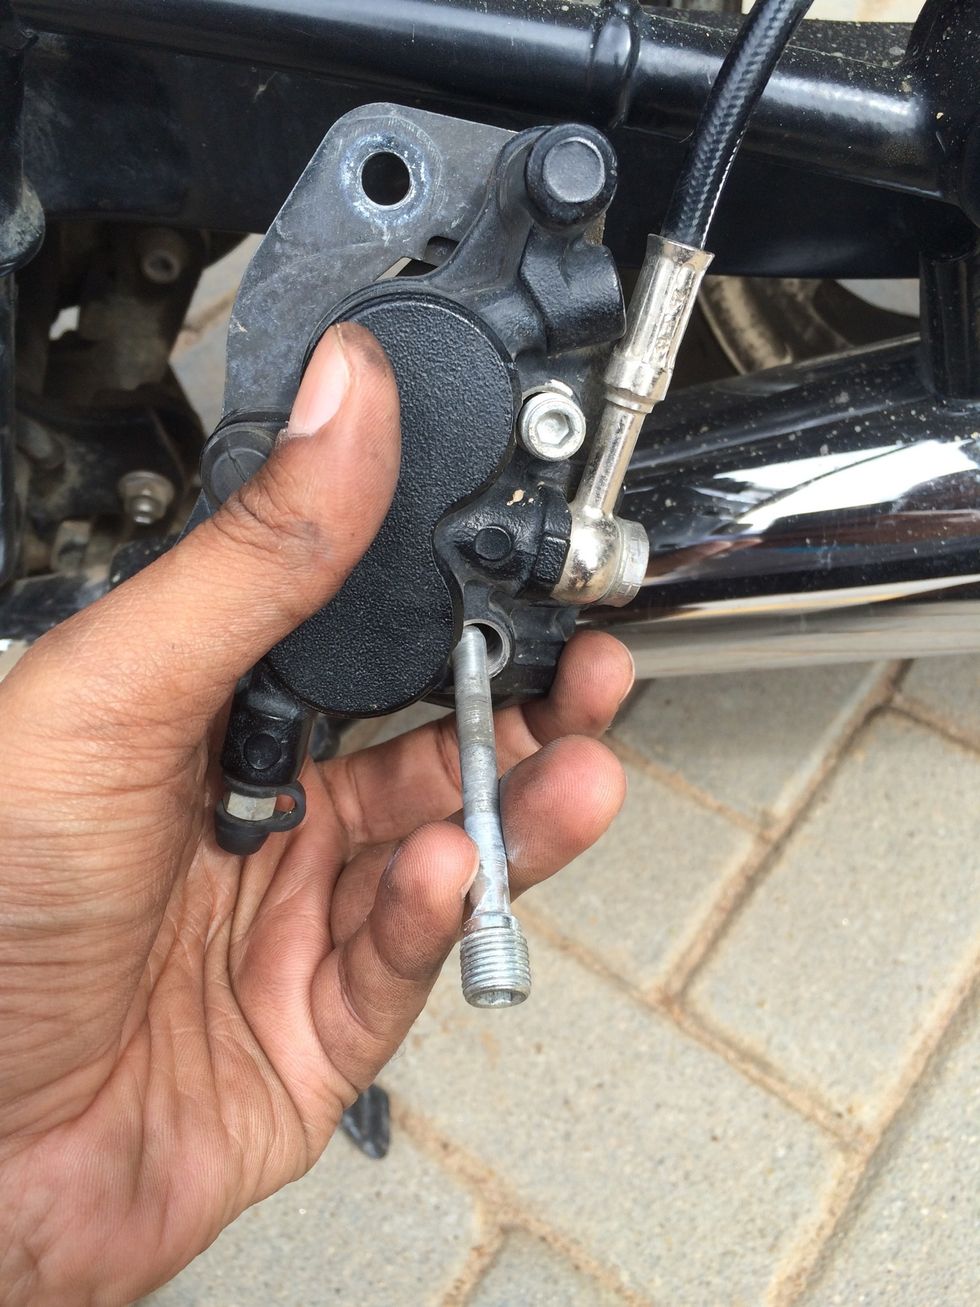
Pull the second retaining pin out, you may have to push the pads inward of the caliper to get the pins out

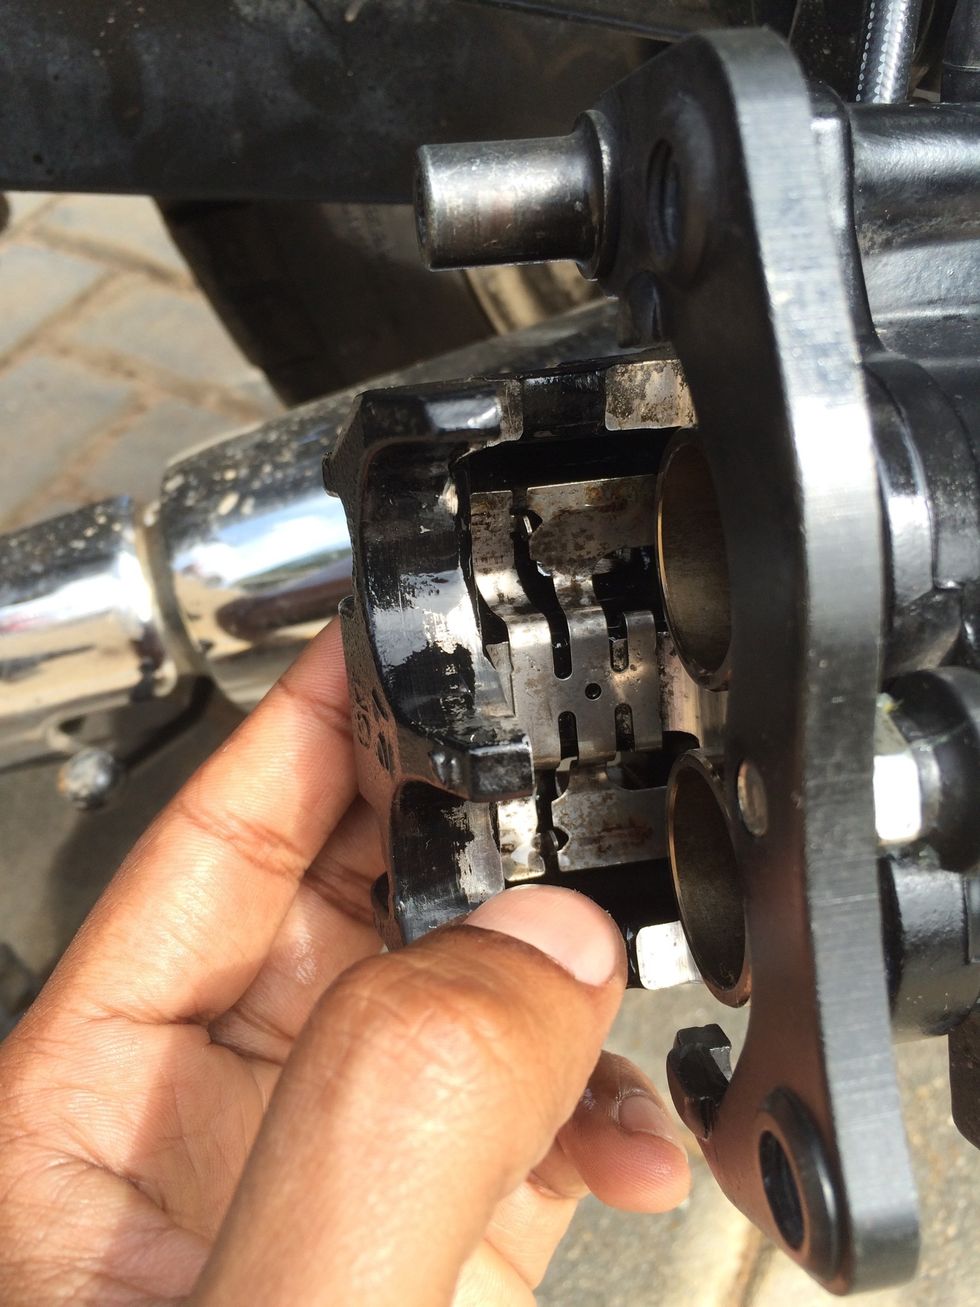
My worn out rear caliper ( slightly over used :-(
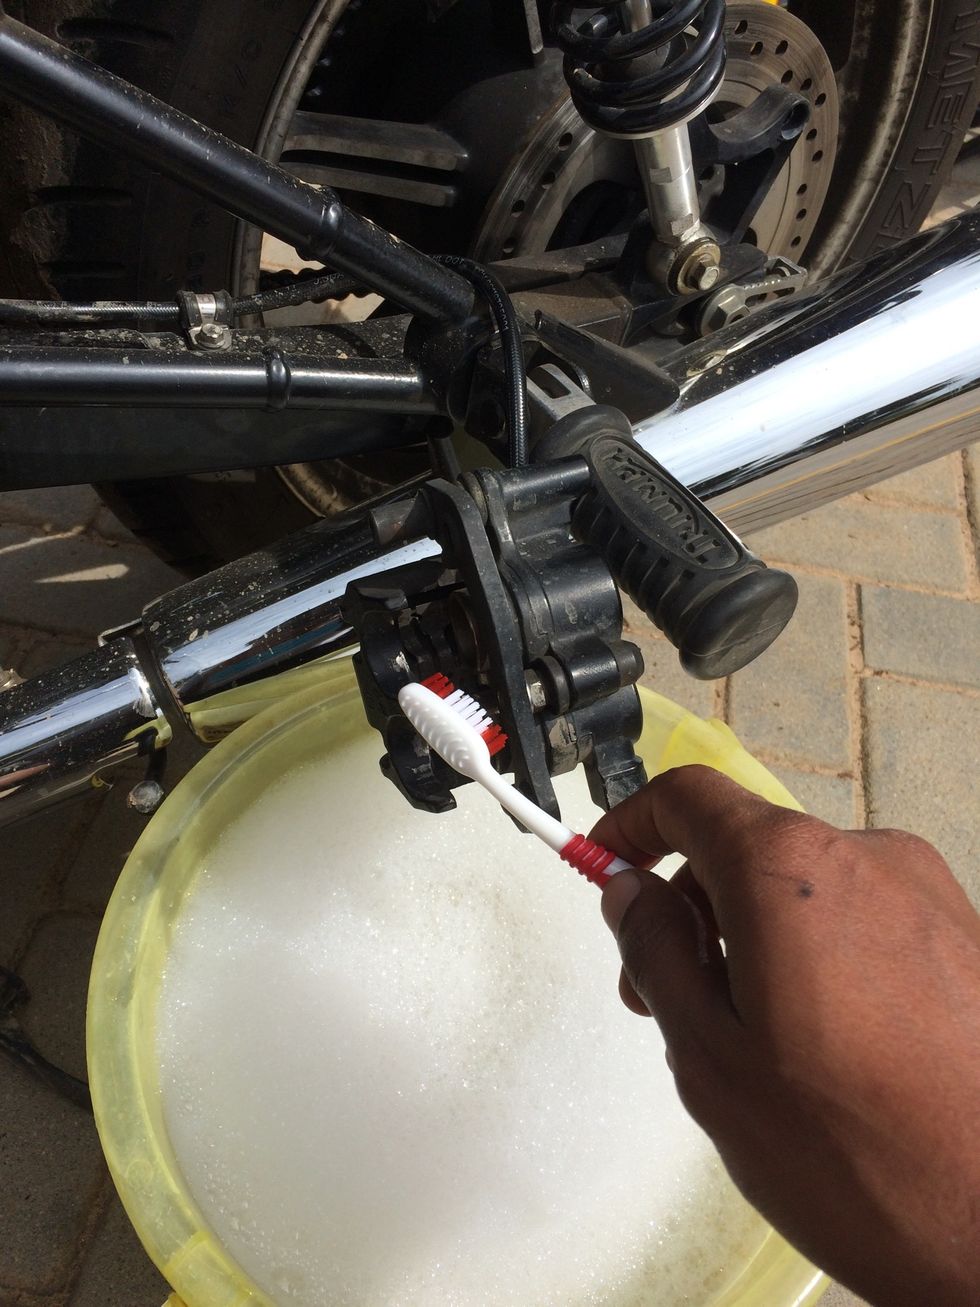
Use hot soap water and clean the caliper
Push the pistons together inward to clean the caliper. ( Take care not to push one piston at a time, to avoid the other one popping out and fluid to spill, leading to complete fluid line rebuild )

Use a small flat screwdriver to pop the pad spring upwards
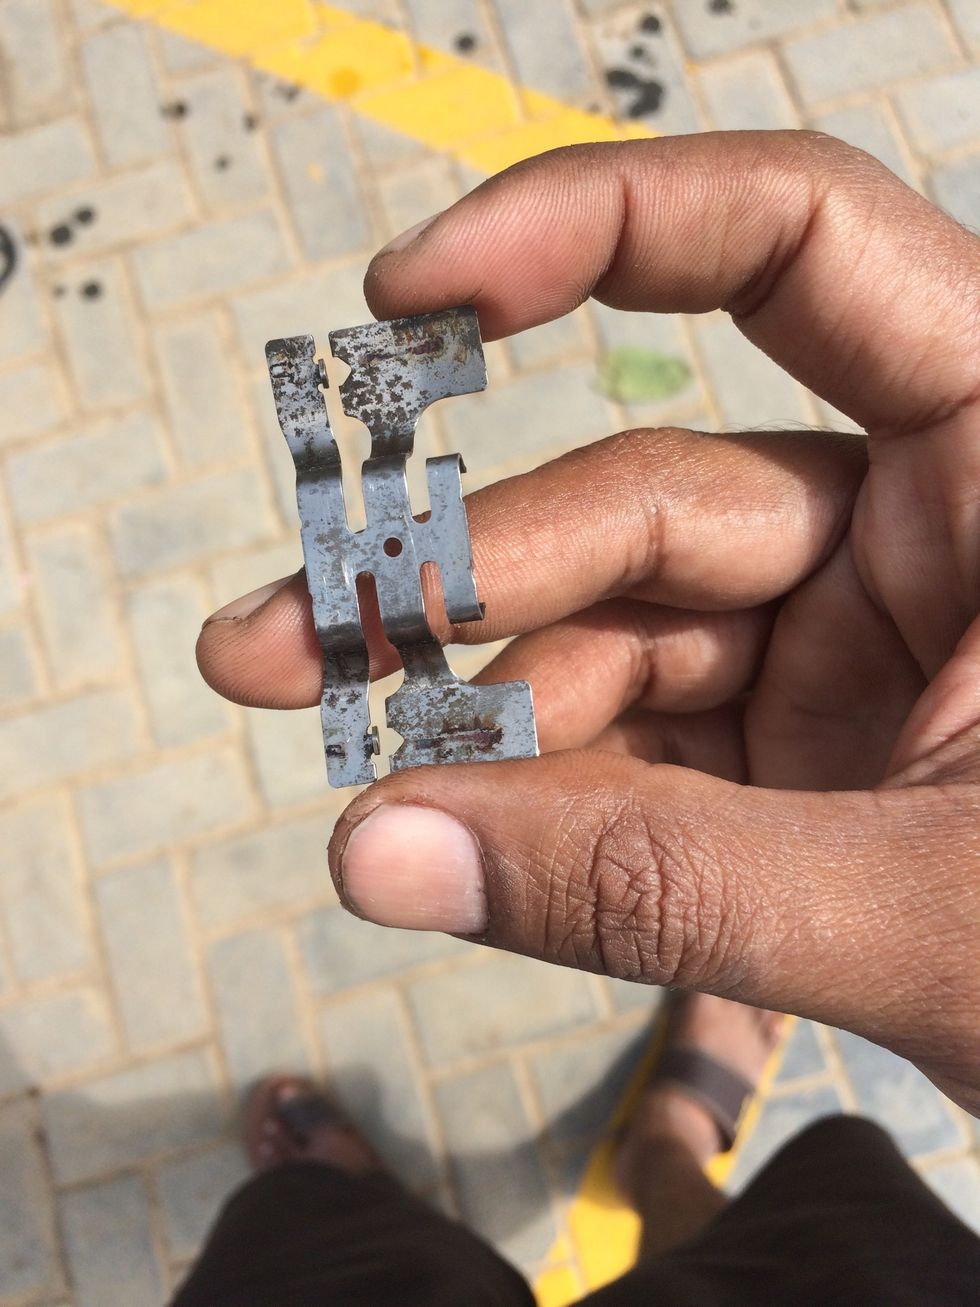
This is the flat spring that pushes the pad for alignment and retention
Clean the flat spring thoroughly with cleaning fluid ( I use WD40 )
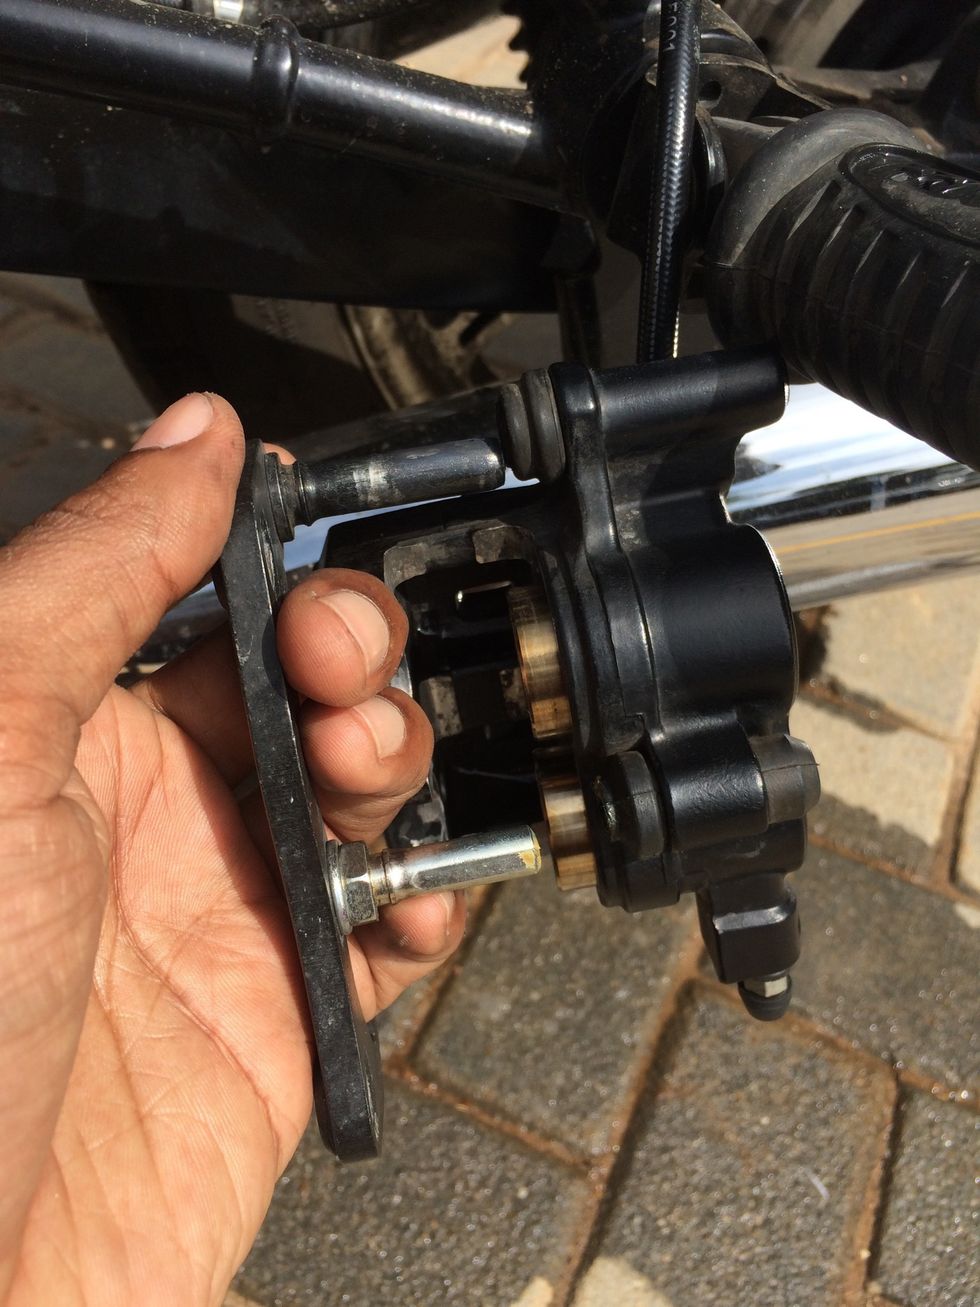
Remove the locator post and clean it
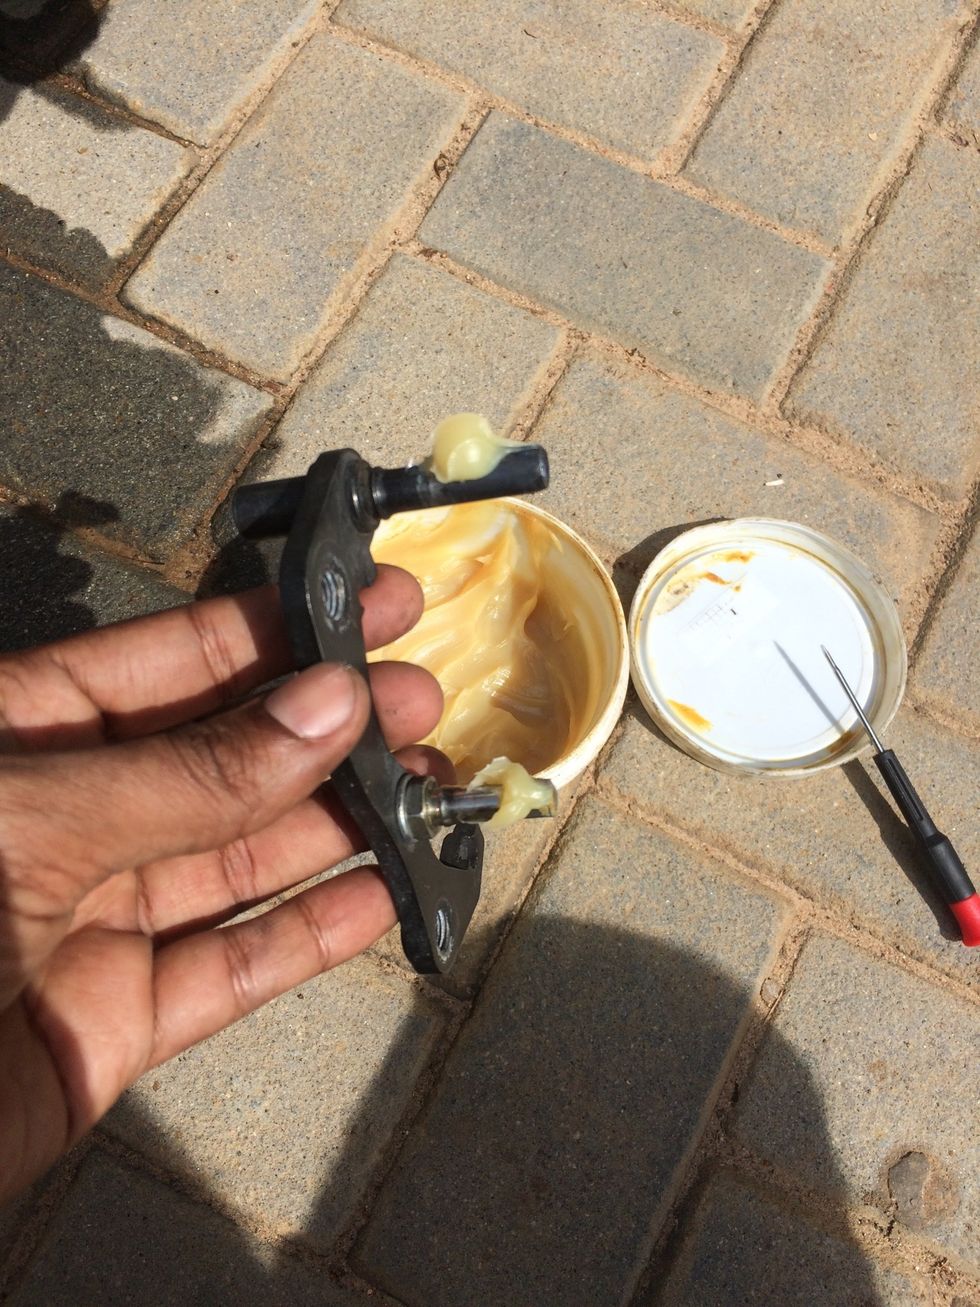
Grease the guide poles
Clean thoroughly and wait for the caliper to dry. Wipe down and spray very little WD40 to displace water and lubricate the unit. Wipe off extra lubricants and cleaning fluids
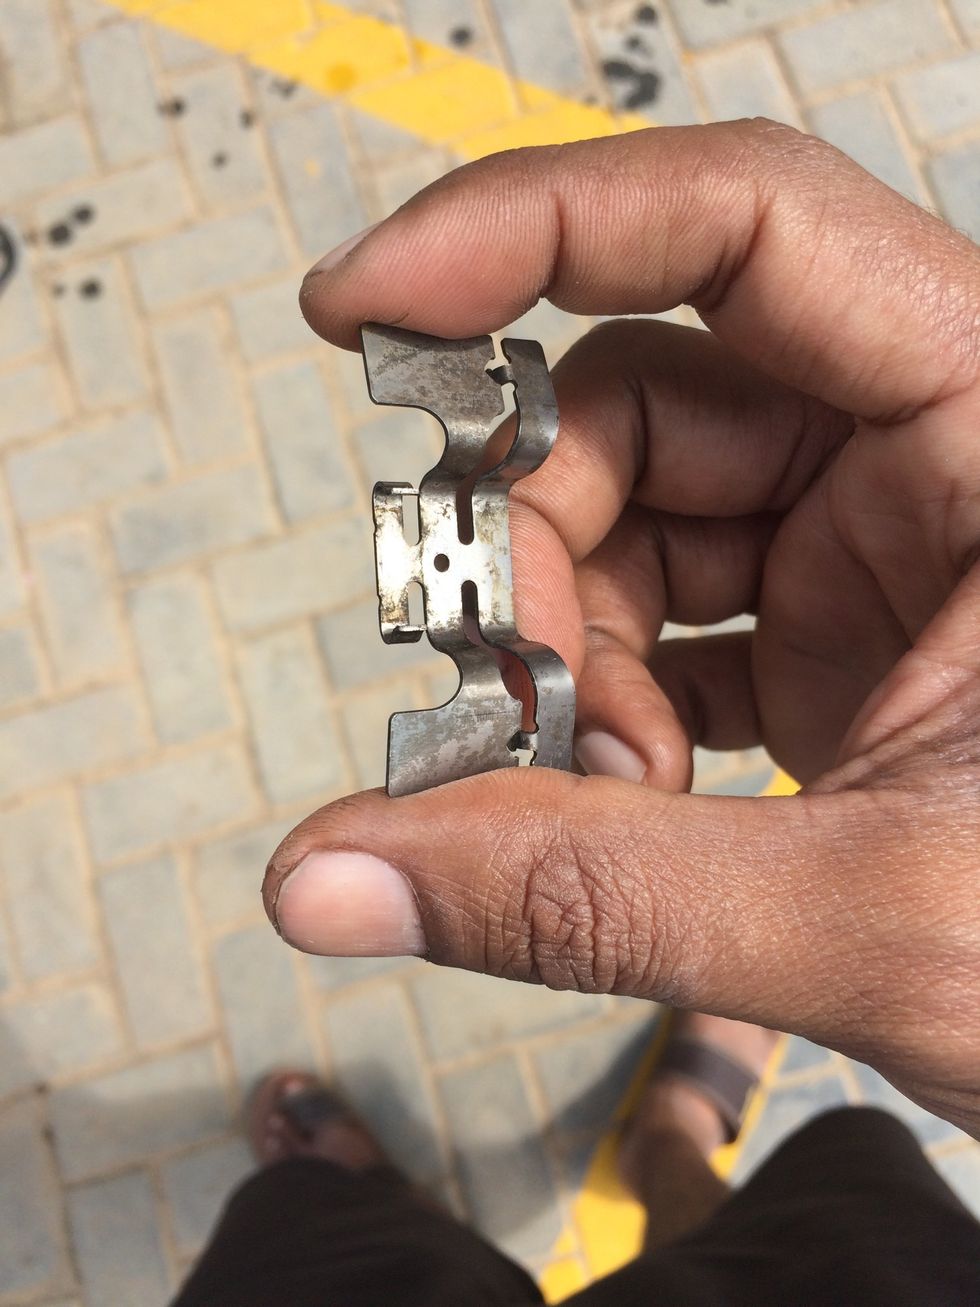
Align the flat spring back ( note the way it goes in - the small hook that retains the flat spring is towards the pistons )
The two small arrow like upward bends help keep the two pads separate

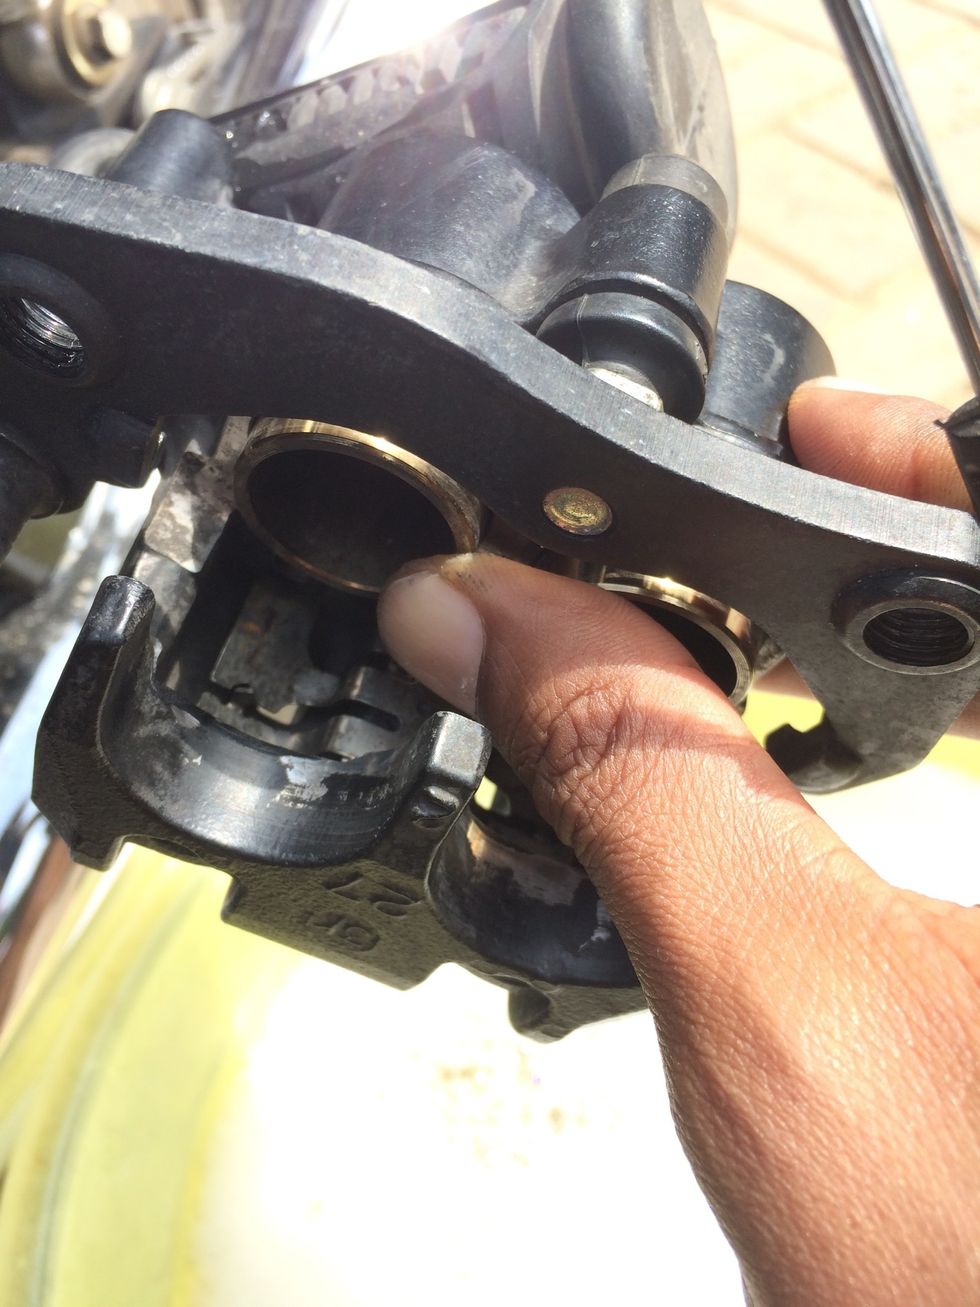
Push both pistons together inside as much as you can ( Important - if you push one piston at a time, you risk the other piston popping out of the bore, which leads to full hydraulic fluid loss )
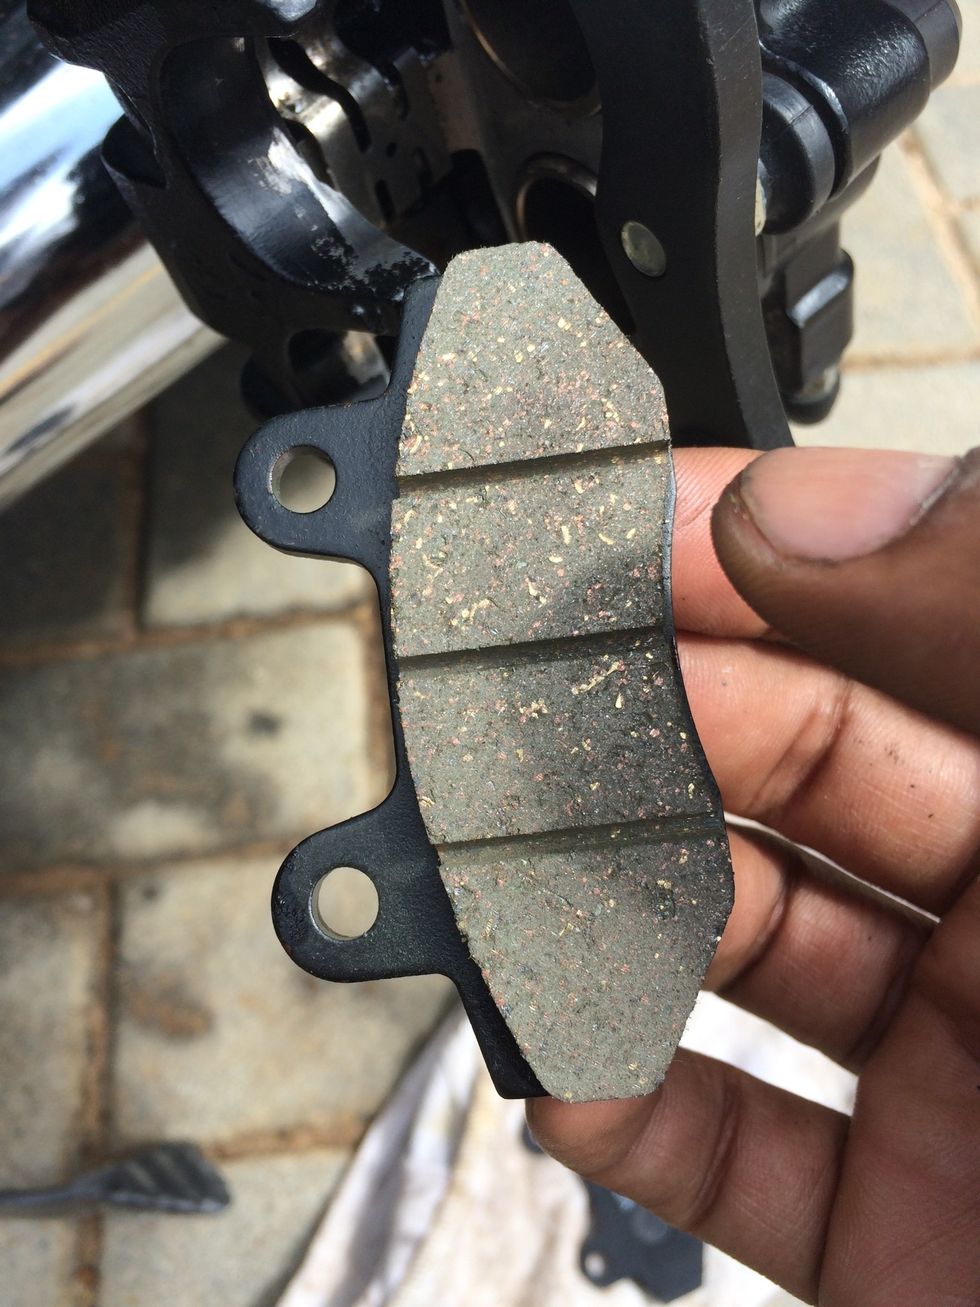
Use a new pad - shown here is the inside pad
Keep it in the caliper
Push it flush onto the pistons

Align the pad to the pistons as shown
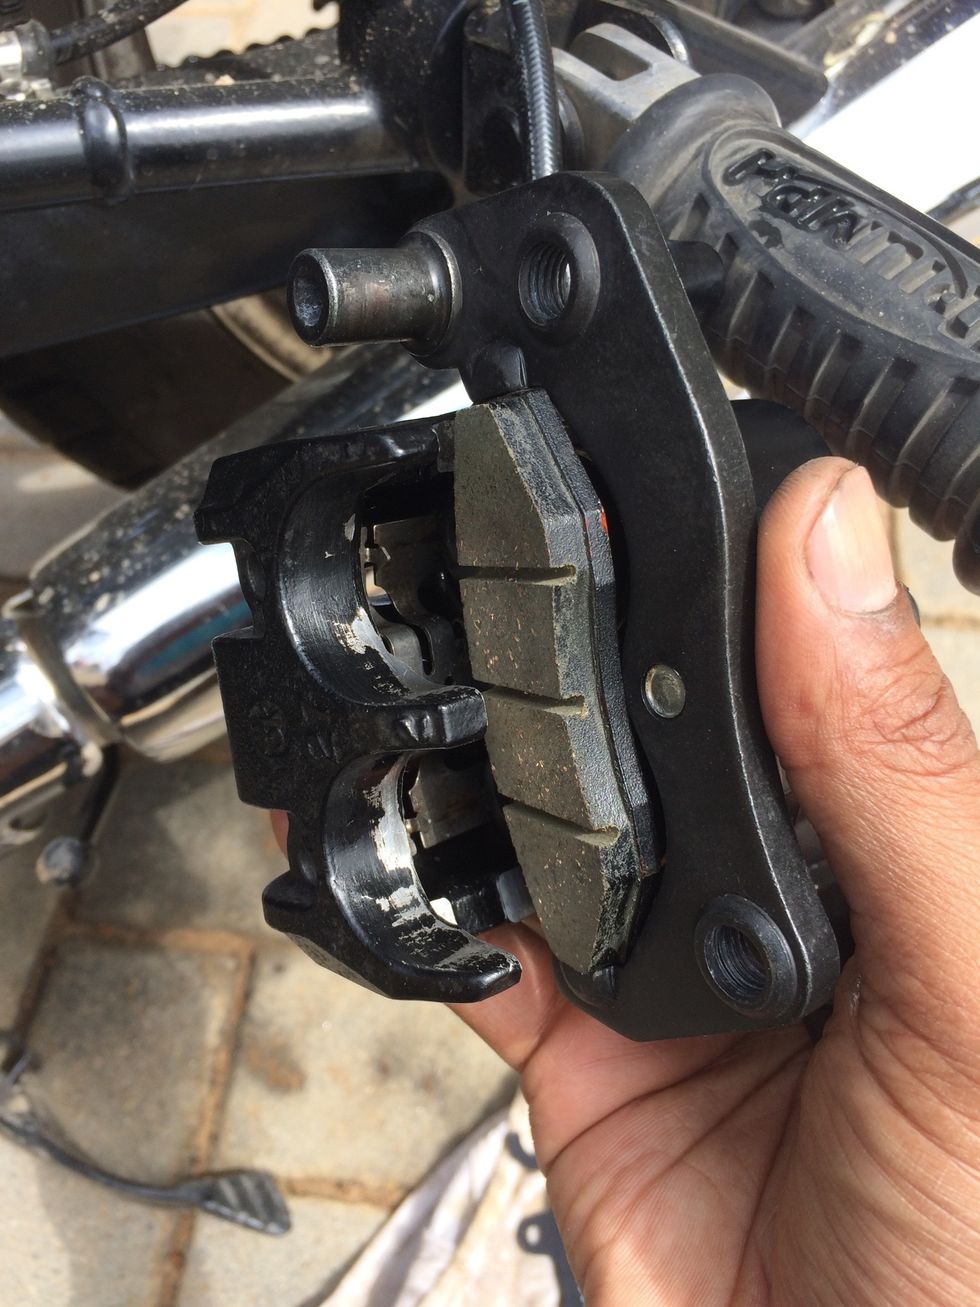
Hook the second pad in the guide hook
And rotate it inwards, note the two arrow like hooks of the flat spring should keep this pad towards the outside of caliper
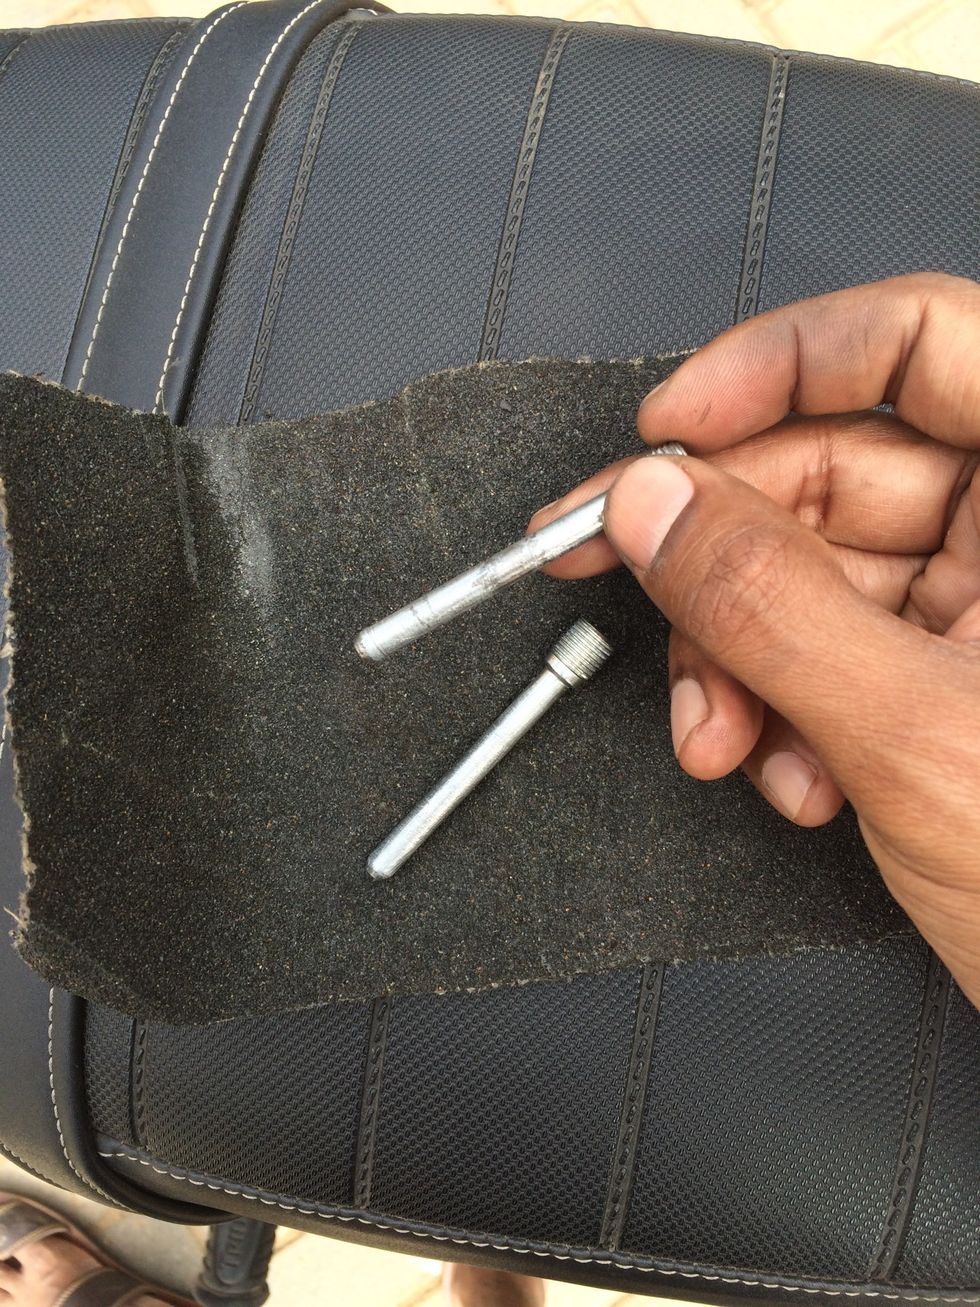
Clean the retaining pins with a smooth to medium sand paper
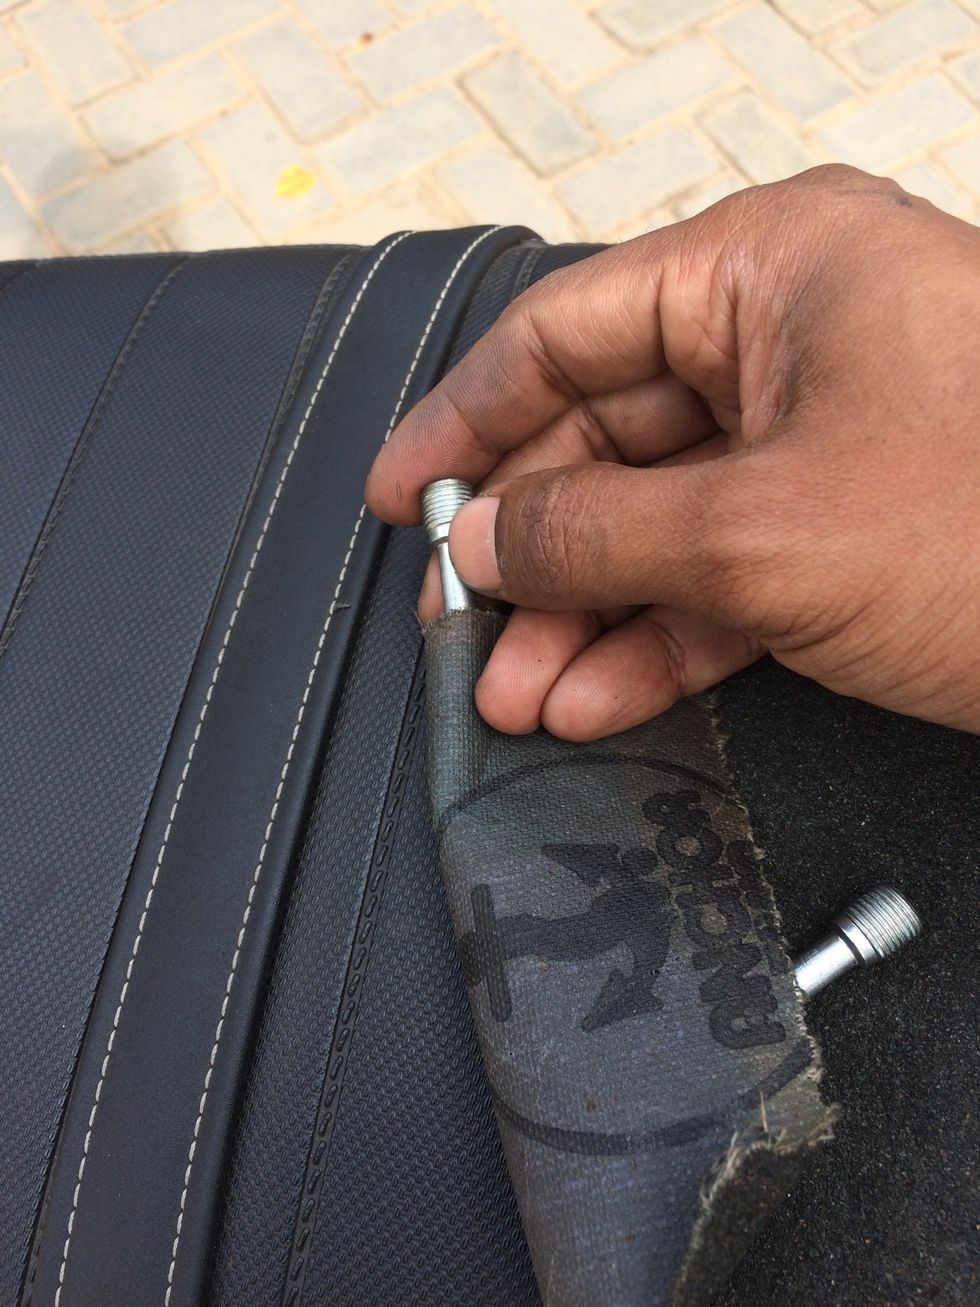
Do this step very gently. Note this step is to clean the hardened salts on the pin and not to remove metal of the pins. After cleaning, rub the surface with grease.
You need to push the pads to align them to get a through hole so the retaining pins can be guided in
Retaining pins guided in and ready to be tightened

Use the 5mm allen and hand tighten to reasonable strength. Don't over tighten, we shall be doing that using a torque wrench after mounting the caliper back on the bracket.
Hand tighten the retaining pins

Push the pads aside and relocate the caliper onto the mounting brackets
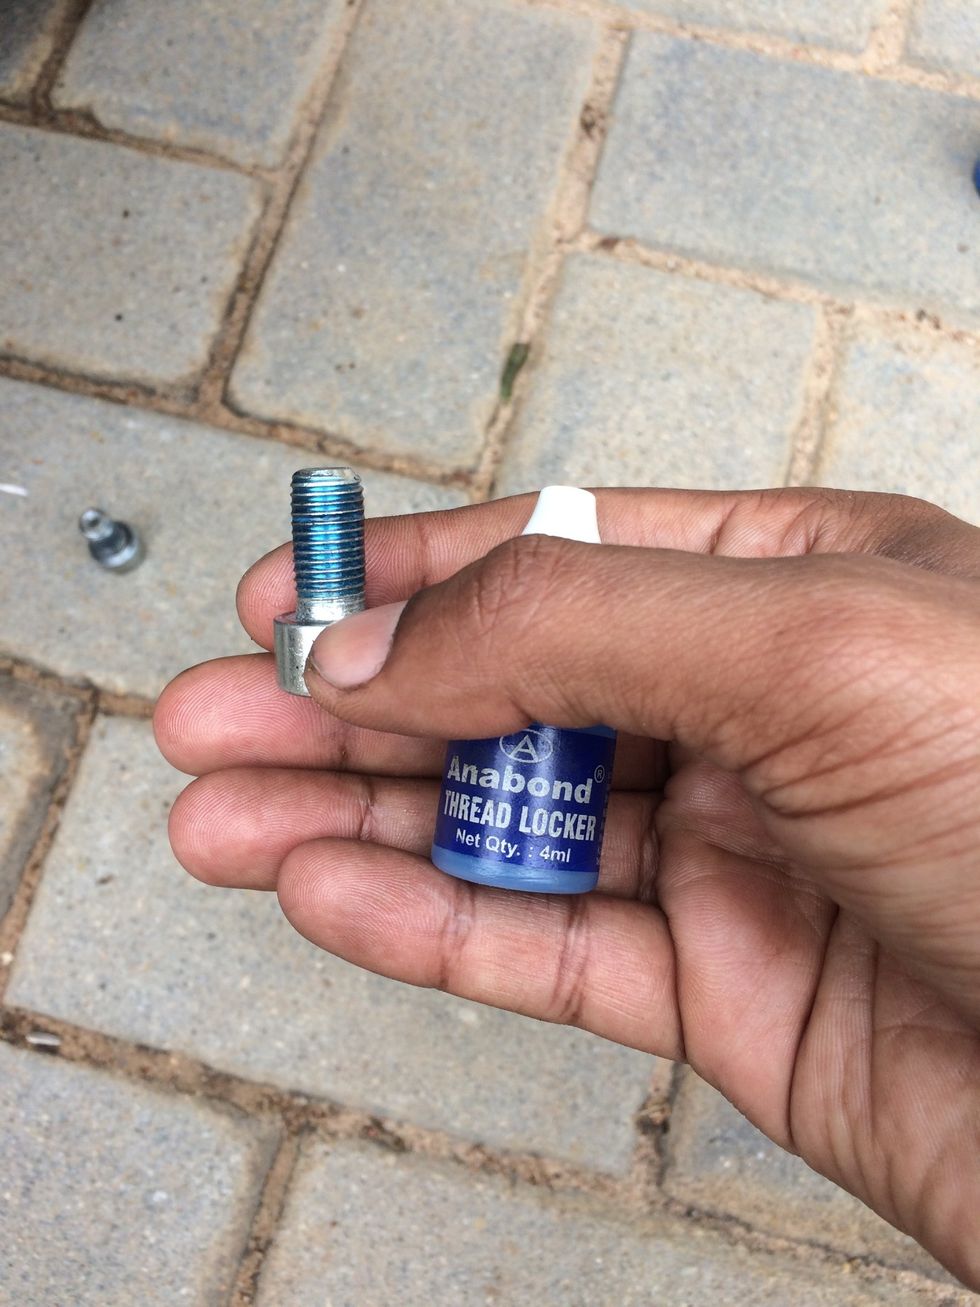
Use thread locker on the mounting bolts. ( After cleaning the bolts with cleaning solvent )
Tighten the bolts alternatively
Tighten the bolts alternatively until tight with one hand ( do not use your body weight and over tighten these bolts )
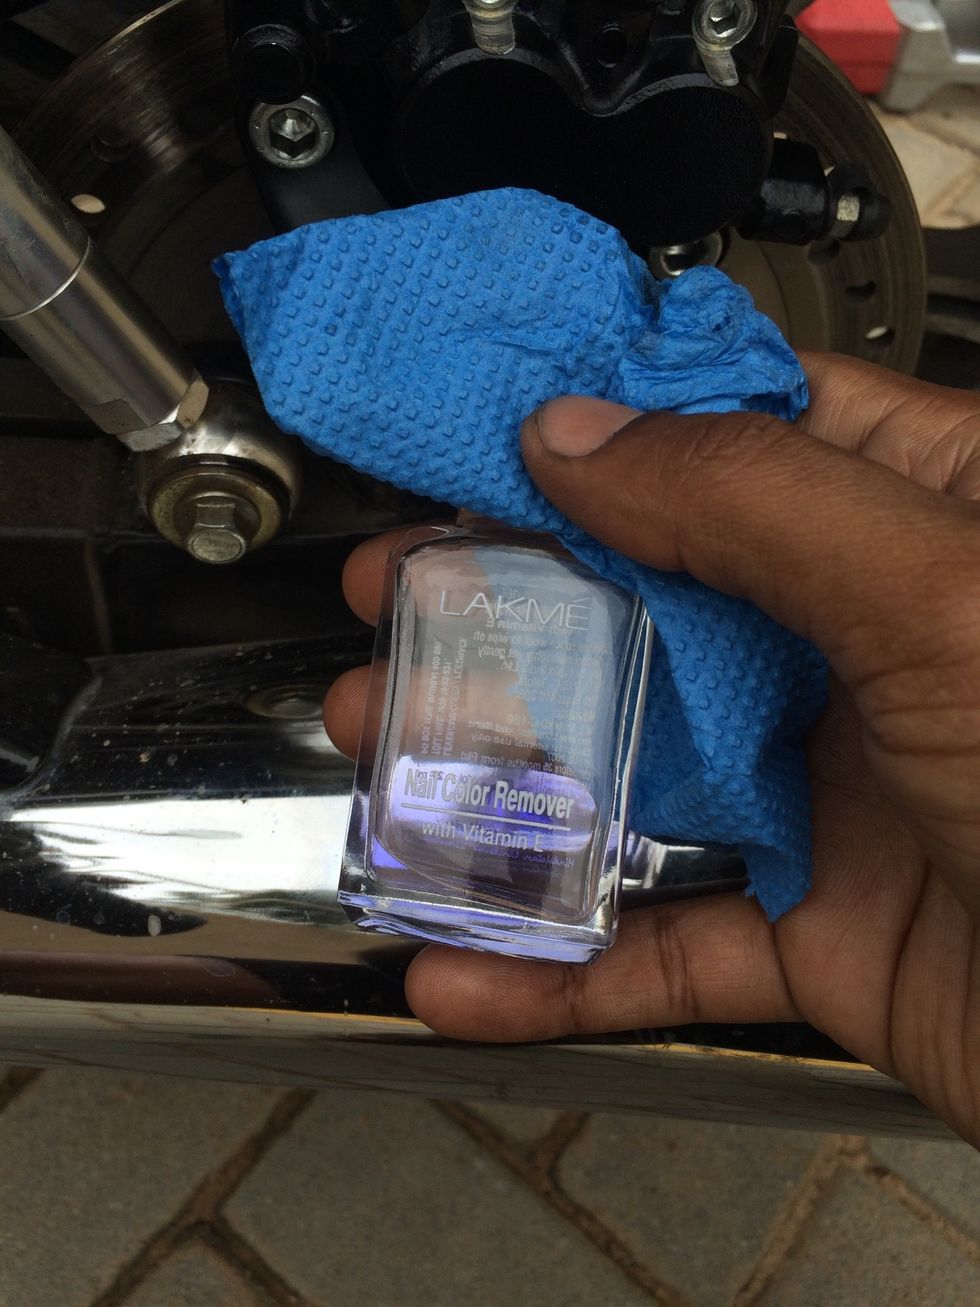
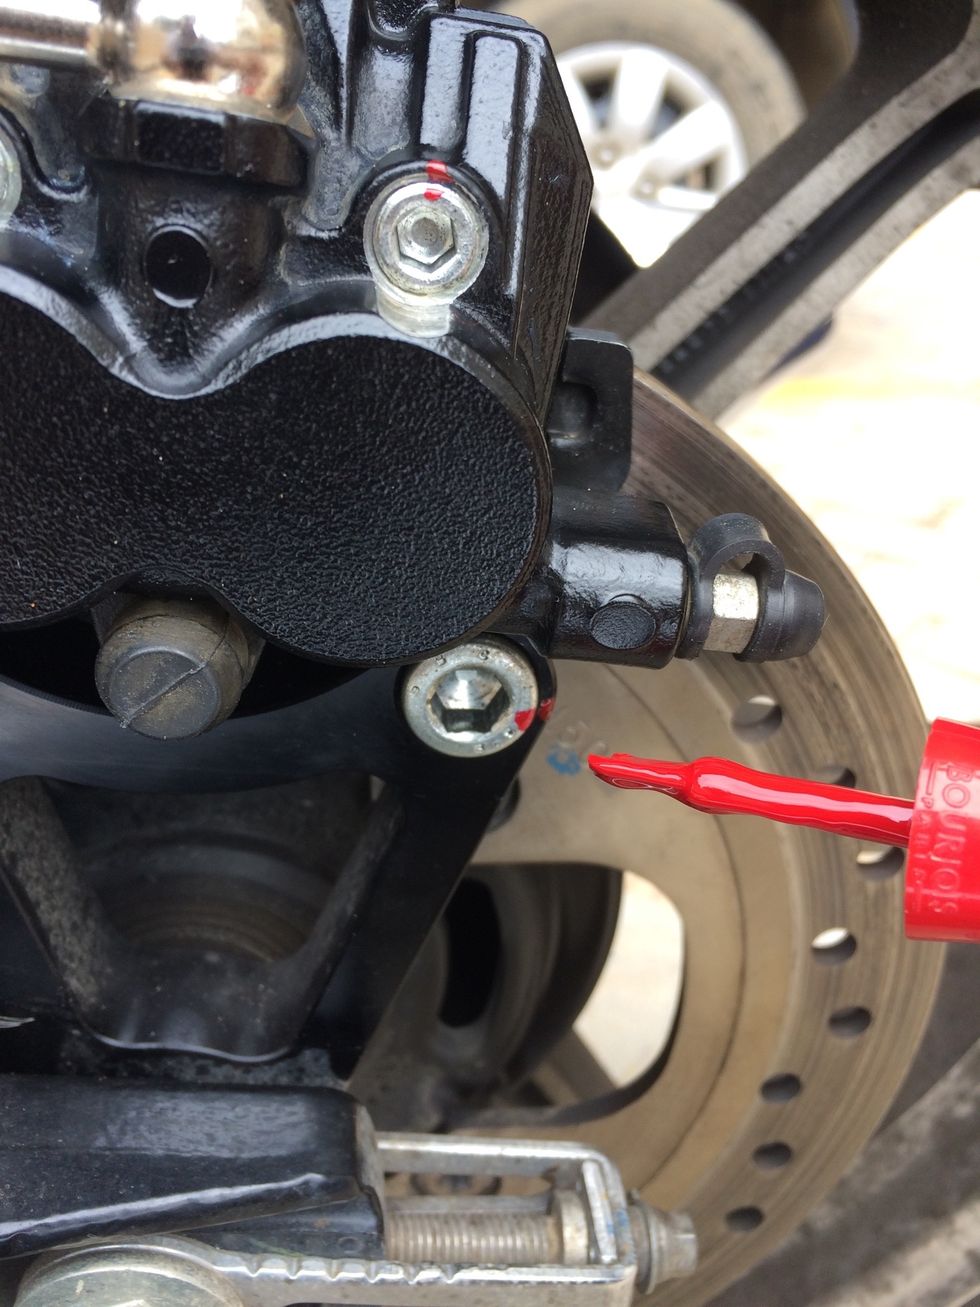
Use nail polish remover and clean off the old torque marking paint
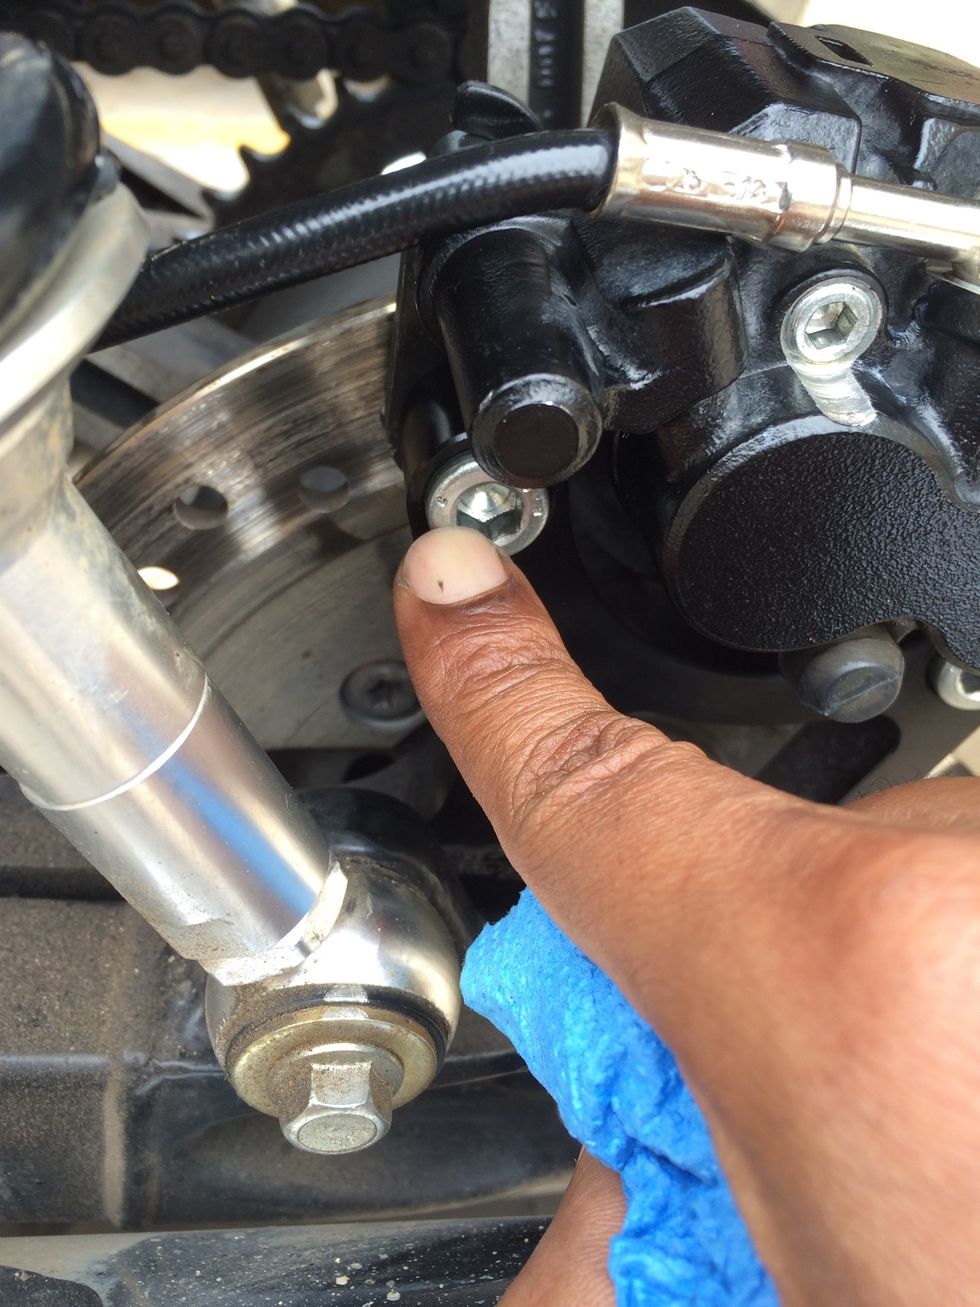
Clean the paint that marks the torqued bolt
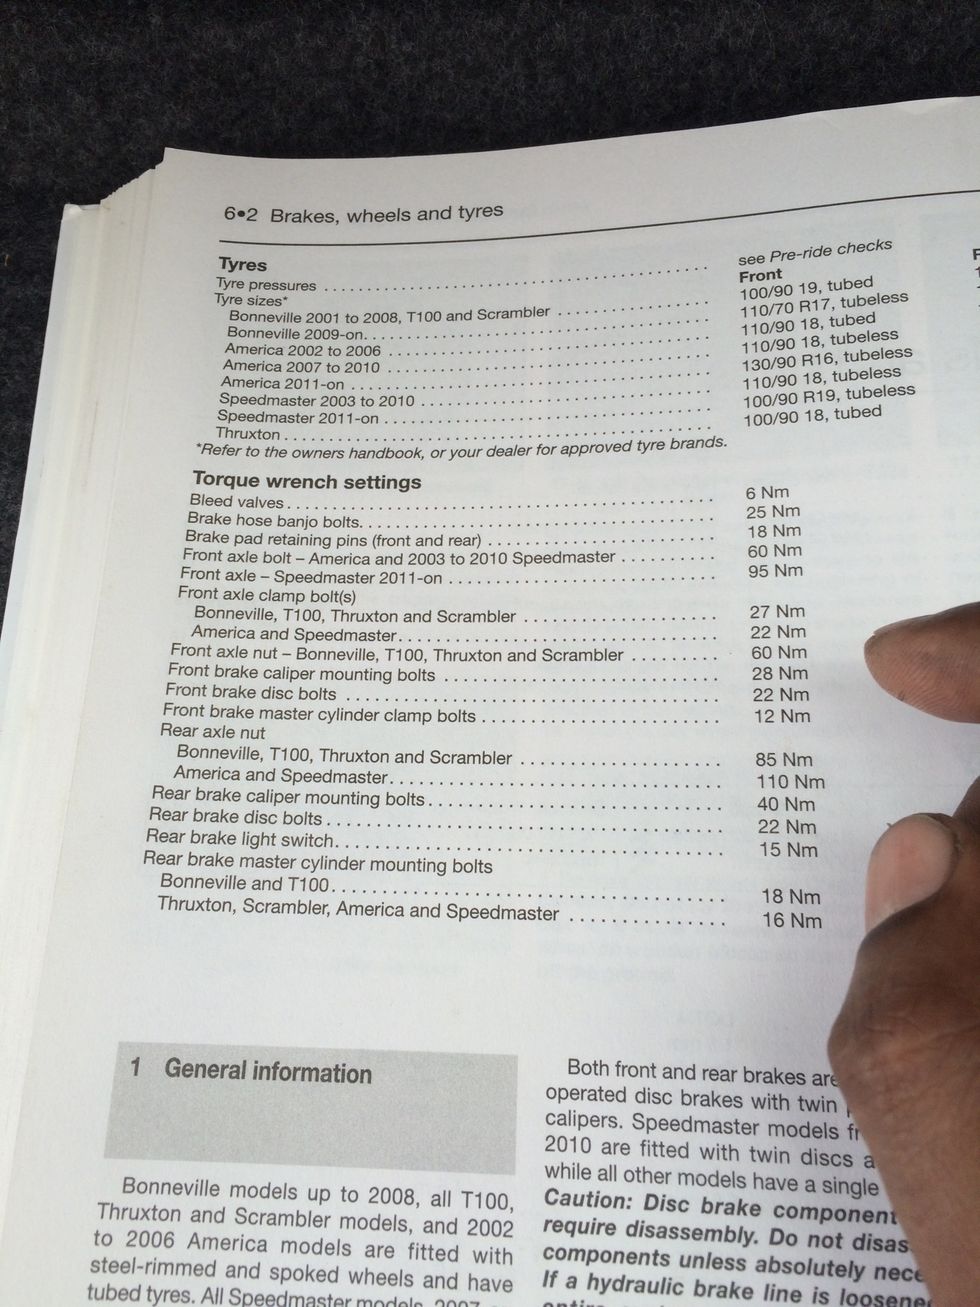
Rear brakes mounting bolts are torqued at 40Nm and the retaining pins at 18Nm
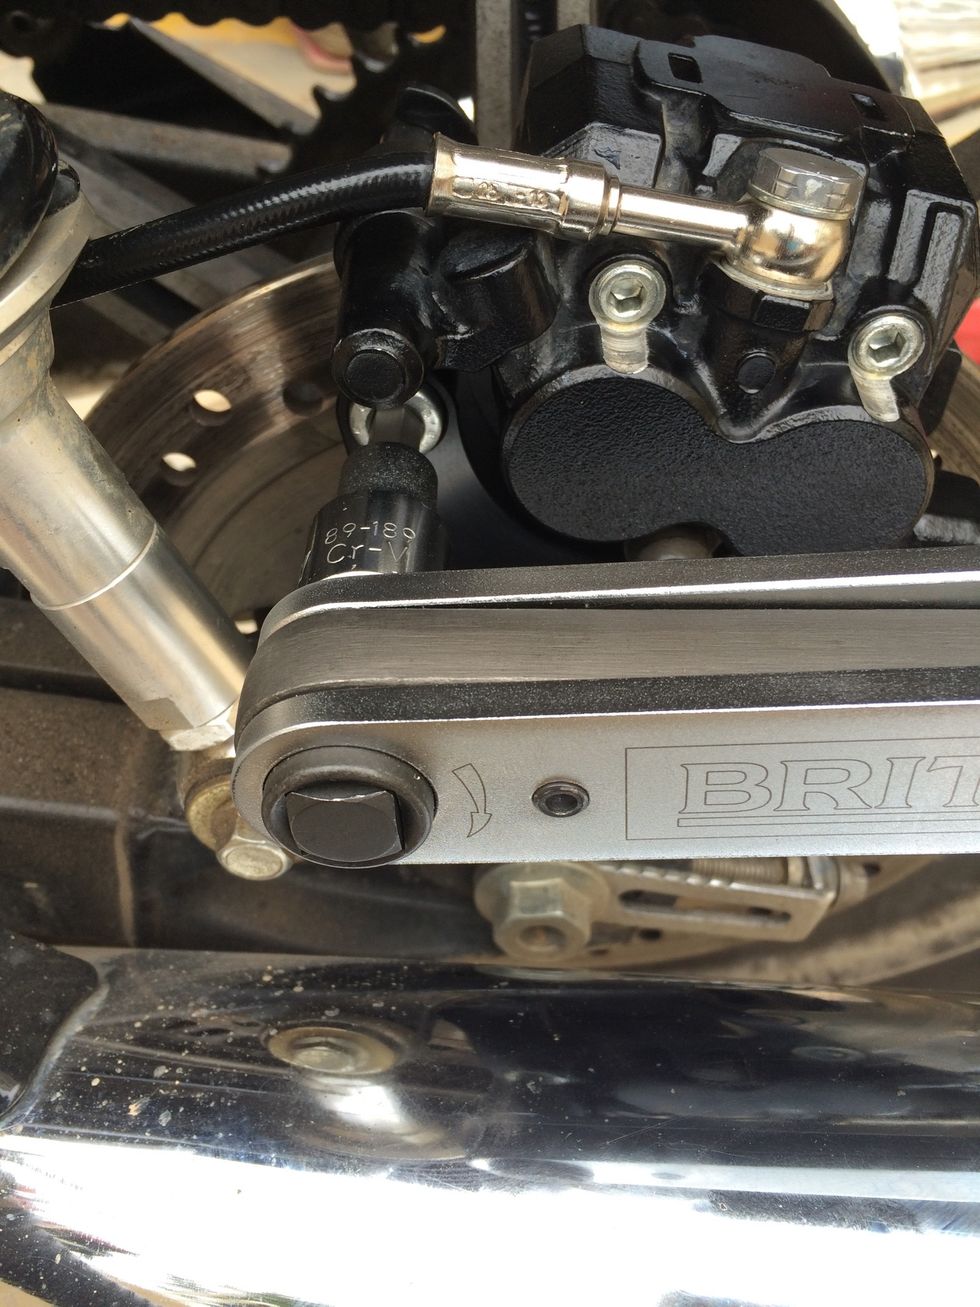
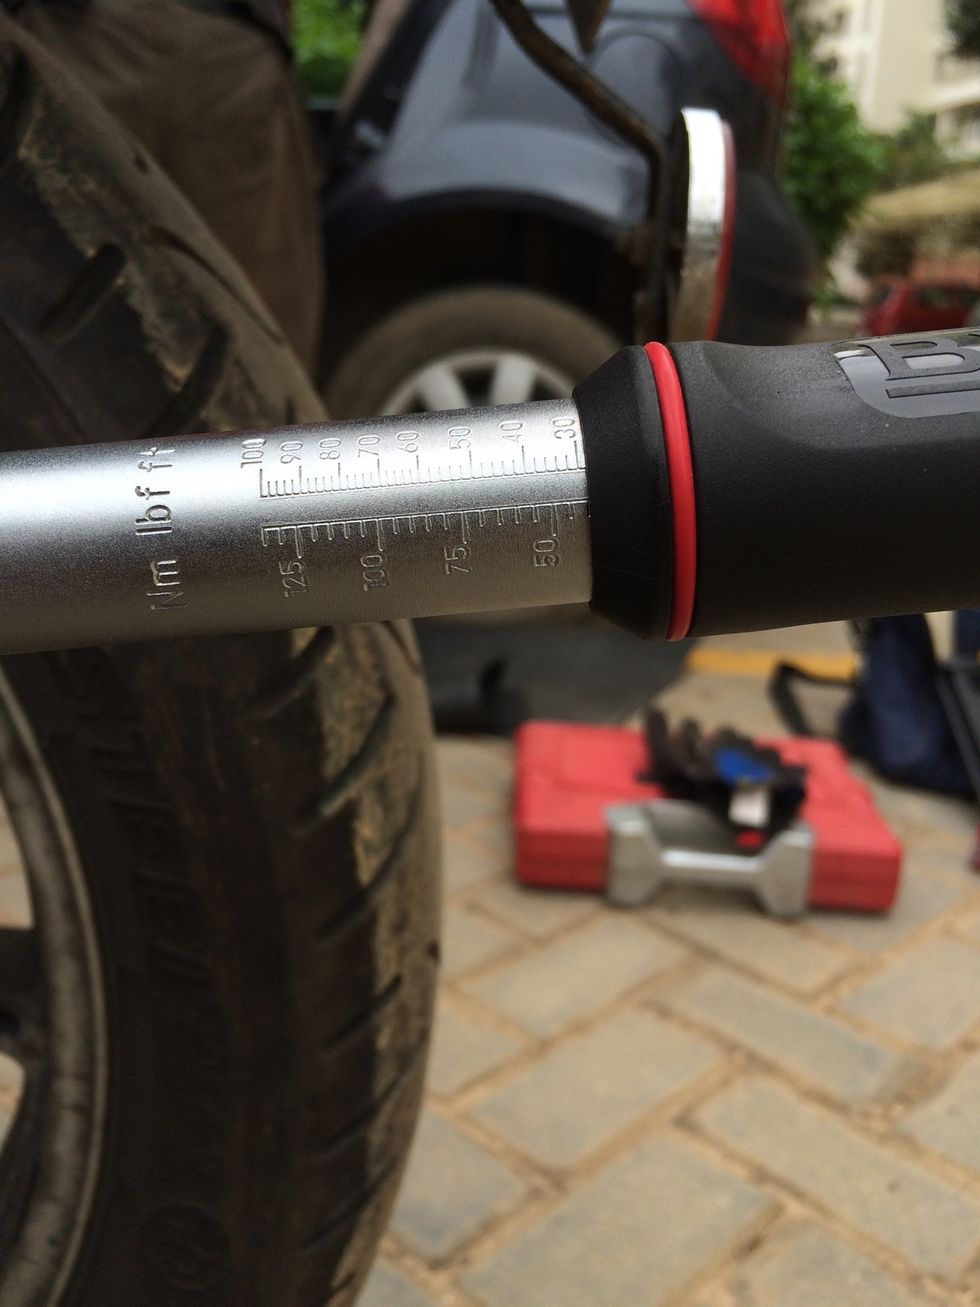
Use a torque wrench and gradually torque to 40Nm by moving through 30Nm, 35Nm. ( It is a good habit to torque up gradually, rather than jumping directly into the factory value )
Reached 40Nm for both mounting bolts
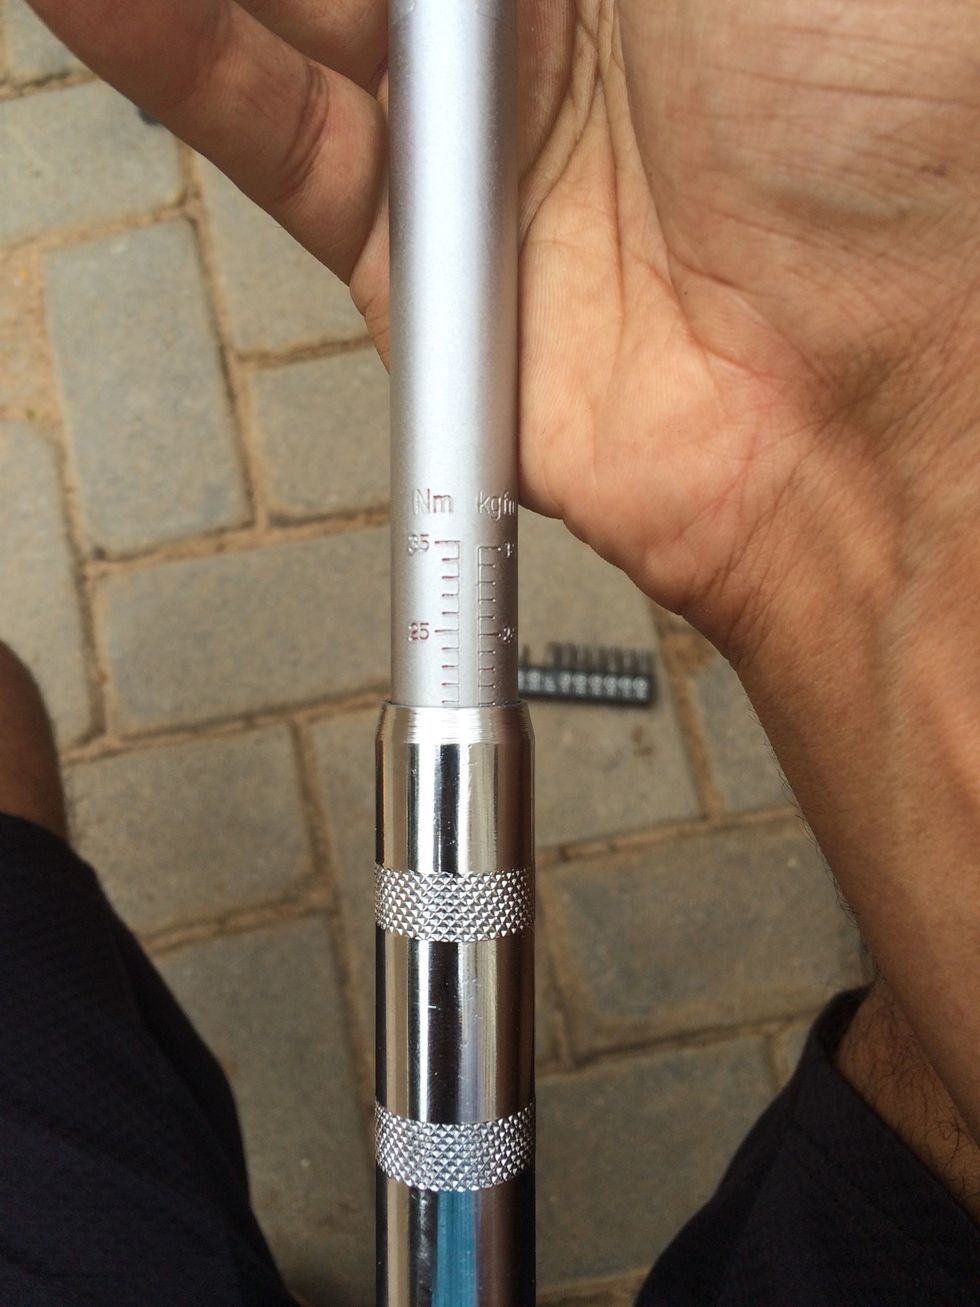
Start at 15Nm and reach 18Nm for the retaining pins

Torquing the retaining pins
After all bolts and pins are torqued, use a bright coloured nail polish to mark the torqued bolts

Final step, all torqued and marked
Start the motorcycle and run in gear and press the pedal, the first pedal push will be completely loose. The pads will align as soon as you pump the fluids in the line using the foot pedal.
Wear a helmet and go for a test ride, for the first 100km the brake pads have not set in correctly, so don't use aggressive braking, ride slow and run in the pads.