The Conversation (0)
Sign Up
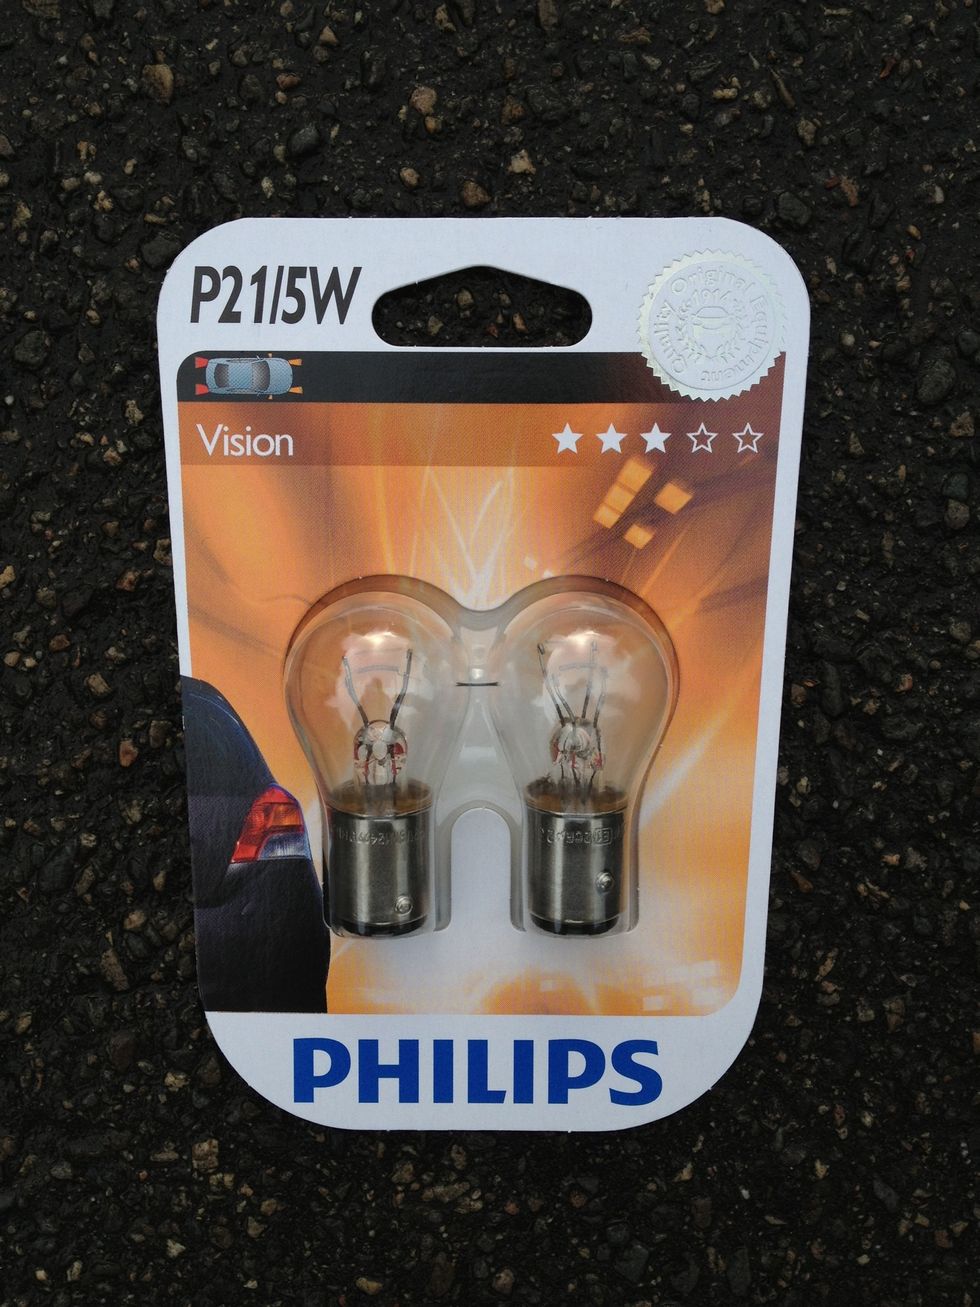
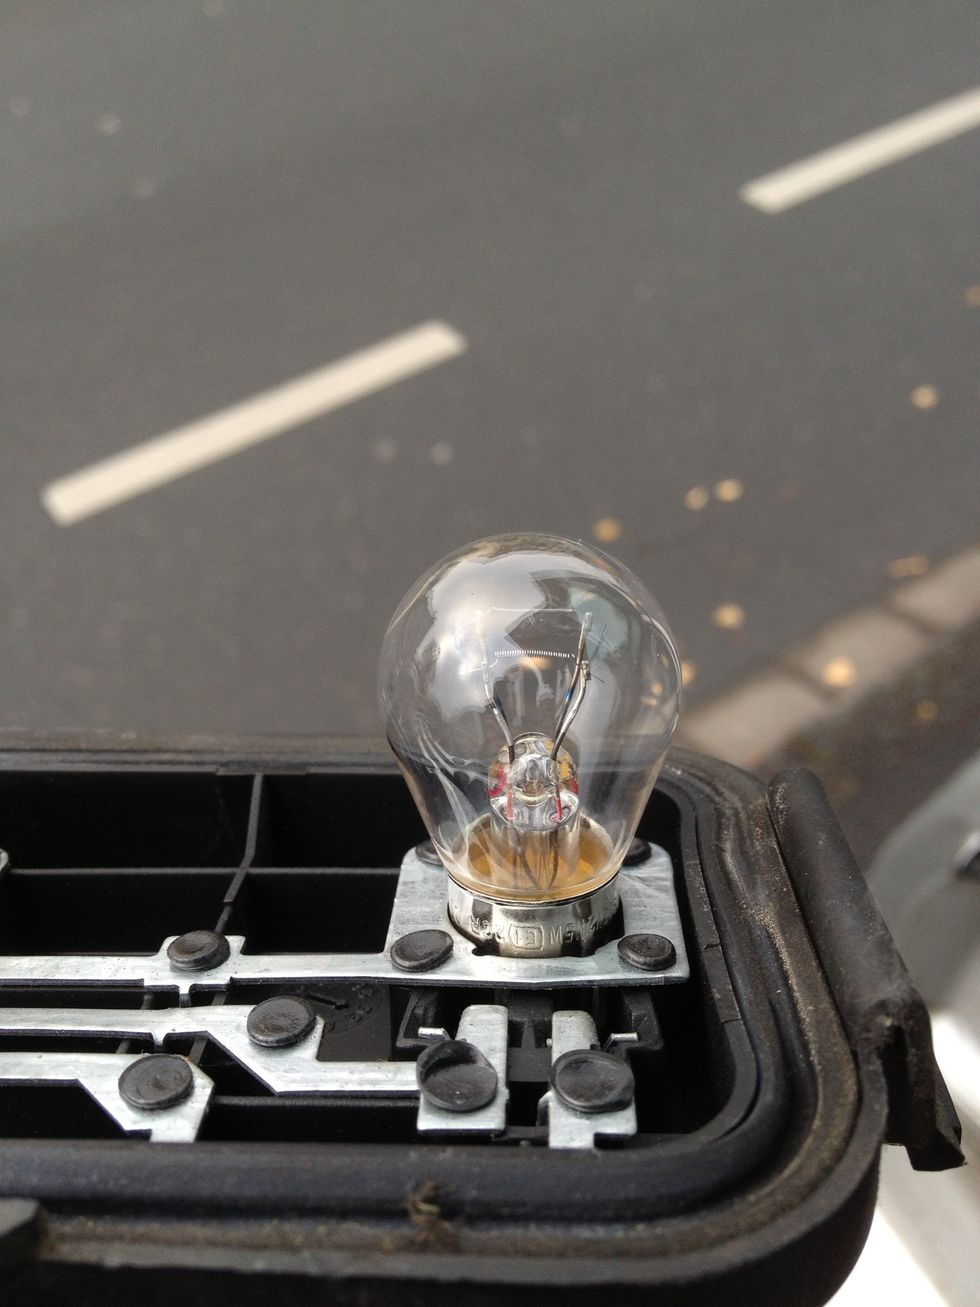
Determine what bulb you need to replace. For the rear brake light its the P21 5W. Back light - P21W Third brake light - W5W Turn indicator - P21W Fog light - P21W License plate light - W5W
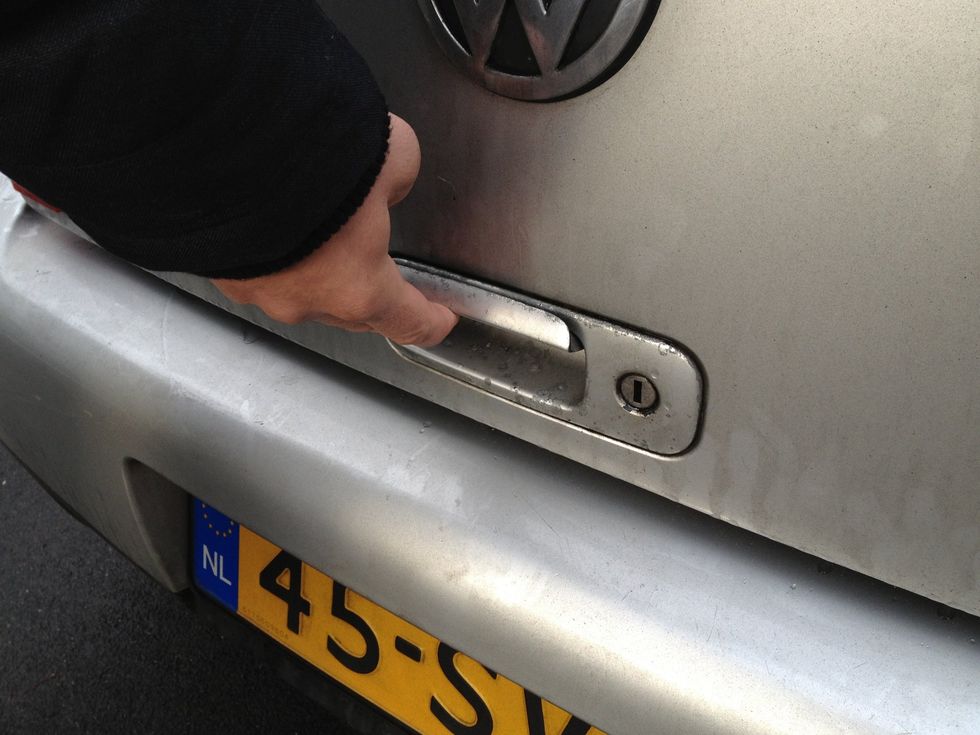
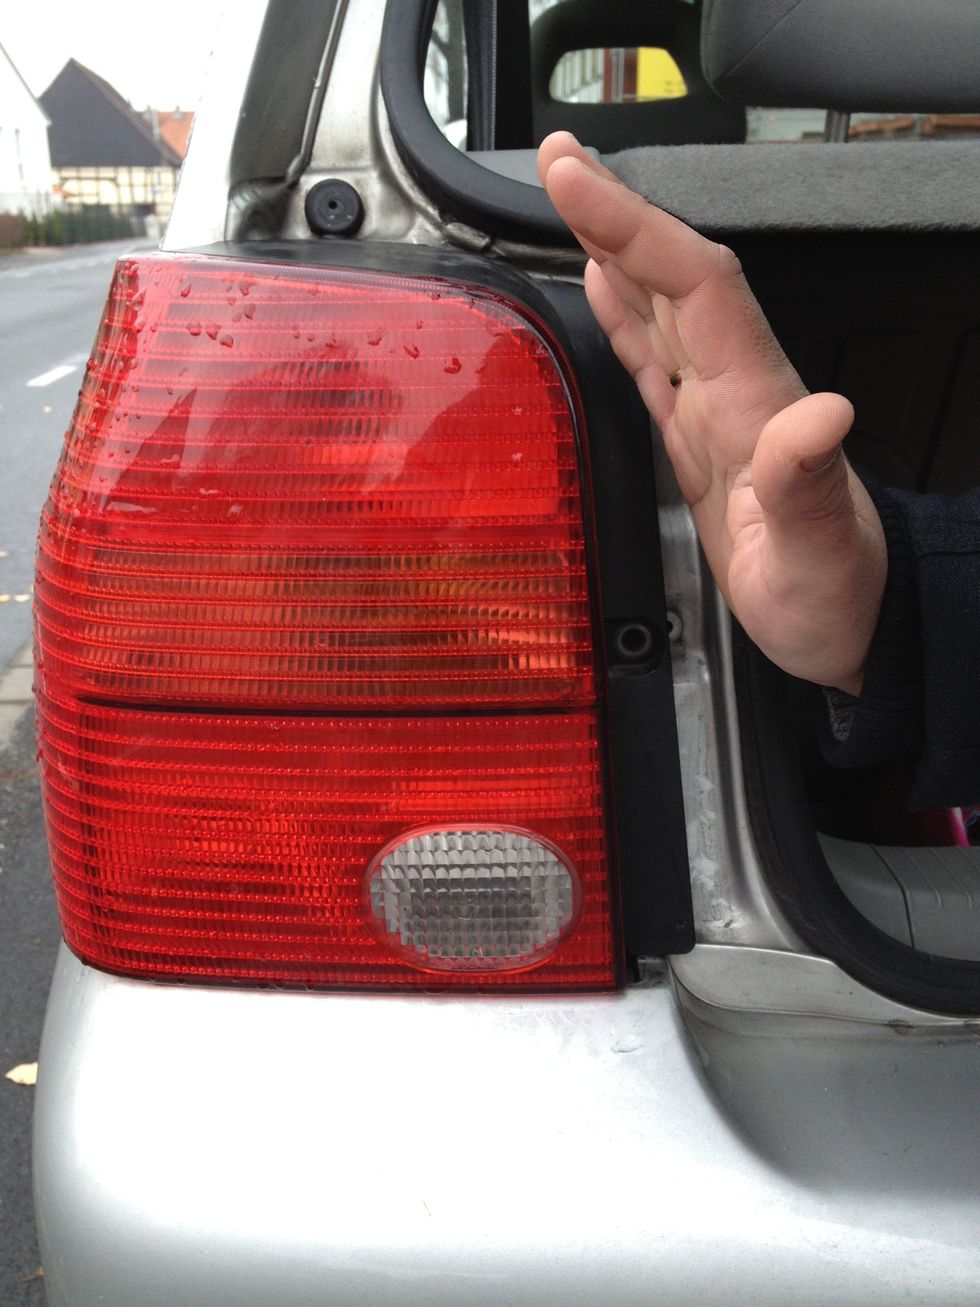
Pop the trunk!
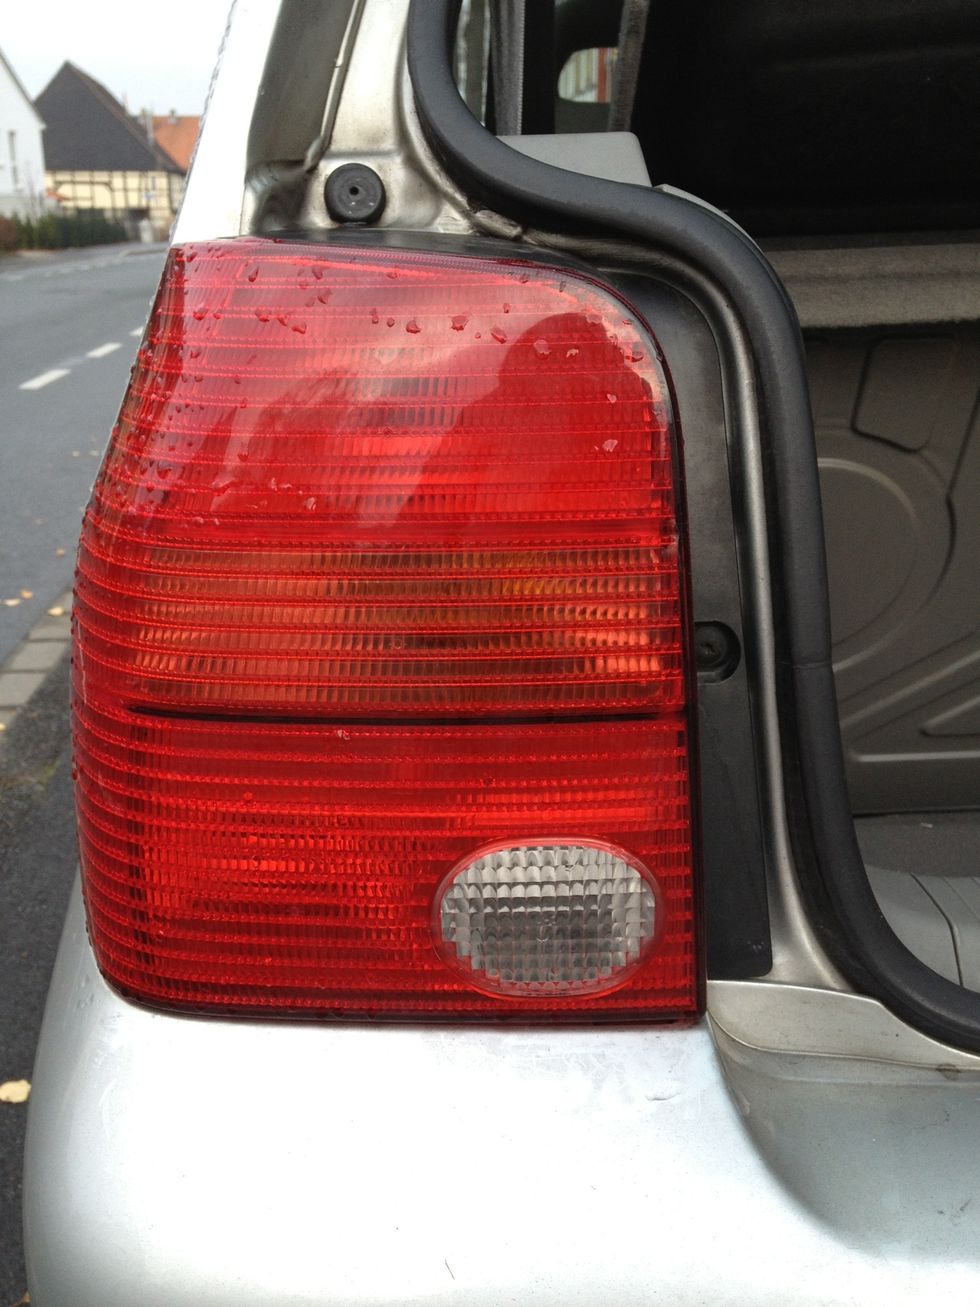
Locate the light enclosure.
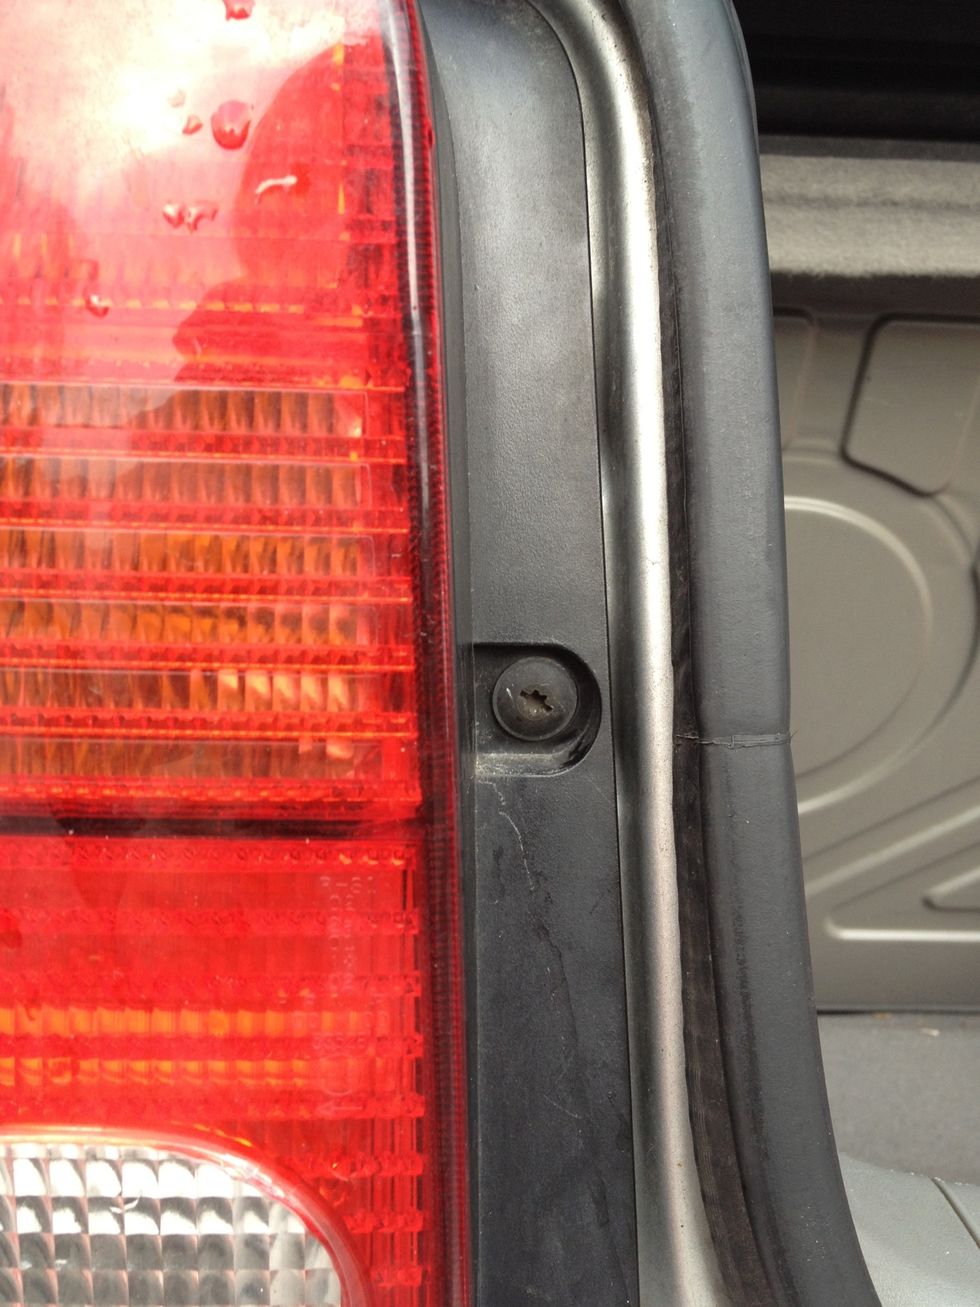
Unscrew this screw.
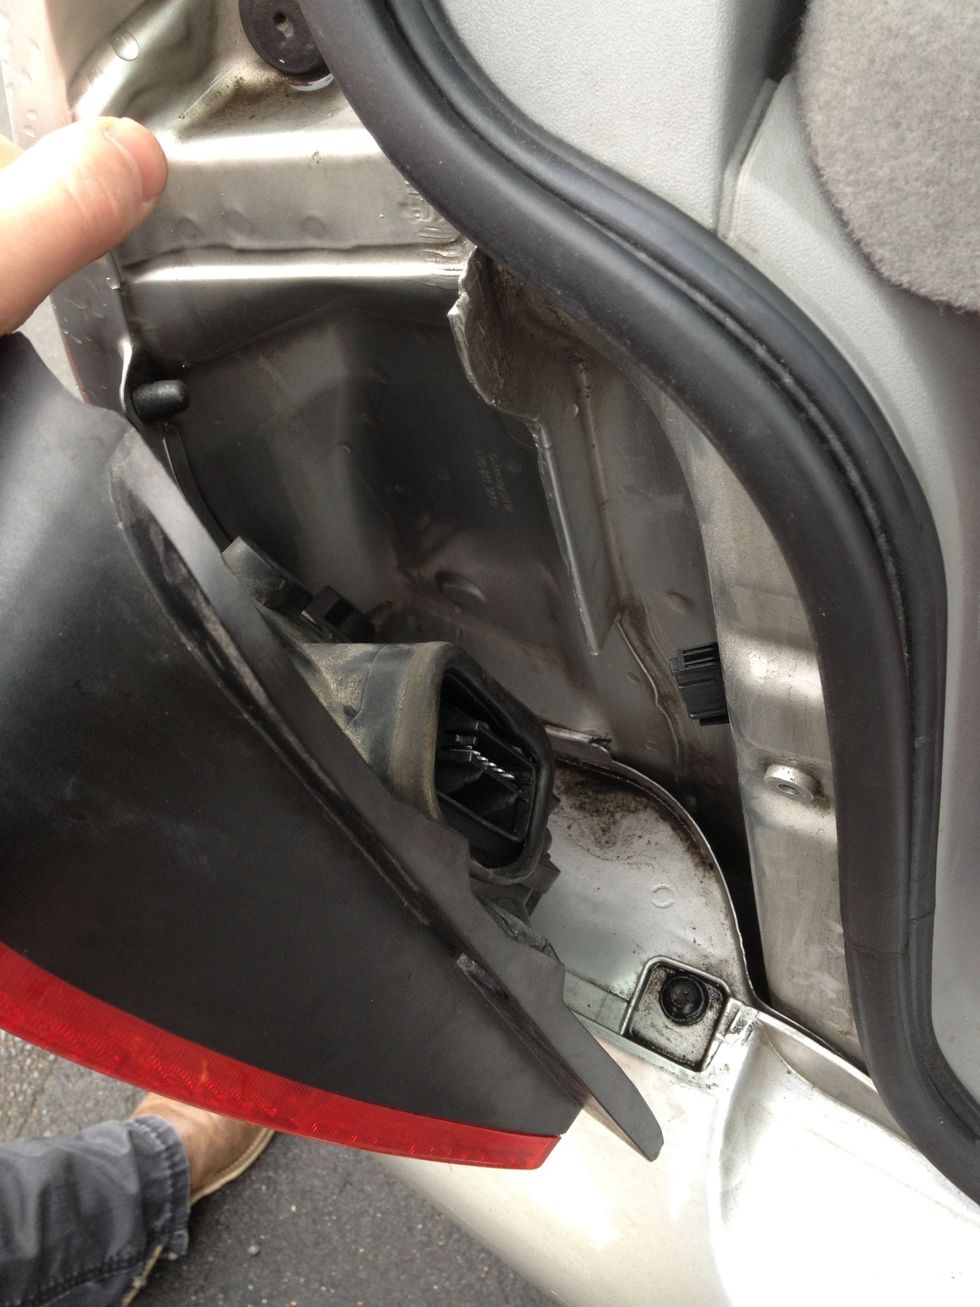
Push (or gently hit) the enclosure until it pops out. For the left light: push from right to left. For the right light: from left to right.
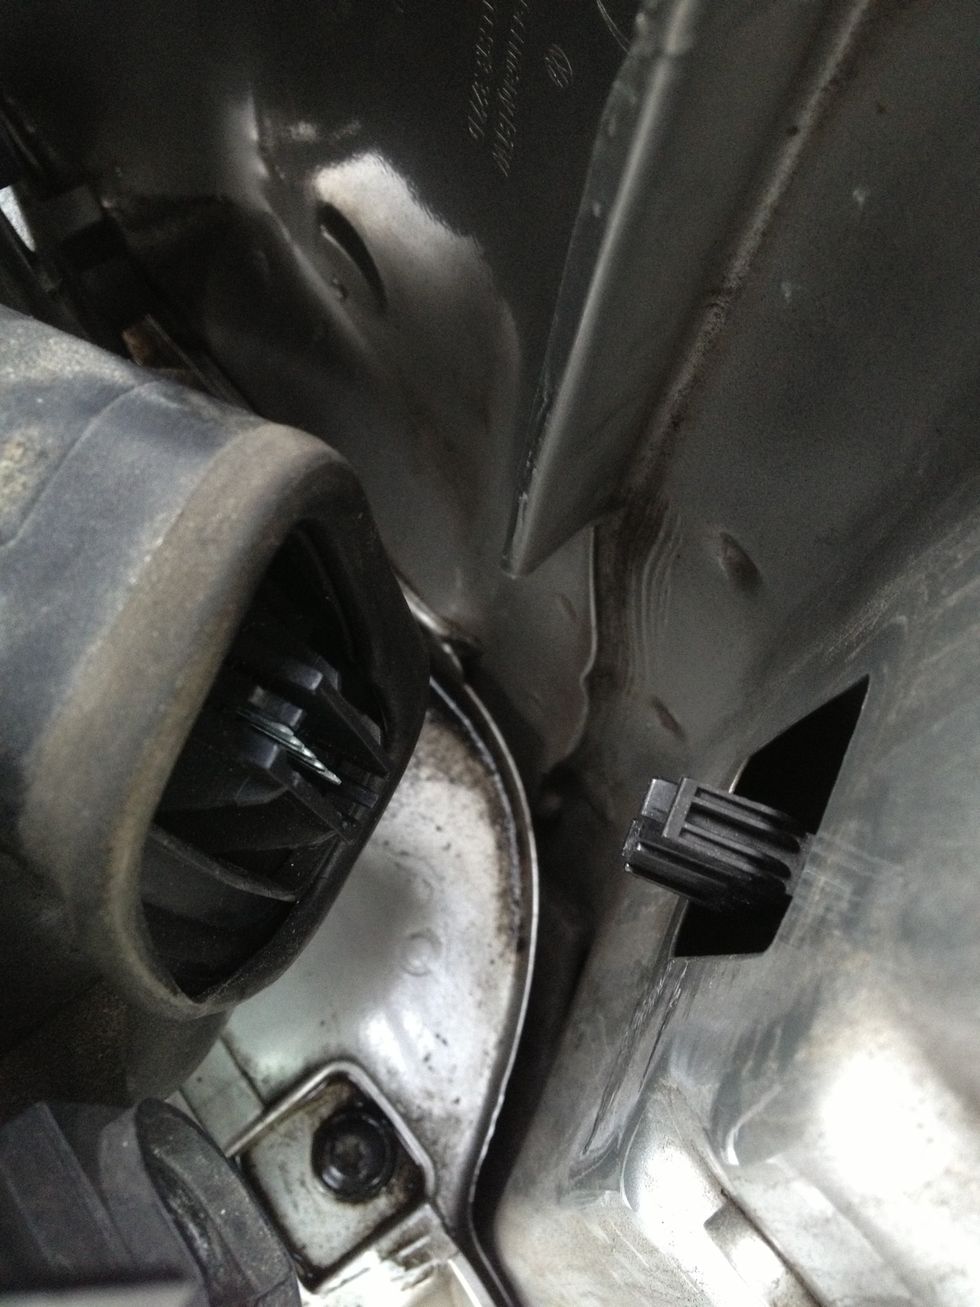
The light enclosure is still attached to a connector: unplug it.
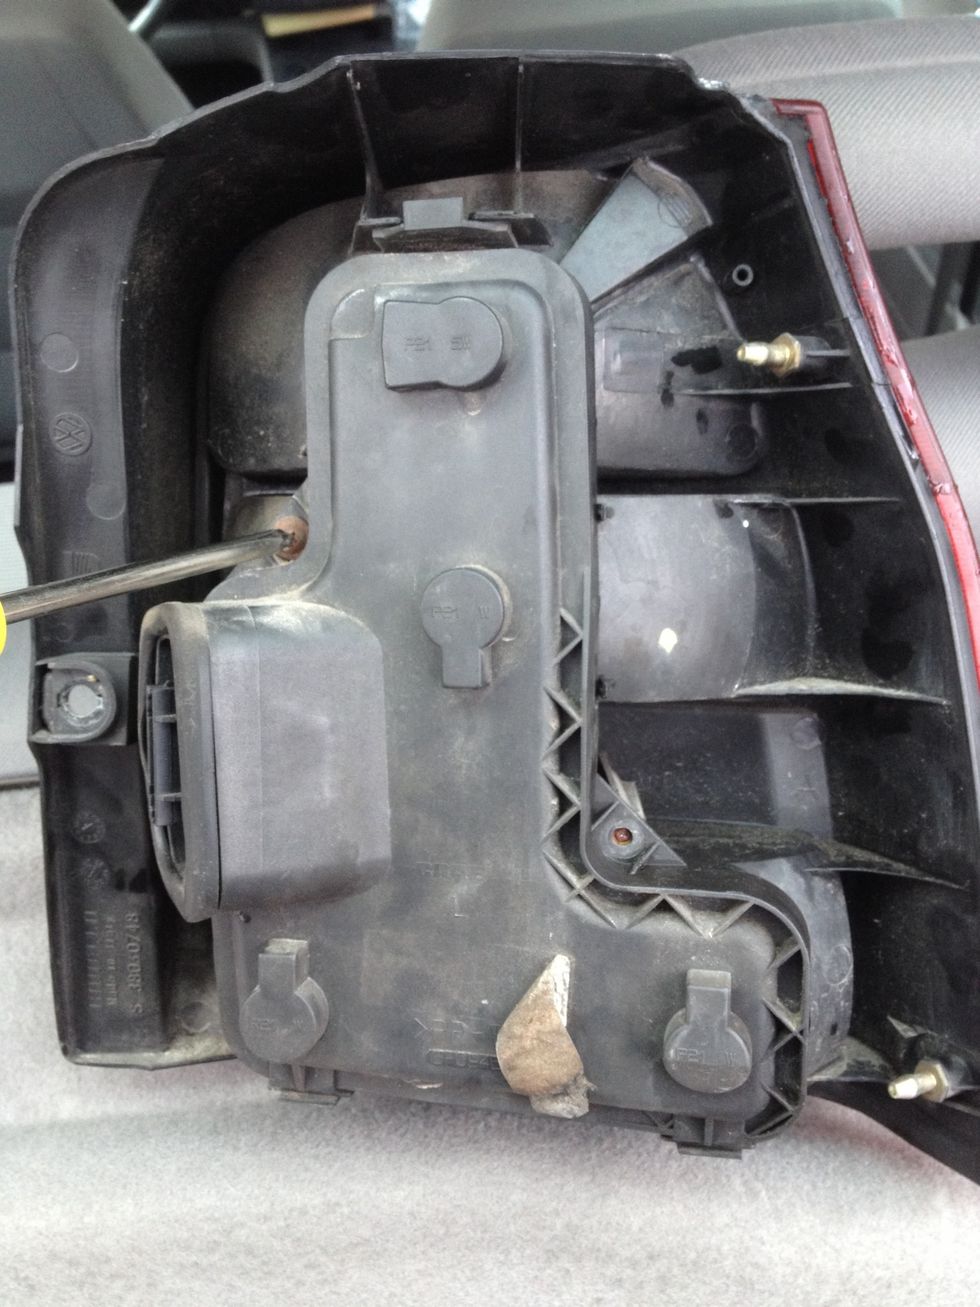
This is the unplugged light casing. There are two screws that need to be unscrewed. In this picture there is only one screw. On this casing you can also find the light bulb types.
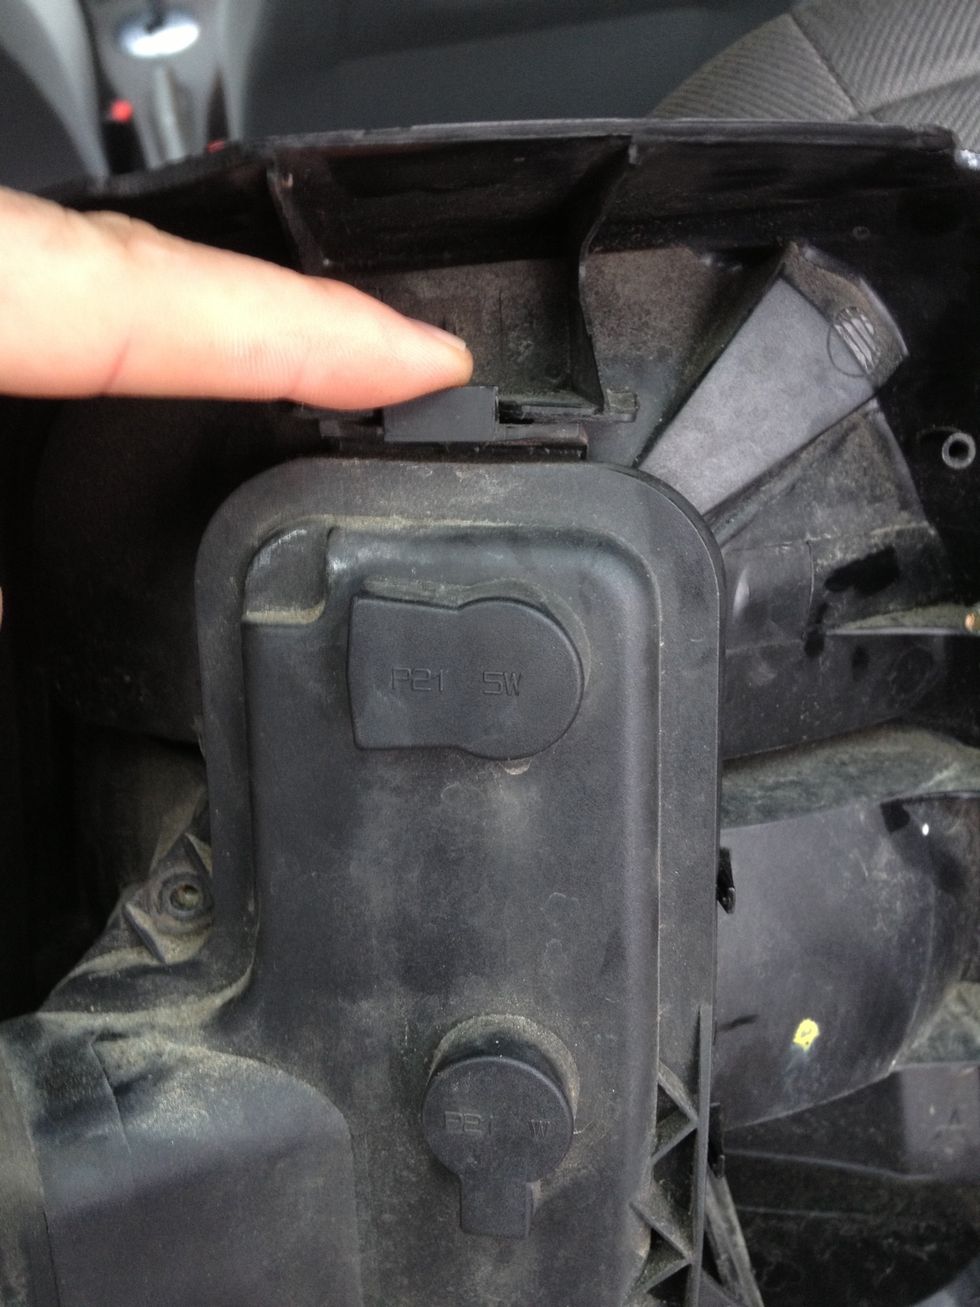
When you unscrewed the screws, open the casing with this handle on the top. Then you can hinge it open from the top and take the back of the casing off.
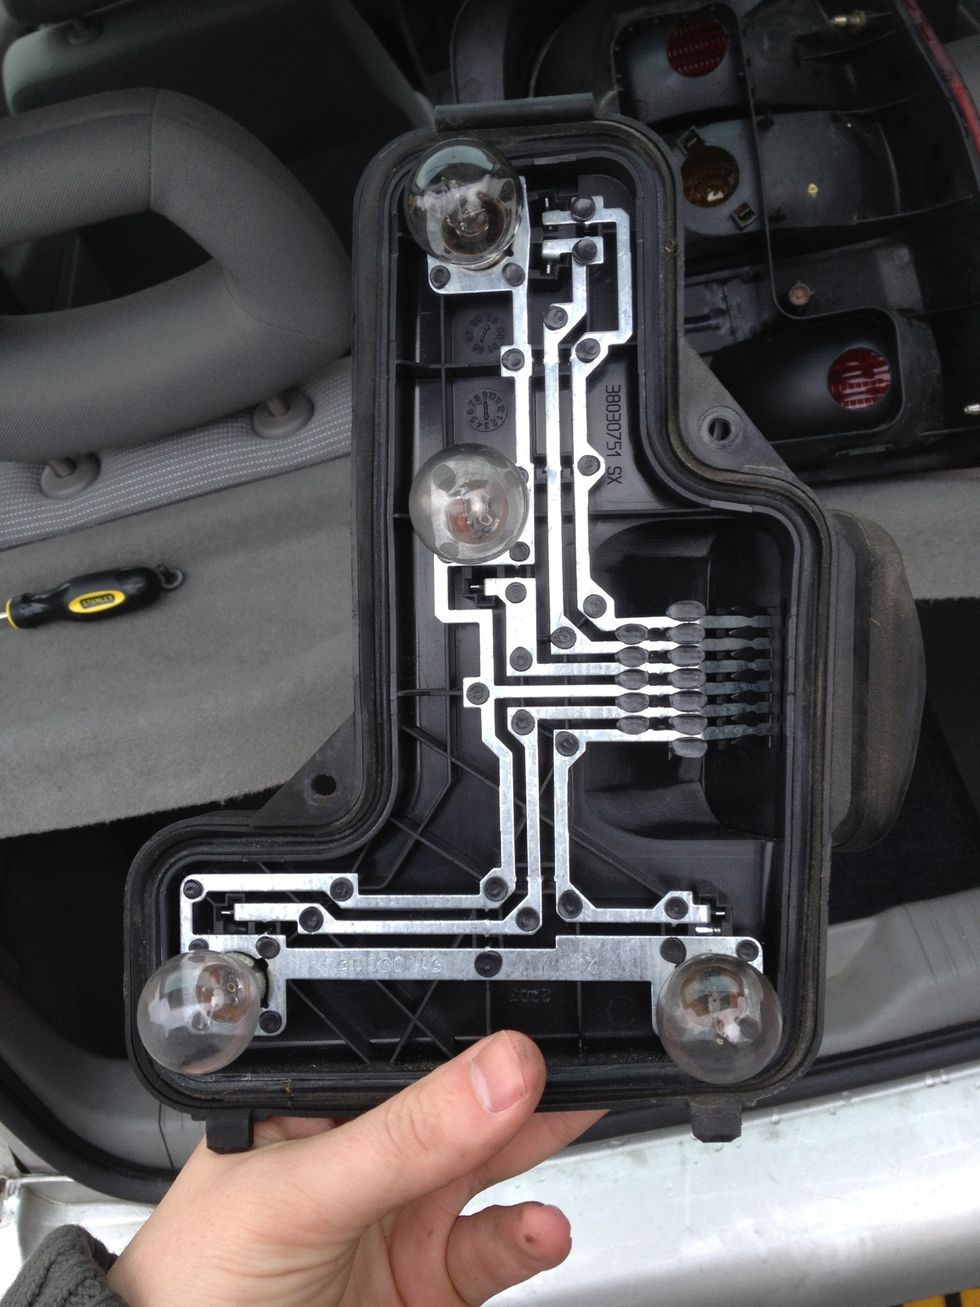
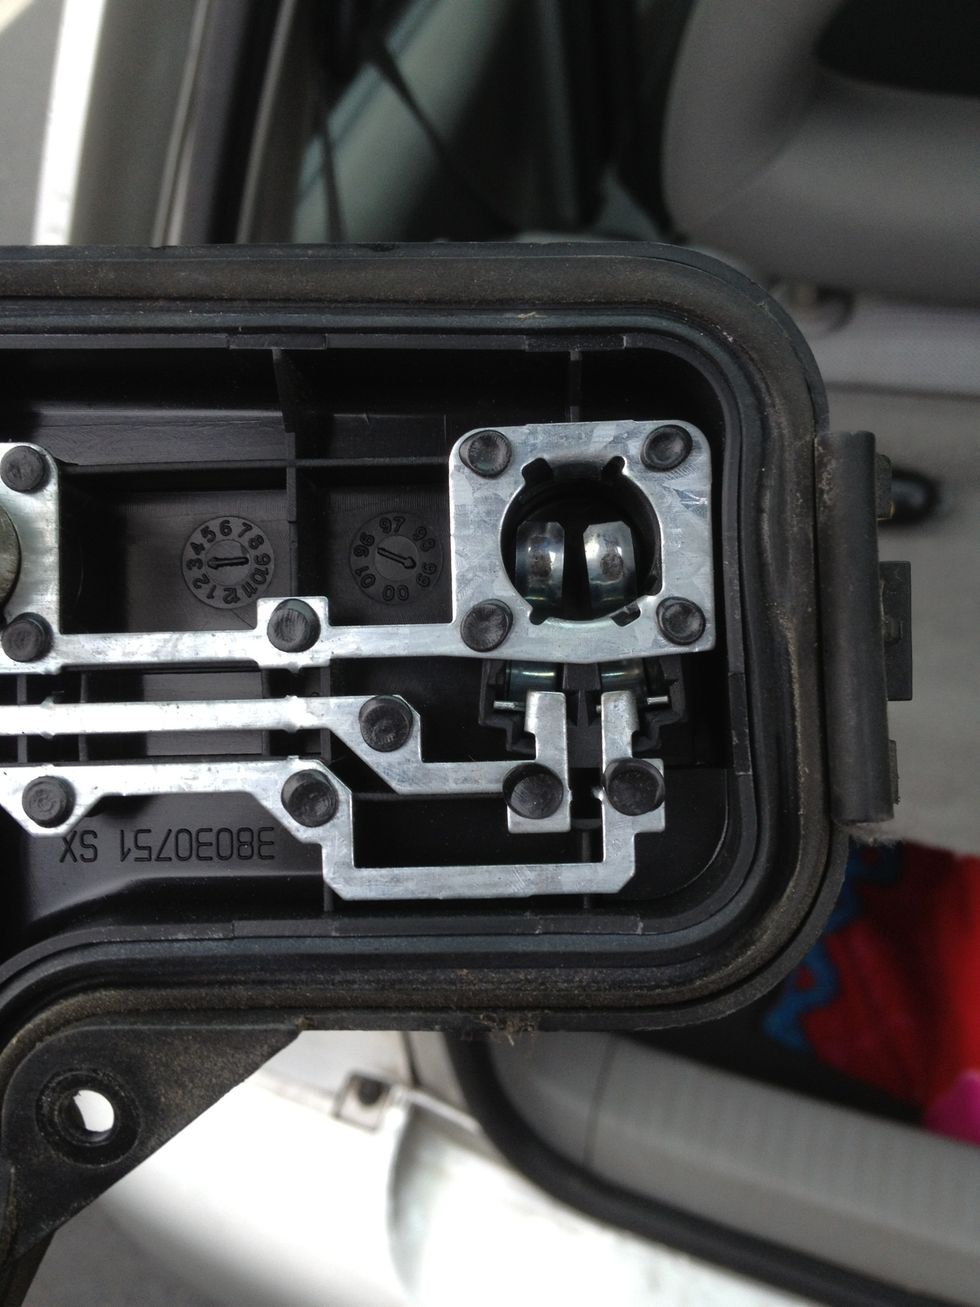
These are the bulbs.
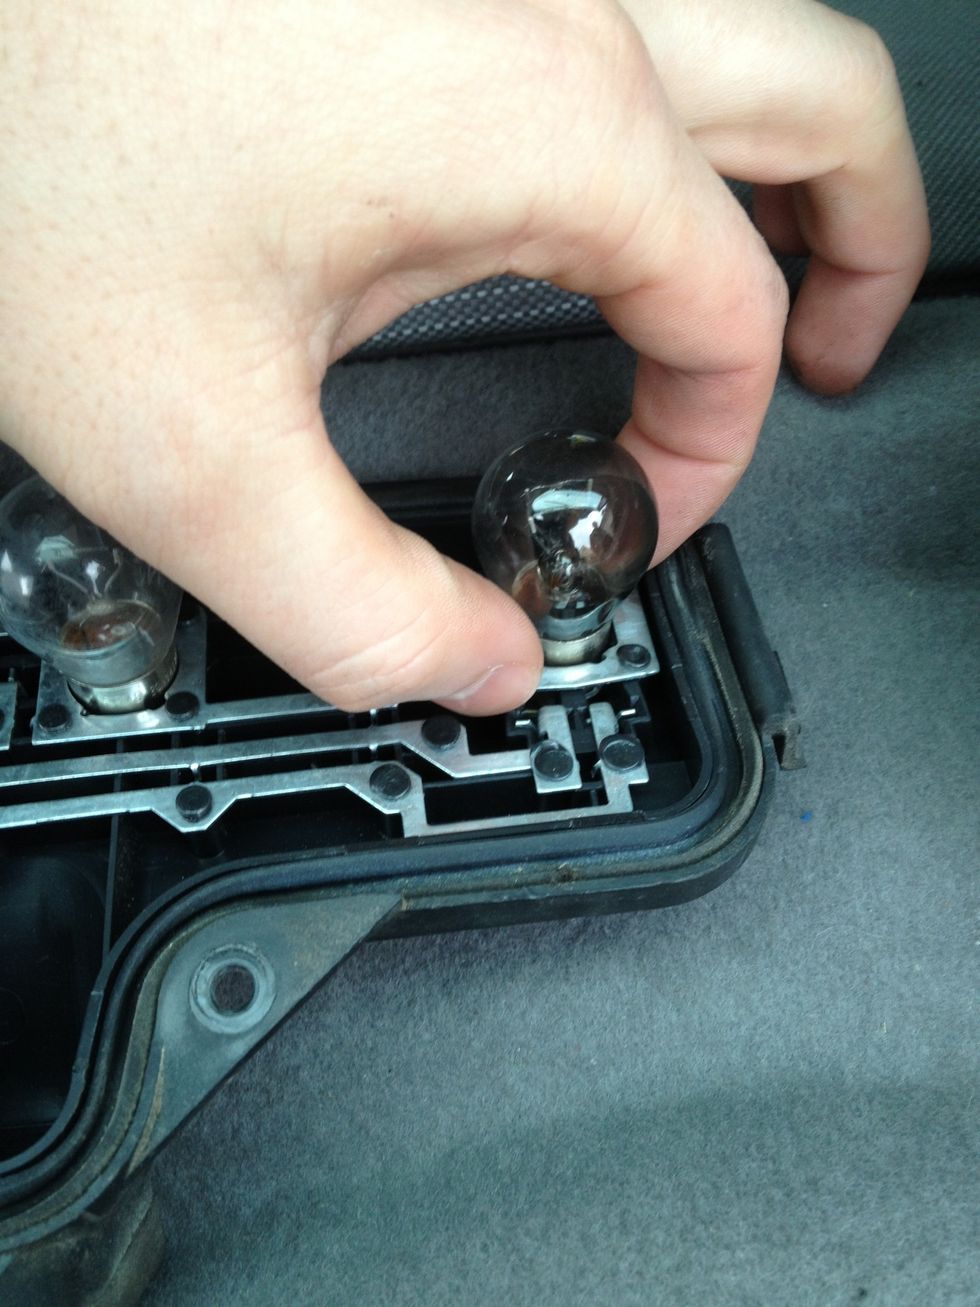
Push down and twist to take the bulb out.
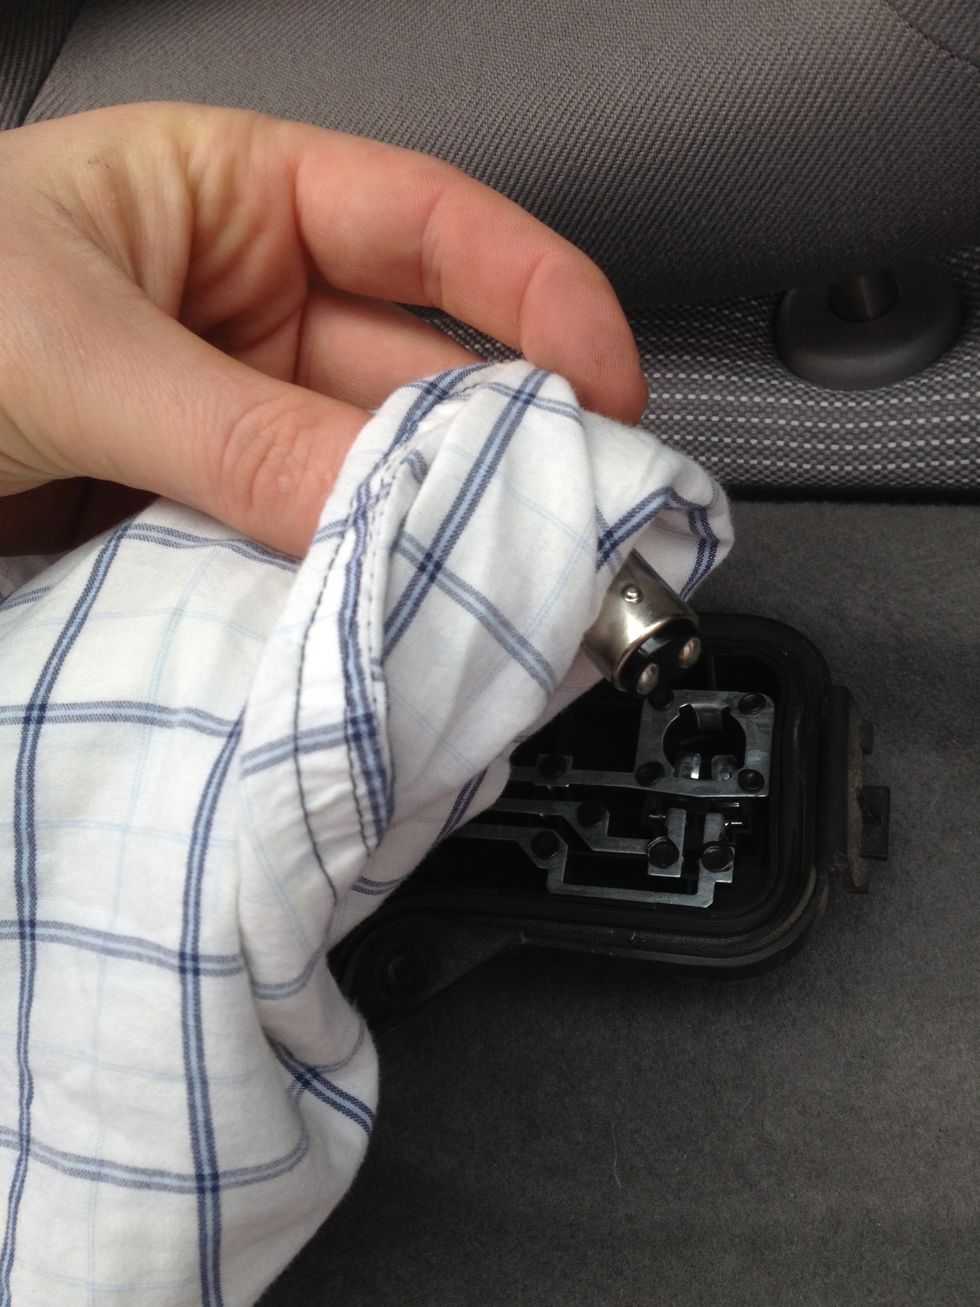
Insert (push and twist) the new lamp with a piece of cloth, don't touch with your fingers.
The new lamp is in place.
Put the casing back together and re-attach the connector. Now test all the lamps (using a second person).
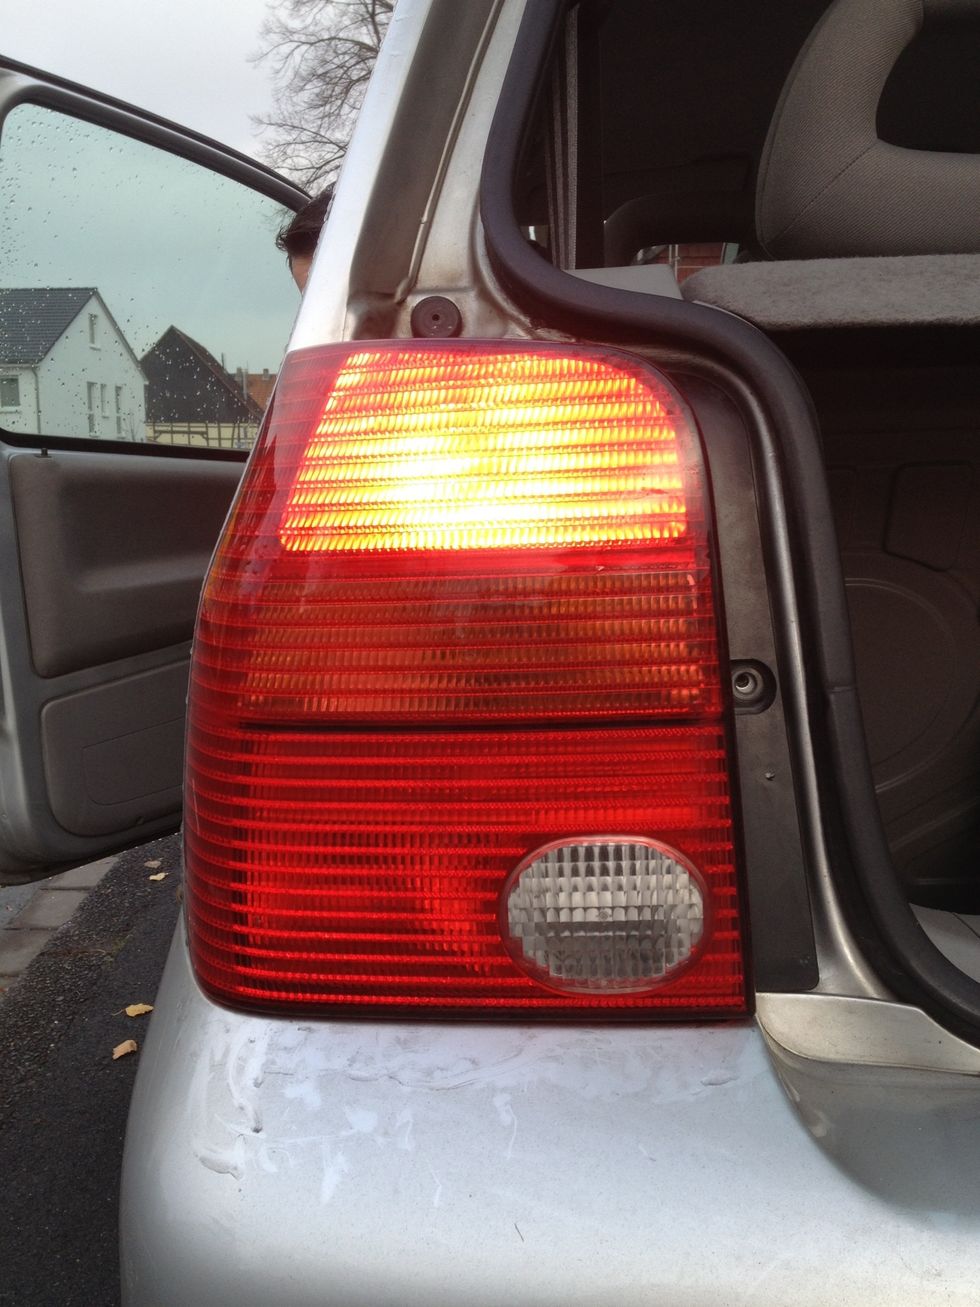
Test!
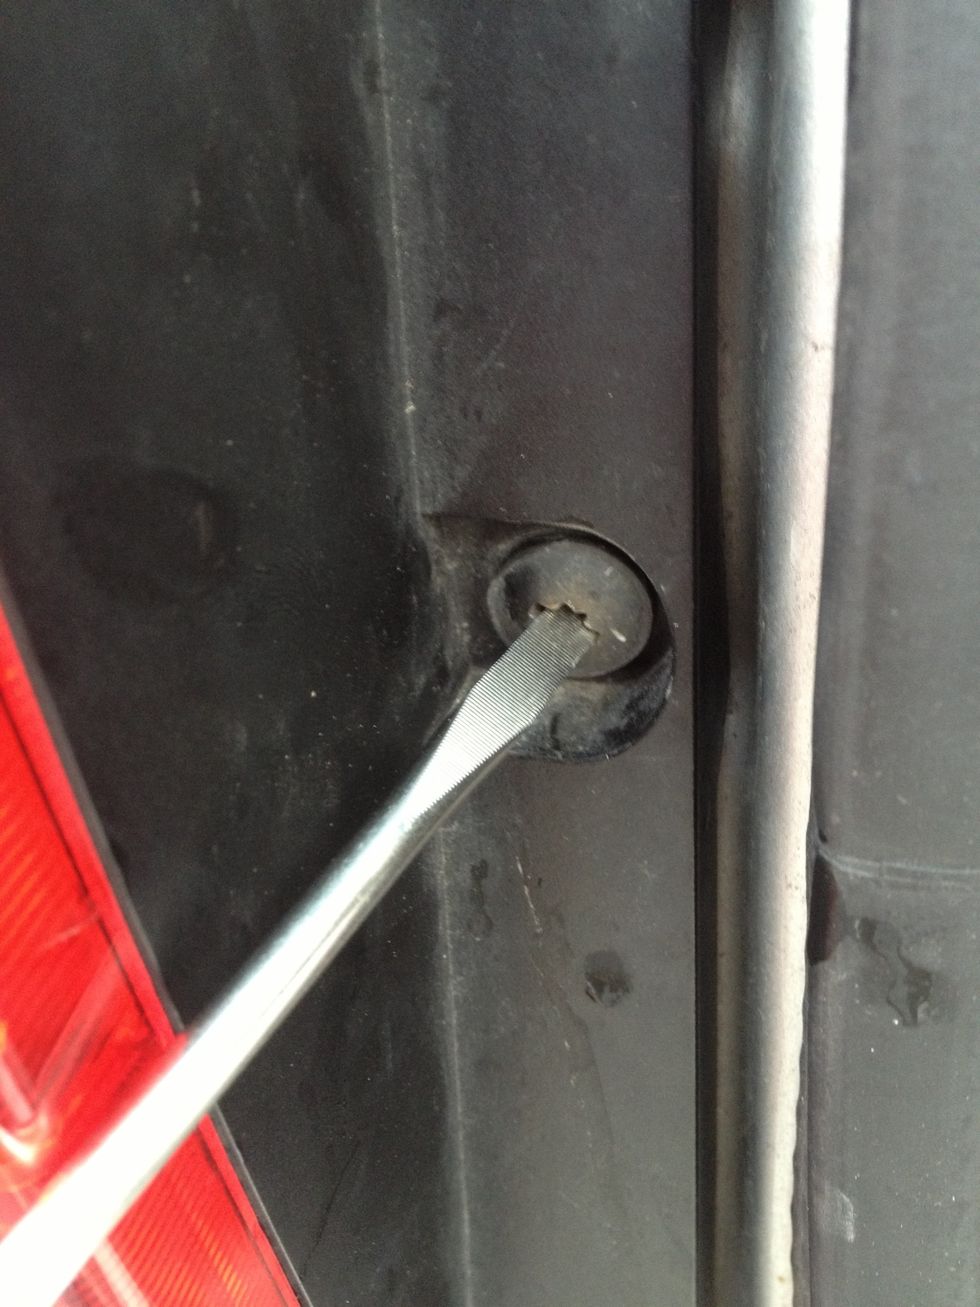
If your lamps passed your test, you can finish off by putting the black screw back.
It is recommended that you also replace the bulb on the other side (even if it is still working). After you did this, test everything again and you are good to go.