The Conversation (0)
Sign Up
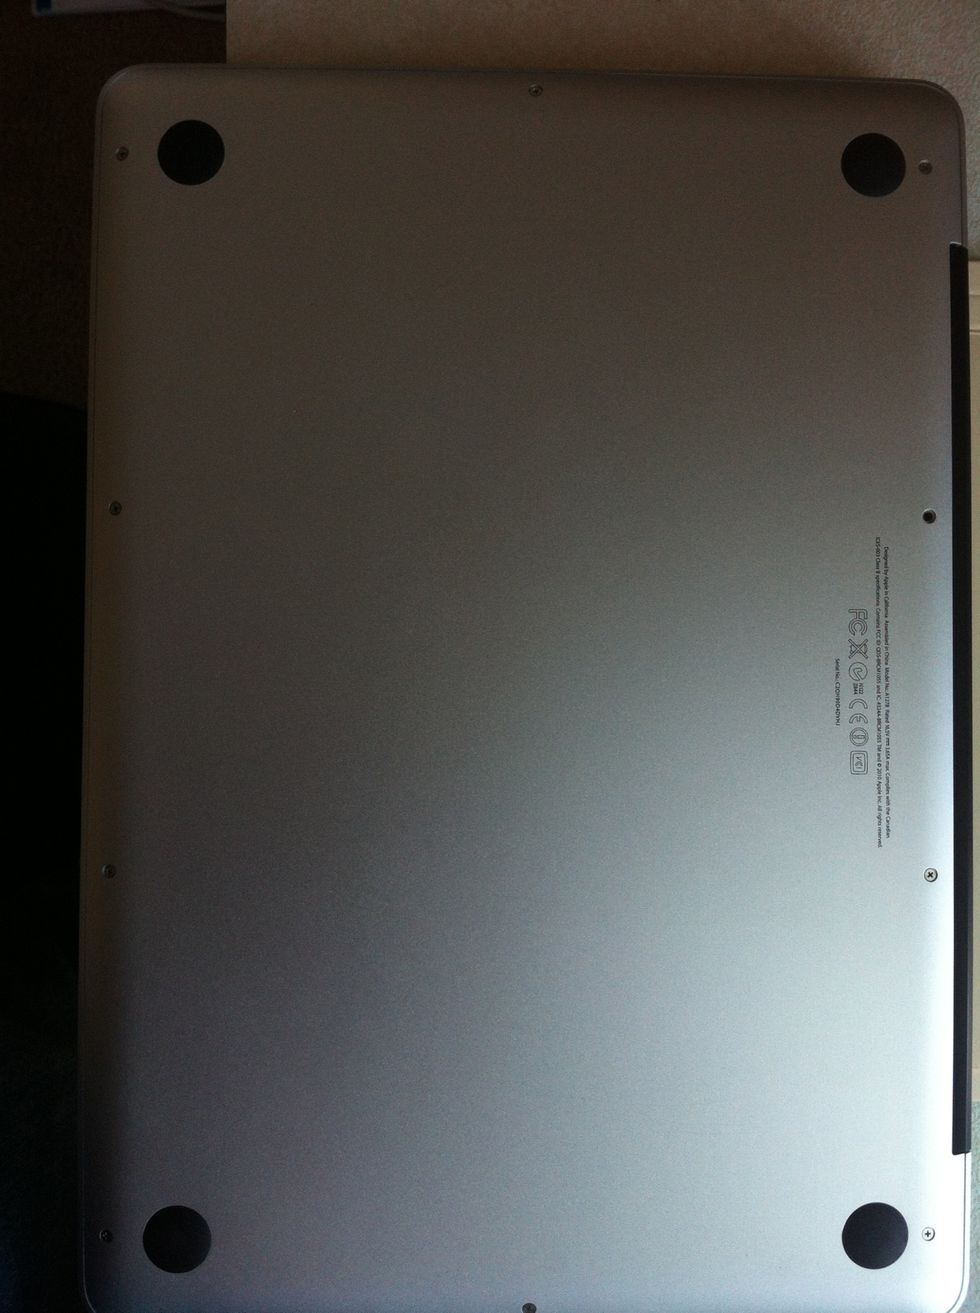
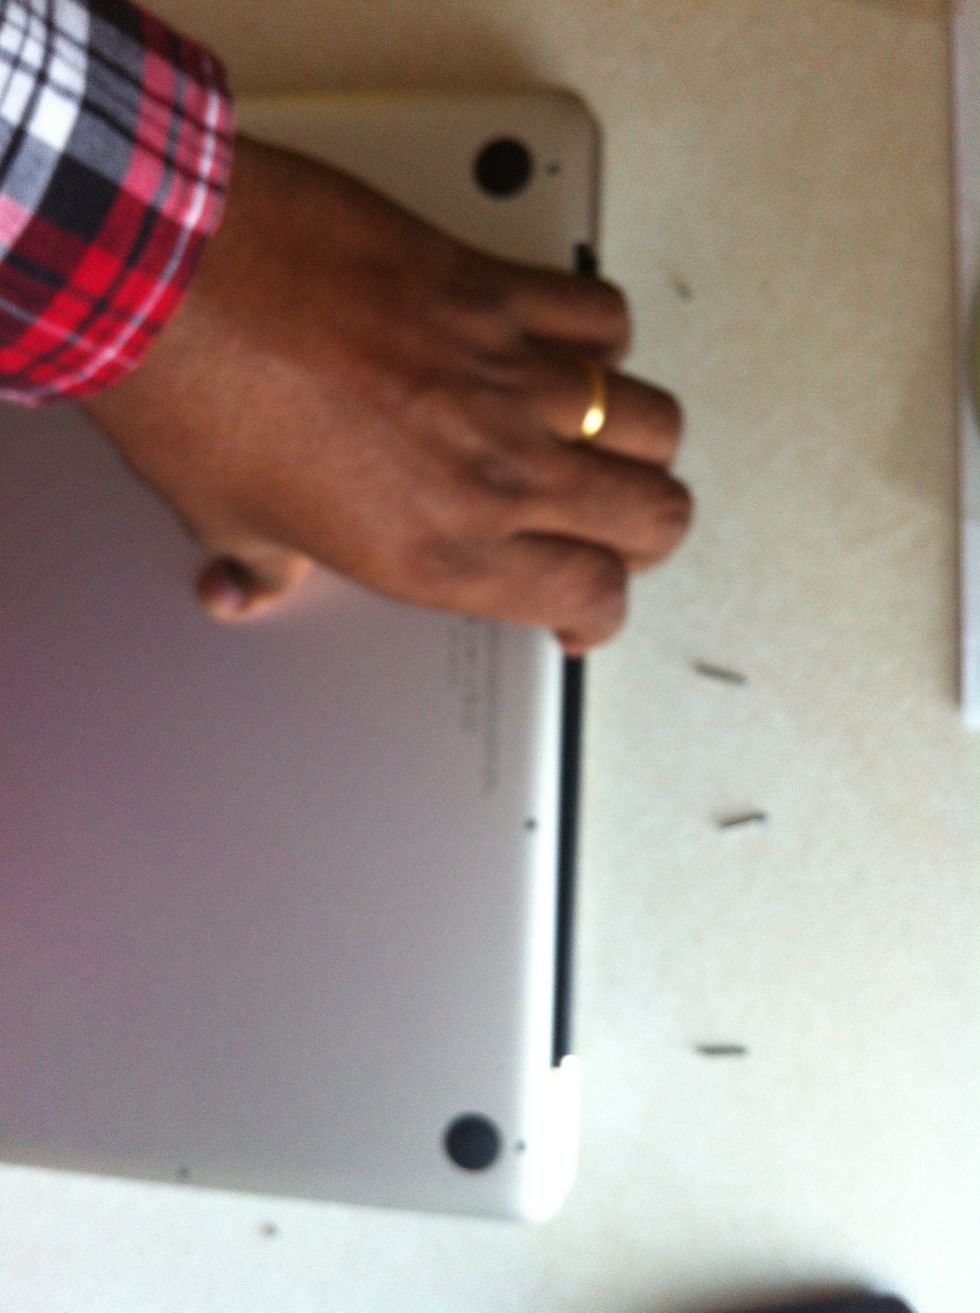
Reverse ur MacBook so that the screws faces u
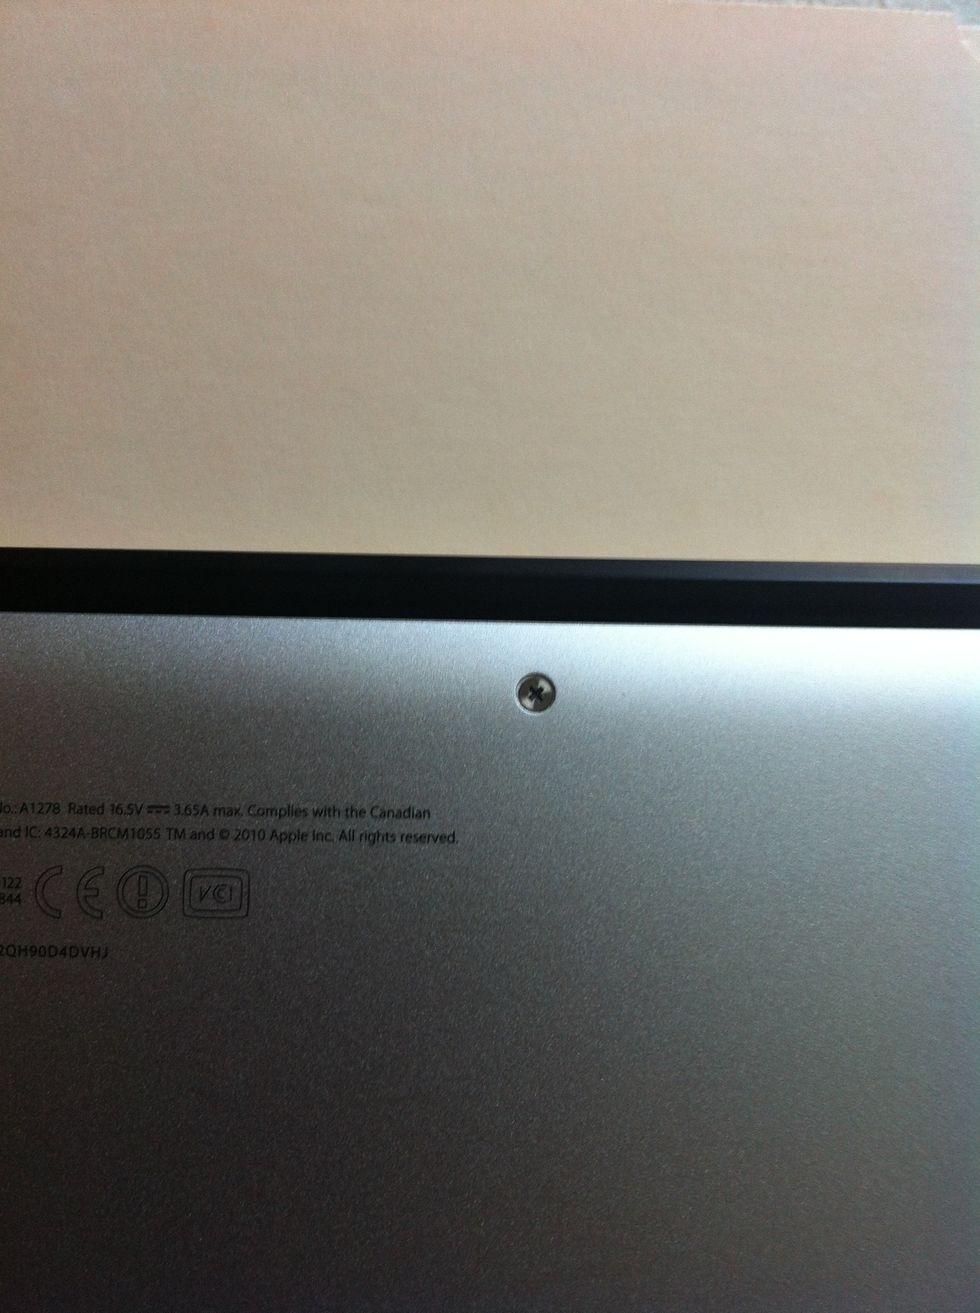
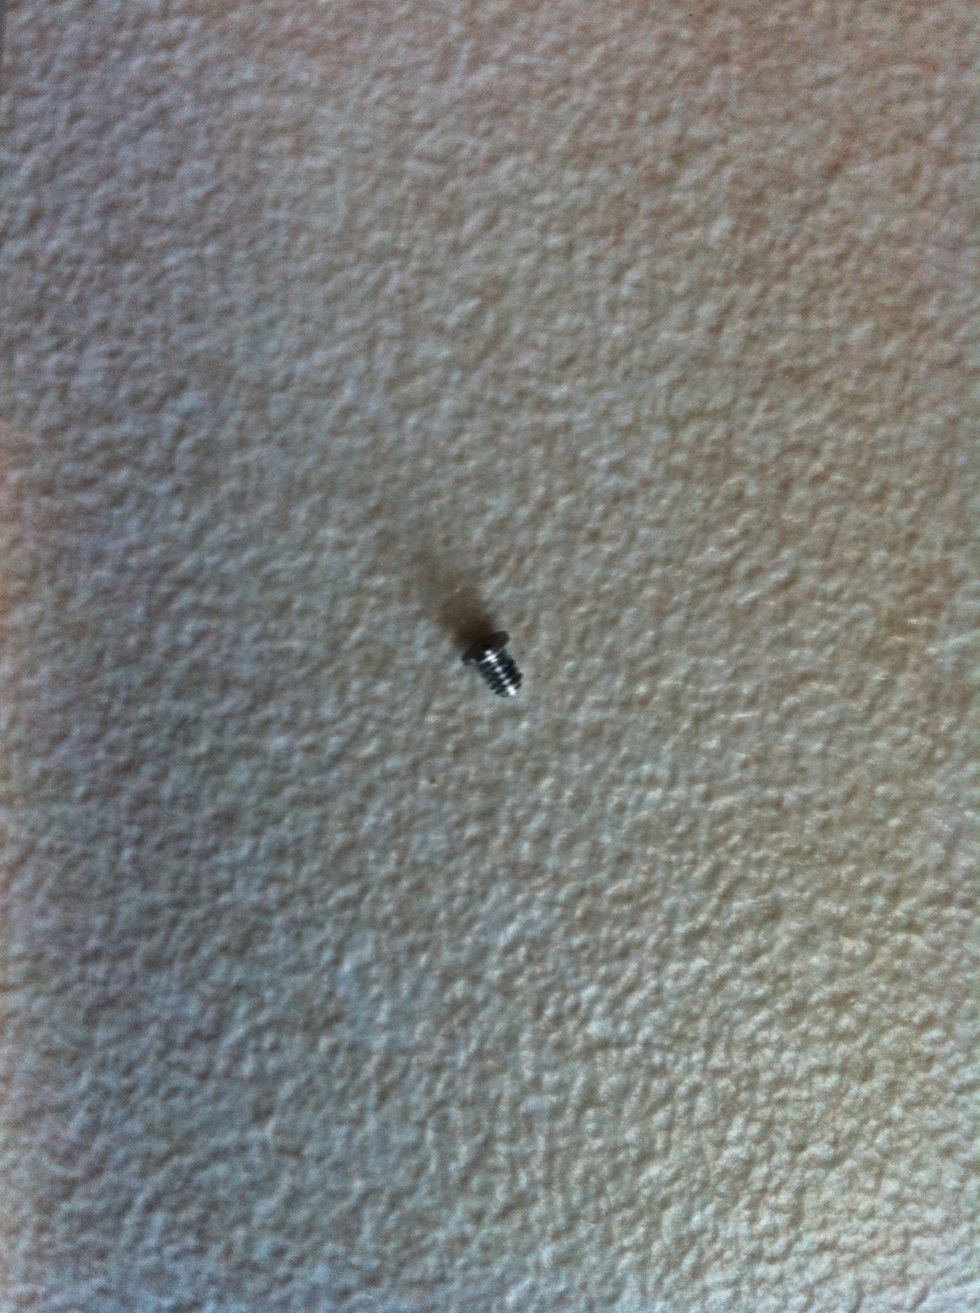
This is the single screw on the MacBook pro
Use a #0 size precision screw driver to remove all the screws
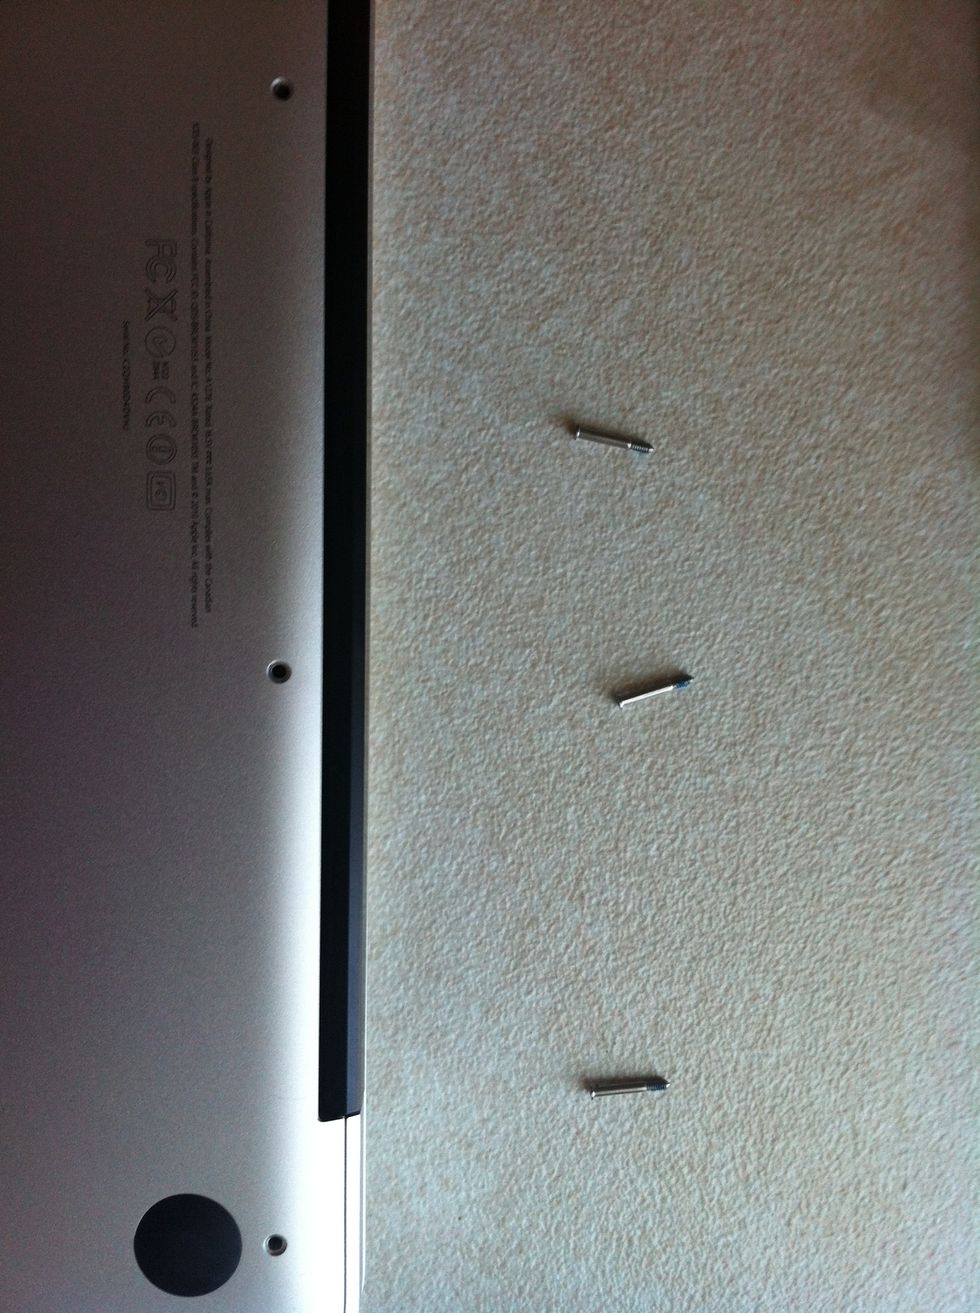
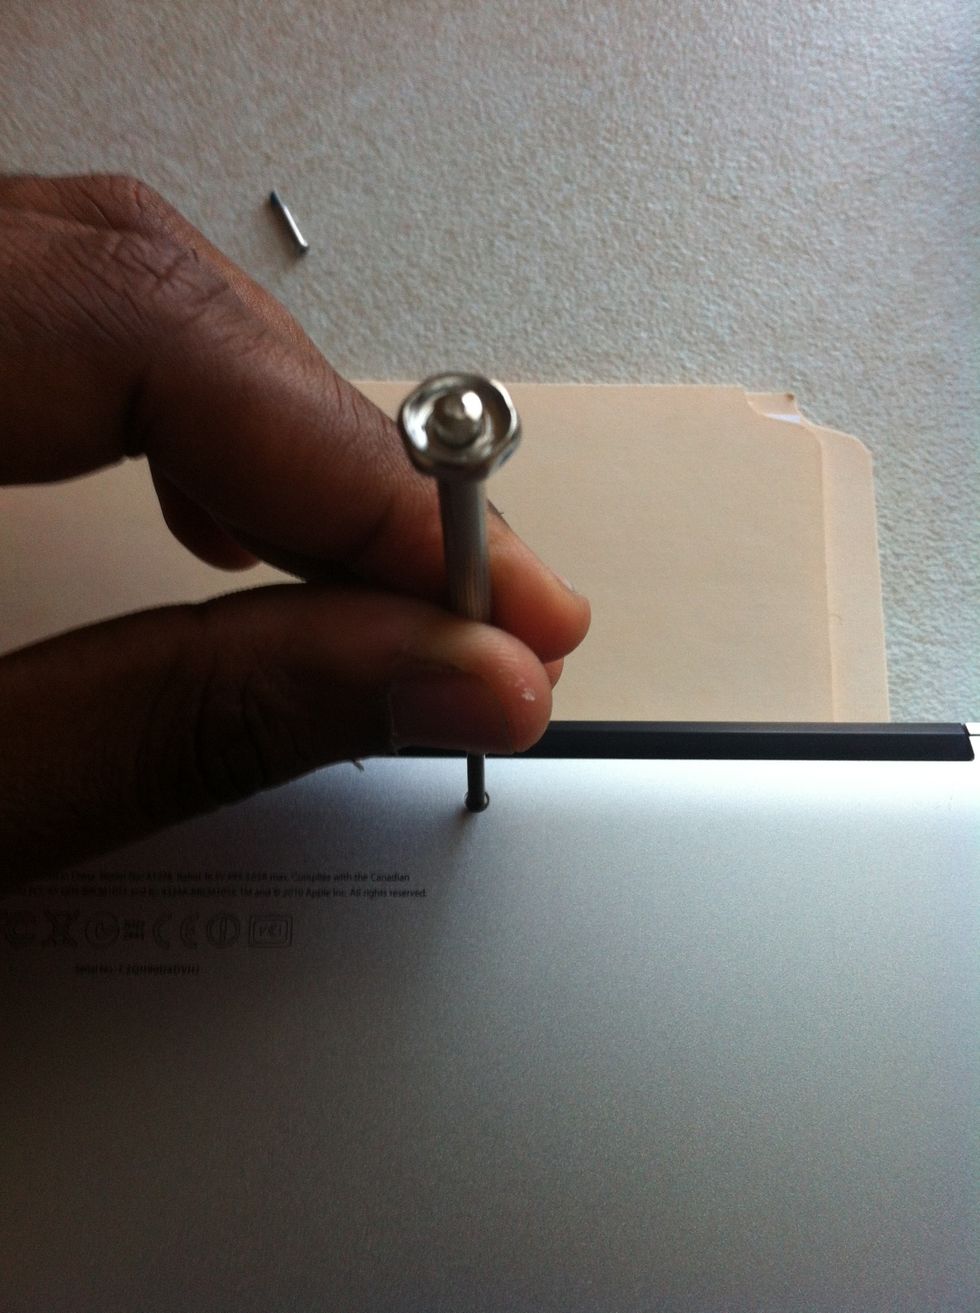
There will be only 3 long screws that will only fit the top end near the black bar as in picture
Remaining screws are small
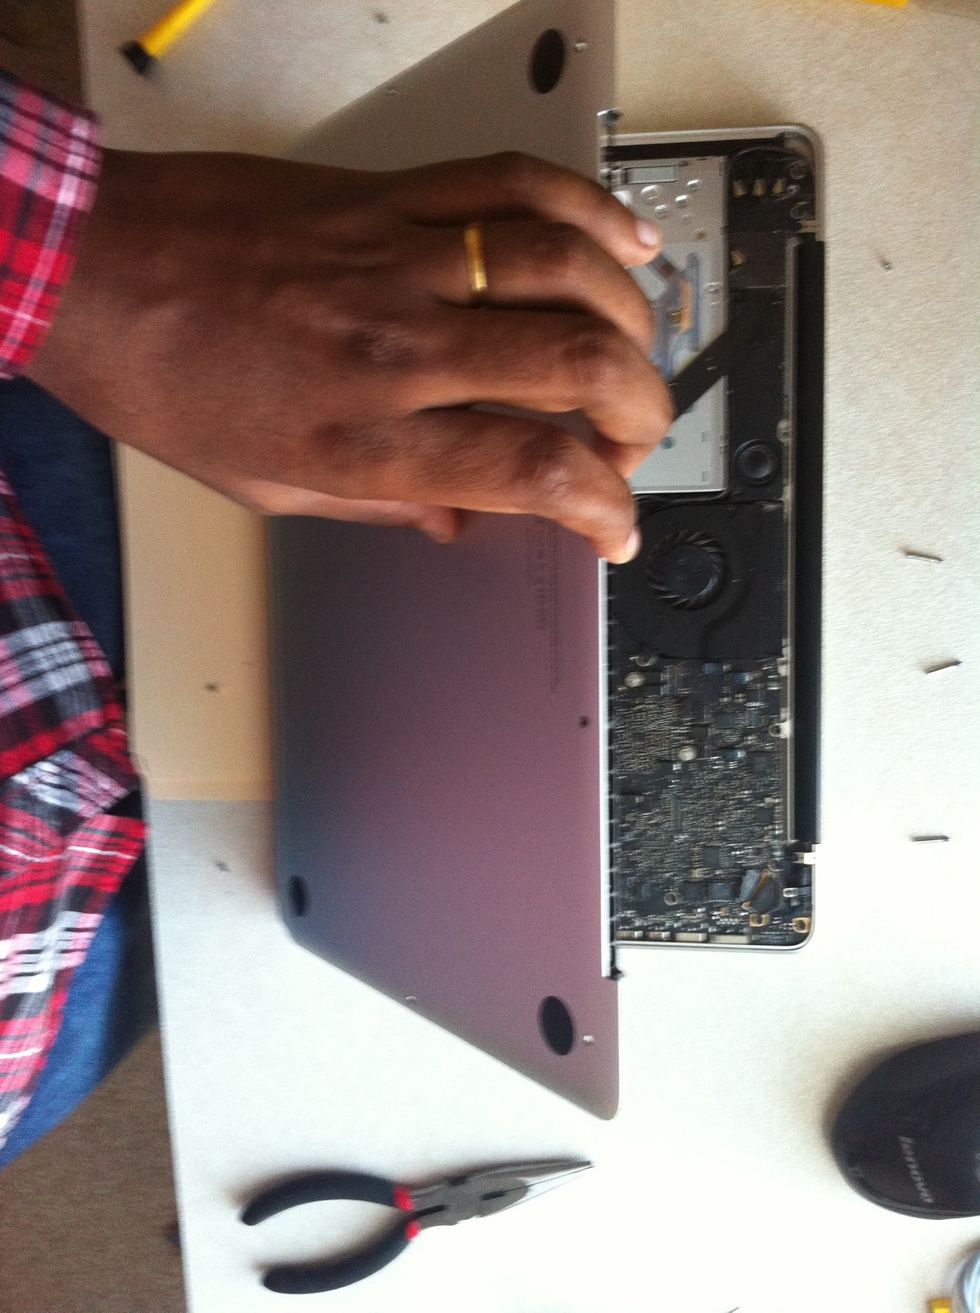
After all the screws are off remove the cover by gently lifting
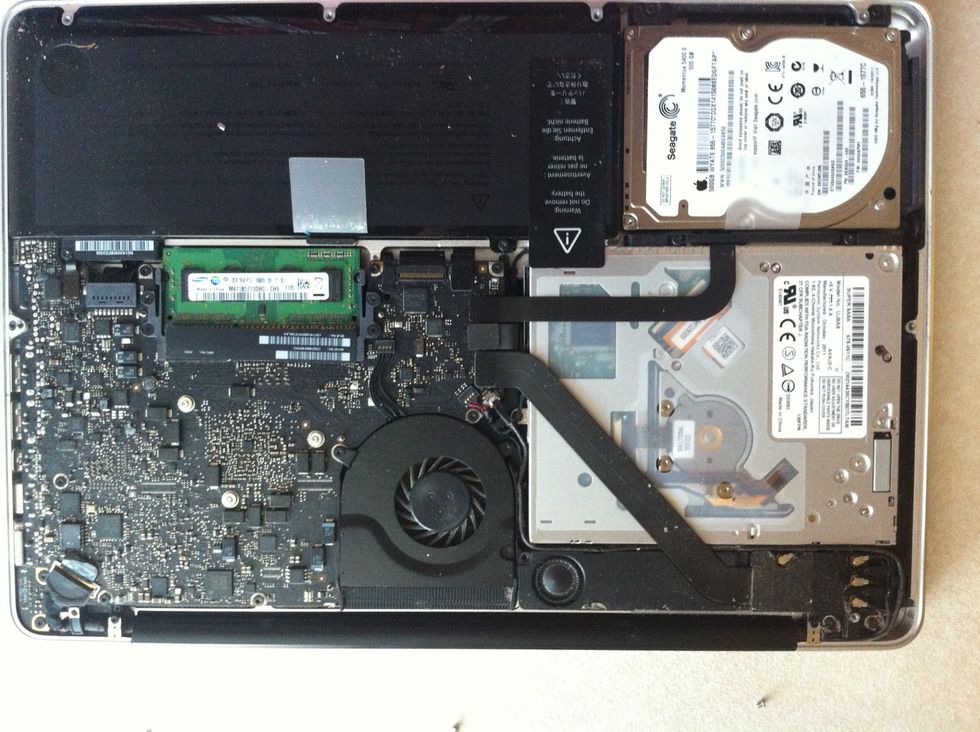
This is the inner part of the MacBook
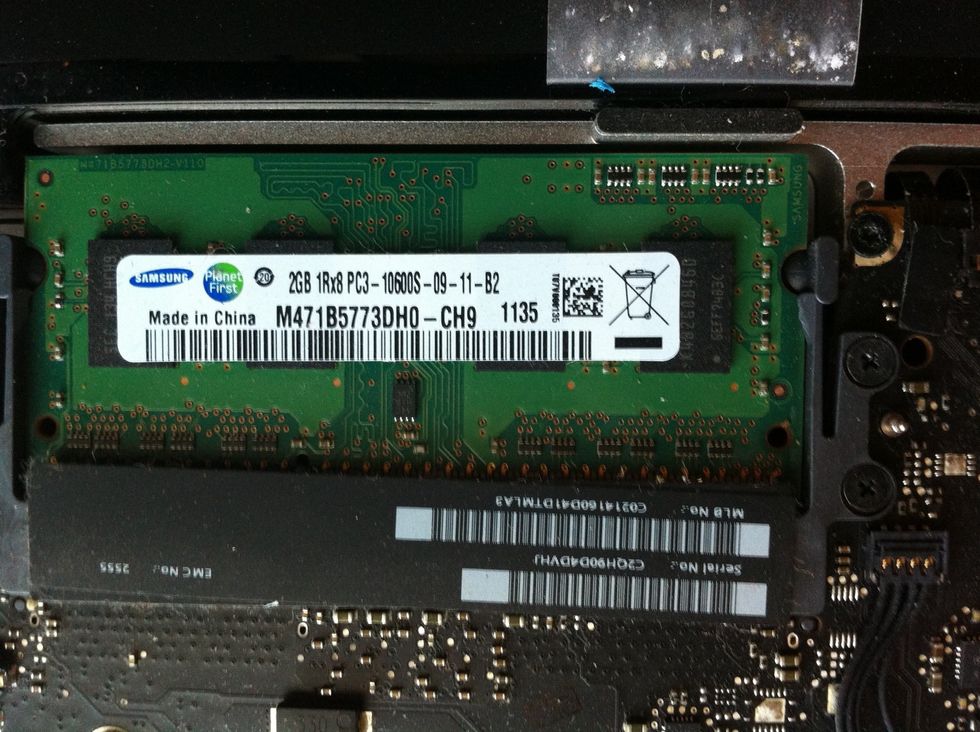
This will be the ram module we will be replacing
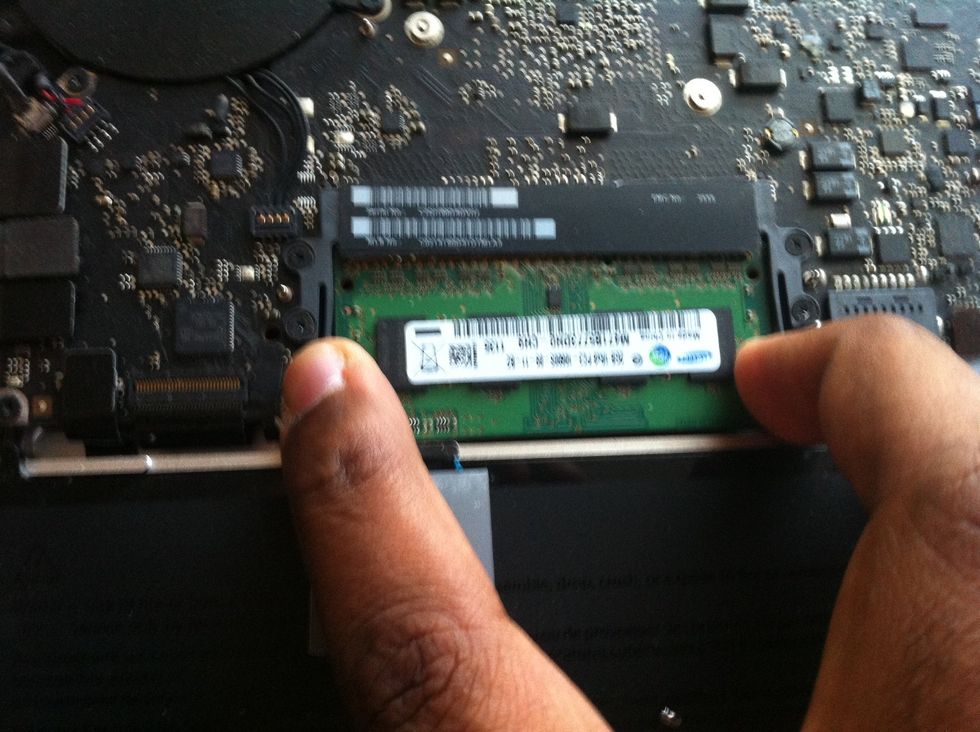
At the same time press left and right clipper away from the Center piece
The ram will pop out now gently pullout the ram
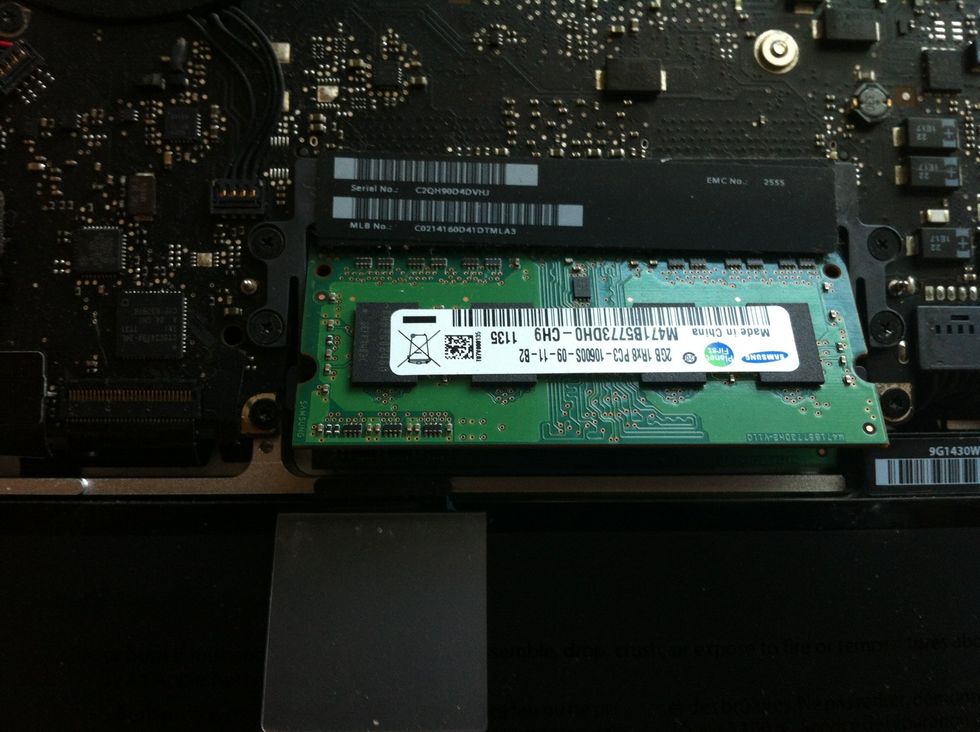
For the second ram located below the first ram it is little bit tricky
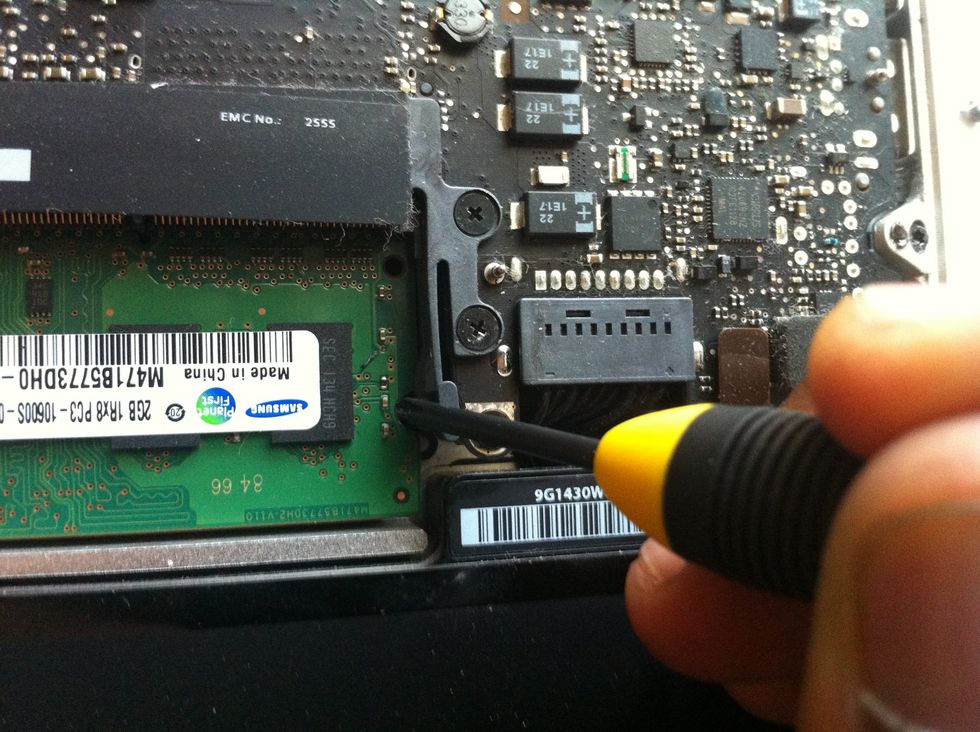
Use the screw driver or a pin to gently press on the plastic part, the ram should pop out. If not try on both the sides
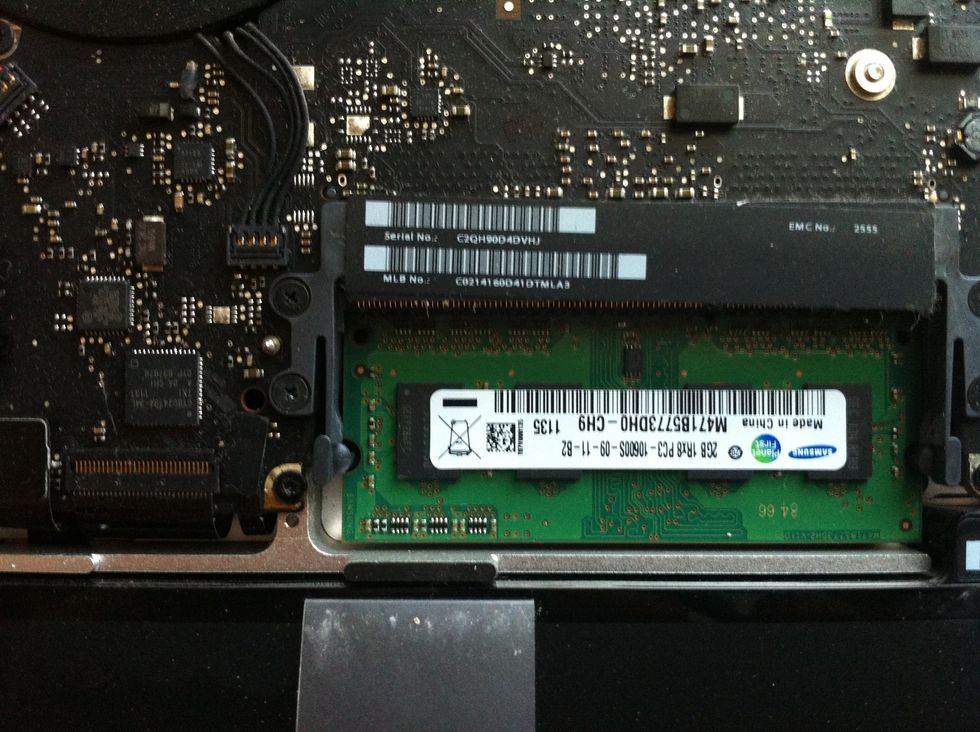
After removing the ram replace the higher memory rams in the correct slots and press until u hear a click sound
While upgrading ram it's always best to use same brand and same size of memory for both the slots
Finally reverse all the steps mentioned before for attaching the cover and fixin the laptop