The Conversation (0)
Sign Up
This will help you save money rather than having to go to the music shop to get them changed! First go grab your guitar
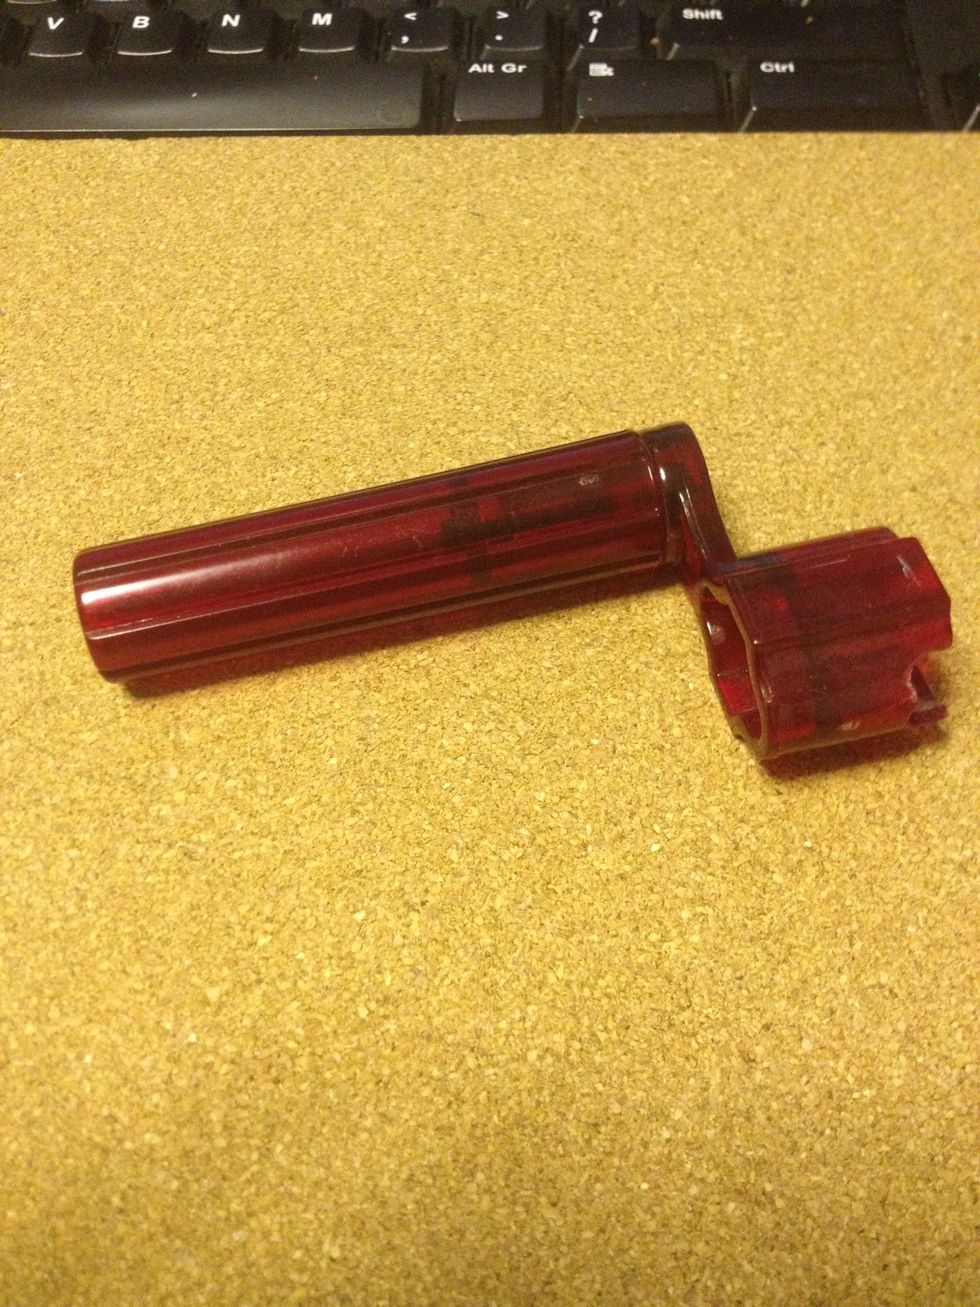
If you have one of these string winders it's helps A LOT and saves a great deal of time. If you dont I would recommend picking one up, they are only a couple of pounds!
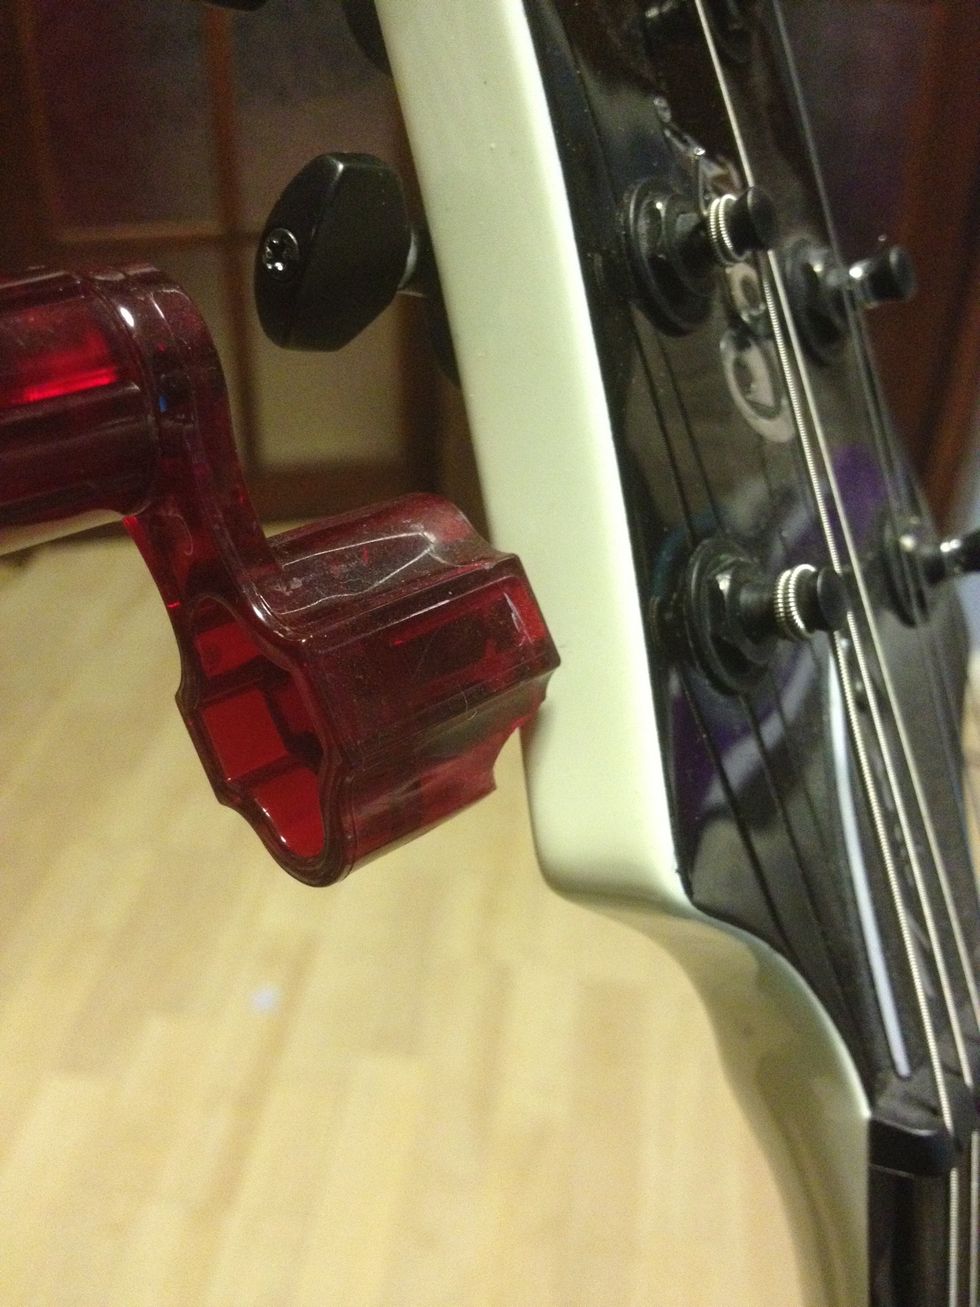
Start by unwinding all of the strings that are currently in your guitar. Remember the ends are sharp so watch your fingers
Before carrying on, ensure to wrap all of the used strings together as so they do not hurt anyone/thing! This is highly advised for people who have pets, especially cats!
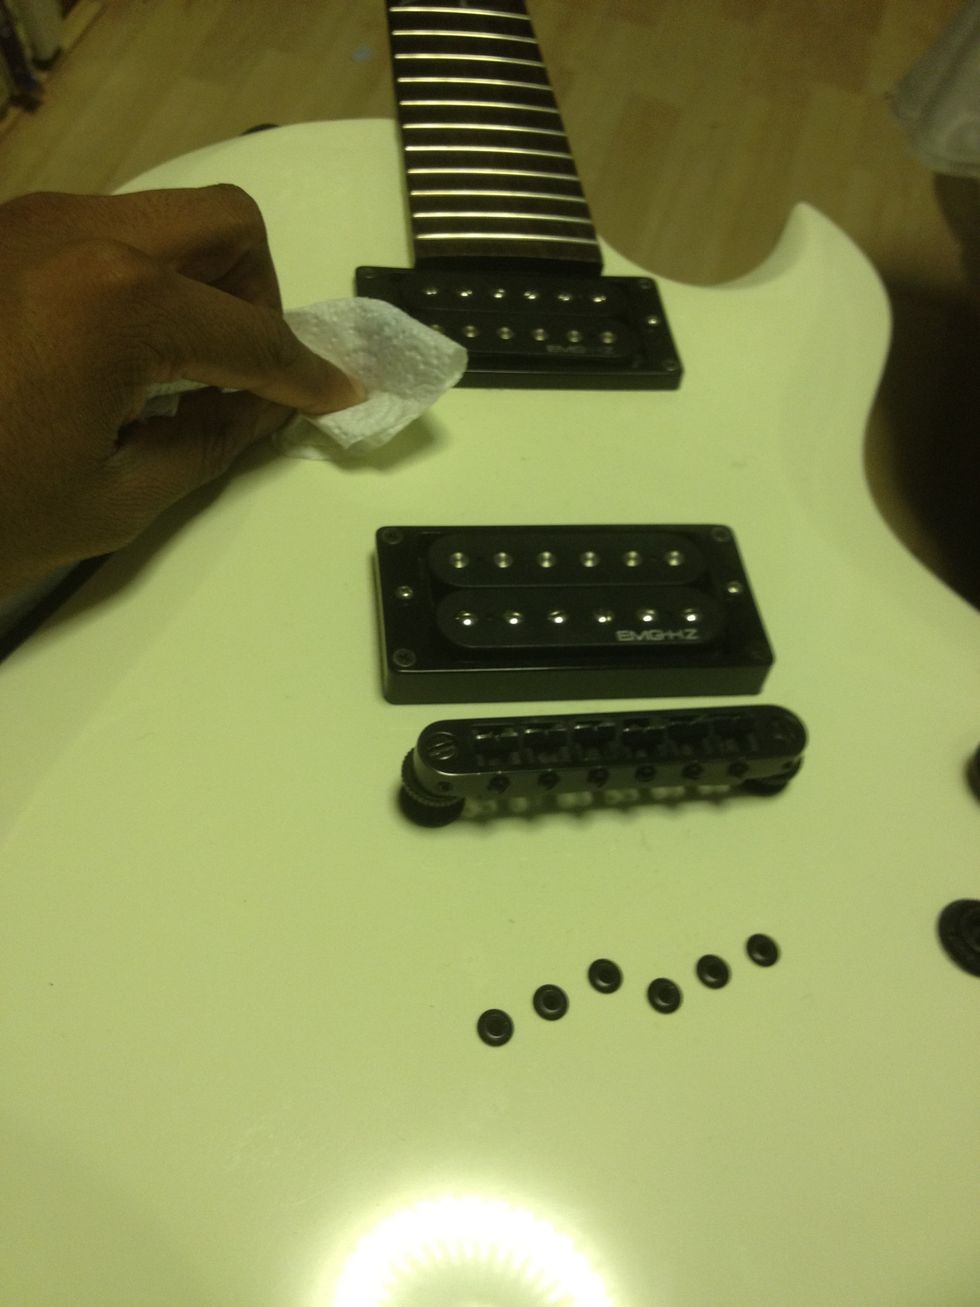
Now that your guitar had no strings on it, use this time to clear any dust that may be trapped underneath it. A fine spray of furniture polish over the fretboard also works a treat

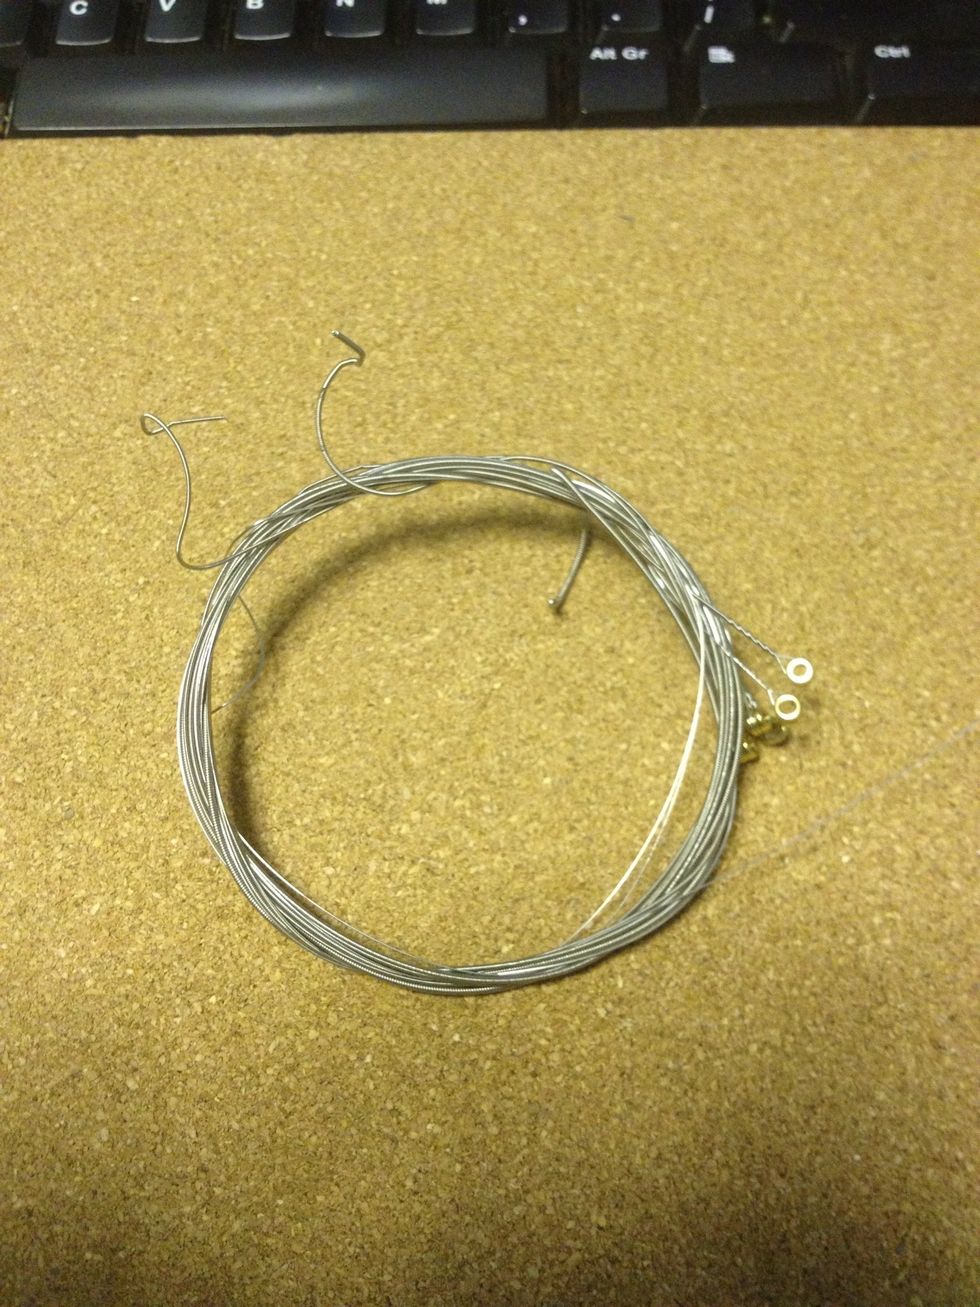
Have your guitar strings ready, and ensure they are electric guitar strings (and not acoustic strings)
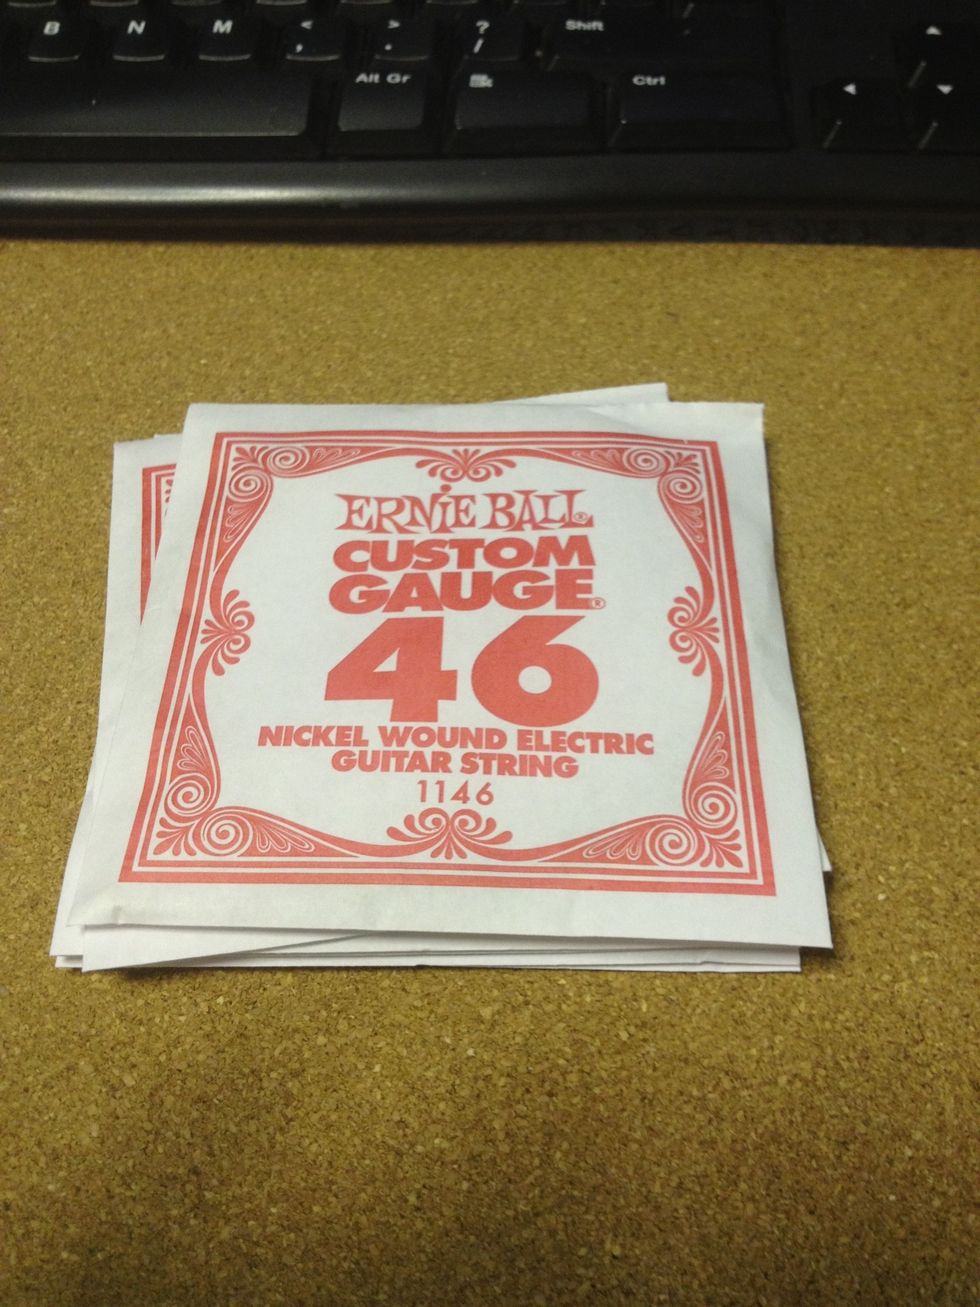
When you open them they should be in order of strings (EADGBE)
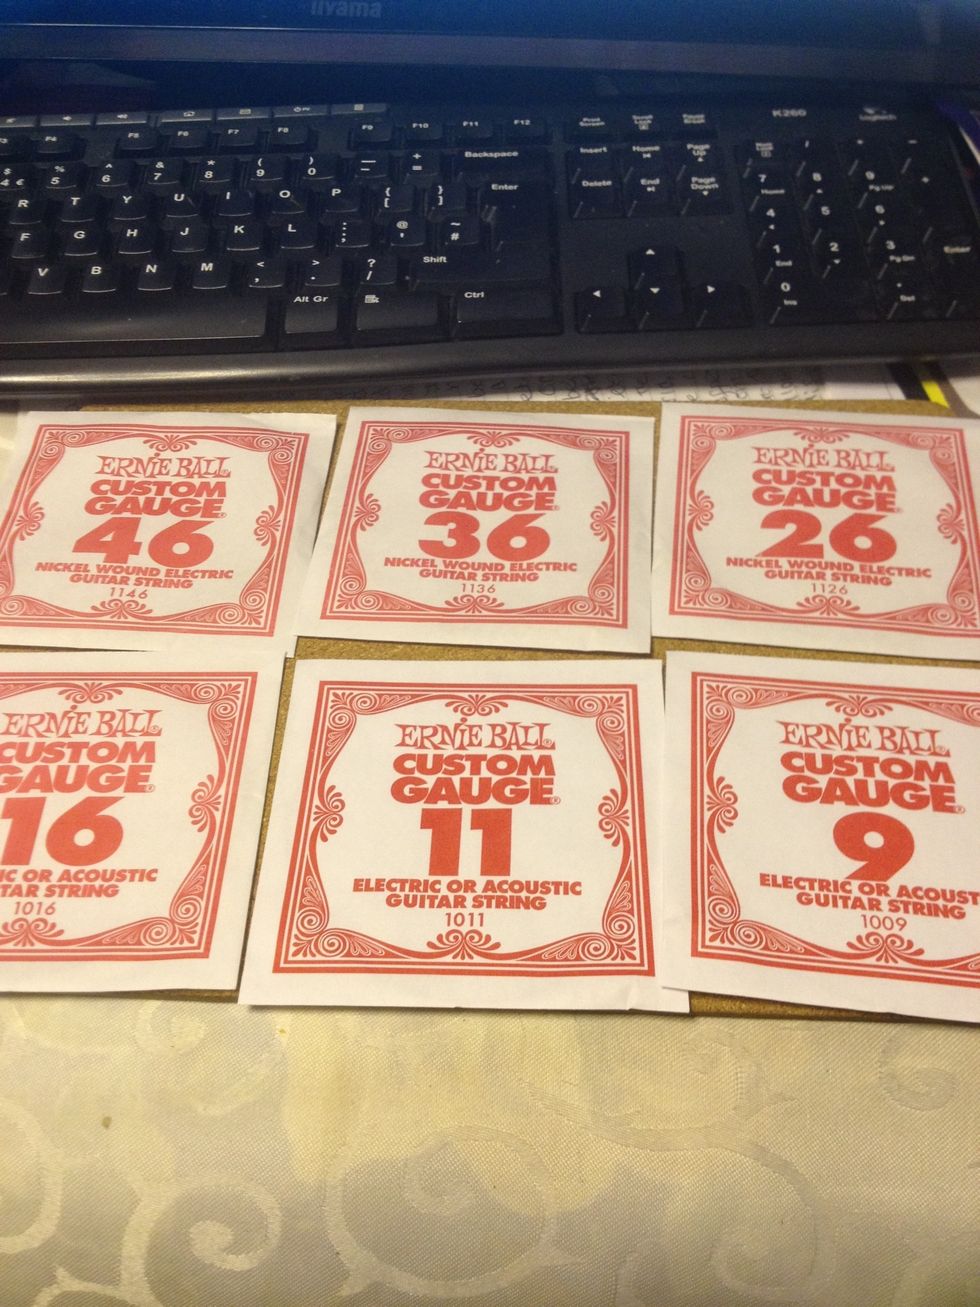
If you do forget or mix them up, just put them in order from the largest number to the smallest number
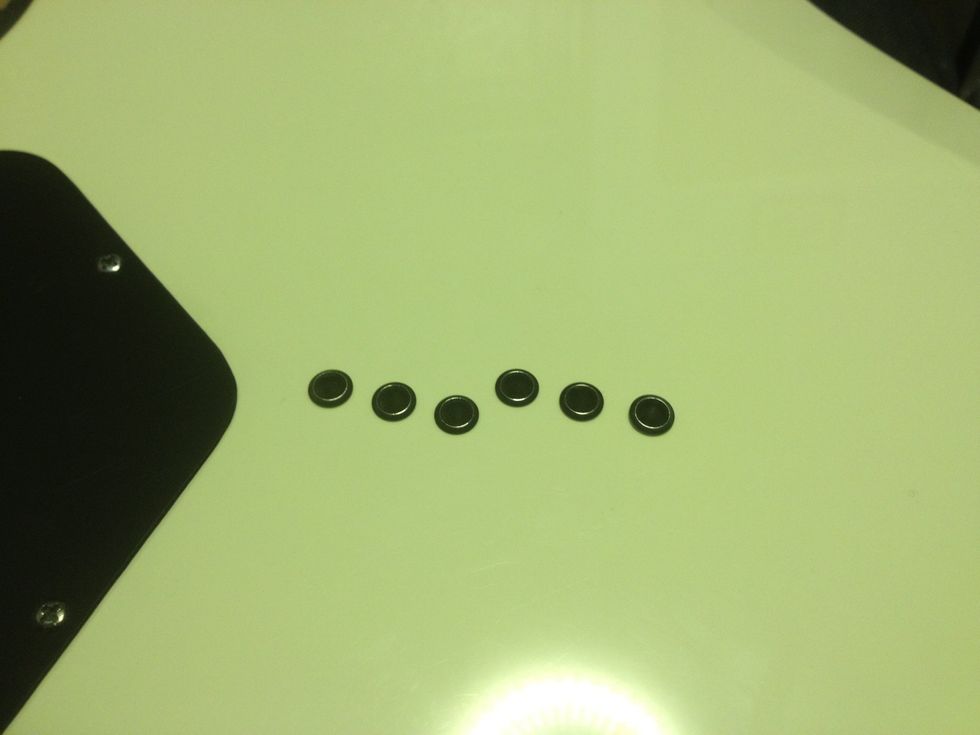
Most modern guitars have two types of string 'holders'. The one above is a string thru', and has Holes corresponded to each strong (the left one being the high E)
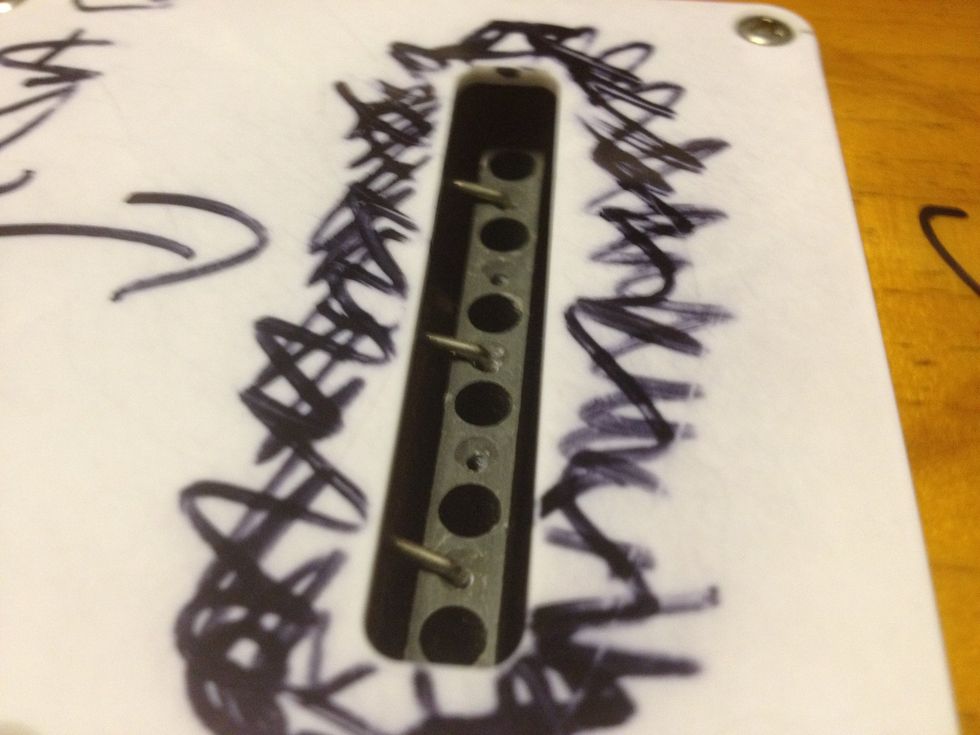
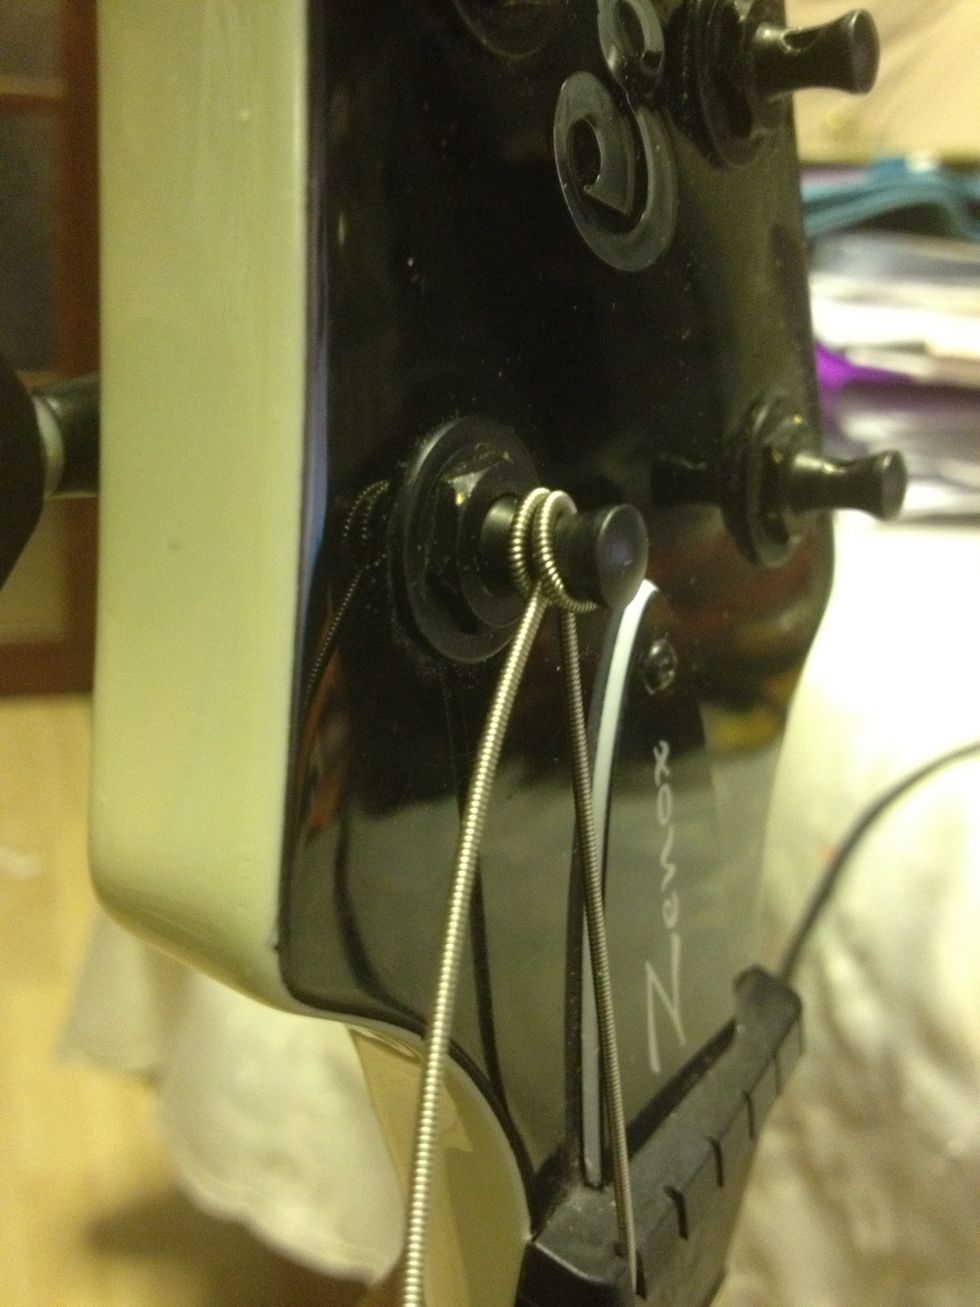
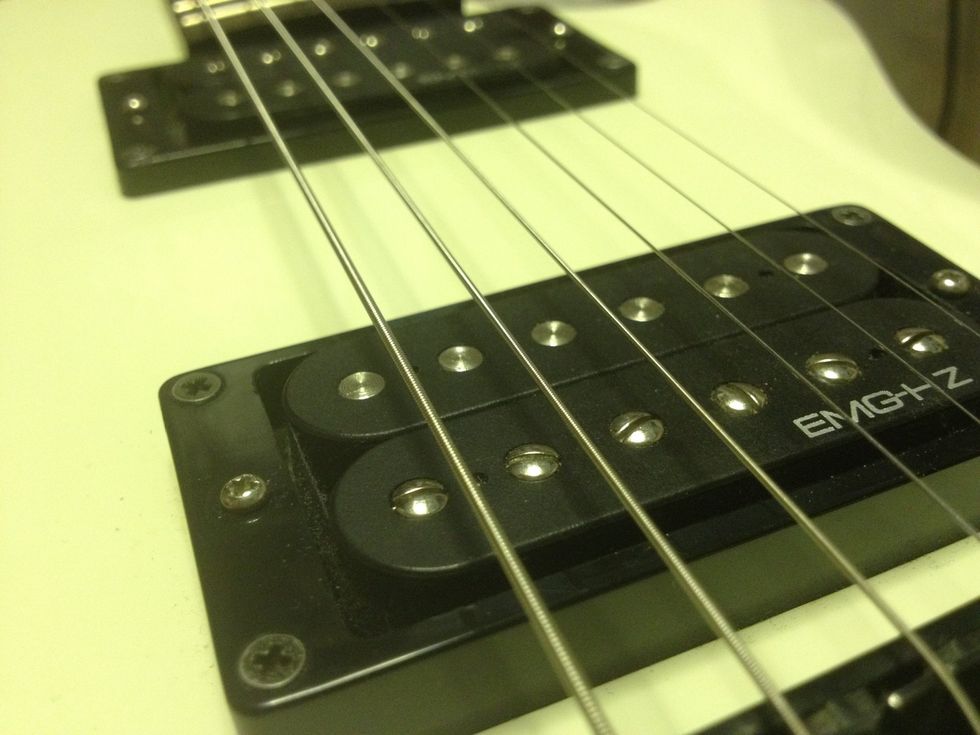
The other type (shown above) is called a Top load, and has adjustable metal screw things at the front, you don't need to worry about them.
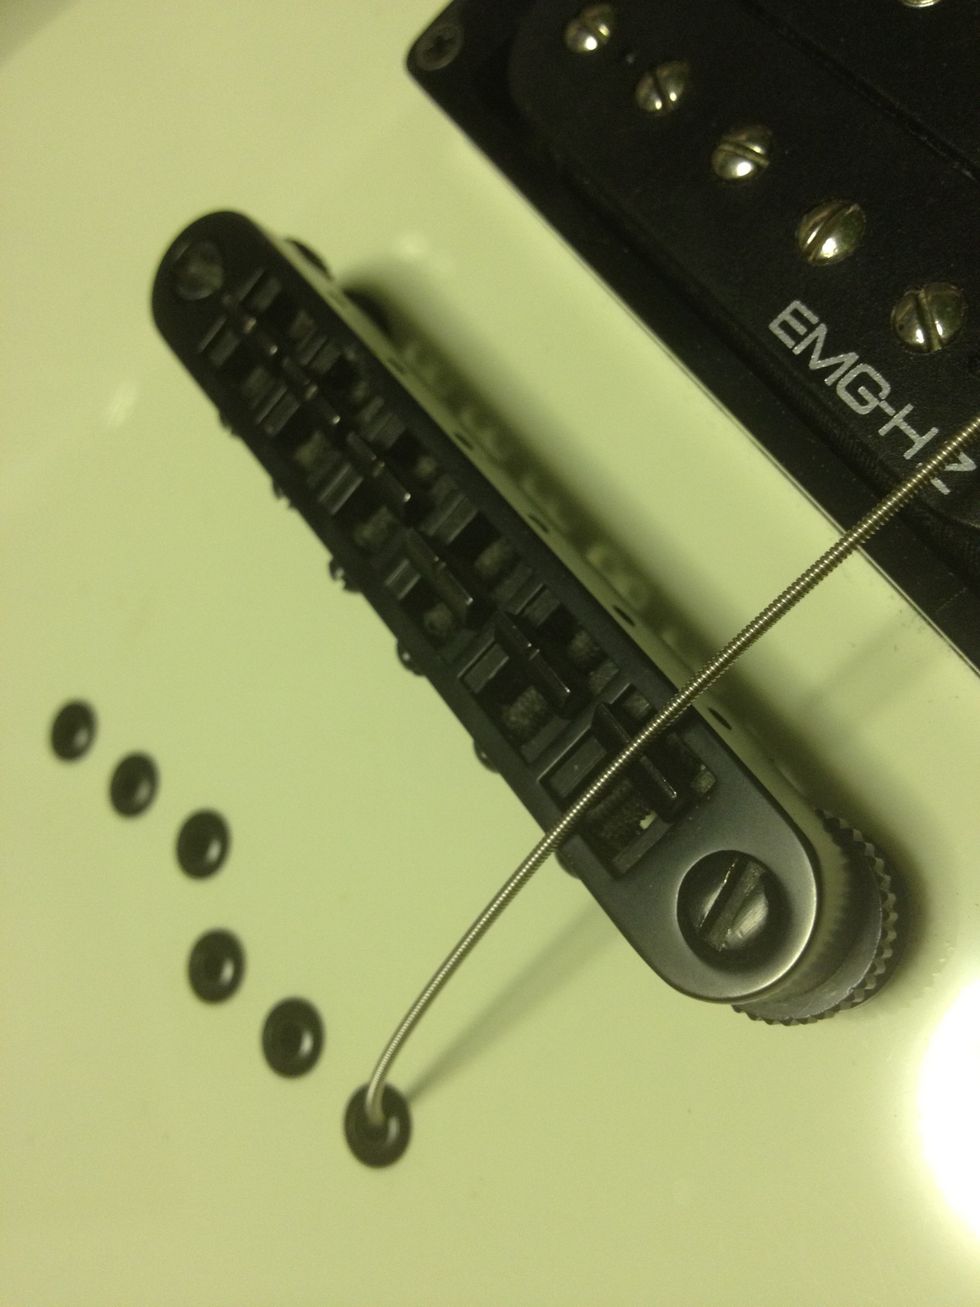
For the string thru, push the string through the hole and ensure that it goes over the bridge 'notch' correctly
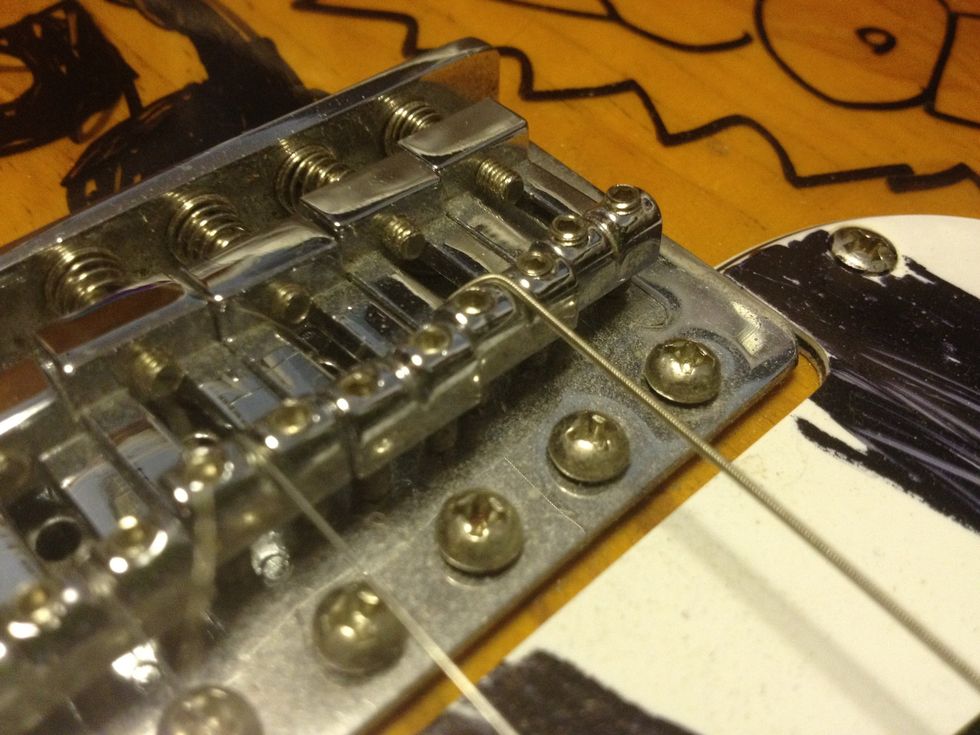
For the 'Top load' guitars, push the string through the back, and ensure it is placed within the metal notch
Use the largest number string first (the thickest) and push it through the hole furthest to your right! MAKE SURE this is correct or you will have an upside down guitar!
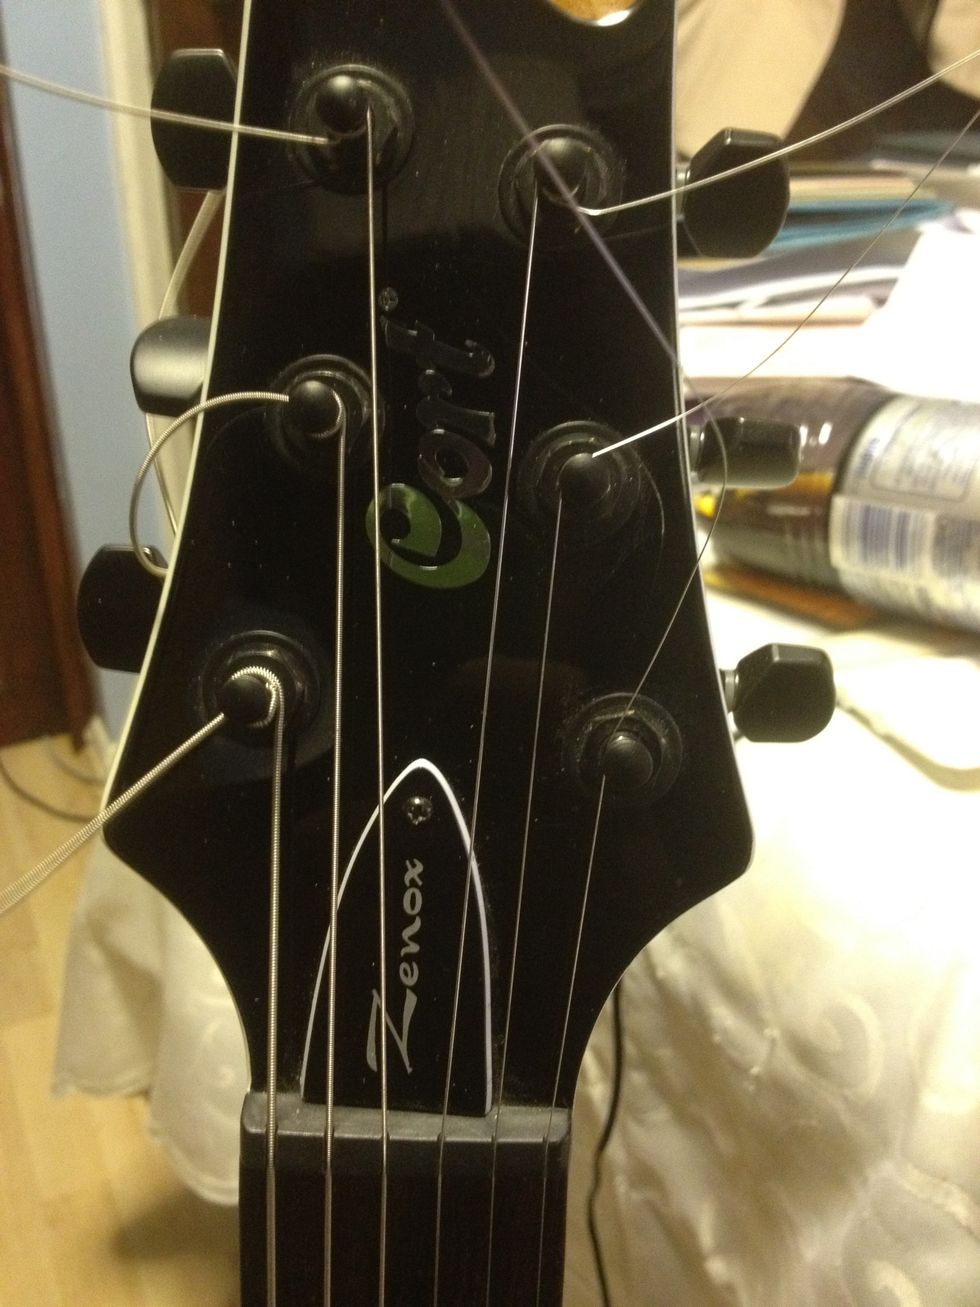
The method of stringing is irrespective of guitar type, so just apply it to your type of guitar (stratocaster style head or les Paul style)
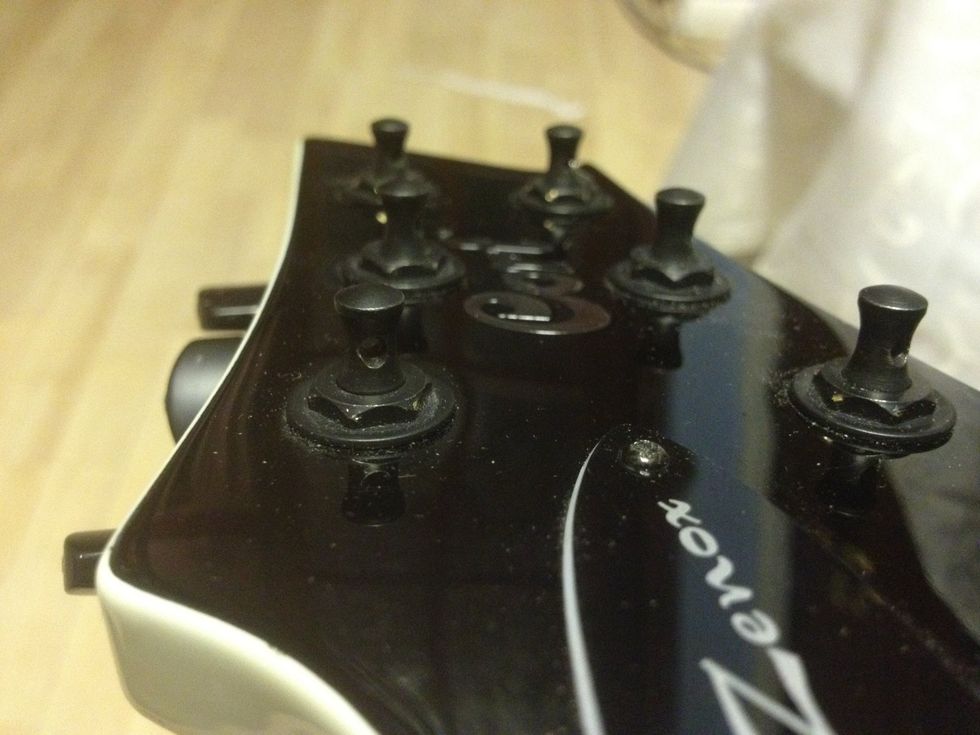
First make sure the machine head hole is Straight
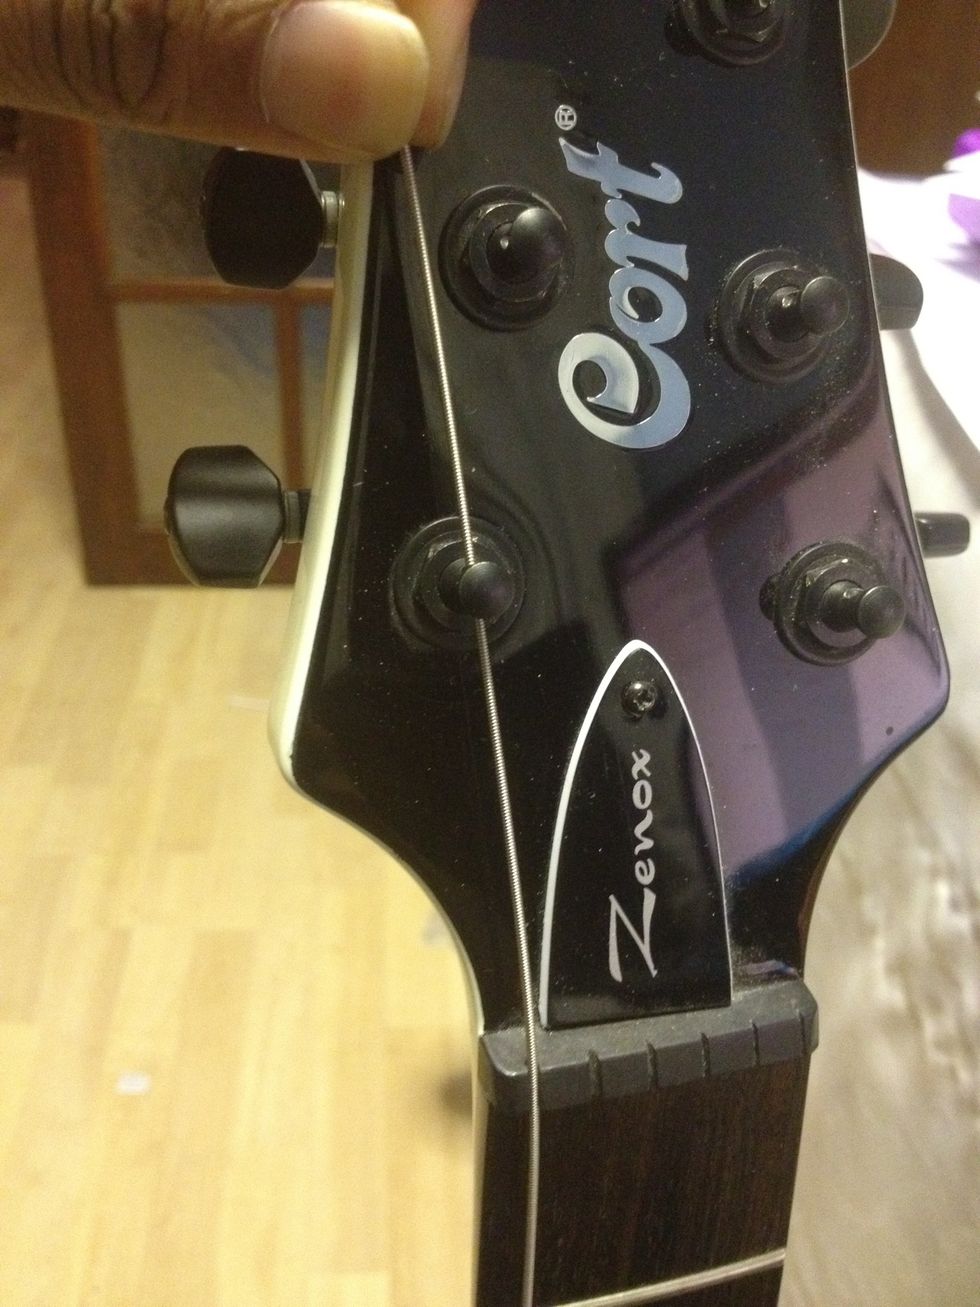
Pull the string through the guitar nut hole
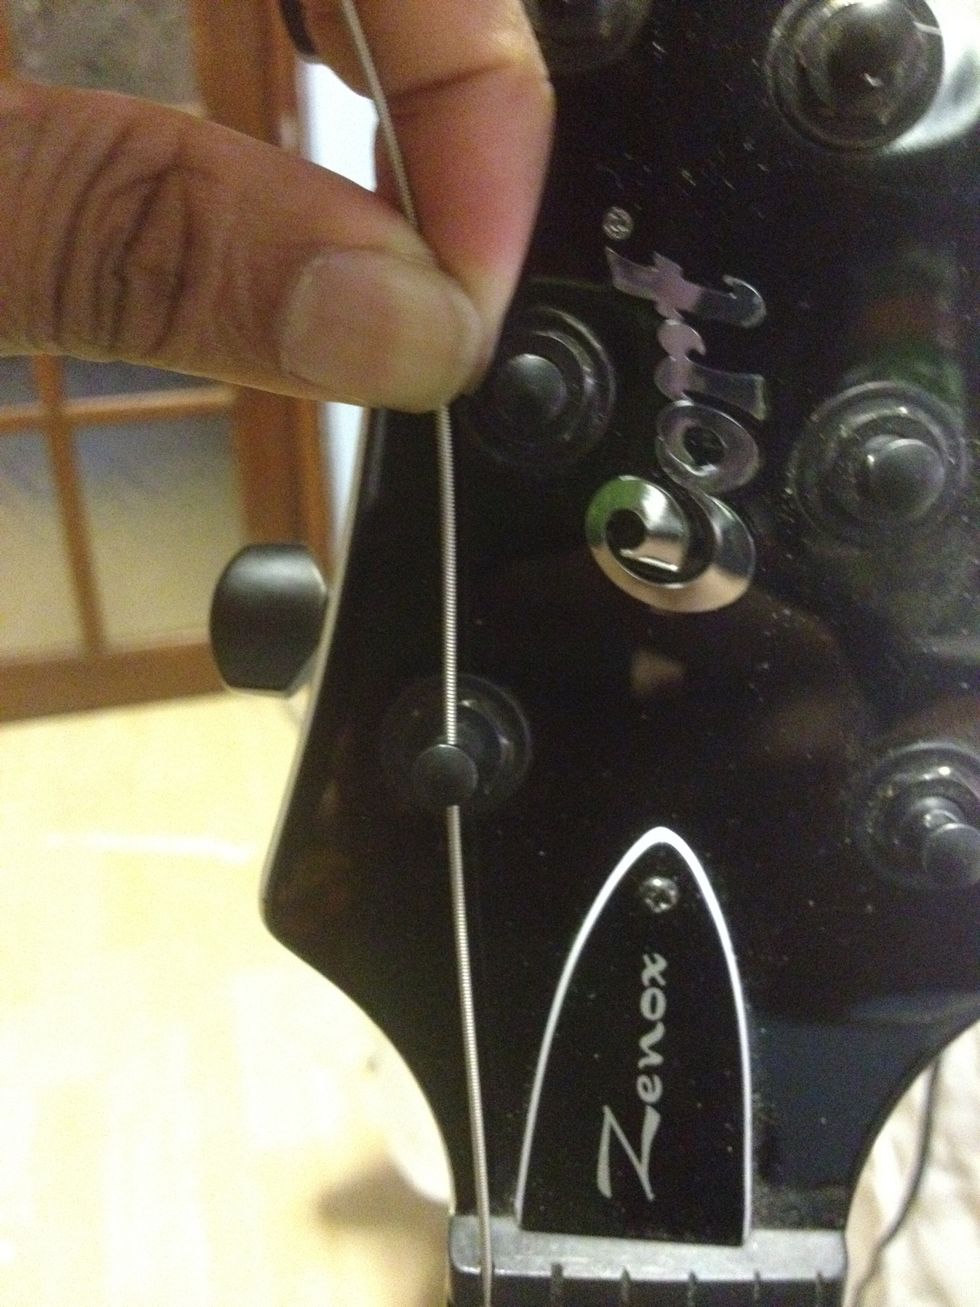
Measure with your fingers to the next nut (roughly 3cm)
Push that amount of the string back through hole, and bend it to the side as to keep it in place
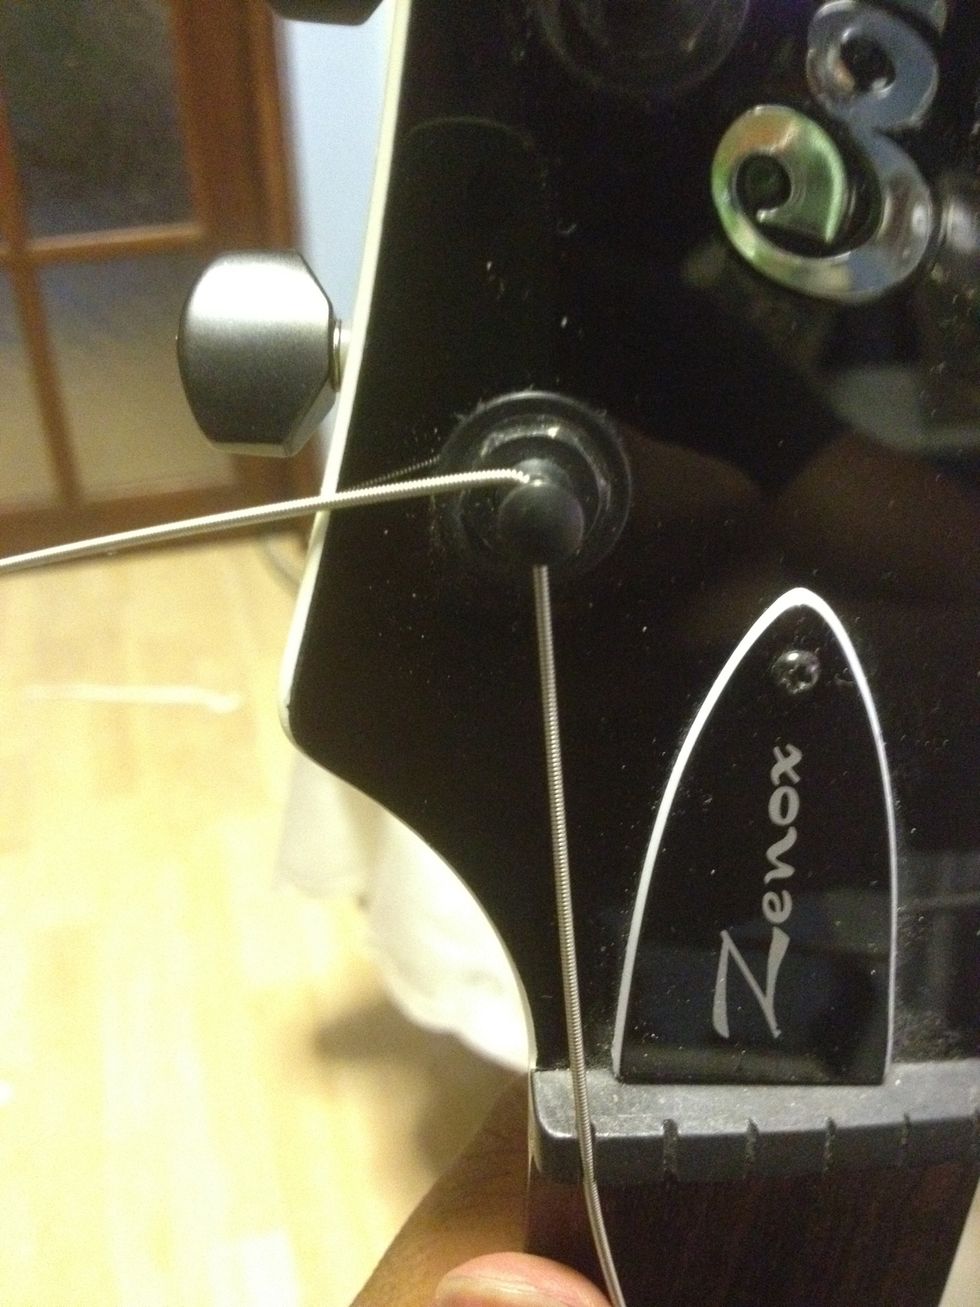
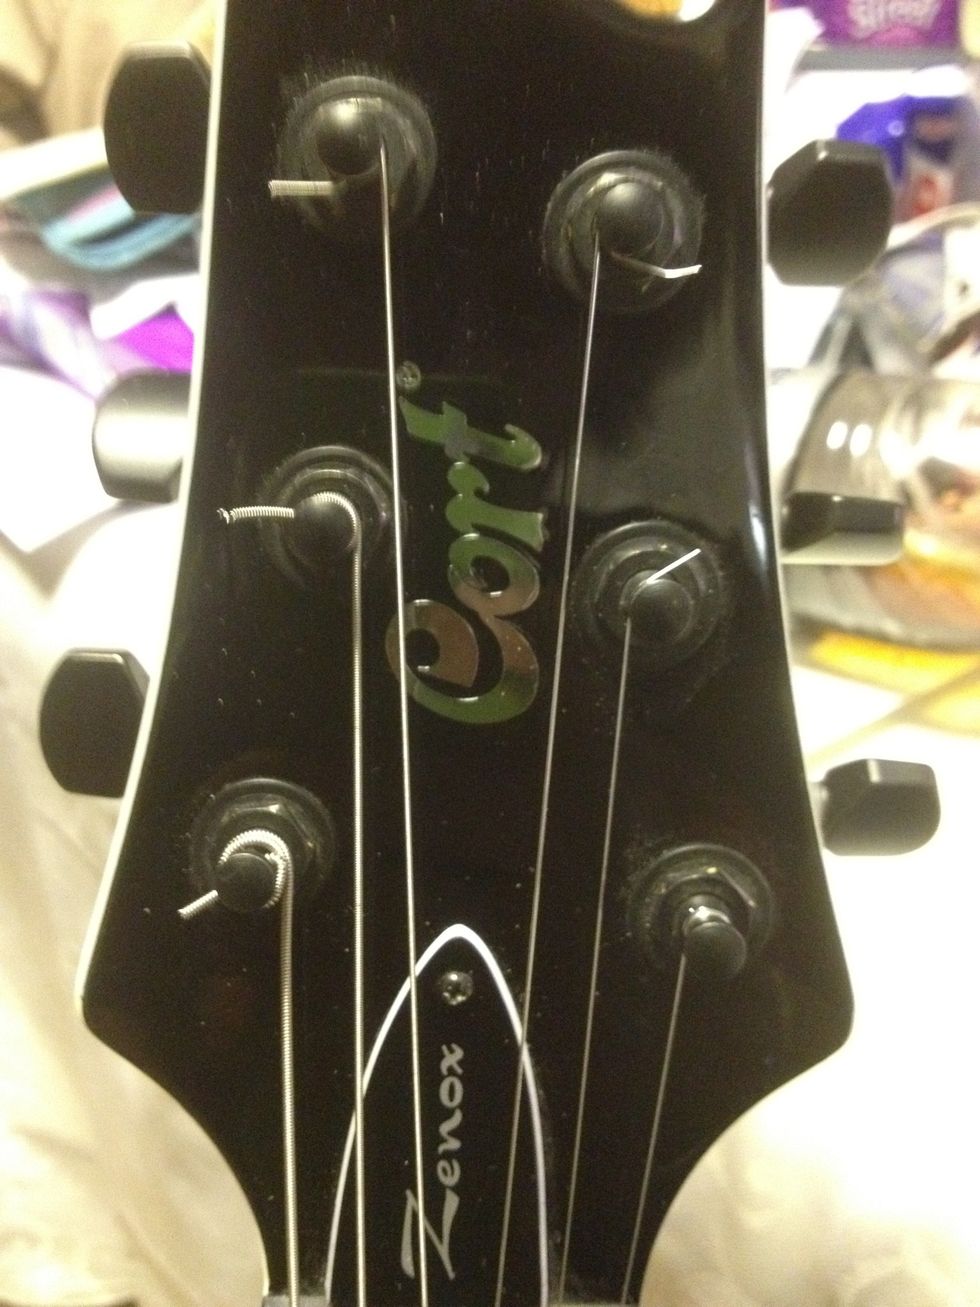
Start winding the string using the tool/hand. Strat-head: Turn the pegs AWAY from you Les-head: top 3 pegs AWAY, bottom 3 pegs TOWARDS you
The rule for this is 1 under, 2 over the string. So when winding the first loop, push the string through, and then wind normally ensuring the extra pieces stays over the top. This will lock the string
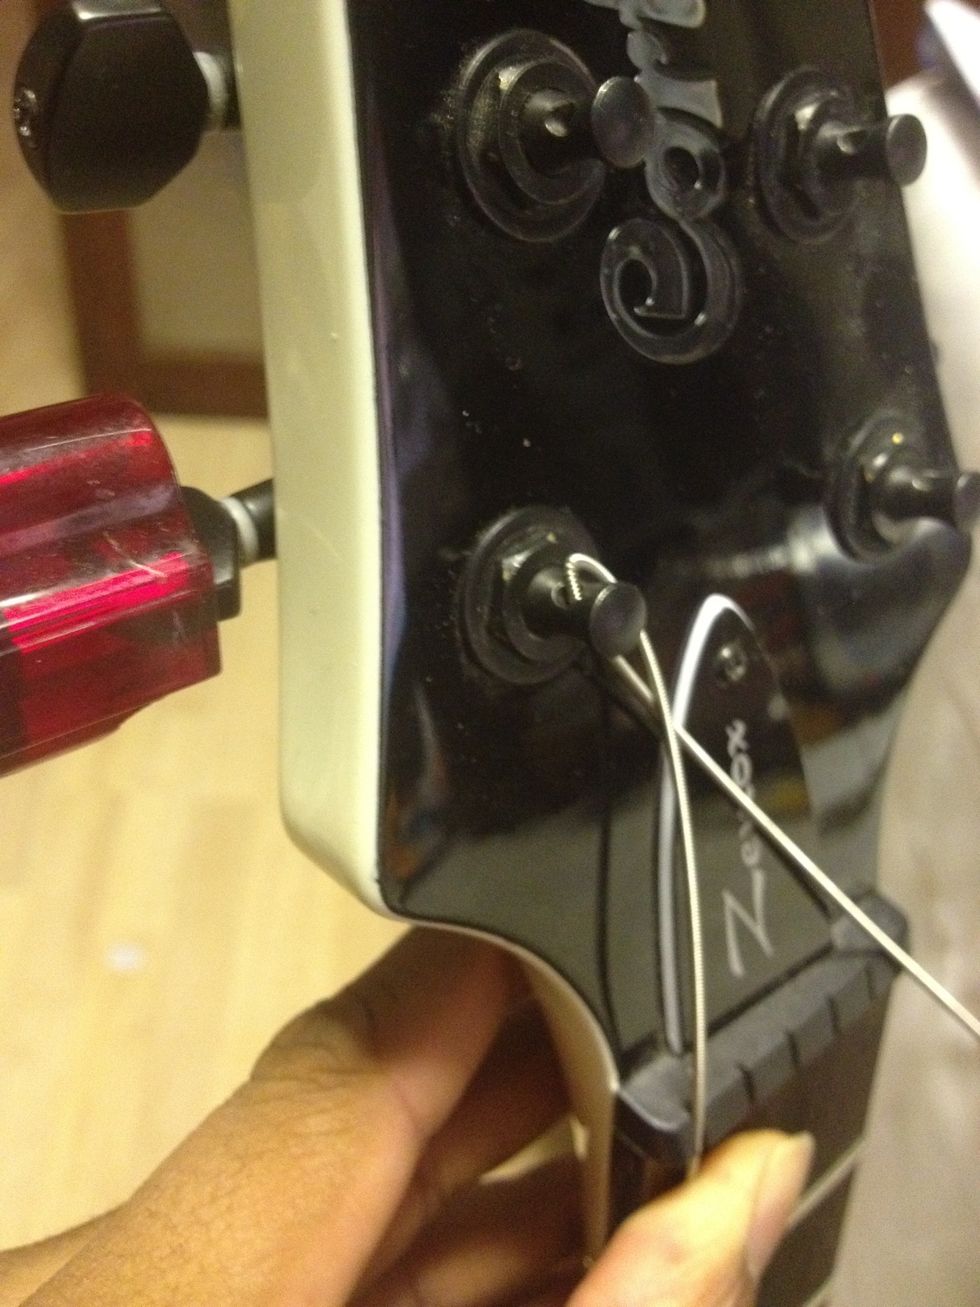
Here is the second wind, with the extra length OVER the string
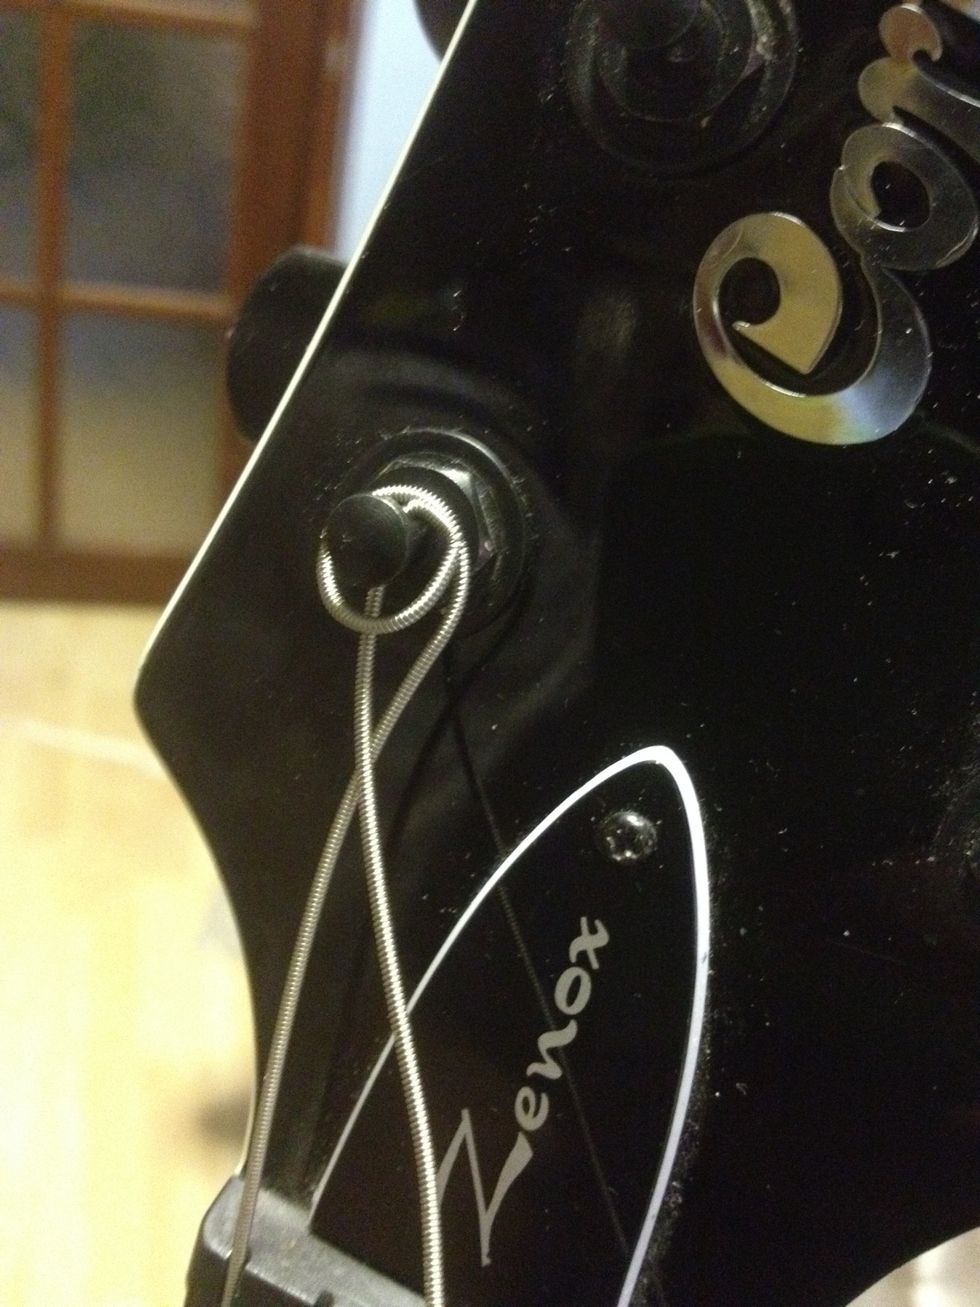
Wind until it is in tune (can use a tuner at this point but doesn't have to be accurate). Once in tune, wind the string three turns higher. This will stretch the string for you
Repeat these steps over all of the strings. Double check the bottom and ensure the stings go through the notches at the bottom, if not just unwind it, pull it on and wind it back up to tune
Use some pliers to cut the extra lengths off
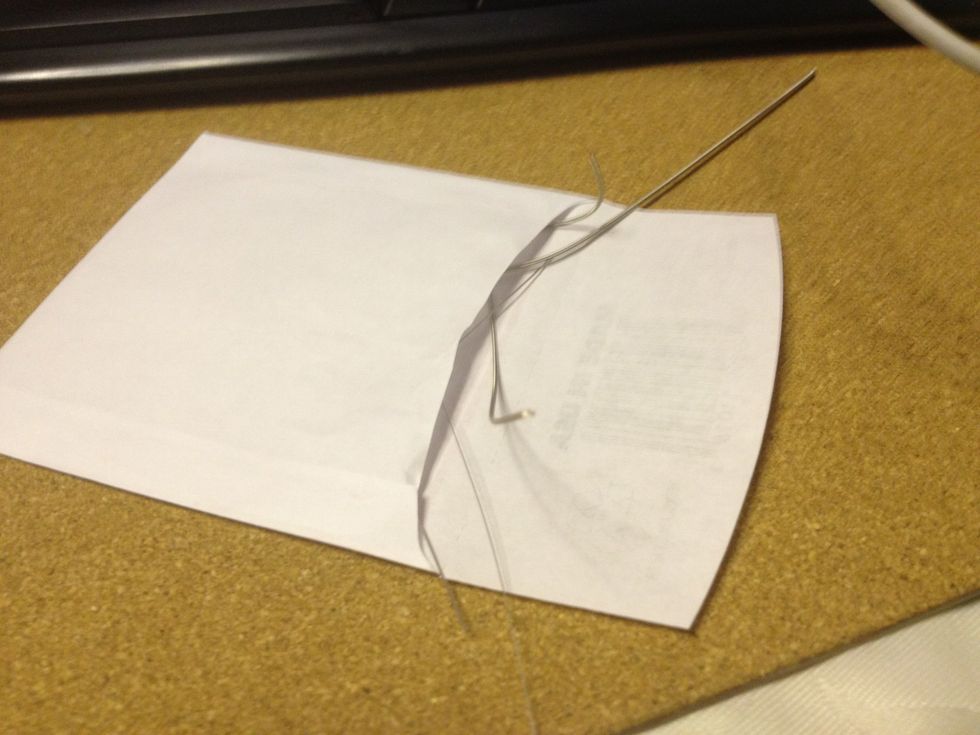
Use the string pouches to store the offcuts and then bin them, as they are VERY SHARP (if you haven't guessed already!)
Tune it back down, and you are done!! For the first day or two it might go out of tune quickly as it gets used the tension, but after that it will be fine to use and play!
Thank you for reading :) have fun jamming away with your new strings!