The Conversation (0)
Sign Up

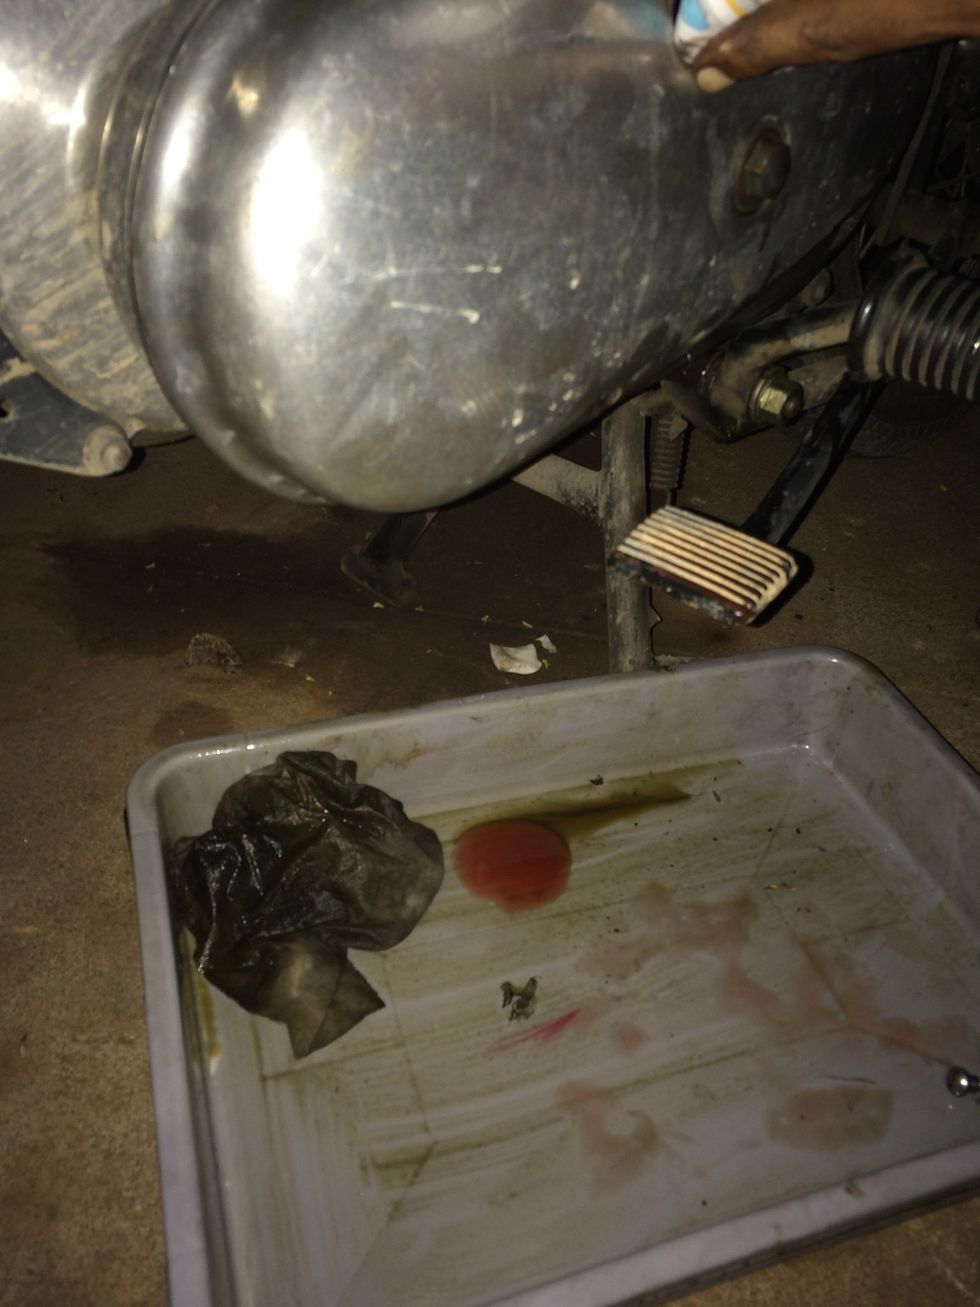
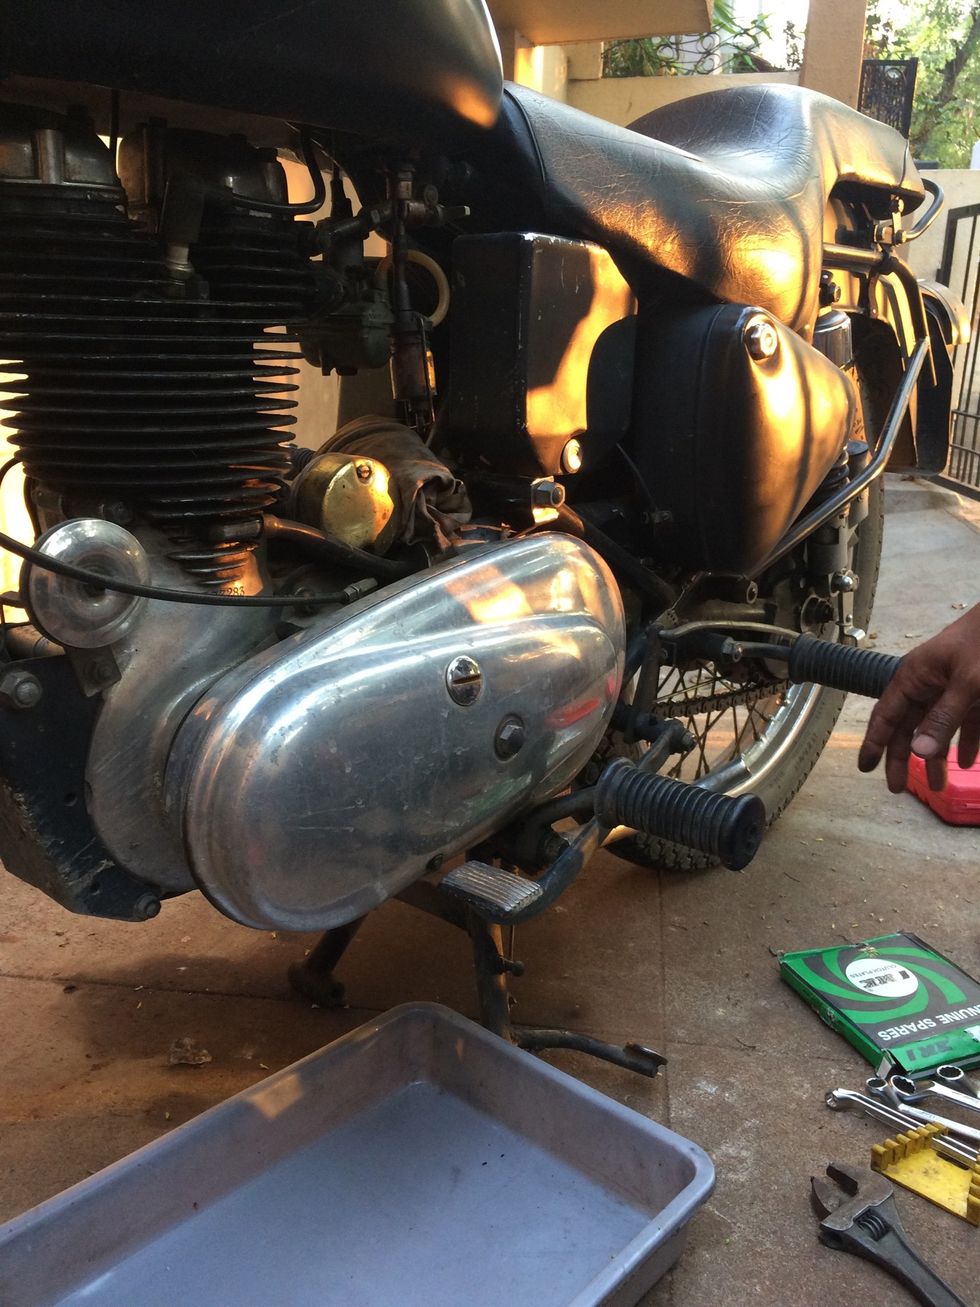
Place the motorcycle on centre stand with a tray to collect oil from the primary case.

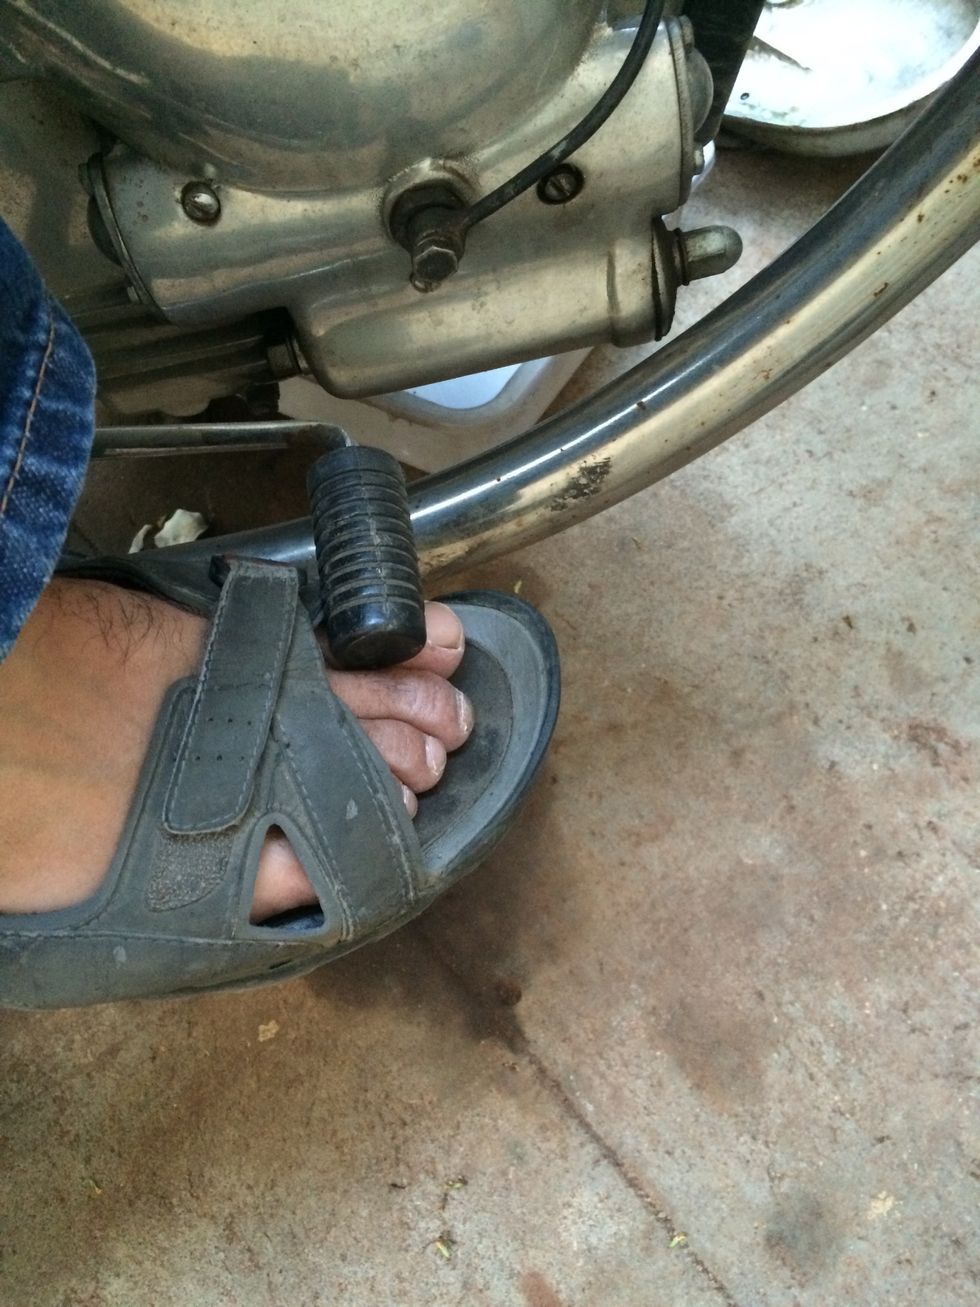
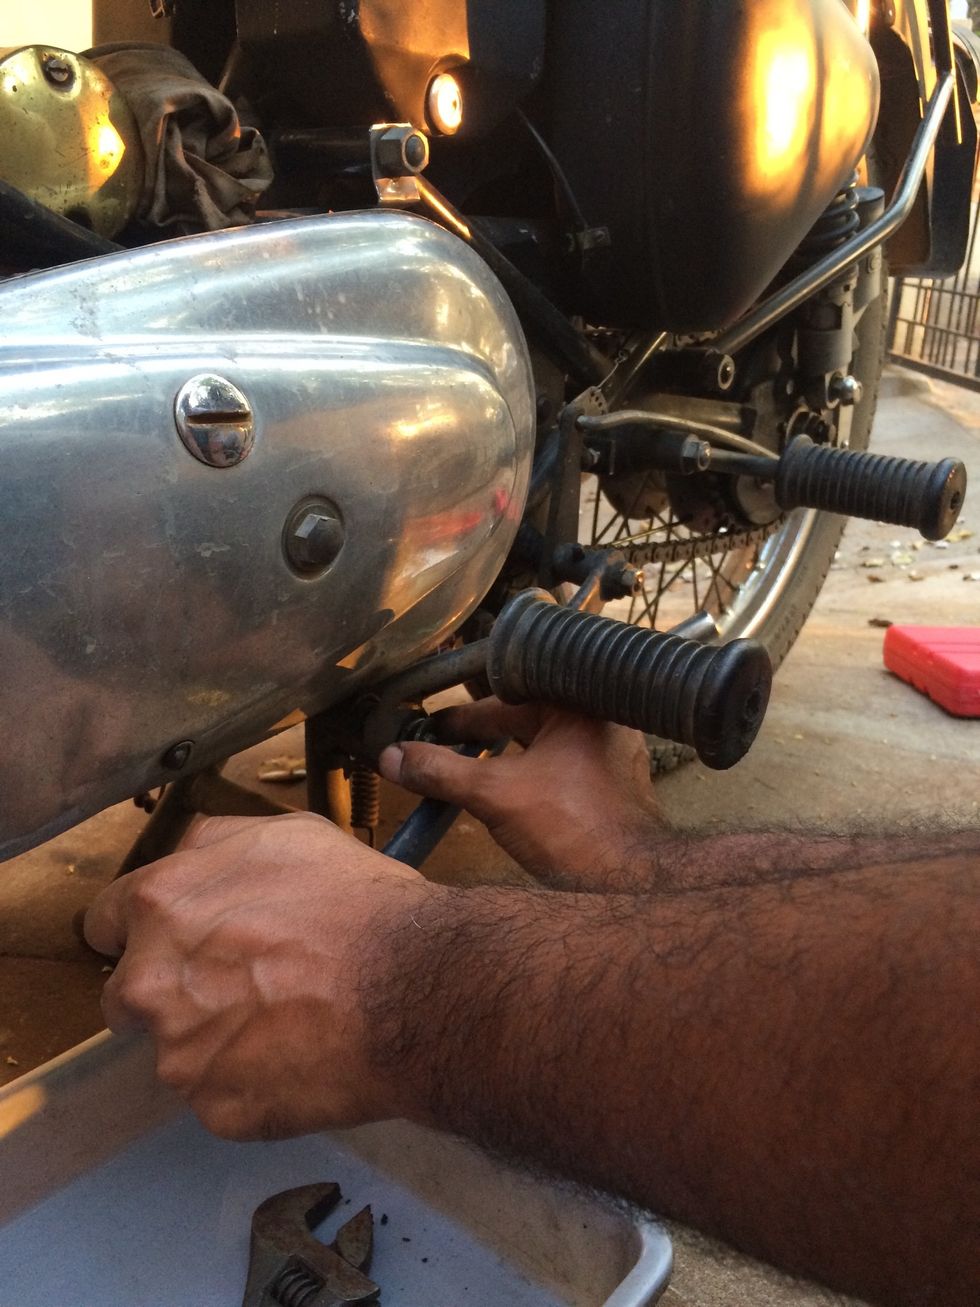
Press the brake lever
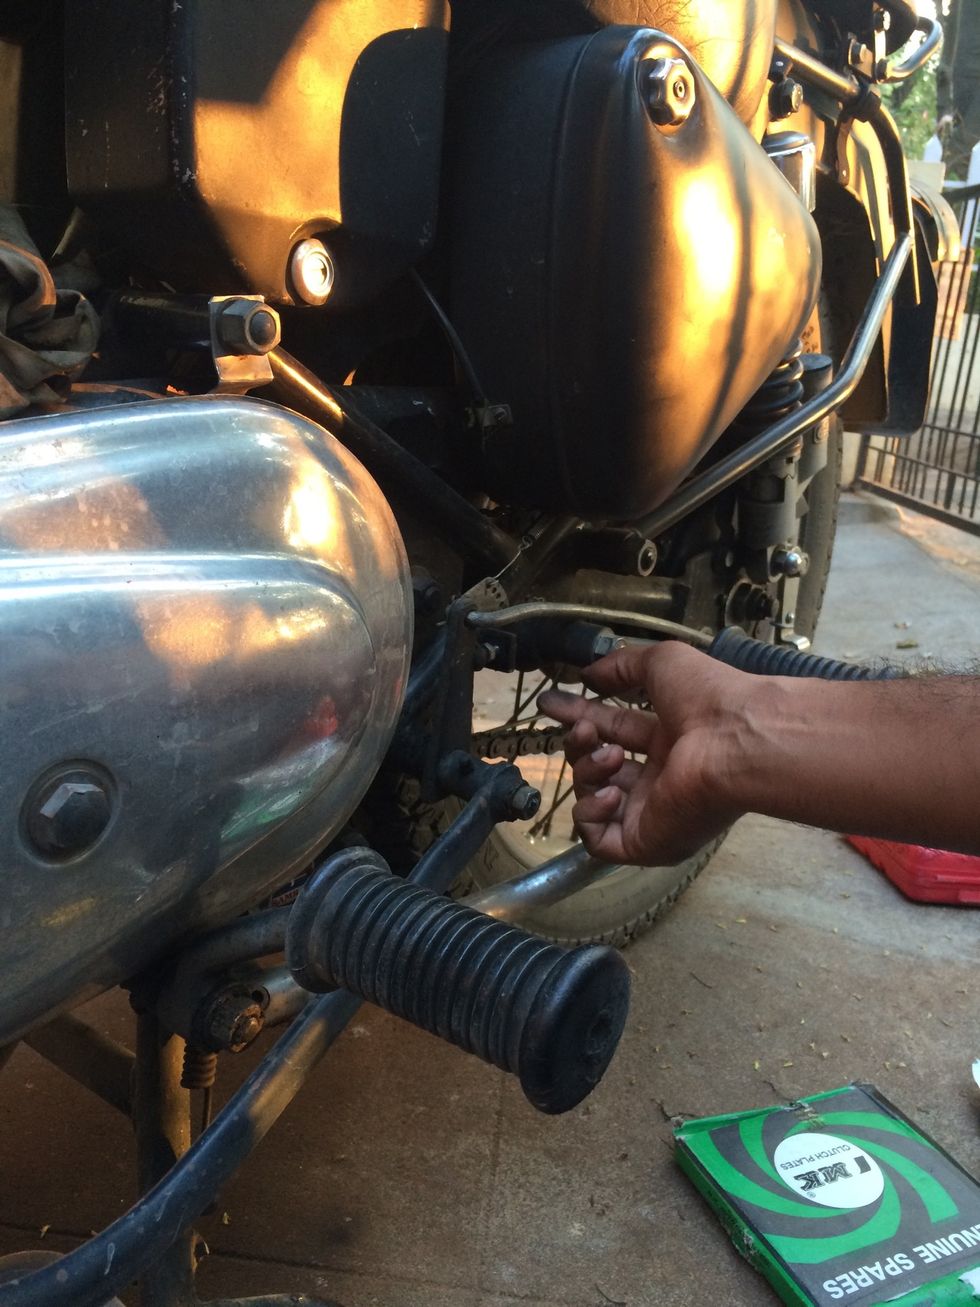
And extend the brake lever stopper bolt to hold the brake lever in the pressed state
This gives you more access to remove the primary cover
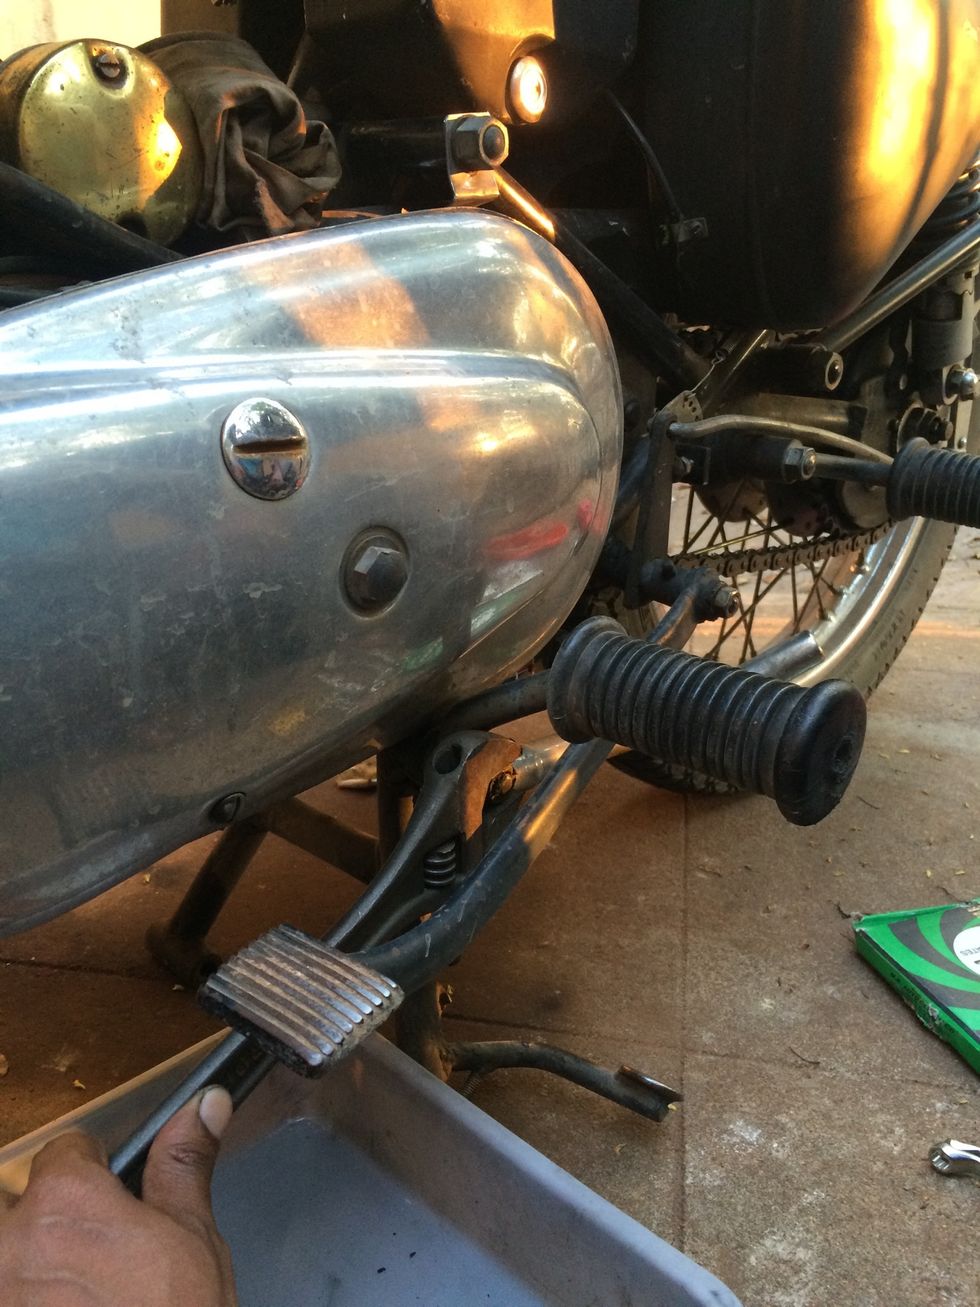
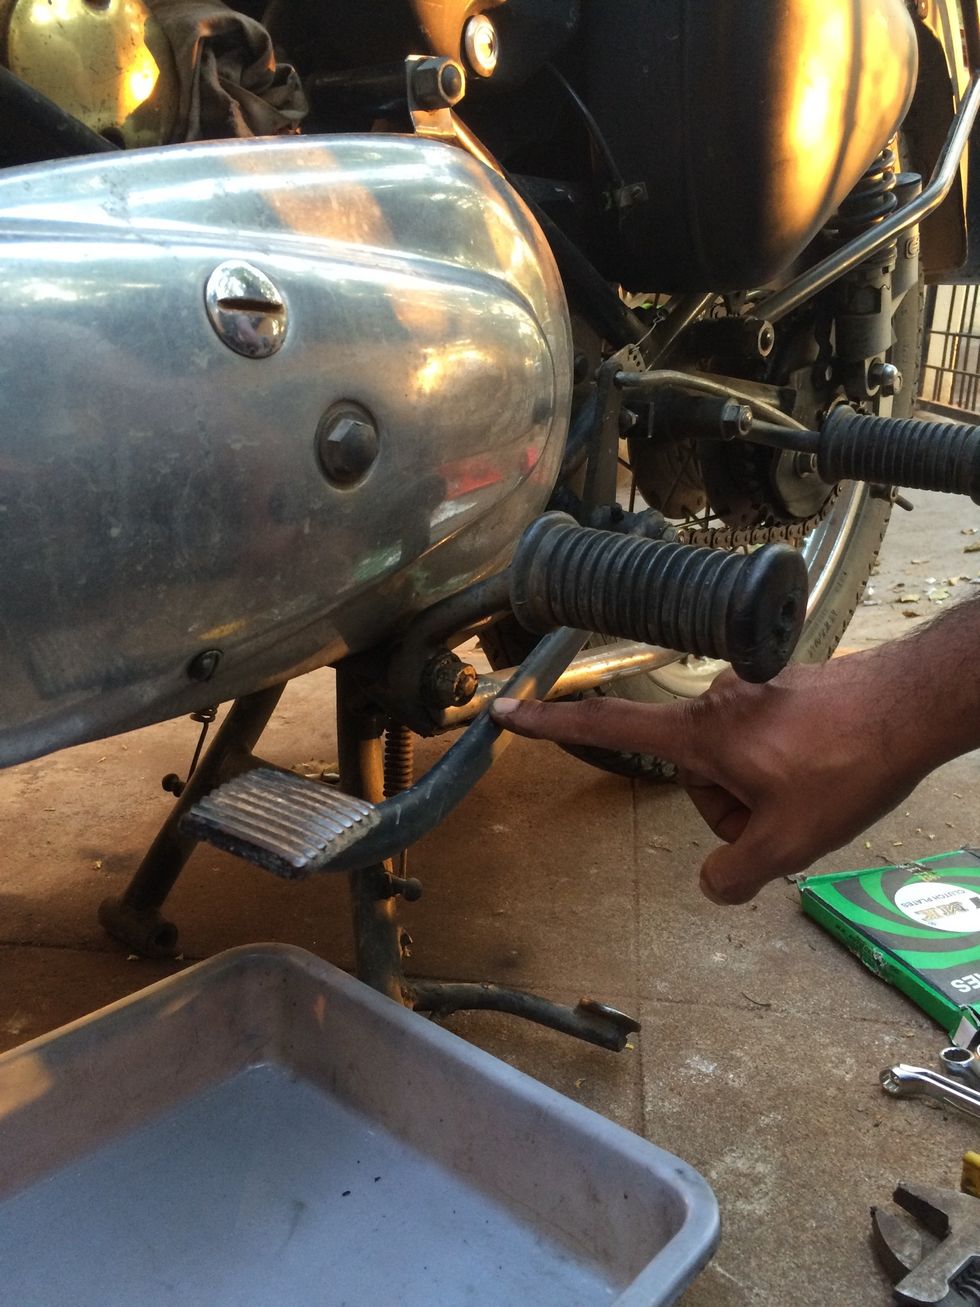
Remove or loosen the footrest nut
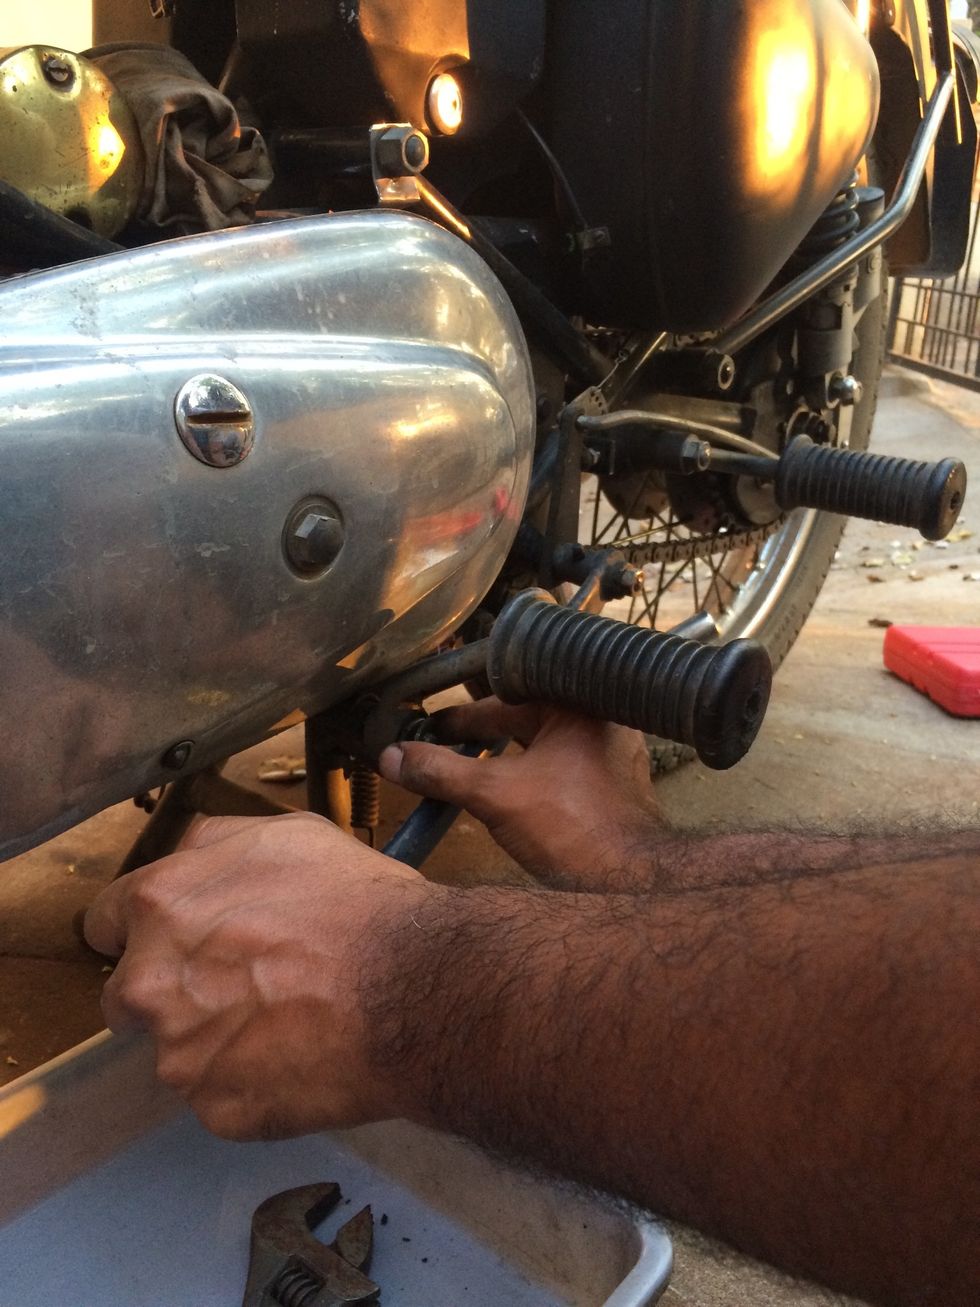
The footrest, if removed gives greater access for the job
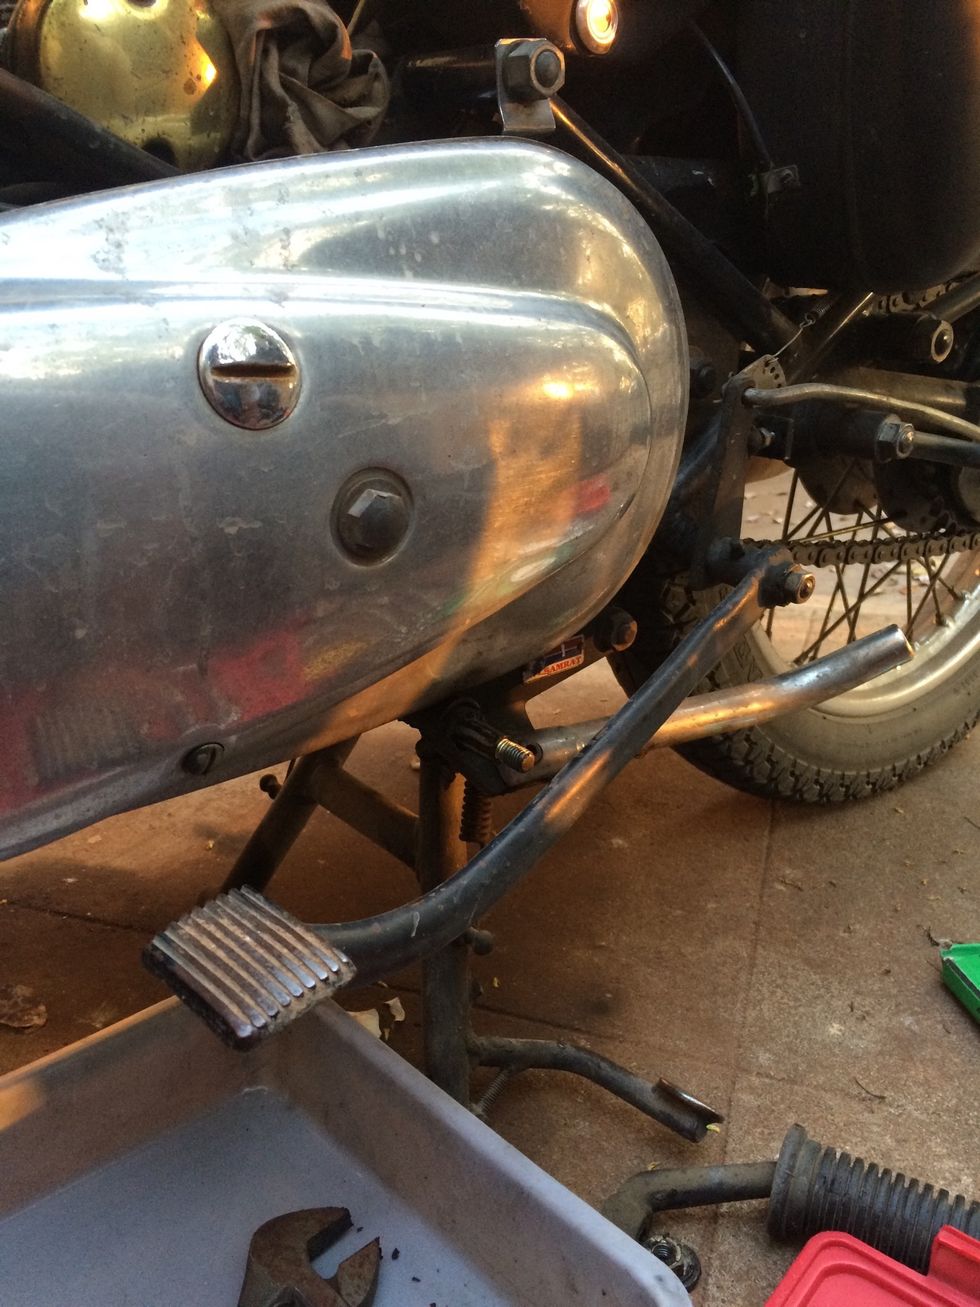
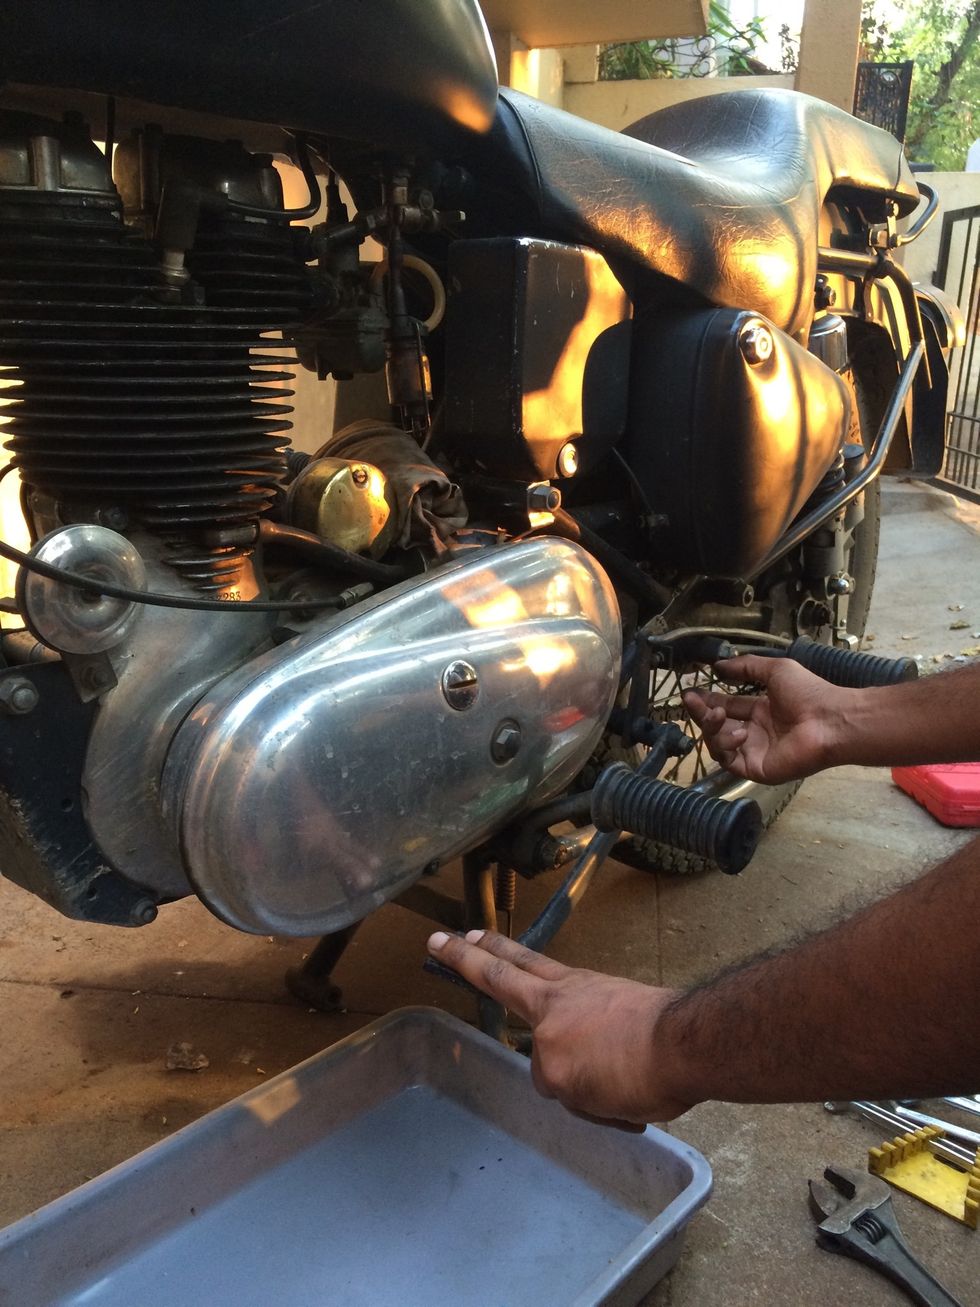
Side prepped for job start

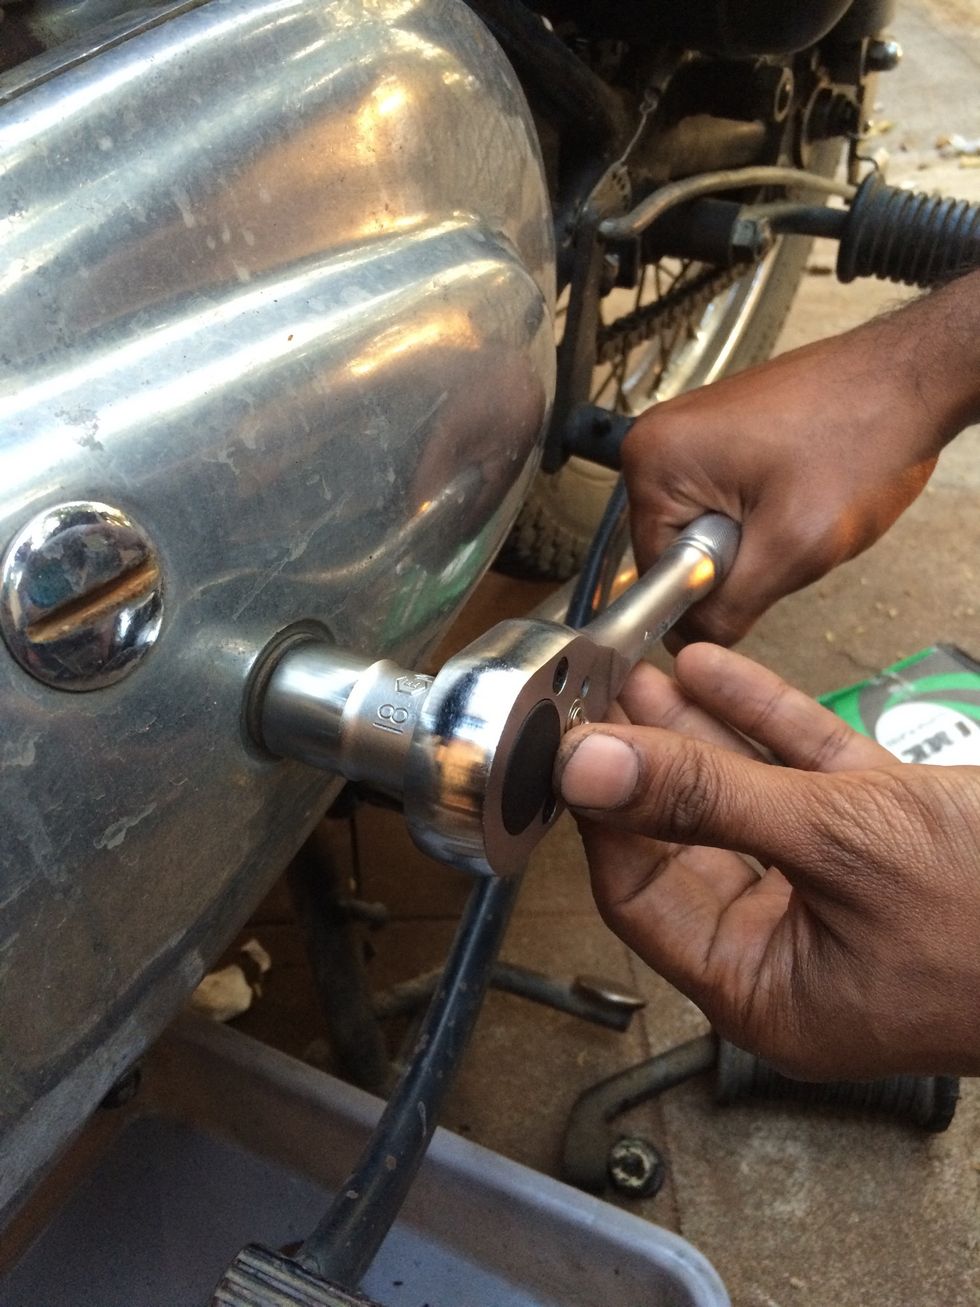
Use a 18mm wrench set and loosen the centre nut that holds the primary case.
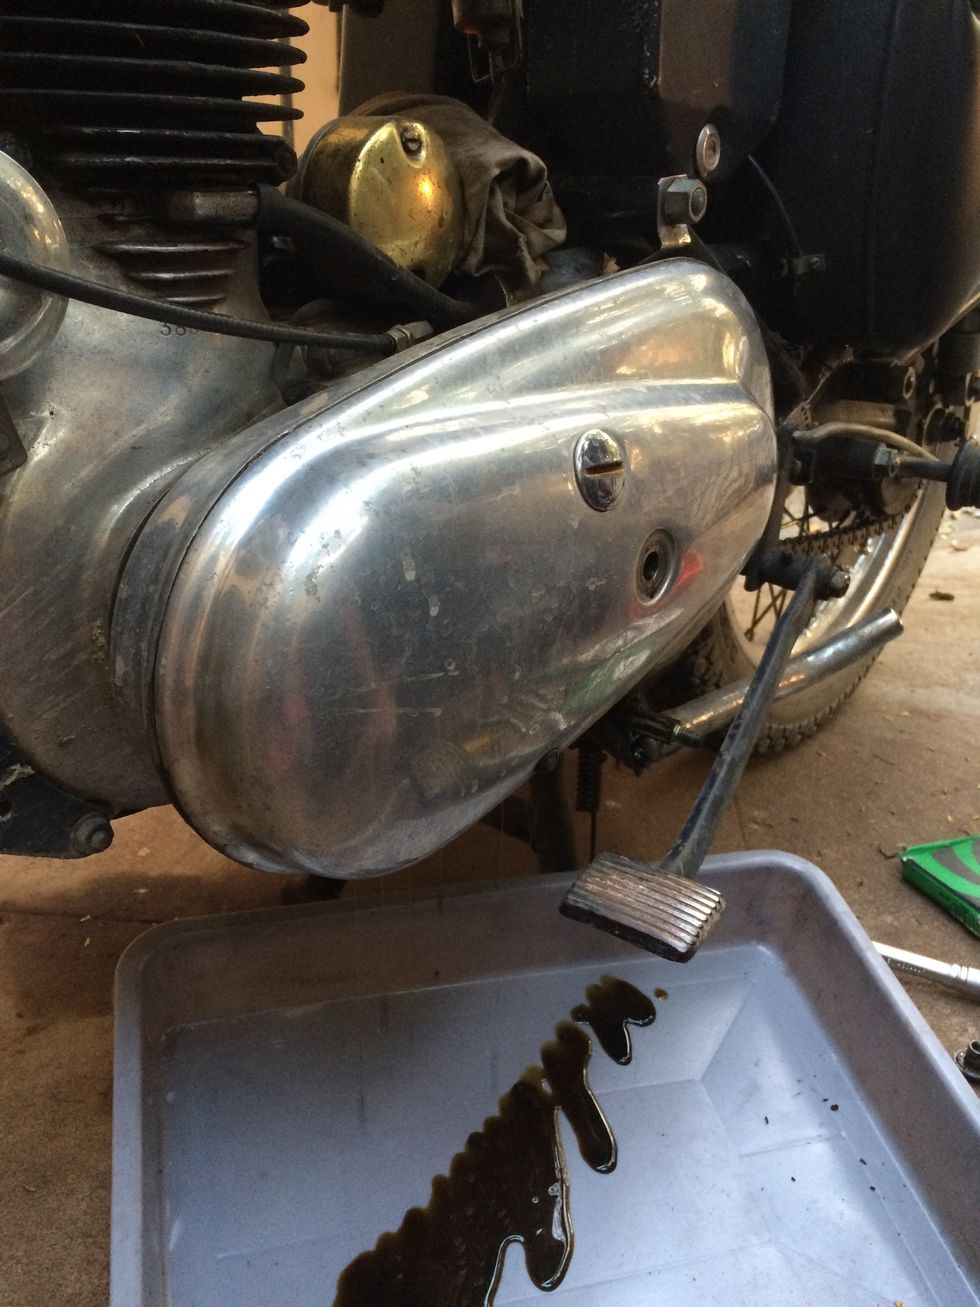
Tap on the edges of the primary case until it loosens and oil starts dripping out
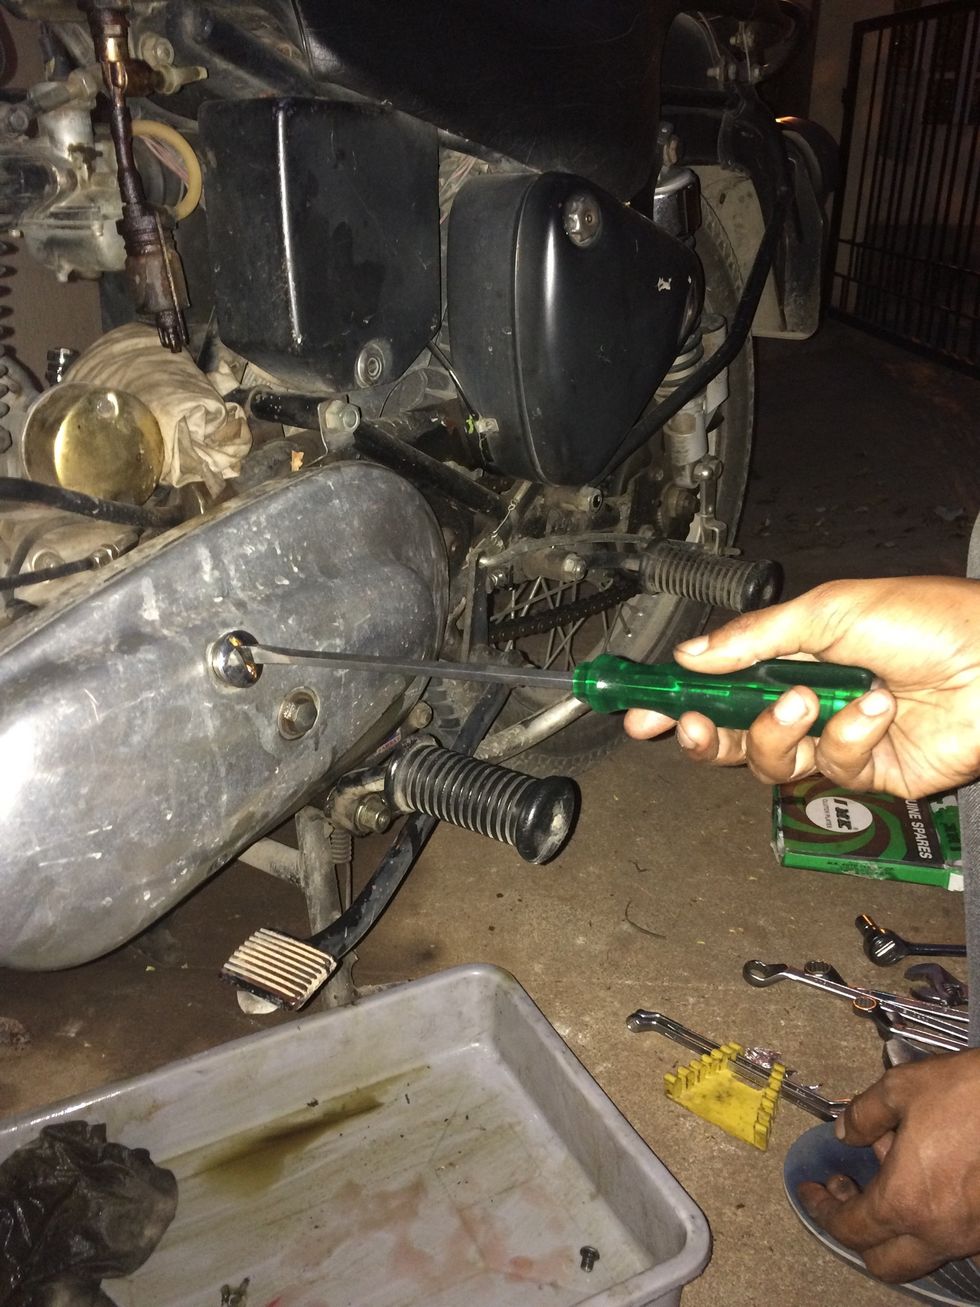
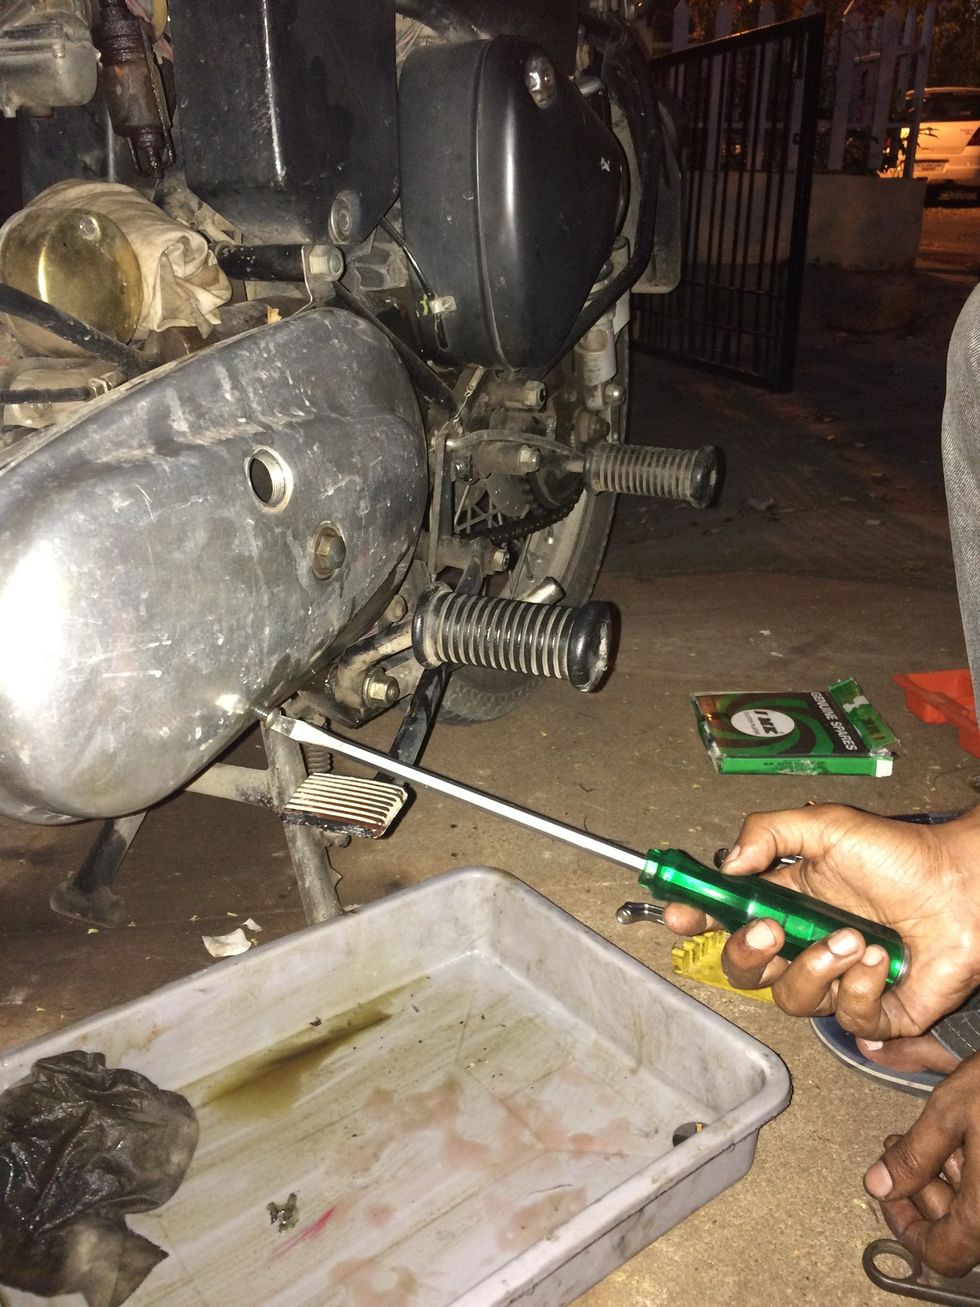
Slightly wedge the case out using a blunt screwdriver. Take care that you don't damage the O-ring

Case is removed and wait for oil to drain out
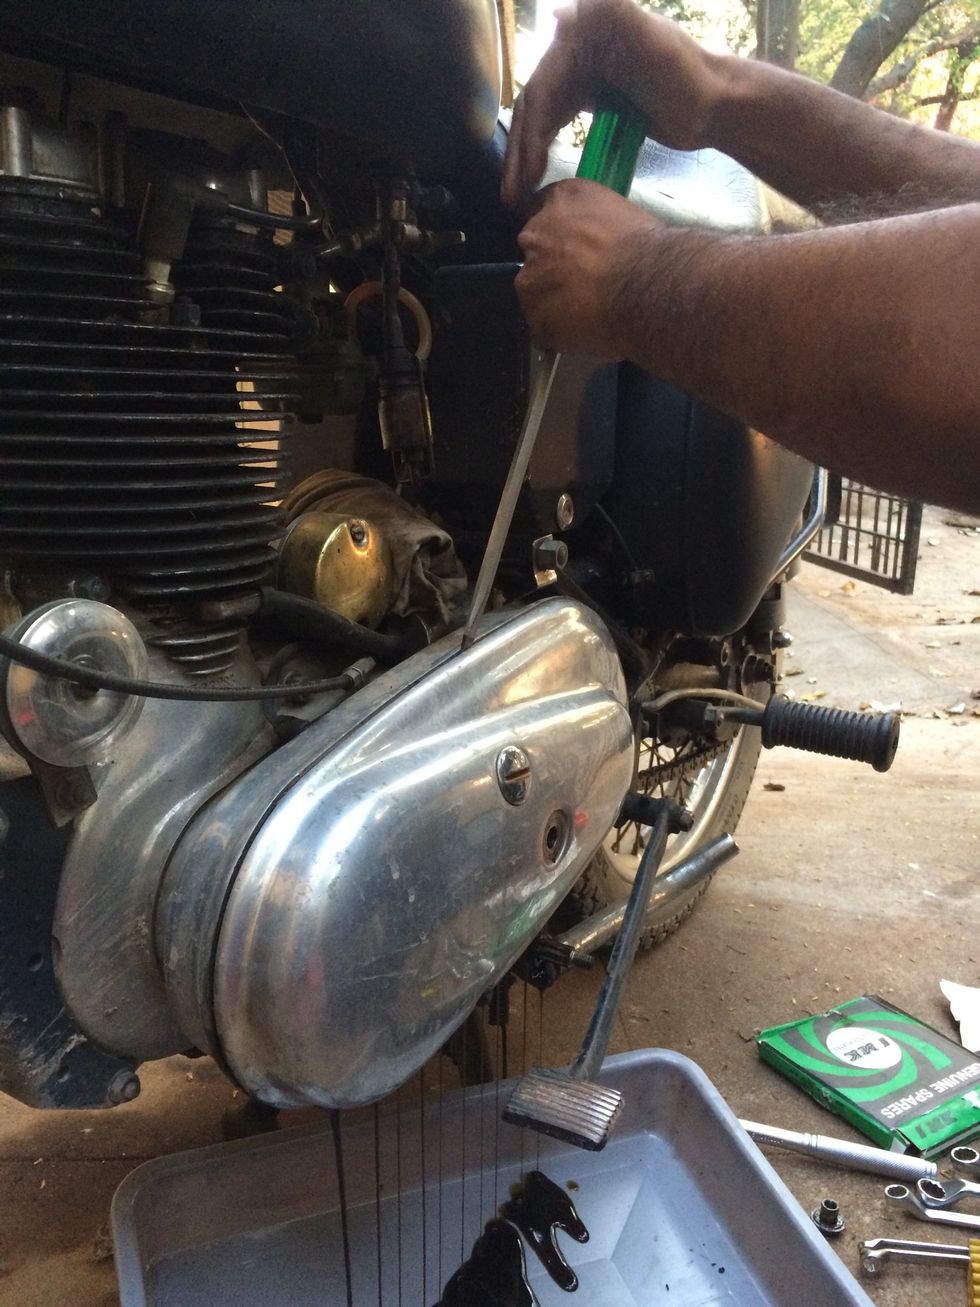
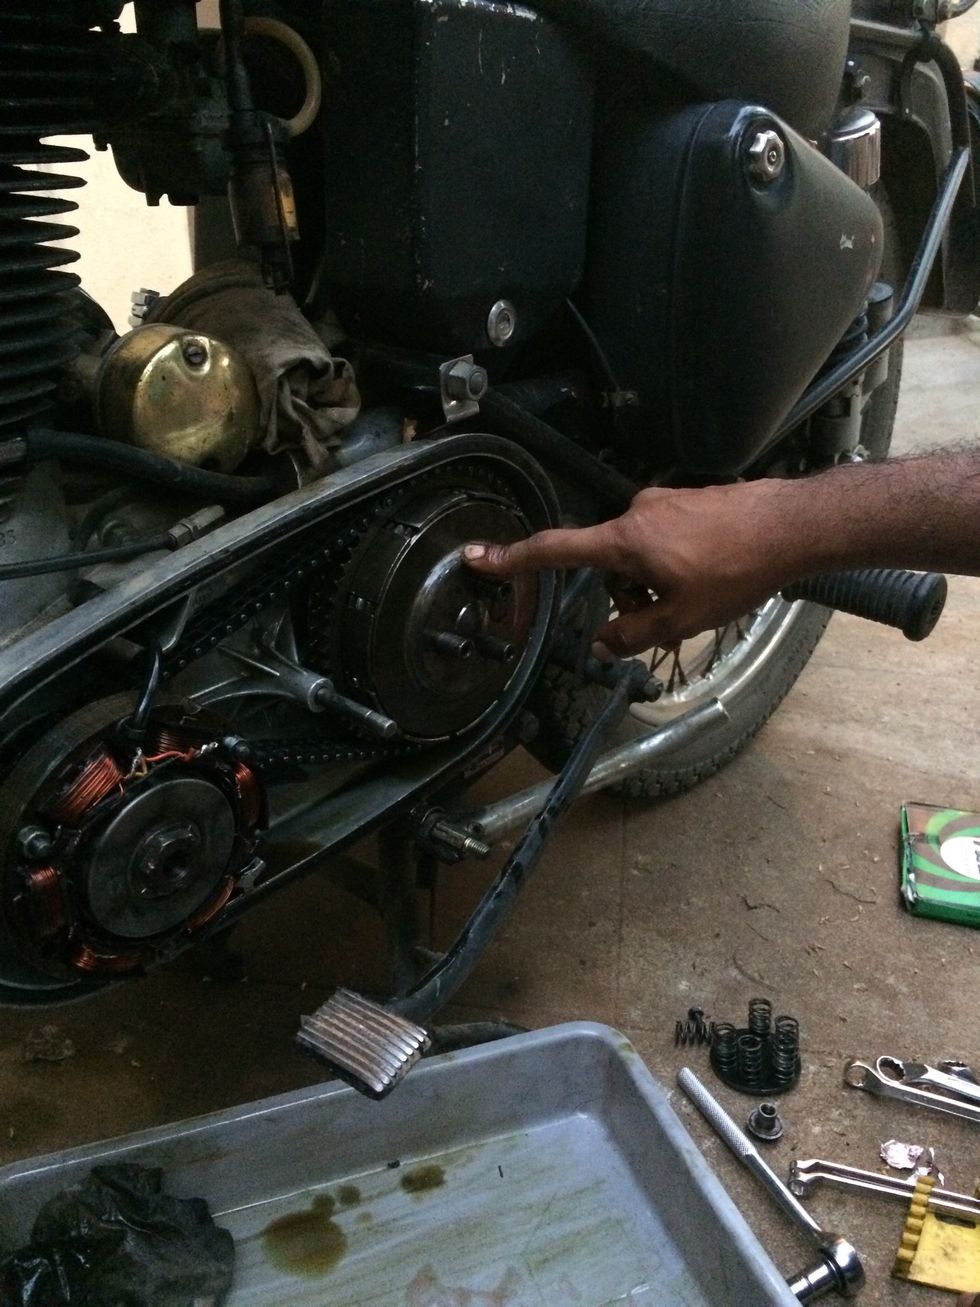
Engage first gear for aiding the clutch plate housing bolts removal
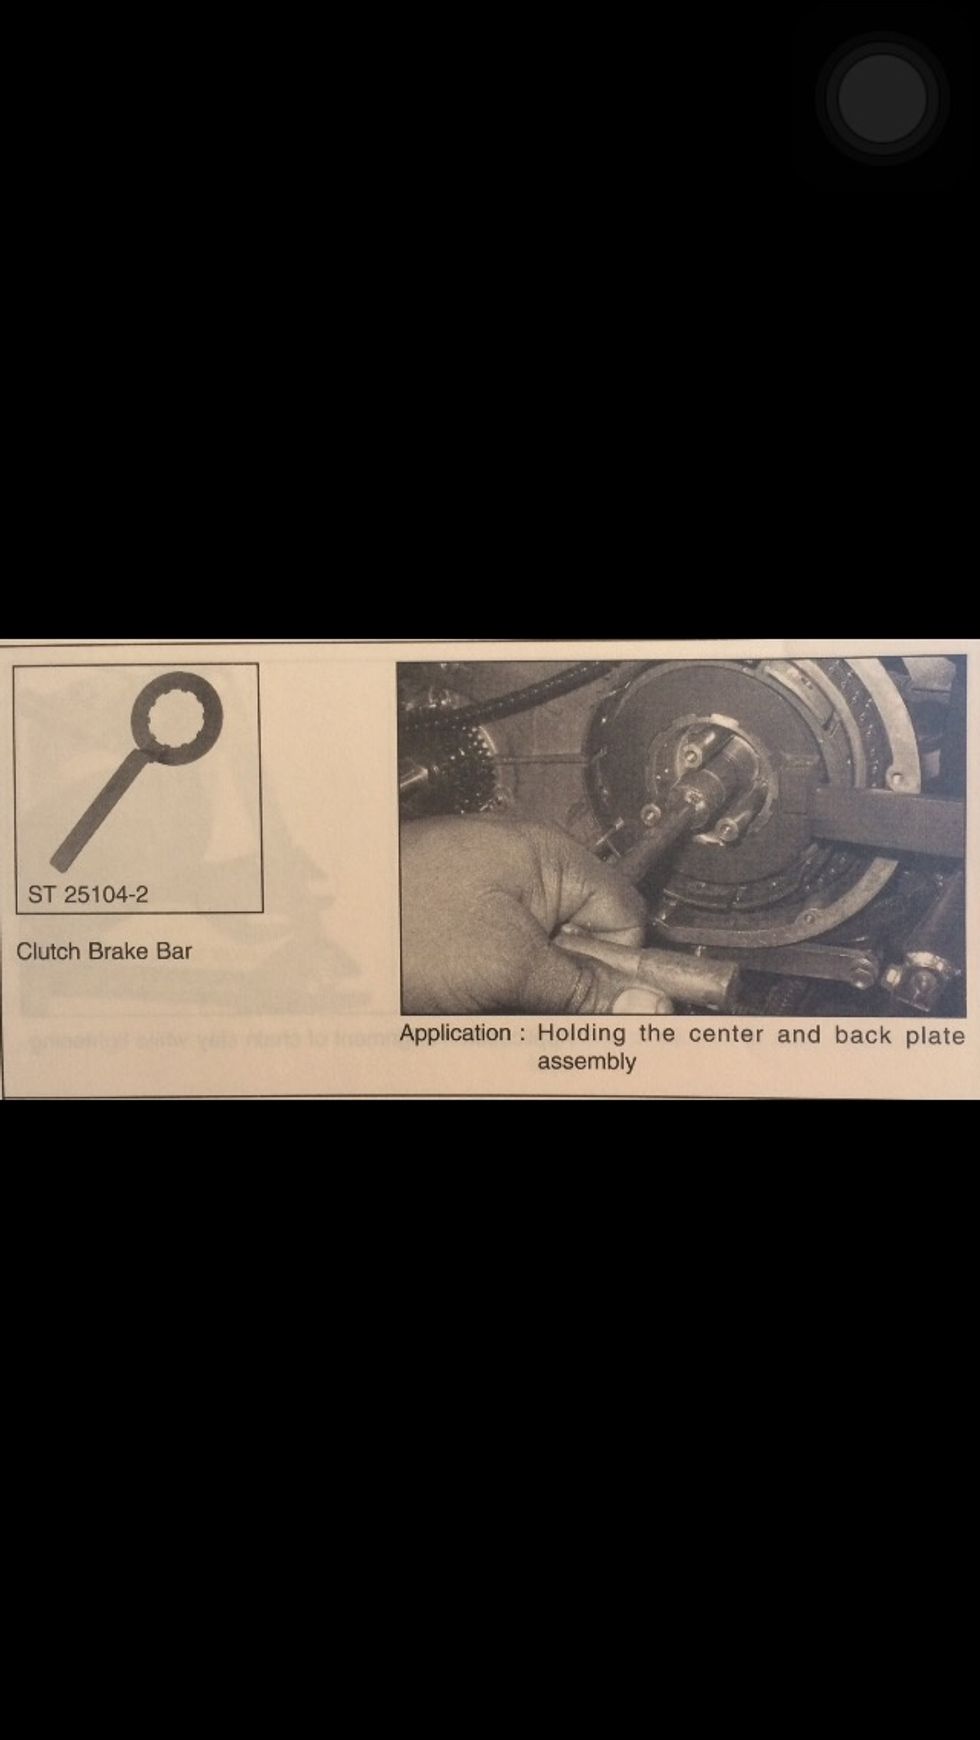
If you do have this tool, please use this rather than the tip in the next two steps

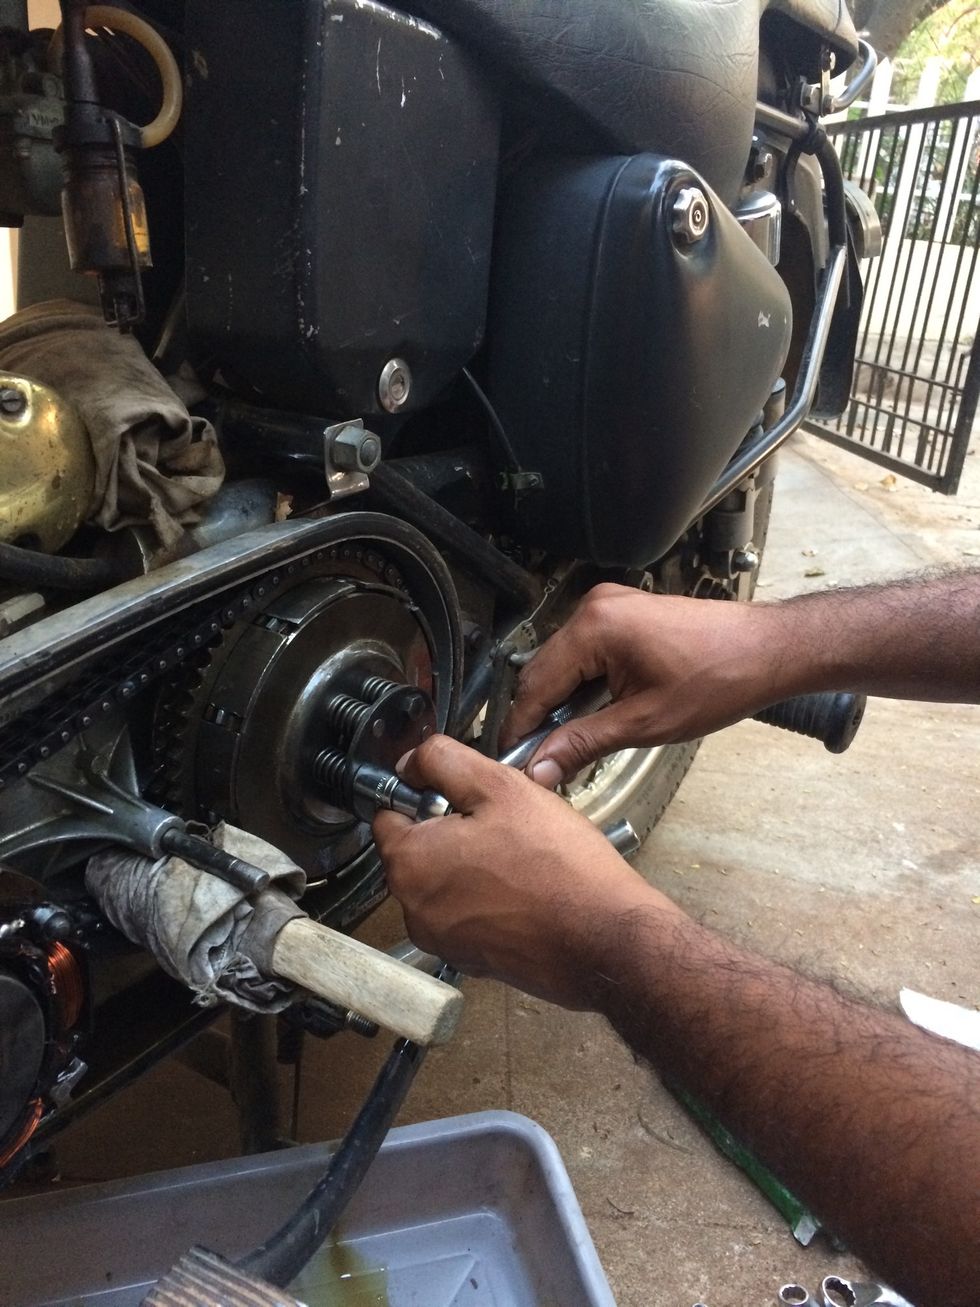
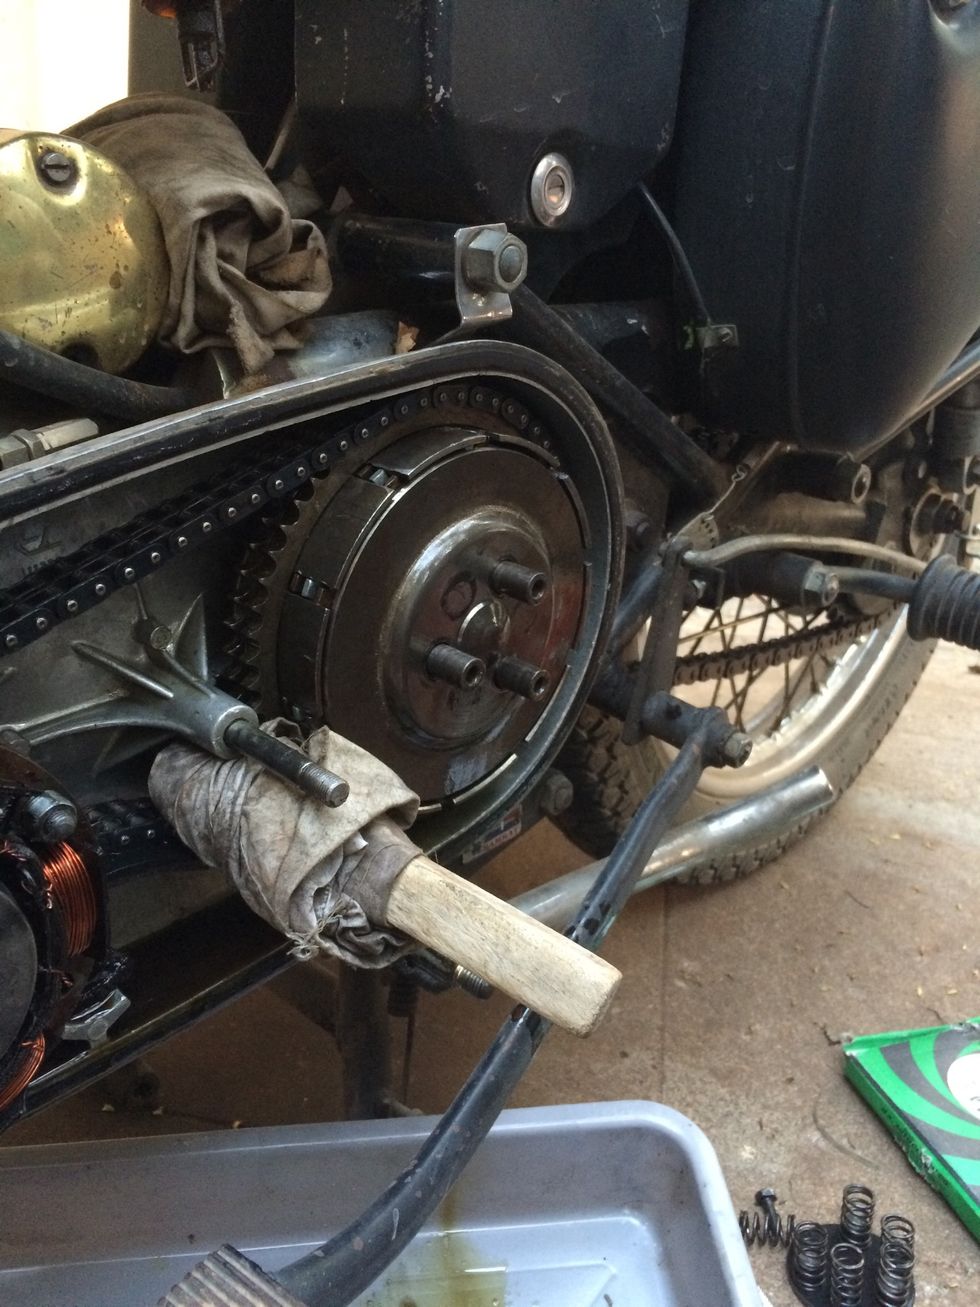
Wrap a cloth on a wooden piece and jab between the primary chain and sprocket
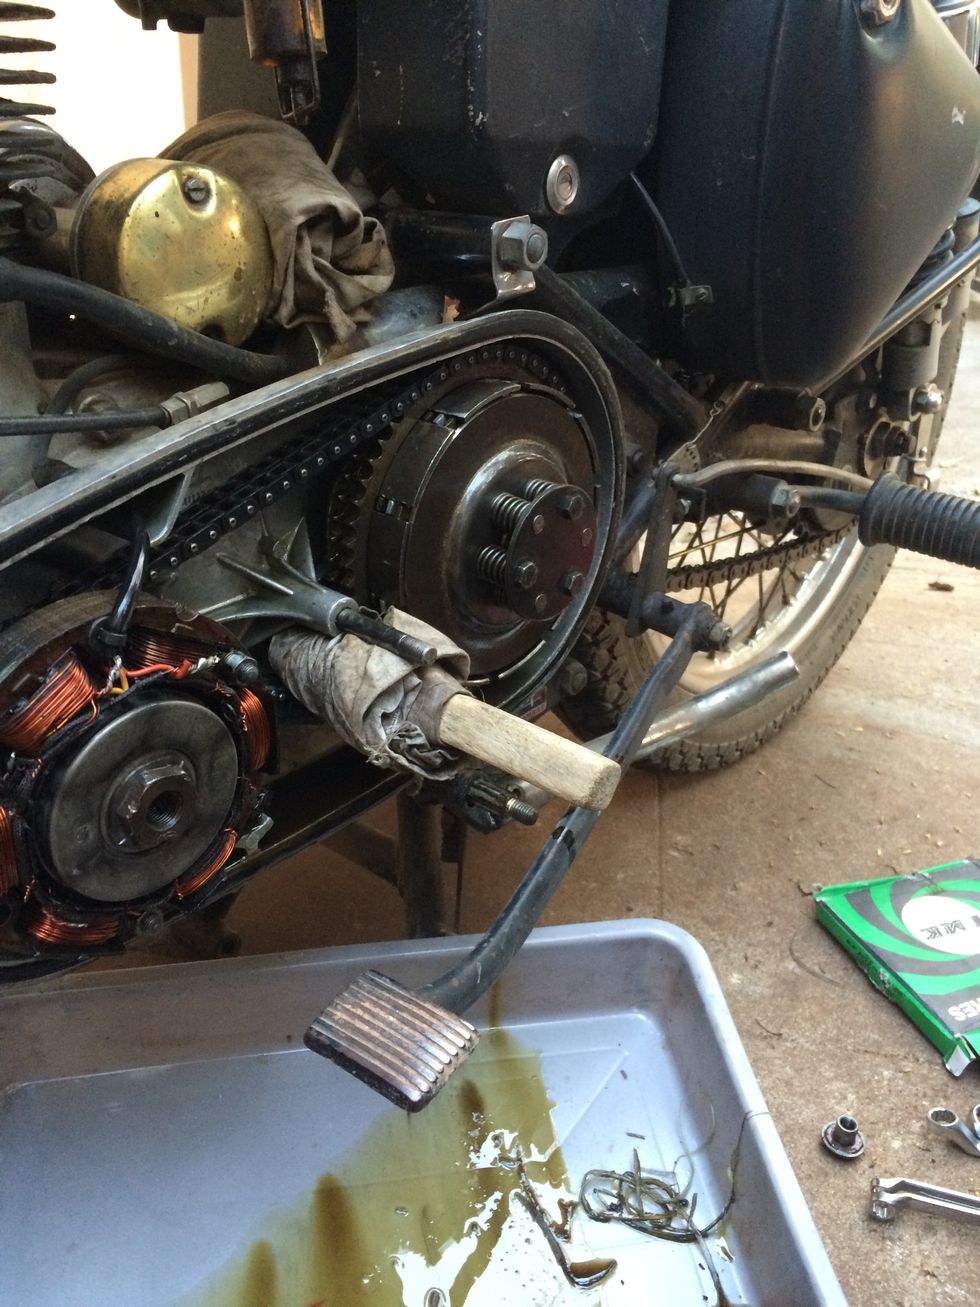
This helps lock the rotation while undoing the retaining bolts of the clutch plate housing
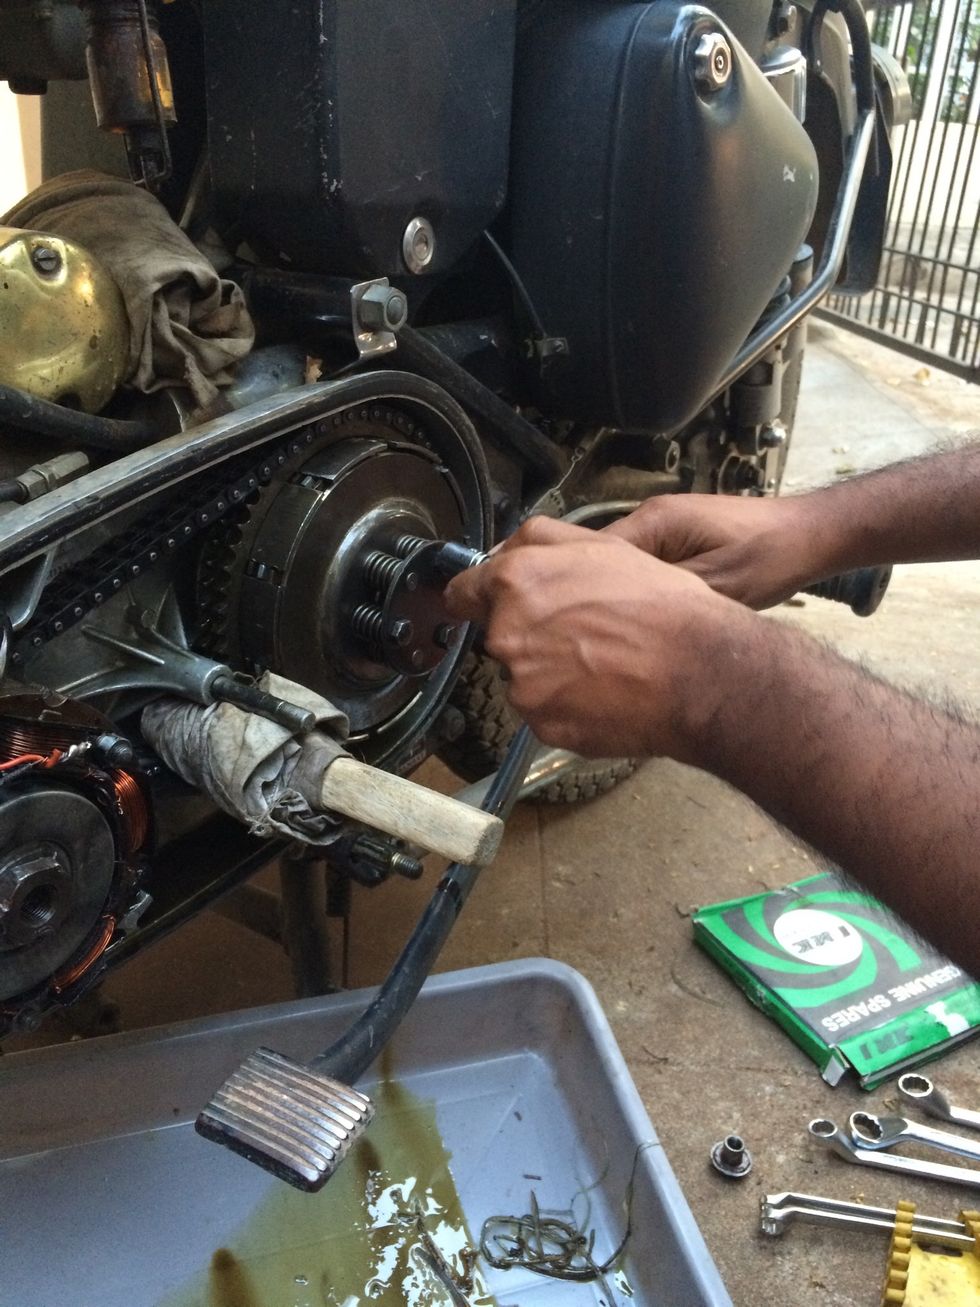
Loosen the three bolts alternatively. It is important not to undo one bolt at a time due to the spring tension
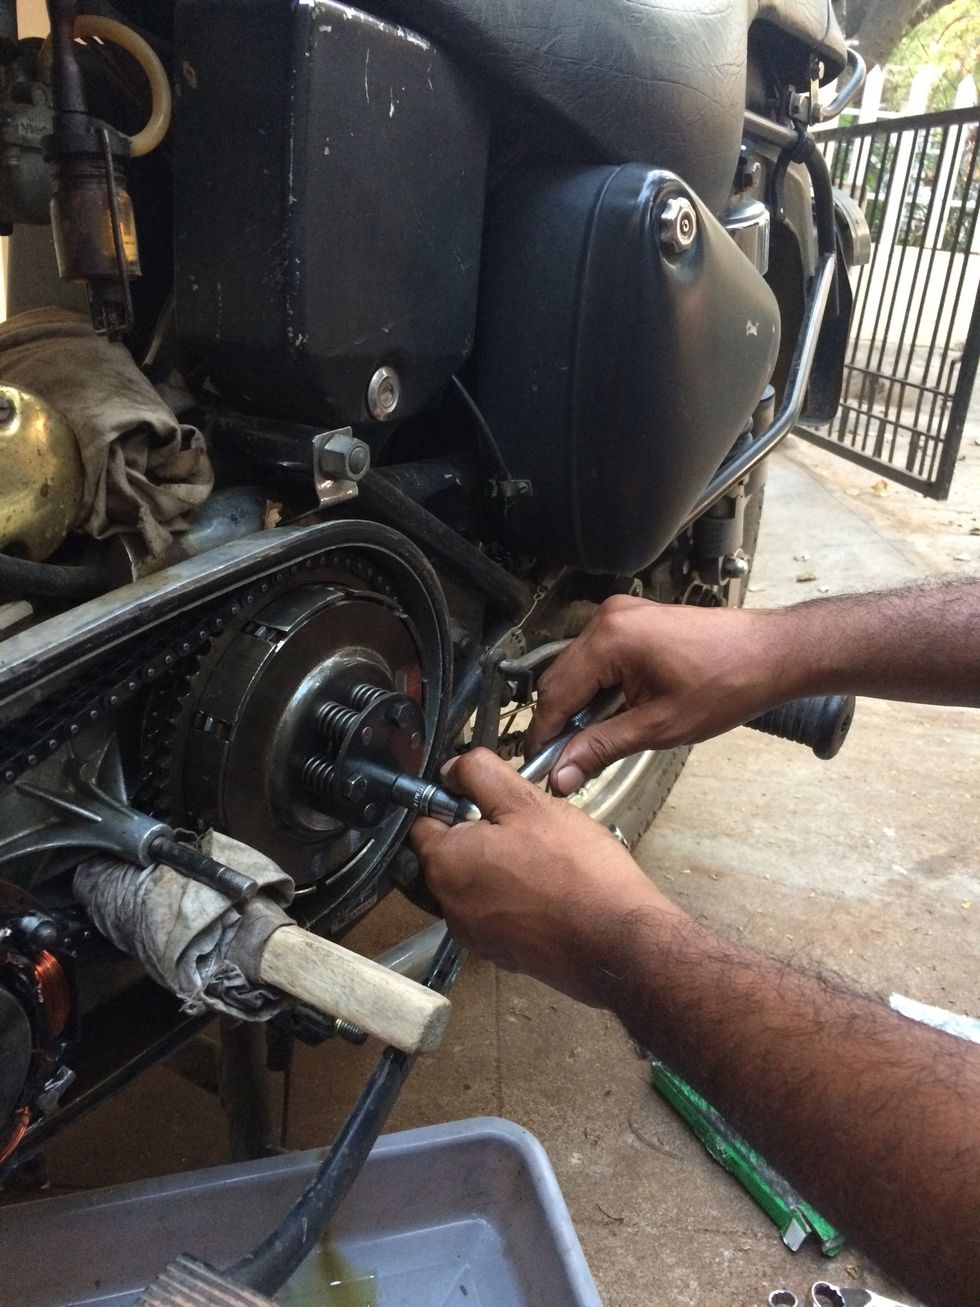
Loosen these three bolts alternatively
Same drill...
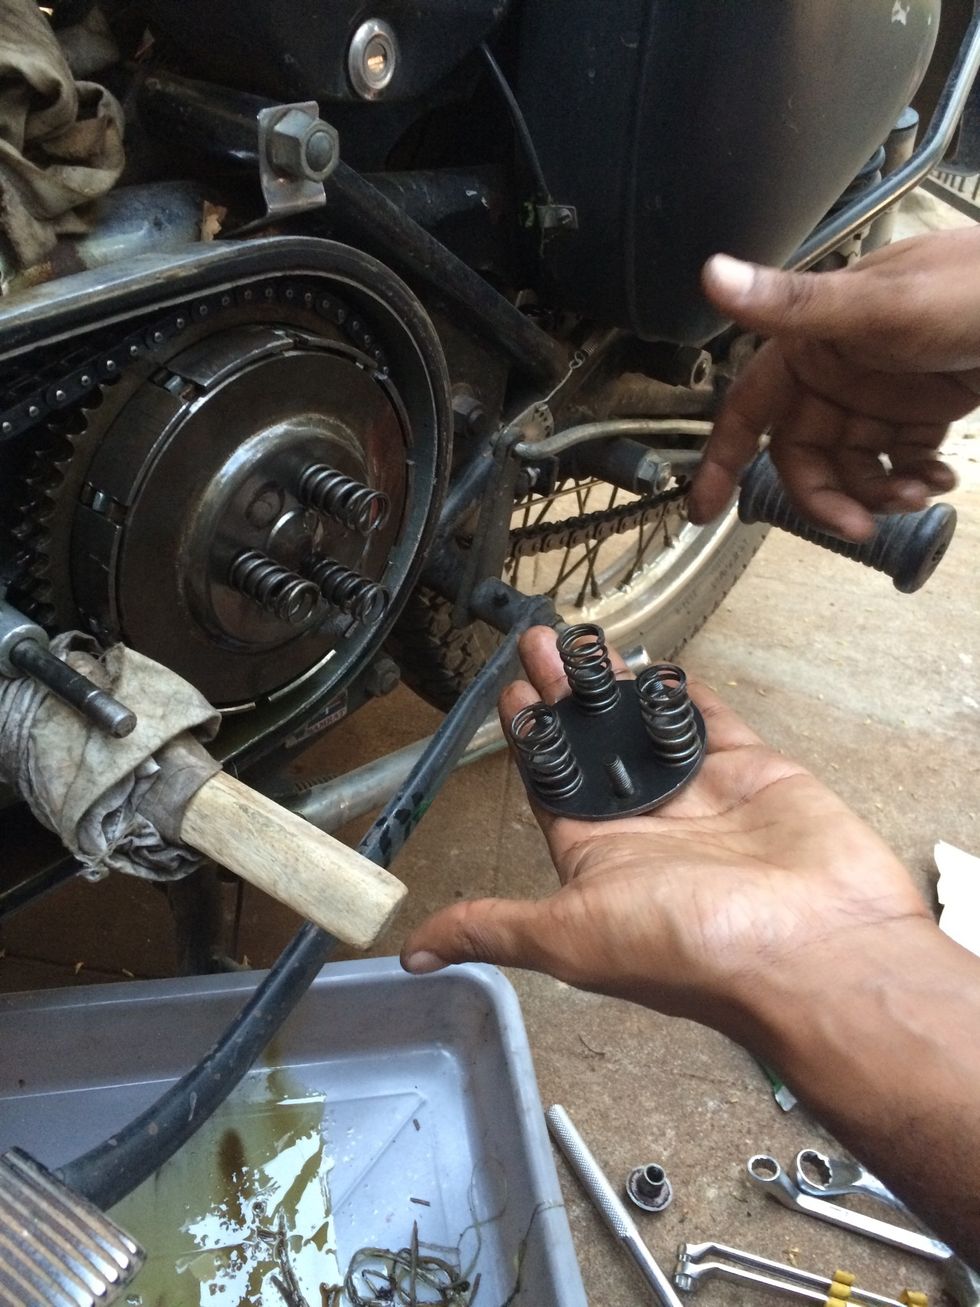
Remove the bolts and springs
Remove the remaining springs
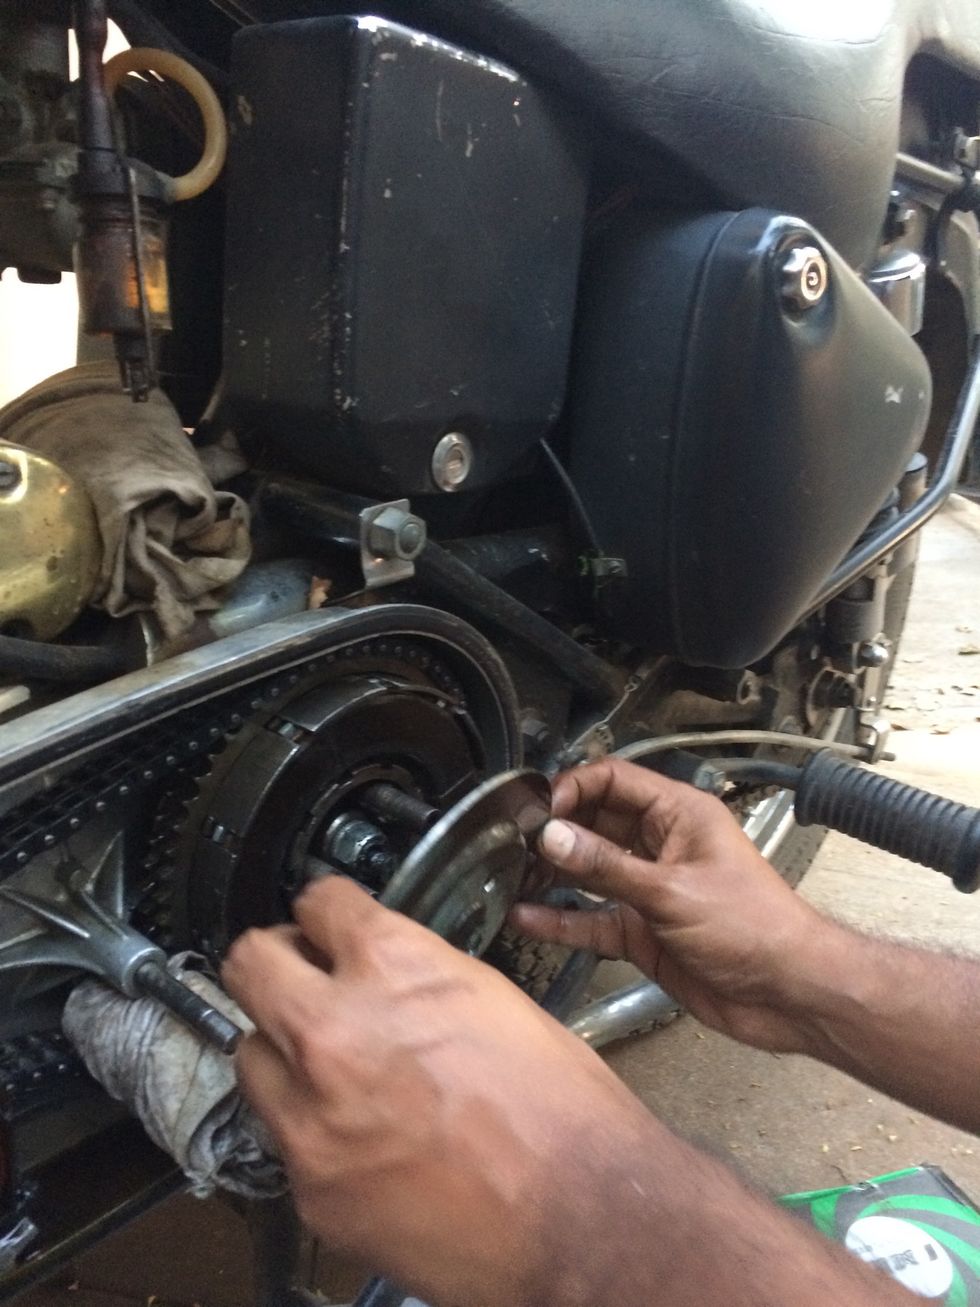
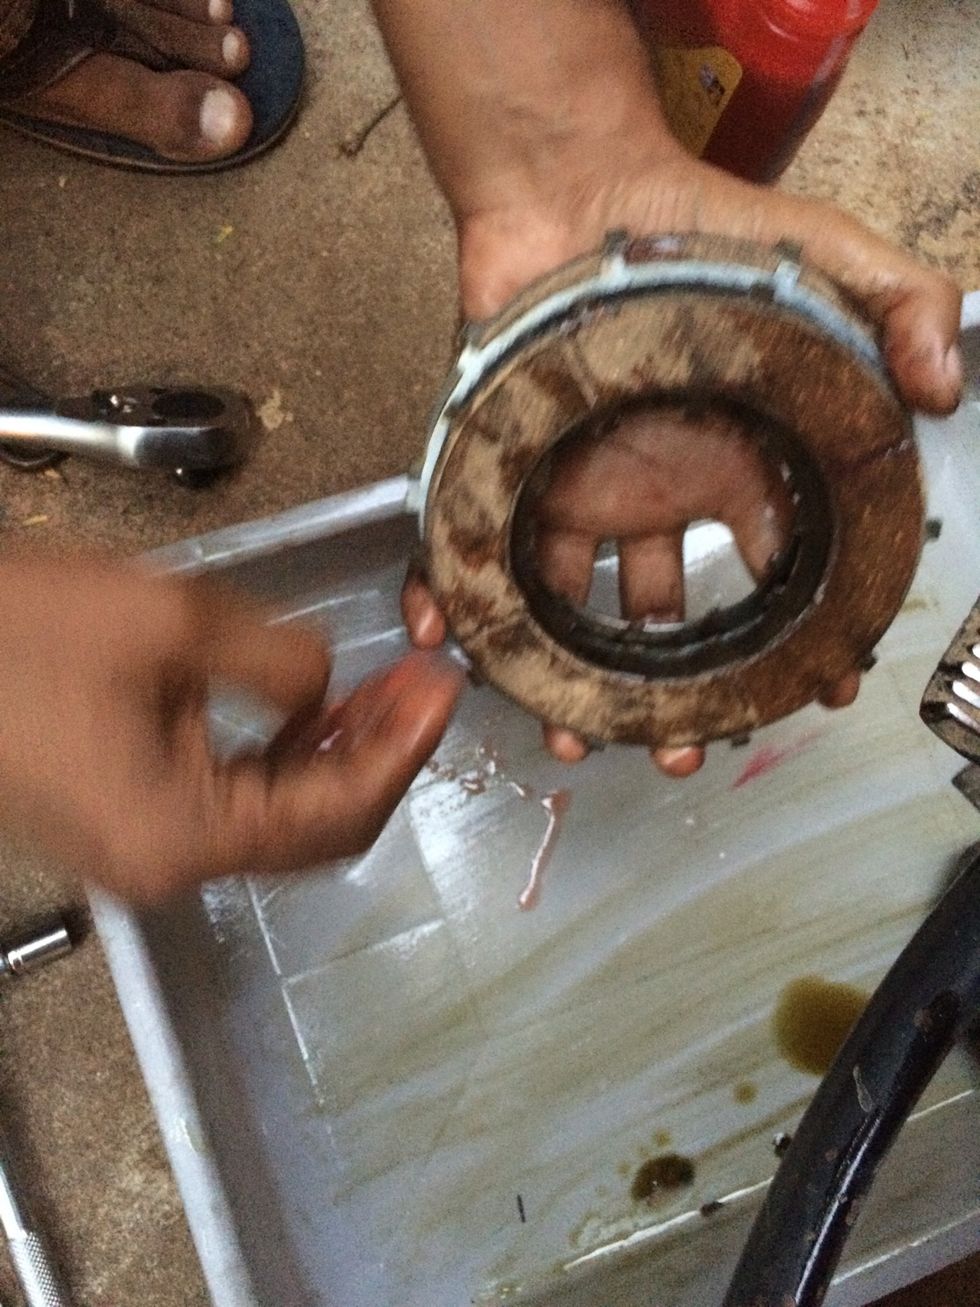
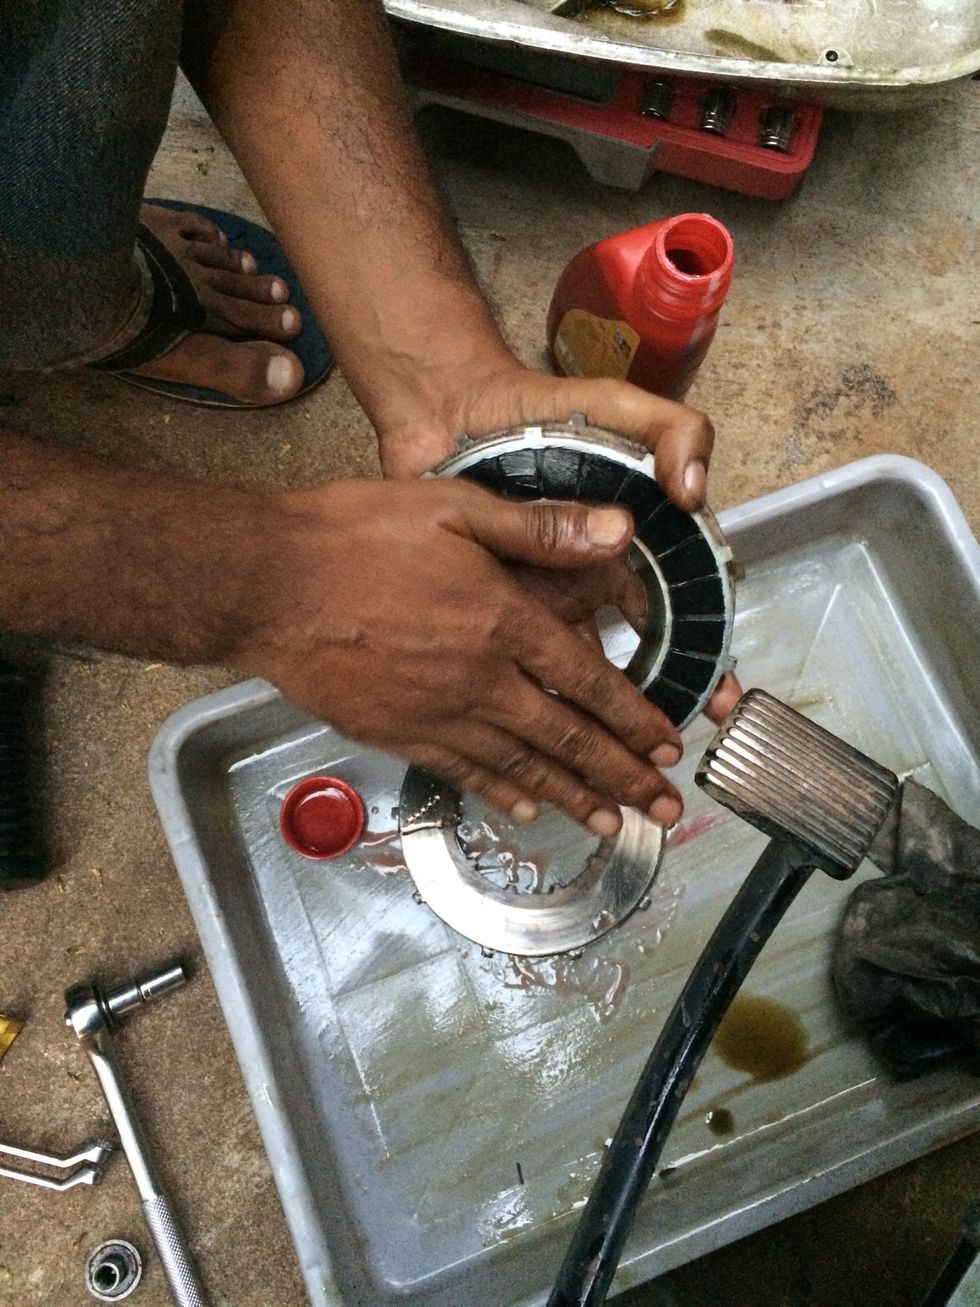
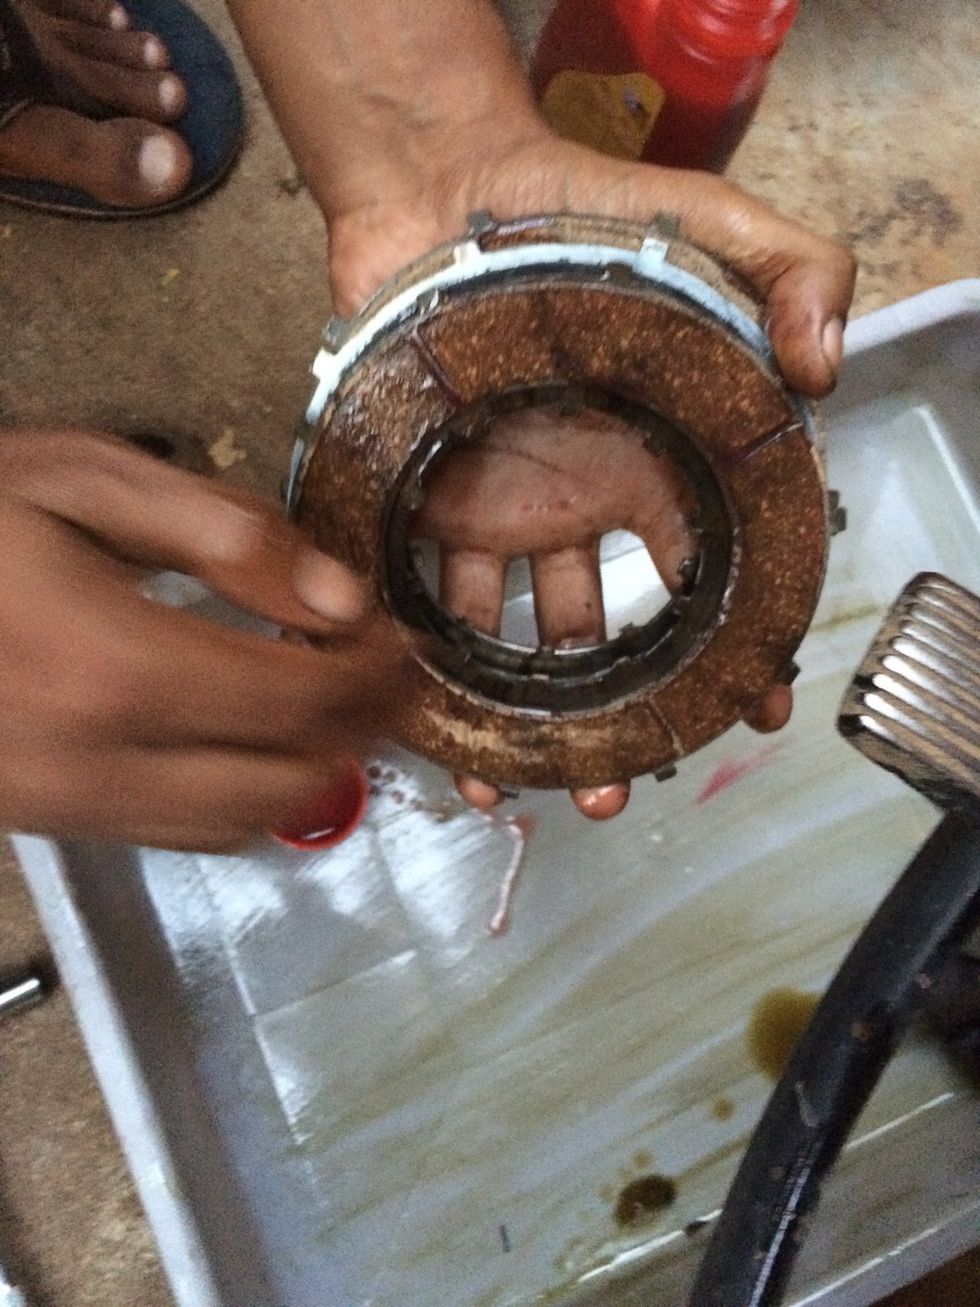
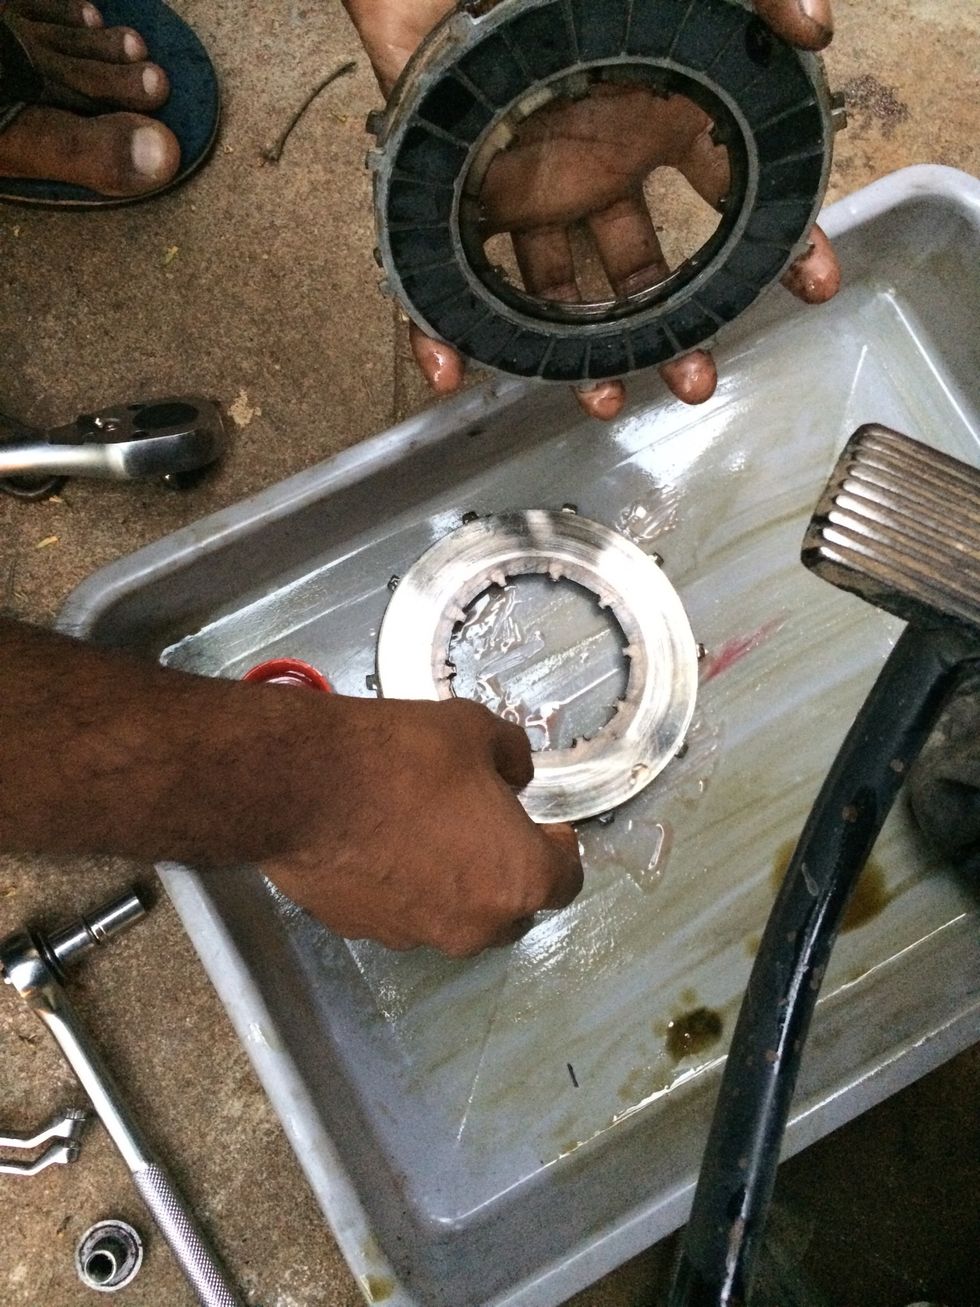
Remove the plates and keep them aside in order of removal
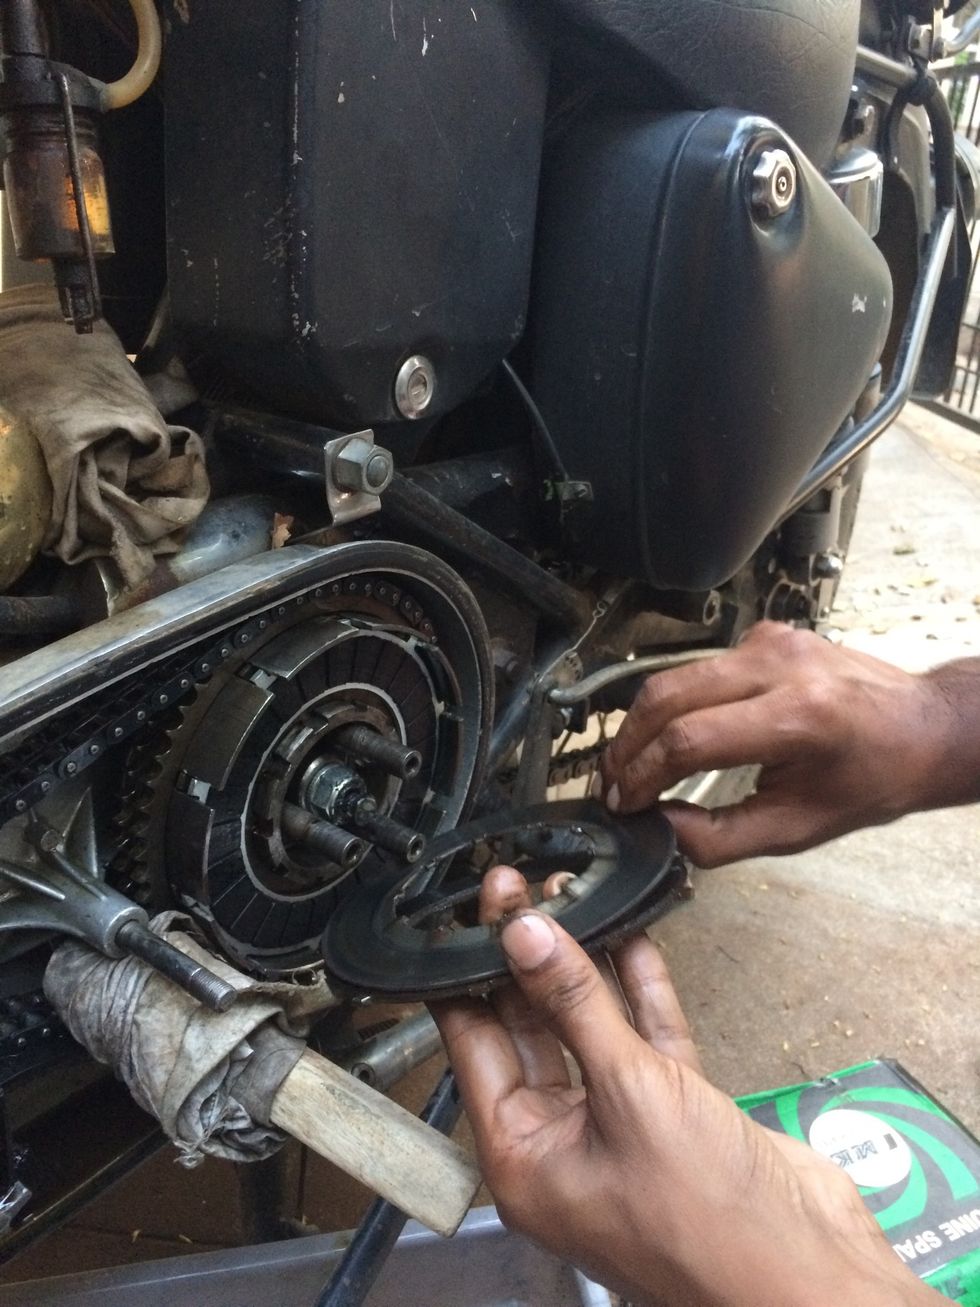
One plate at a time to remember the sequence
Order of plates
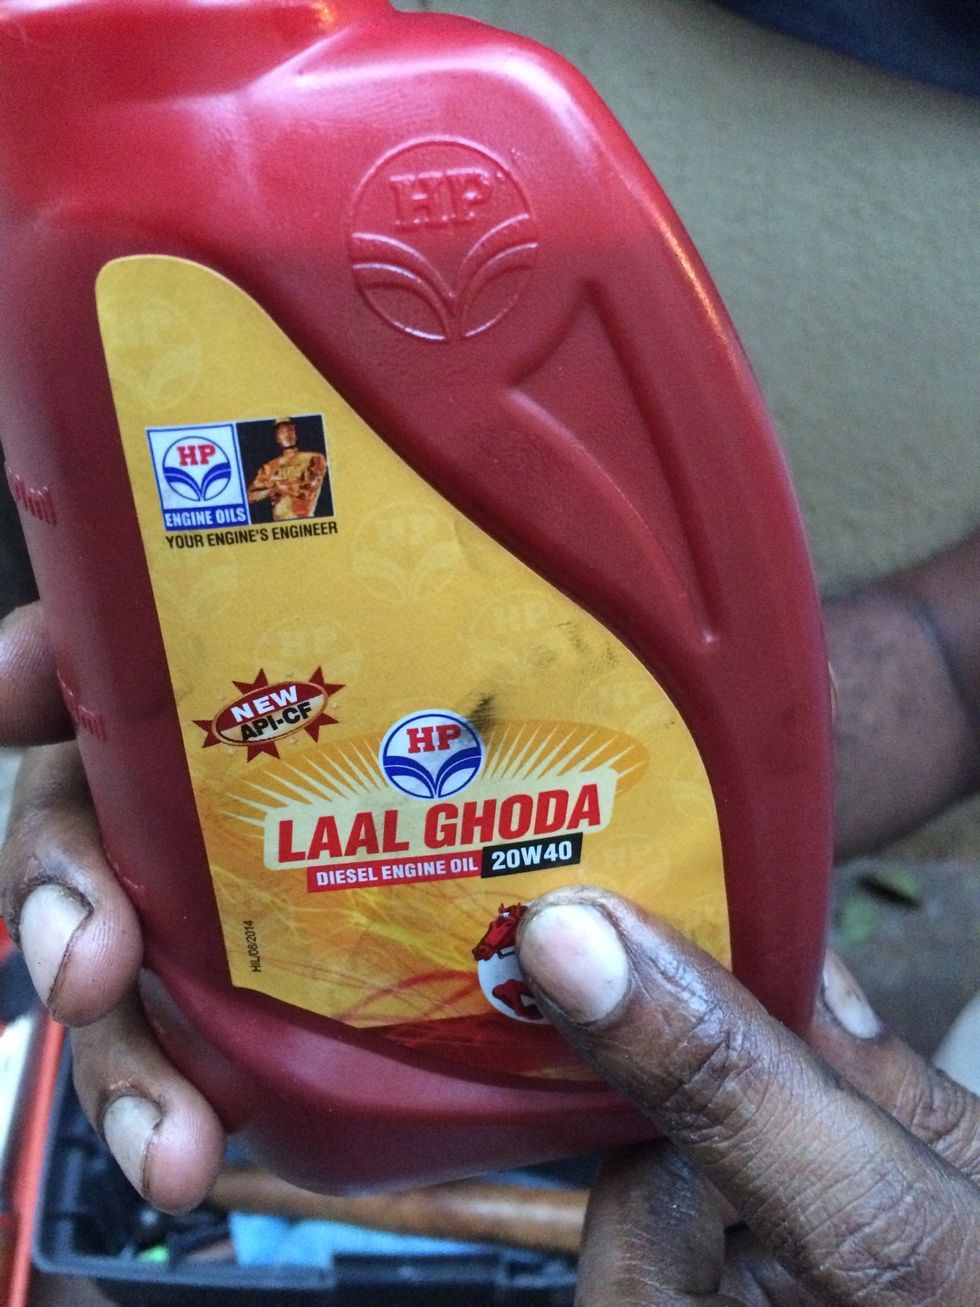
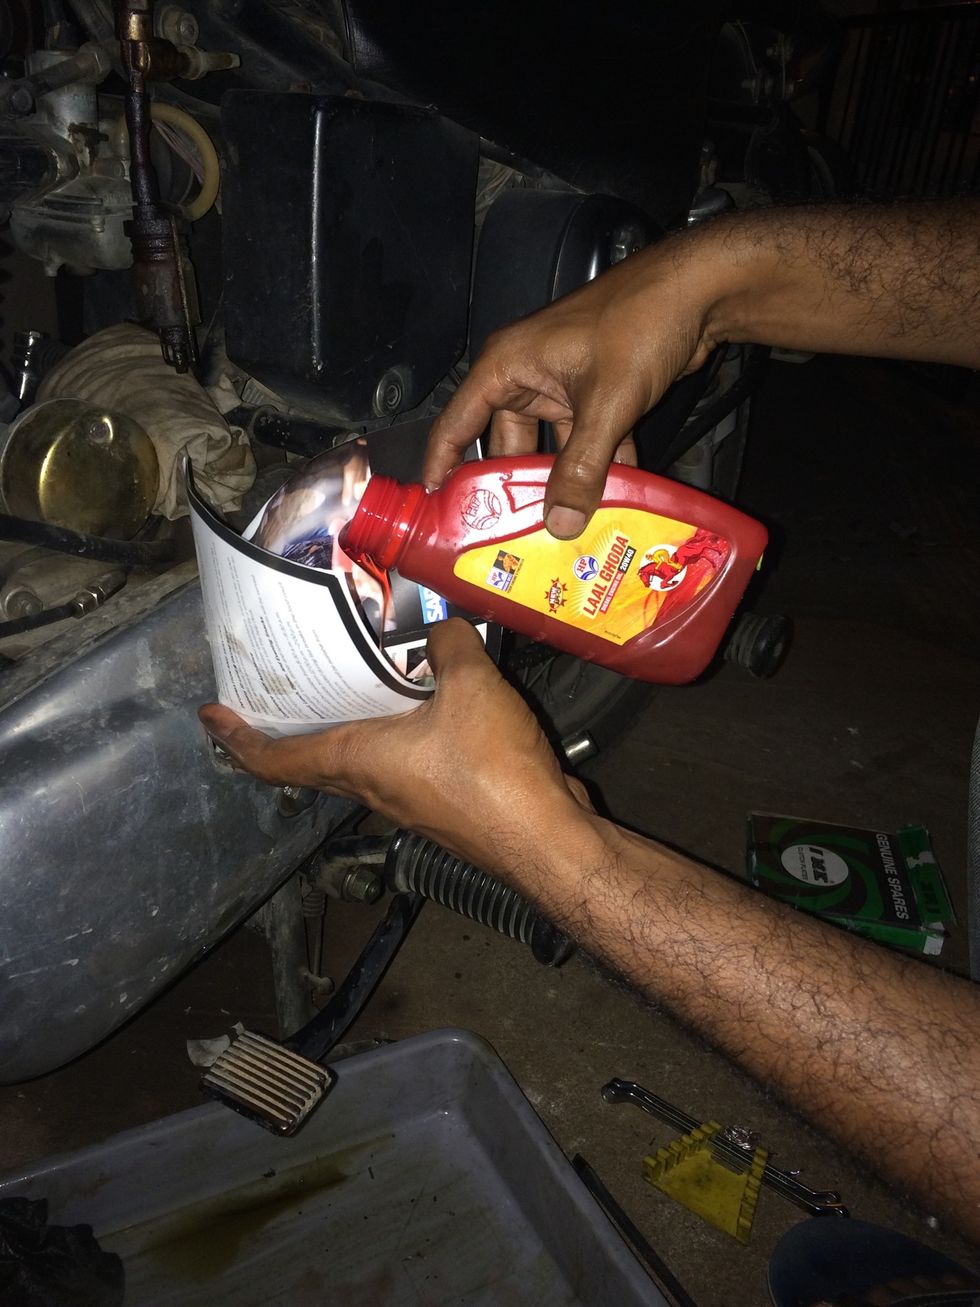
Use any brand 20W40 oil for refilling the primary case to set level
Use some 20W40 oil to wash the new friction plates
Cover the rubber padded plate as well with same 20W40 oil
Use the oil liberally to cover all the new plates
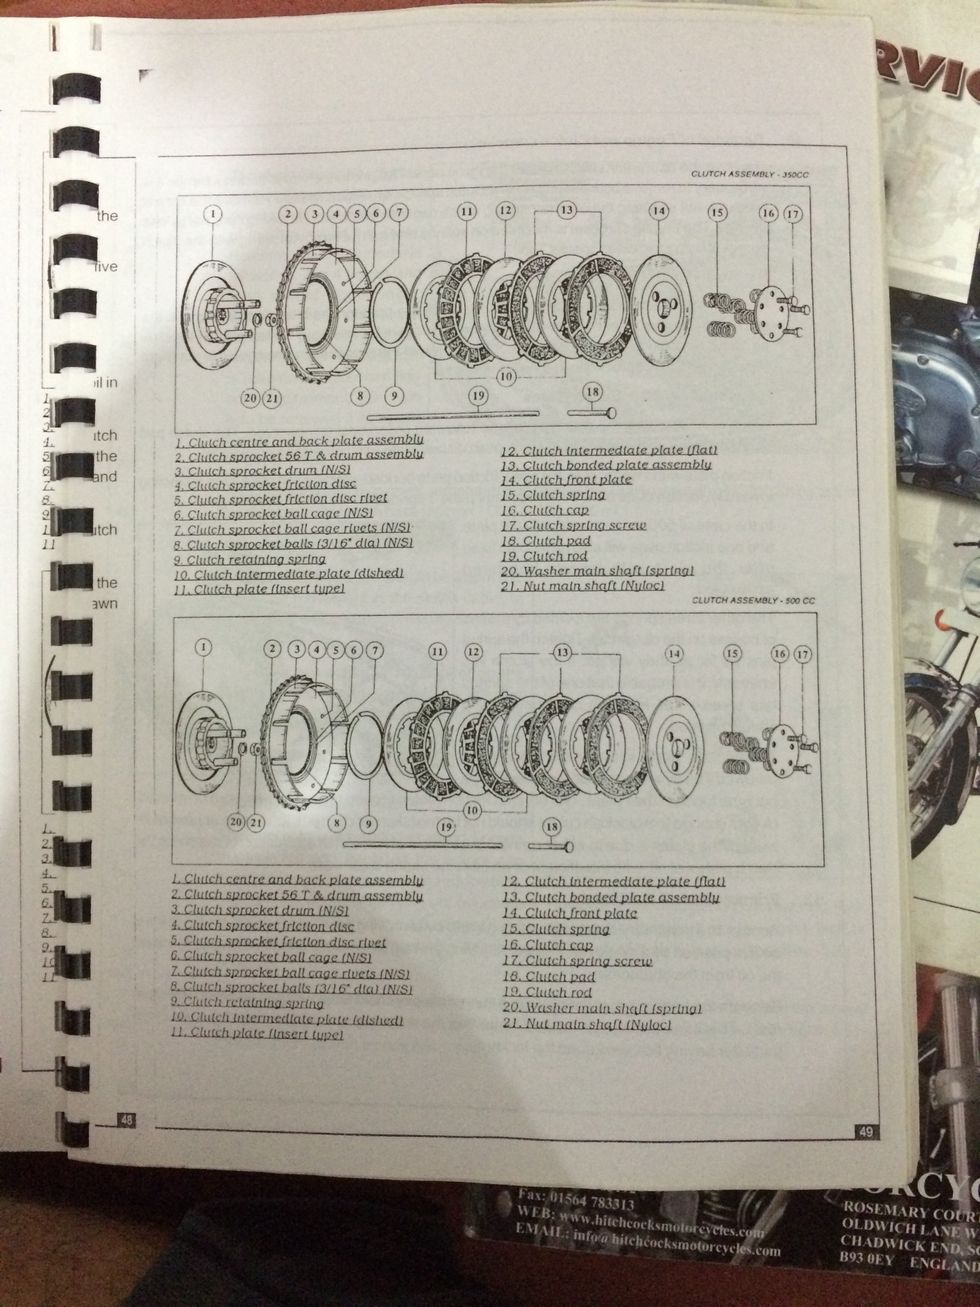
Reassemble them in the order of removal or refer to the diagram in step 23. Alternate friction plates and metal plates.
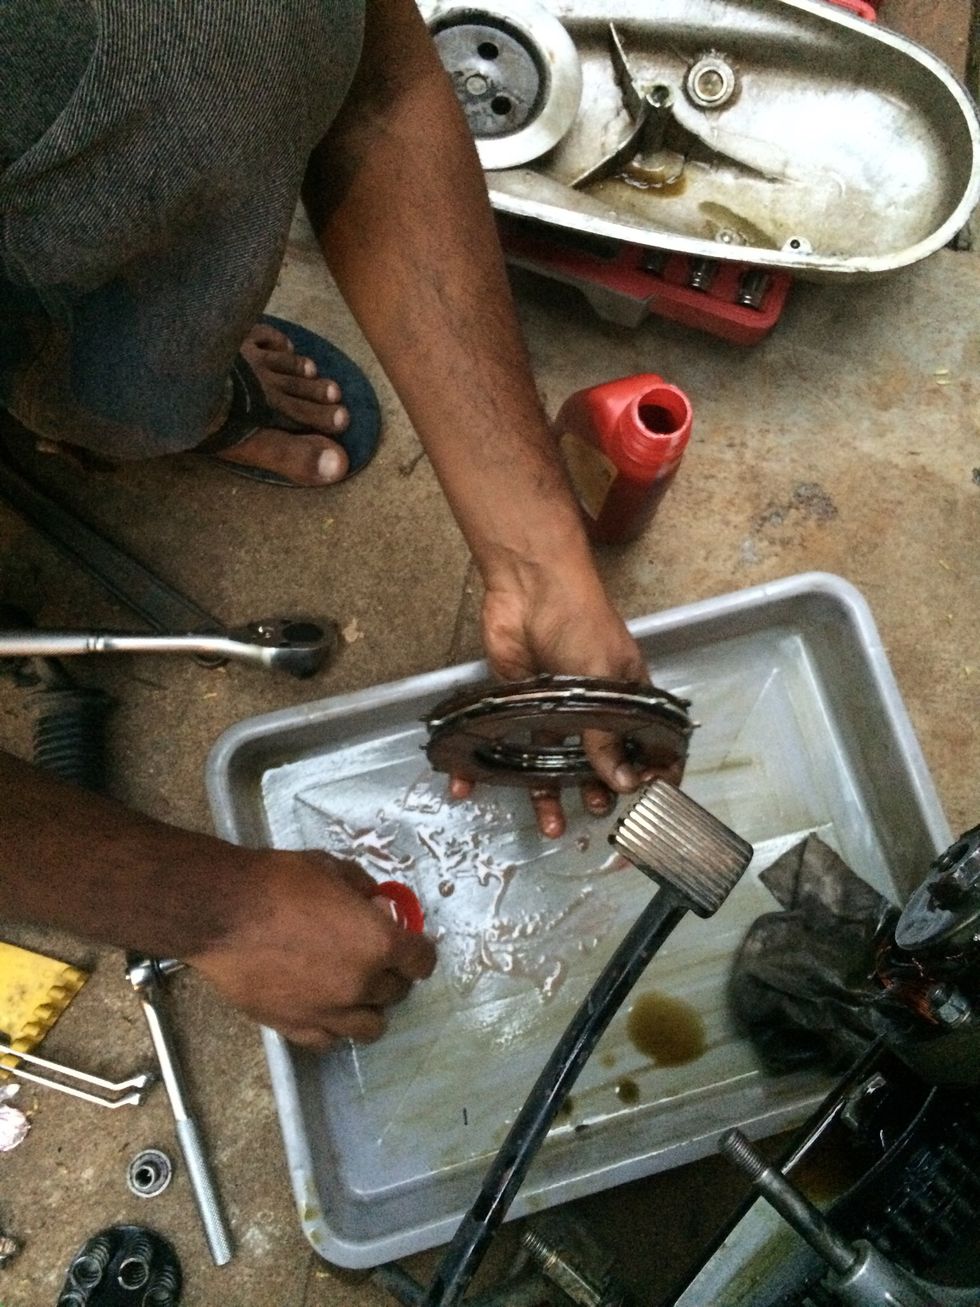
Wash once more with some 20W40 oil
Reassemble as per the photo, the inner most and outer most plates should have the bend edge towards you or facing outward of the engine core.
Place the outer cover back and tighten to specification
Remove the inspection cap
Remove the drain level screw
Pour in new oil until oil starts dripping from the bottom drain level screw hole
Once oil has dropped out, stop and tighten inspection cap and oil level drain screw
Fix the footrest back and tighten the nut
Press and readjust the stopper bolt for brake feel as per rider ergonomics
Inspect for leaks and tighten as per requirement. Clean the motorcycle and take it out for a test ride. Please wear protective gear including a helmet even for short test rides.