The Conversation (0)
Sign Up
This guide will help you change the clutch cable. Remember to carry a spare on your rides.

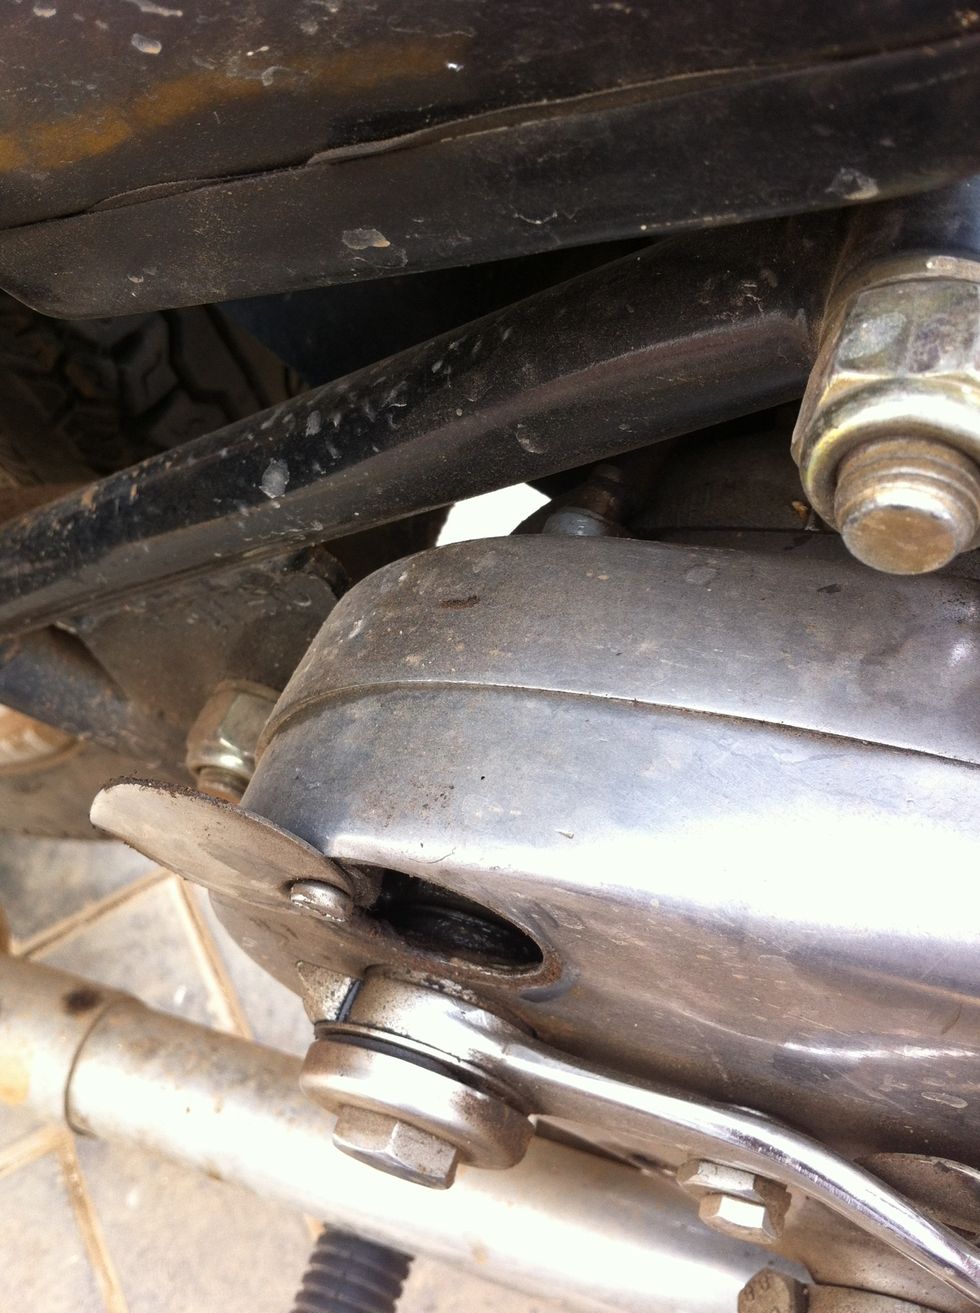
We start by moving the kicker out of the way for easy access to the clutch cable end.
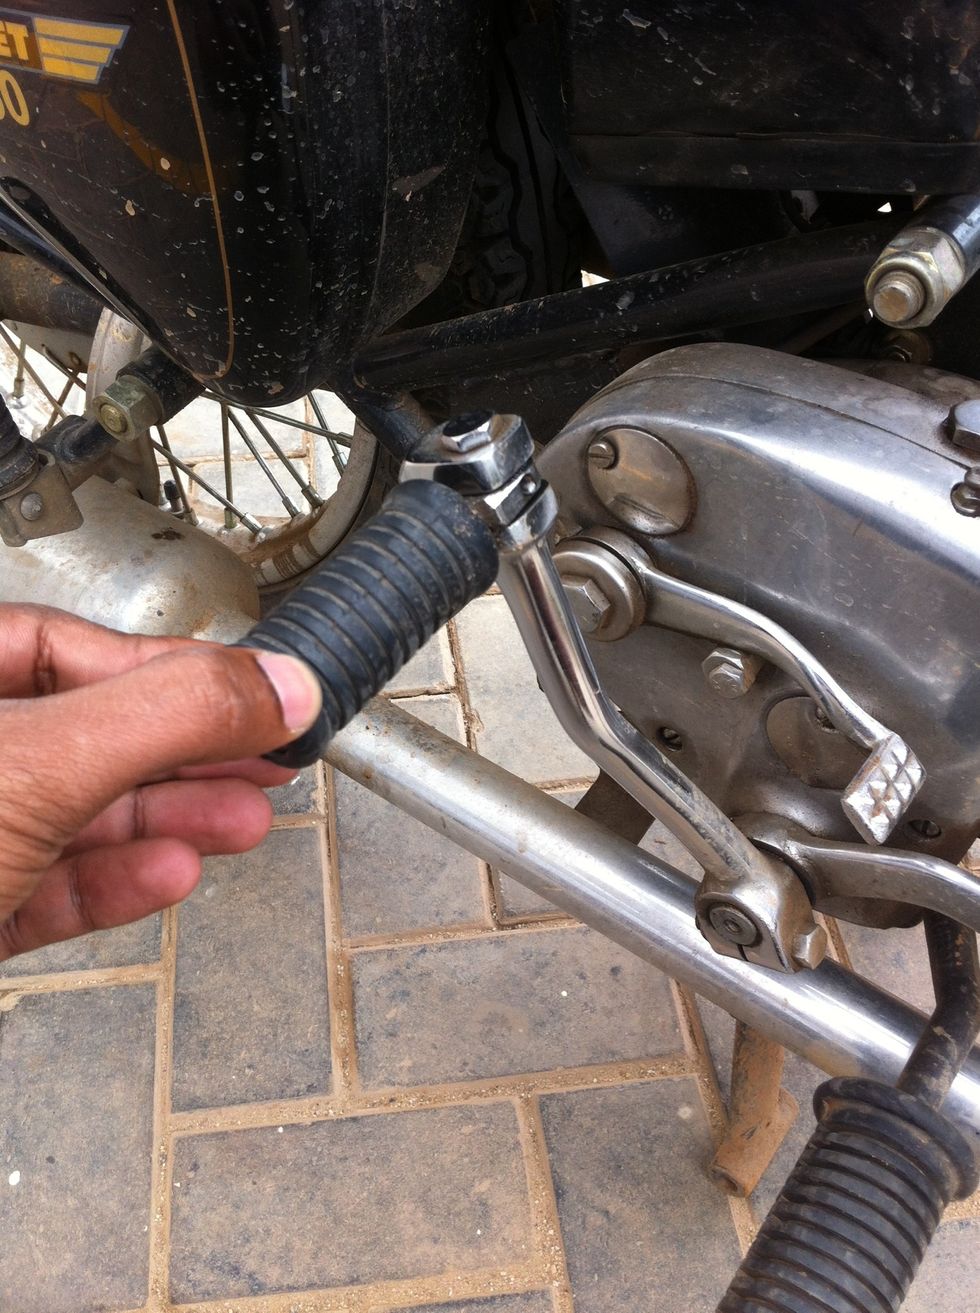
Rotate the kicker lever outwards
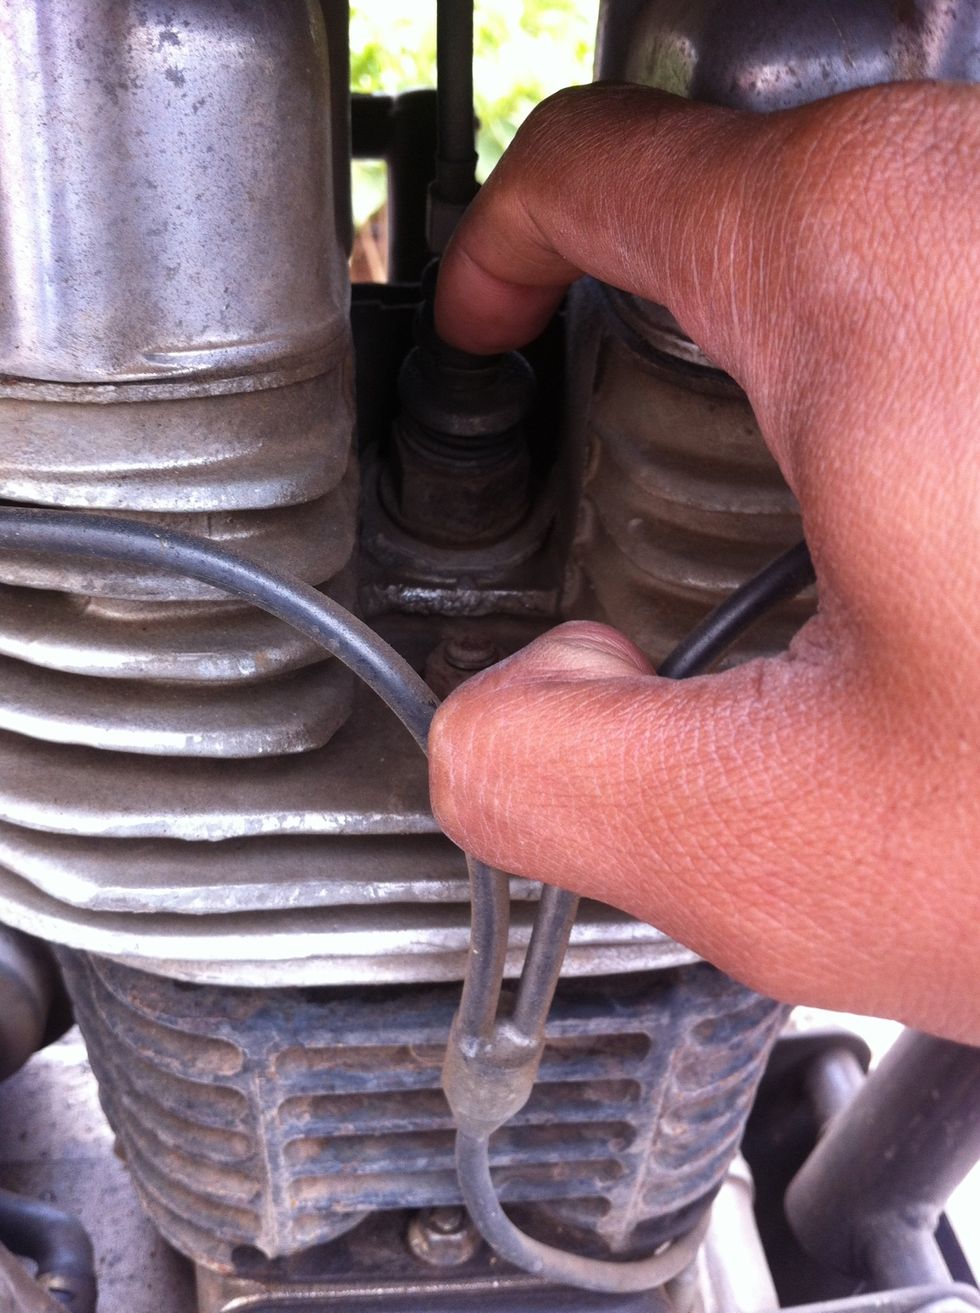
Press the decompressor
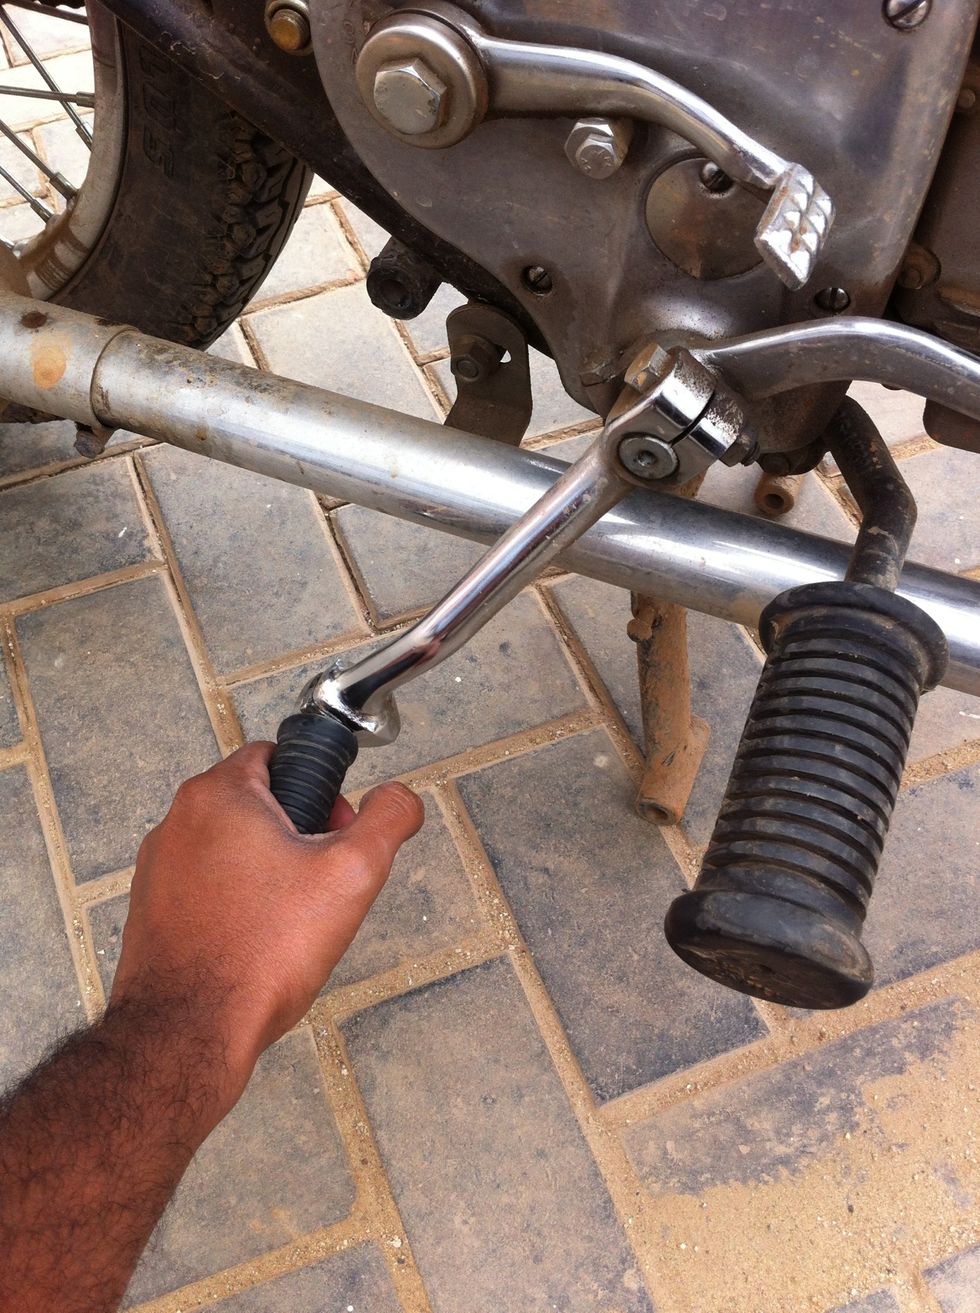
Move the kicker down
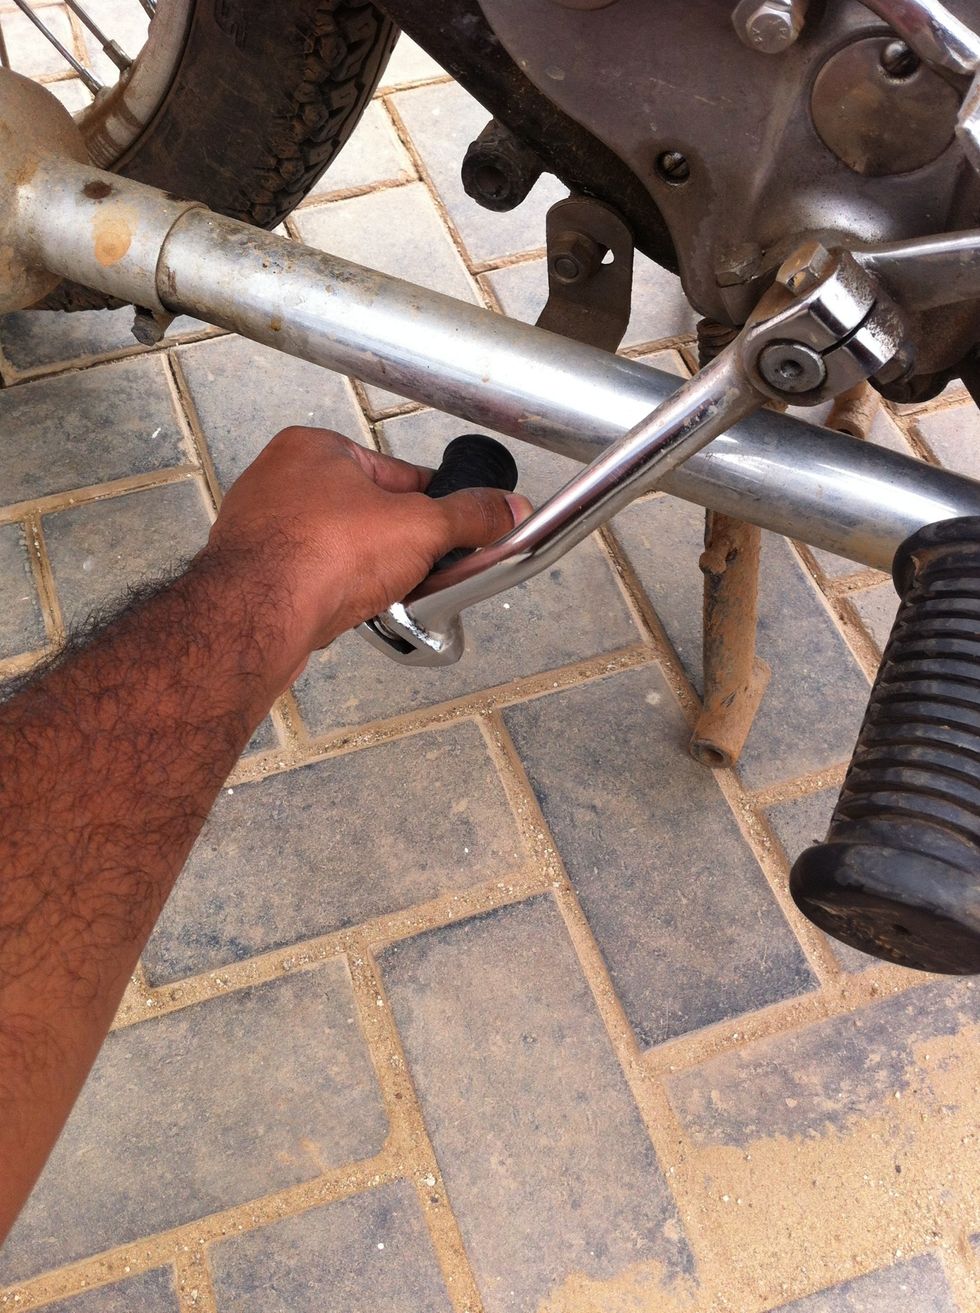
Rotate the kicker lever inwards. The exhaust pipe will stop the kicker from coming back to its normal position.
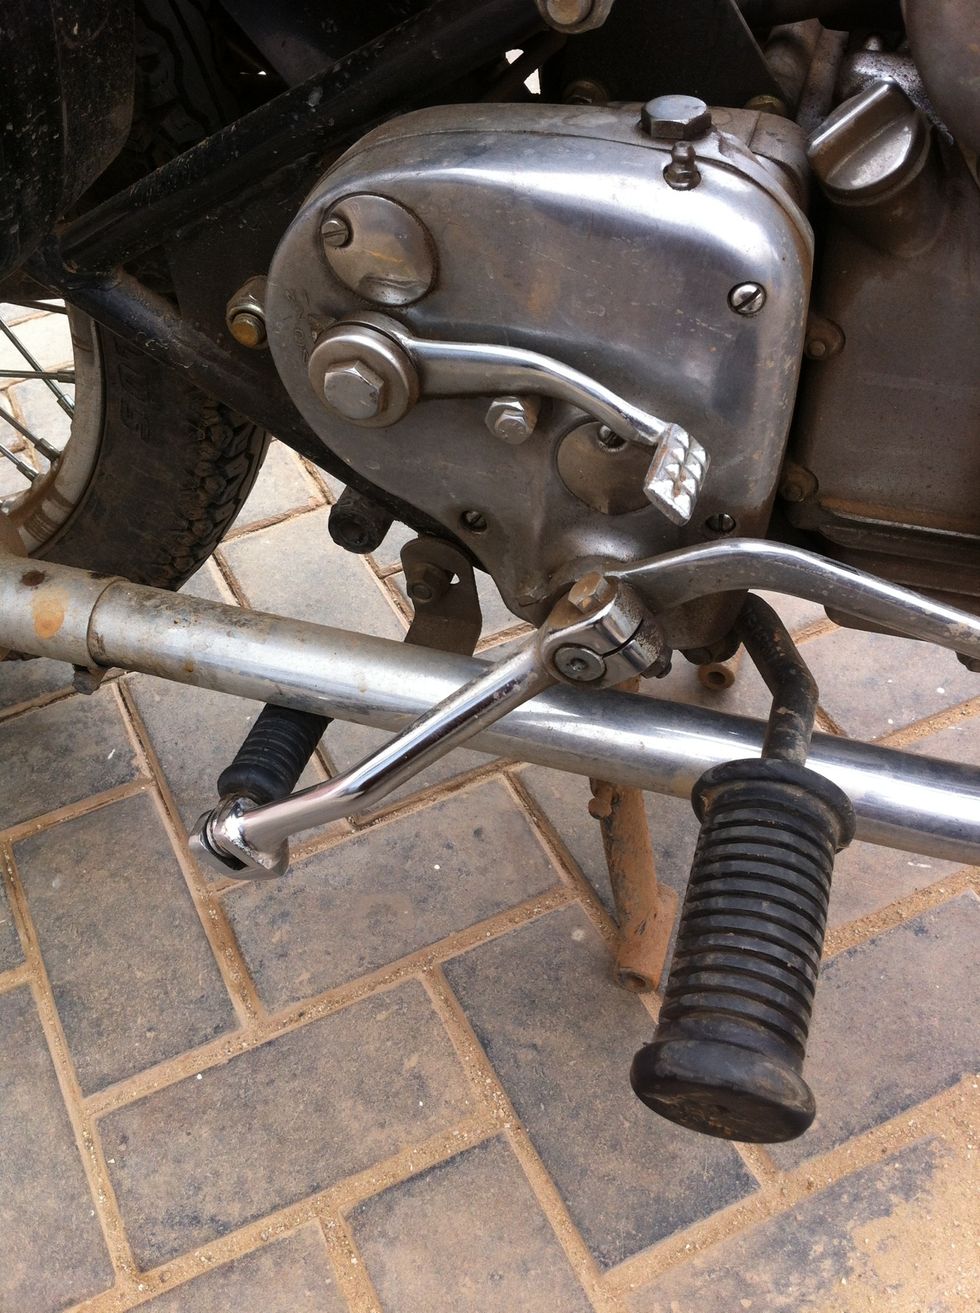
This should be the result.
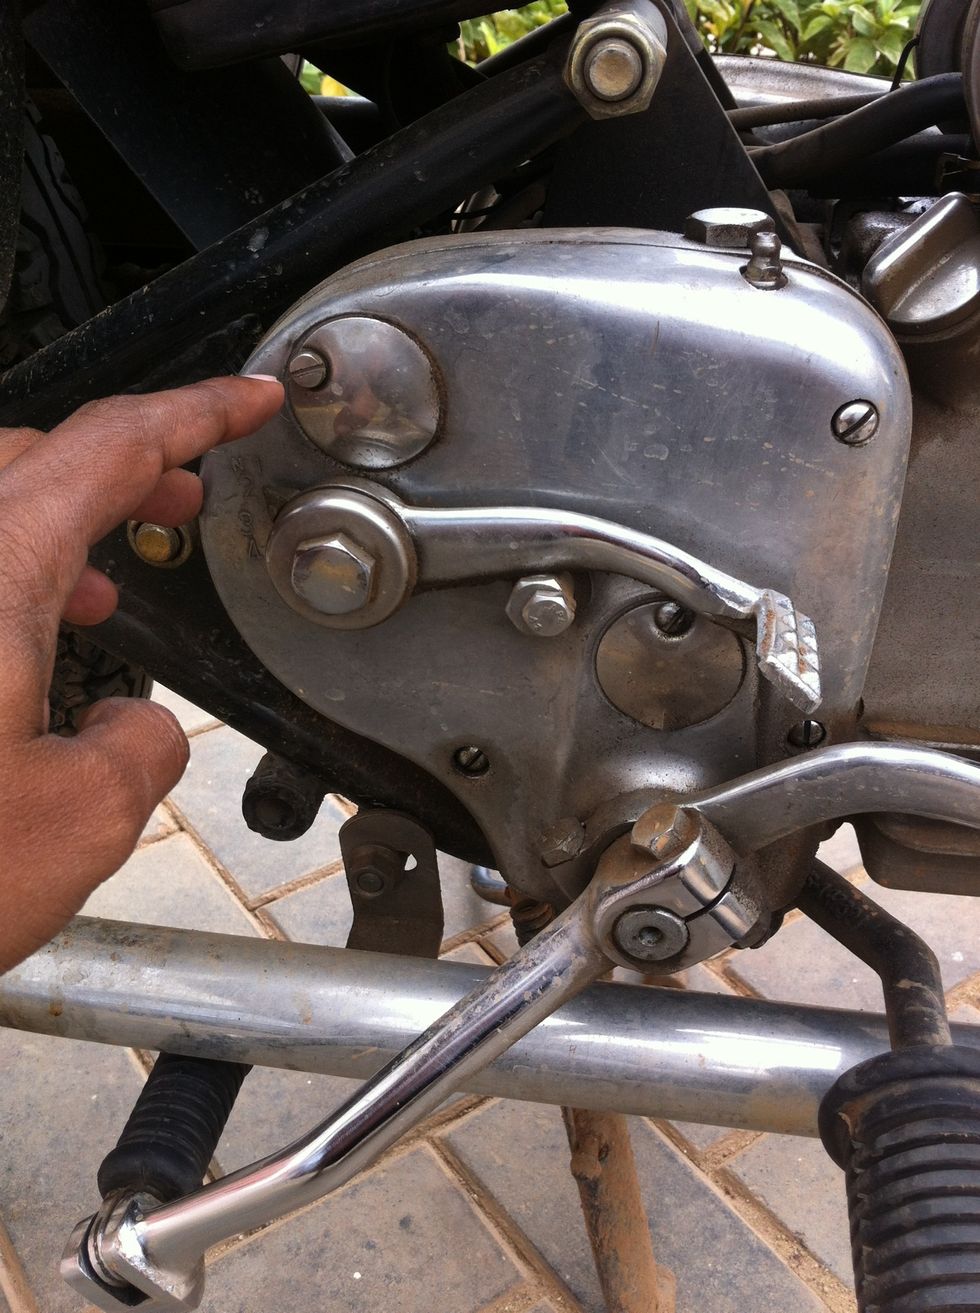
Loosen the access cover screws
Loosen the access cover screws
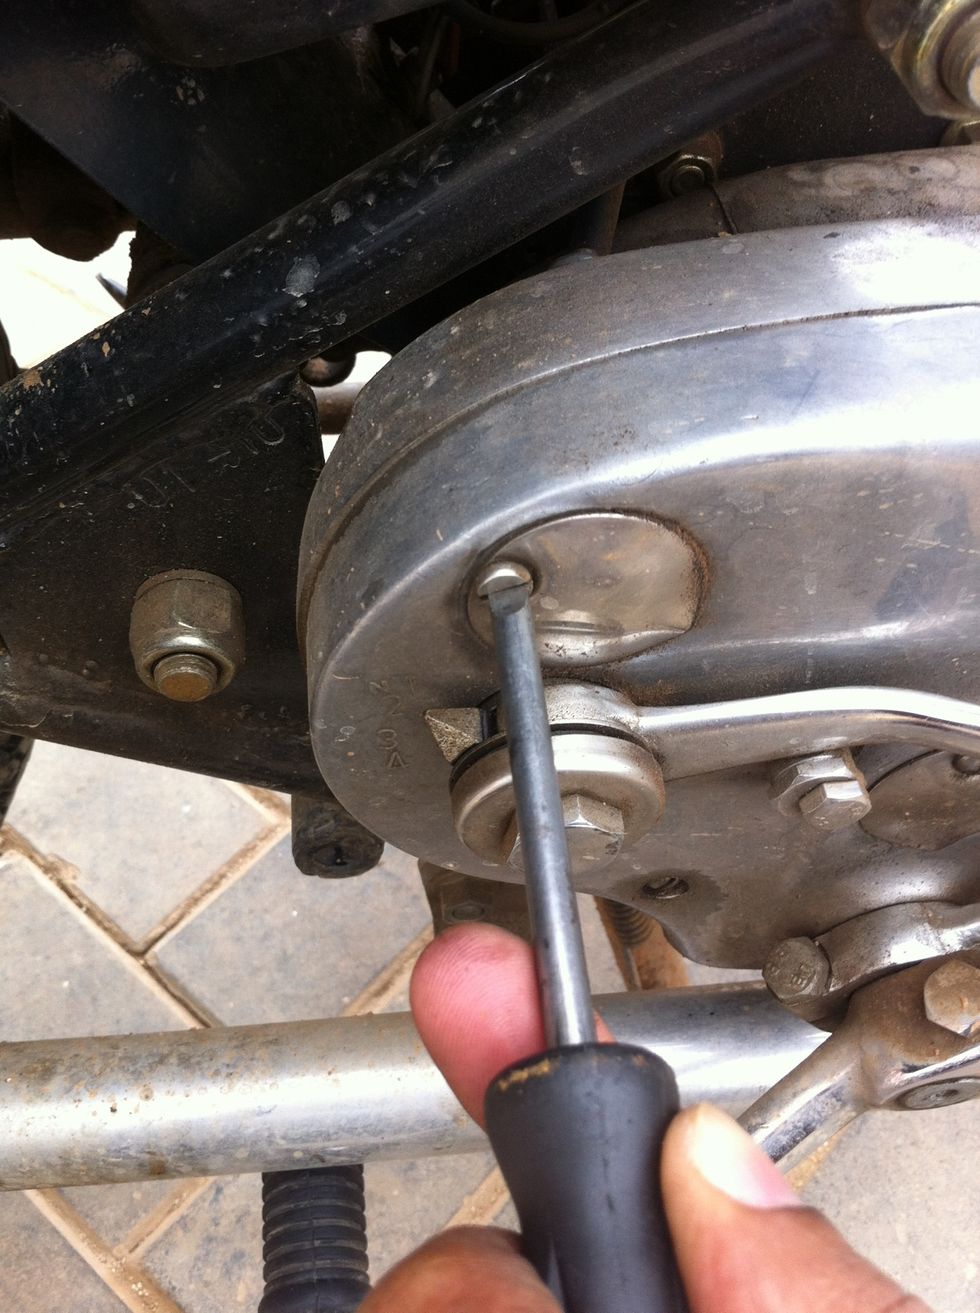
Loosen by rotating anti clockwise
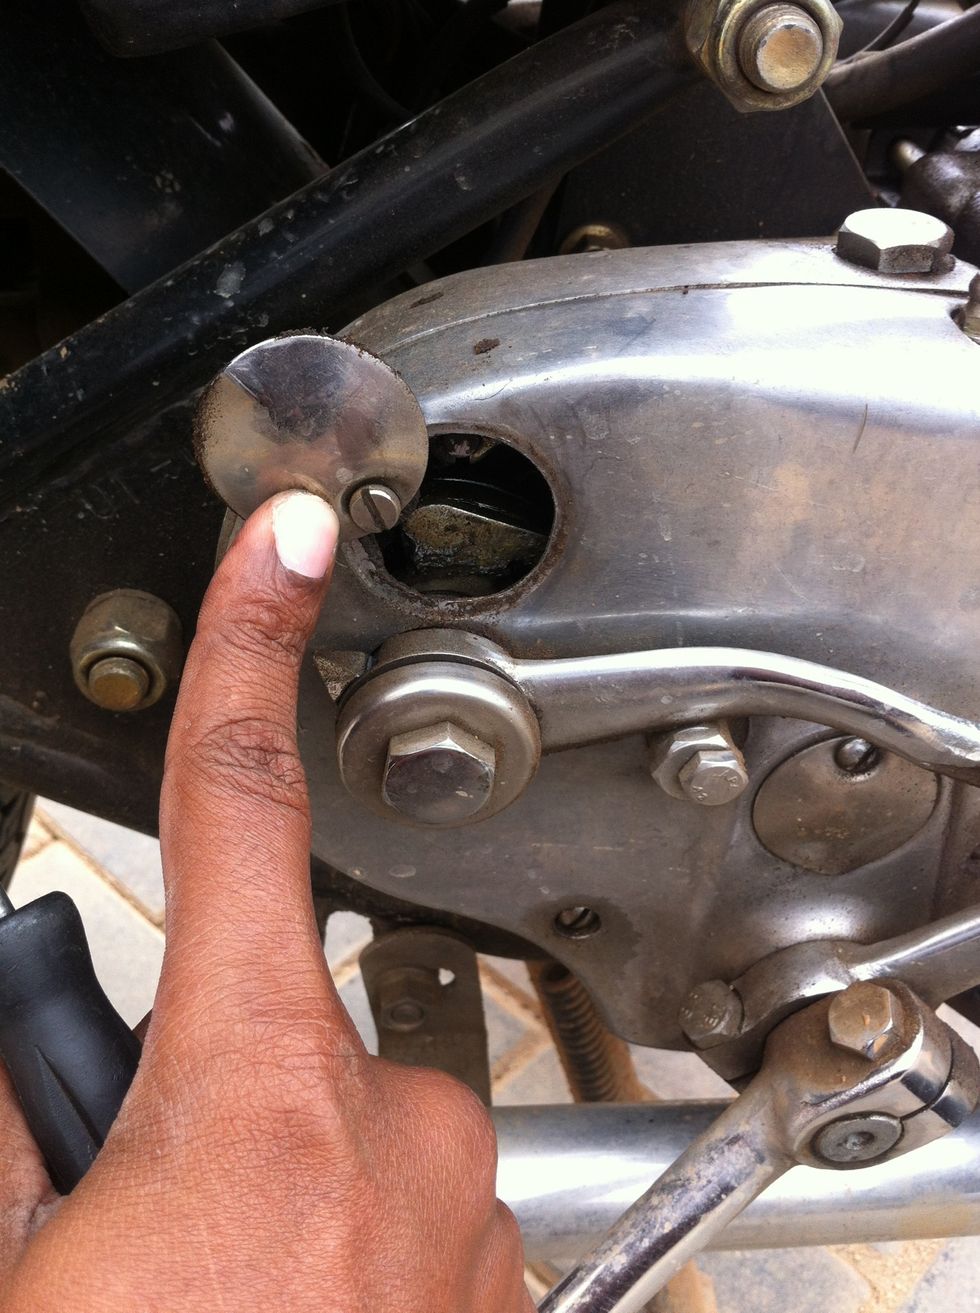
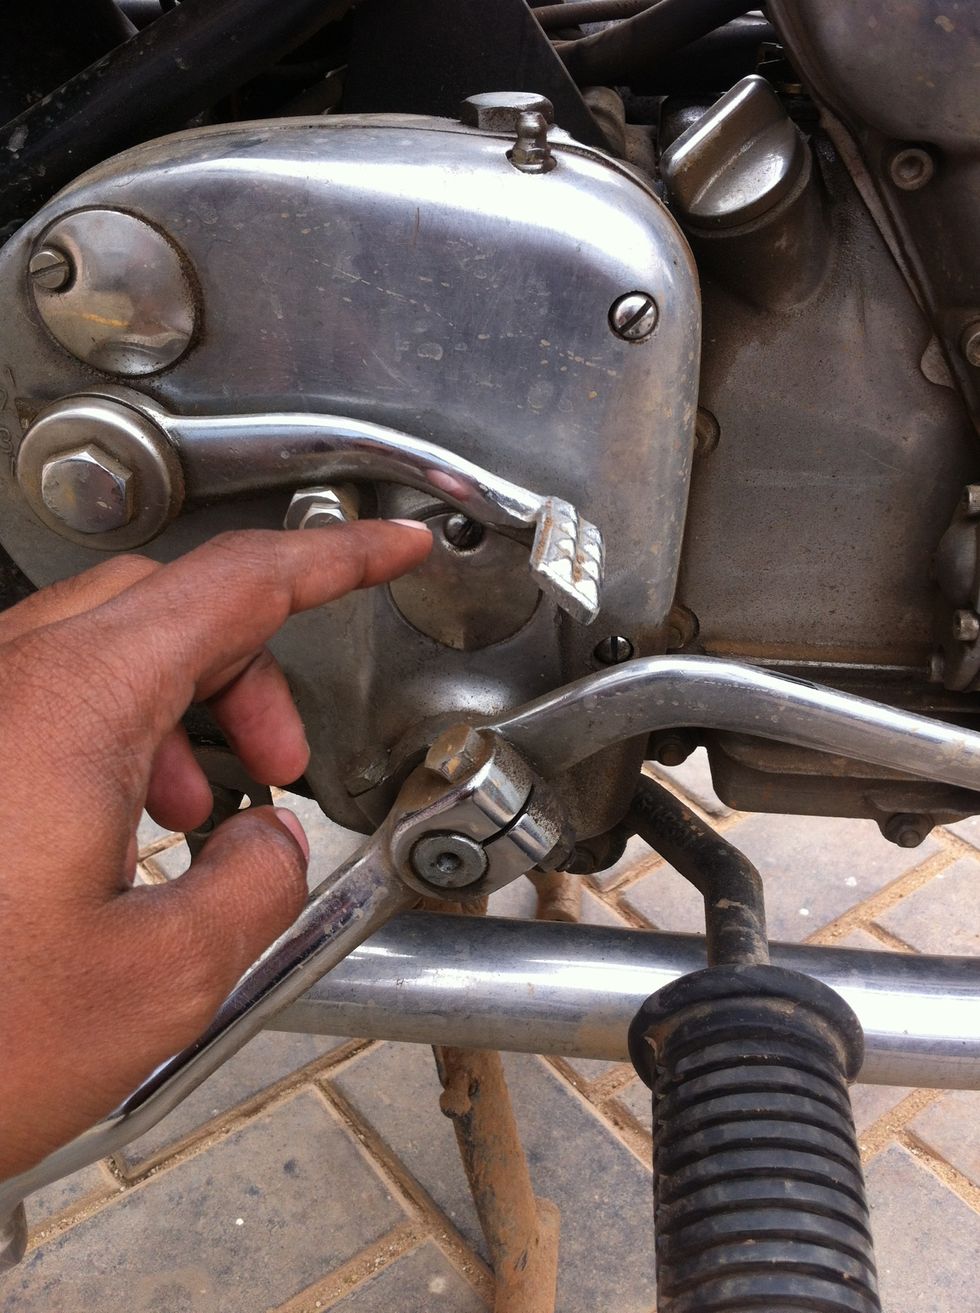
Now open the access cover and tighten in that position
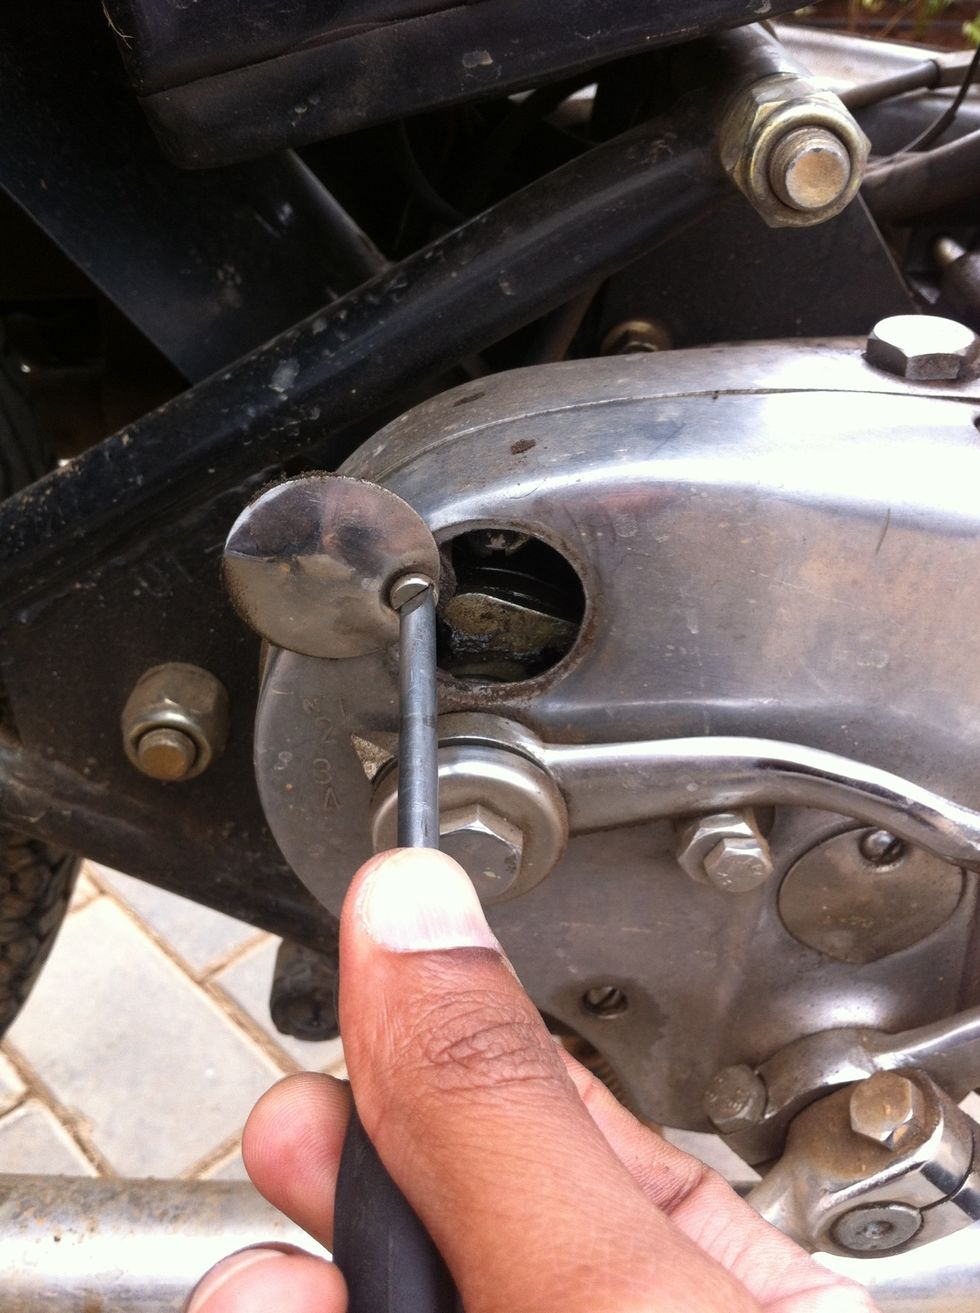
Tighten by rotating clockwise
Loosen by rotating anti clockwise
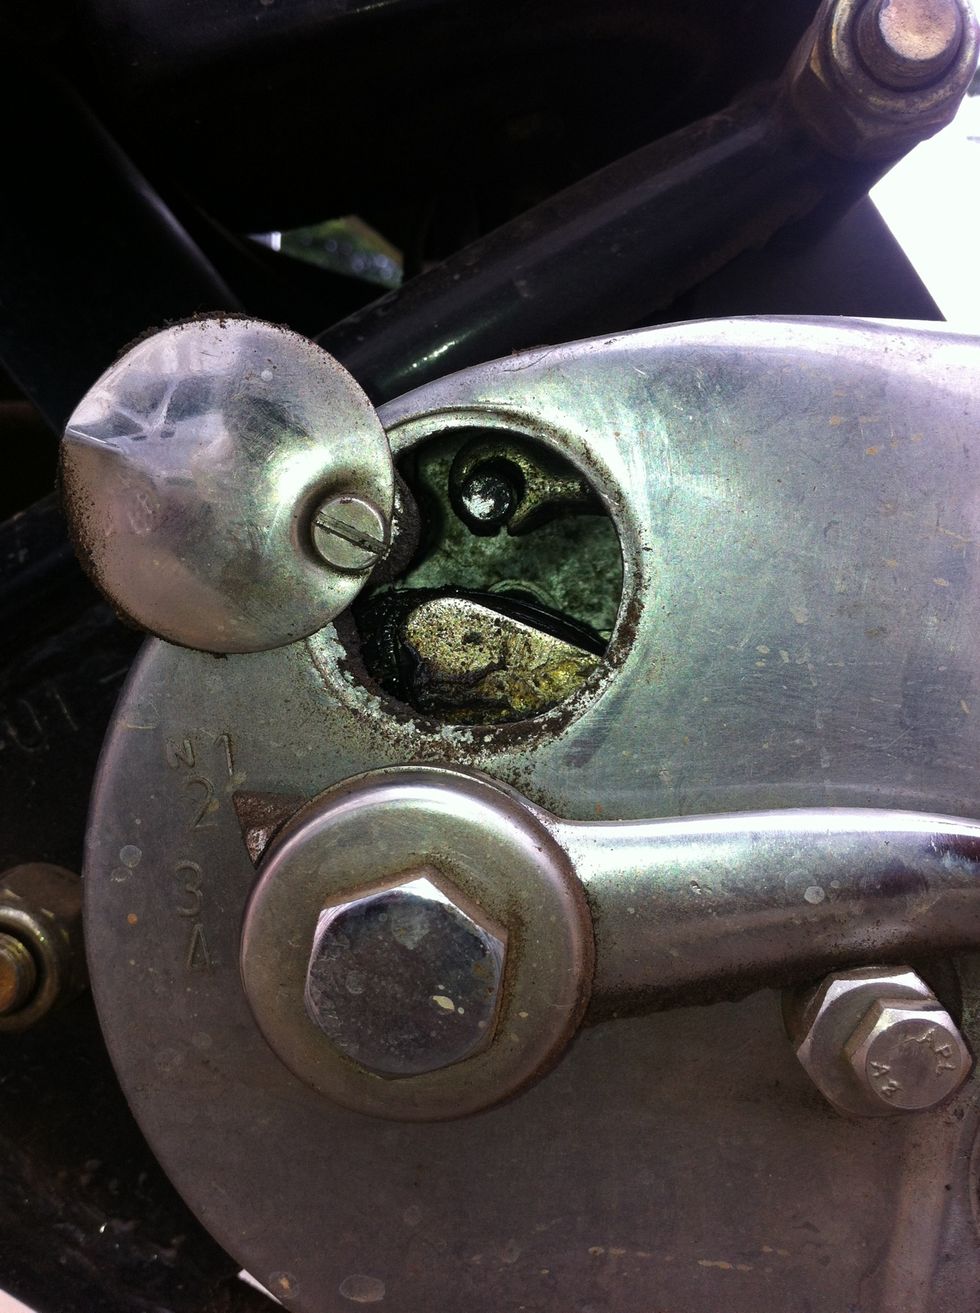
Rotate the cover and keep in open position and tighten the screw by rotating clockwise.

This is what you should achieve
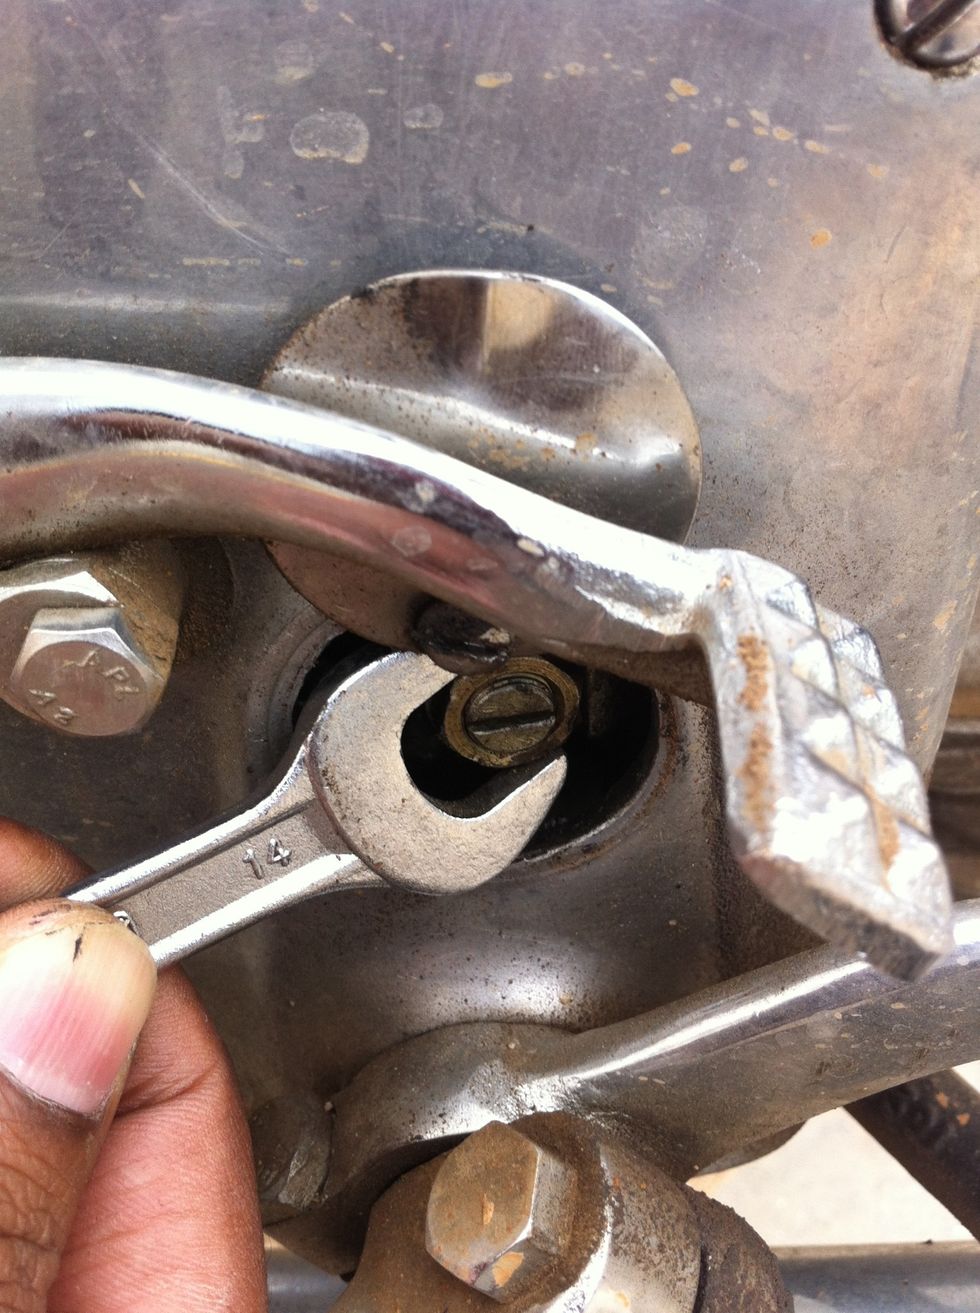
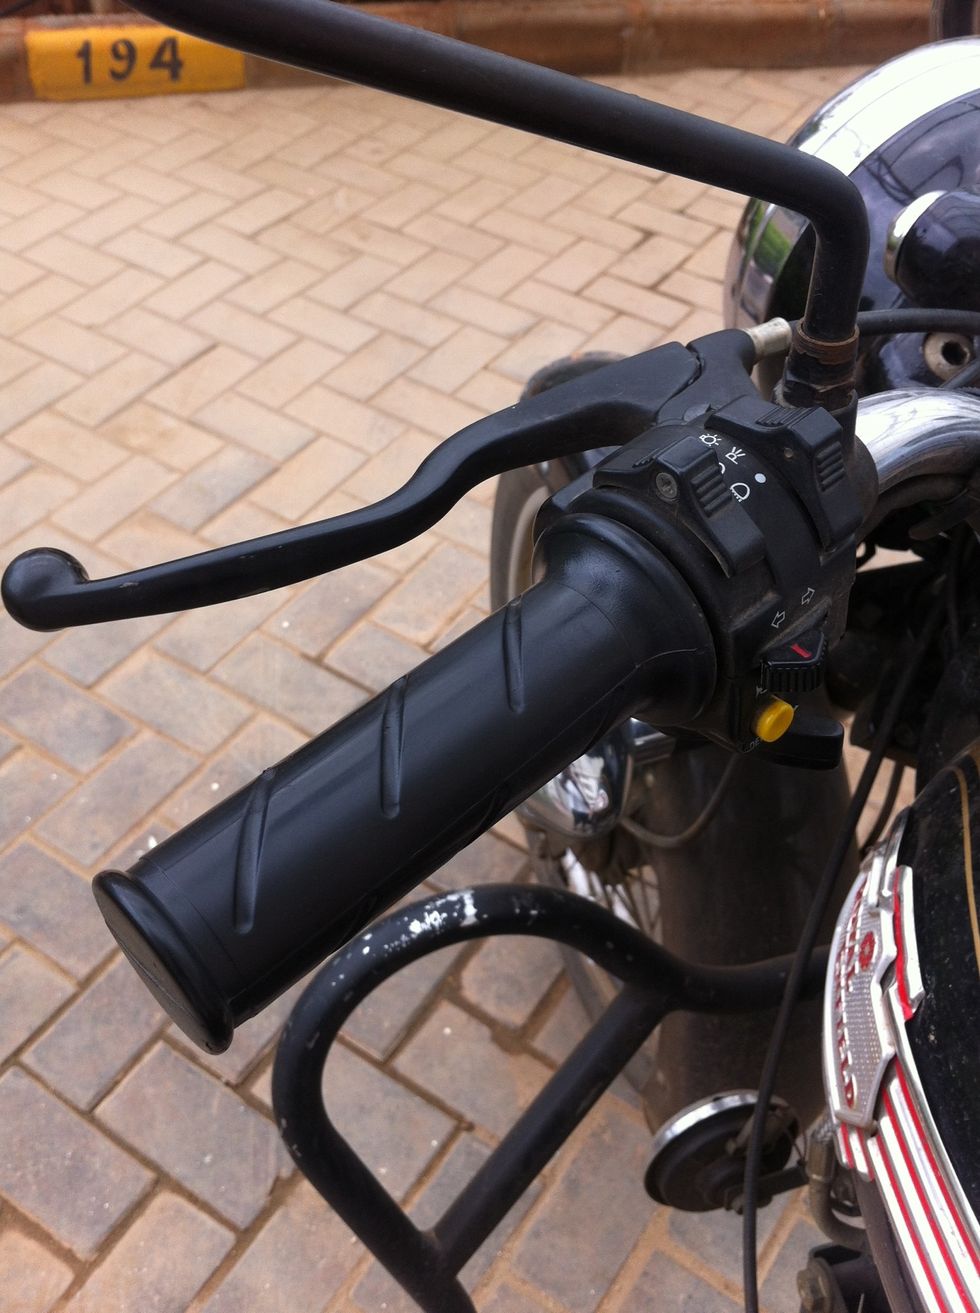
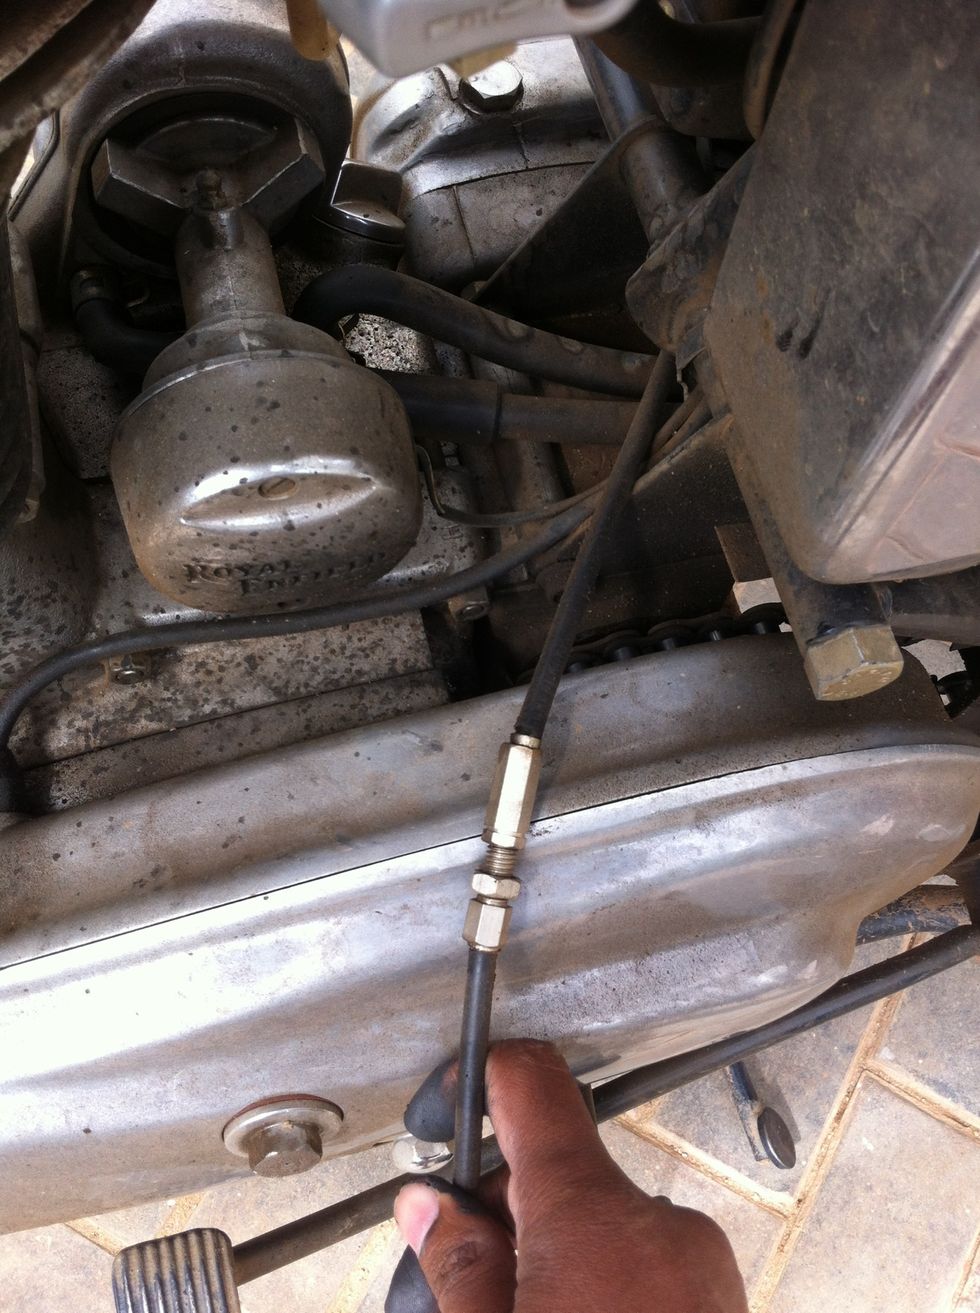
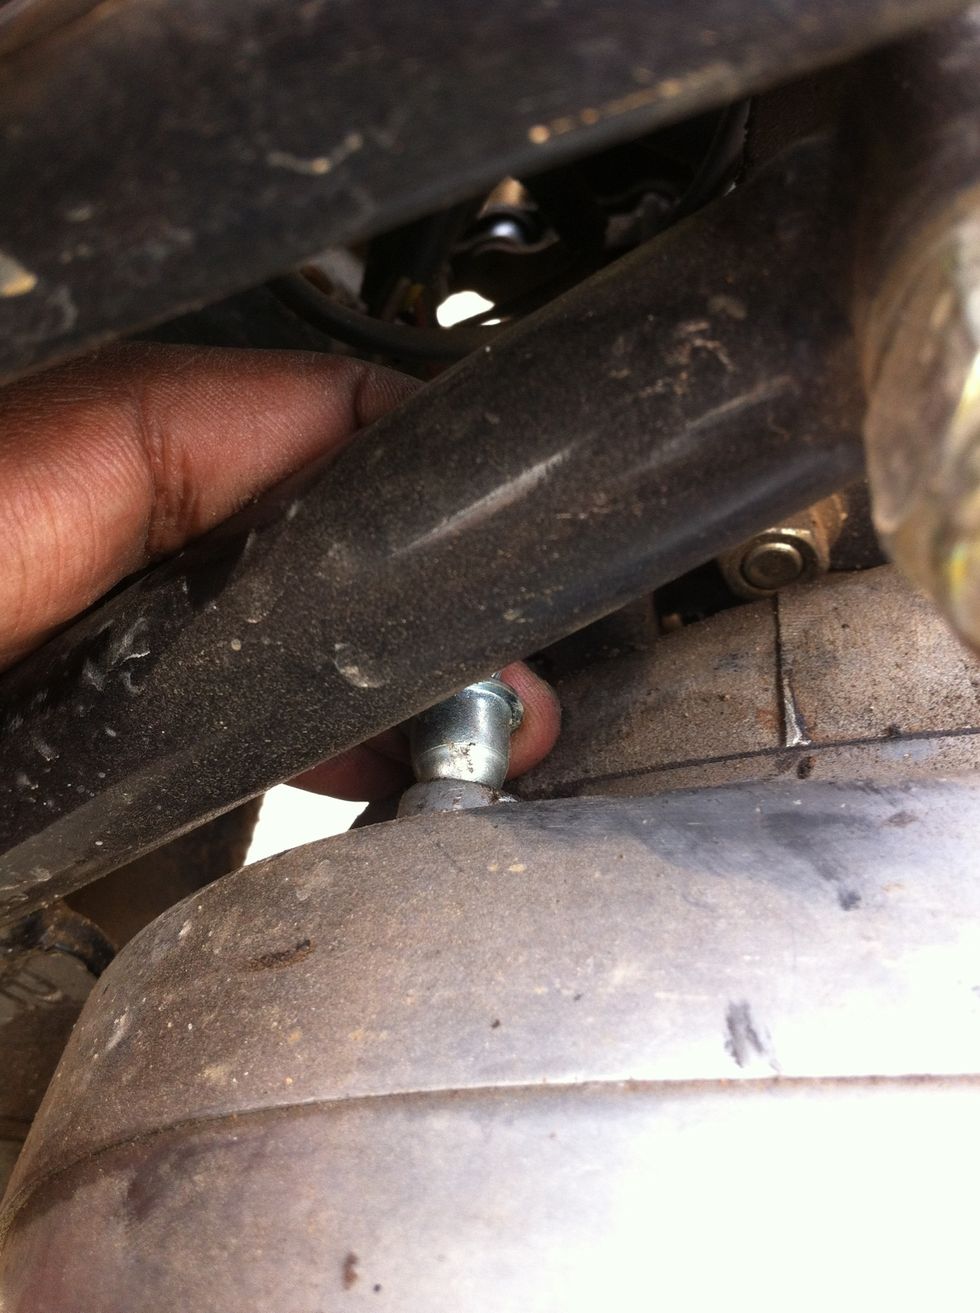
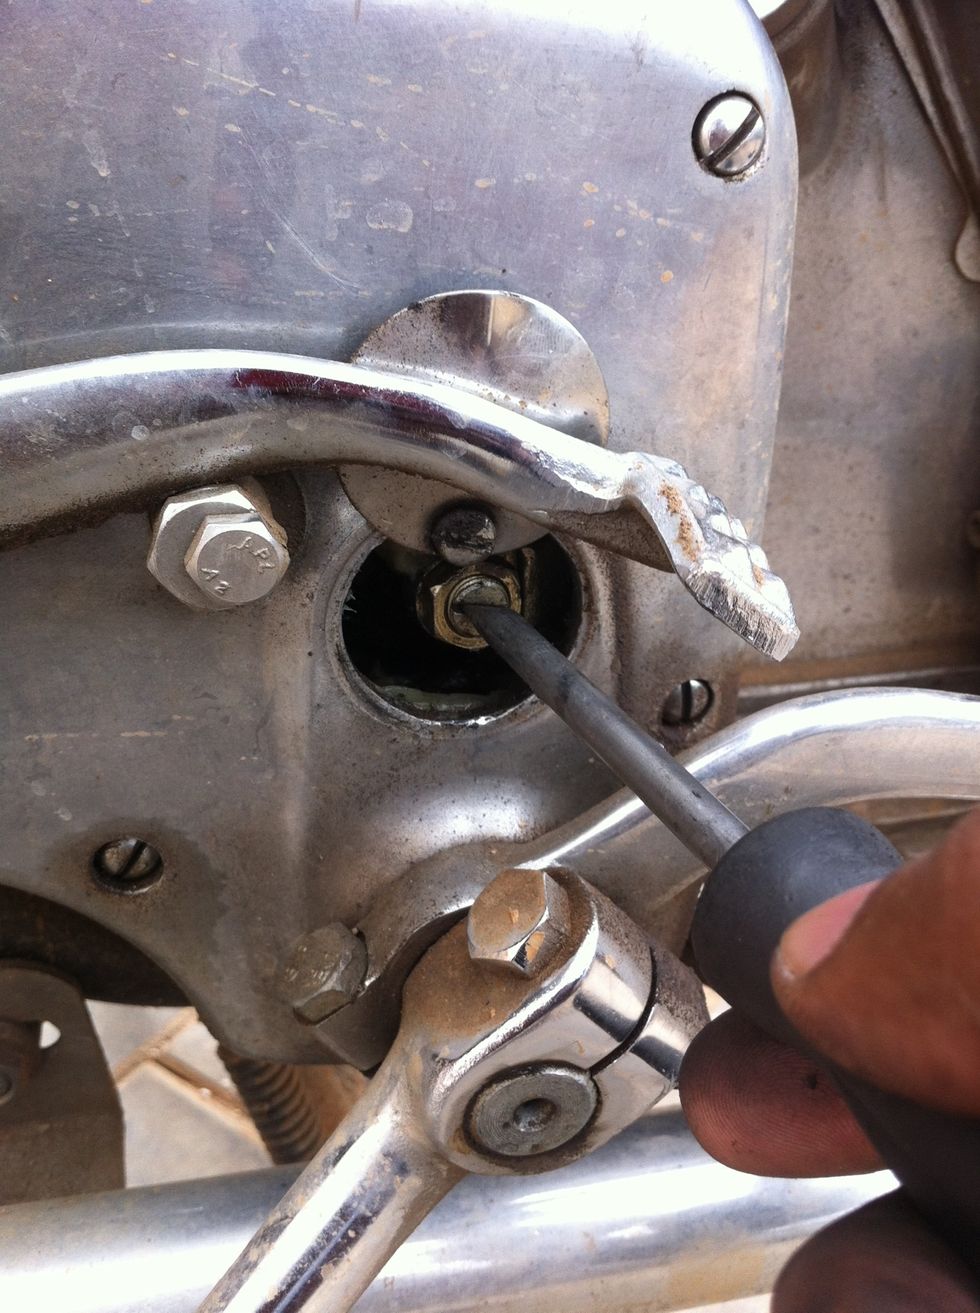
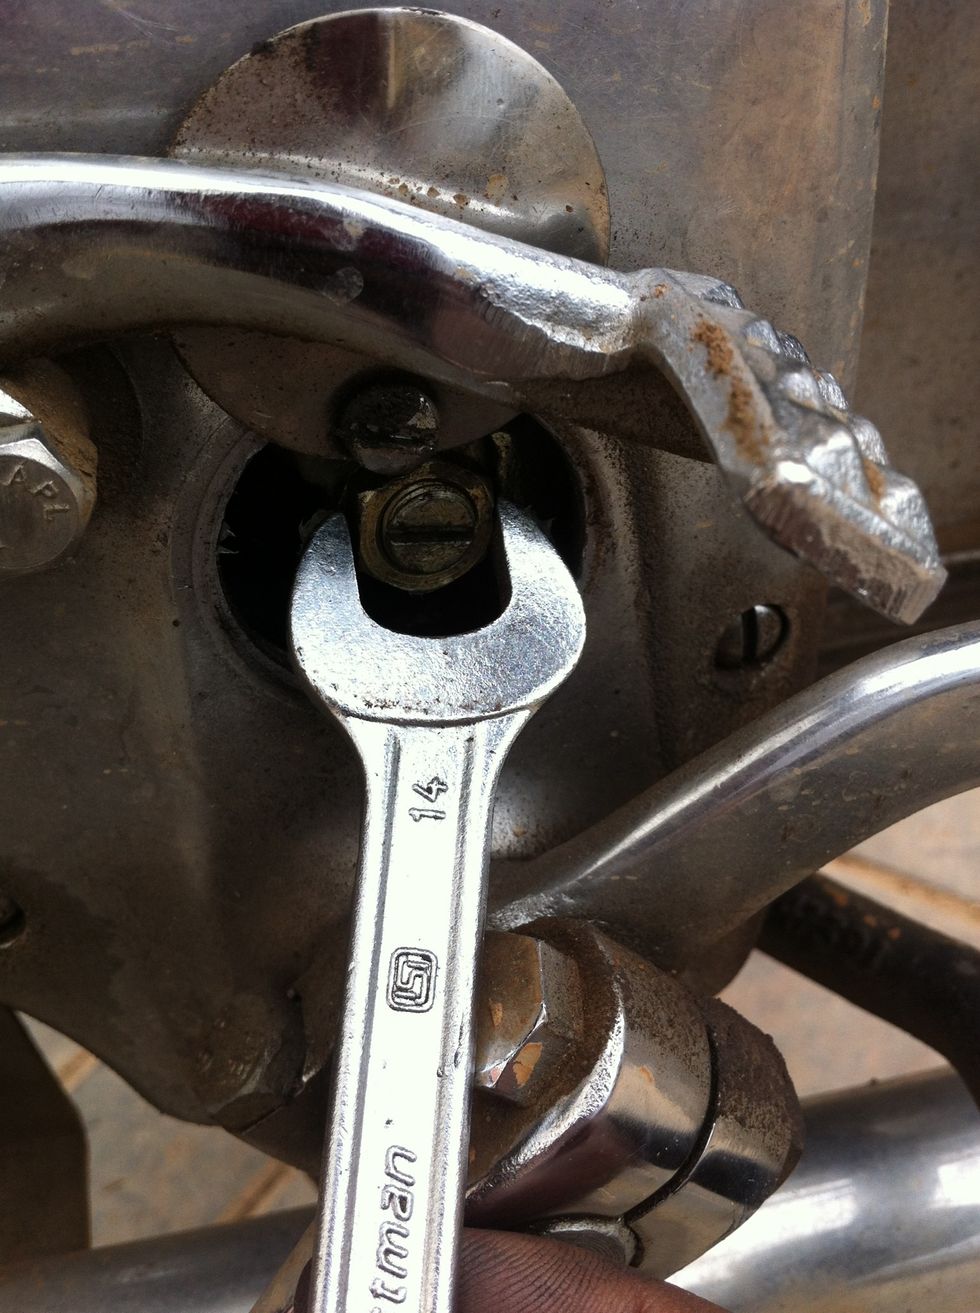
Use a 14mm spanner and loosen the lock nut.

Hold the clutch lever to help you get more access to the locknut in the gearbox
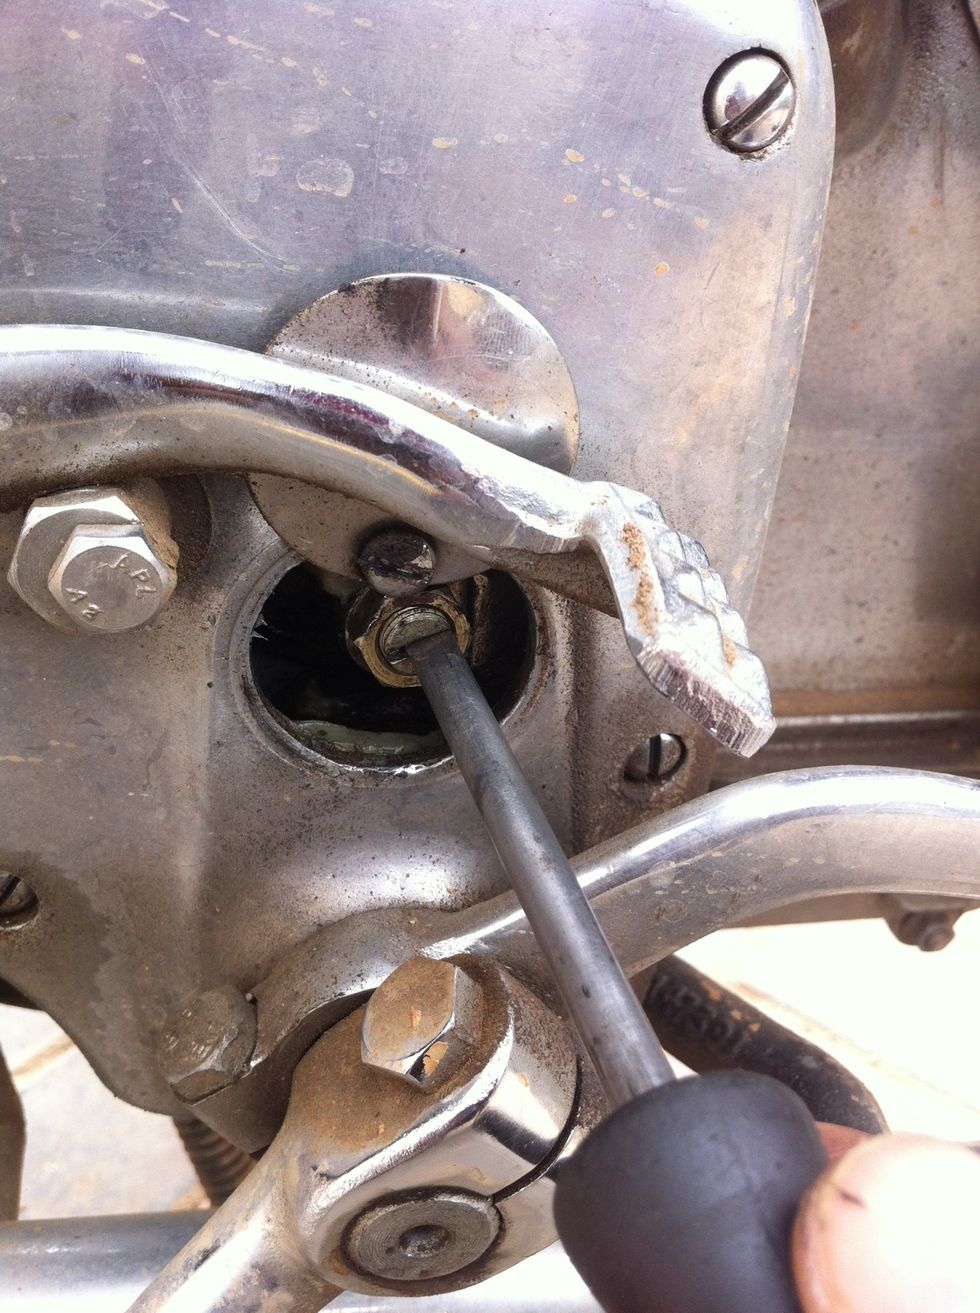
Now rotate anti clockwise to move the clutch cable hook handle backwards
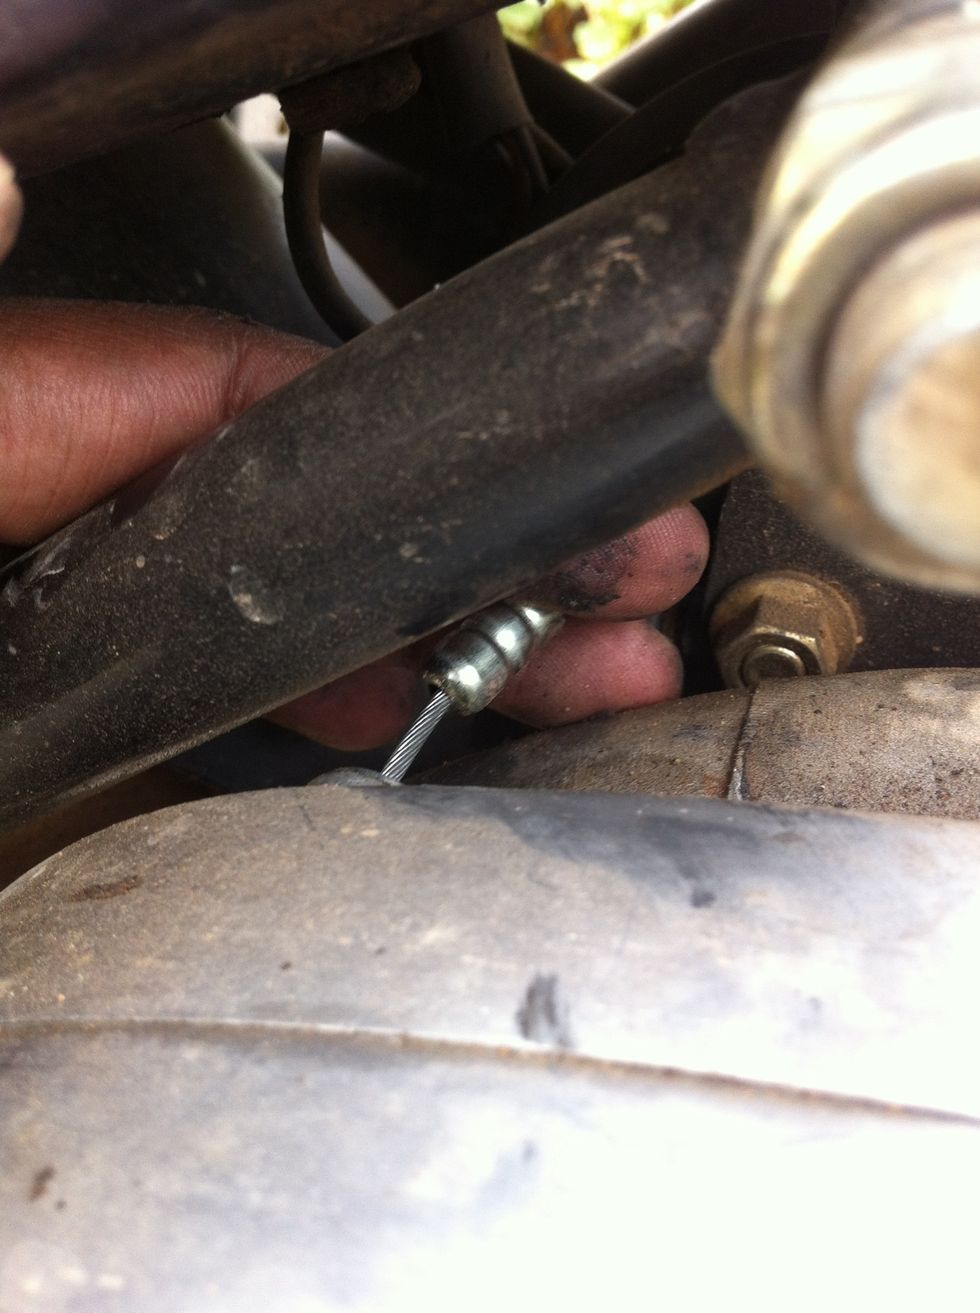
That clutch cable hook handle will move back as you loosen the screw in the previous process.
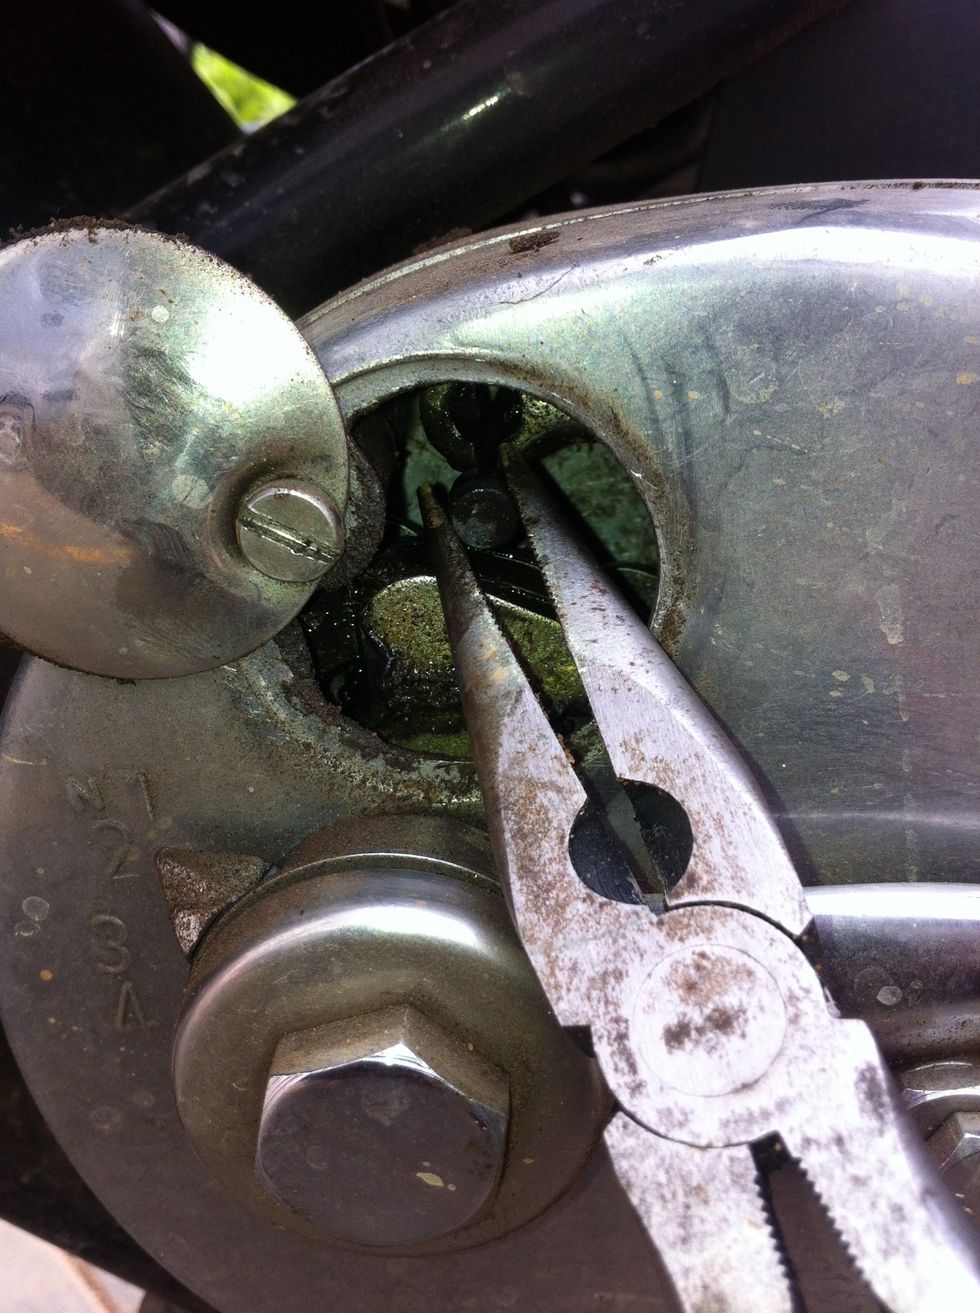
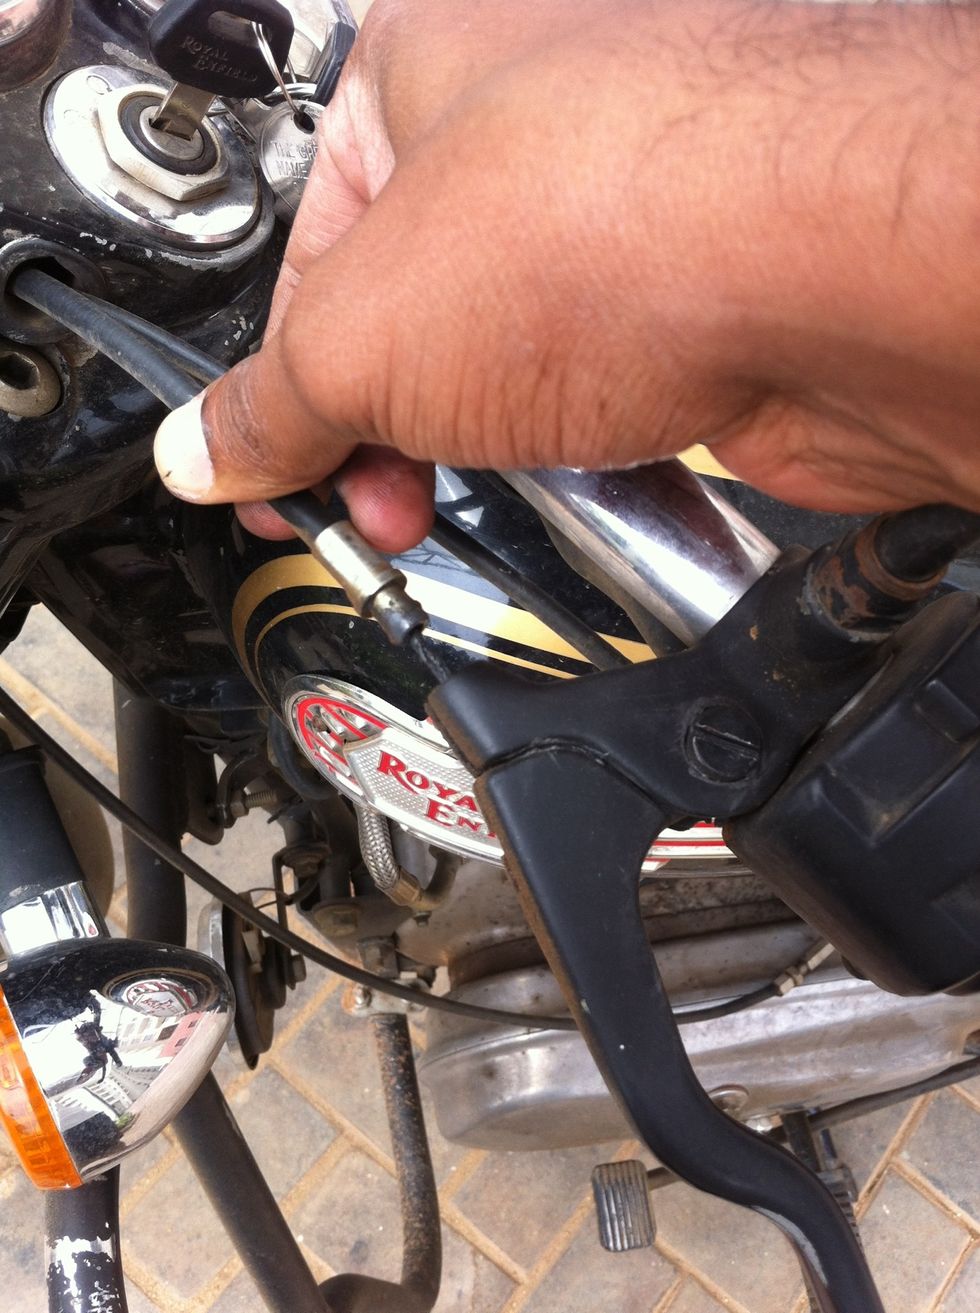
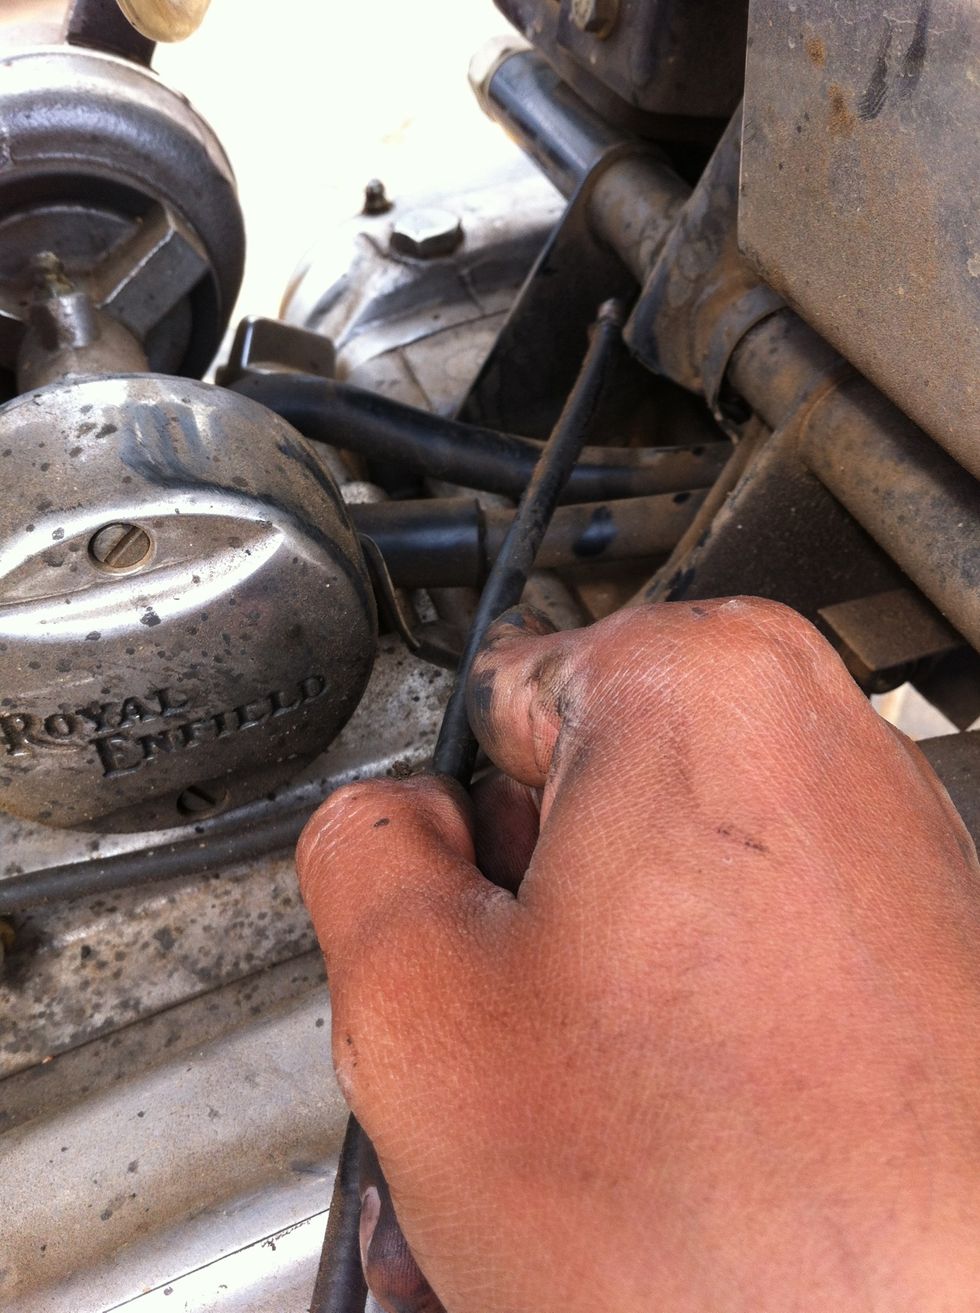
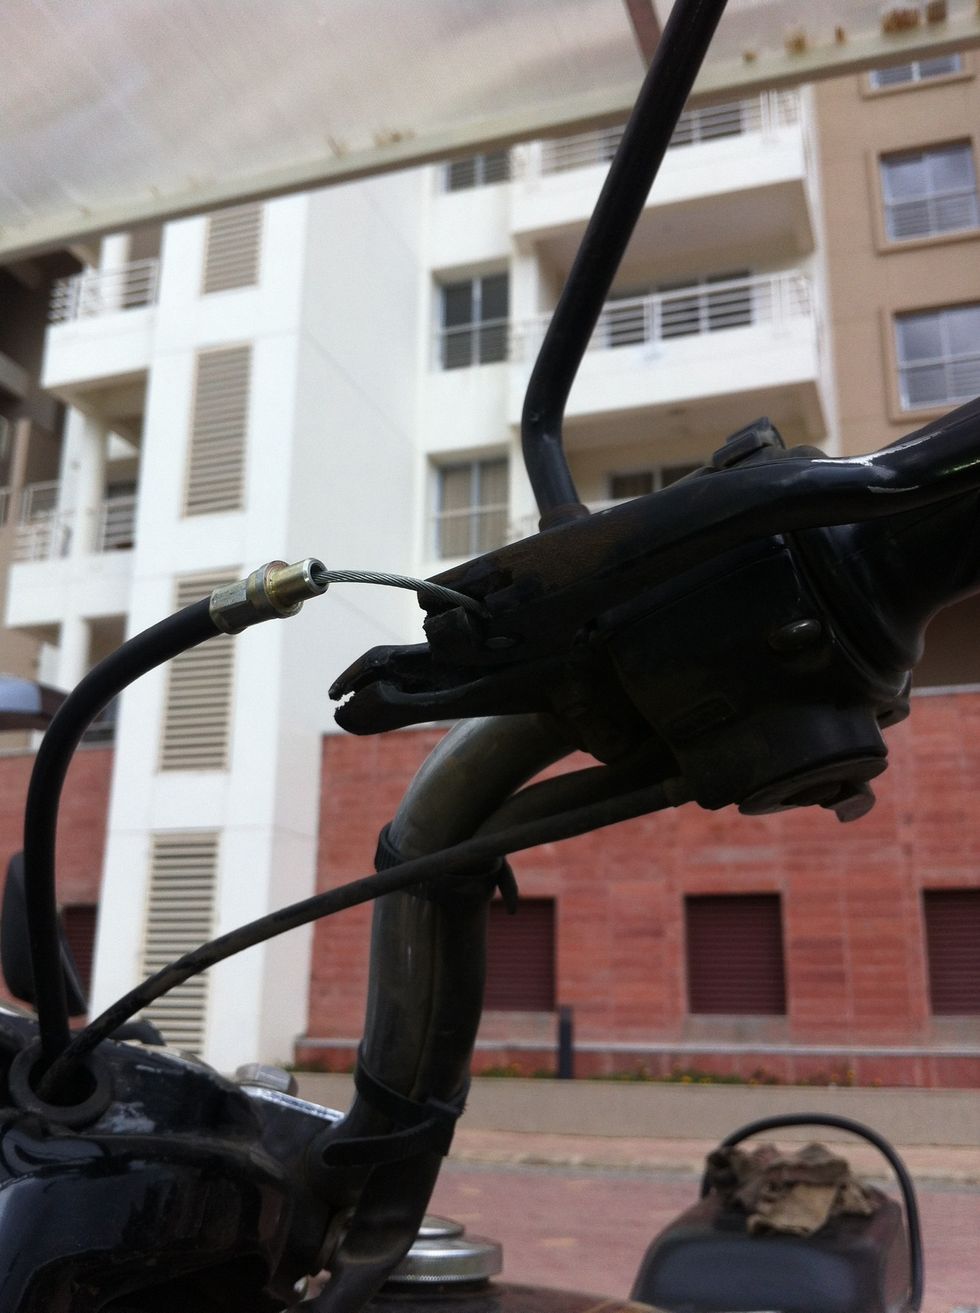
Use a nose plier and pull the cable out of the hook handle
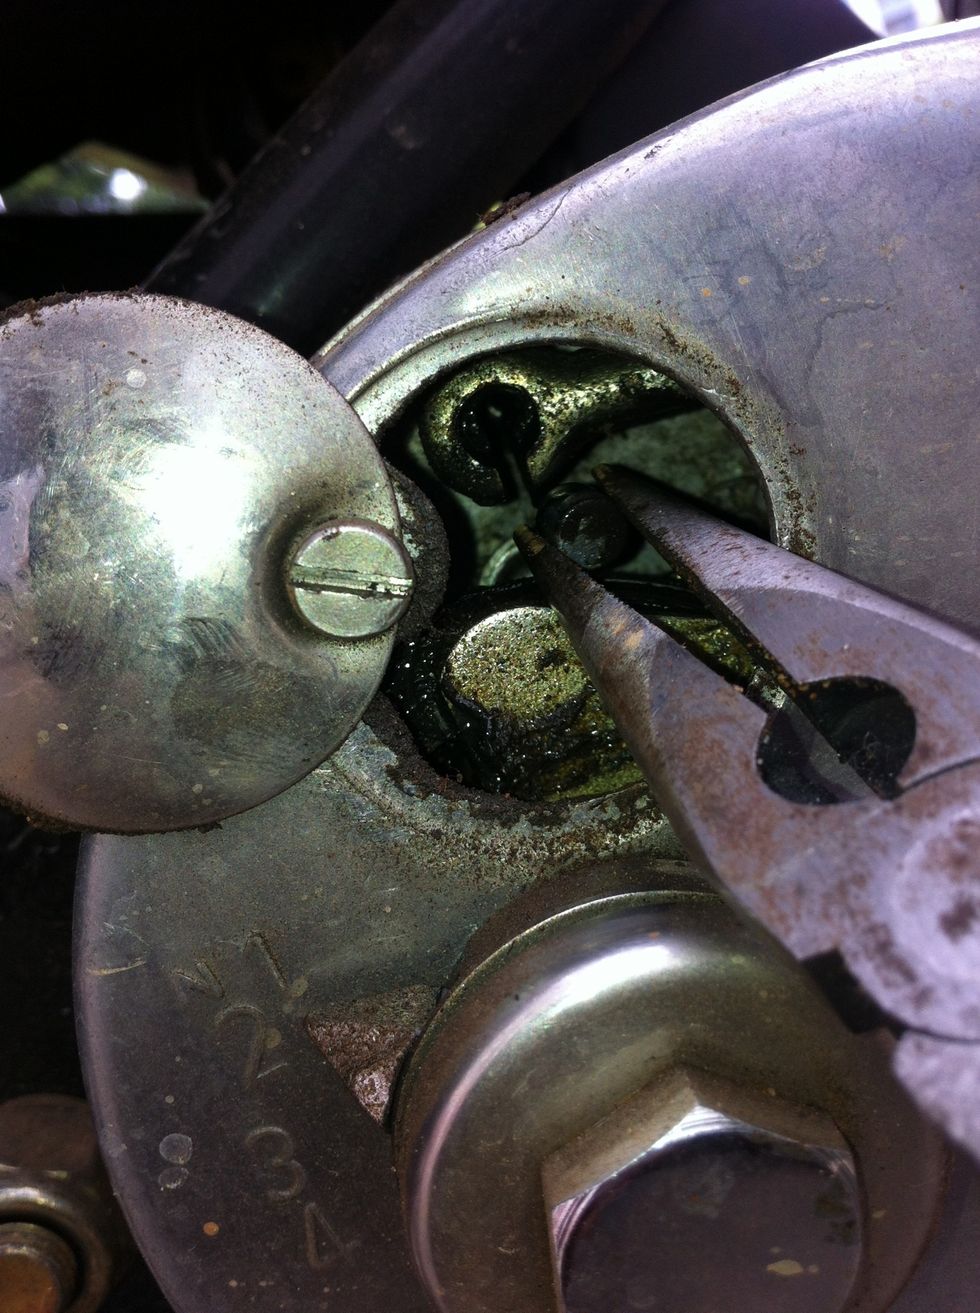
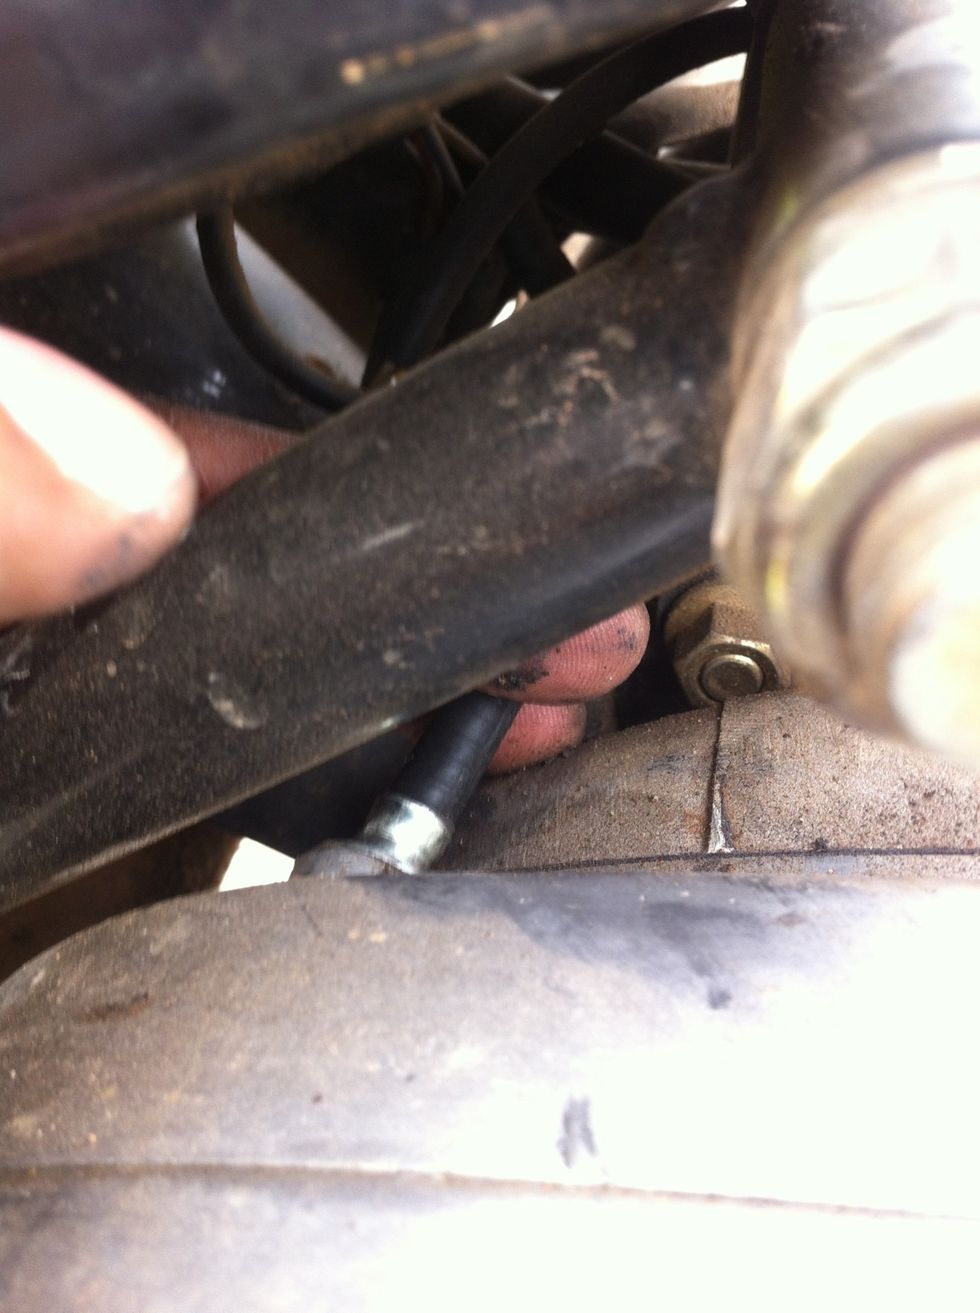
Push the cable out of the hook and move it backwards as much as you can
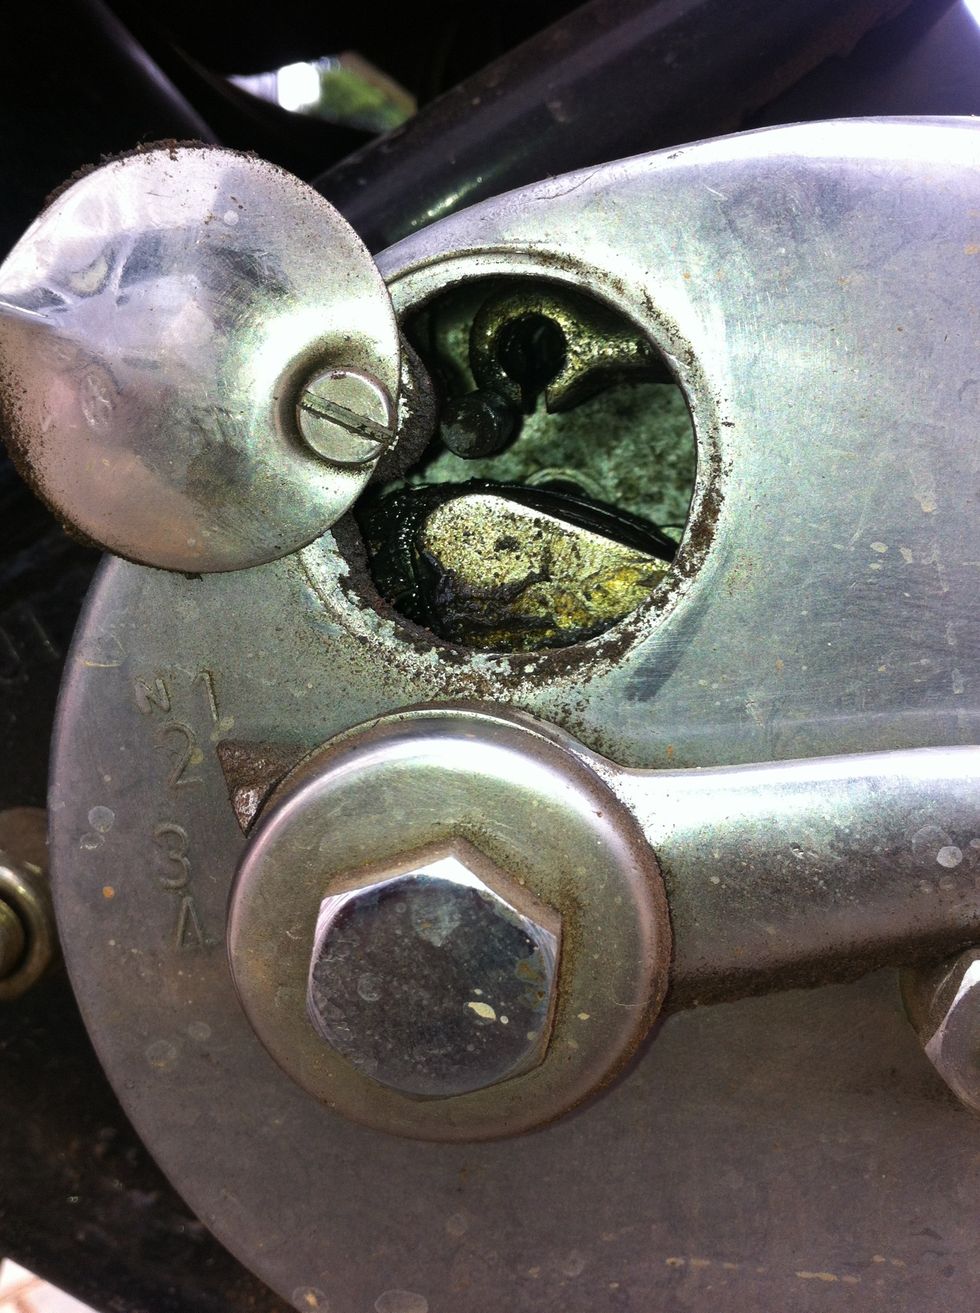
Now when you pull the cable from behind the gearbox it should pop out of the gearbox casing, but before that you should now remove the cable from the clutch hand lever
The clutch lever will be completely loose now
Pull the cable guide out

Pull the cable out of the hooks

From below the lever you should be now able to pull the cable end out
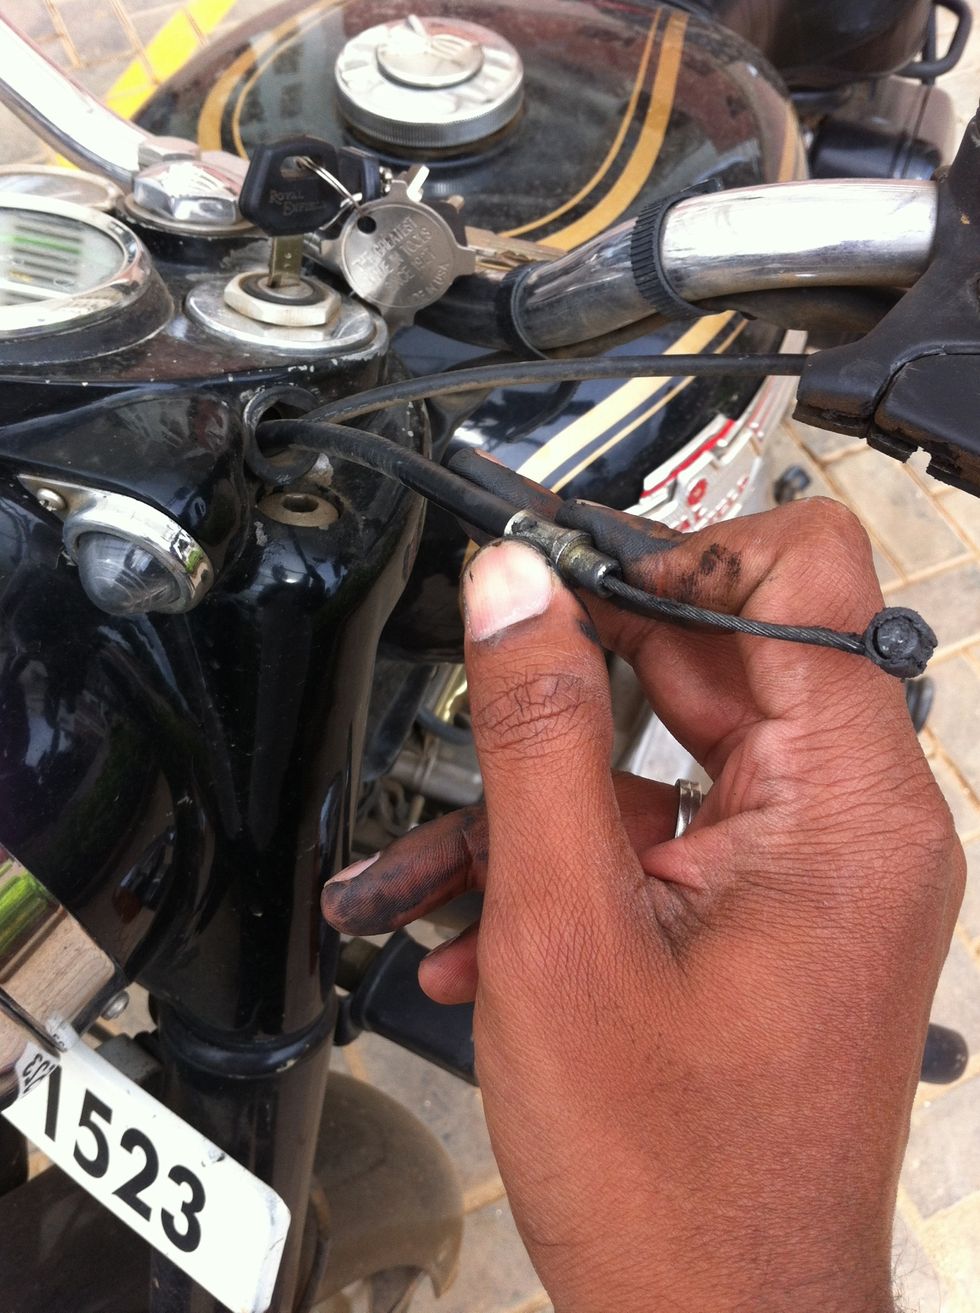
Now you will have the cable which is free at the lever end
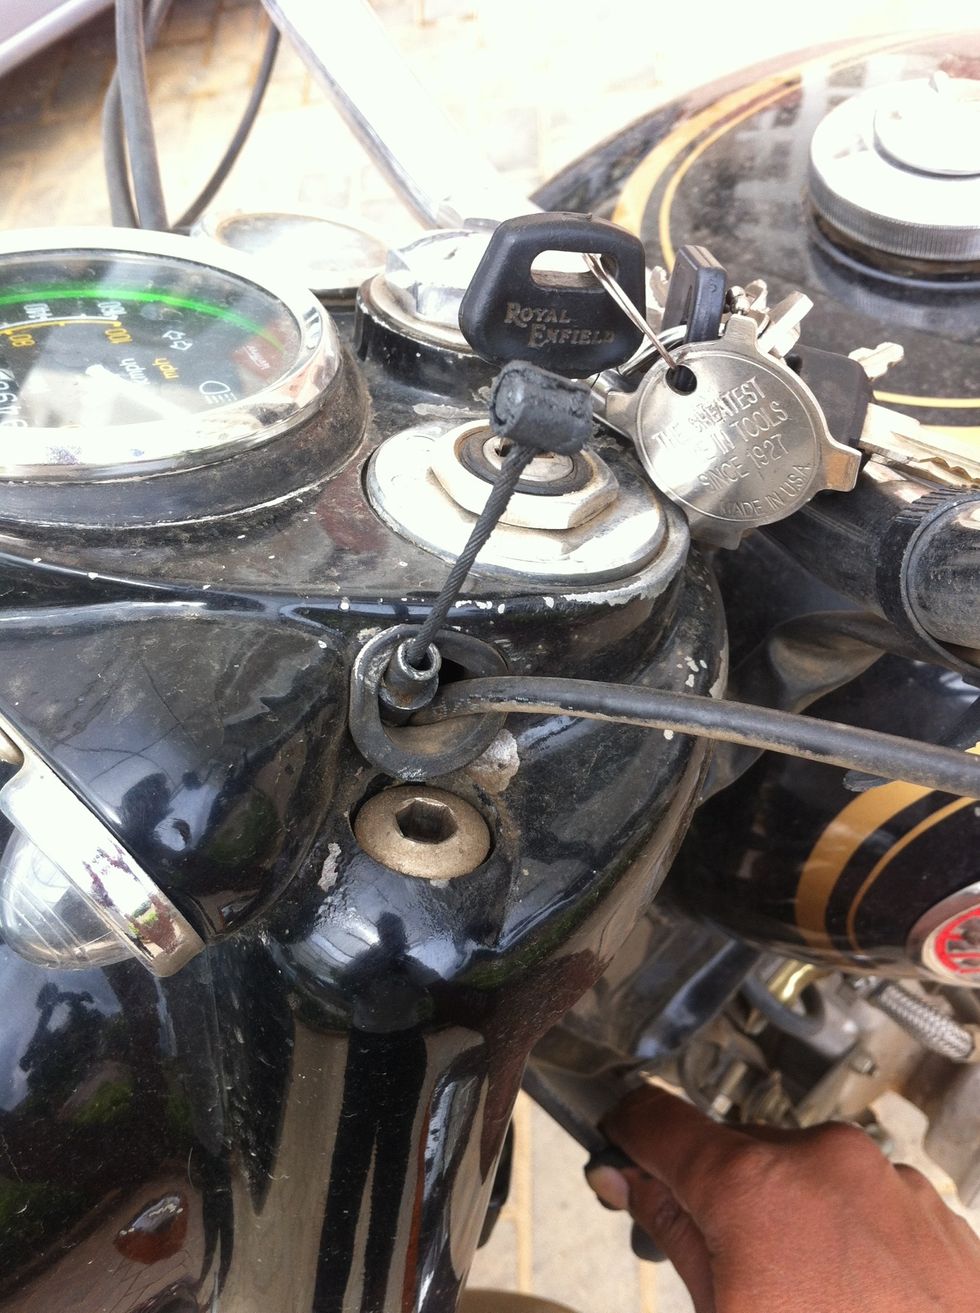
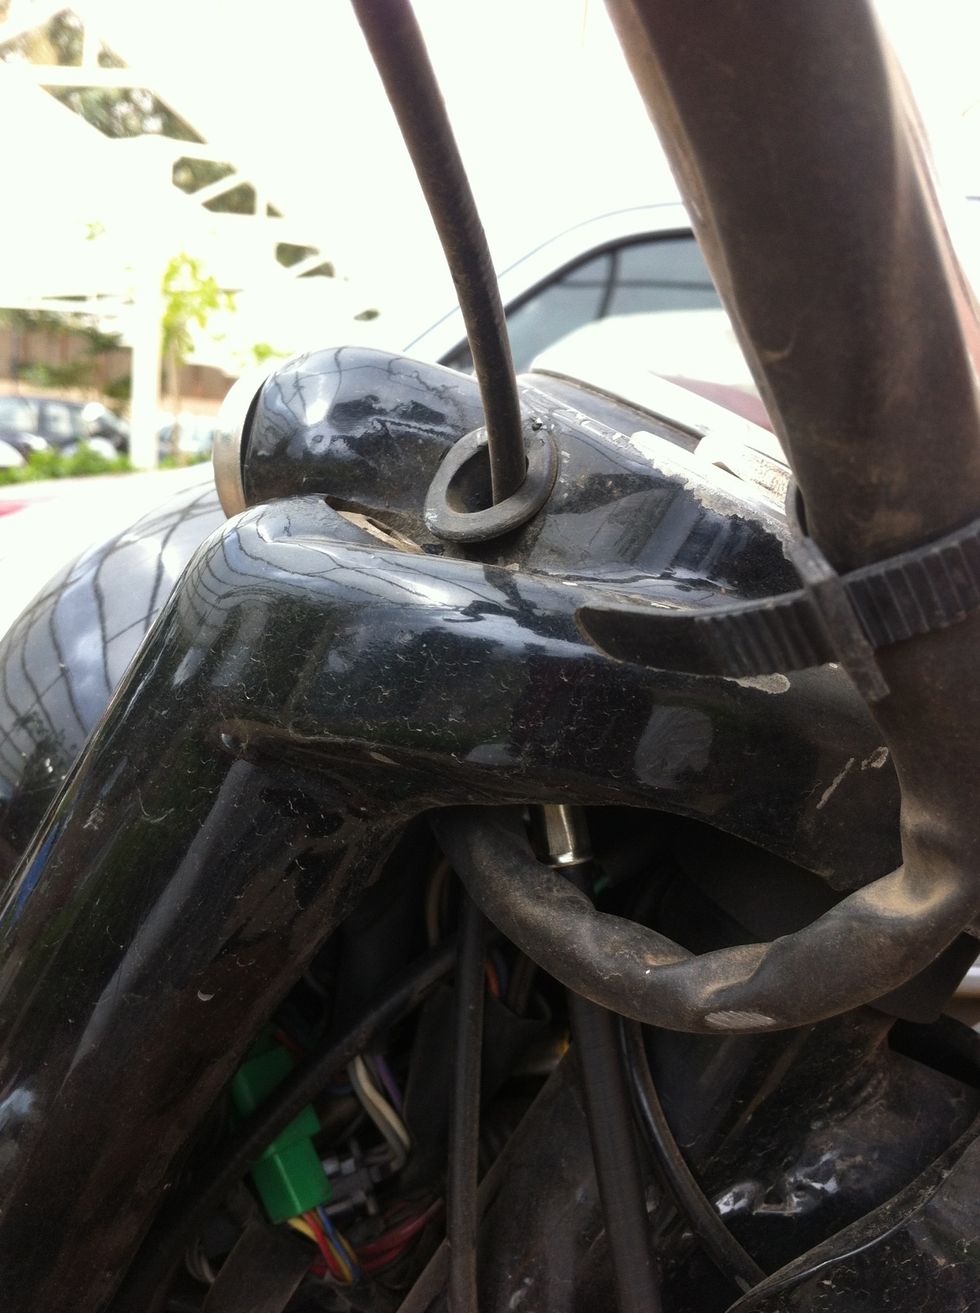
Push it out through the headlamp casing.
Pull the cable from behind the gear box
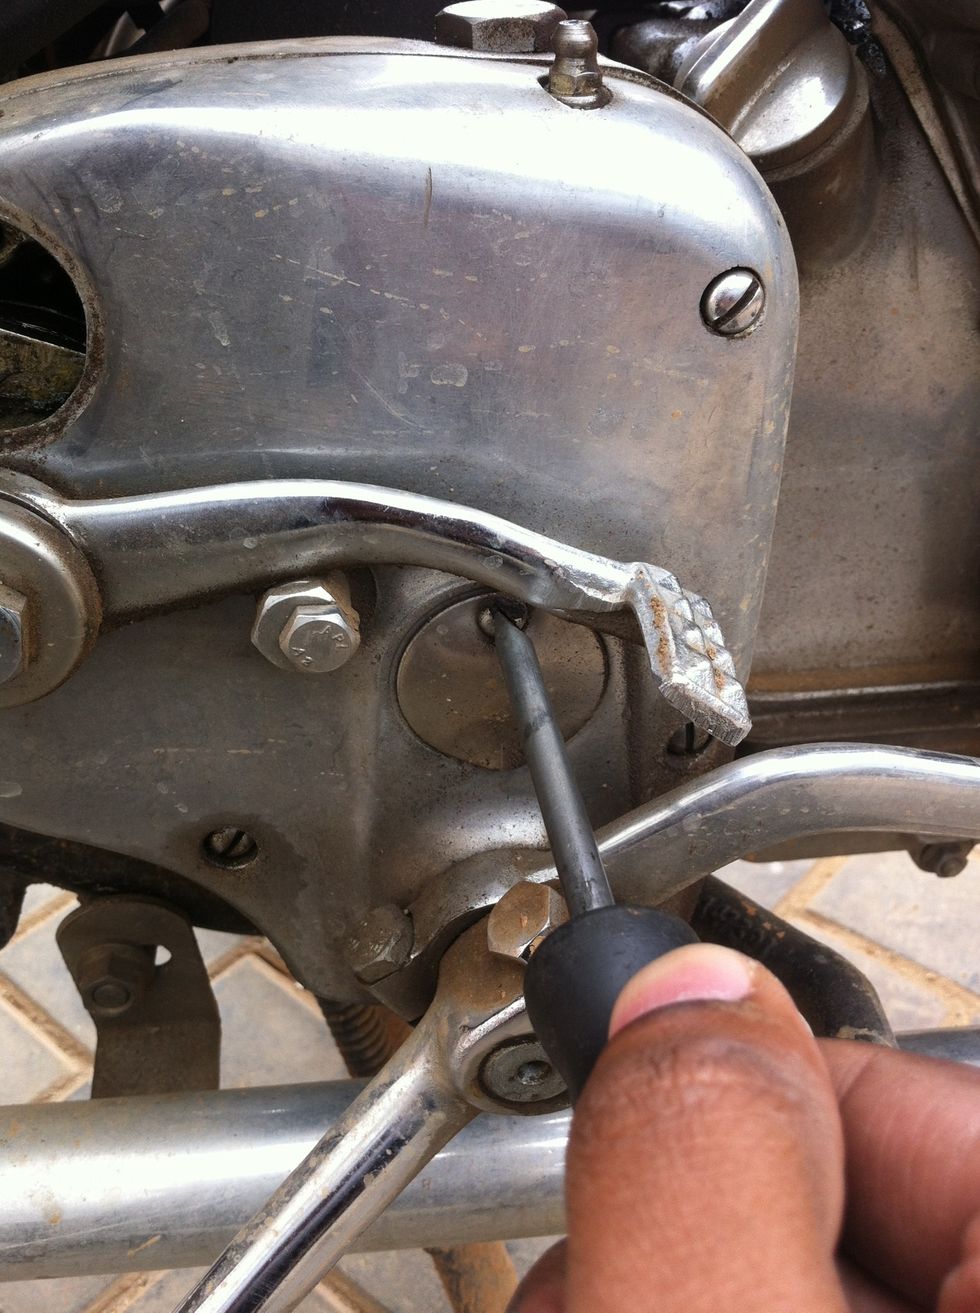
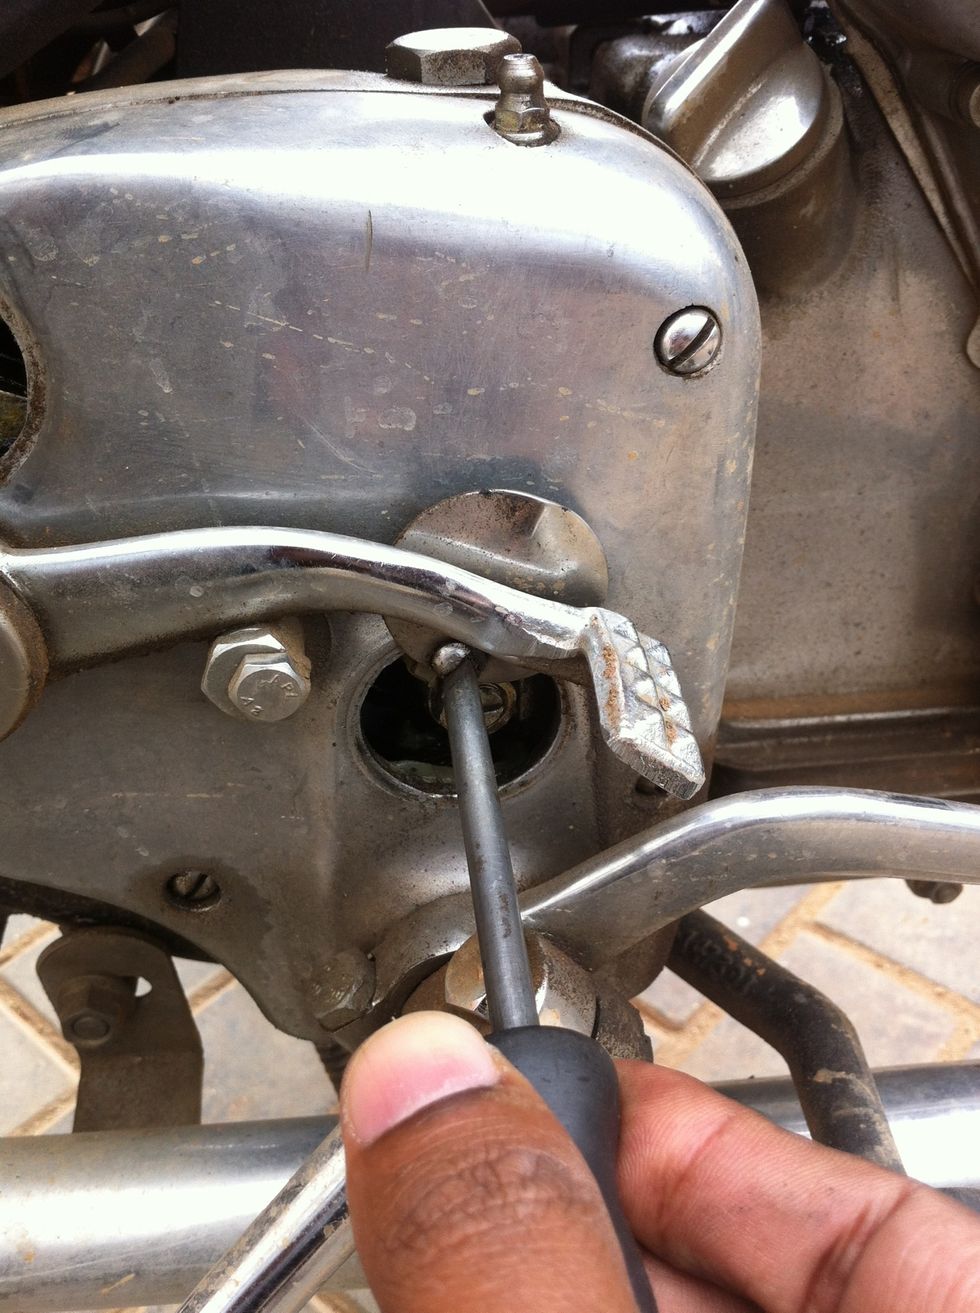
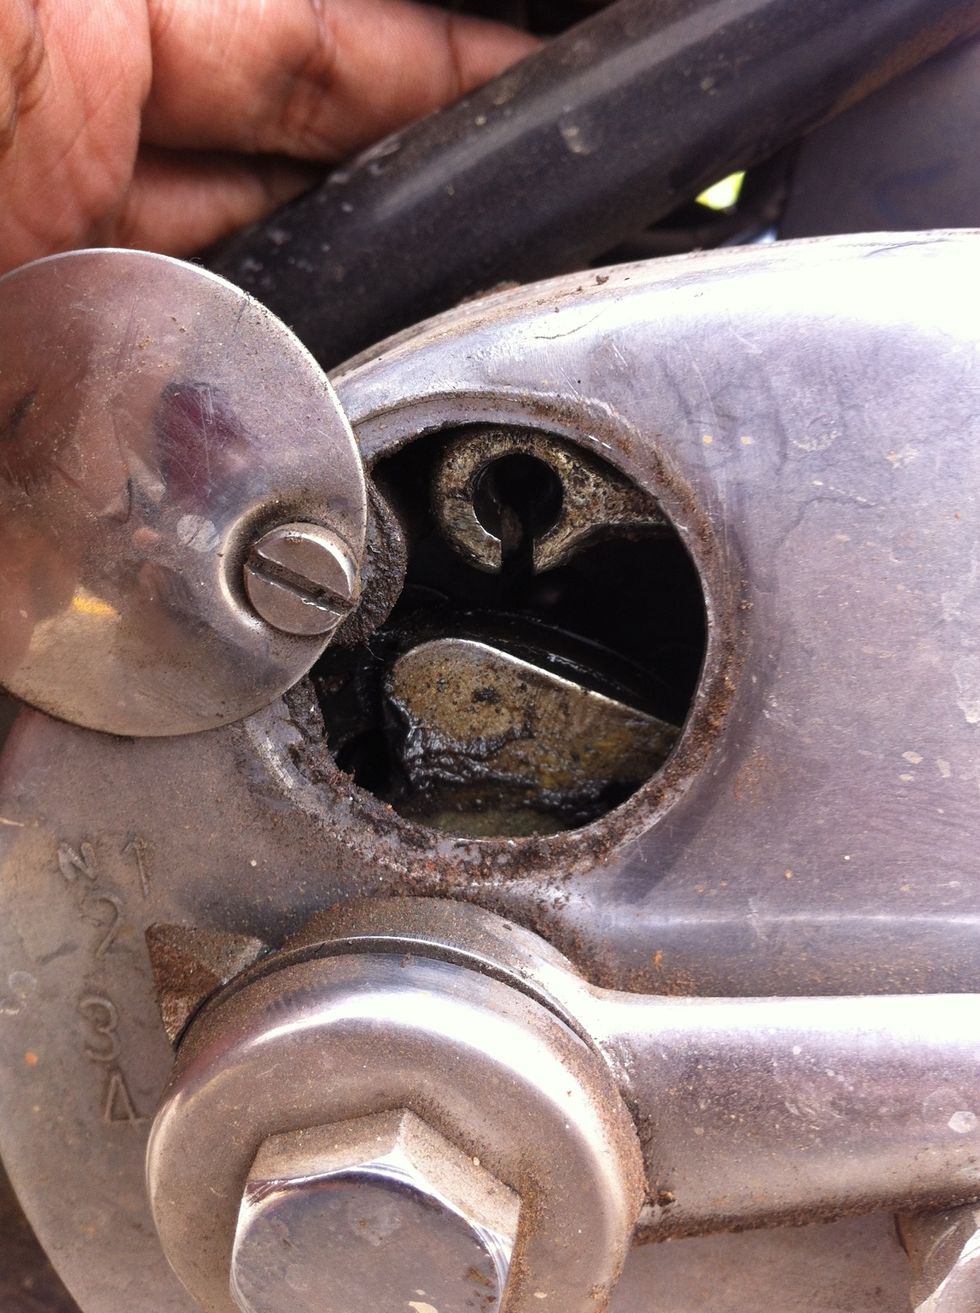
Sometimes the cable end can get so seated in that you may need to use a screwdriver to push it out from inside the gearbox through the access hole
In this case the seating of the cable has got placed in very tightly, so you will have to push the seating out
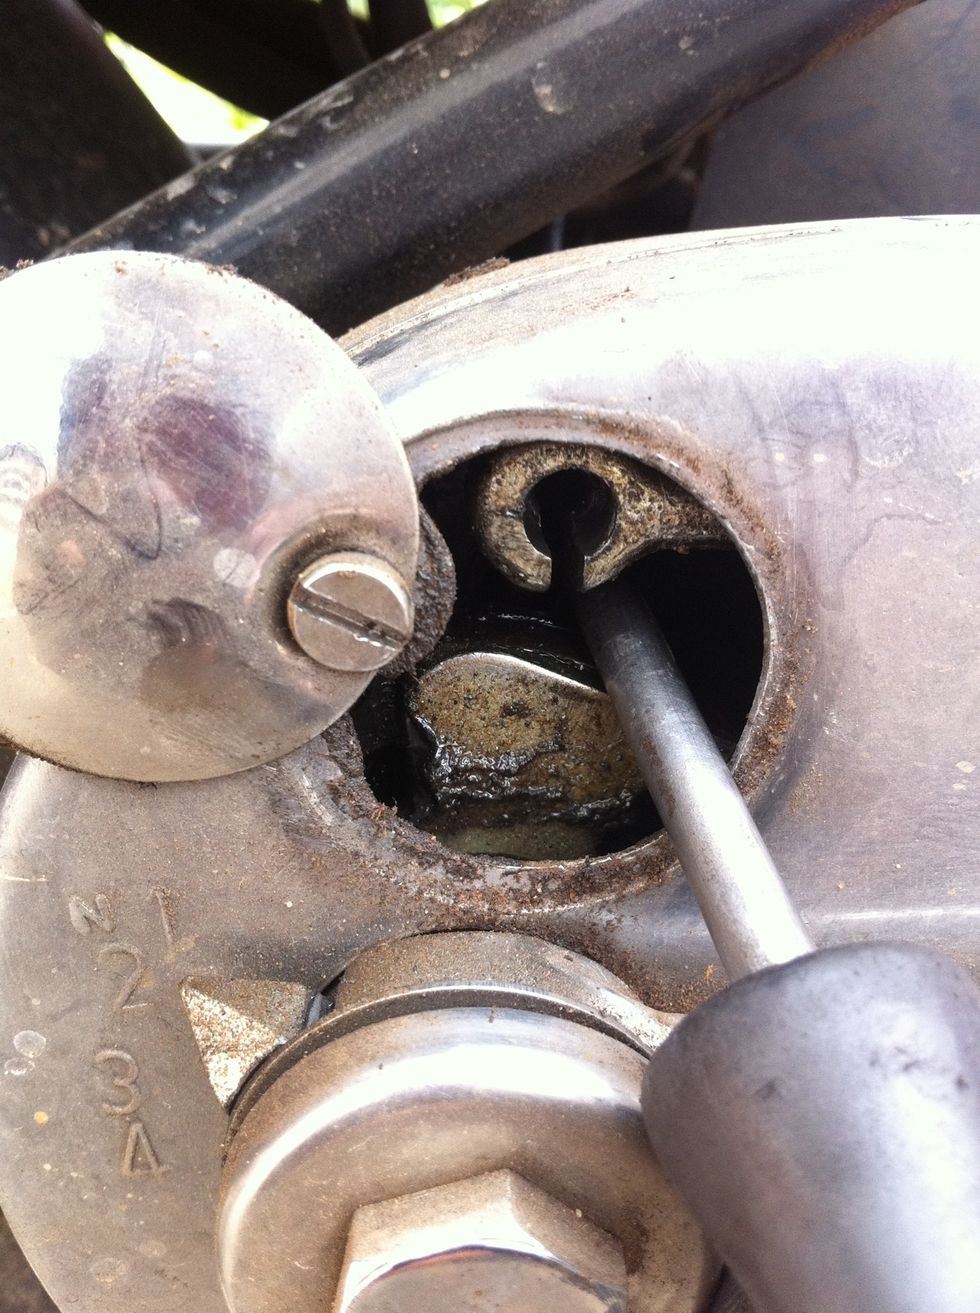
Use a screw driver and push the cable end seating out
The seating has popped out
Pull the cable slowly out
Unpack a new clutch cable and if you prefer drip oil through for longevity of the cable
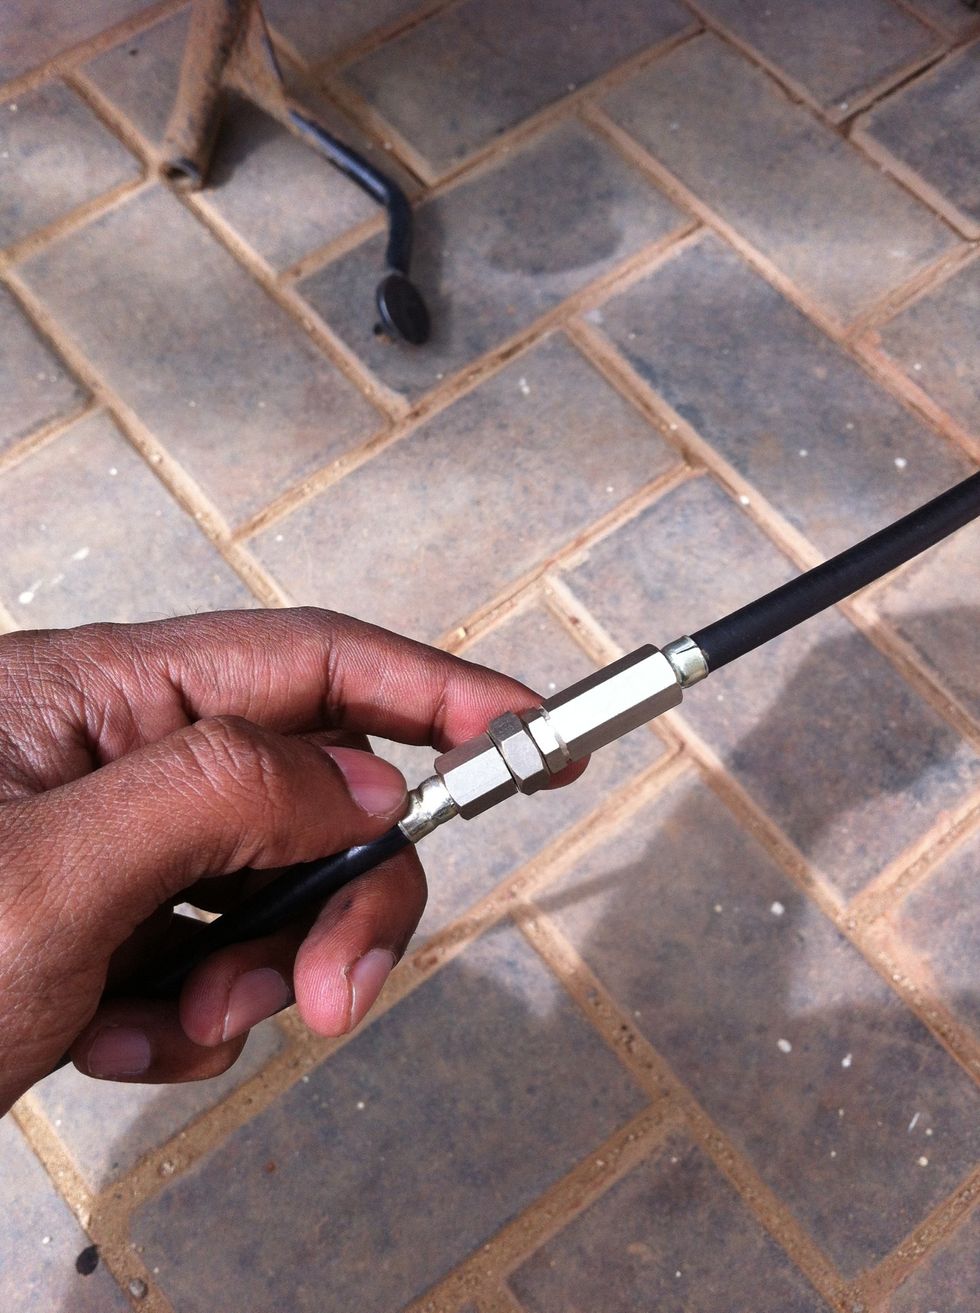
The new cable's length adjuster should be tightened so the least cover length is achieved
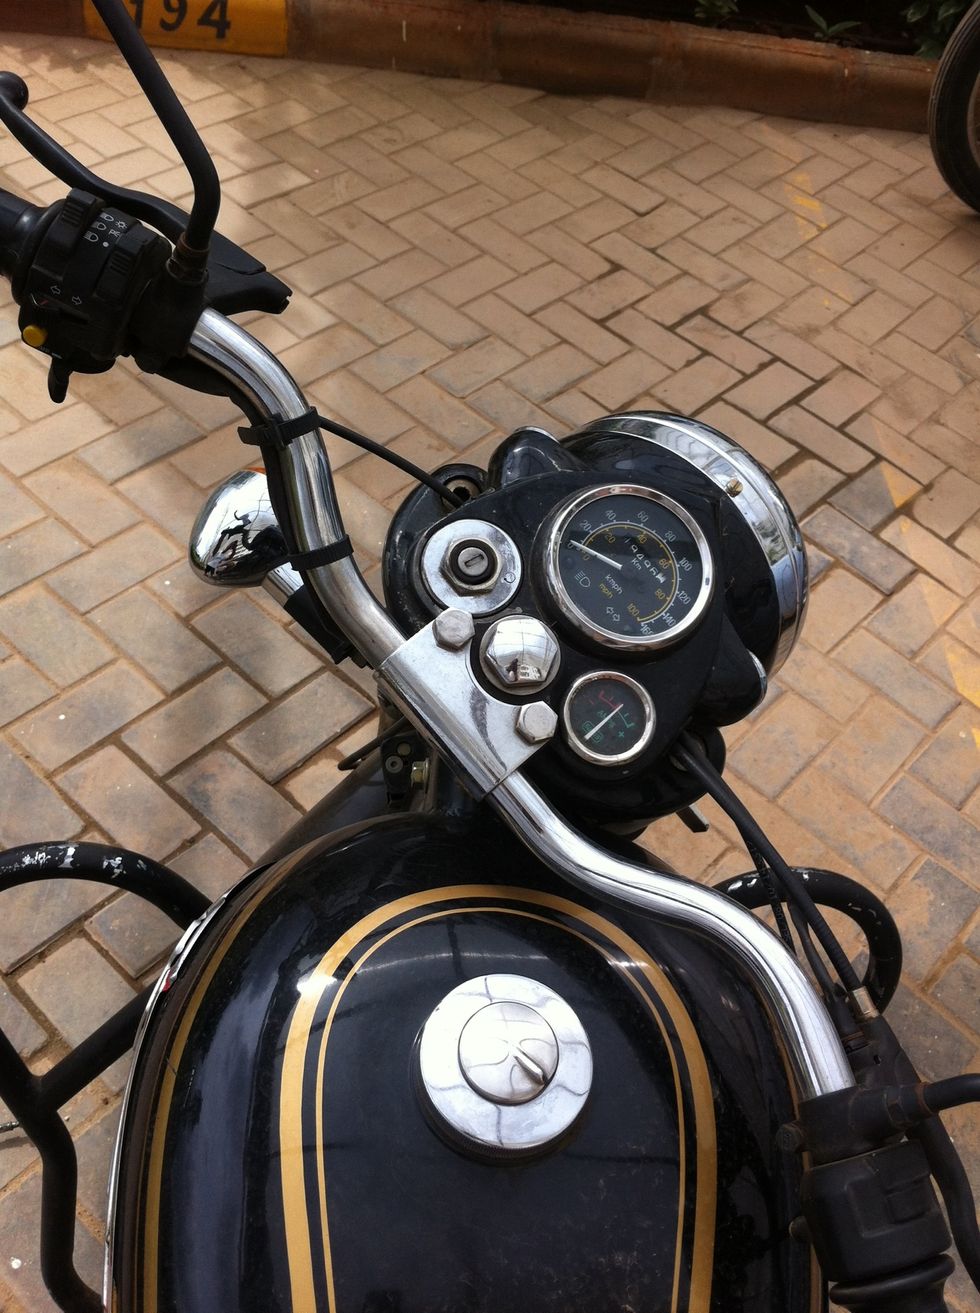
Rotate the steering stem to the right
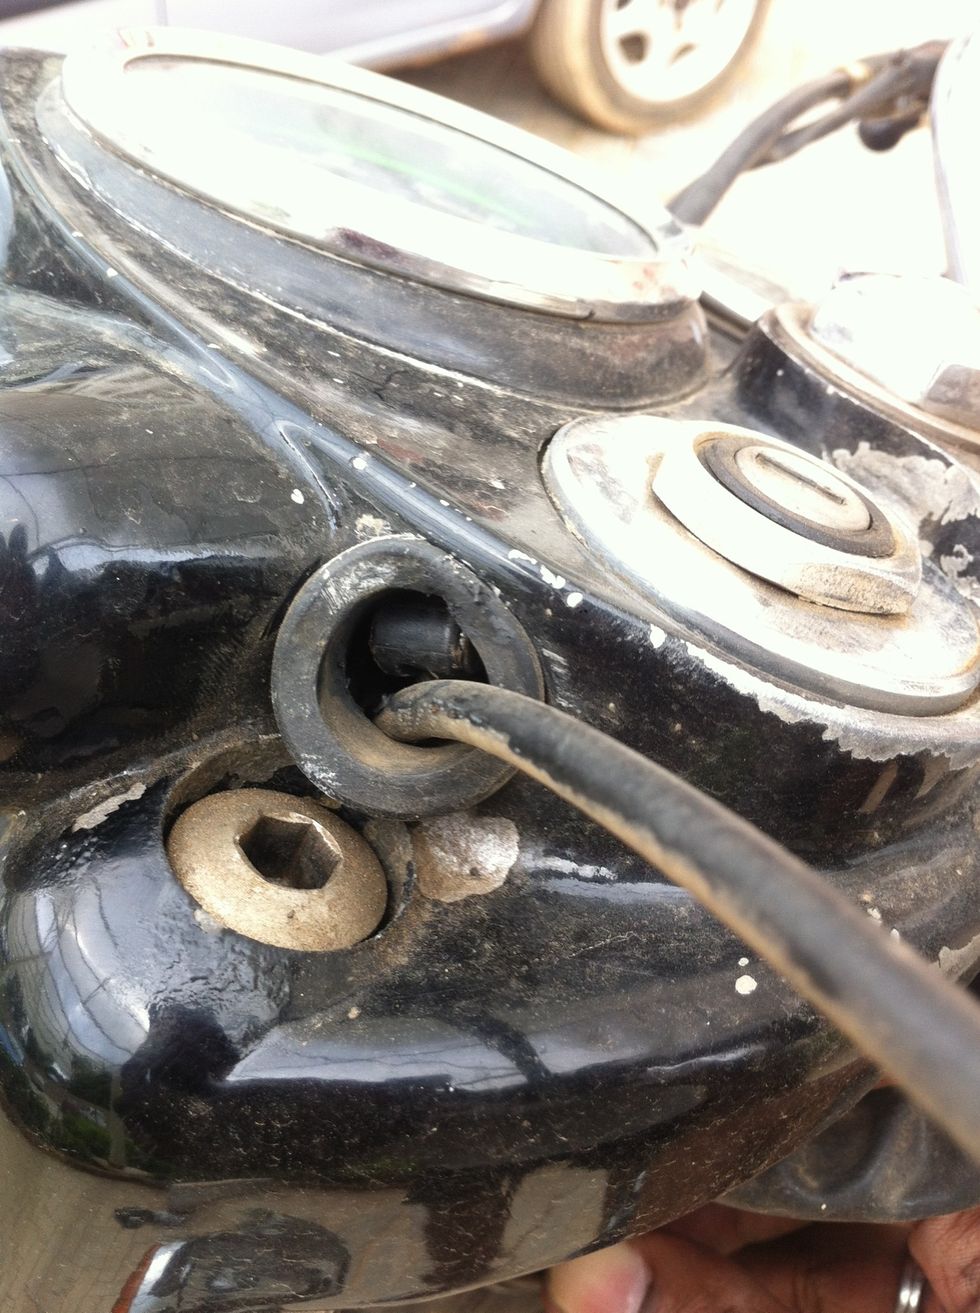
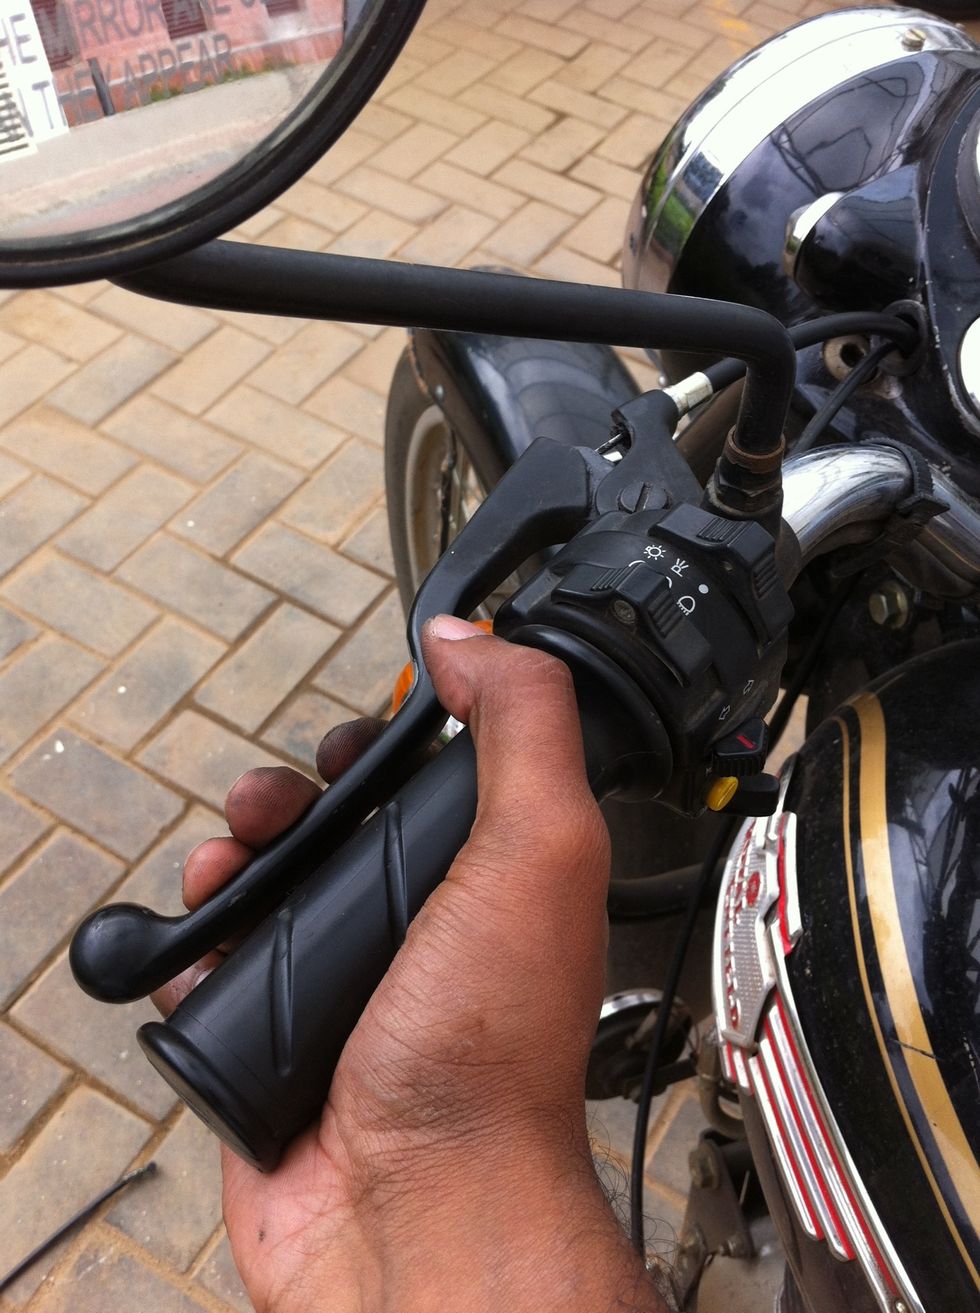
Route the cable through the headlamp casing
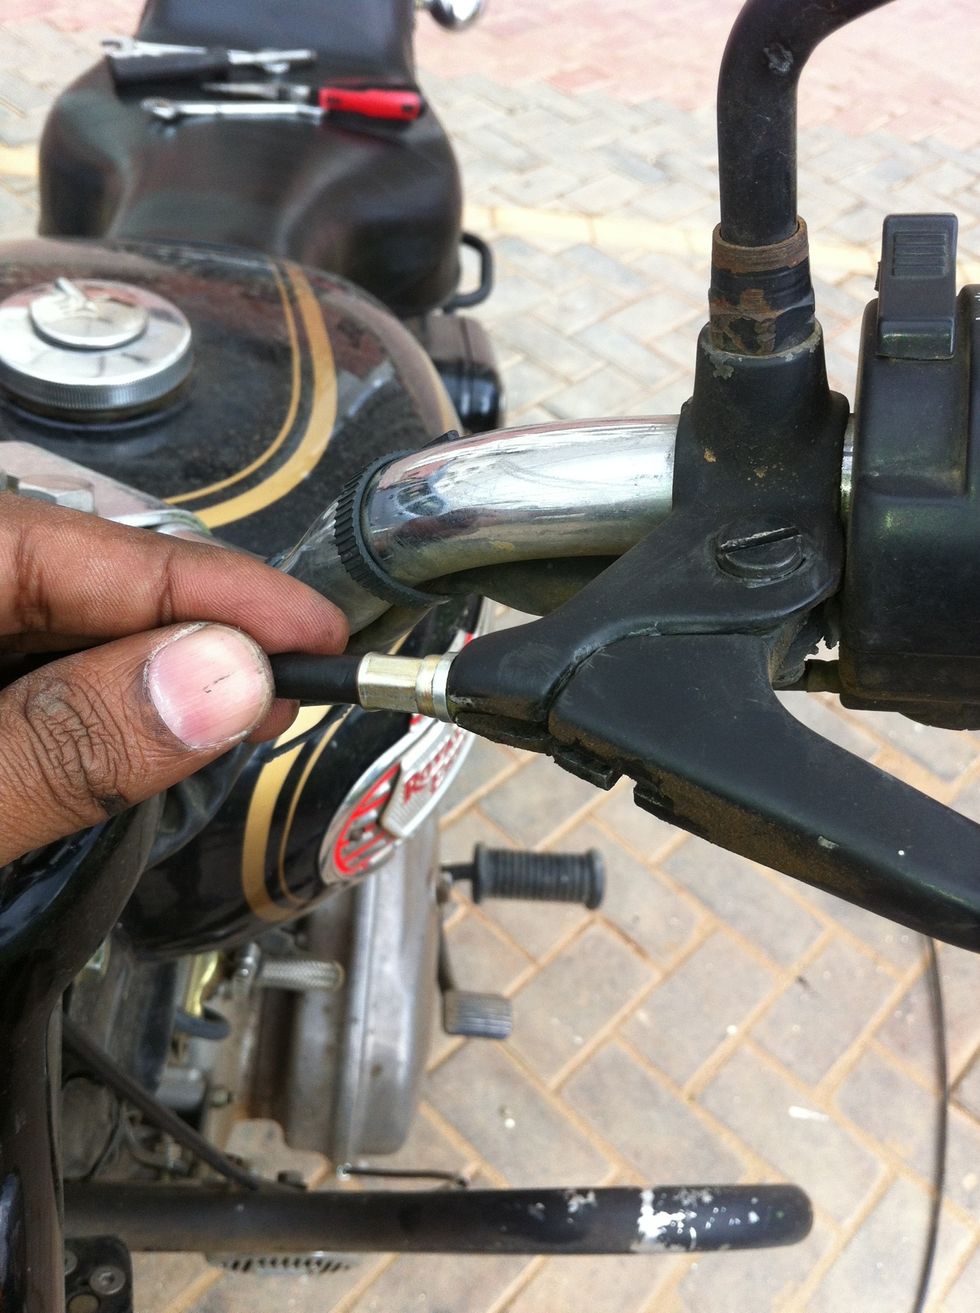
The cable end should come out of the hole in the headlamp casing side
If you don't have assistance, using a nose plier to pull the end might be a good idea as shown in next step
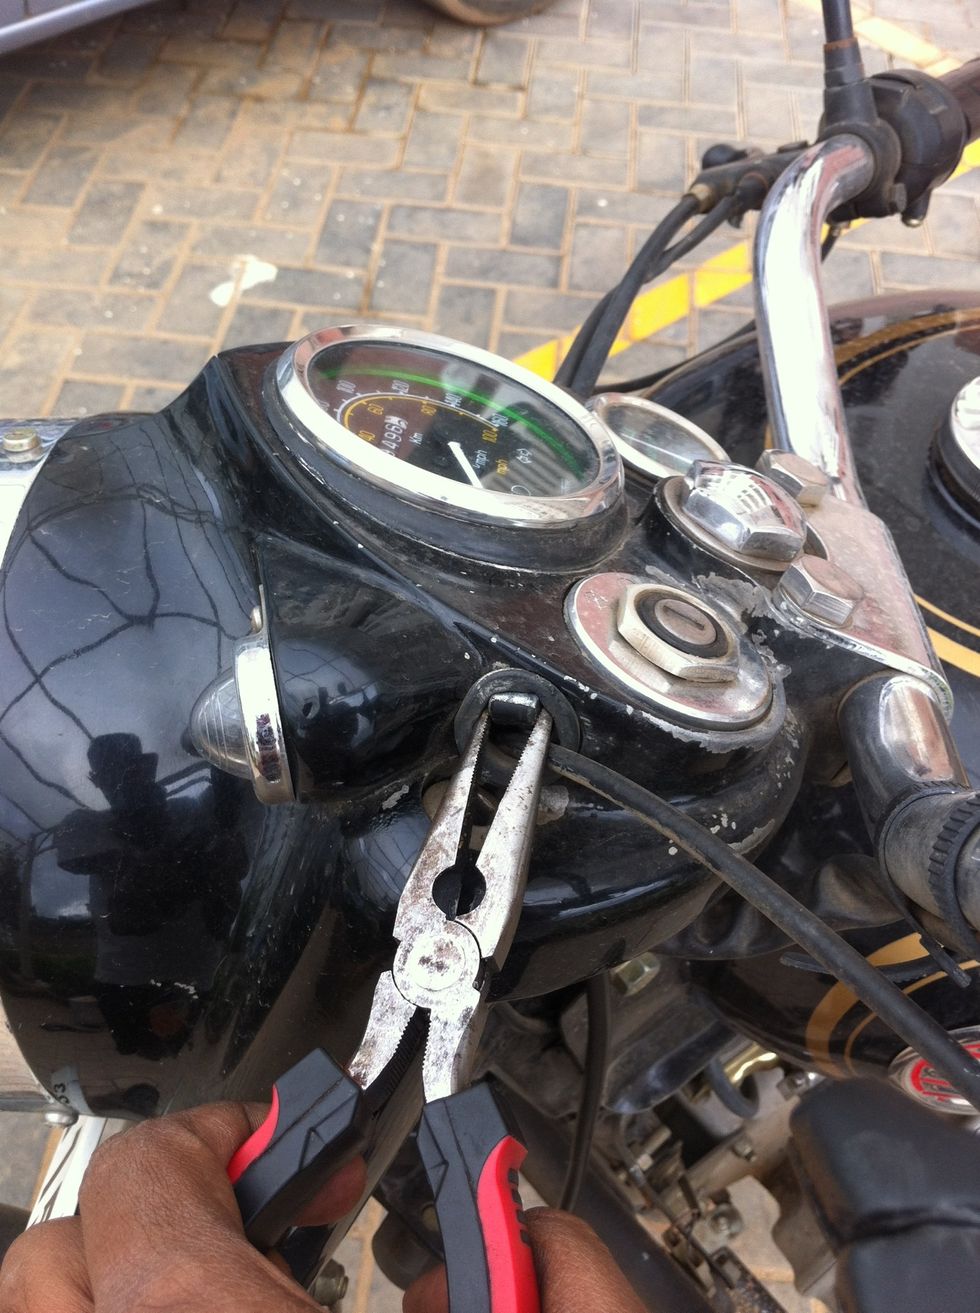
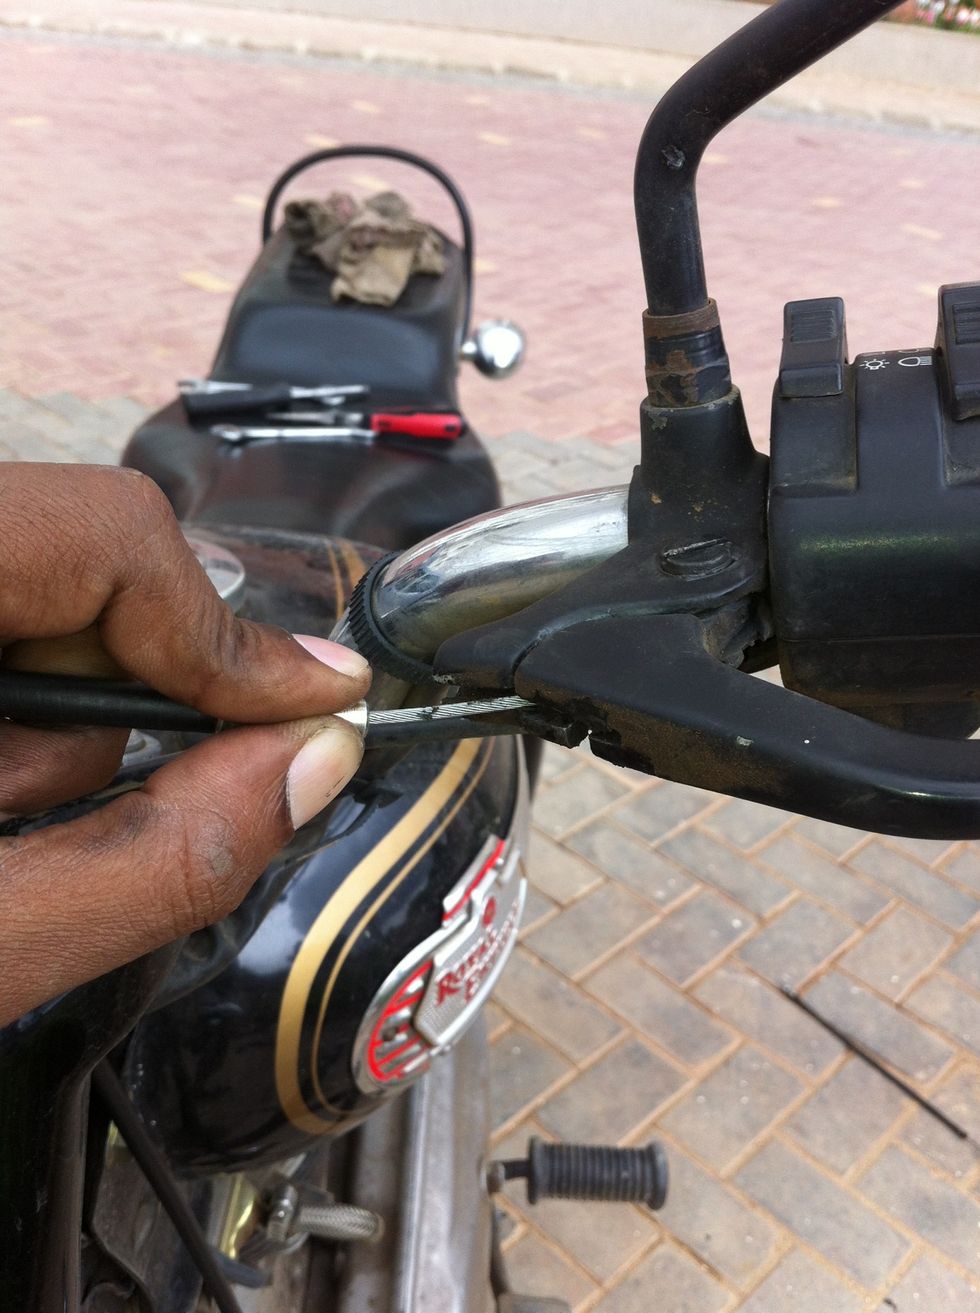
Pull the cable end using a nose plier

Check for cable free movement
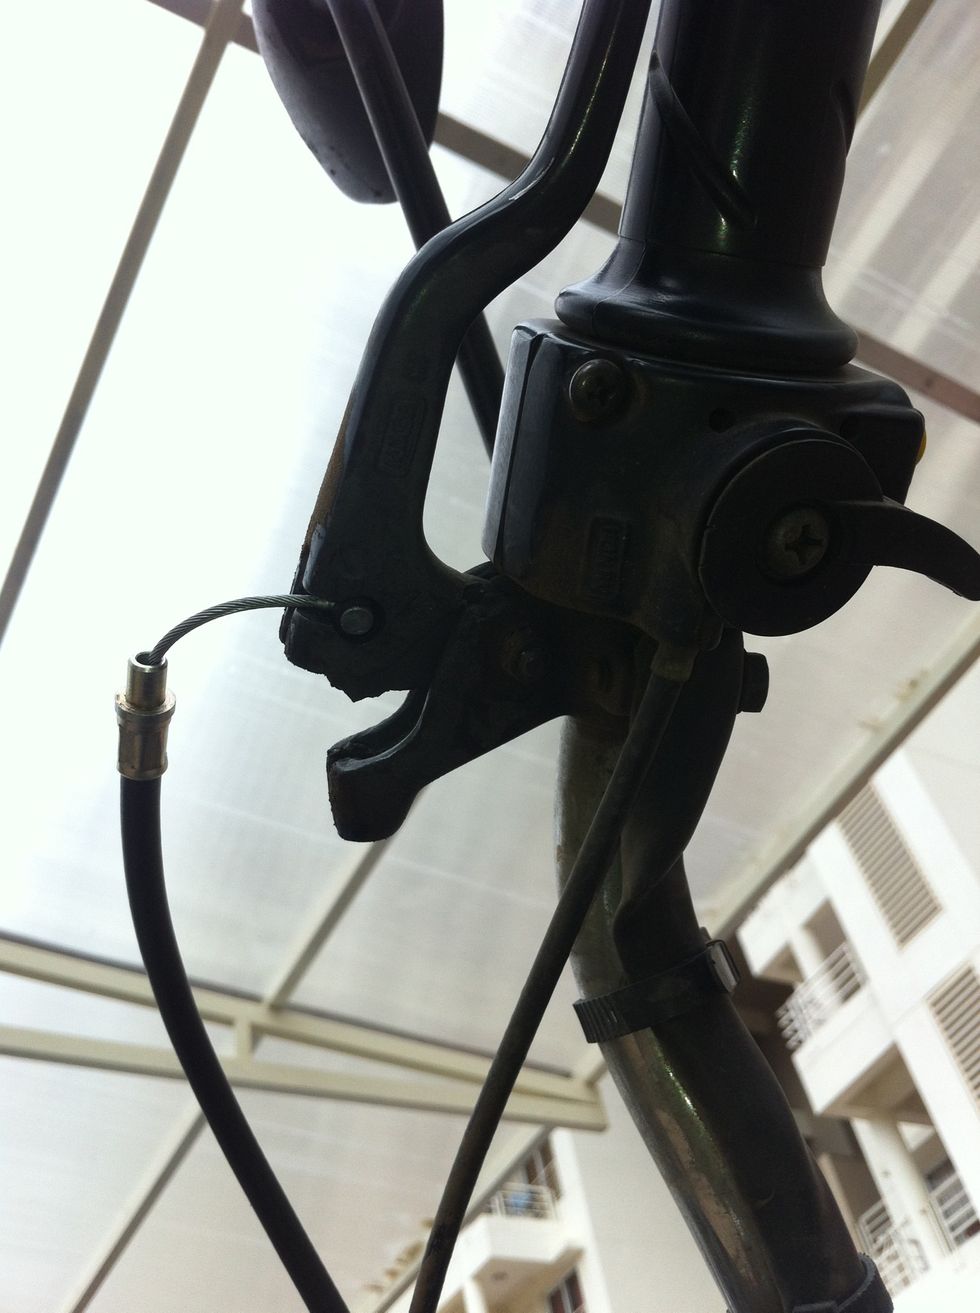
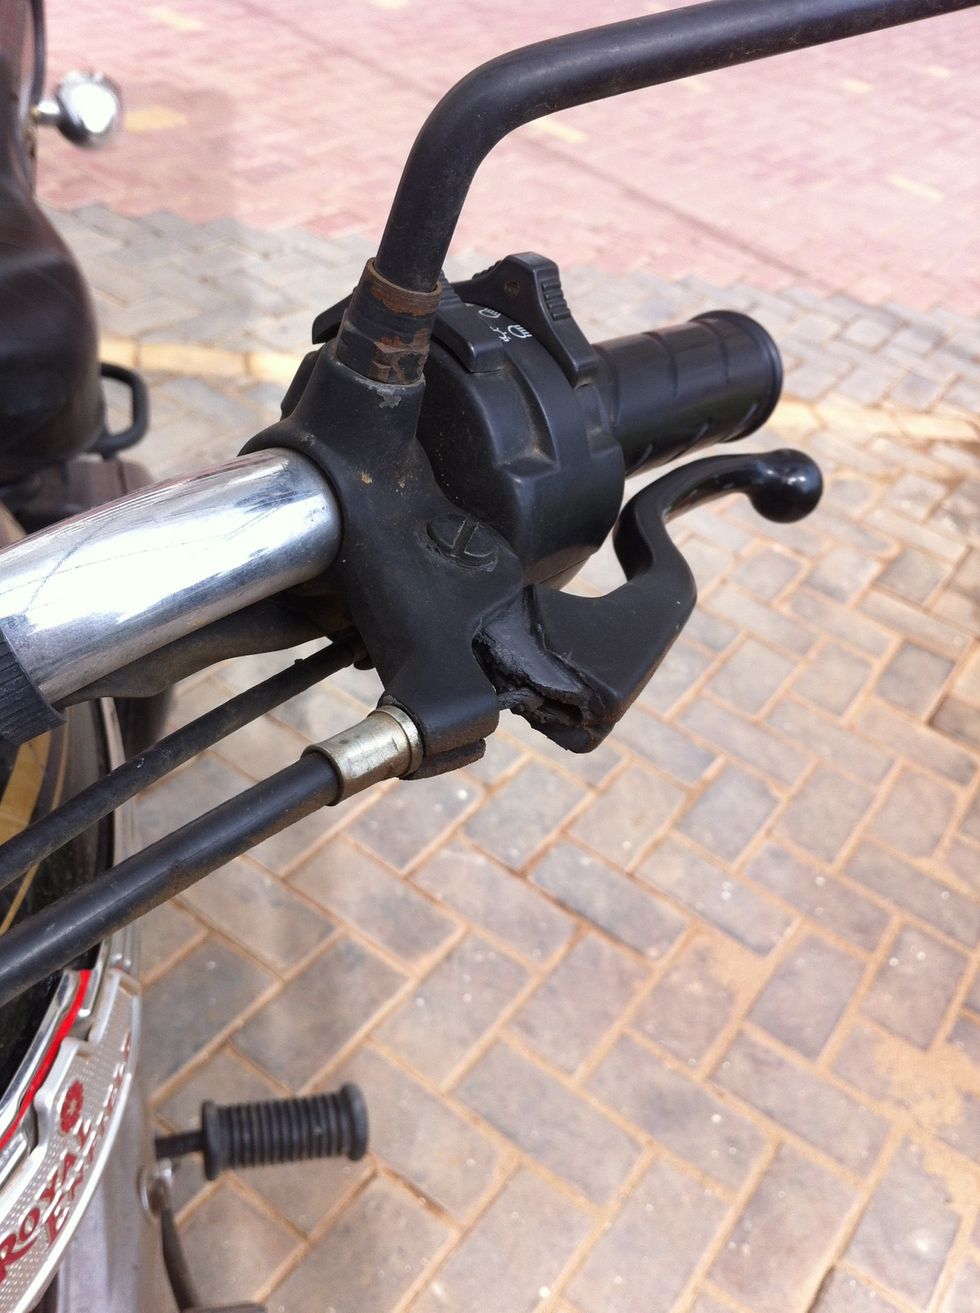
Hook the cable end to the hand lever
Guide the cable through the slots
Hold the seating and guide the cable through the slots
Release the seating sleeve into the lever end
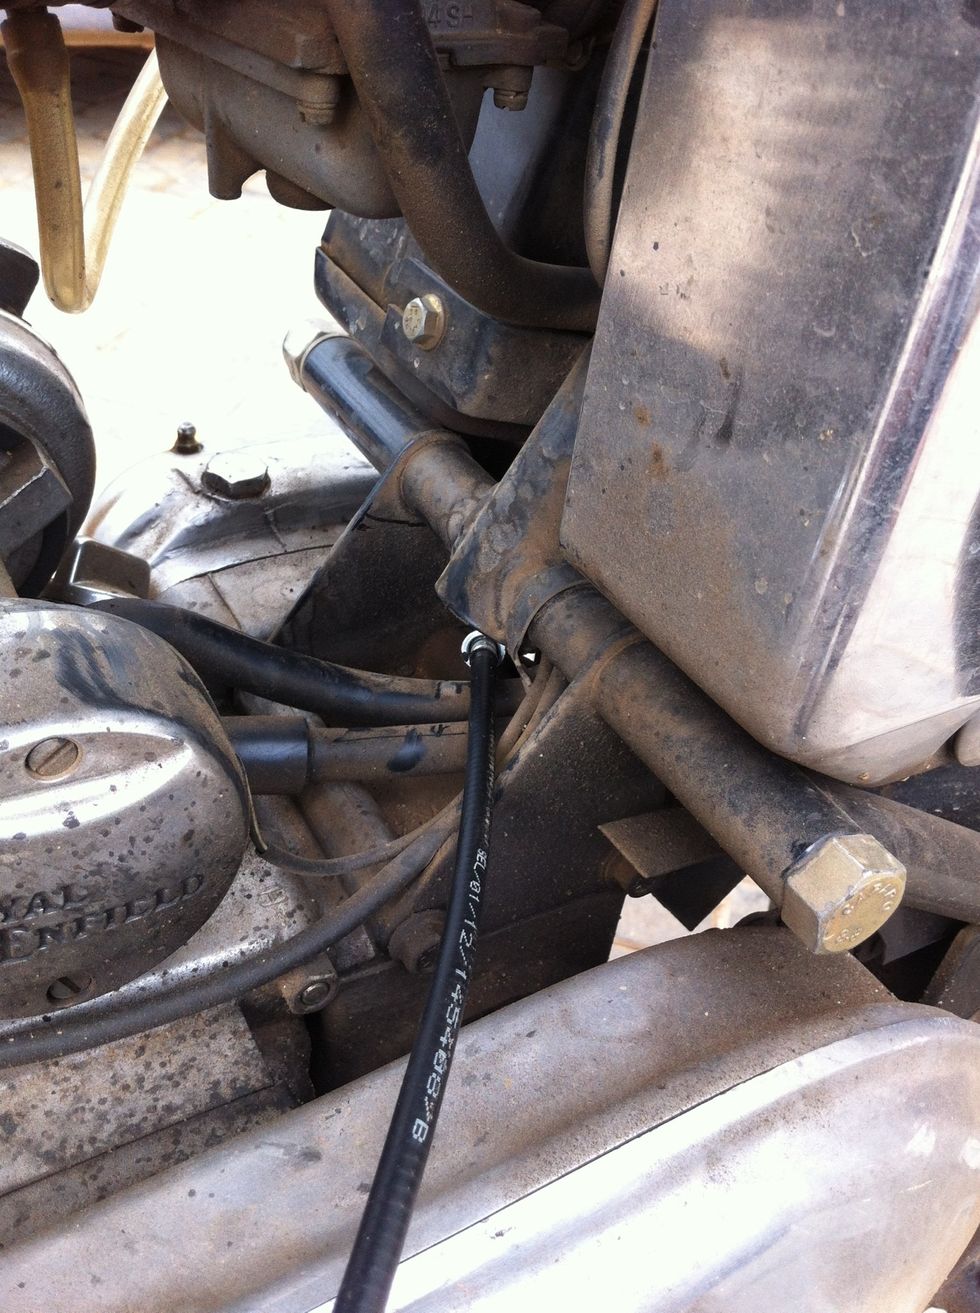
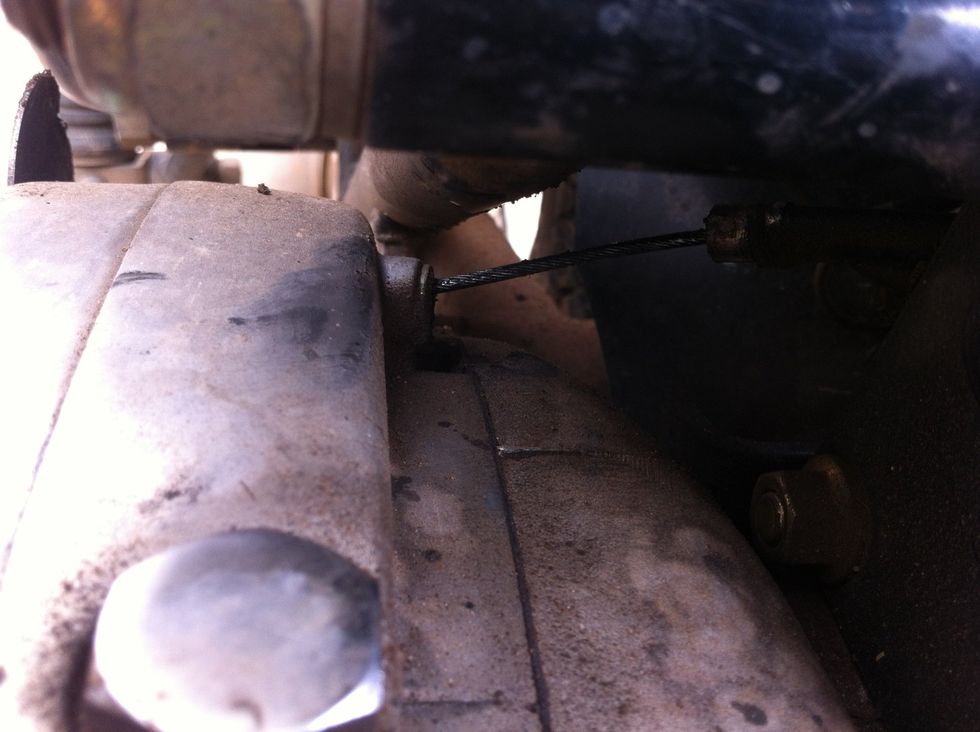
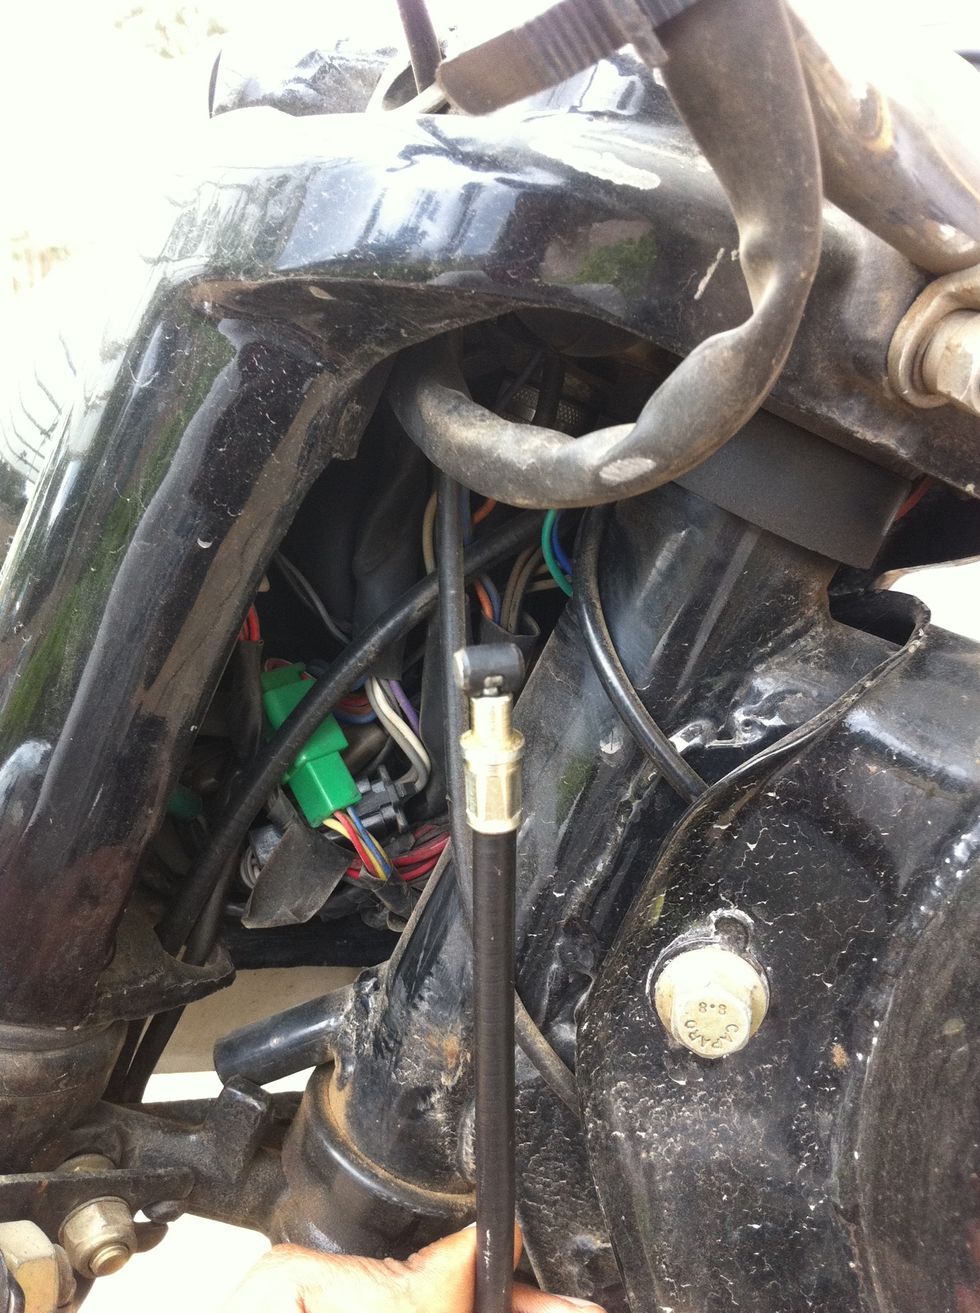
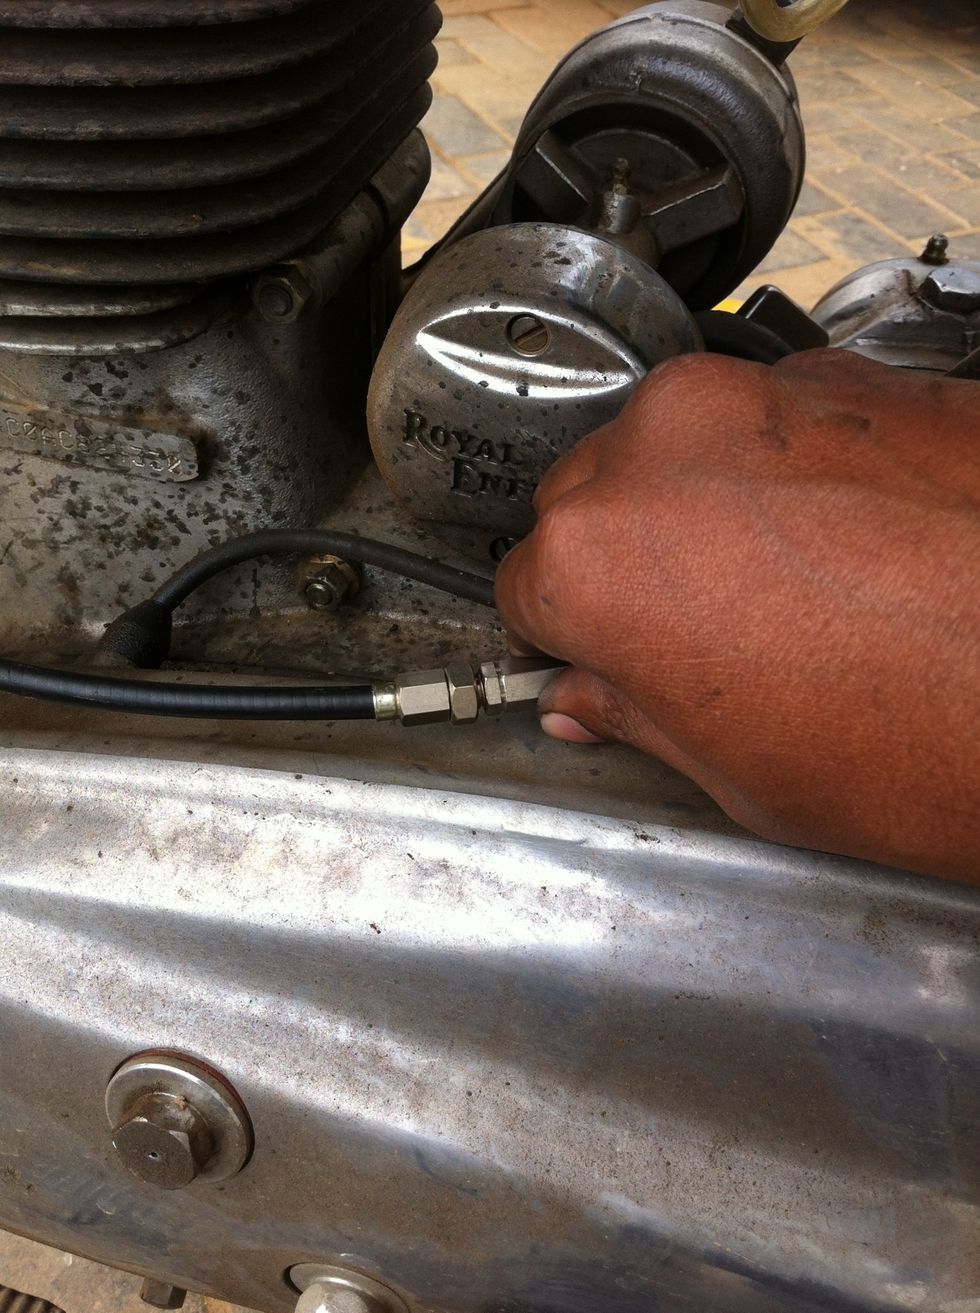
Now guide the cable's other end to the rear of the gearbox

Passing the cable through the hole might be slightly tricky to understand from this photo
Use your finger to guide the seating into place
Next using your finger guide the cable to get seated in the sleeve
Keep the cable pressed
Use a nose plier and pull the cable end into the hook handle
Now tighten the hook handle so cable tension as per your choice is achieved
After you achieve the required tension tighten the lock nut by turning it clockwise
Now unscrew the length adjuster to get the maximum cable length
Check the tension and try to see if you have compression in engine
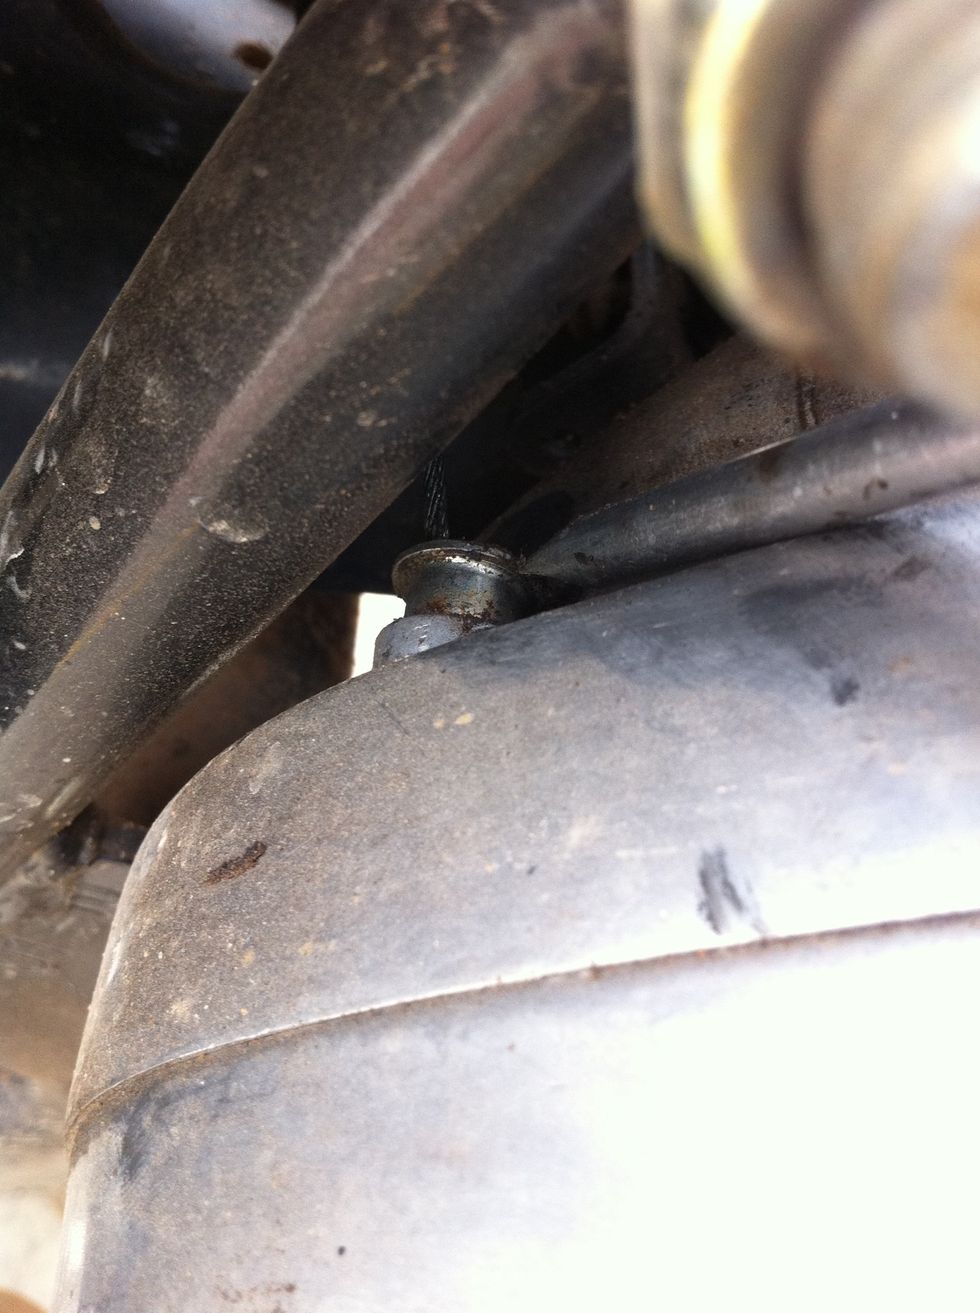
Close the cable access holes in the gear box. Get the kicker out from the locked position under the exhaust by repeating the steps in reverse from steps 3 to 6
You will need to adjust the cable tension as per your riding style. Now wear a helmet and go for a test ride.