The Conversation (0)
Sign Up
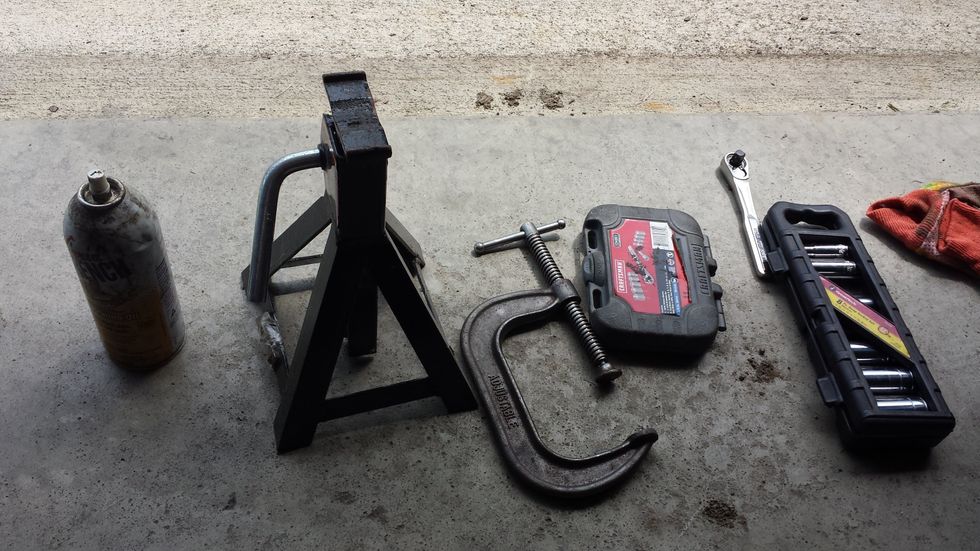
The first step is to collect the necessary tools to change the brake pads.
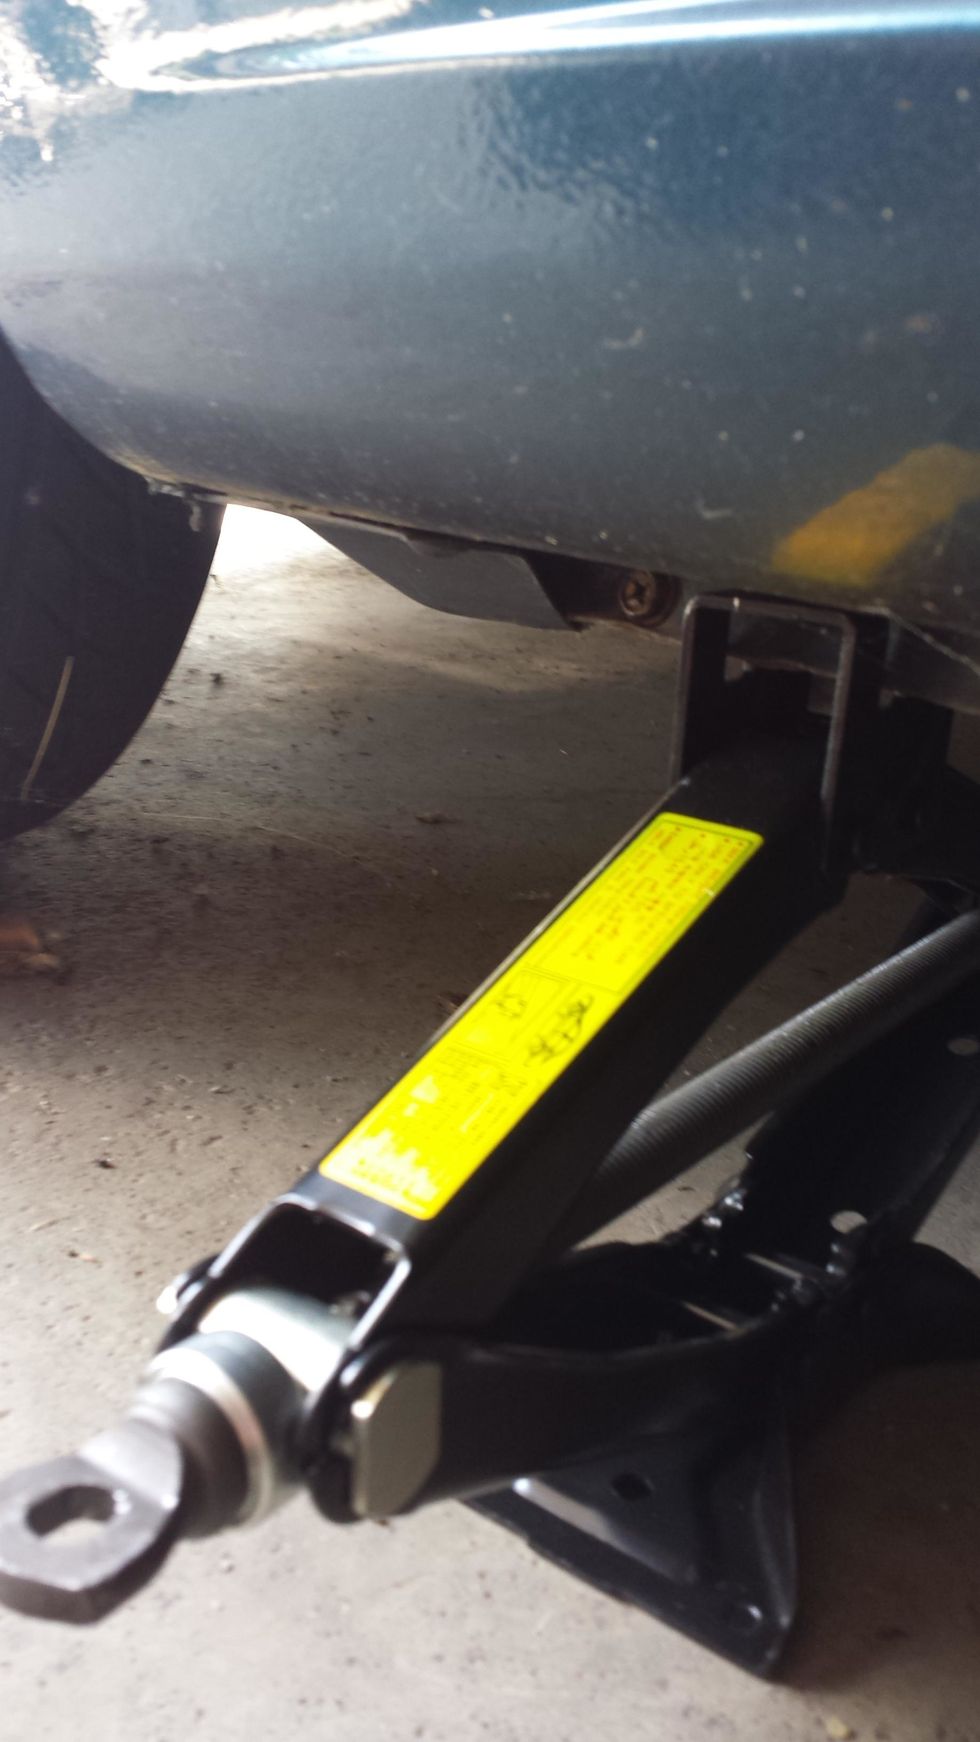
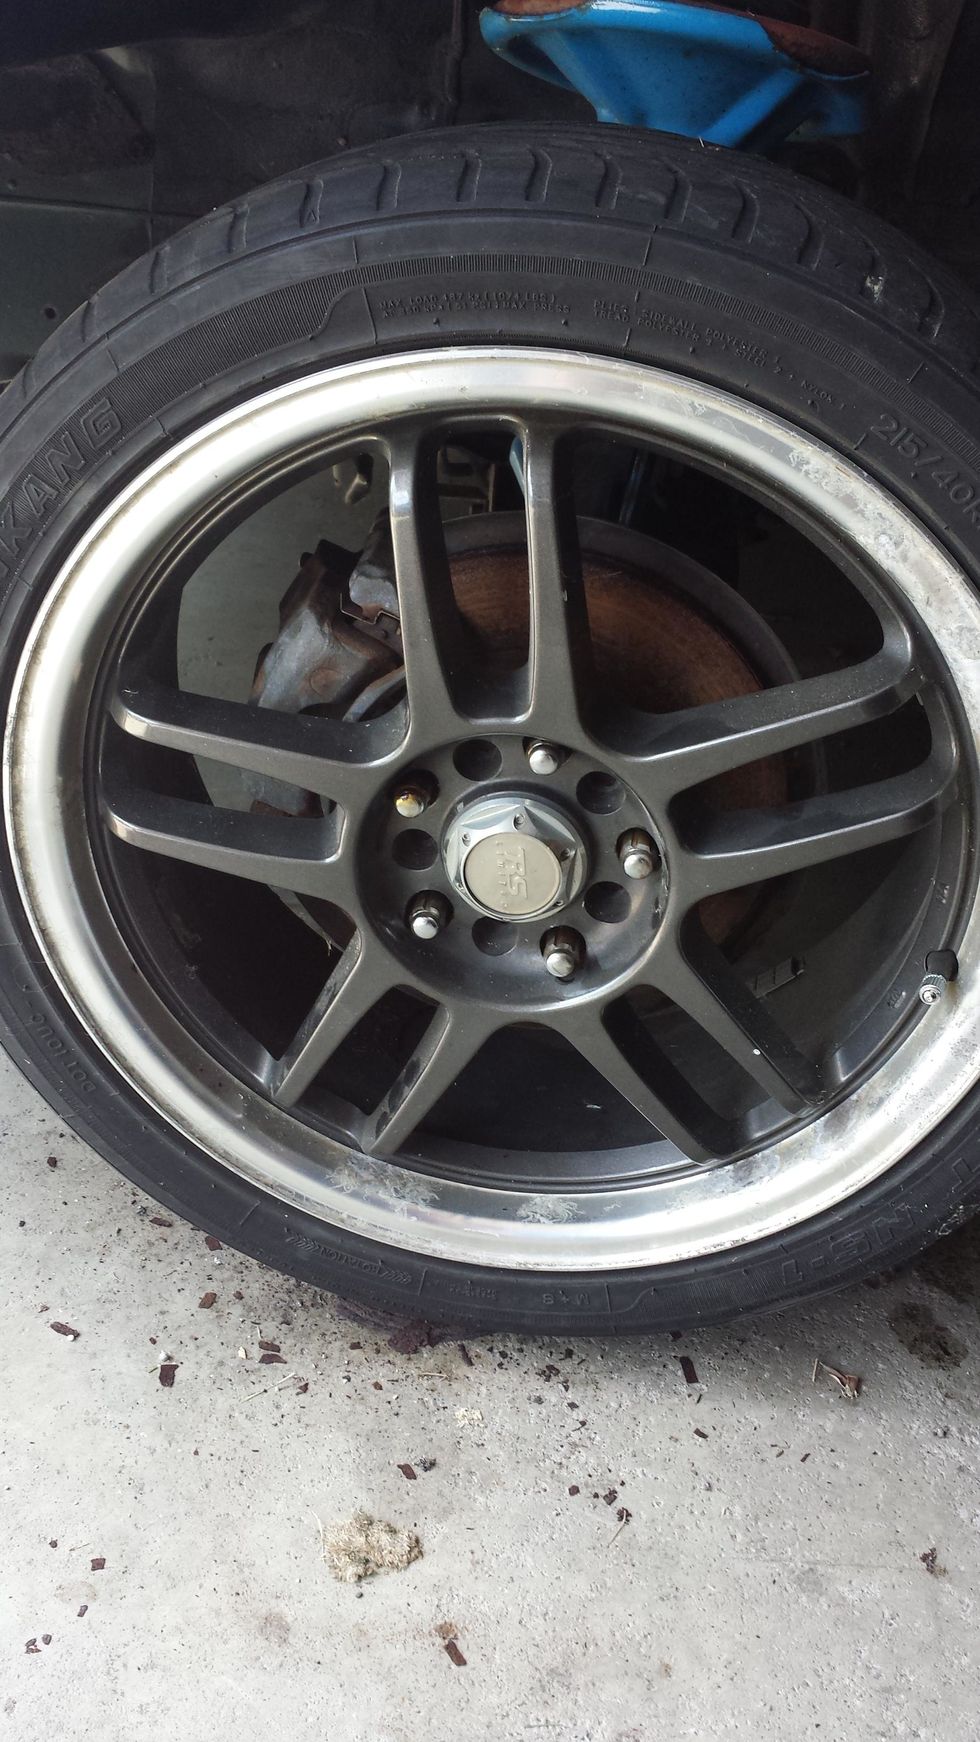
Now locate the correct location to jack the vehicle off the ground. Loosen the lug nuts to finger tight before raising the vehicle up and then remove the wheel when it is off the ground completely.

With the wheel off, now begin to loosen the brake caliper. Spray the two bolts holding the caliper in place over the pads with WD-40 to help loosen the bolts.
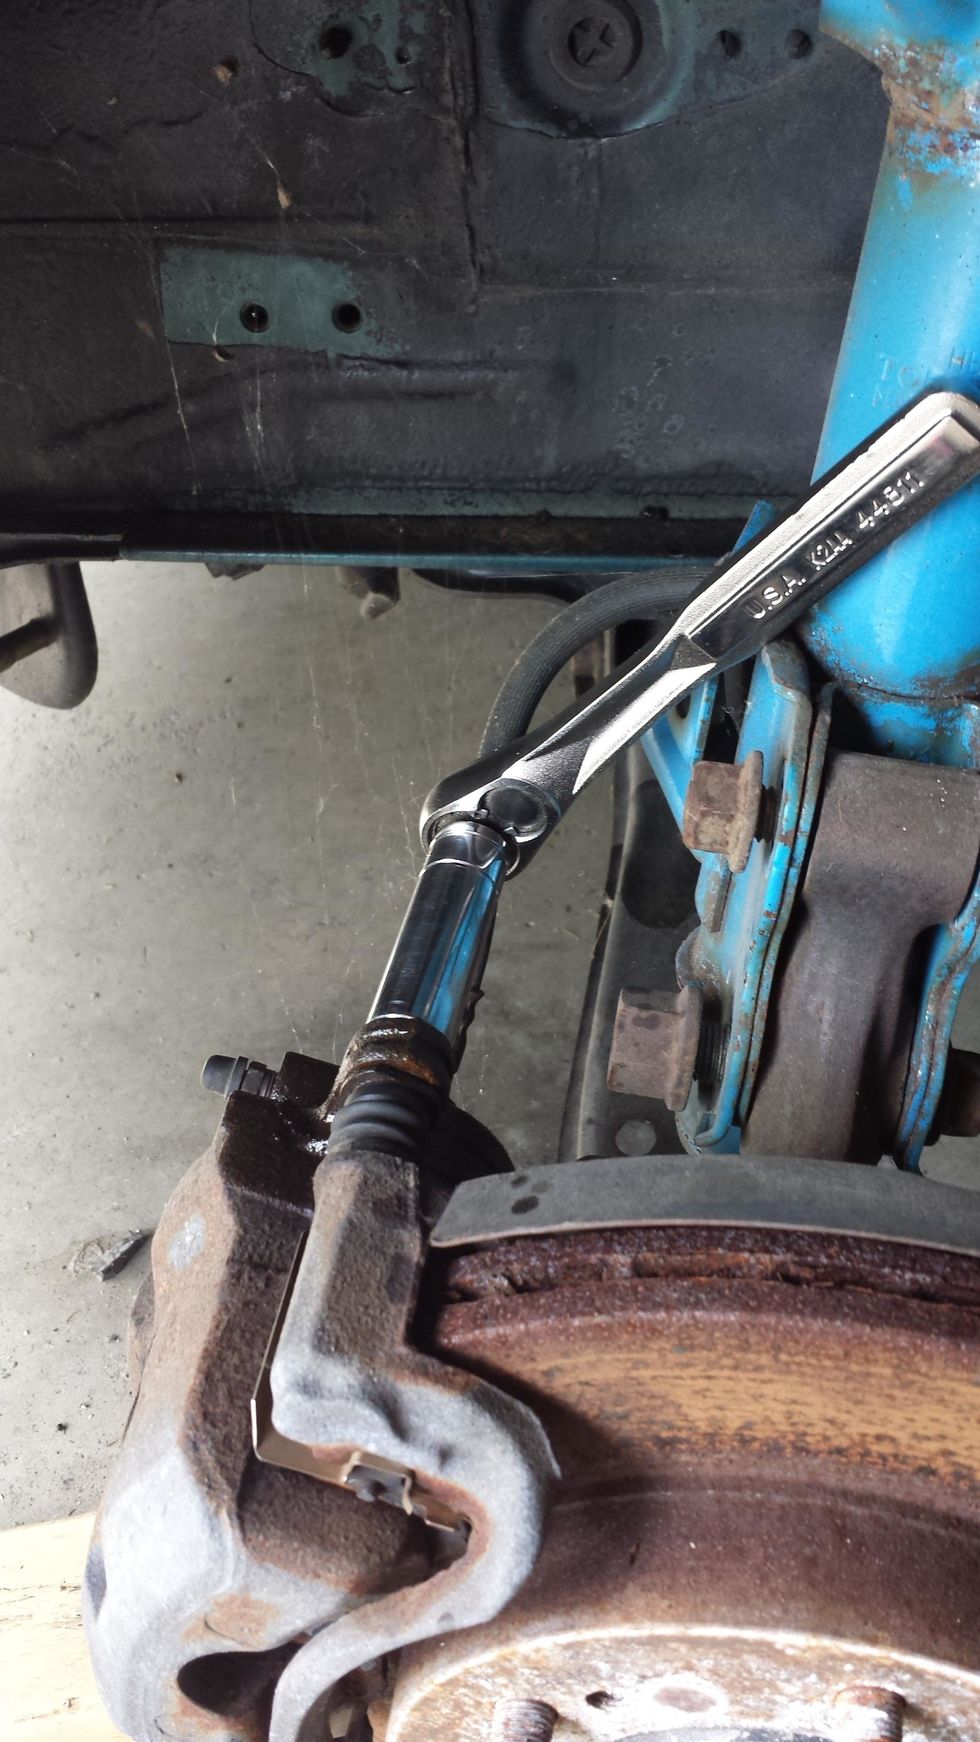
After letting the WD-40 eat away at the rust, use the ratchet and socket to remove the two bolts holding the caliper in place. If a ratchet set is not available use a wrench.
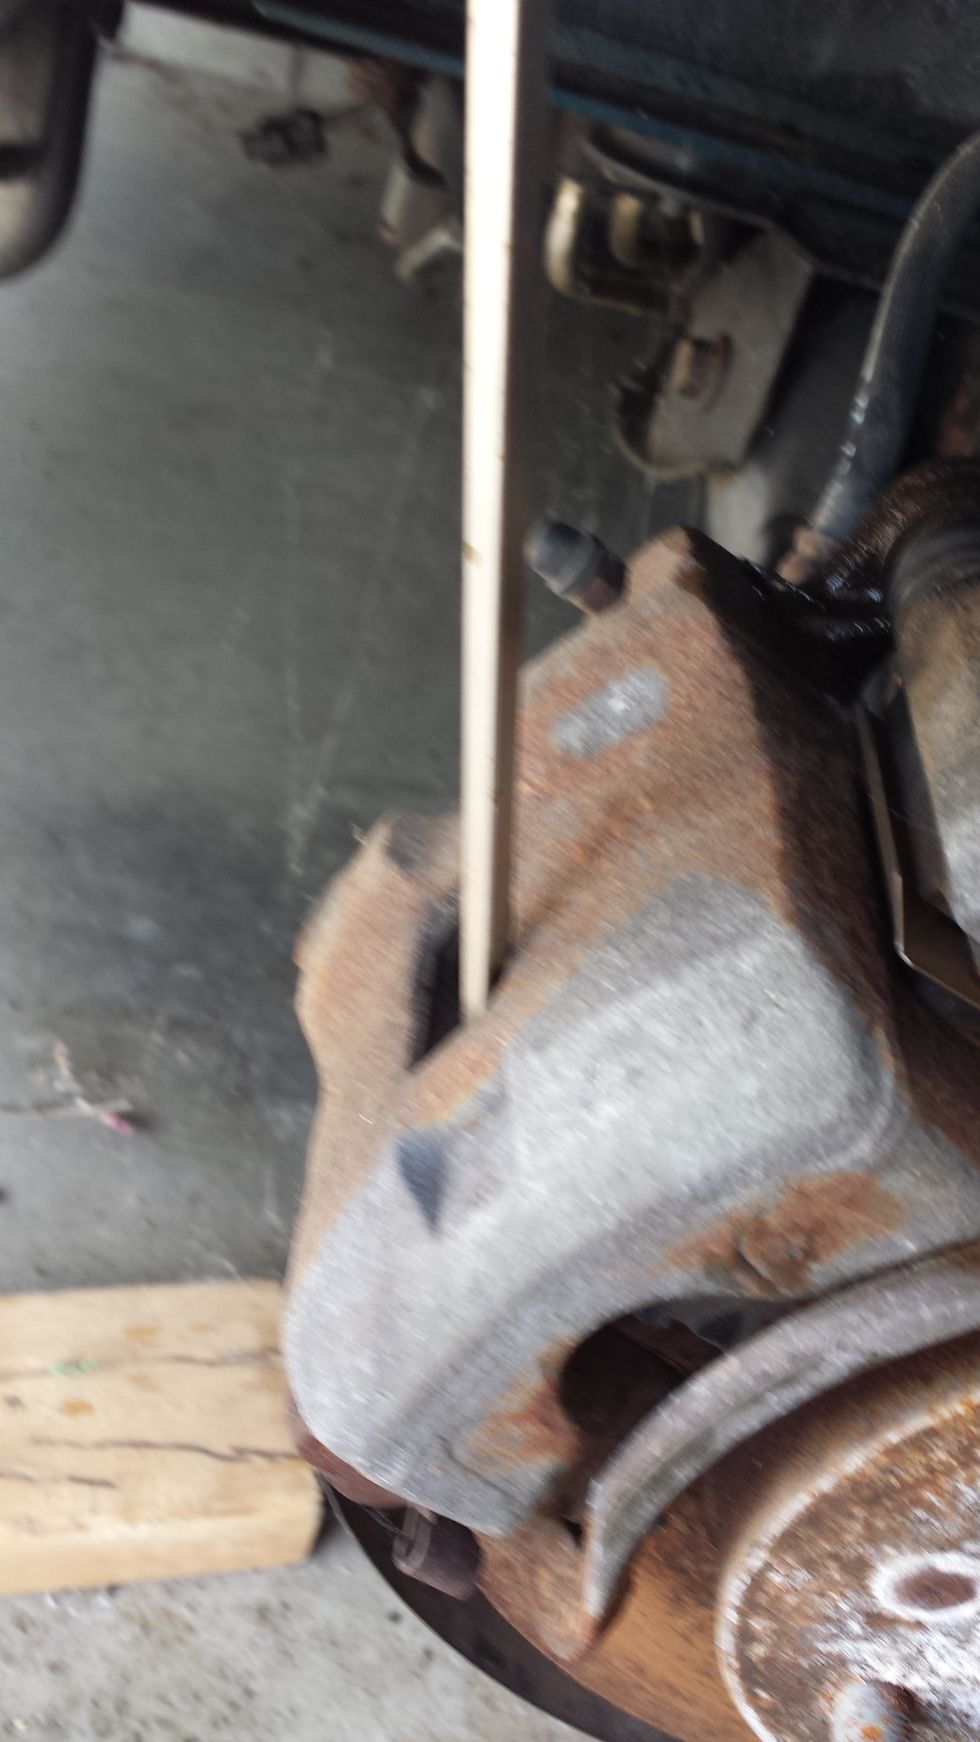
With the two bolts off the caliper can now be removed. Sometimes the caliper will not come right off by hand and require the use of a flat head to pry it off there. Place it as shown here to pry off.
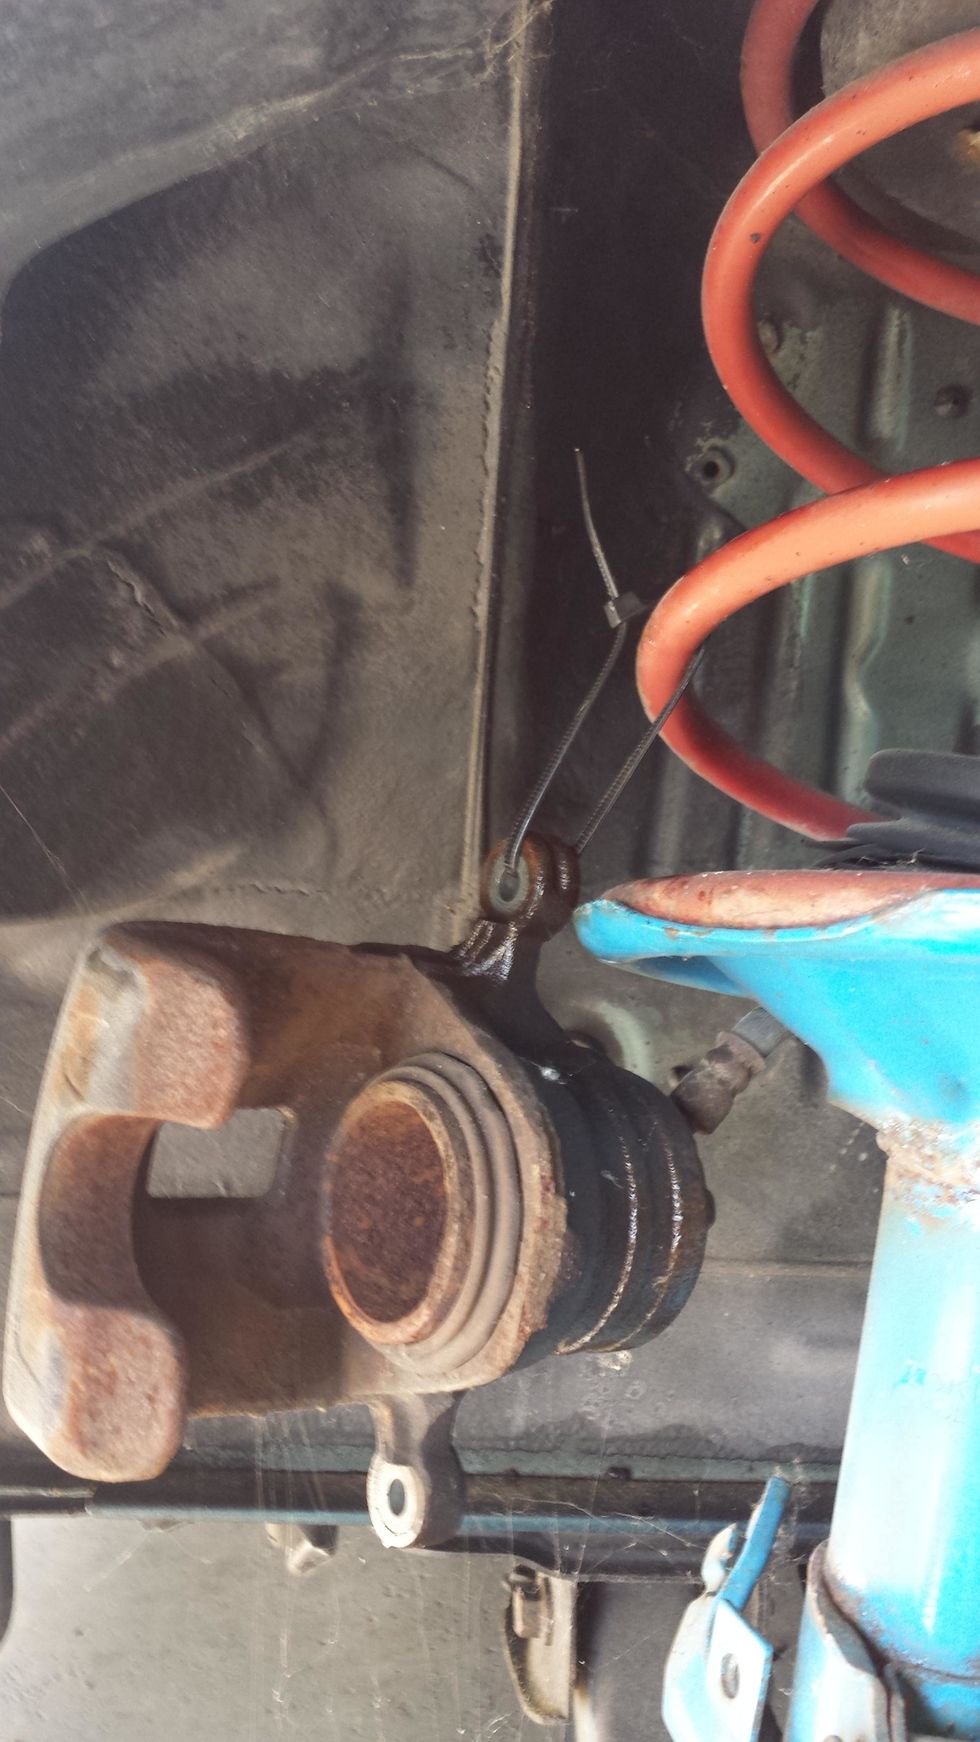
Now that the caliper is do not damage the rubber brake lines from the weight of the caliper. Zip Tie the caliper to the strut tower assembly here.
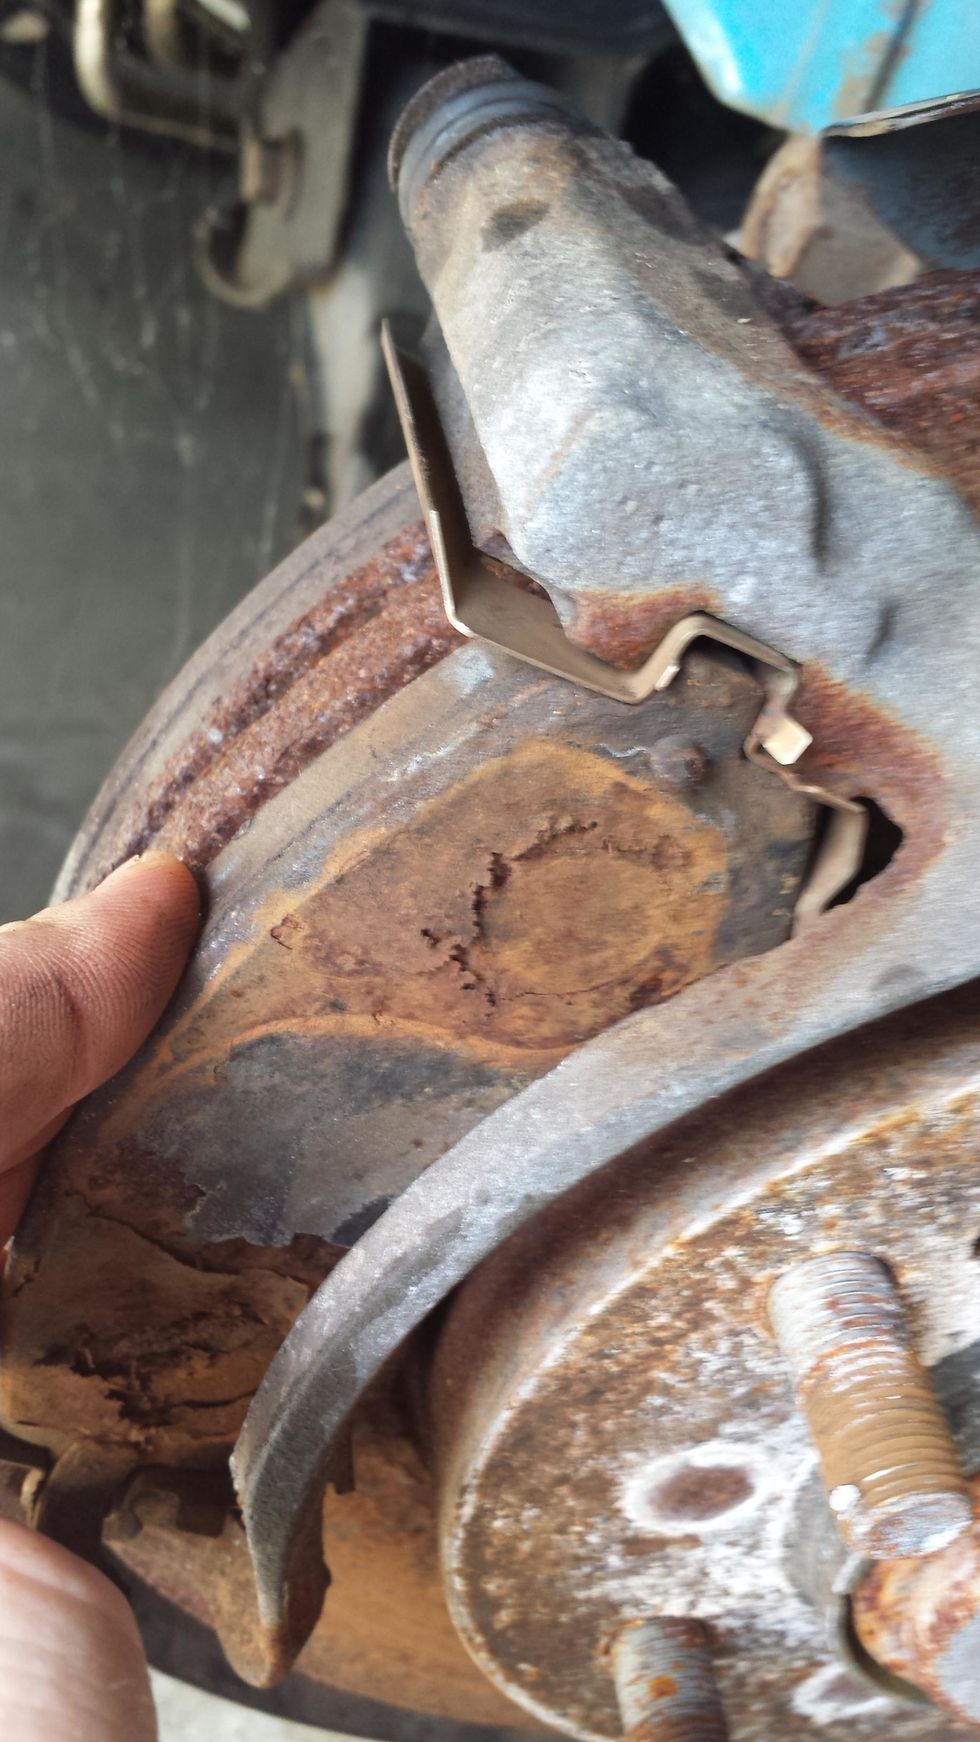
Remove both of the pads on the front and back of the rotors and replace with the new. They clip in place with the grooves made out in the clip on the caliper bracket.
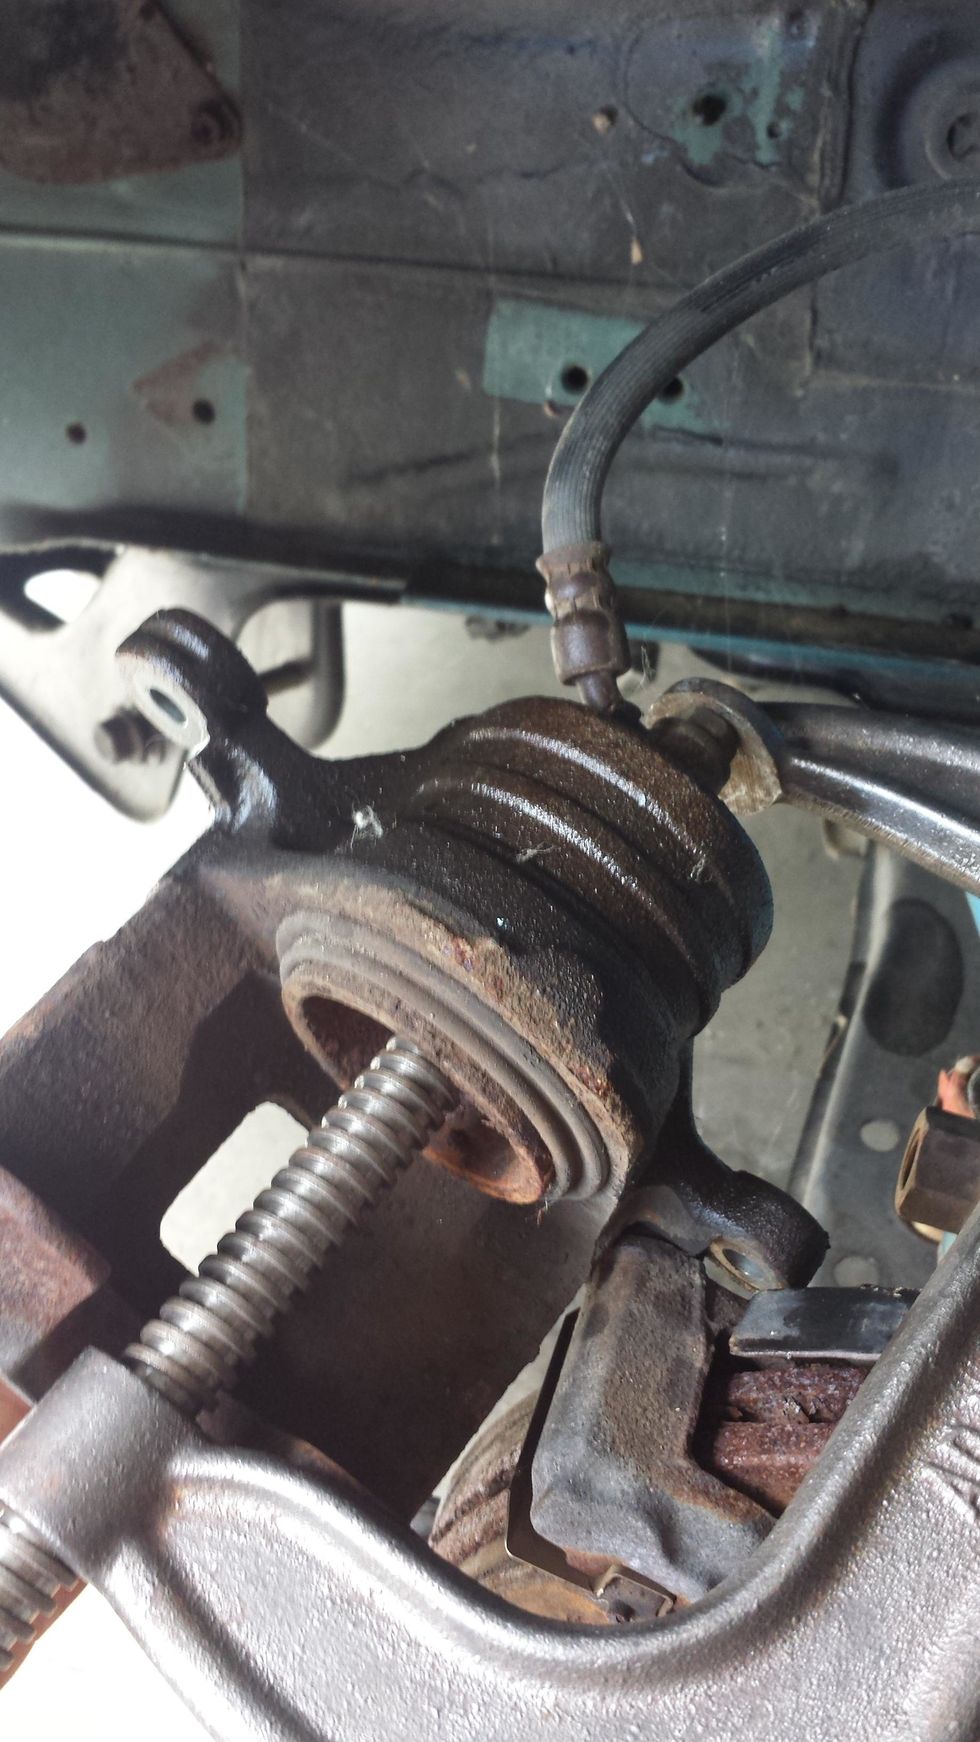
The caliper will need to be pushed in to accept the larger pads. Use a c-clamp and place the spinning part inside the piston, not on the outside rim. Turn in until it's all the way in.
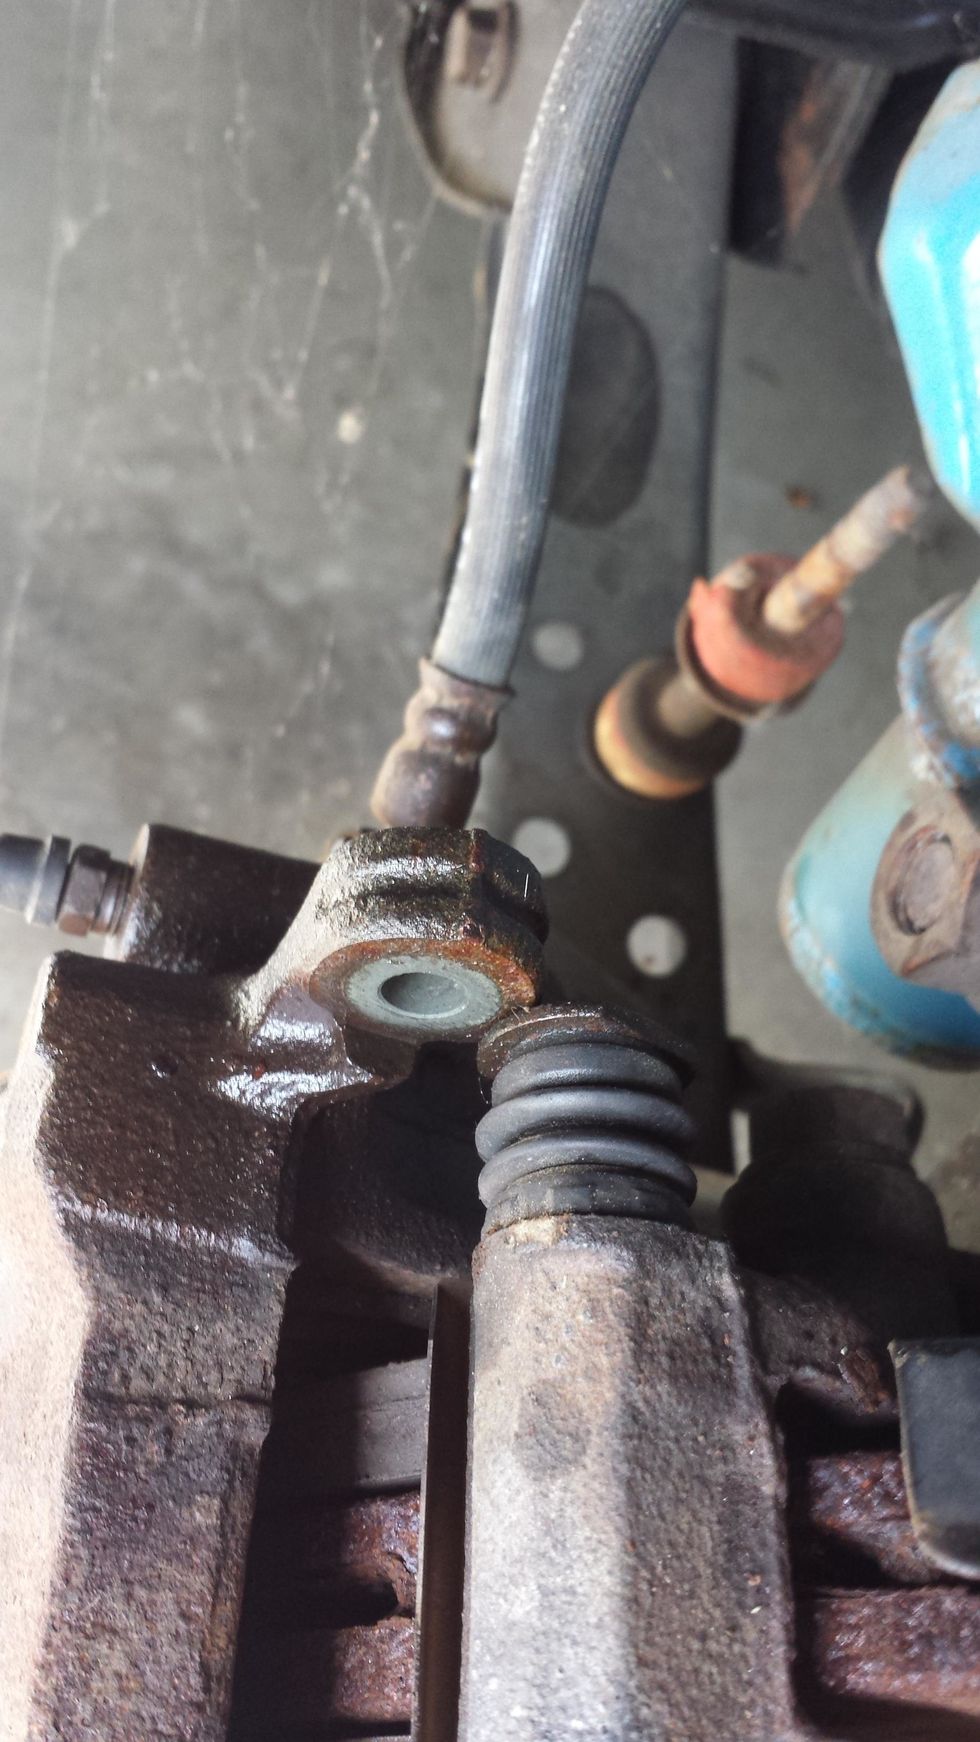
Line up the bolt holes on the caliper with the bracket. This can be tricky, push the bolt inside until it hits the hole that it threads into.
The last step is to put the wheel back on. Tighten the lug nuts on before lowering the car. Then when the car is back on the ground, re-tighten them to ensure they are on all the way.
Now that this has been done, with practice this can be an easy process from here on. After following my How-To--a trip to the shop for brakes should never happen again.