The Conversation (0)
Sign Up
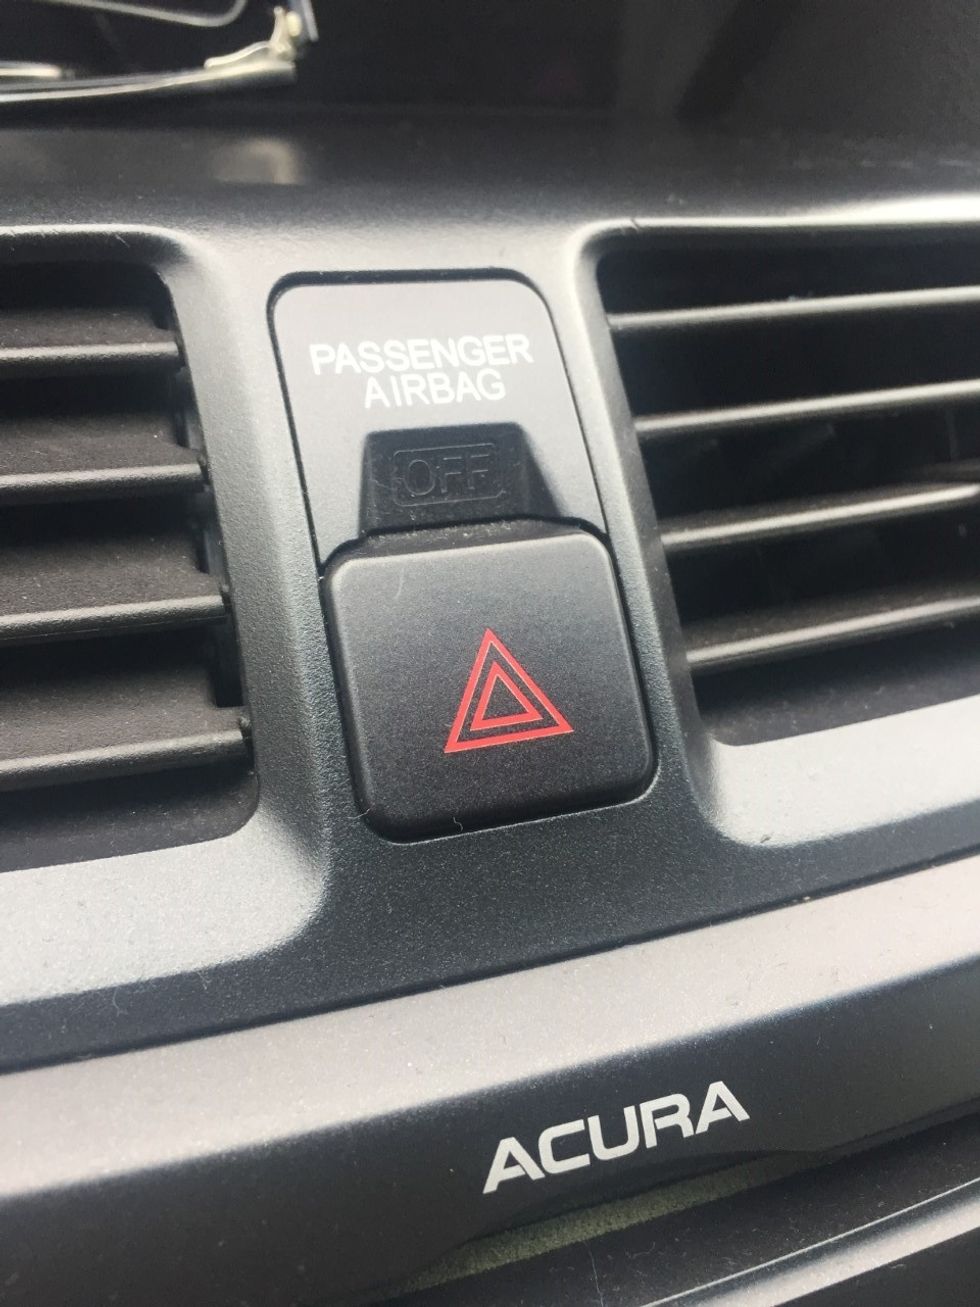
Even if you're in what seems to be a secure location, turn on the hazards lights, to let others know the vehicle is not under normal functioning order.
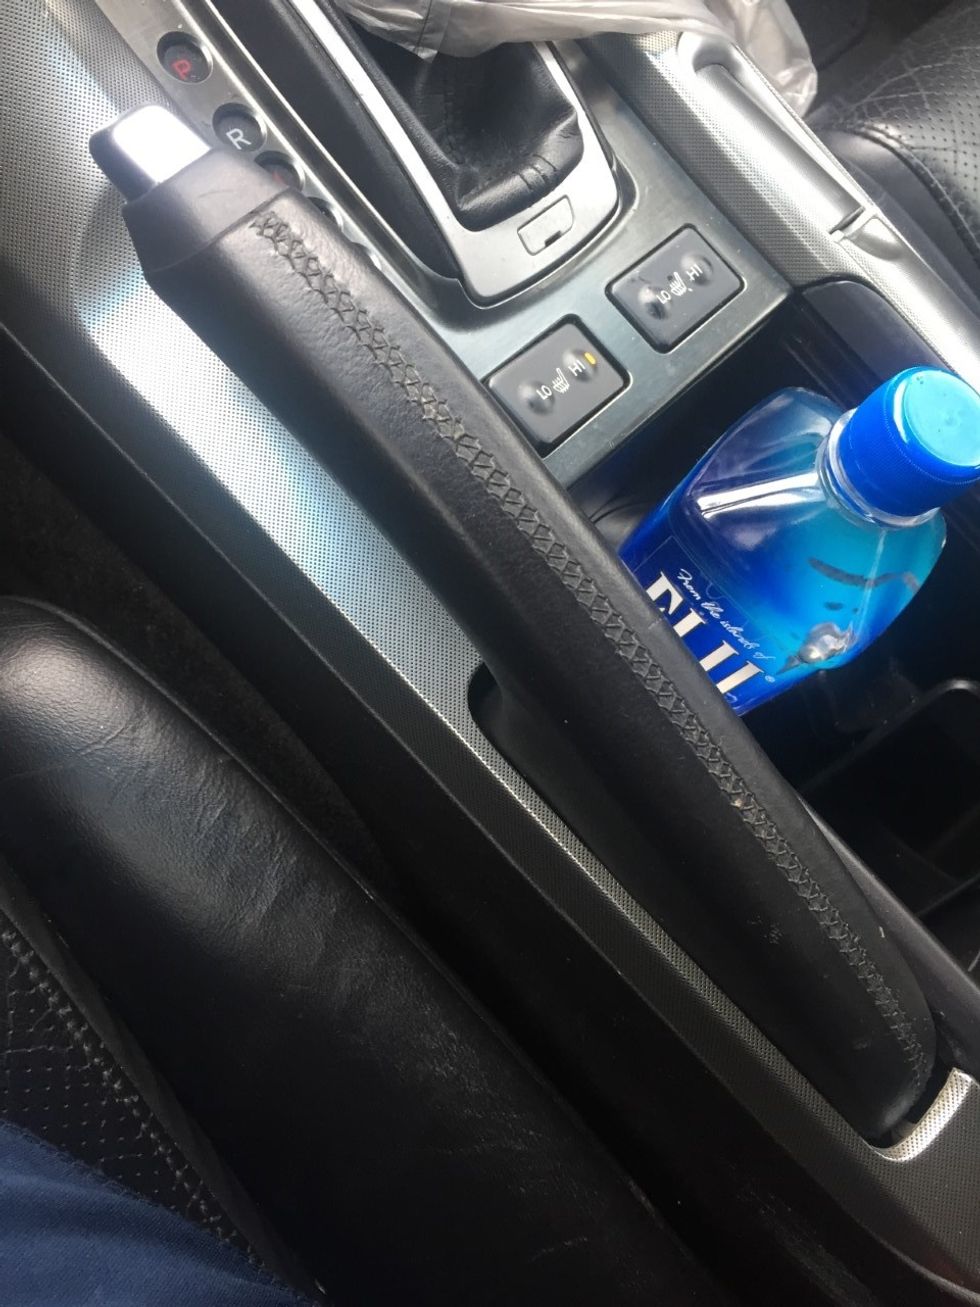
Another safety precaution! Engage the emergency brake to avoid the car rolling away and causing injury. Keep in mind that your emergency brake may be found under your dash board, near your left leg.
Some spare tires can be found underneath the vehicle, others can be stored above it, and Jeeps tend to house them on the exterior of the back door. Most can be found under the trunk floor.
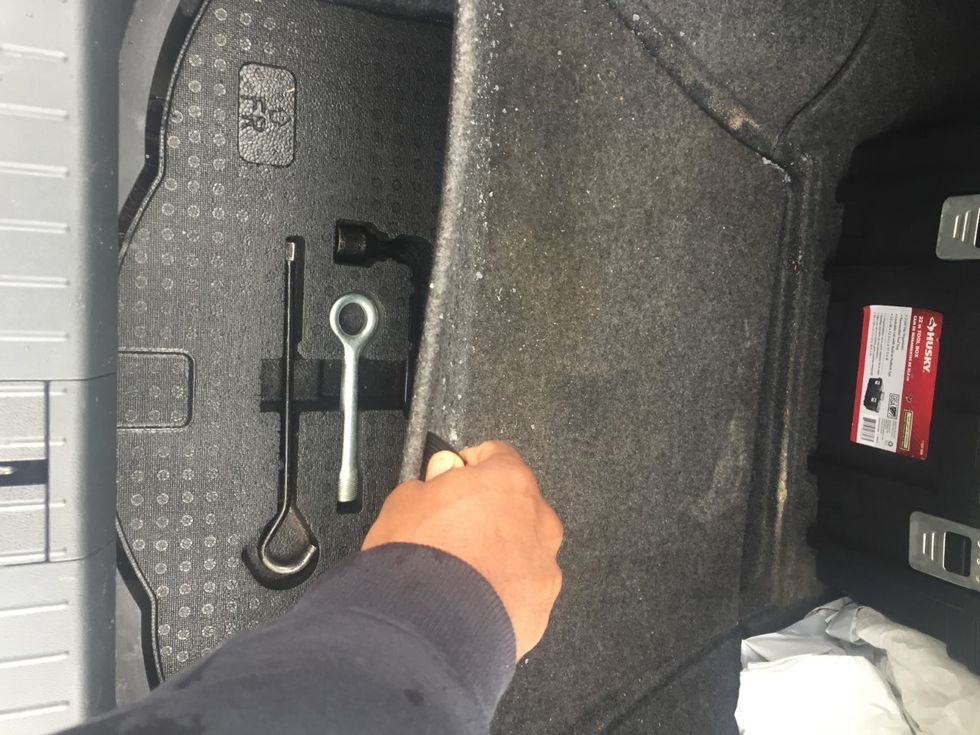
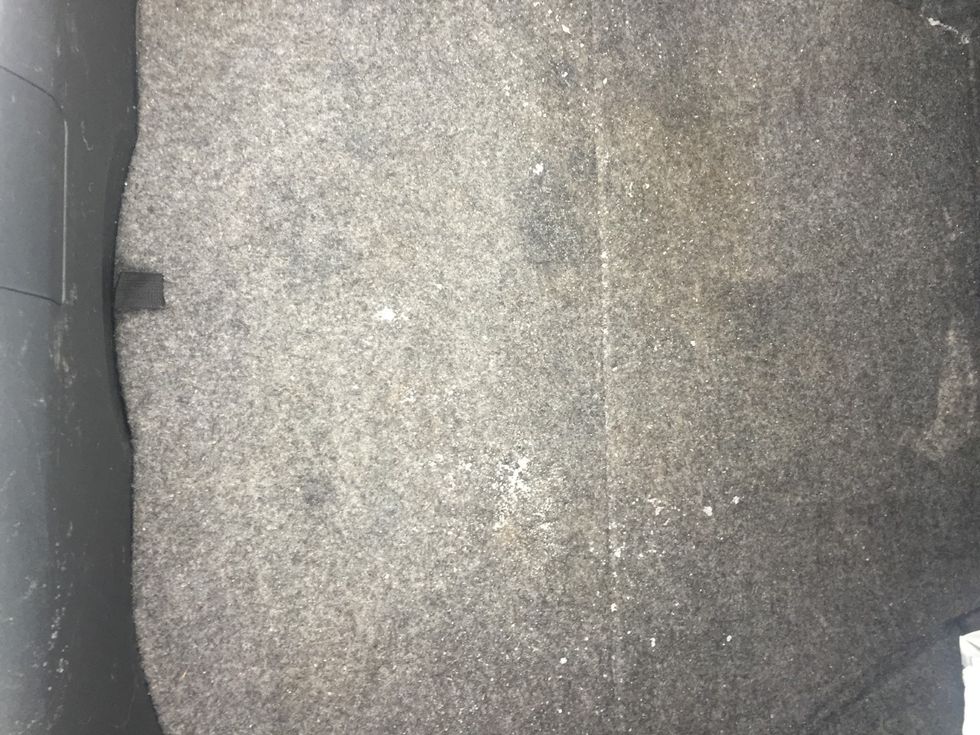
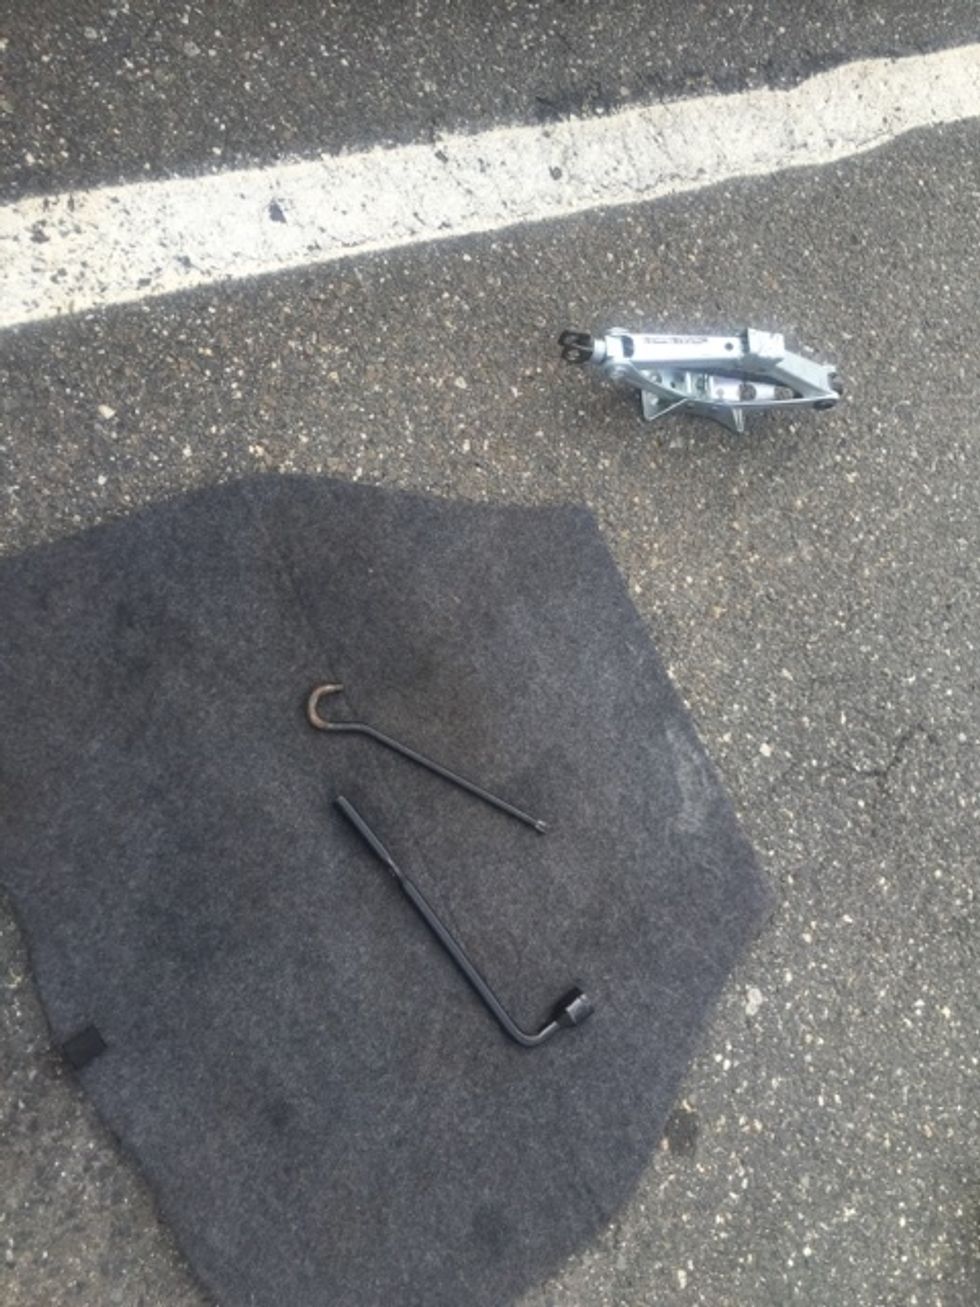
Lift the floor of the vehicles trunk to locate the spare tire. In some cars you will find the necessary tools on top of the tire as pictures above.
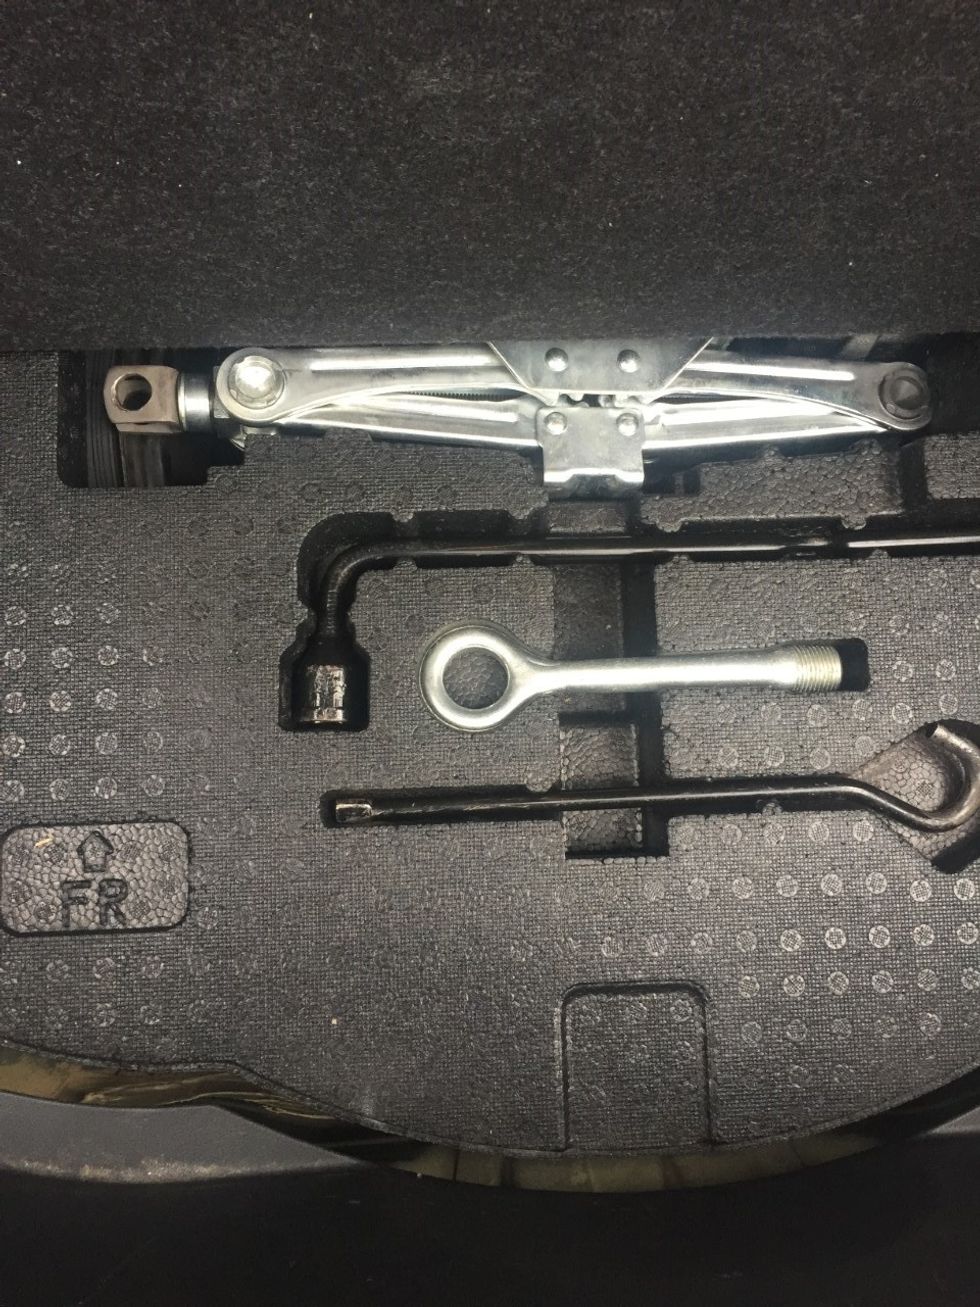
Lift the foam housing the tools to get to your tire. Keep in mind the tire will be low causing you to bend over the opening of the trunk. Be sure to exercise caution as to no injure your back.
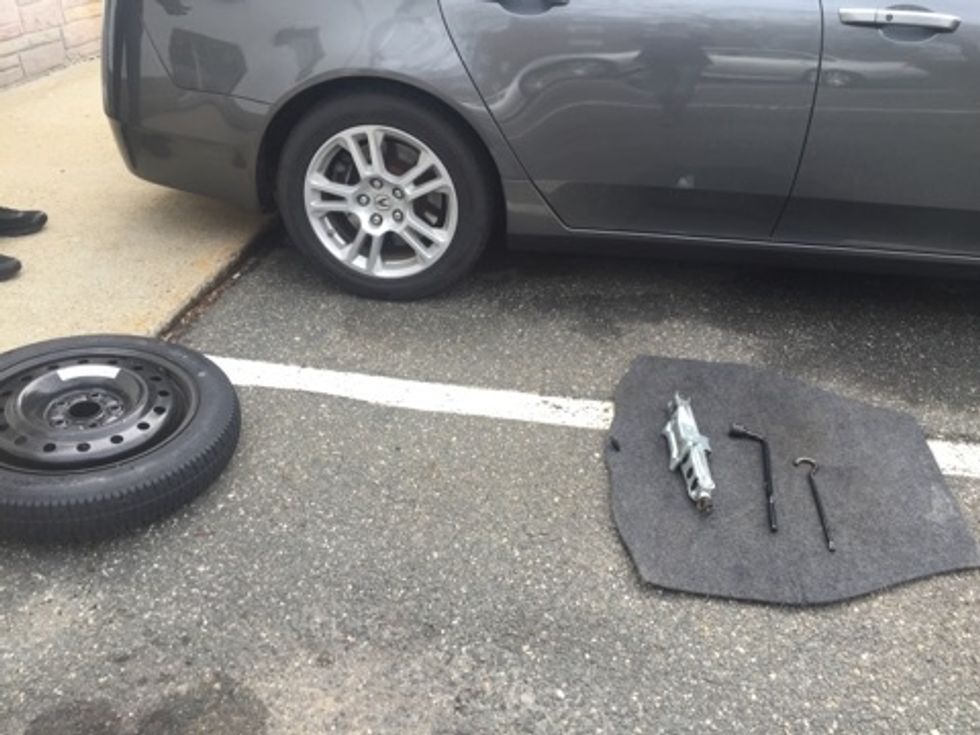
Ensure you have all the needed supplies readily available. As you see pictured here, you can use the trunk flooring to gather your tools. It can also be used to kneel or lay on.

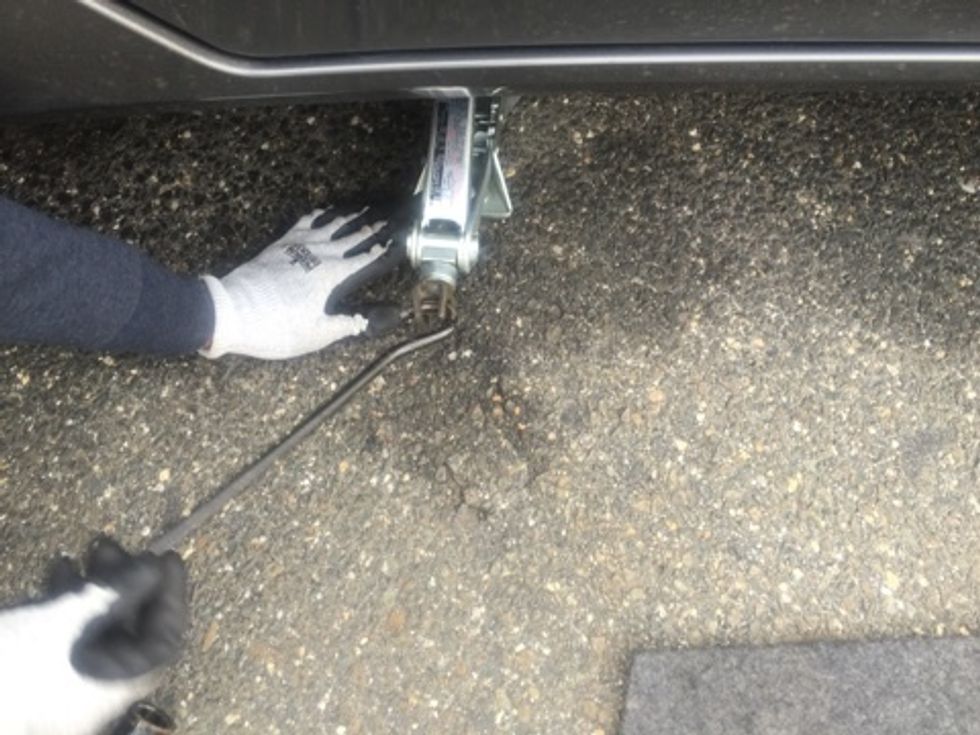
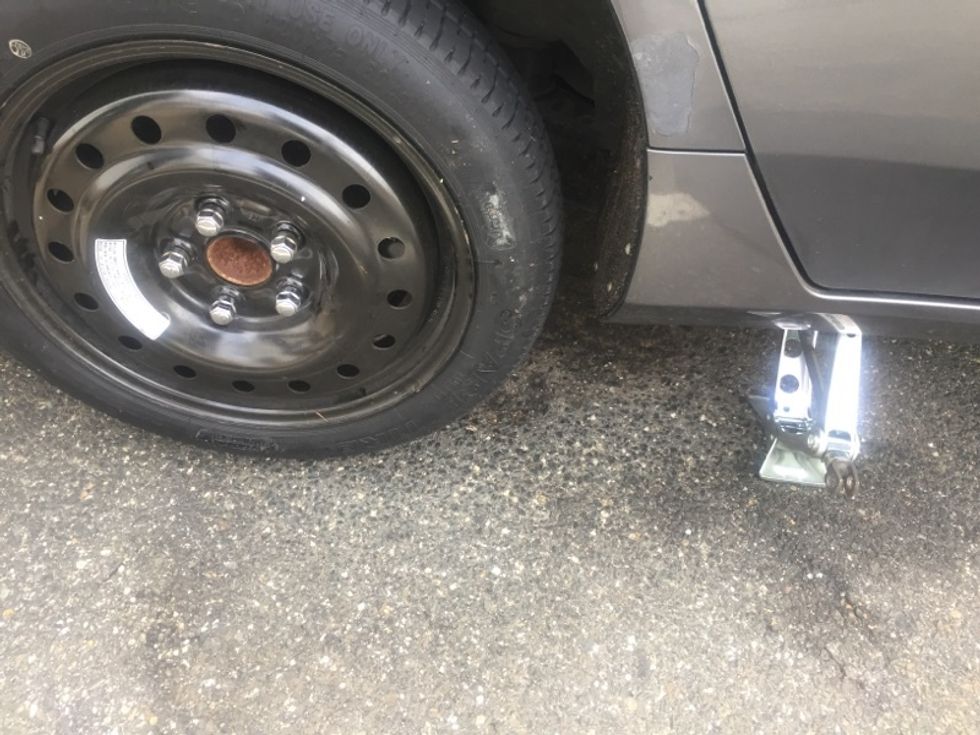
Make sure you know what part of the under carriage you will put the jack, in order to raise the vehicle.
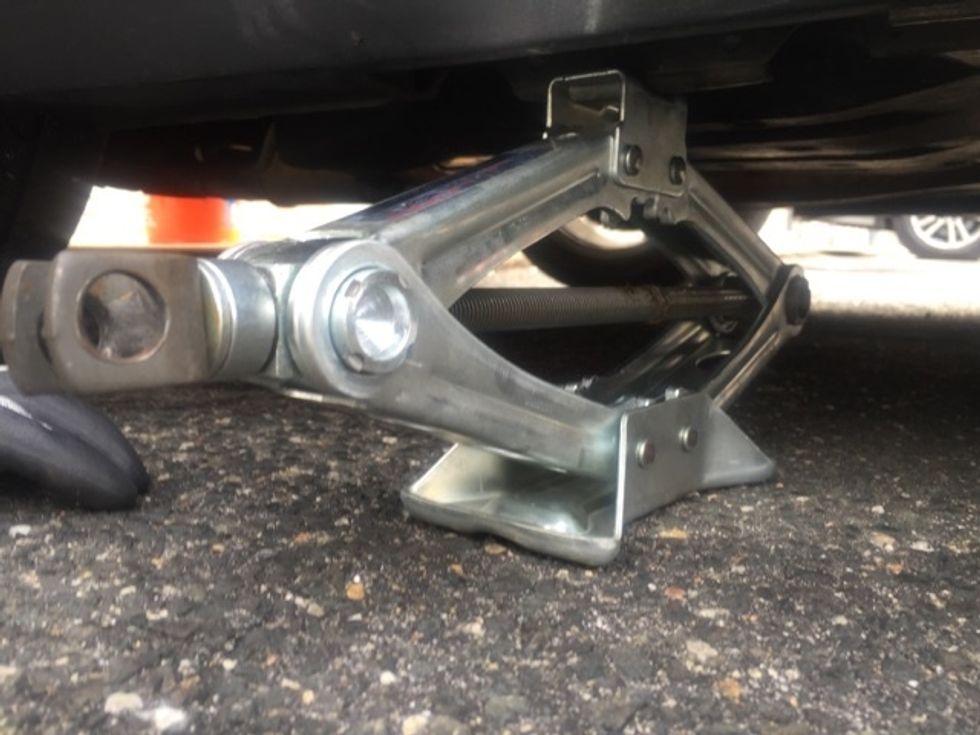
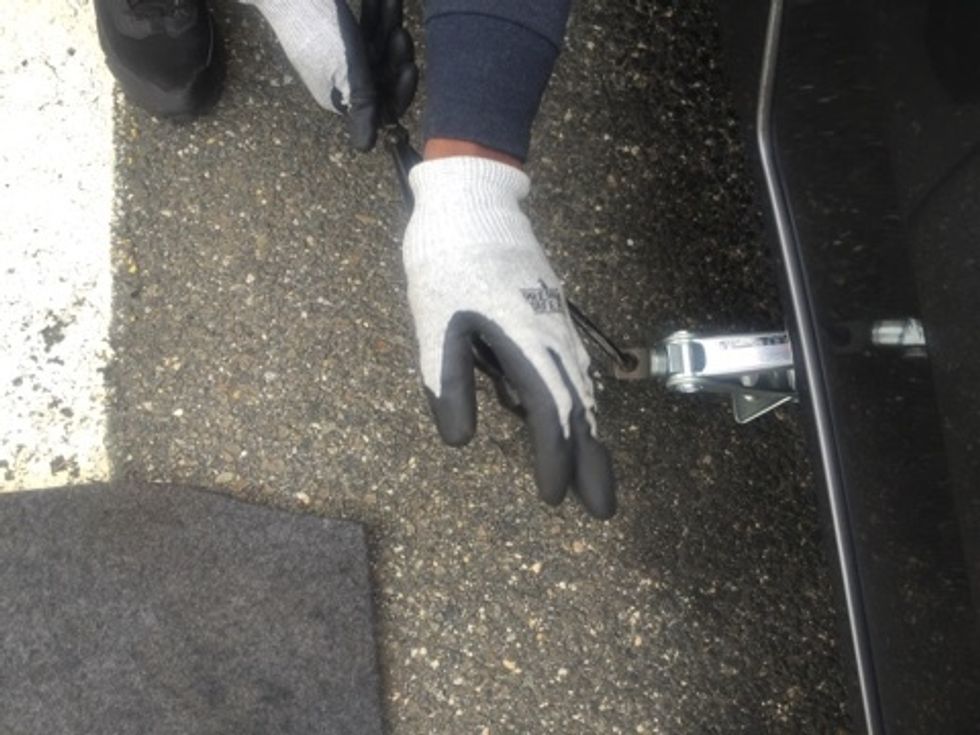
Place the jack underneath the previously indicated part of undercarriage. Use your hand to lift jack until it is flush with the vehicle.
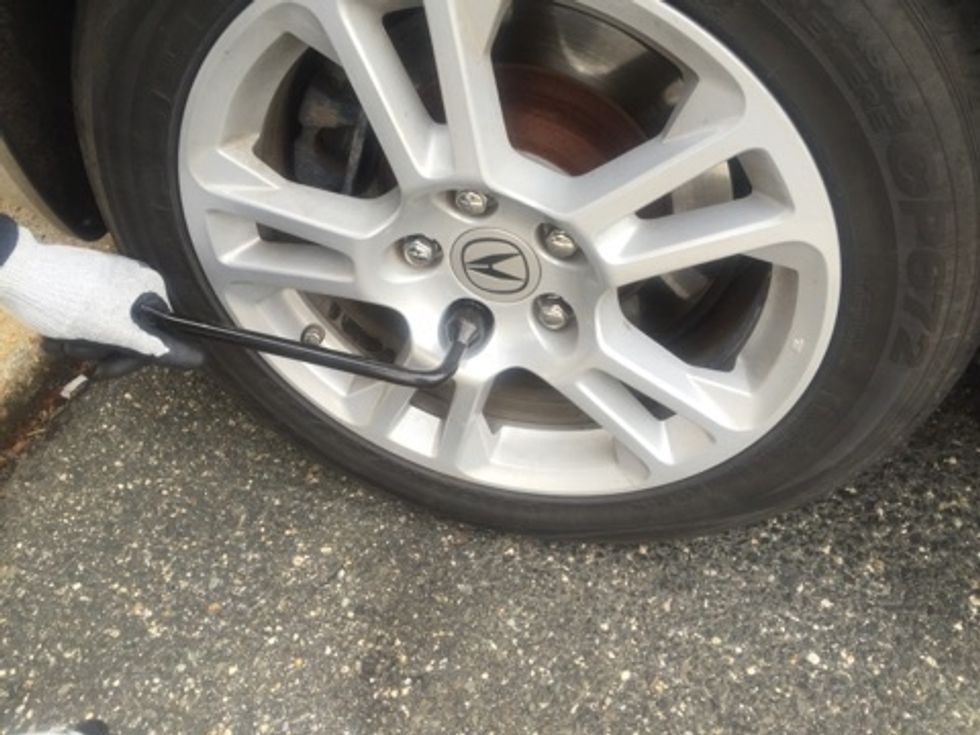
Loosen the lug nuts just enough that they are not longer extremely tight.
Attach the Jack arm assembly to the Jack.
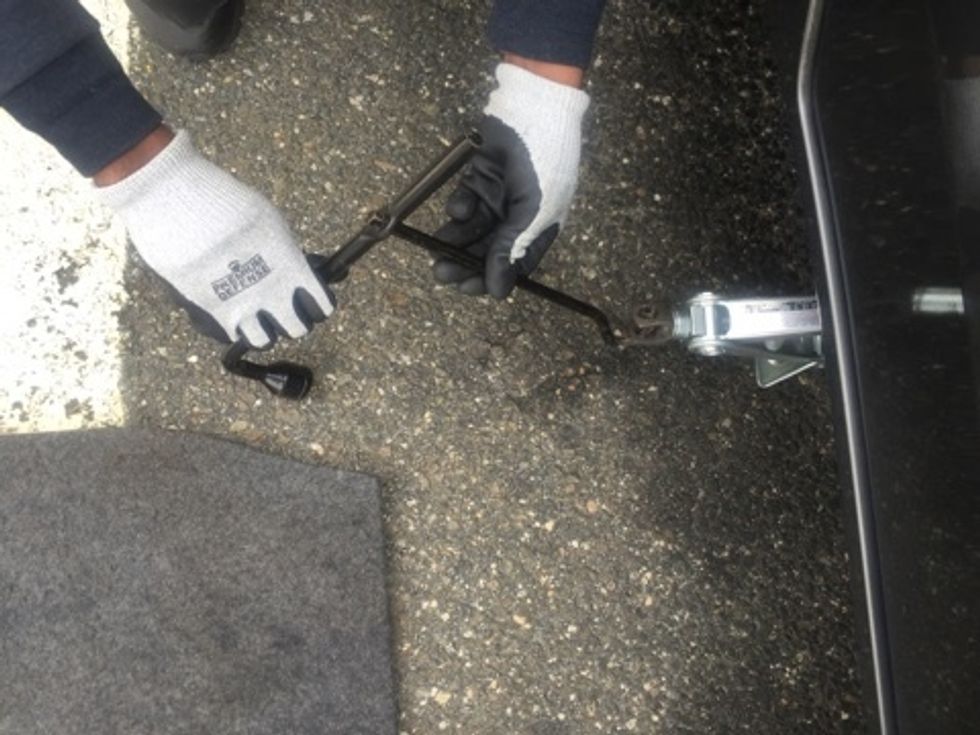
Next attach the lug nut wrench to the Jack arm assembly.
Ensuring all recently assembled parts stay together, turn lug nut wrench clockwise to raise the vehicle.
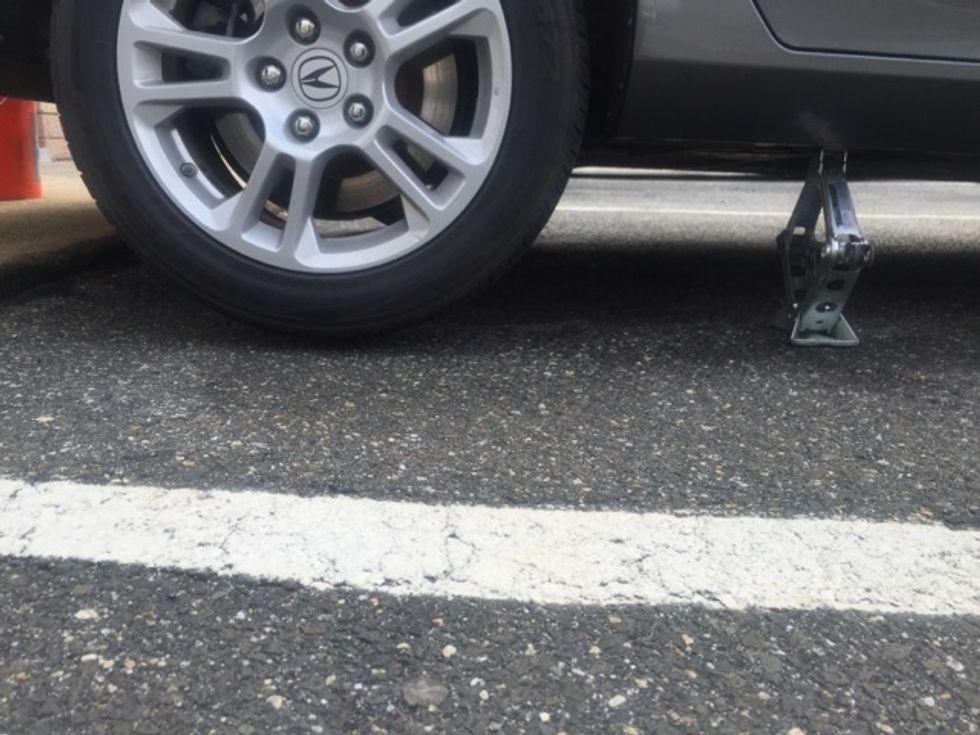
Raise the car until there is at least an inch or two between the tire and the ground. This will ensure the necessary space to safely remove the tire.
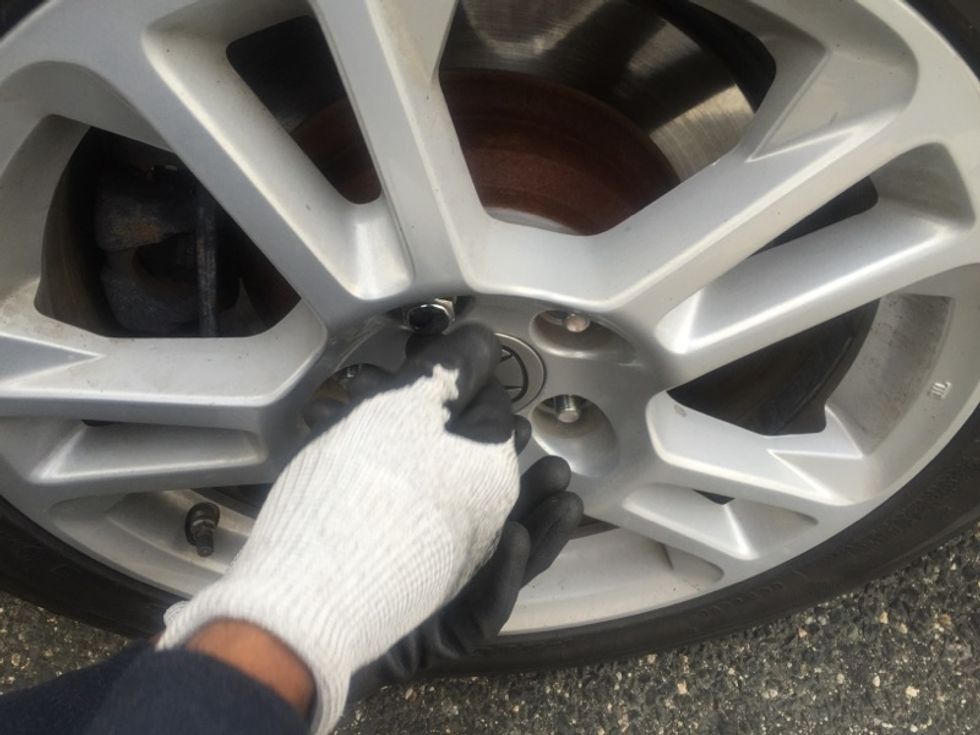
Since you previously loosened the lug nuts with the lug nut wrench, you can now use your hands to fully remove them.
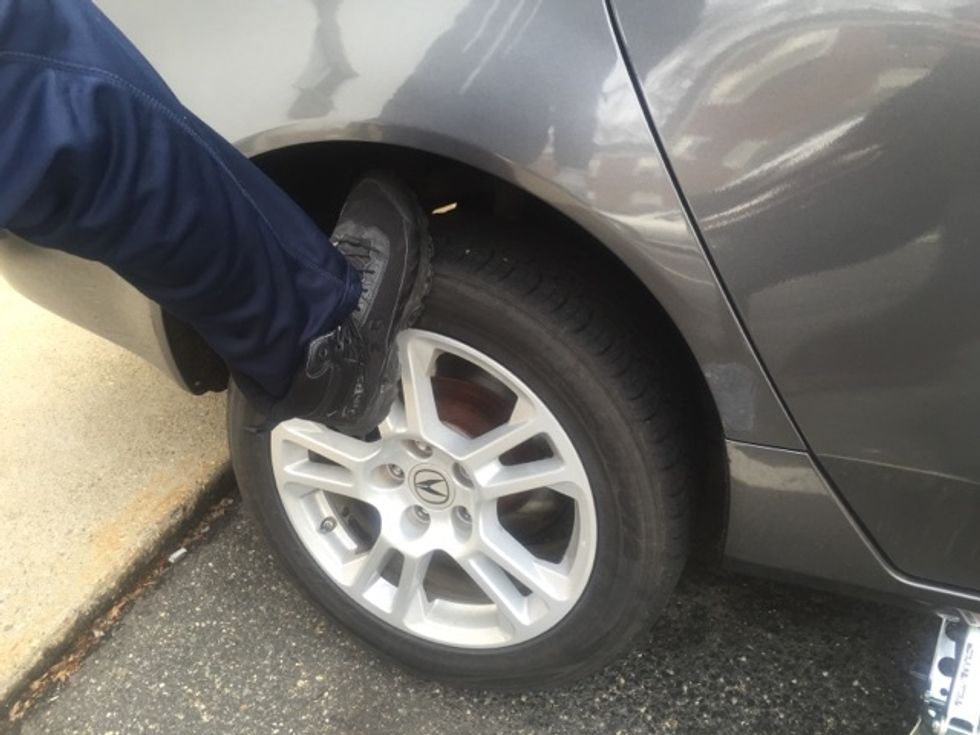
The tire will be fairly snug and may give you a bit of trouble to remove. You can use your foot to give it a good shake or kick, to help loosen it. Now, you can remove it and put it aside.
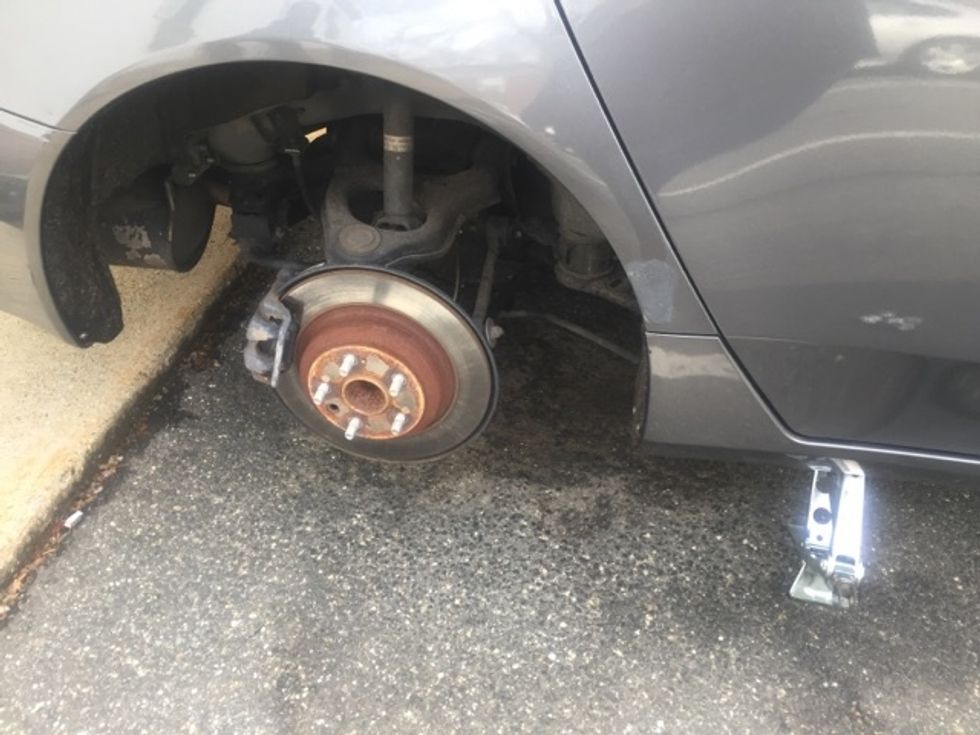
You have now successfully removed the damaged tire. We are half way through. Yes!
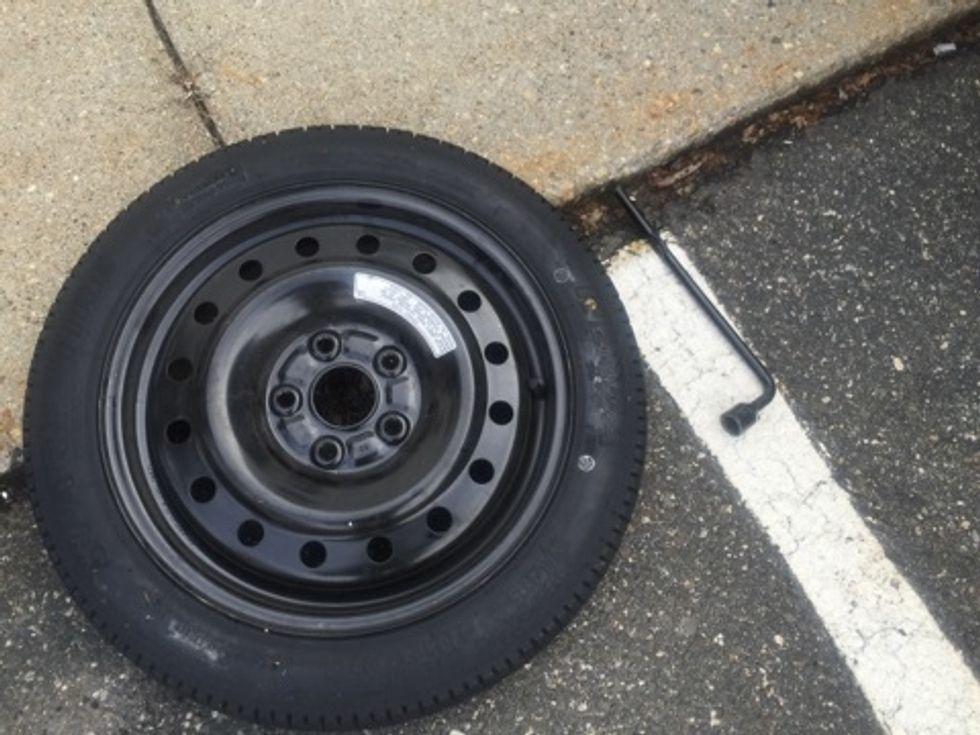
Grab your spare tire and bring it over to the vehicle. Line up the holes with the screws and place tire on hub.
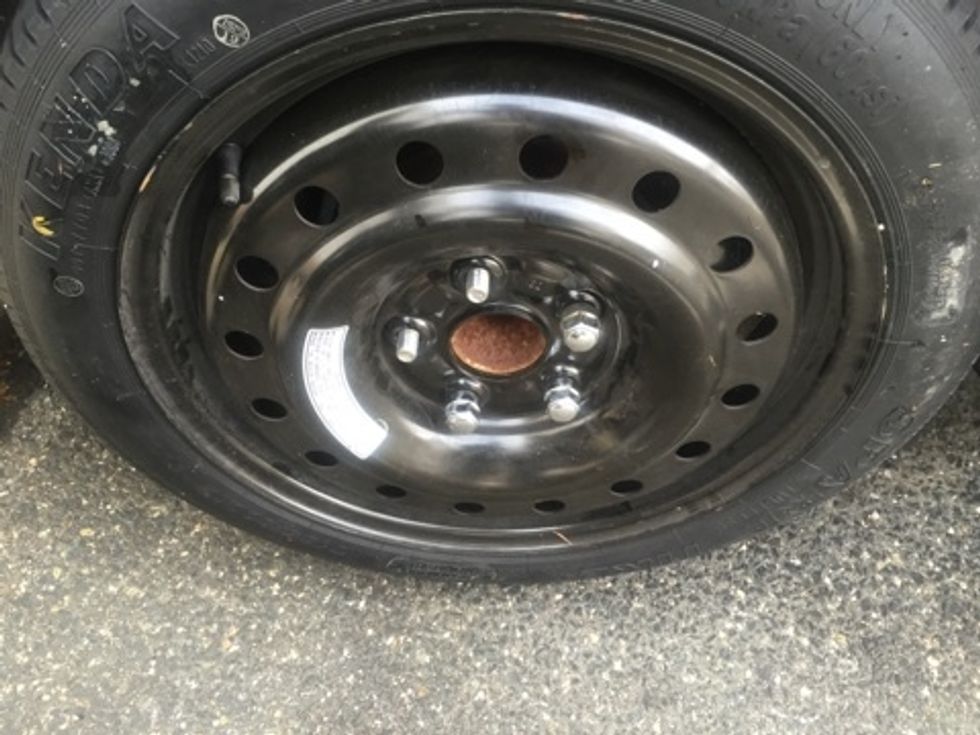
Once the tire is placed on the hub, start placing all lug nuts on screws. Tighten as much as possible with your hands.
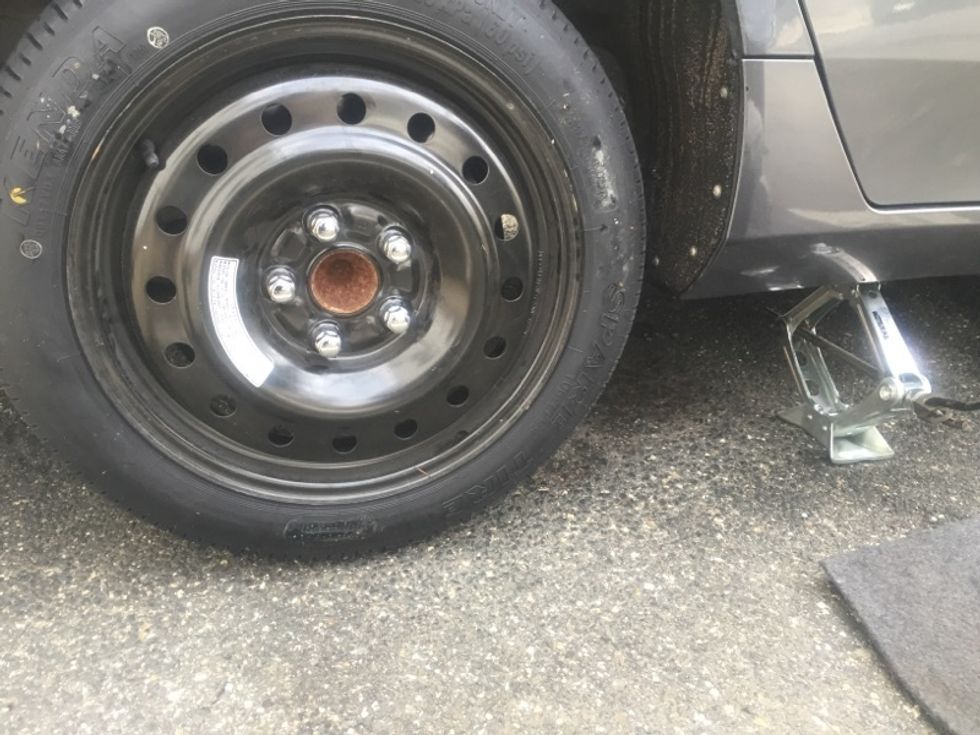
Now, that all the lug nuts are secure, you can lower the car.
Remember to attach the jack arm assembly to the jack and the lug nut wrench to the arm.

You have successfully lowered the car to the ground.
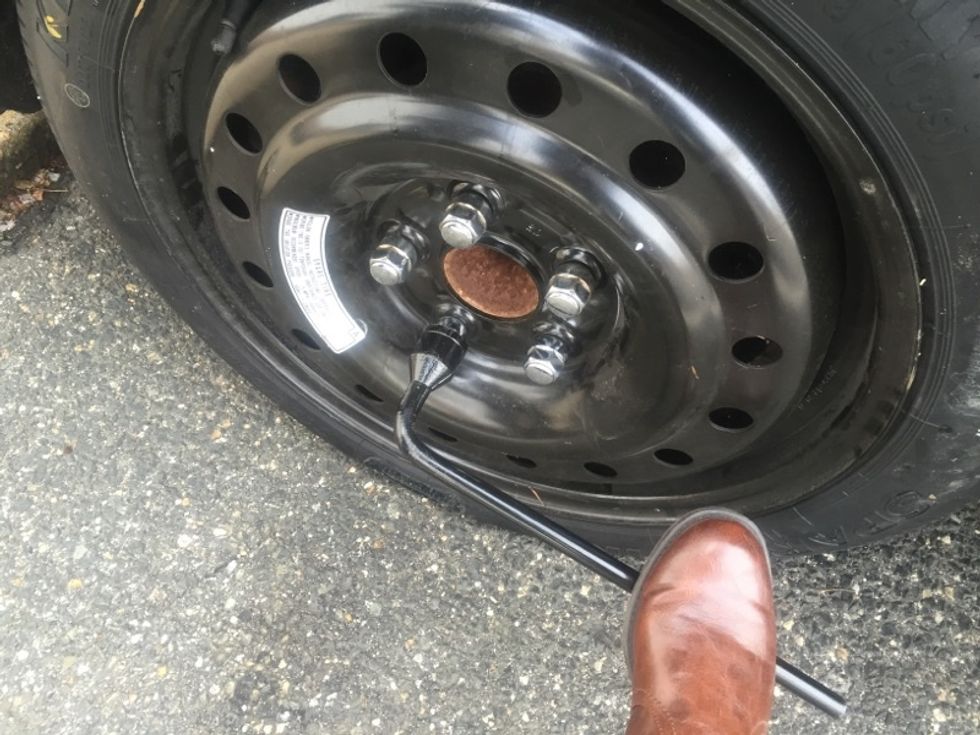
Once the car in on the ground, fully secure the lug nuts using the wrench, exercising caution not to overtighten.
Collect all your tools, put them away and drive off into the sunset. Congratulations!!! You have officially changed a tire!!!