STEPS
TOOLS
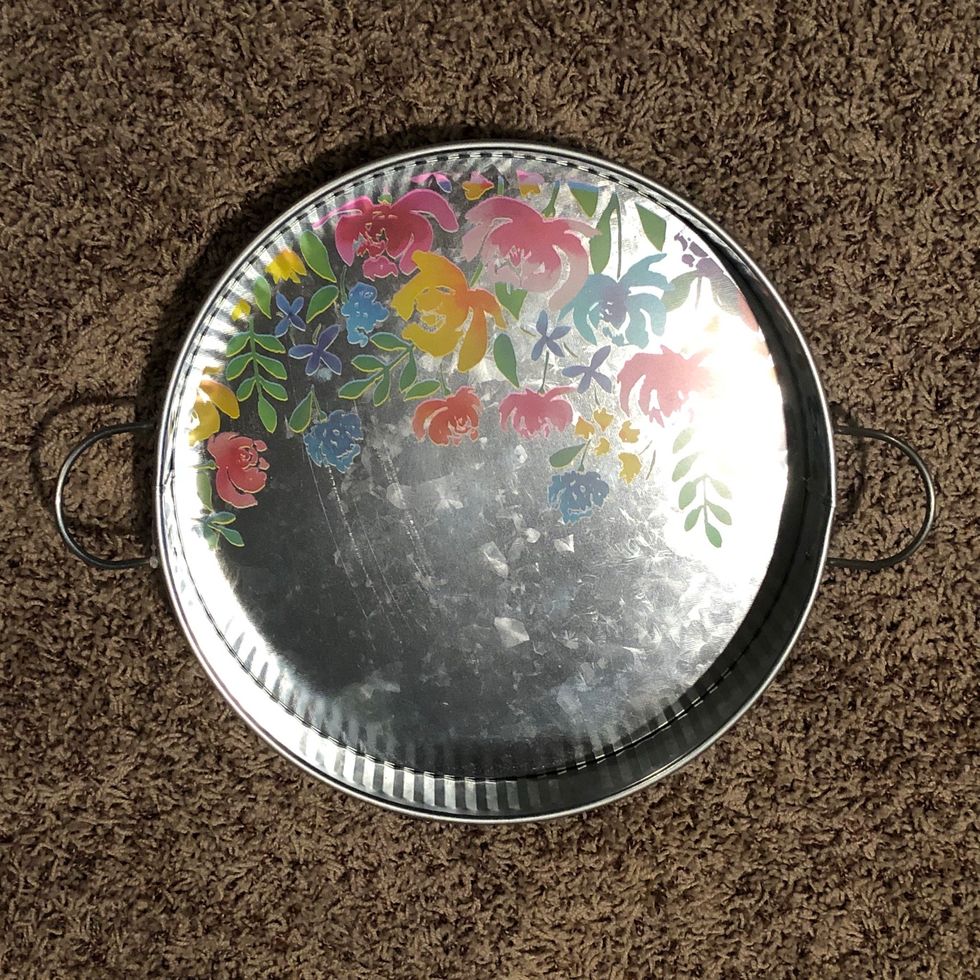
Decorative Tin - $3 from Target
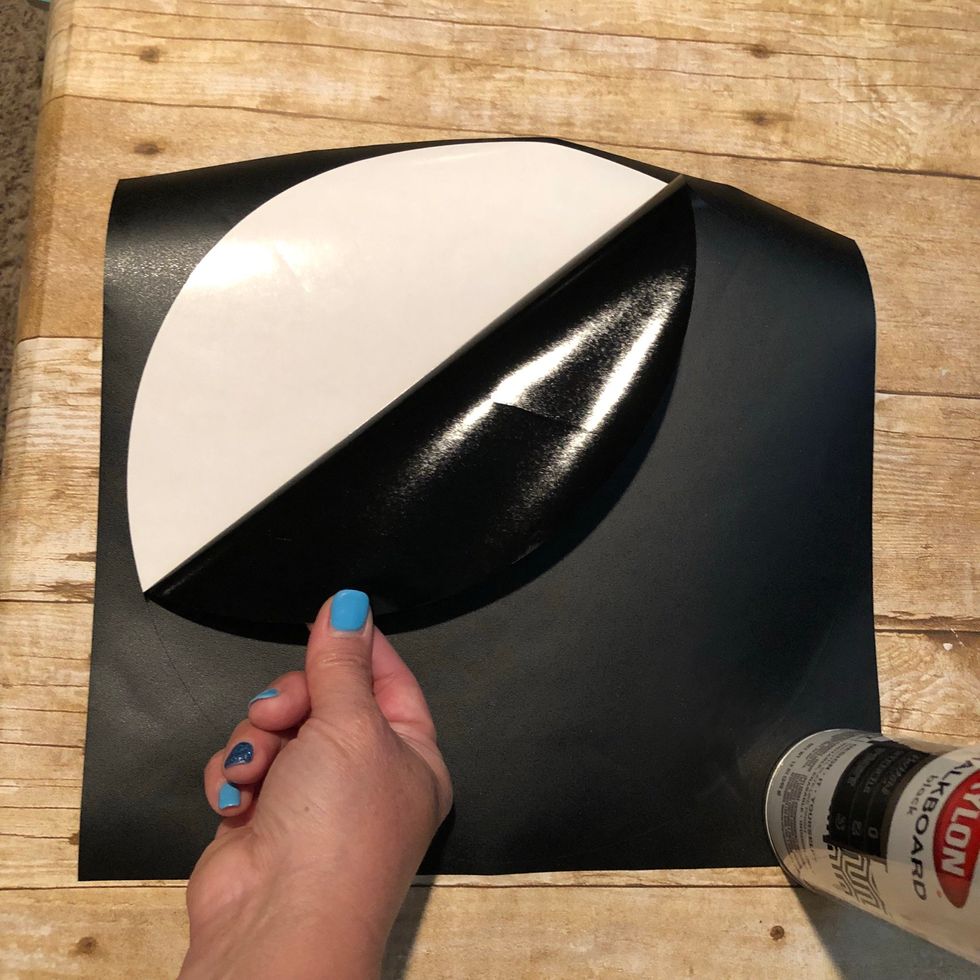
Cut a 11.5” circle from Chalkboard vinyl

Weed excess vinyl from backing
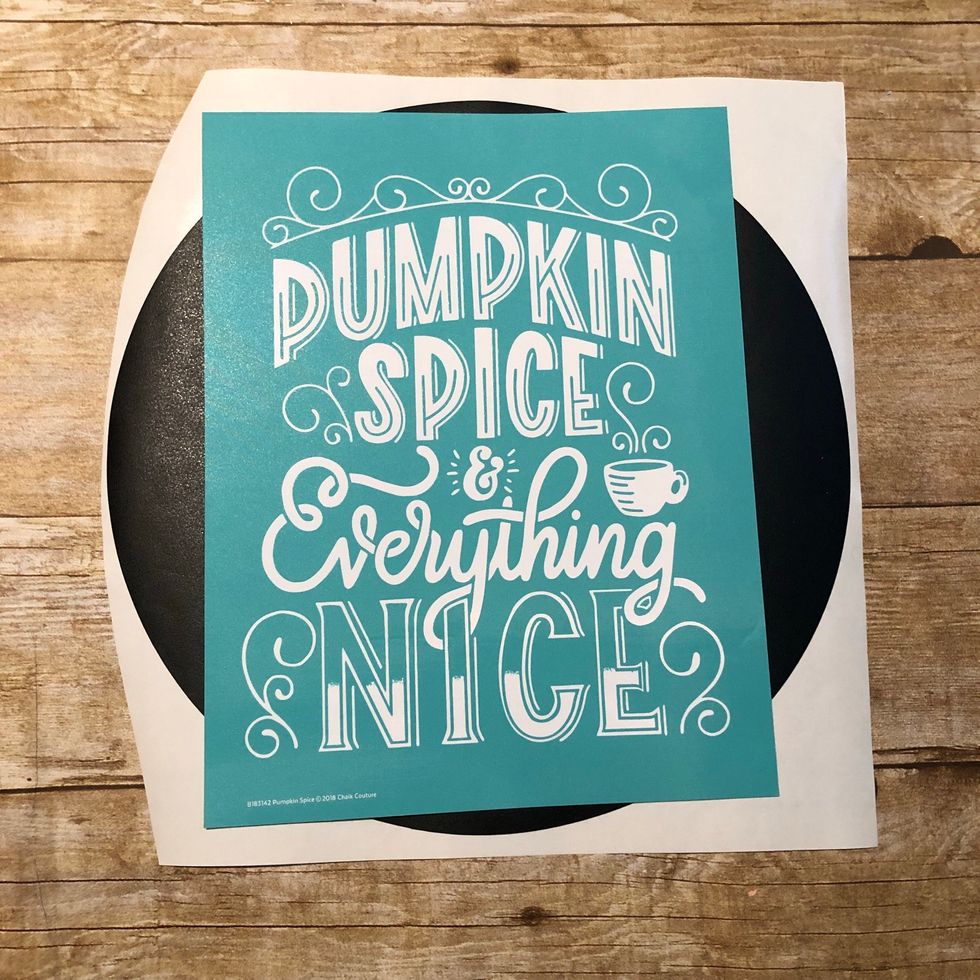
I sized up where I’d like my transfer to go 👀
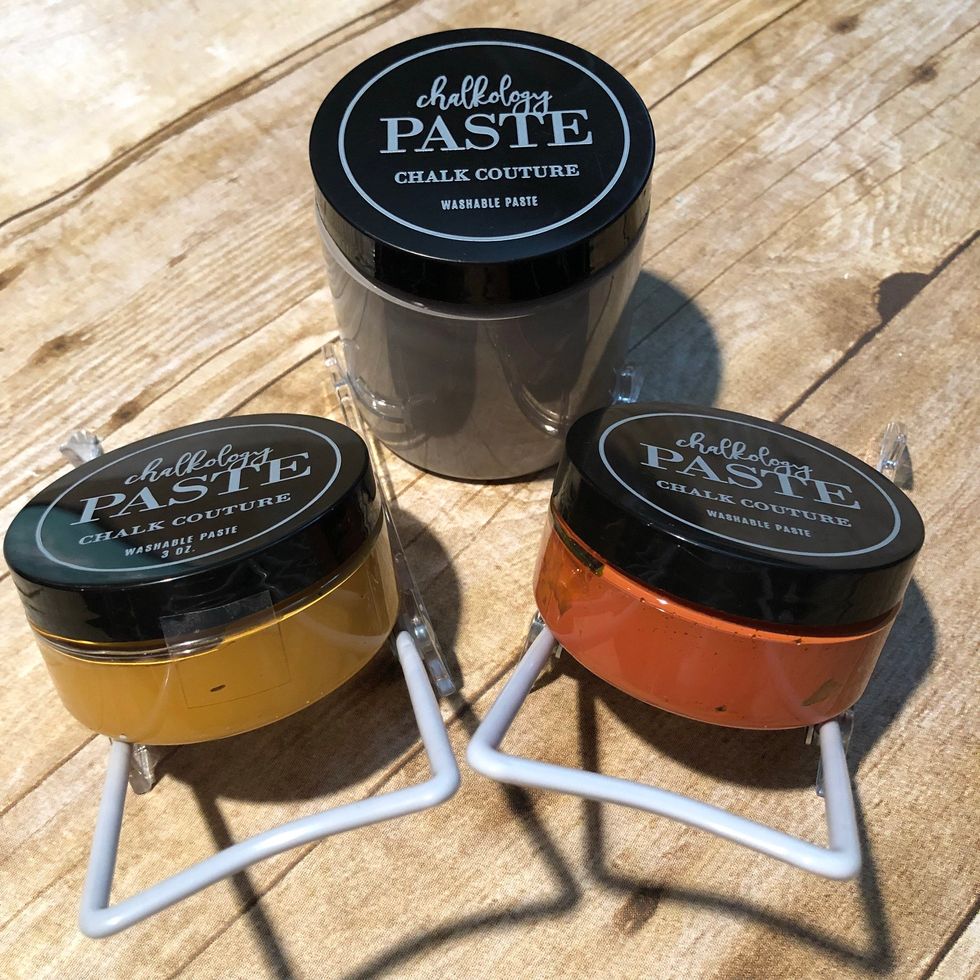
The Paste colors I’m going to use
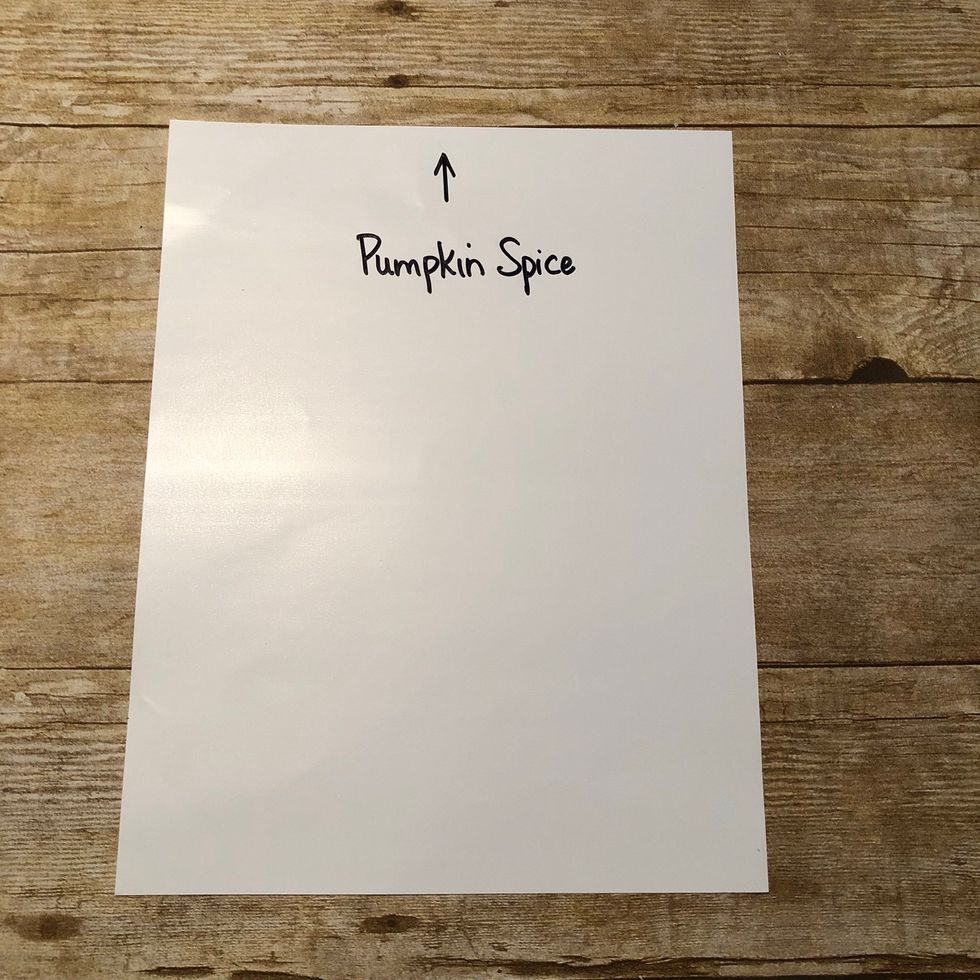
On the back of transfer, I draw an up arrow 🔝 and the name of the transfer.

Fuzz the transfer. Place on towel or clothes to pick up fibers. You want to make the transfer a bit more dull so it doesn’t tear your surface or ruin the transfer.
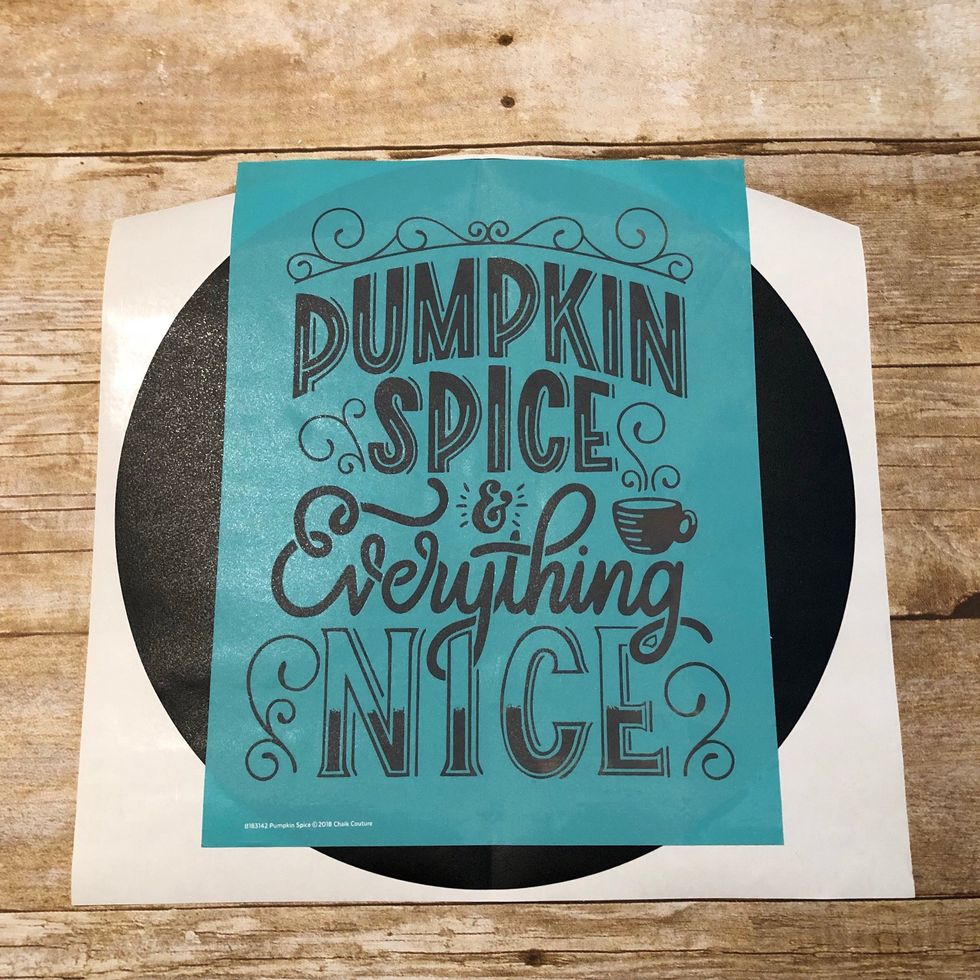
Place transfer on chalkboard vinyl
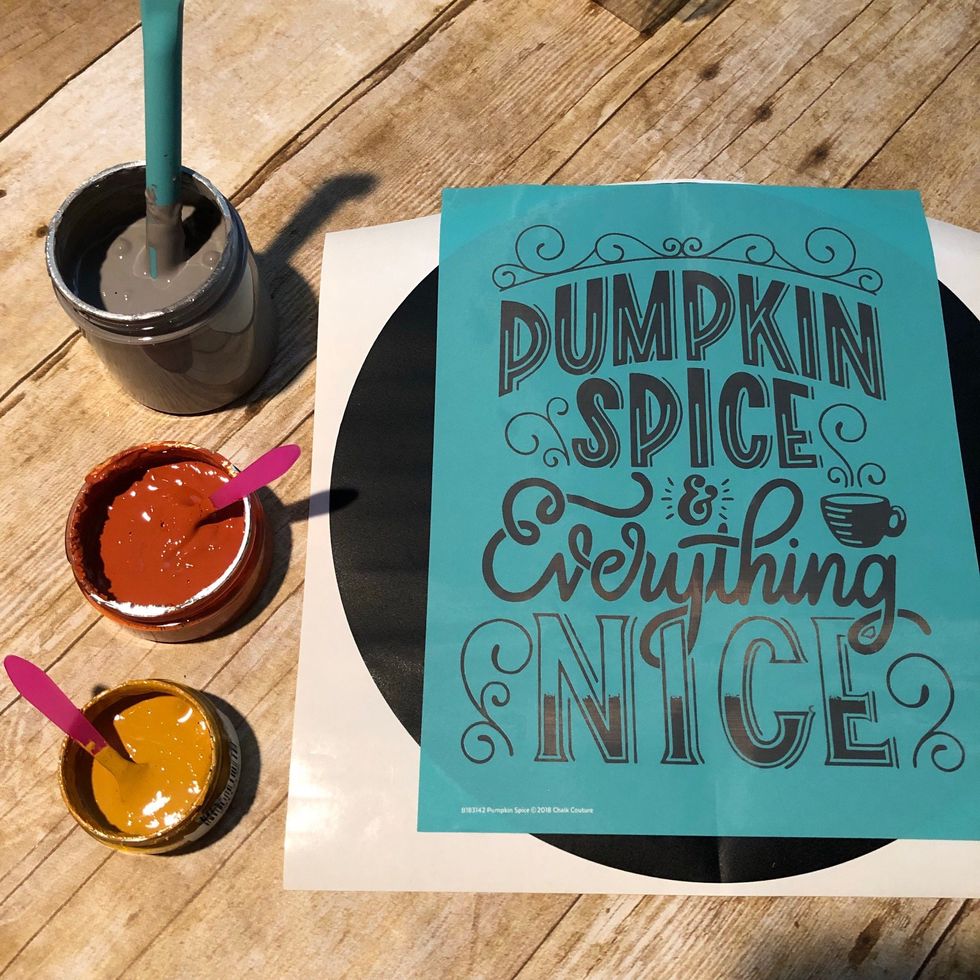
All ready! Make sure pastes are stirred up to a yogurt-y finish. I’d really dry, add a few drops of water then stir again
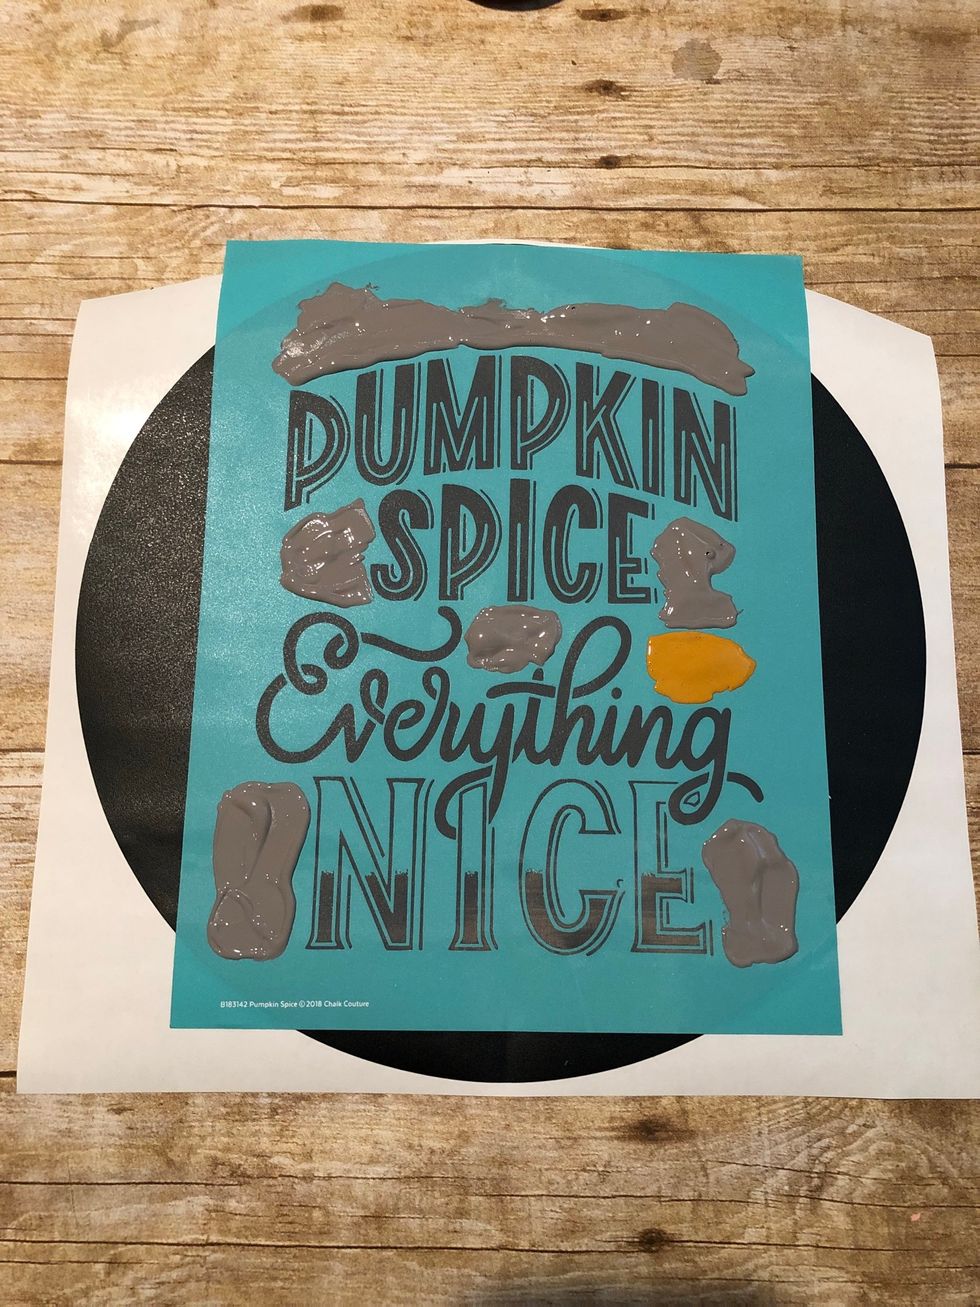
Start adding paste generously to the silkscreen areas of the transfer.
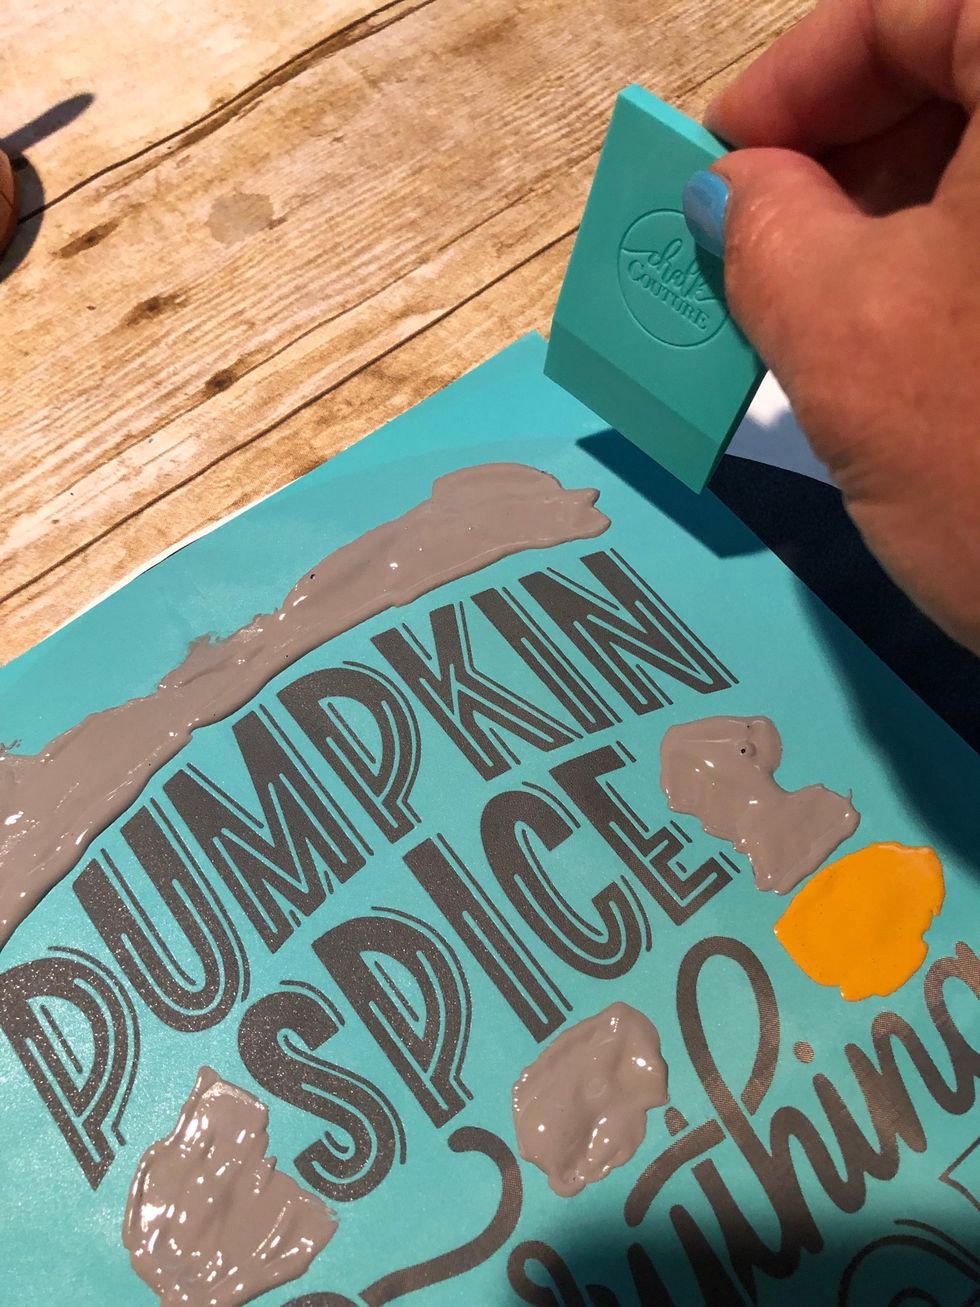
Have squeegees ready to take off excess paste. Work quickly. You don’t want the paste to dry within the silkscreen area.
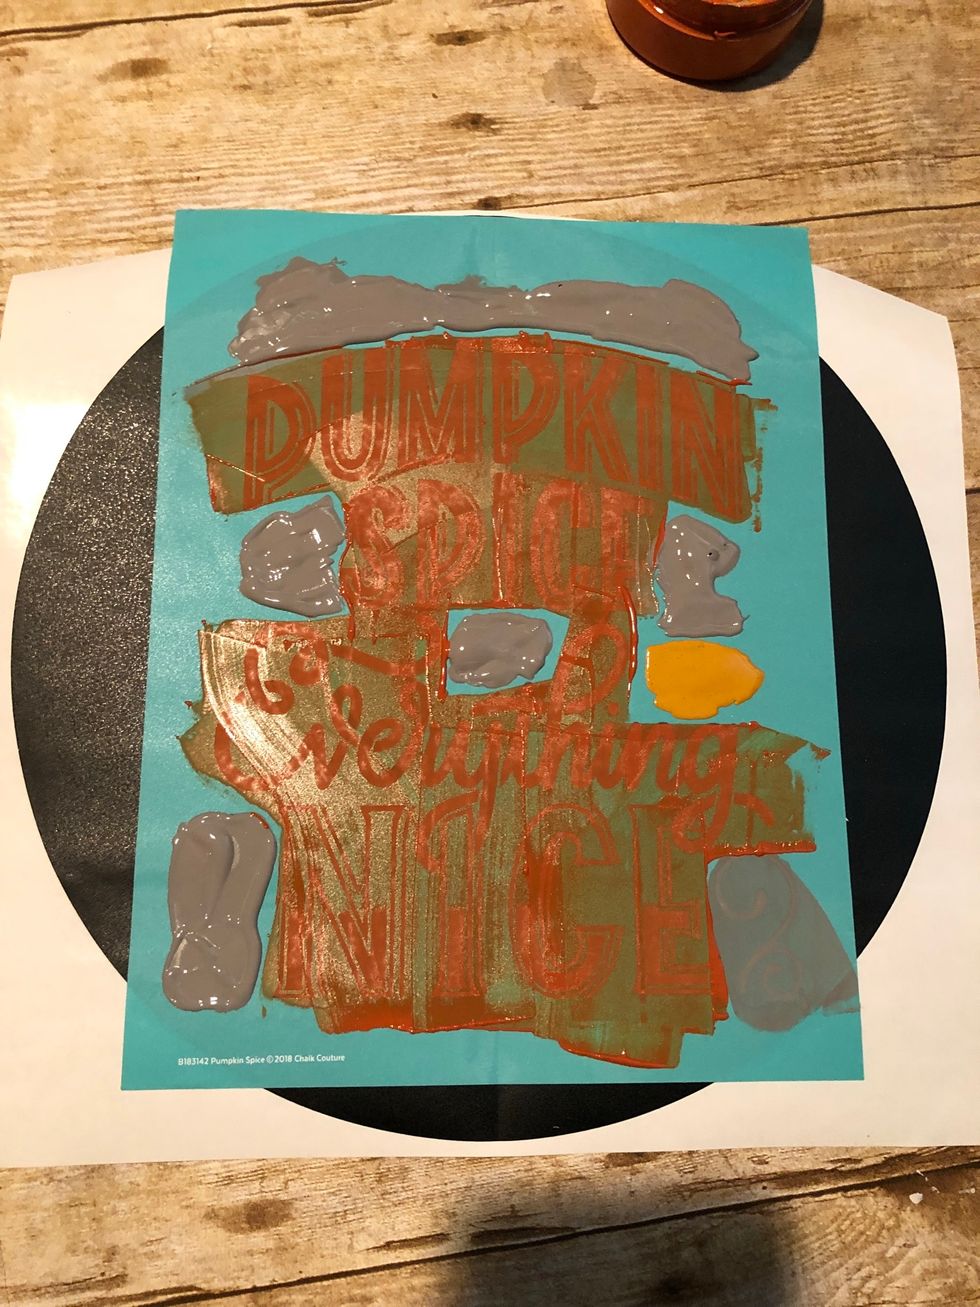
Pumpkin Pie Paste is all squeegeed off. Time to get the other colors off.
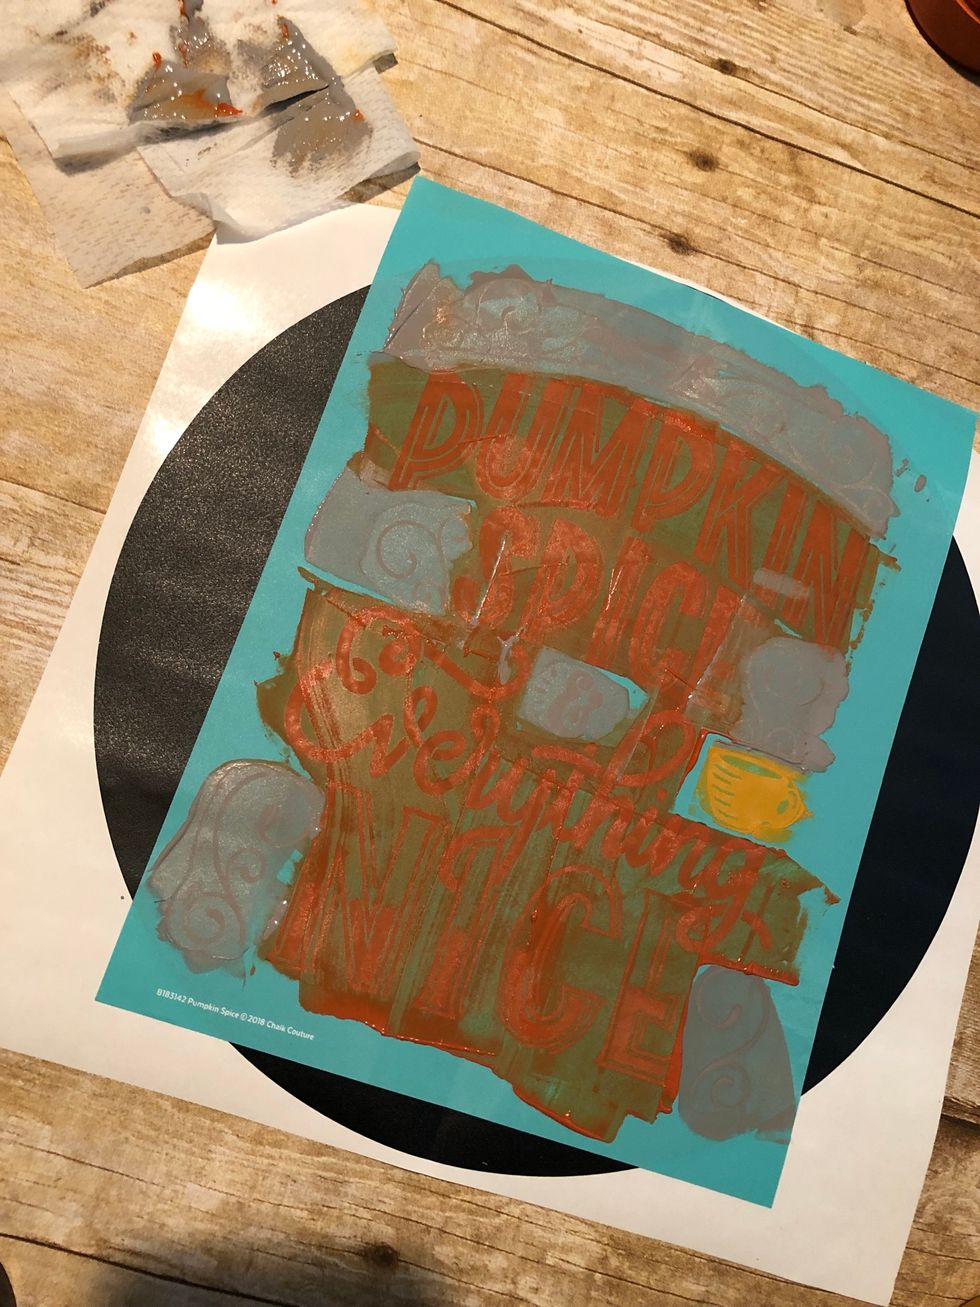
All squeegeed off! Ready for the big reveal!
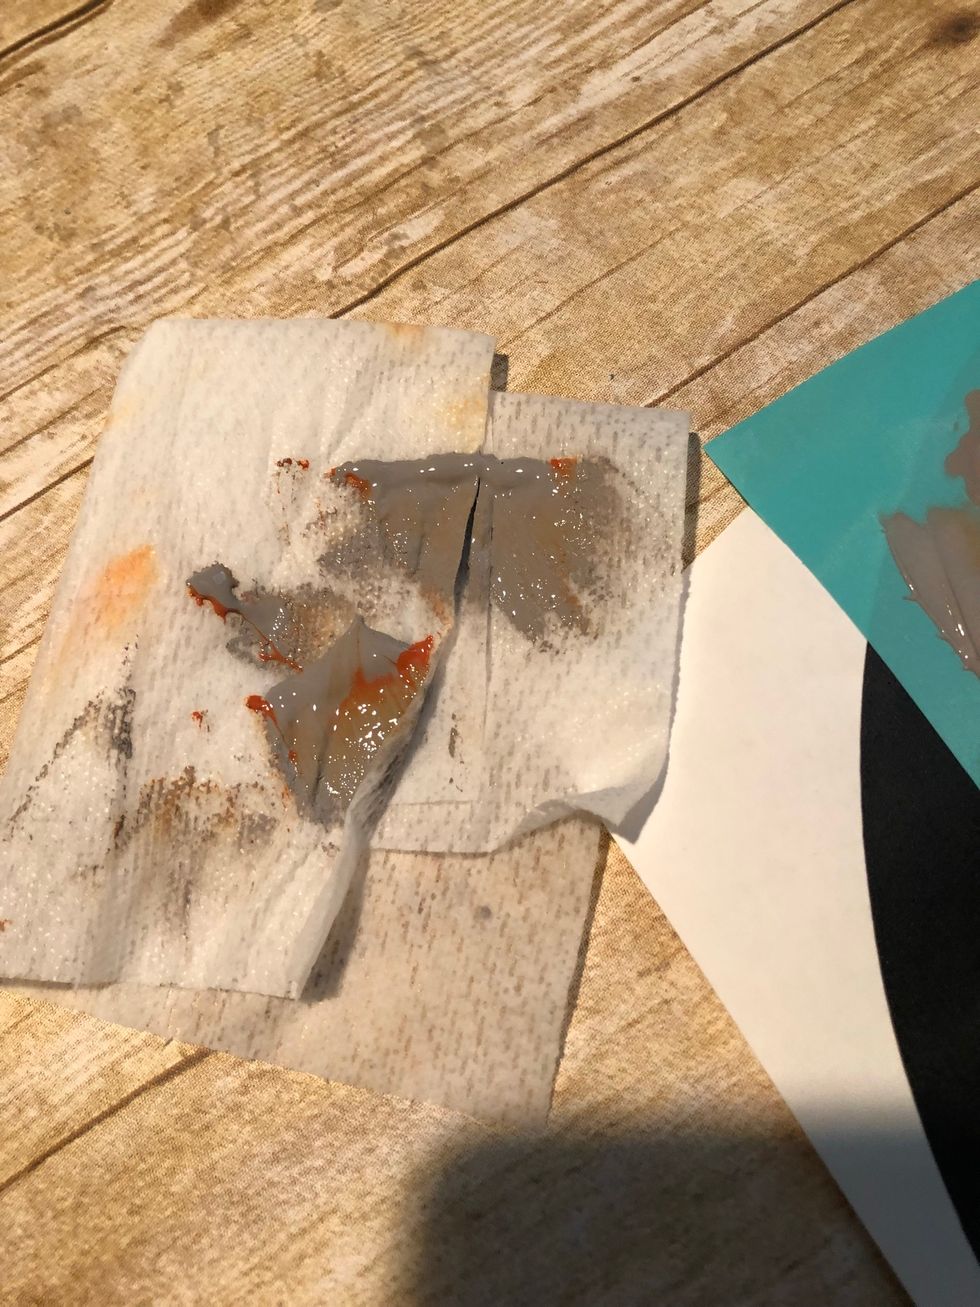
If when you are taking excess paste off and more than one color gets mixed, just wipe off on a towel or Lysol wipe. You don’t want to put that back into your jar.
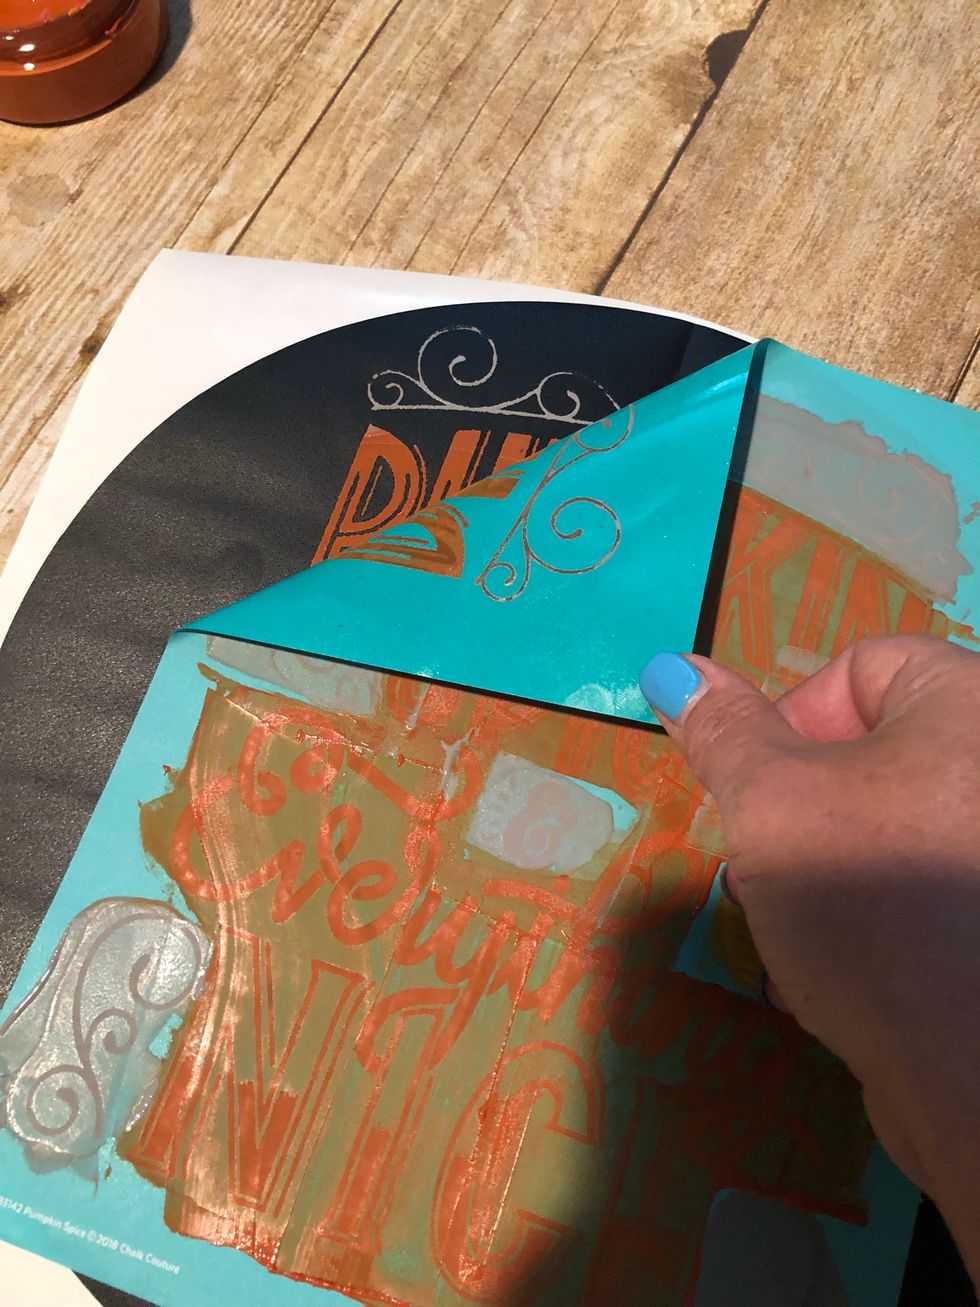
NEVER pull your transfer from the corner. That will stretch it and reduce the longevity of your transfer. If you take good care of your transfers, you can get 15-20 uses out of each one 👍🏻
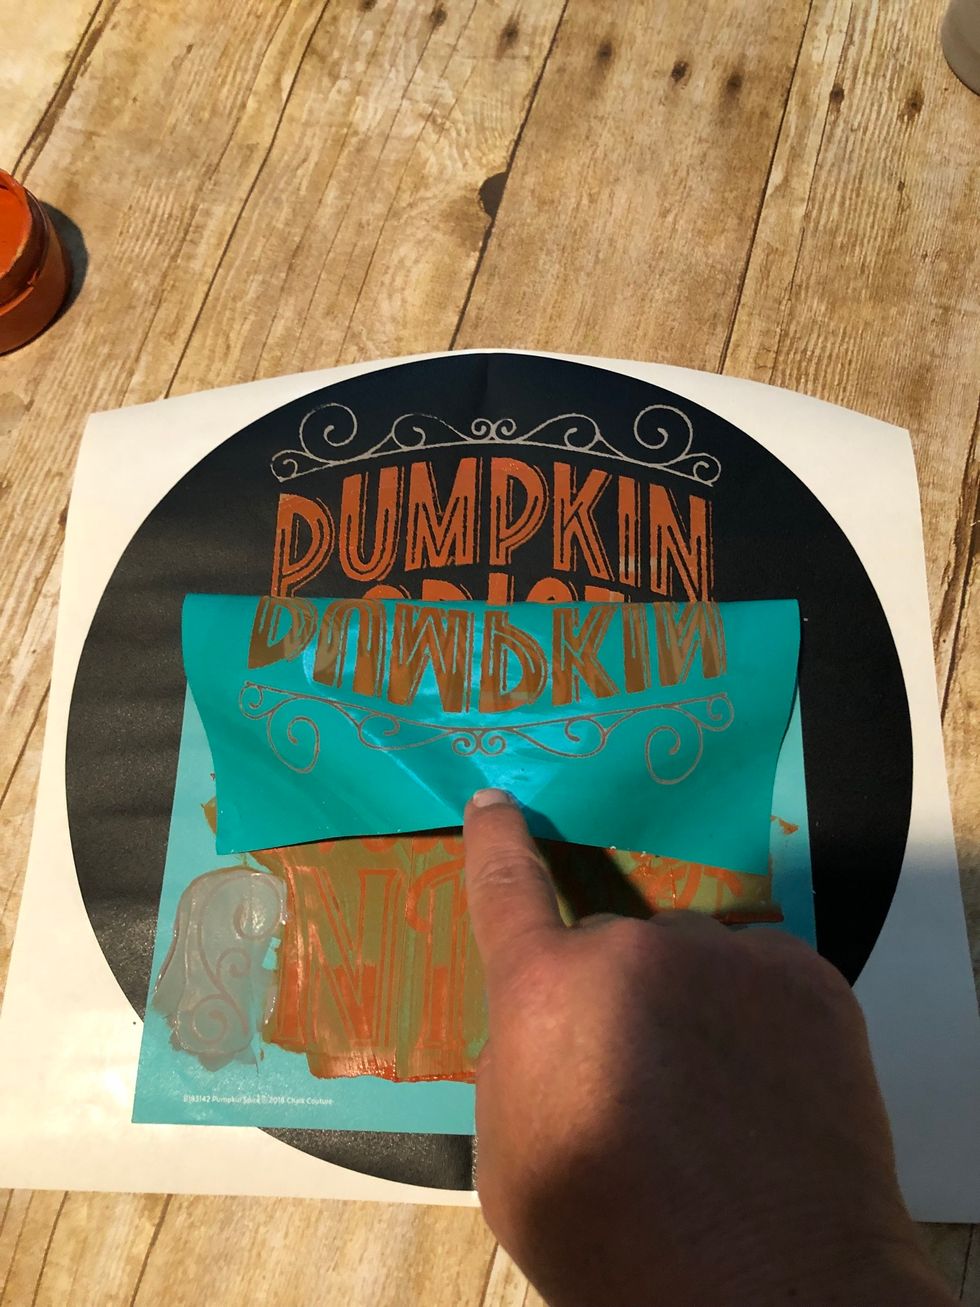
Pull either directly down or directly across
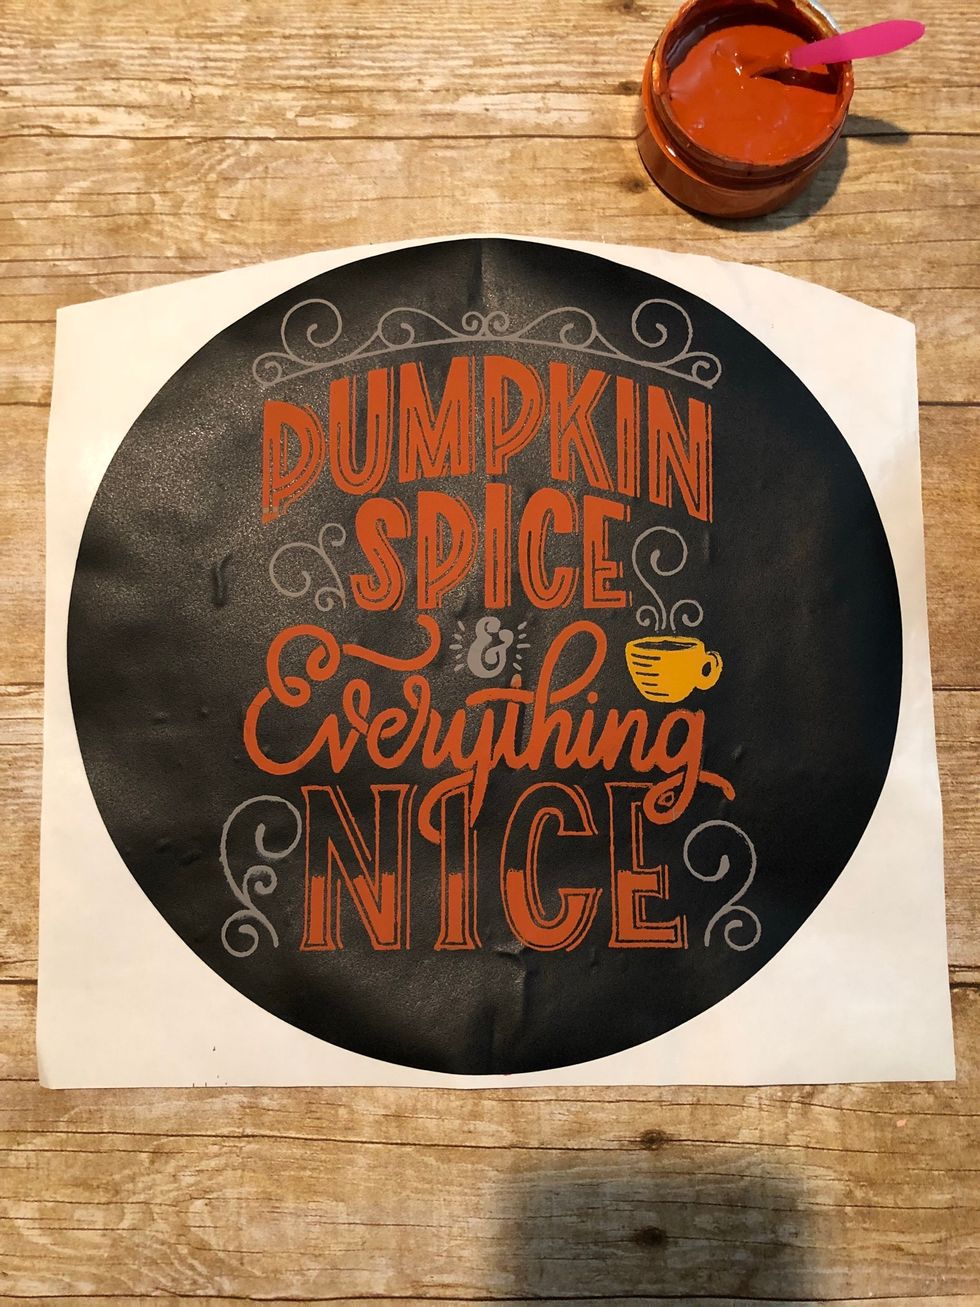
Wow! That turned out great!
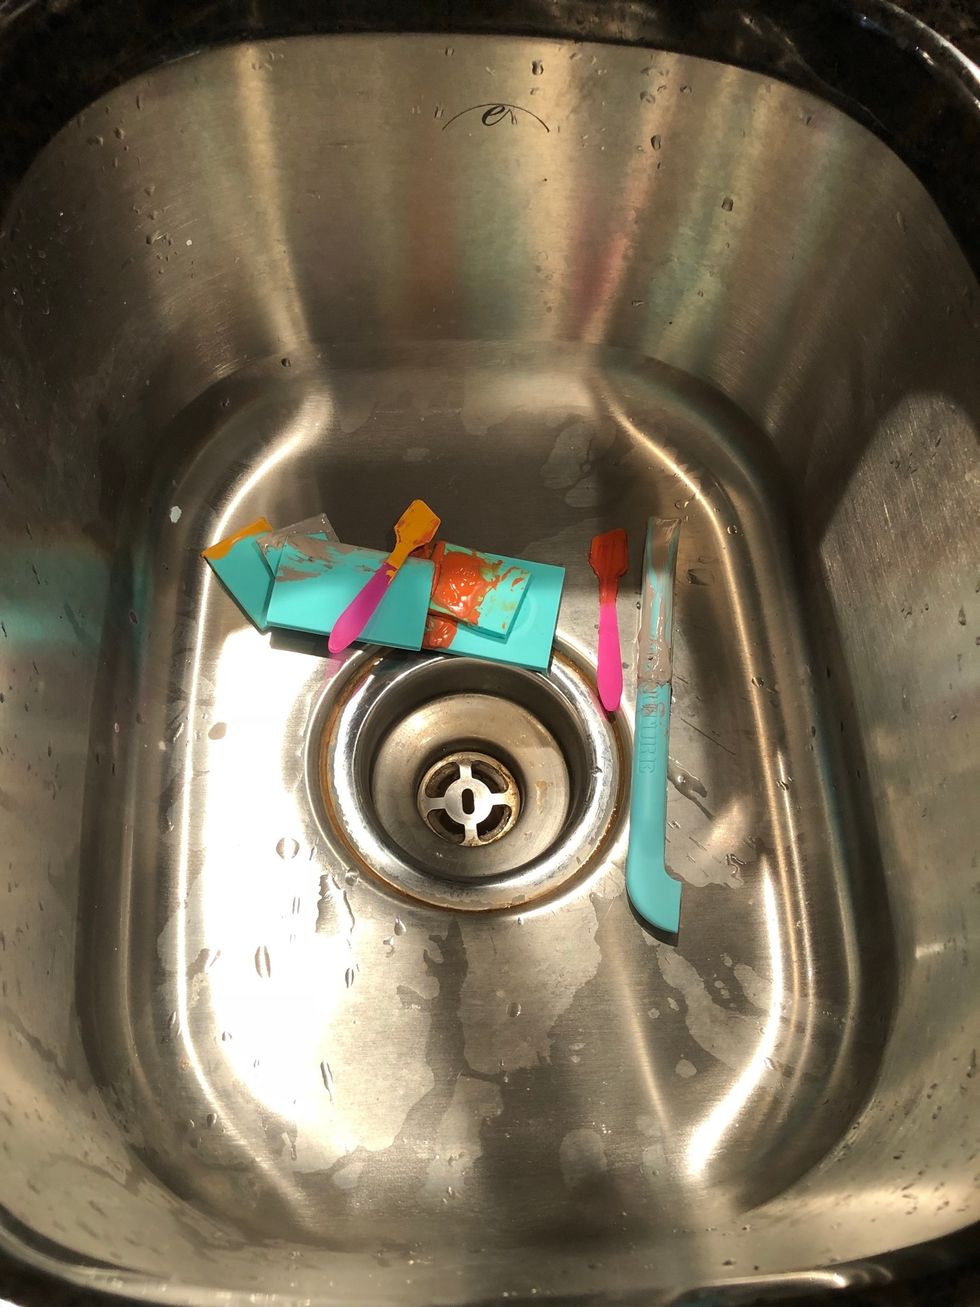
Rinse tools off in running water. Yep! That’s all you need to clean up...clean water 💦
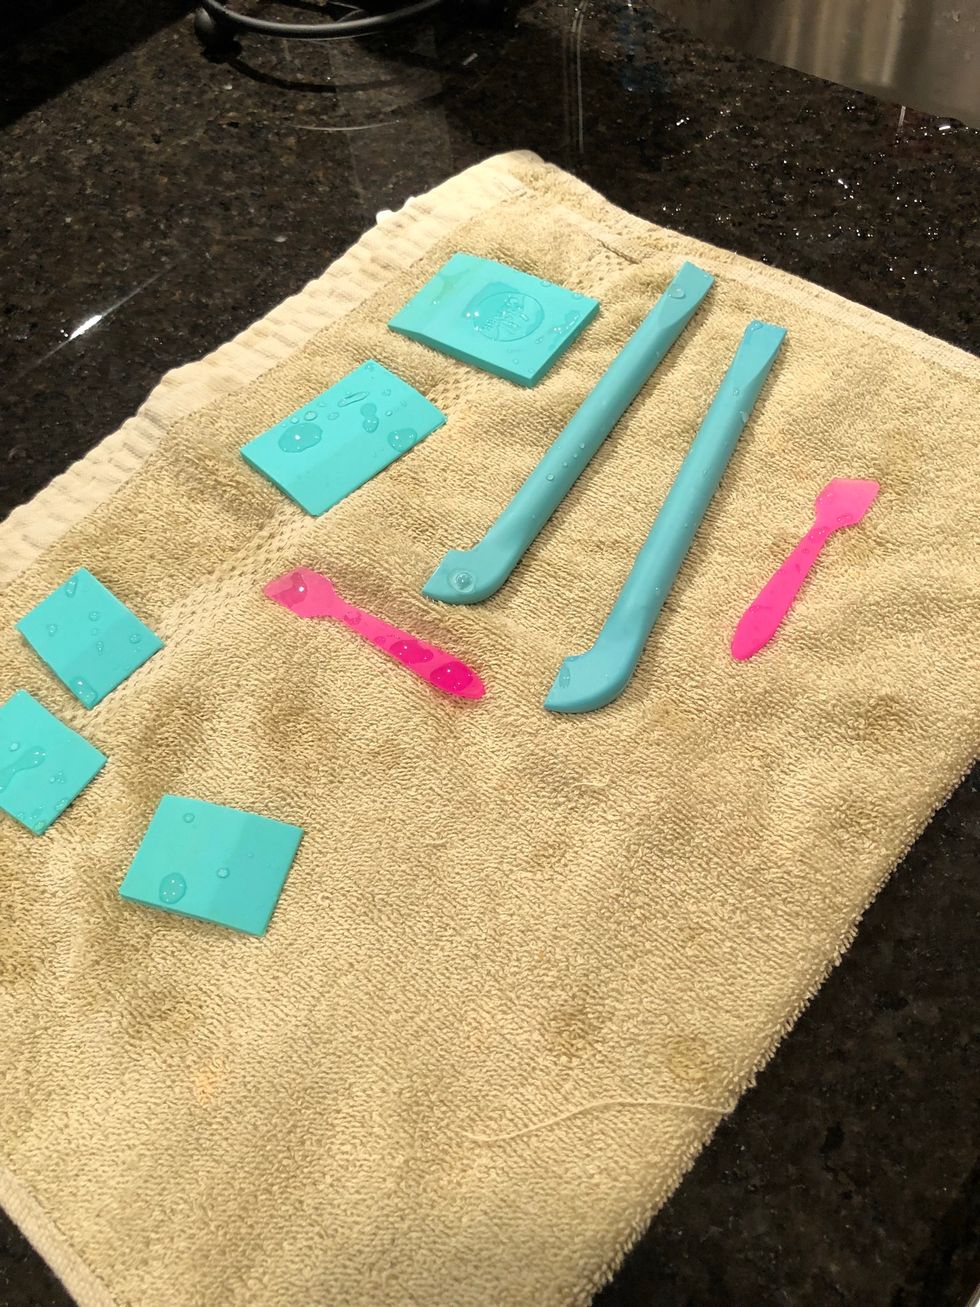
Let dry
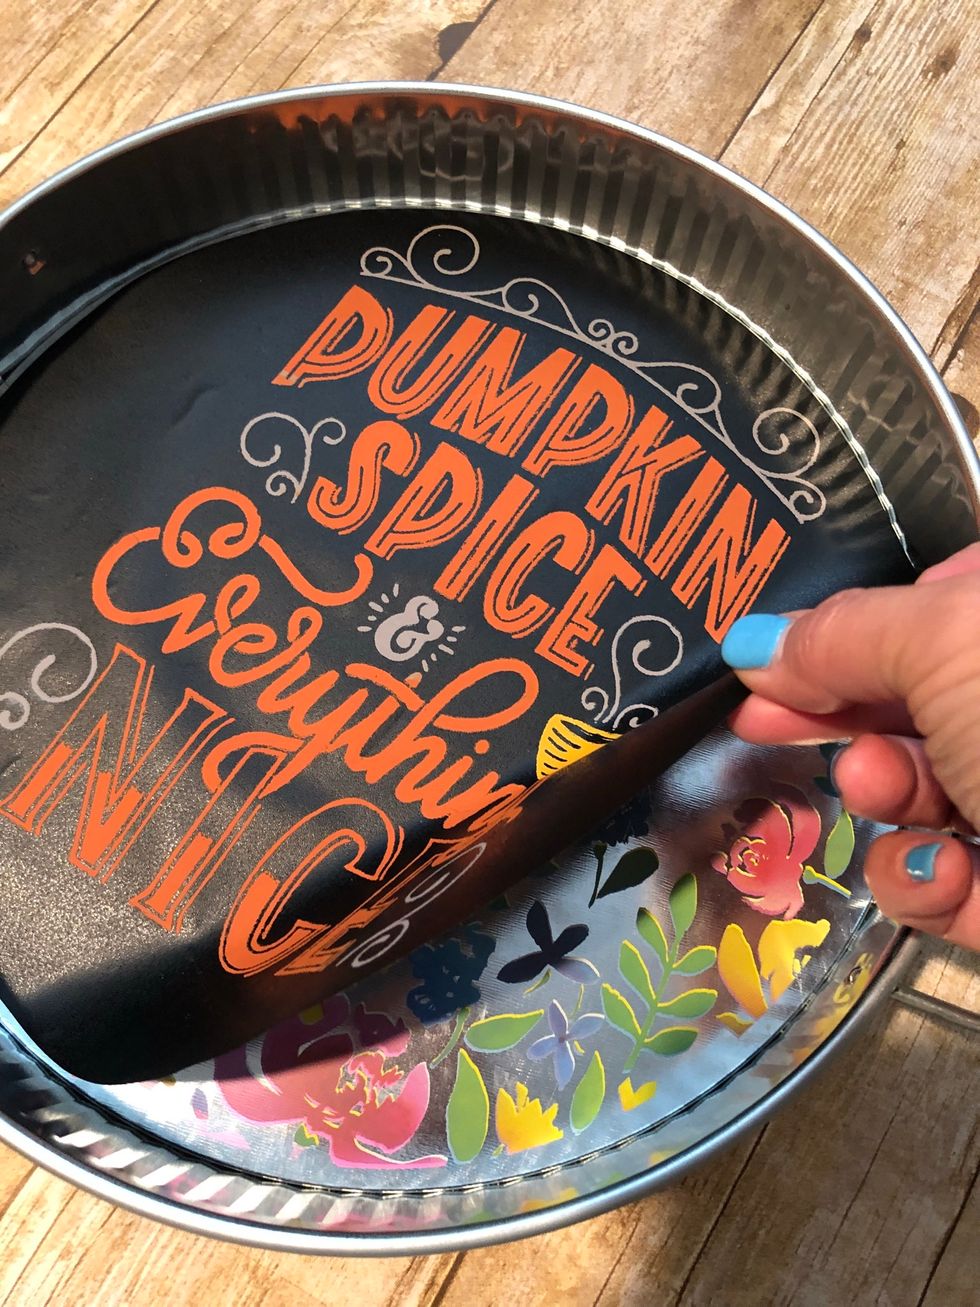
I carefully placed the chalkboard vinyl into the tin. I tried to center it the best I could. ⚫️
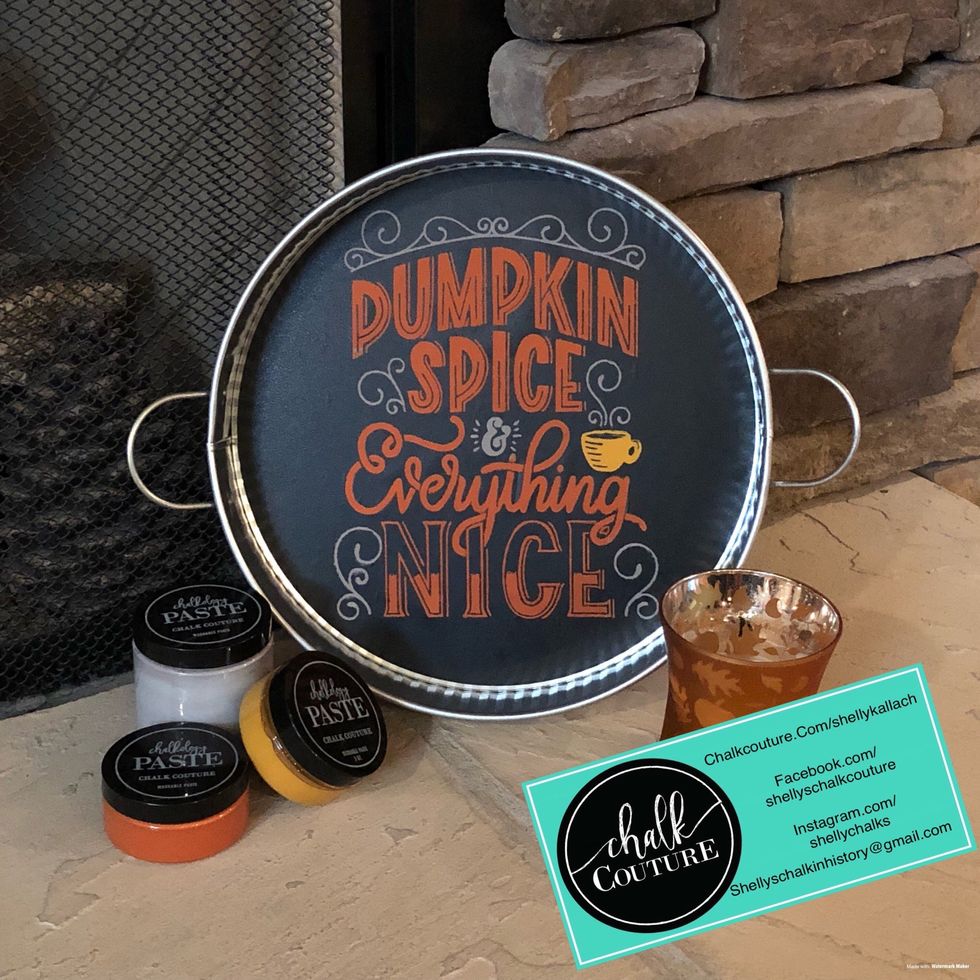
Viola! Your completed project. I’m so pleased with it! If you’ve found value in this Snapguide, please share. If you’re interested in learning more about me and Chalk Couture, see my business card.
- 1.0 Pumpkin Spice transfer
- 1.0 Storm Chalkology Paste
- 1.0 Mustard Chalkology Paste
- 1.0 Pumpkin Pie Chalkology Paste
- 1.0 Decorative Tin
- 1.0 11.5” circle Chalkboard Vinyl
The Conversation (0)
Sign Up