The Conversation (0)
Sign Up
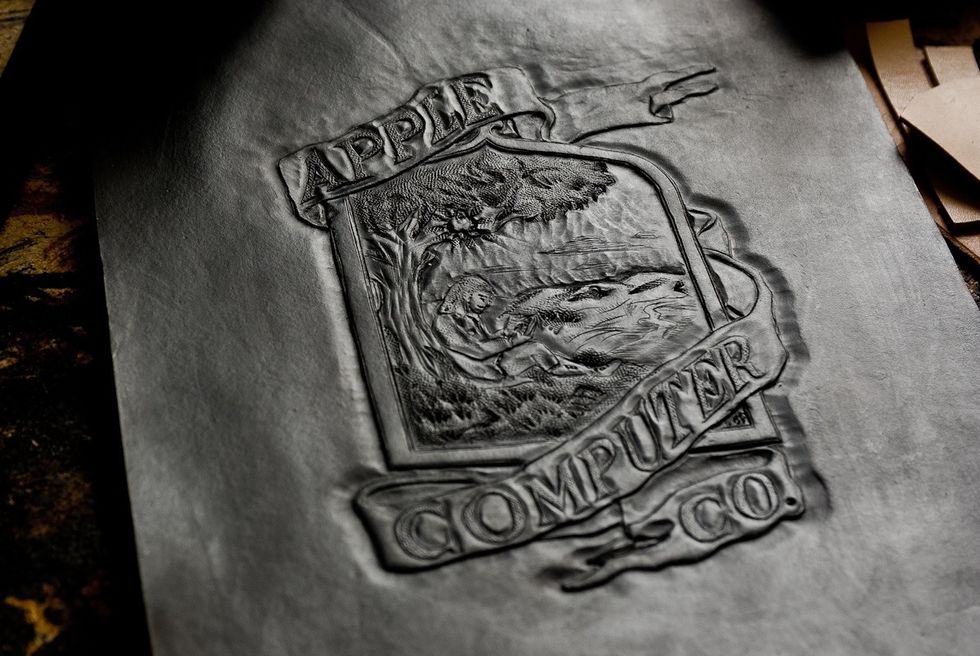
Print out the design you want to transfer. Moisten the leather and let it sit for a few minutes until the surface is soft. Place the design on the leather and trace it to leave an imprint.
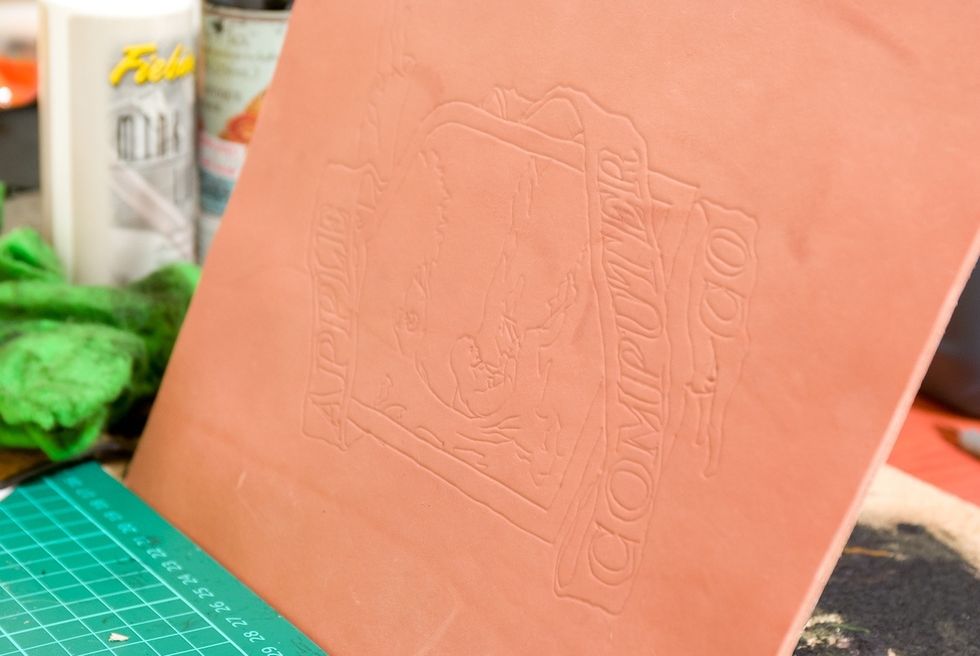
This is the initial imprint.
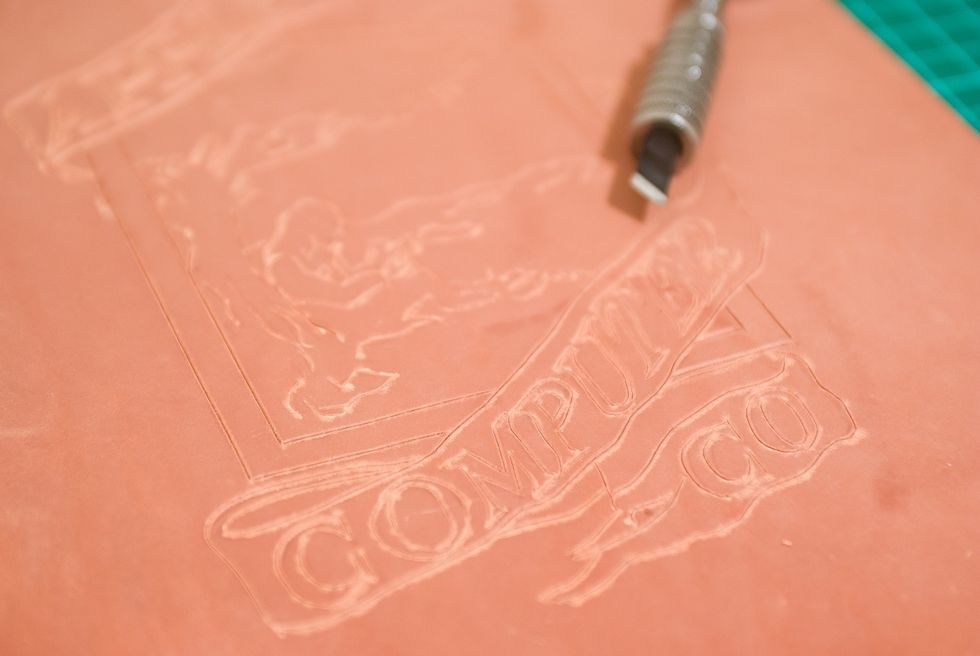
Use a swivel knife or scalpel to cut along the lines.

Using the set of beveler stamps, go along the outer lines to create a three dimensional look.
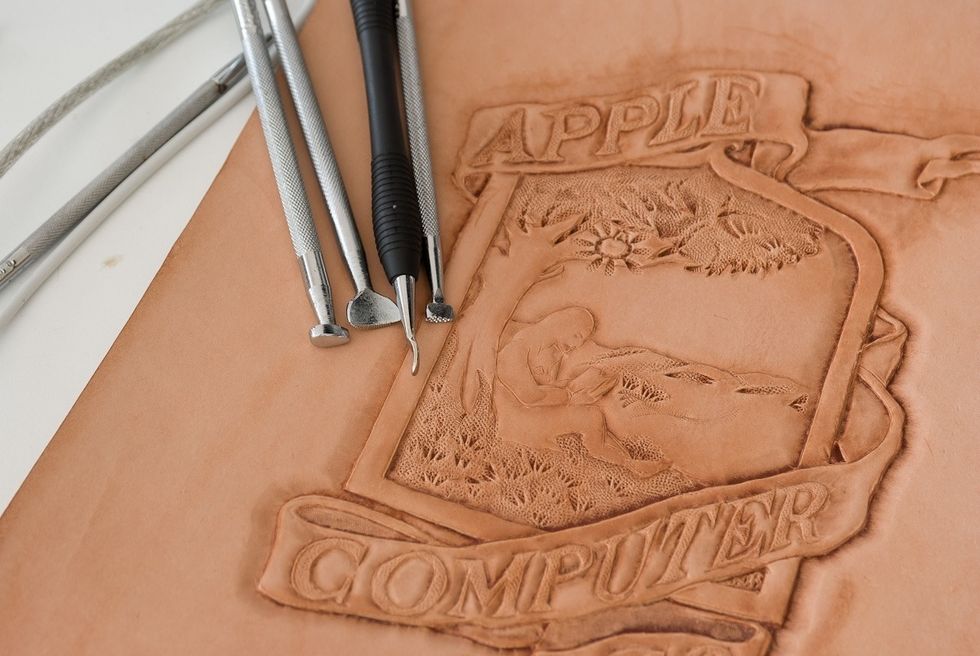
Add details using different stamping tools (they are available as a starter set on amazon). Holding the tools on angles helps to achieve the effect you can see in the bottom part of the image.
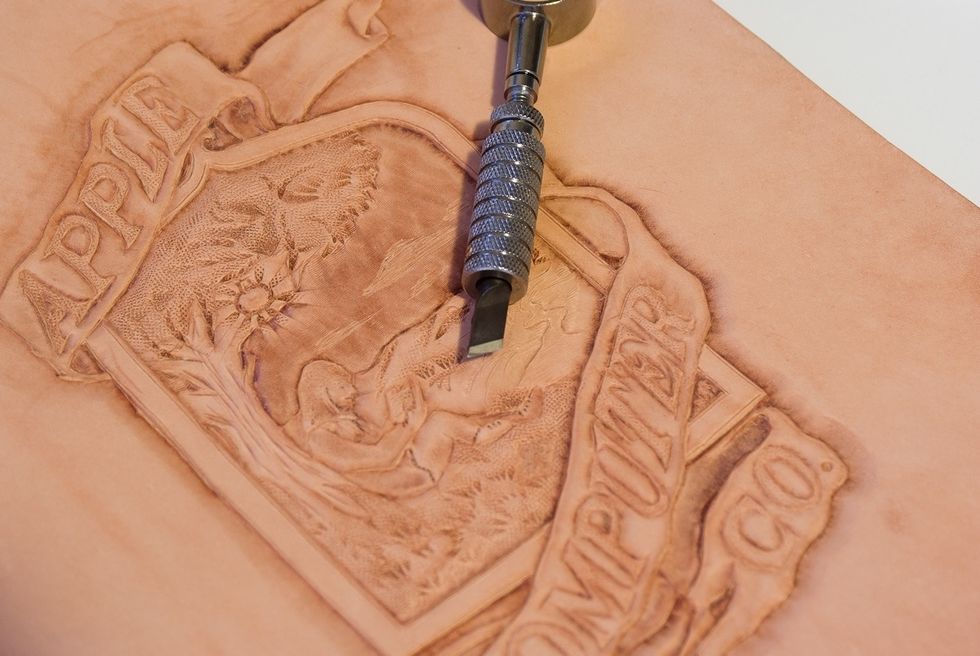
The swivel knife is then used to cut the leather to add more details in the clouds.
After adding oils and dyes, this is the finished design.
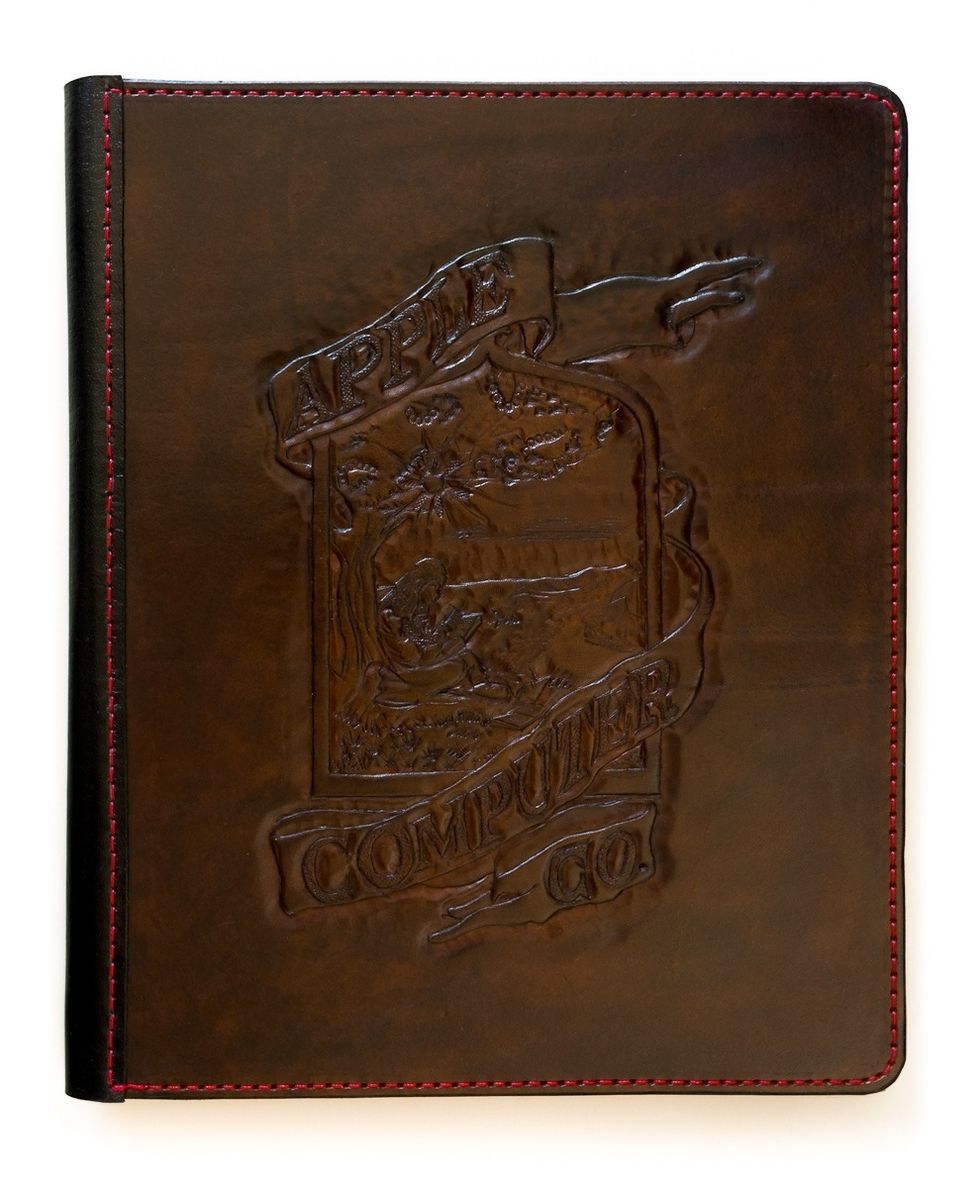
Another version of the design
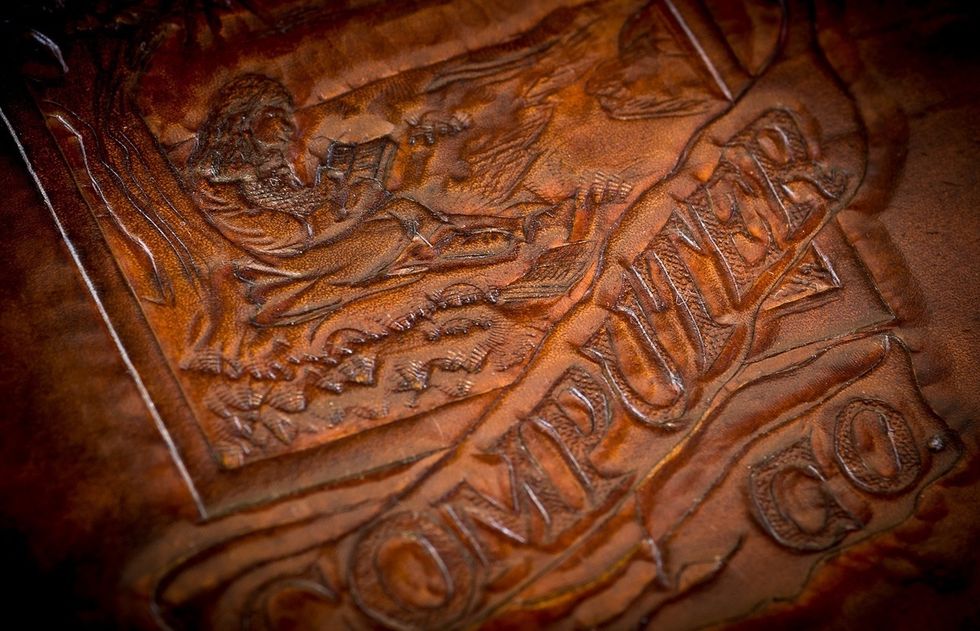
Close up
www.highonglue.com