The Conversation (0)
Sign Up
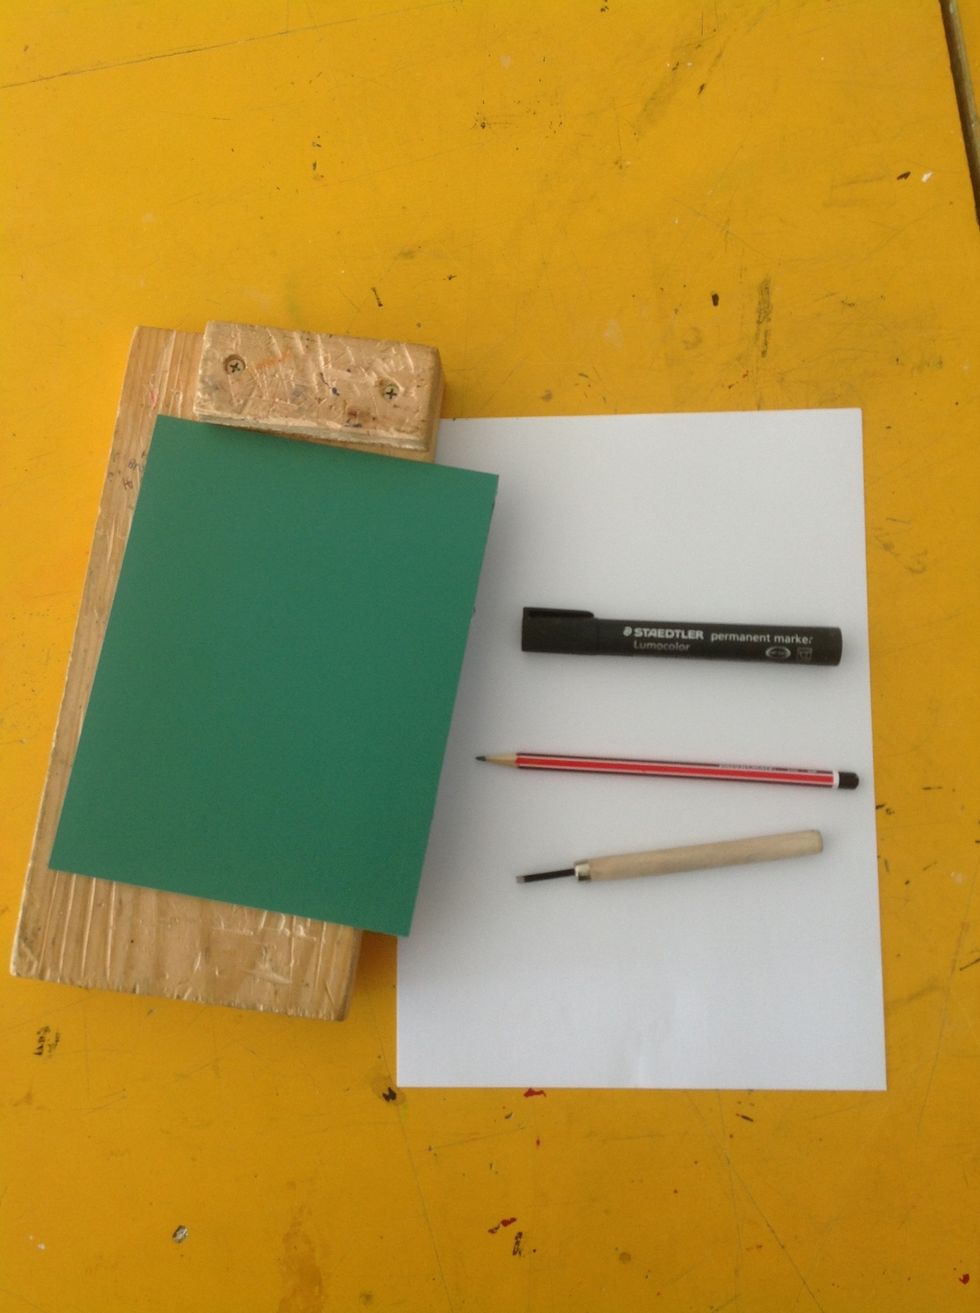
This is what the equipment looks like!

Trace around your Lino on a piece of paper so that your design will be the same size as your Lino.
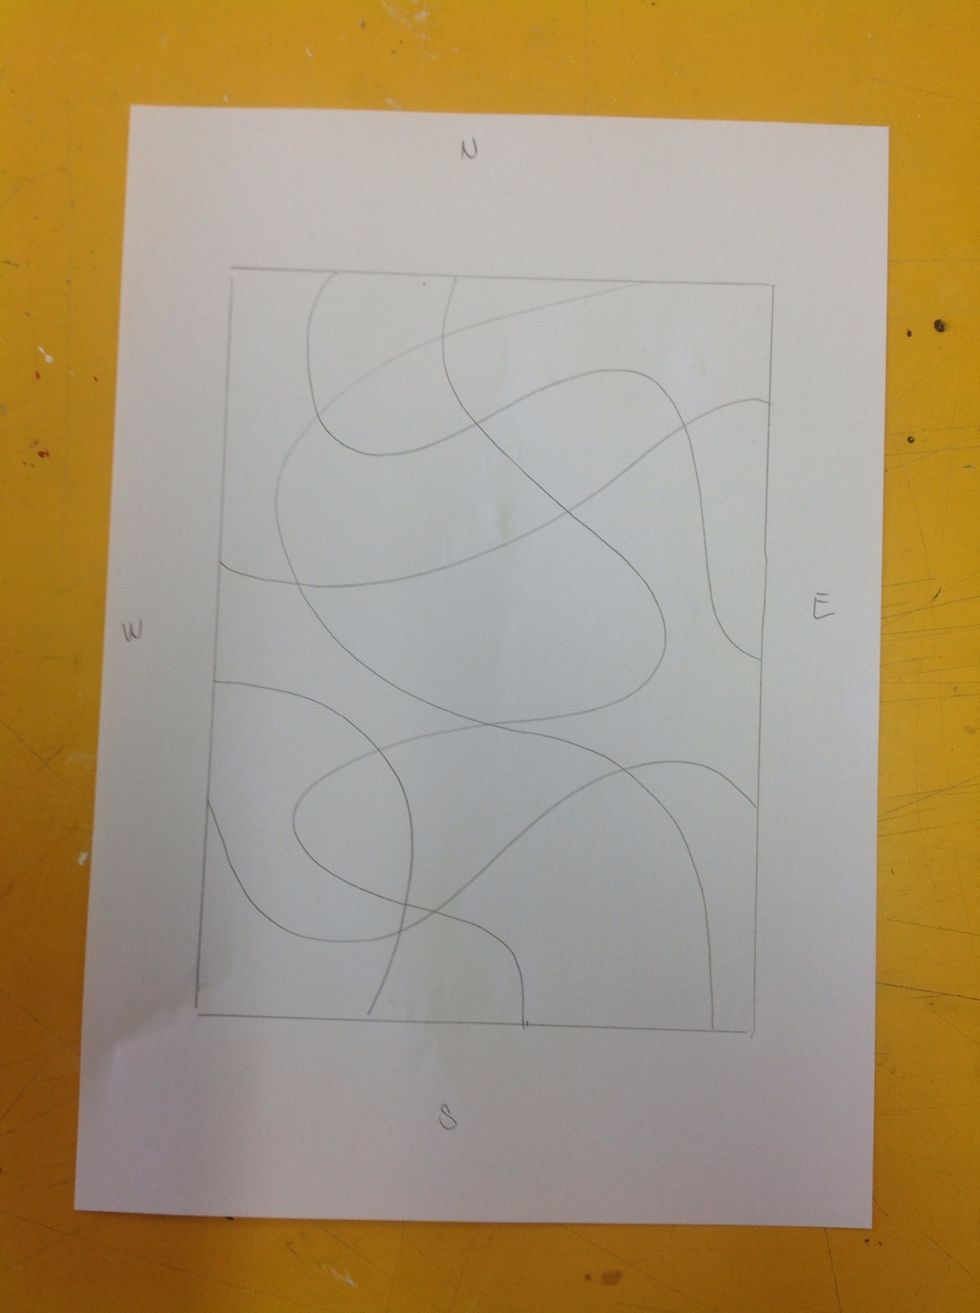
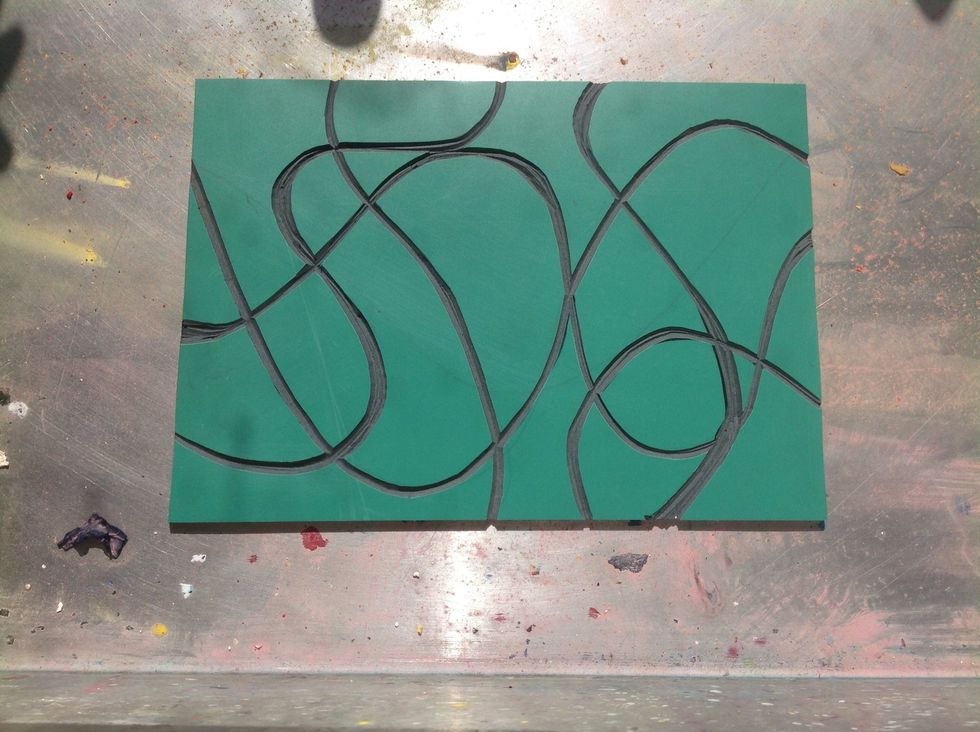
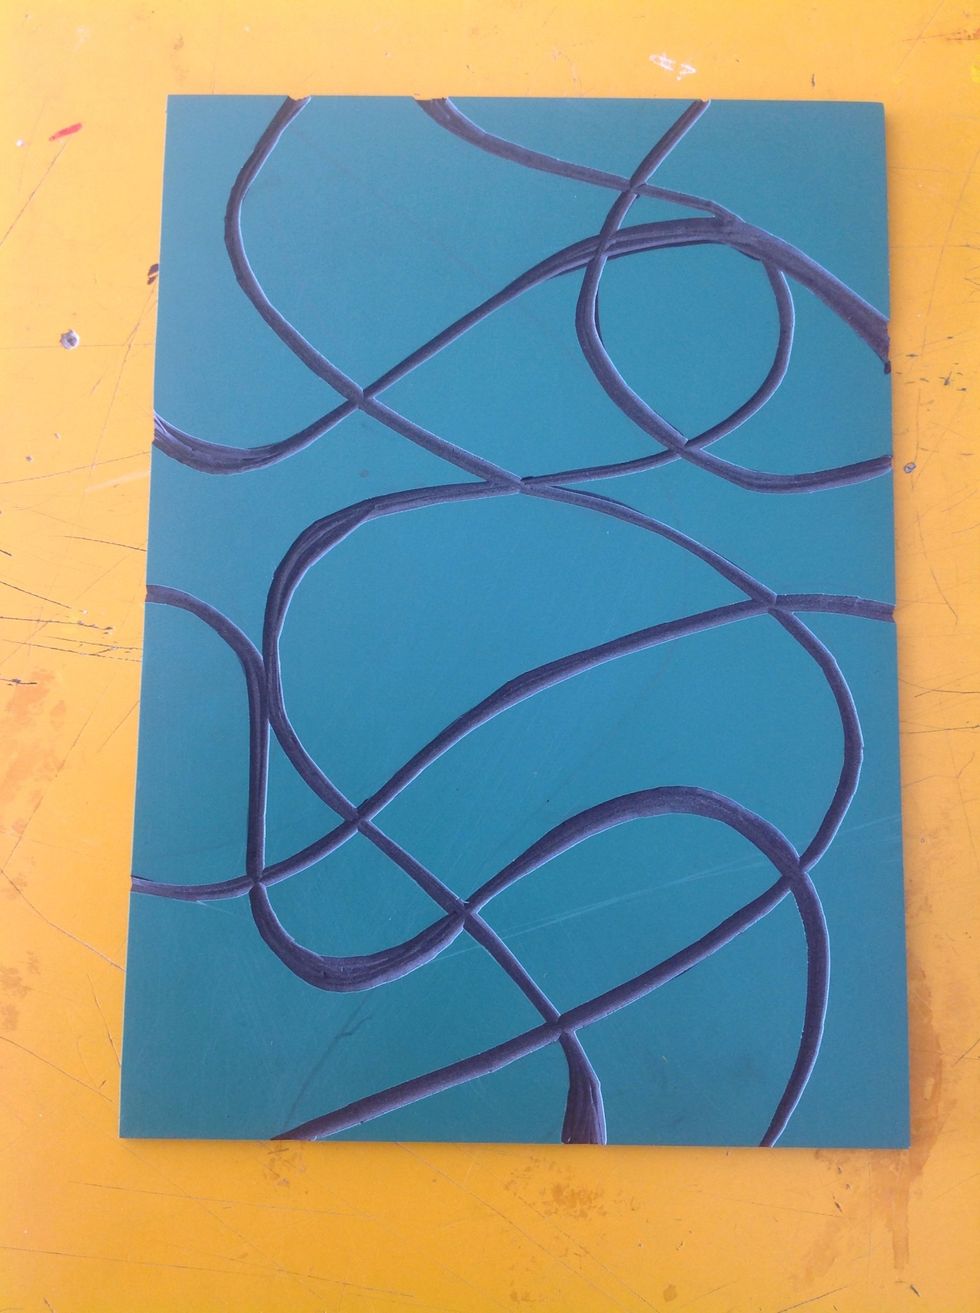
Draw your design.
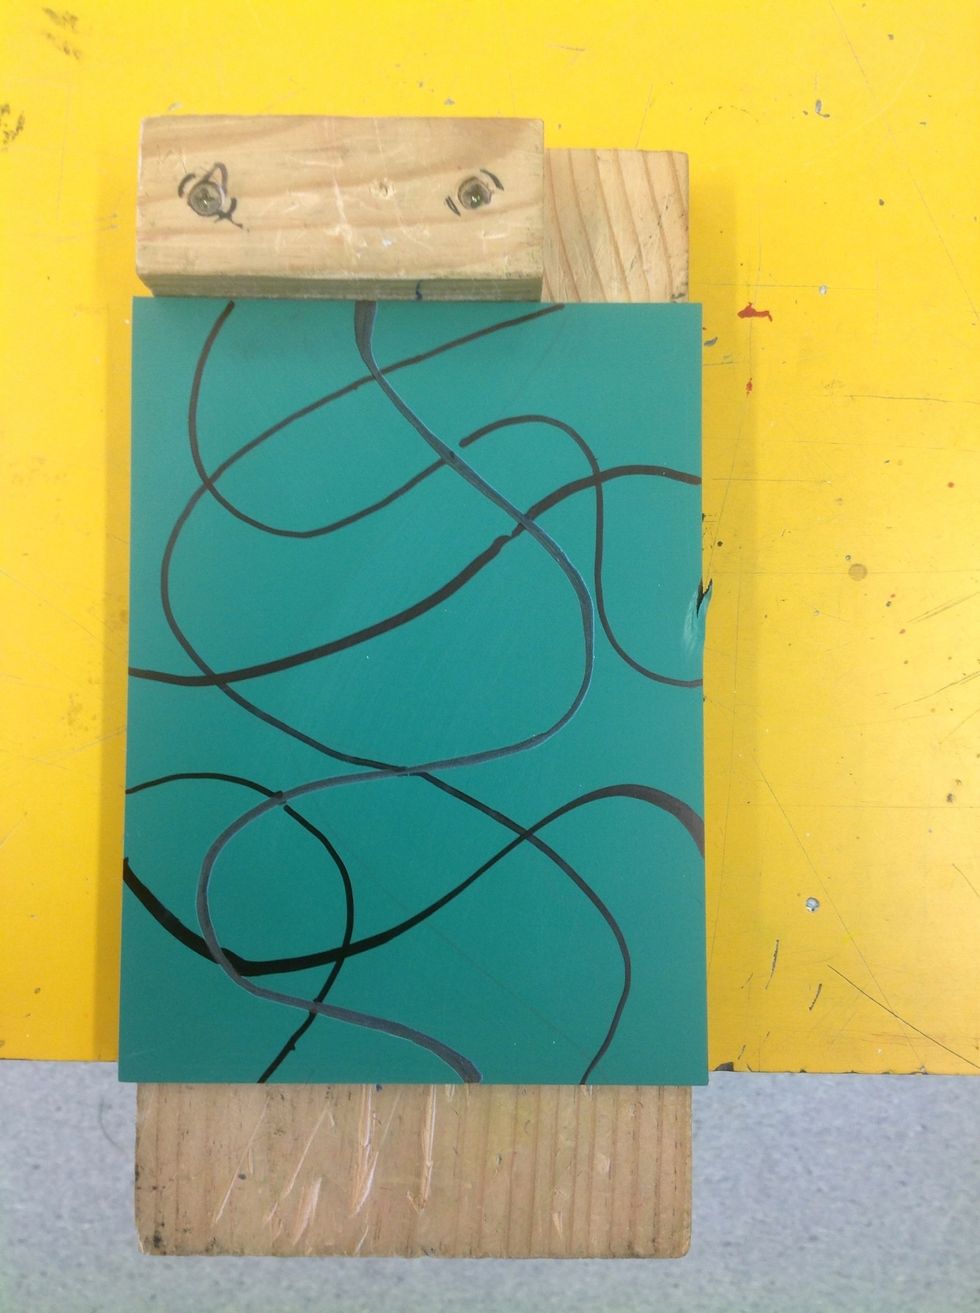
I free hand copied this linear design but you could use carbon paper to exactly trace your design. Once you are satisfied with your design go over it with permanent marker.
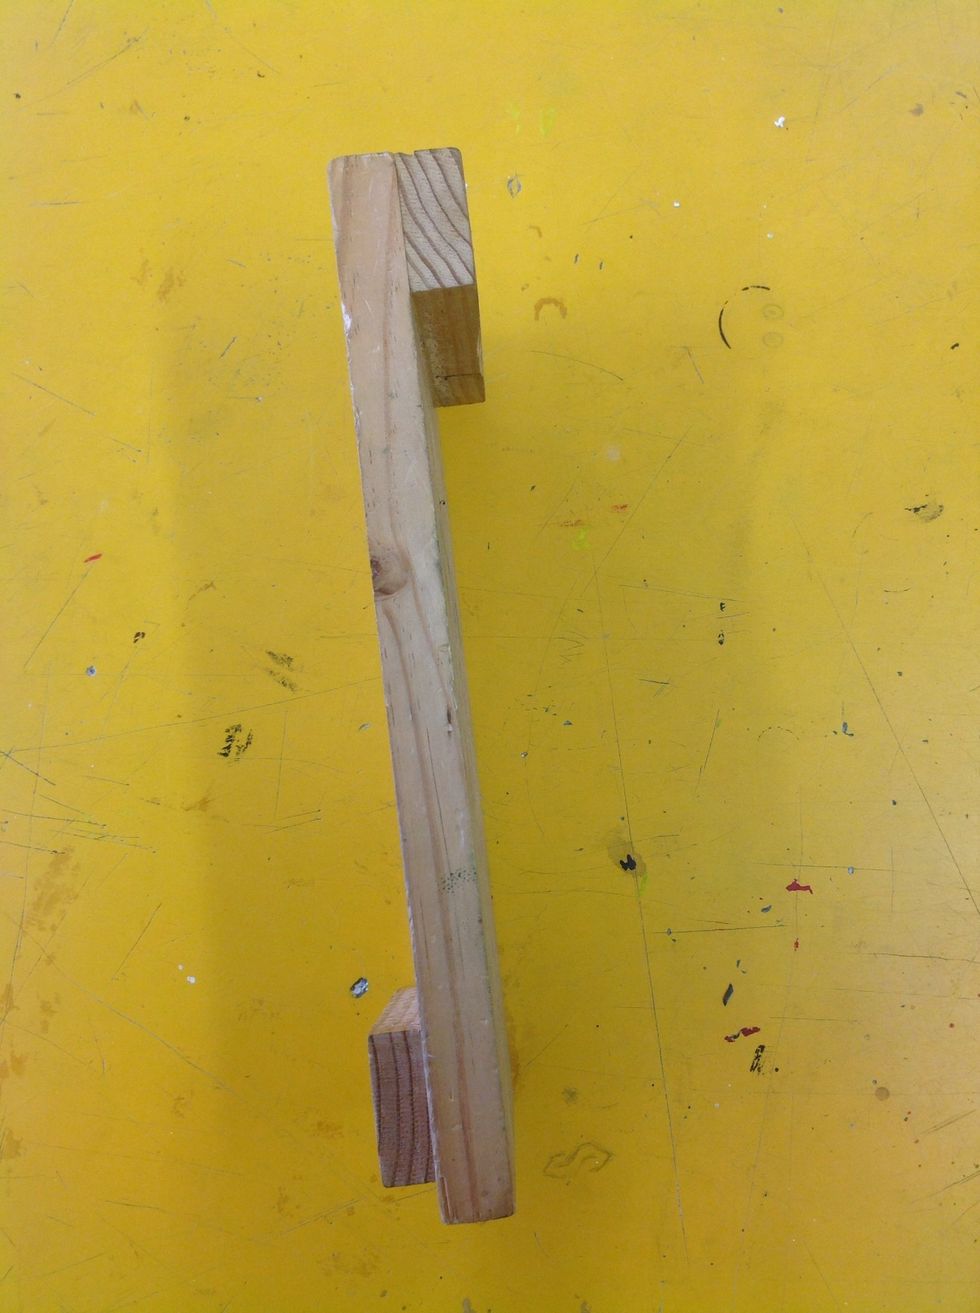
The bench hook has 1 guard on each side. The bottom guard hooks onto your workbench and the top one is used to precisely hold your Lino.
Warm your Lino by putting it in the sun or sitting on it for a couple of minutes to soften it making easier to carve. I put mine in the sink which heats it quickly being in direct sunlight.
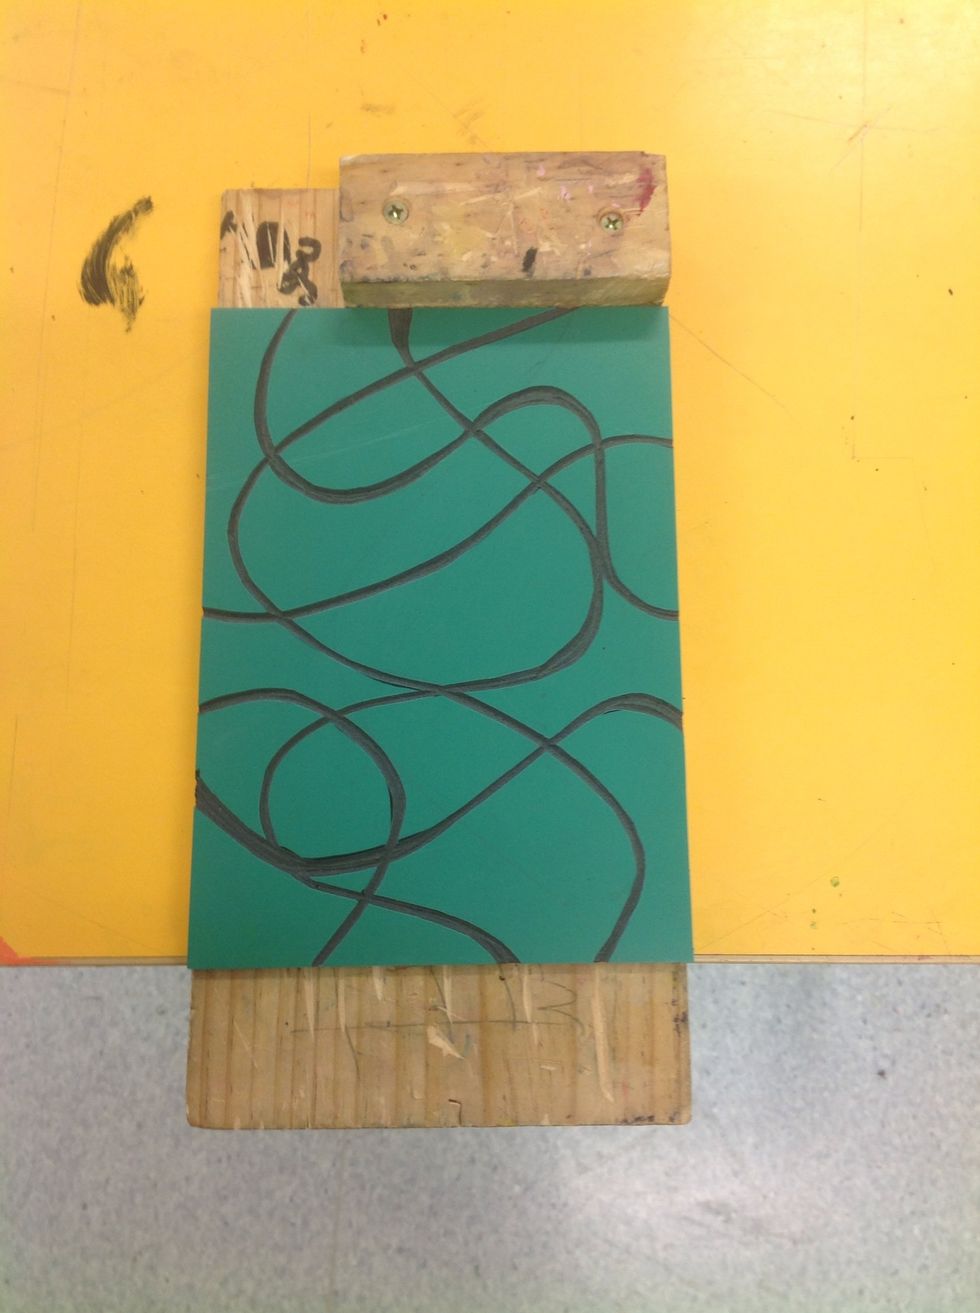
Hook you bench hook over the edge of your work bench or desk. Ensure your your Lino is pushed (and kept) squarely up against the top guard before you begin carving.
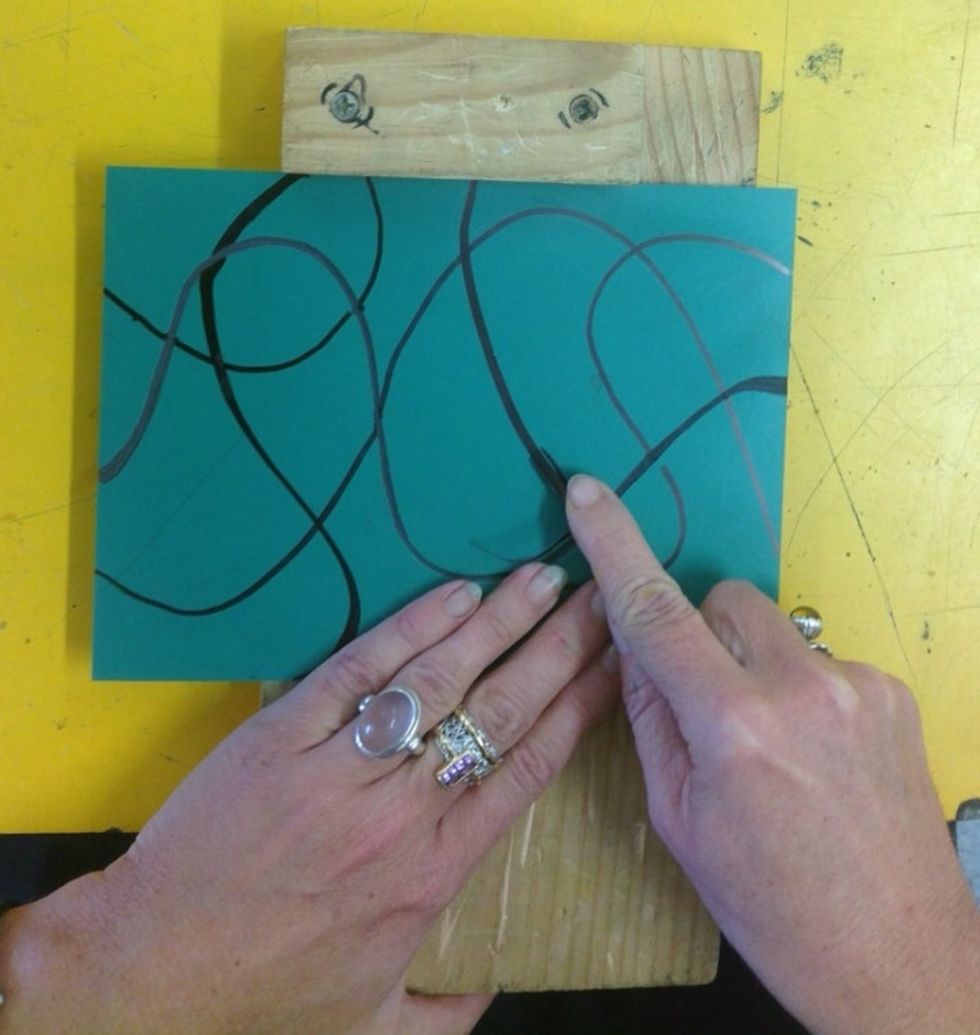
When you begin to carve using a 'v' shaped tool it is very important to keep your fingers behind the tool to avoid slipping and cutting yourself.
Breathe in, as you start at one edge breathe out guiding the tool with your fingers from one side of the Lino to the other. Alter your seating position rather than having the Lino off the guard.
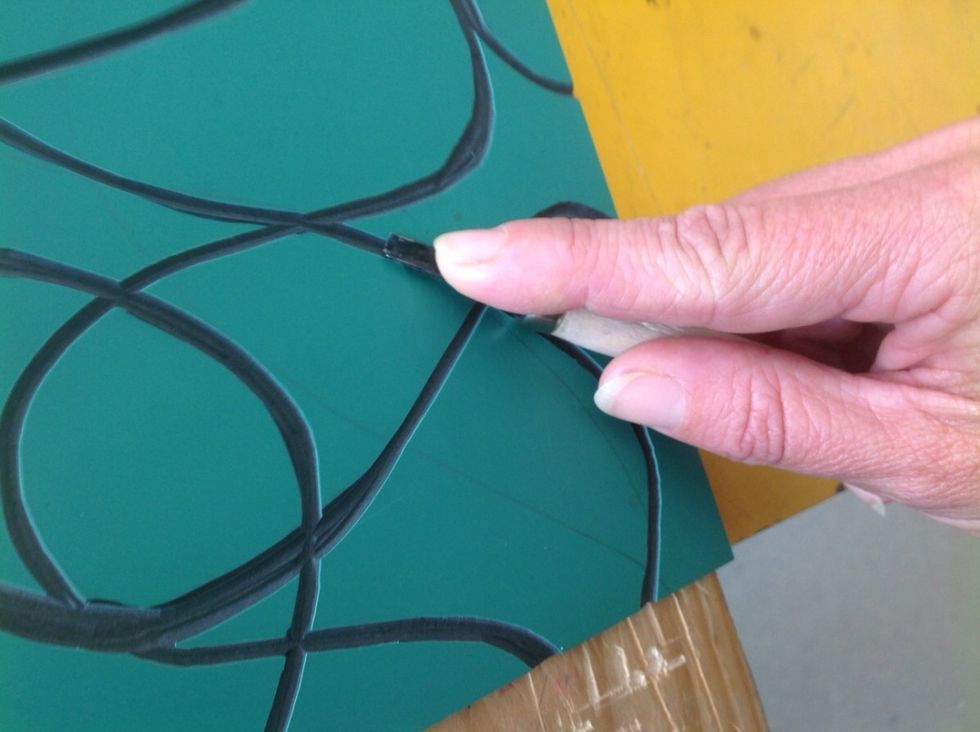
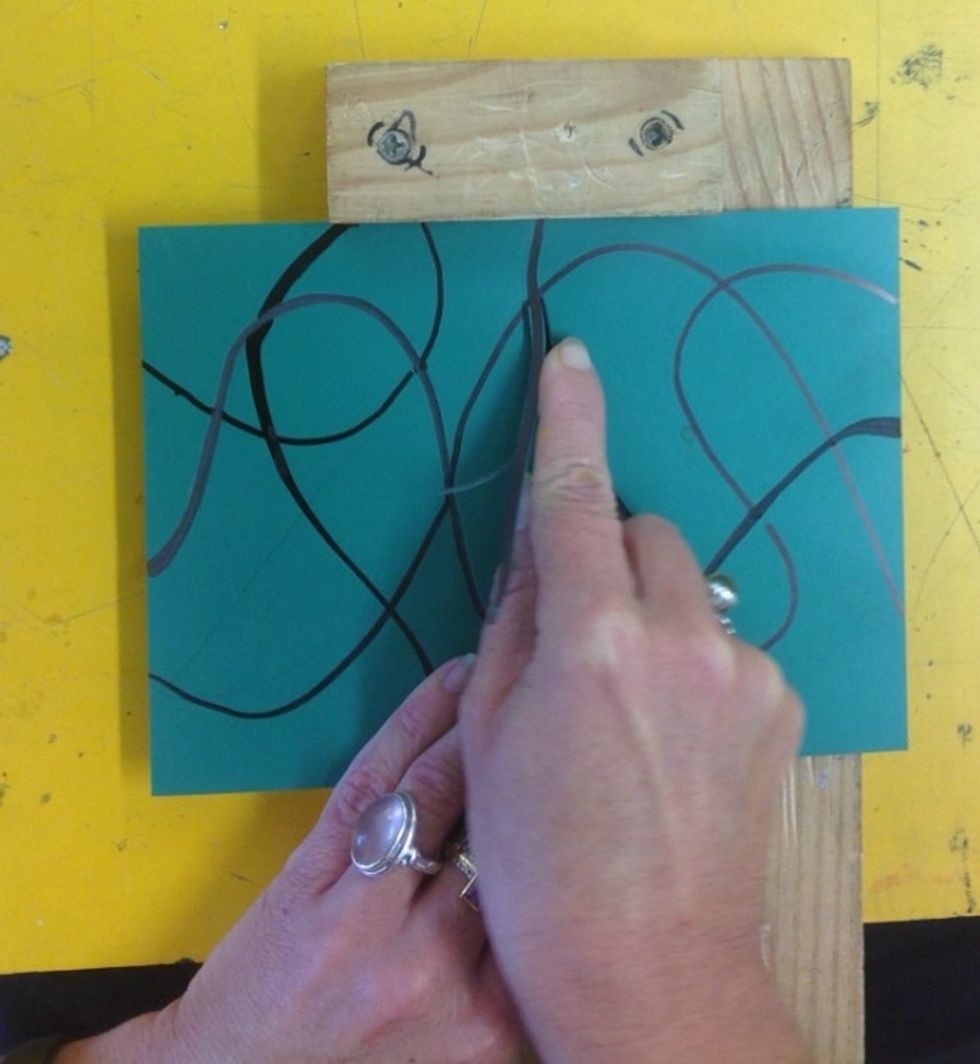
Keep the carving tool at an acute angle to the surface of the Lino so not to dig holes through the Lino.
Clean up your edges leaving nice smooth clear and even channels. Give your Lino a wash to rid it of any dust and oil from your fingers and it is ready to print.
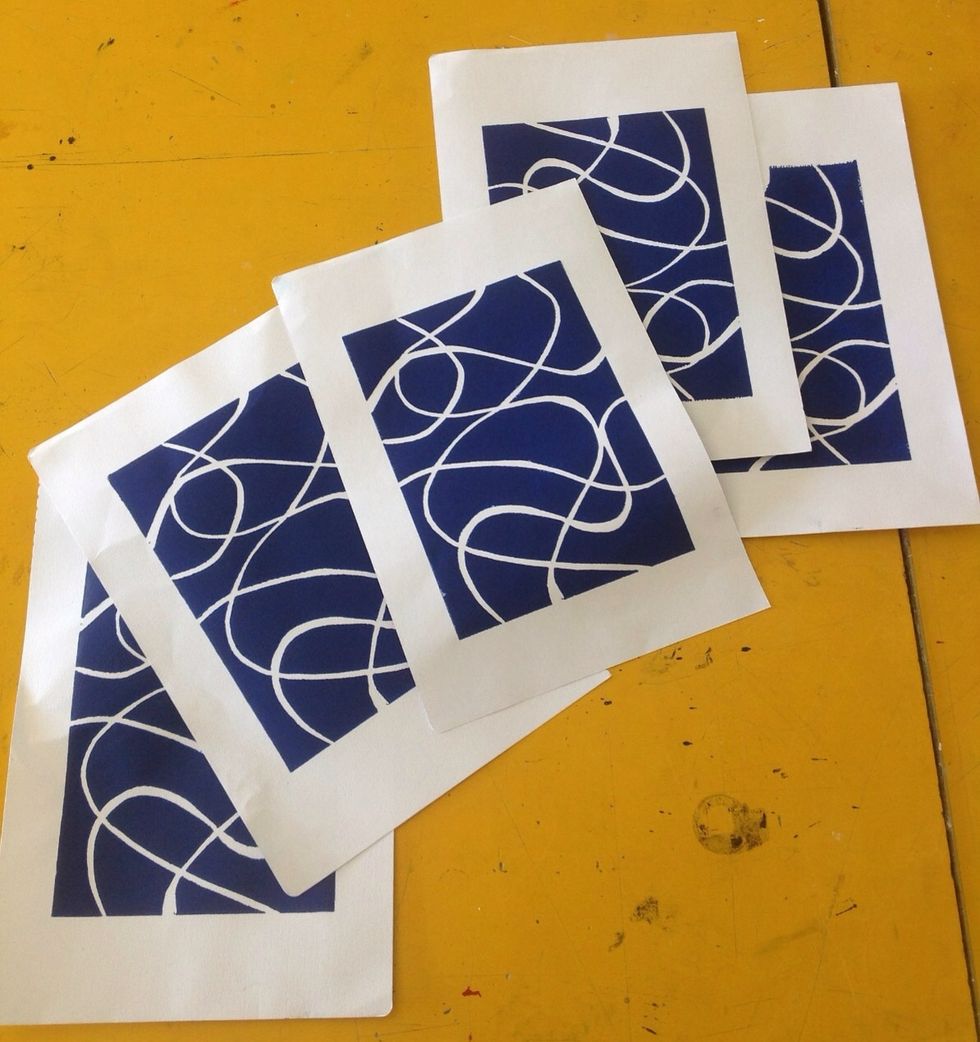
Keep an eye out for a Snapguide on 'How to Print a Lino'.....