The Conversation (0)
Sign Up
Lets start with making the stencil.
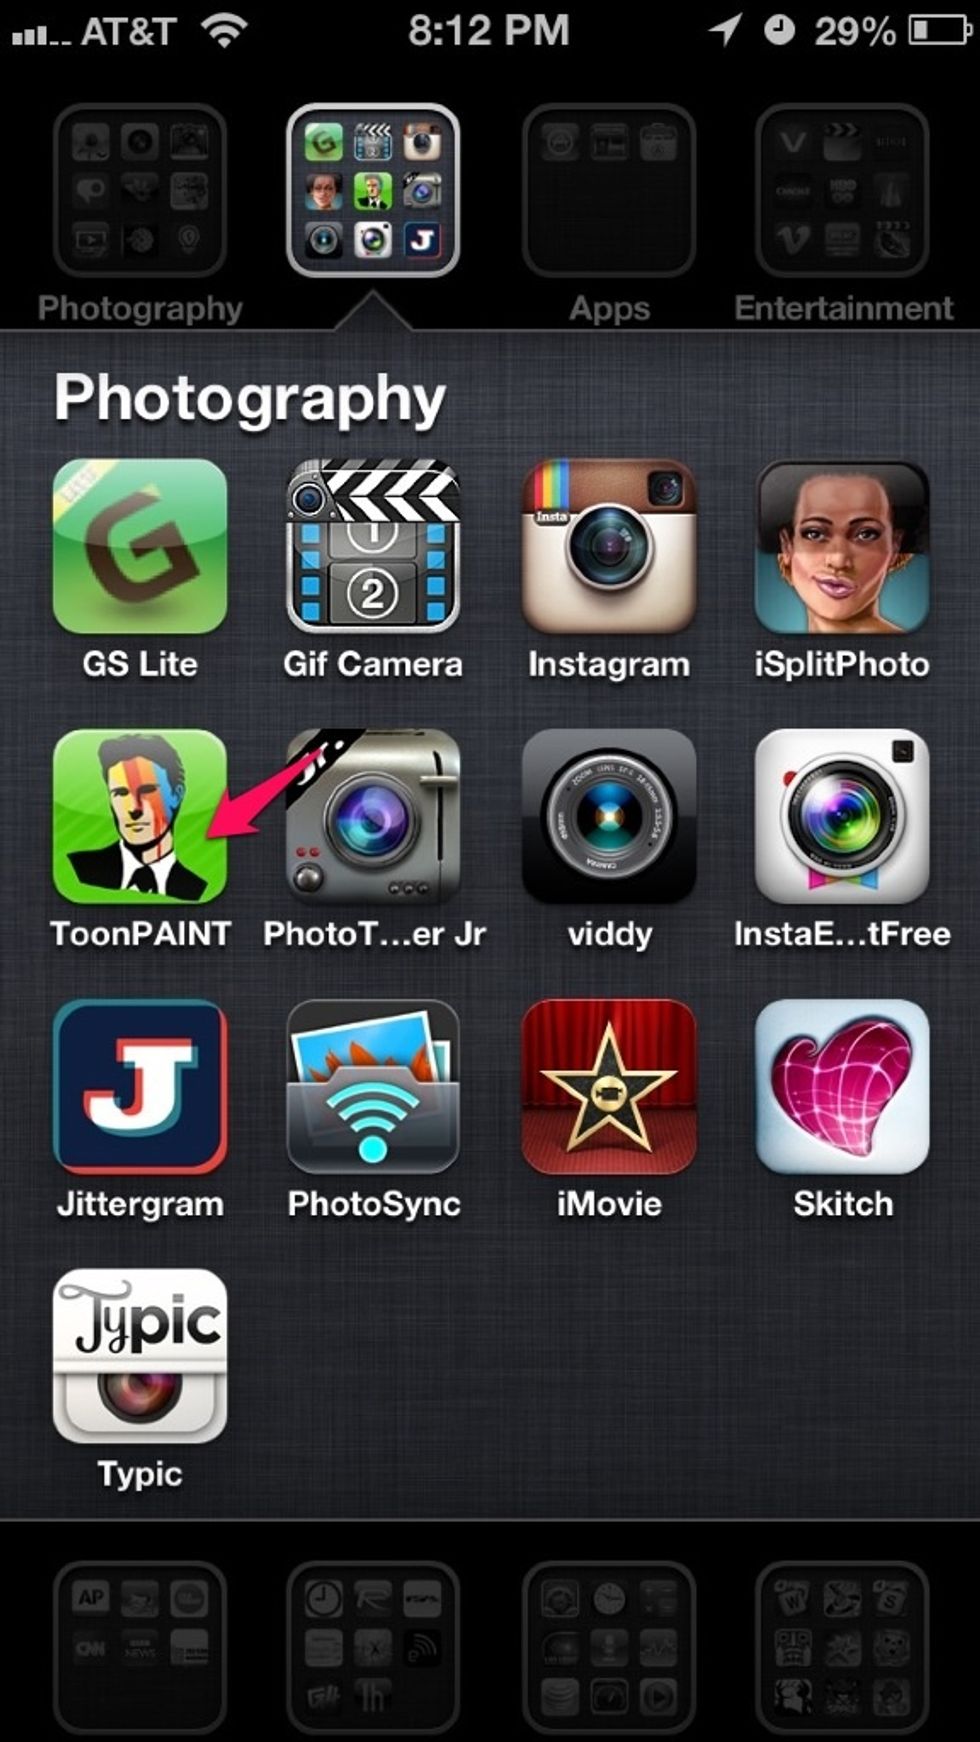
Download an app called ToonPAINT. It was free when I downloaded it back in the day.
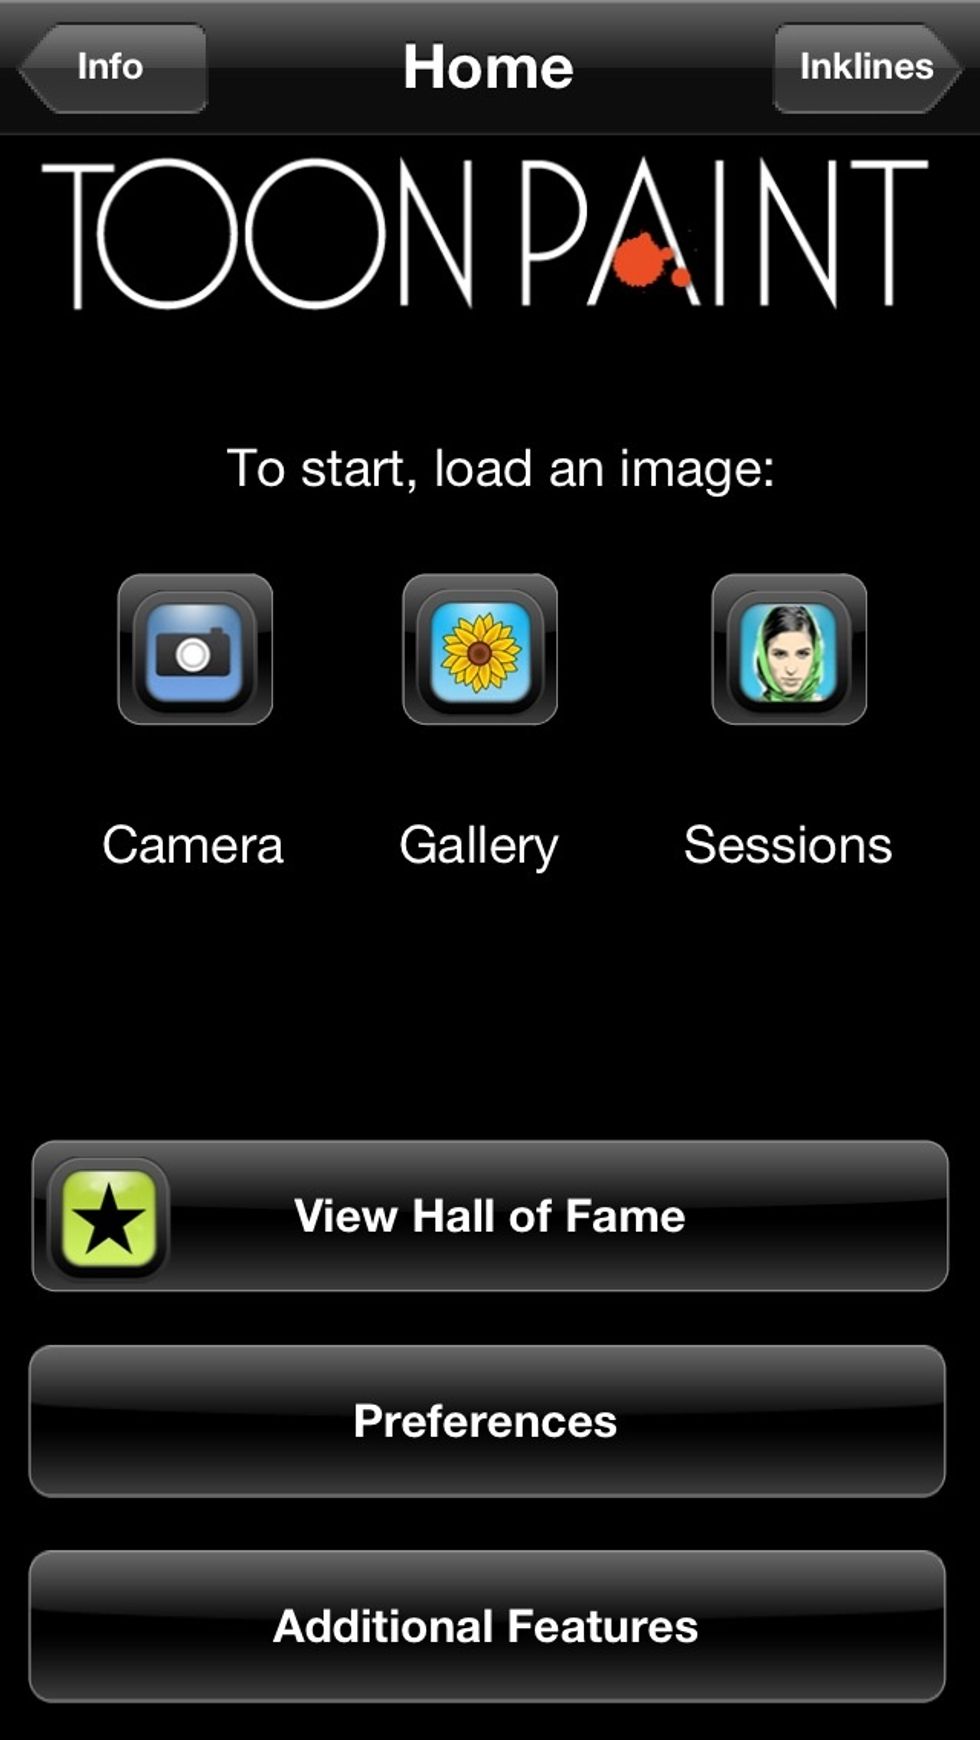
Click on Camera to take a pic or gallery to chose a picture.
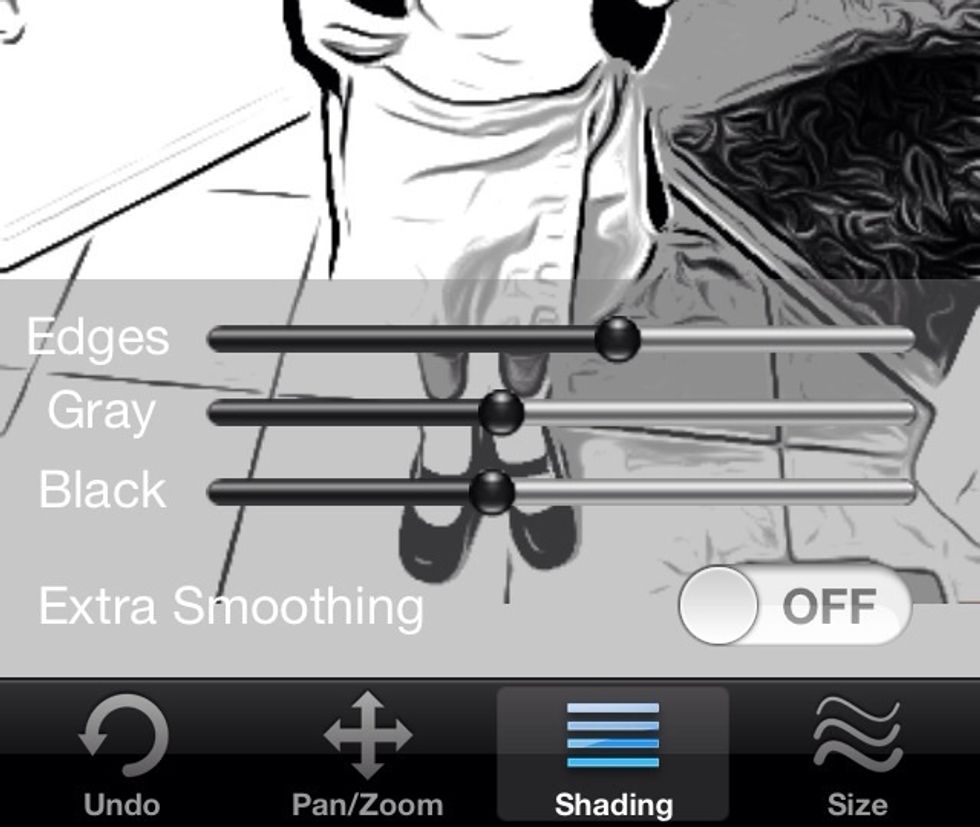
At the bottom click on the shading option. Now you will adjust the black and gray.
You want to keep in mind that the white part is what will be cut out, the black will stay (pumpkin skin) and the gray is where you will peel off the pumpkin skin. Now save and print.
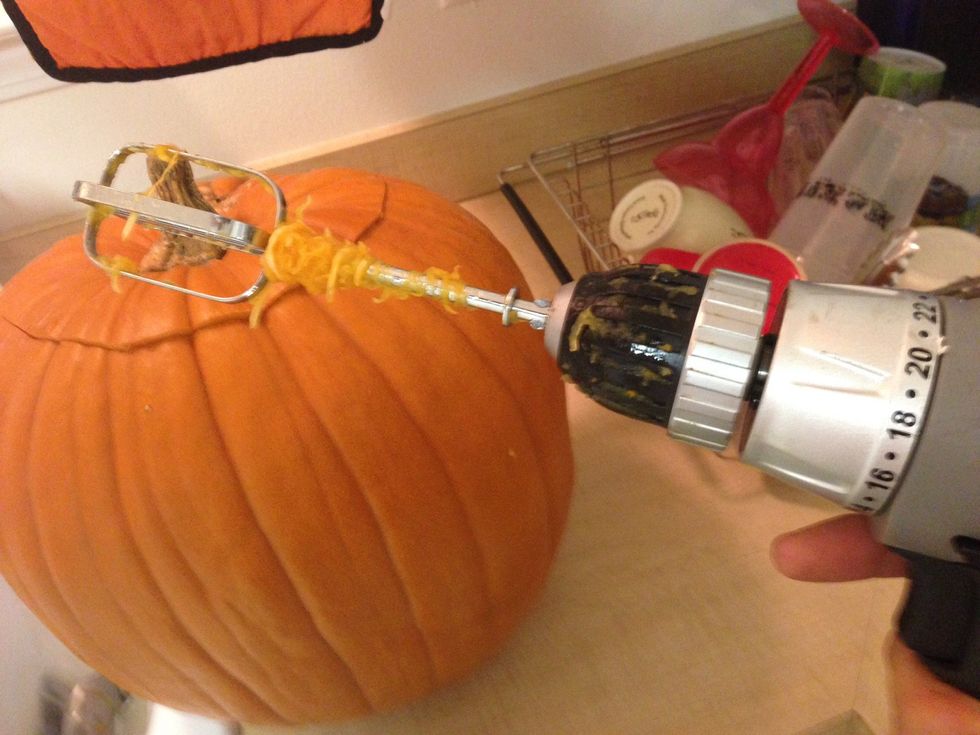
Now gut the pumpkin. I use a blender blade and a drill to do this. It's quicker and makes me feel more like a man!
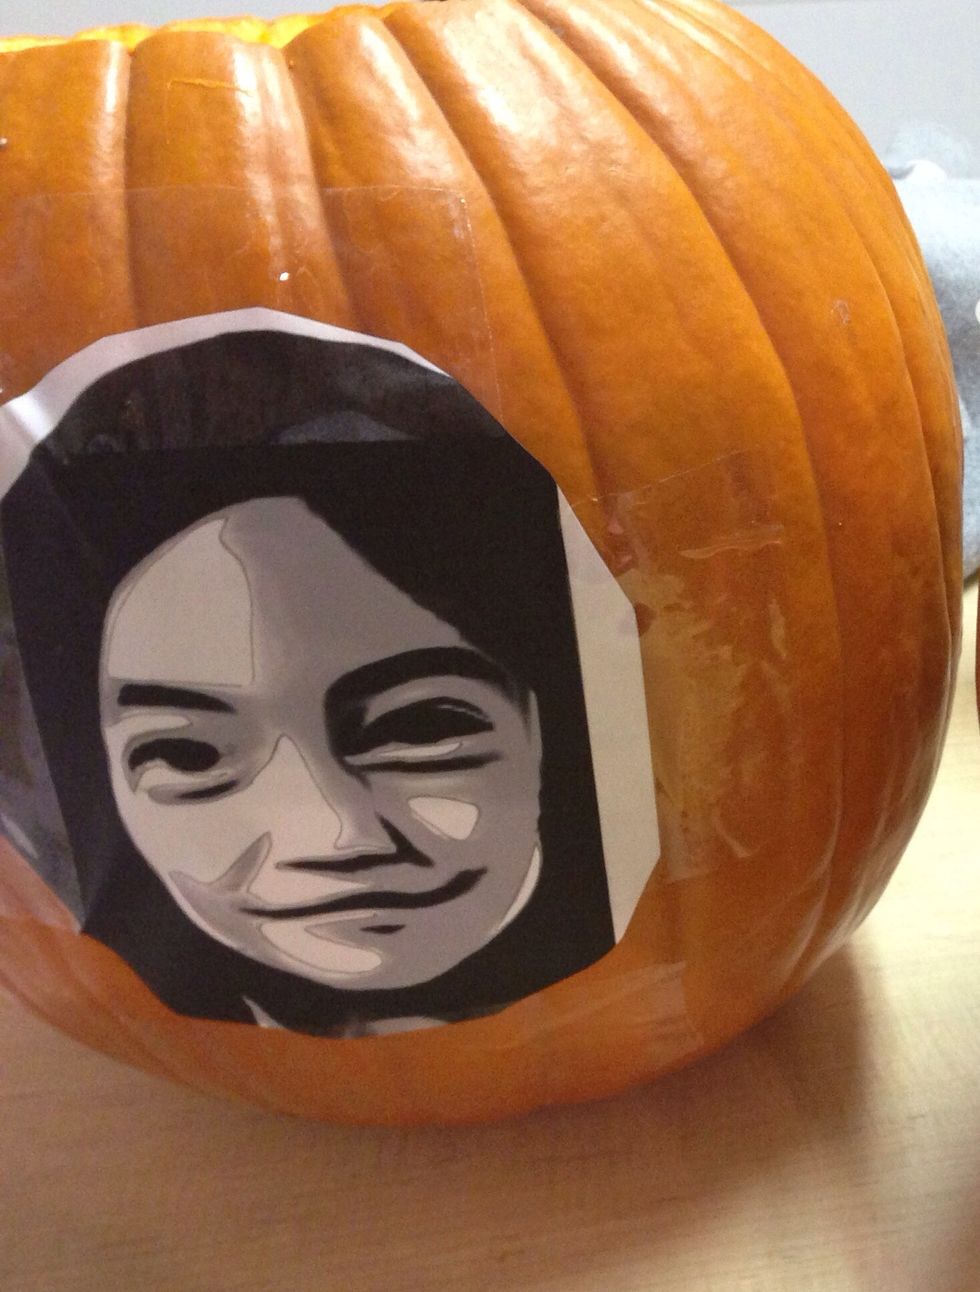
Tape your stencil to the pumpkin.
Use a sharp object like a pencil tip and puncture dots all around the white. This is how you'll know where to cut once you remove the stencil.
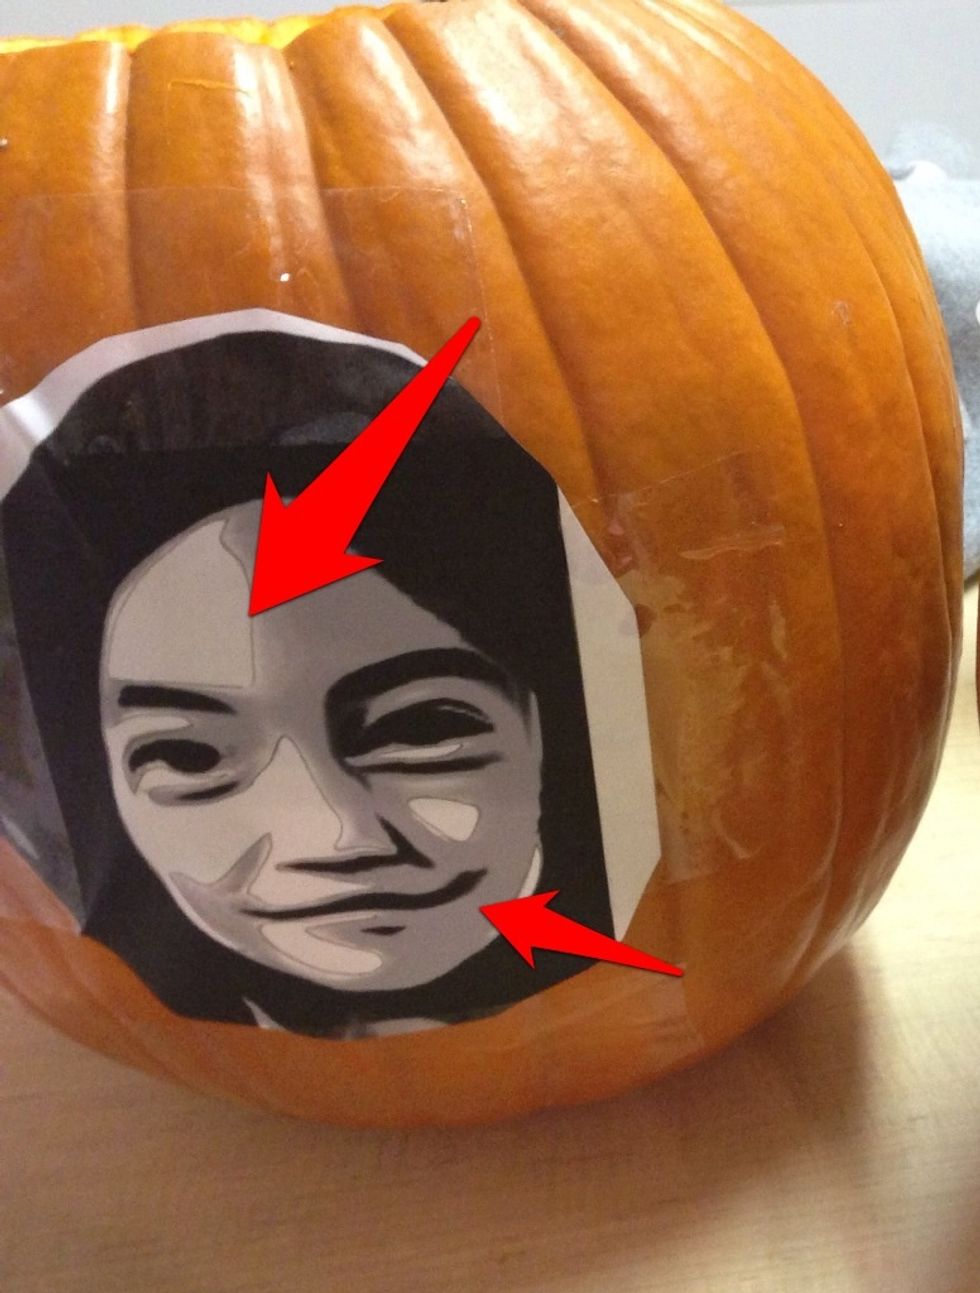
I used an Exacto knife to carve into the pumpkin skin and trace the black parts. This will let you know where NOT to cut once the stencil is removed.
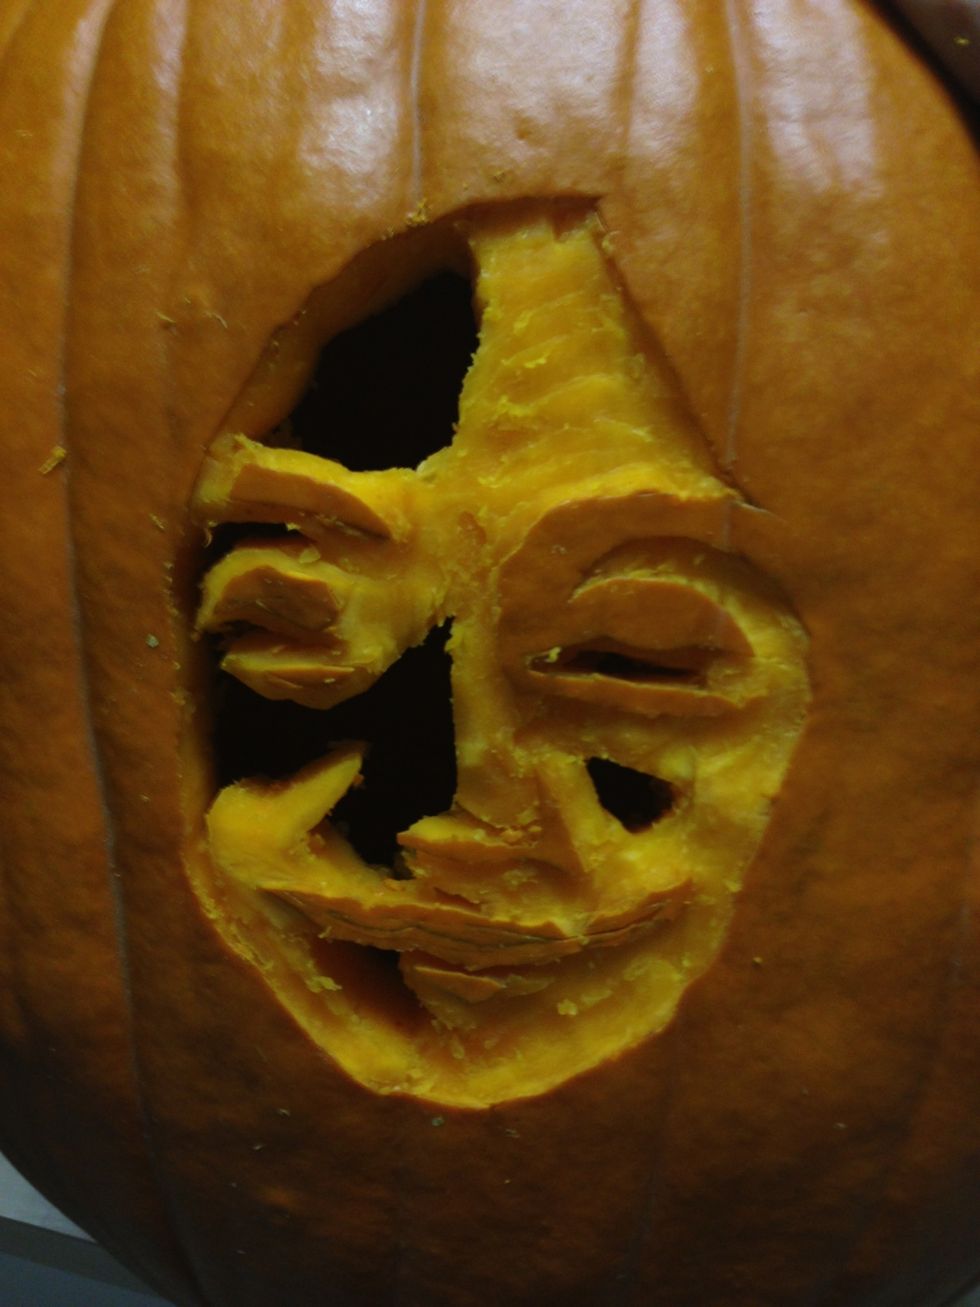
The cut out part was the white. The carved off skin is the gray and the remaining pumpkin skin was the black. Looks like crap right now. Don't worry! Put a bright light inside and...
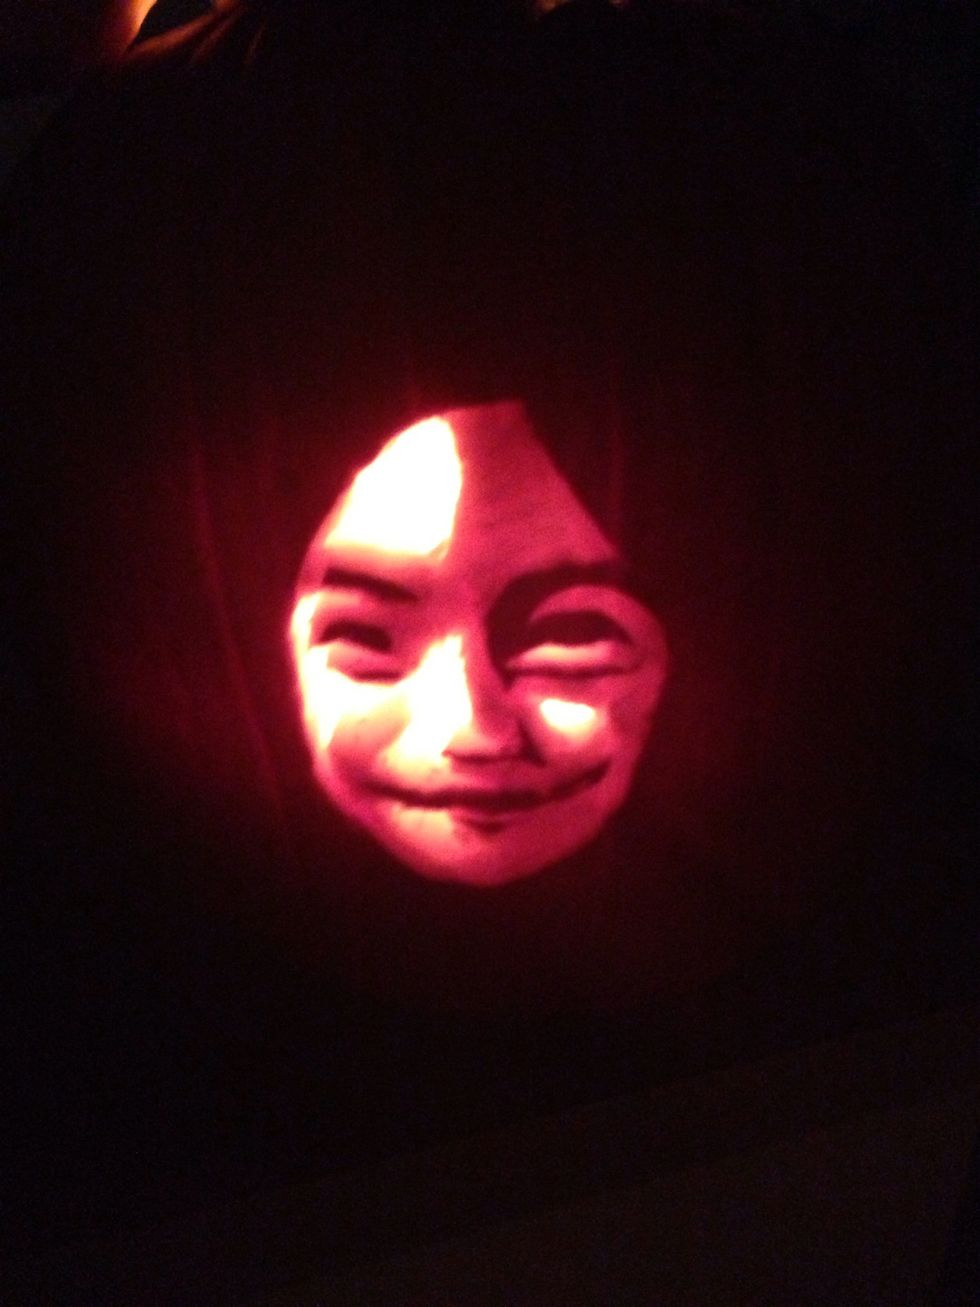
Voila!!! I've heard that spraying the exposed parts of the pumpkin with hair spray or wiping those parts with Vaseline will help preserve it. Good luck and Happy Halloween!