The Conversation (0)
Sign Up
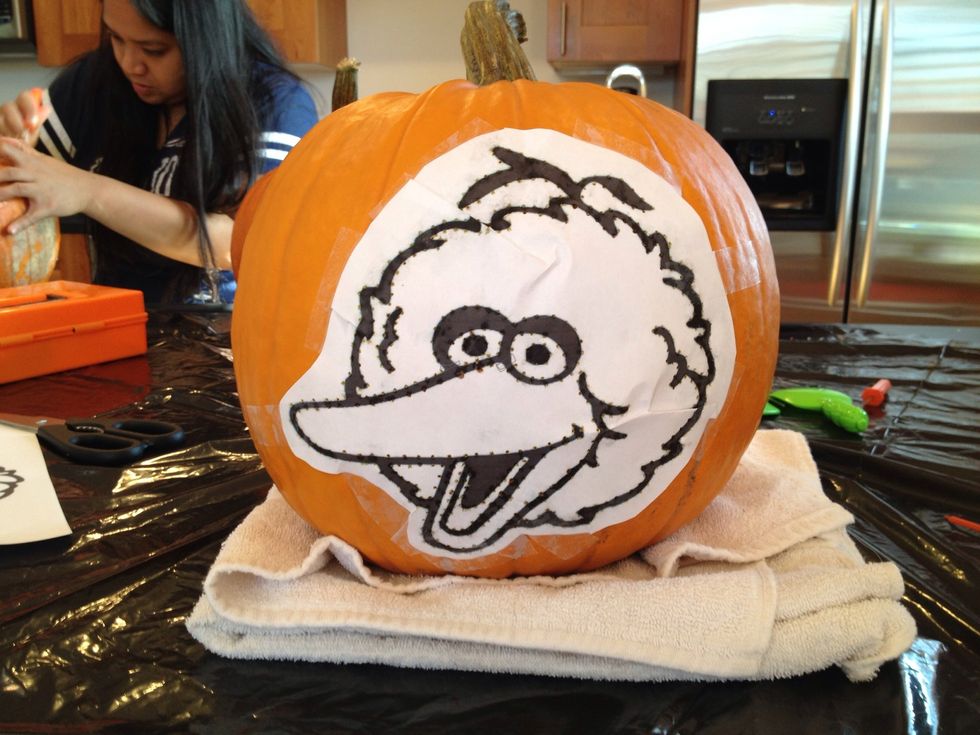
Place stencil or picture on pumpkin. Tape the picture onto your pumpkin. You can bend the paper but try to crease it where the creases won't be that noticeable like in the empty spaces in the pattern.
Start by cutting the lid. Cut a little triangular notch in the back so you know which way to place the lid.
Proceed to hollow out the pumpkin. Try to make sure the bottom is flat for candle placement. Concentrate on getting the inside face of the pumpkin where you will be carving as level as possible.
carve intricate parts of the pattern 1st while there is good support. The more u cut the face of the pumpkin the weaker it will get. Use dry erase marker to mark support areas where u shouldn't cut
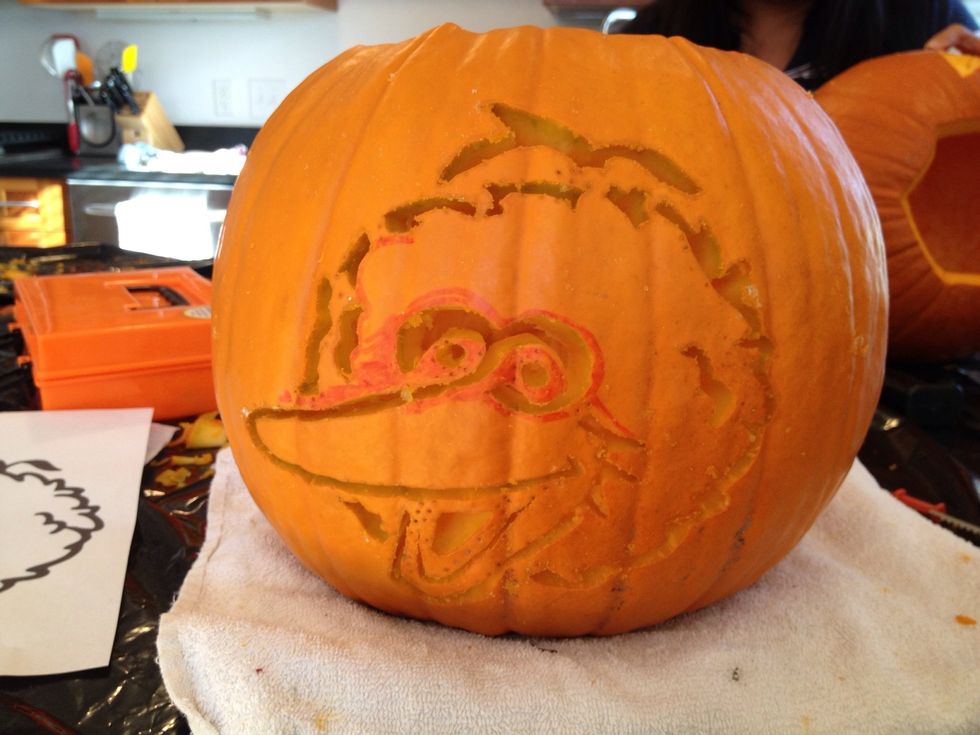
For this pattern I concentrated on the center part with the beak and eyes and made sure they were supported well before cutting the outline of the head.
Wash off the dry erase marker with a sponge. Go over areas with an X-Acto knife to get sharp lines and to make sure sufficient light comes through.

Rinse inside and outside of the pumpkin
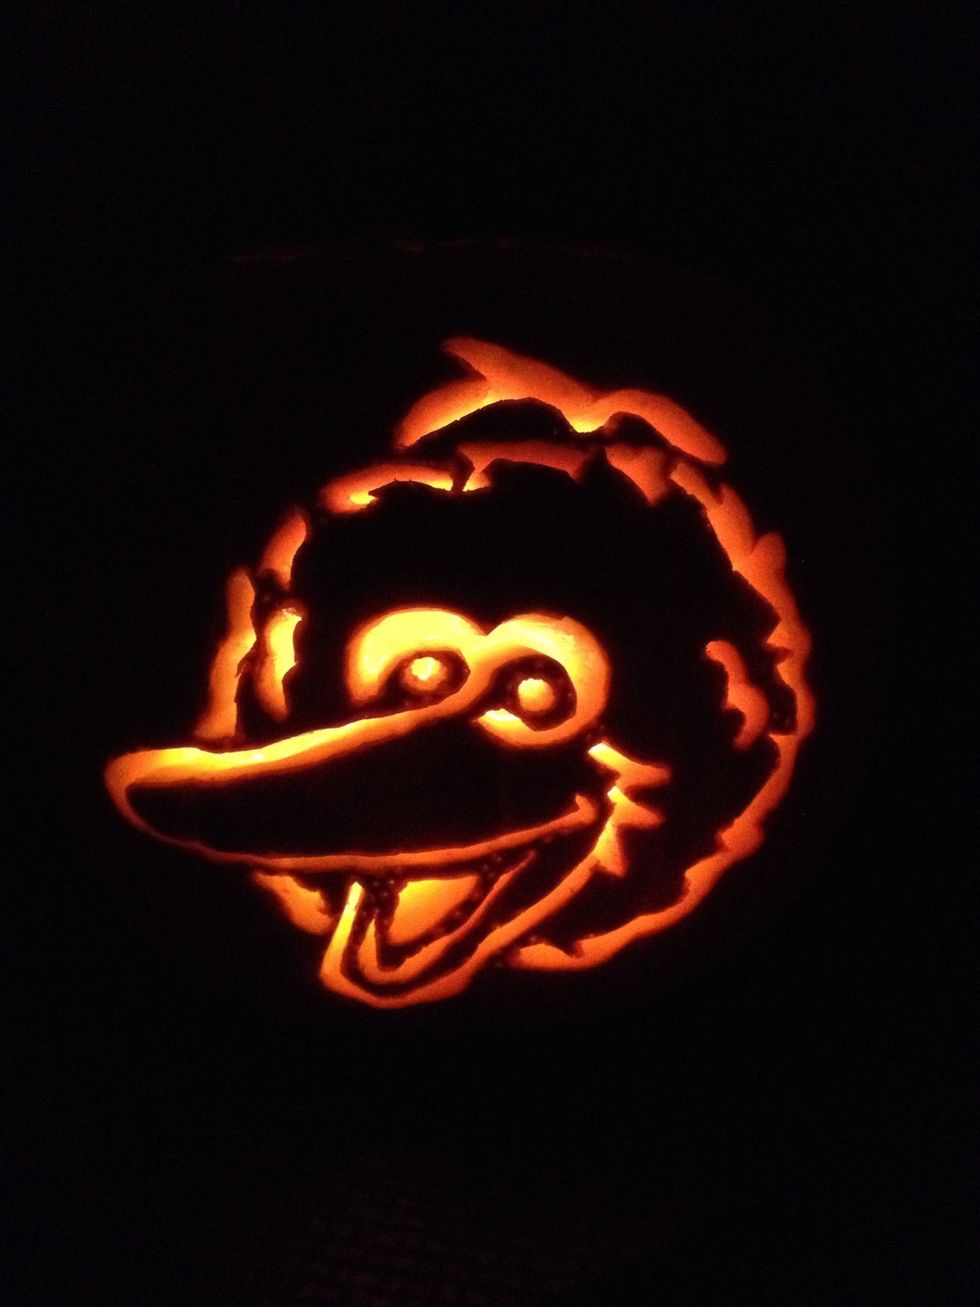
Insert three Tealight candles and light! For a longer-lasting pumpkin, use Vaseline or olive oil on the inside of the carving, wrap in saran wrap, and place in refrigerator until Halloween. Enjoy!