The Conversation (0)
Sign Up

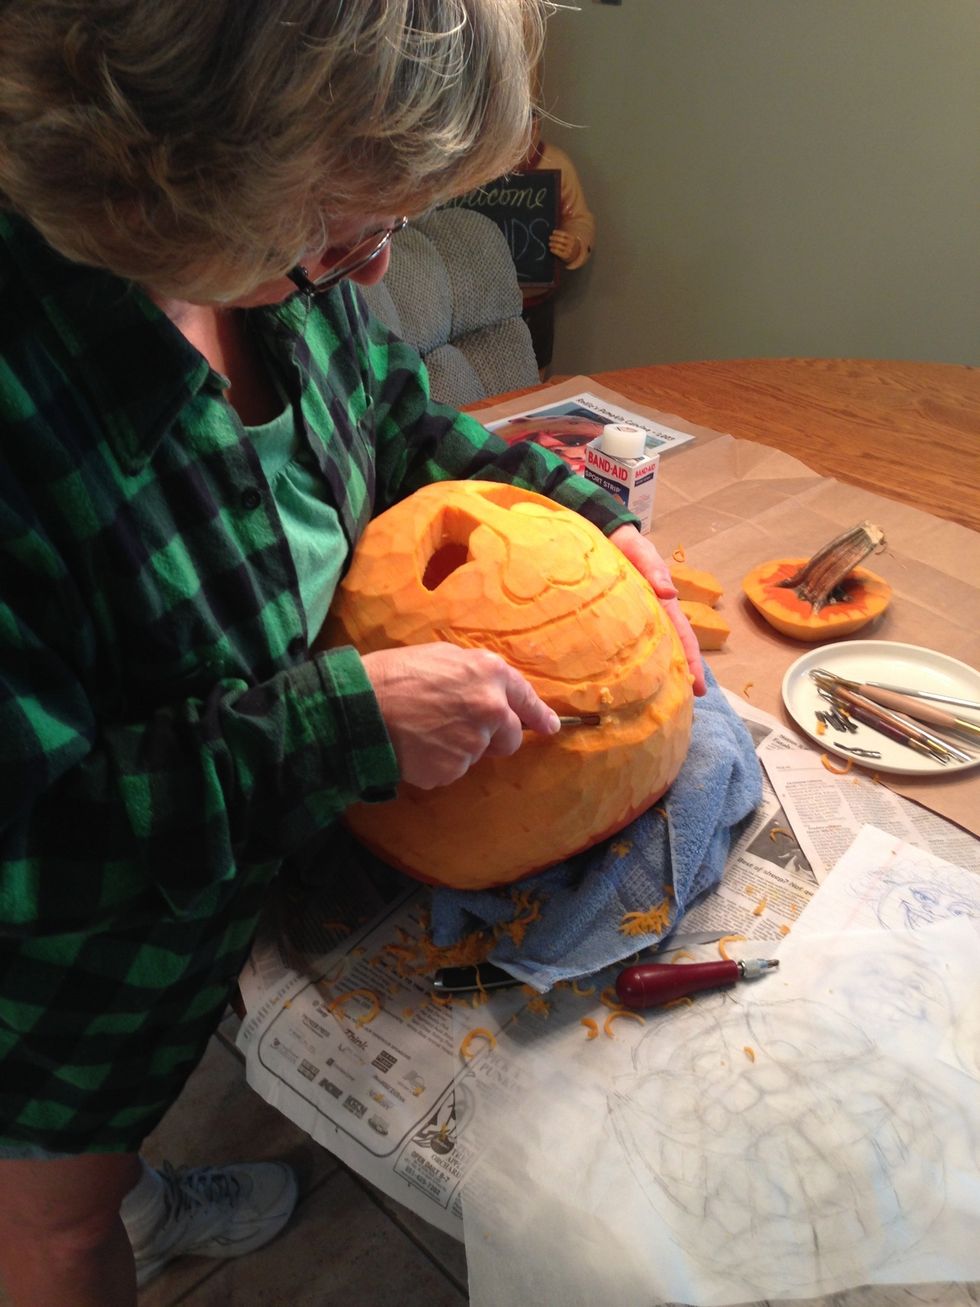
Linoleum carving tools and clay tools are VERY helpful.

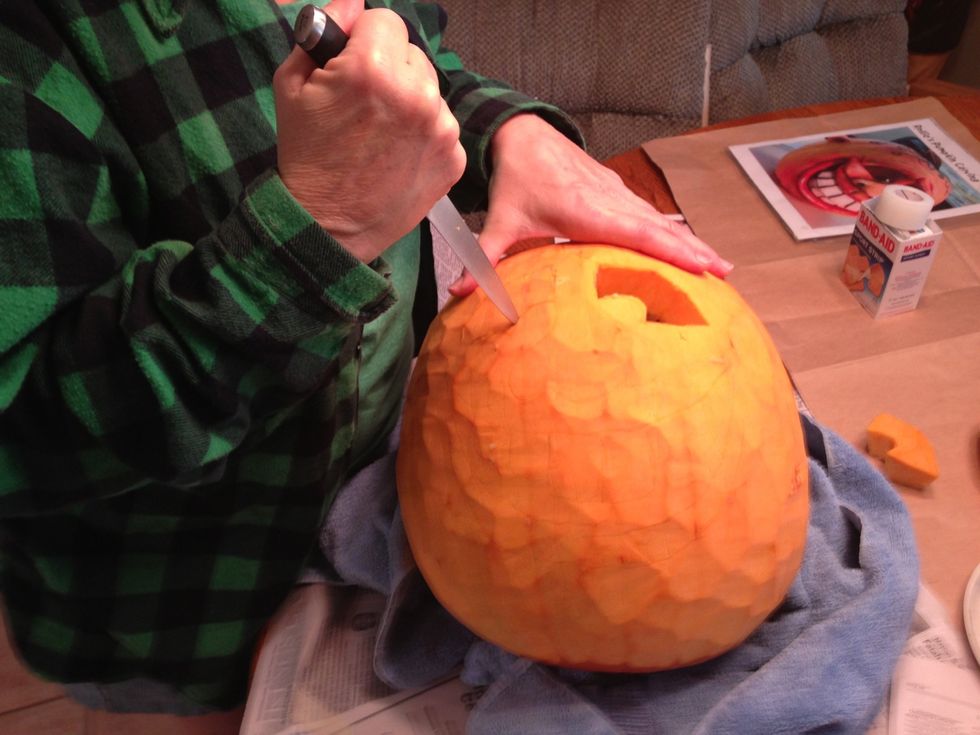
My husband was nice enough to cut off the tough skin on the front half and hollow it out for me.
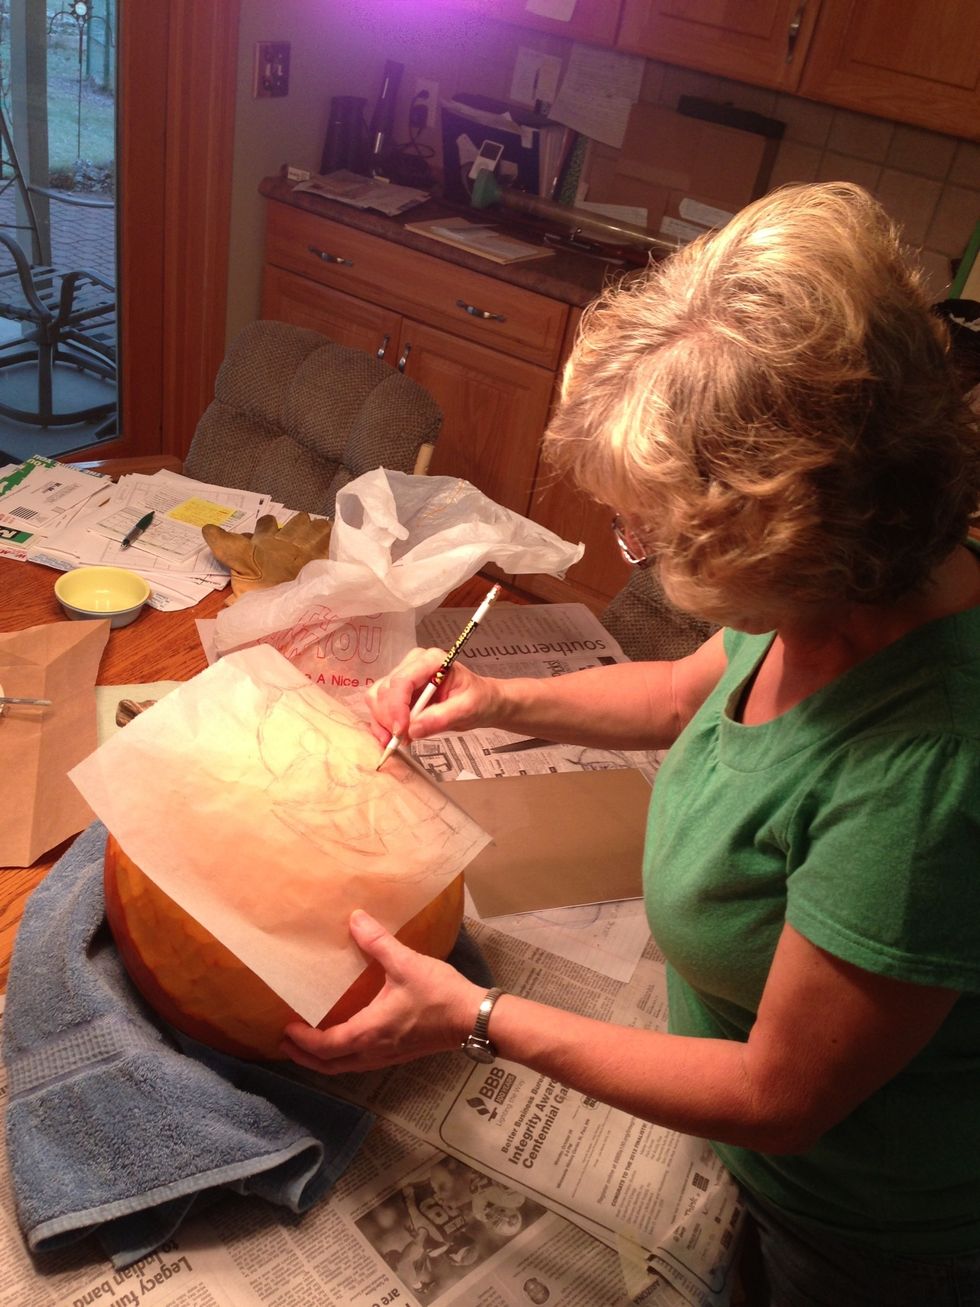
On tissue paper, I first drew a face that would fit.
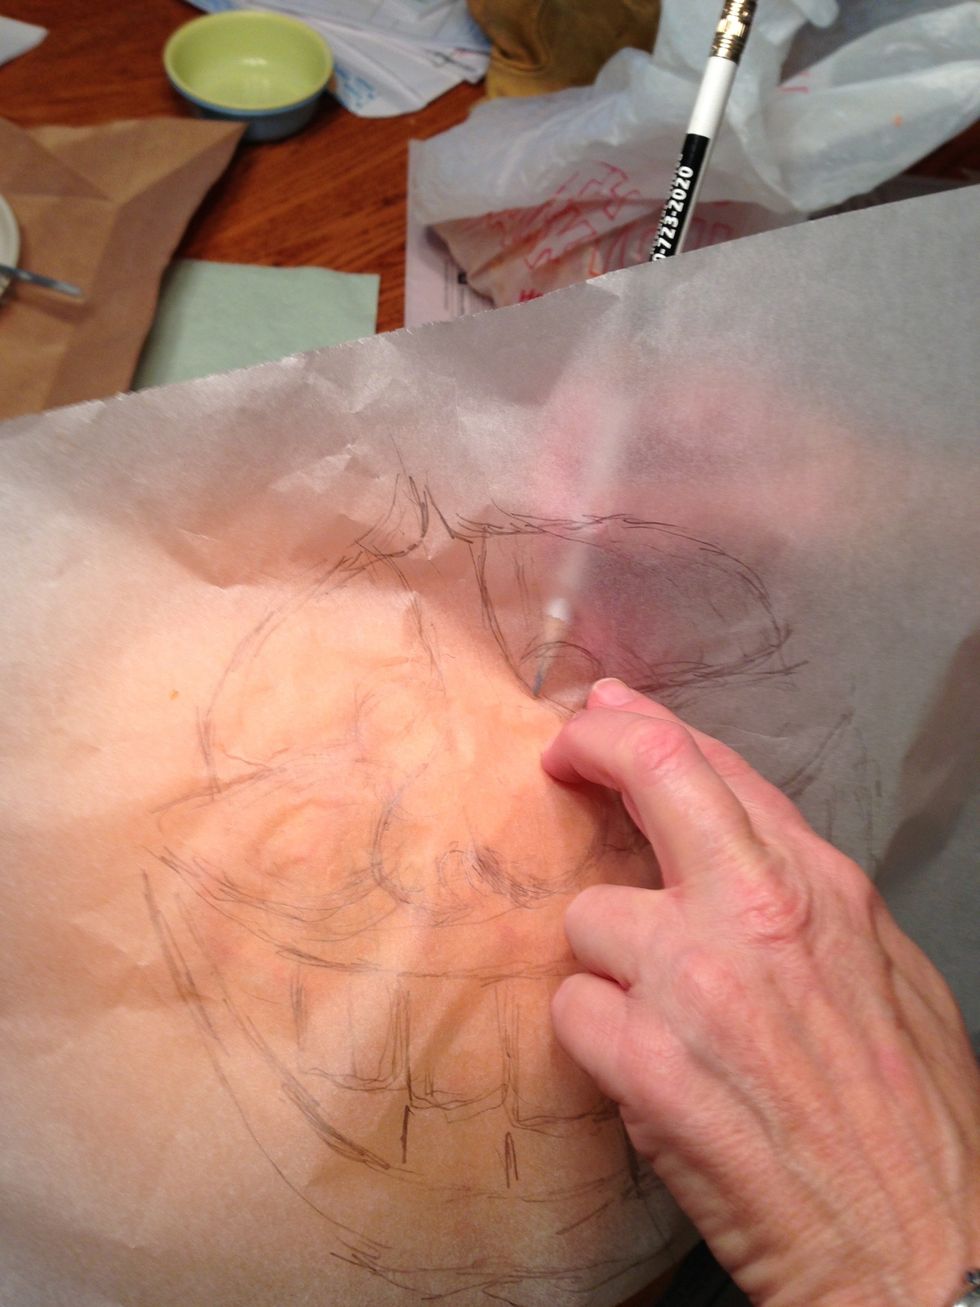
Using a pencil to draw onto pumpkin under the tracing paper.

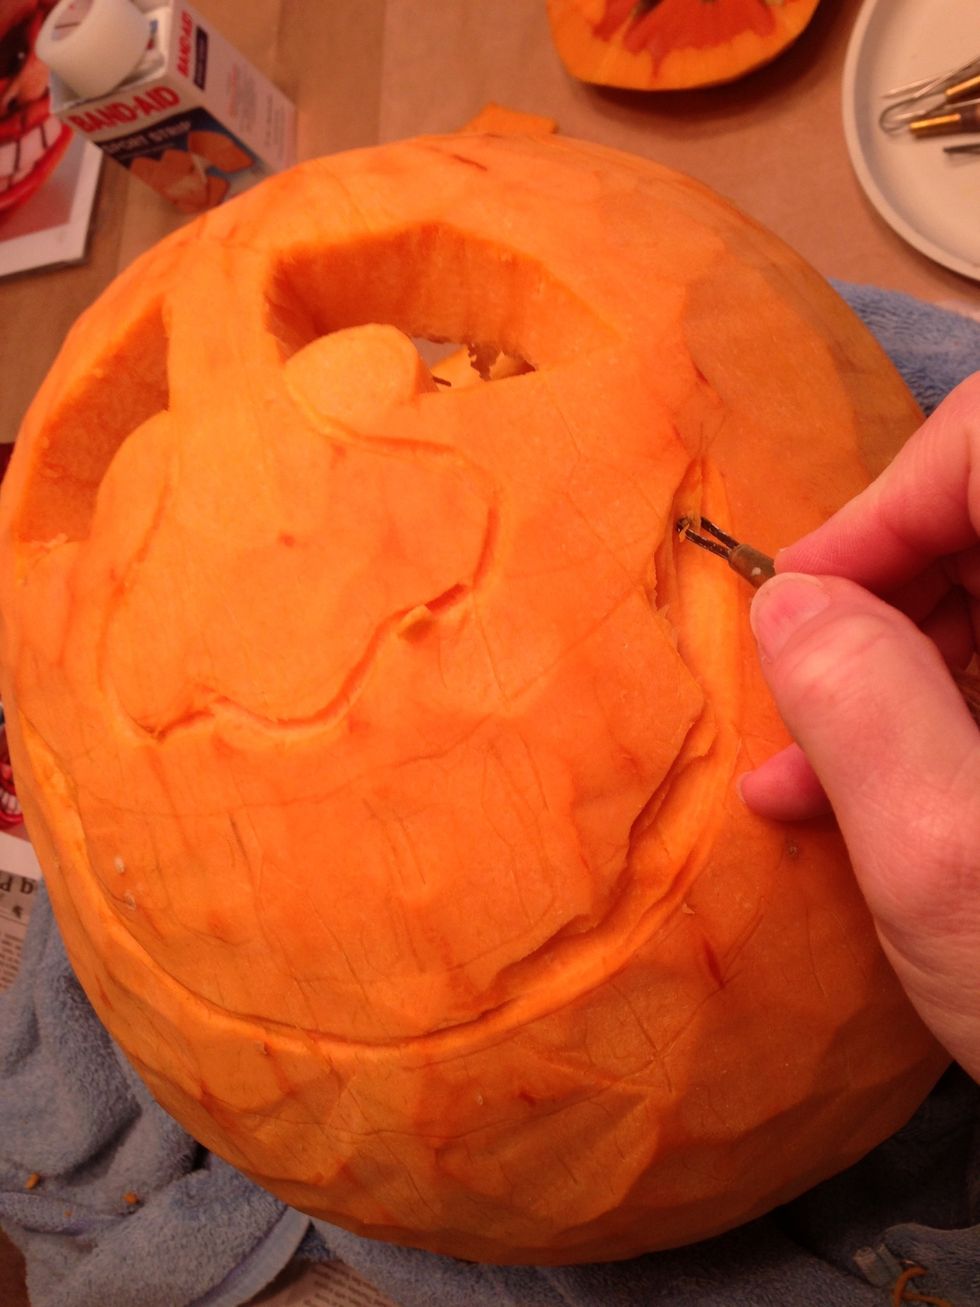
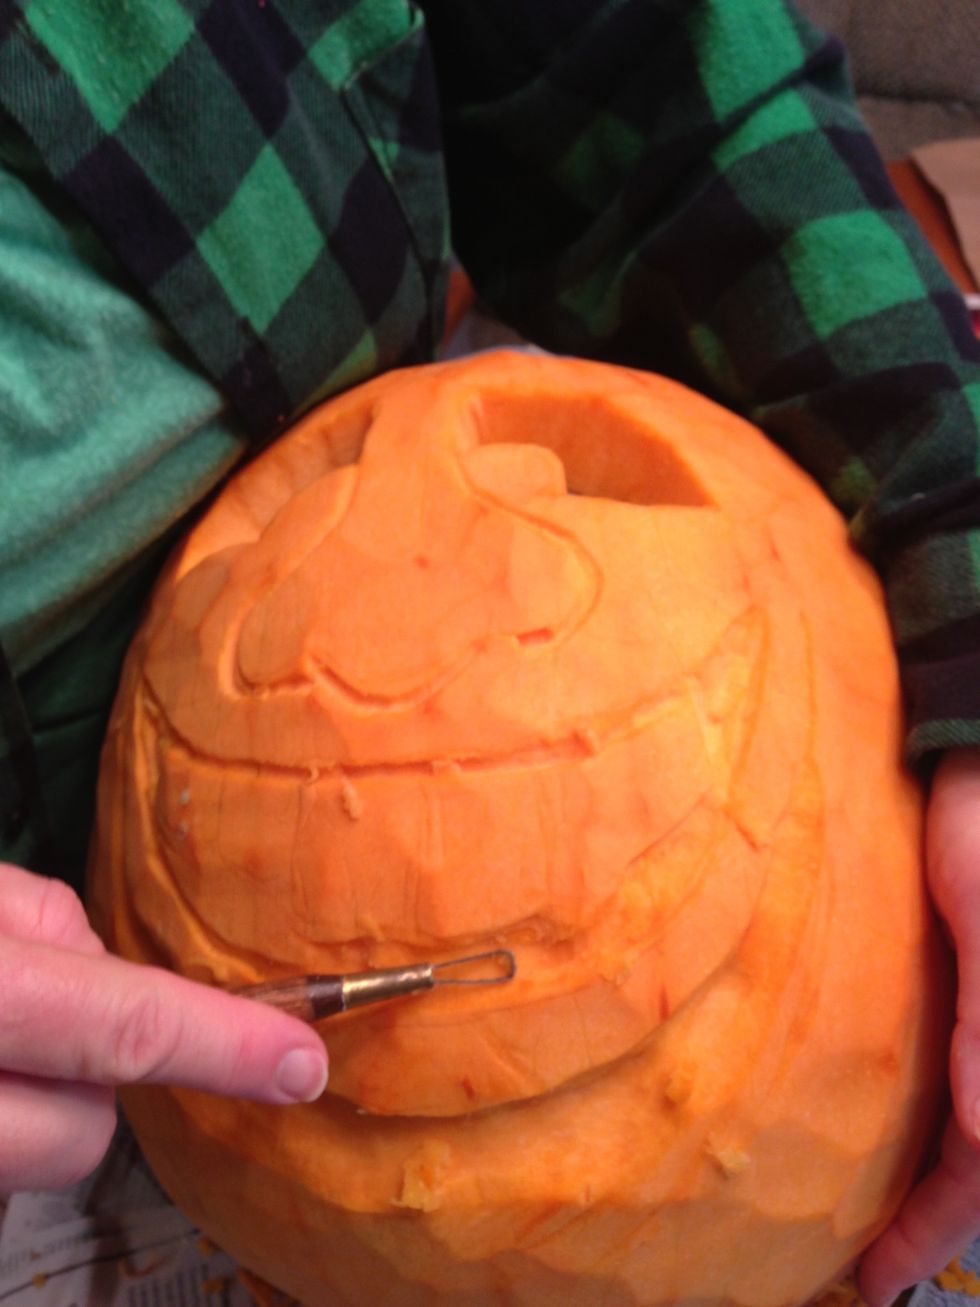
Cutting out the first eye. Save pieces for ears and nose.
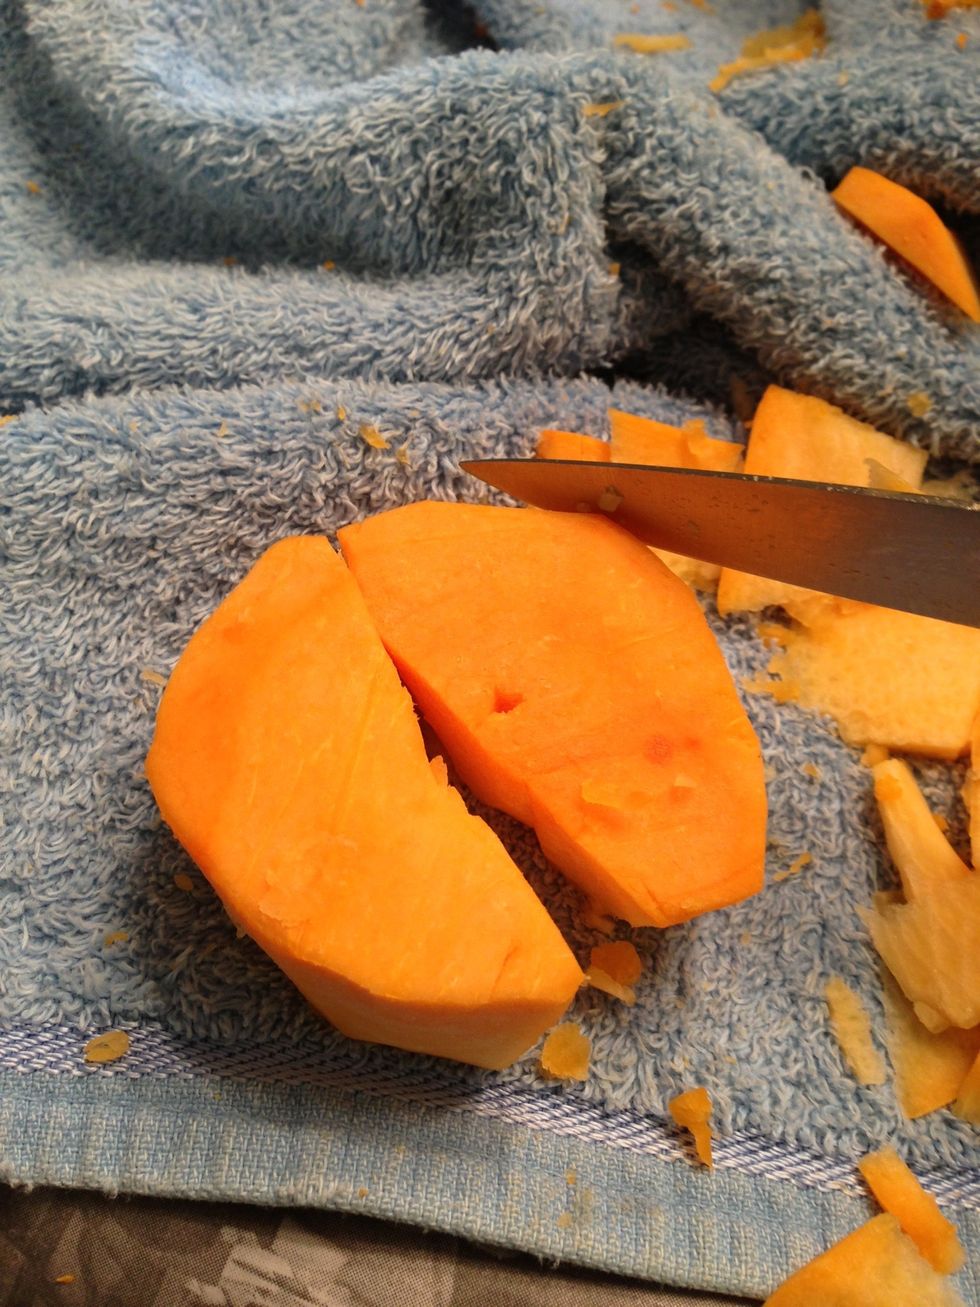
A towel helps hold round pumpkin in place. .
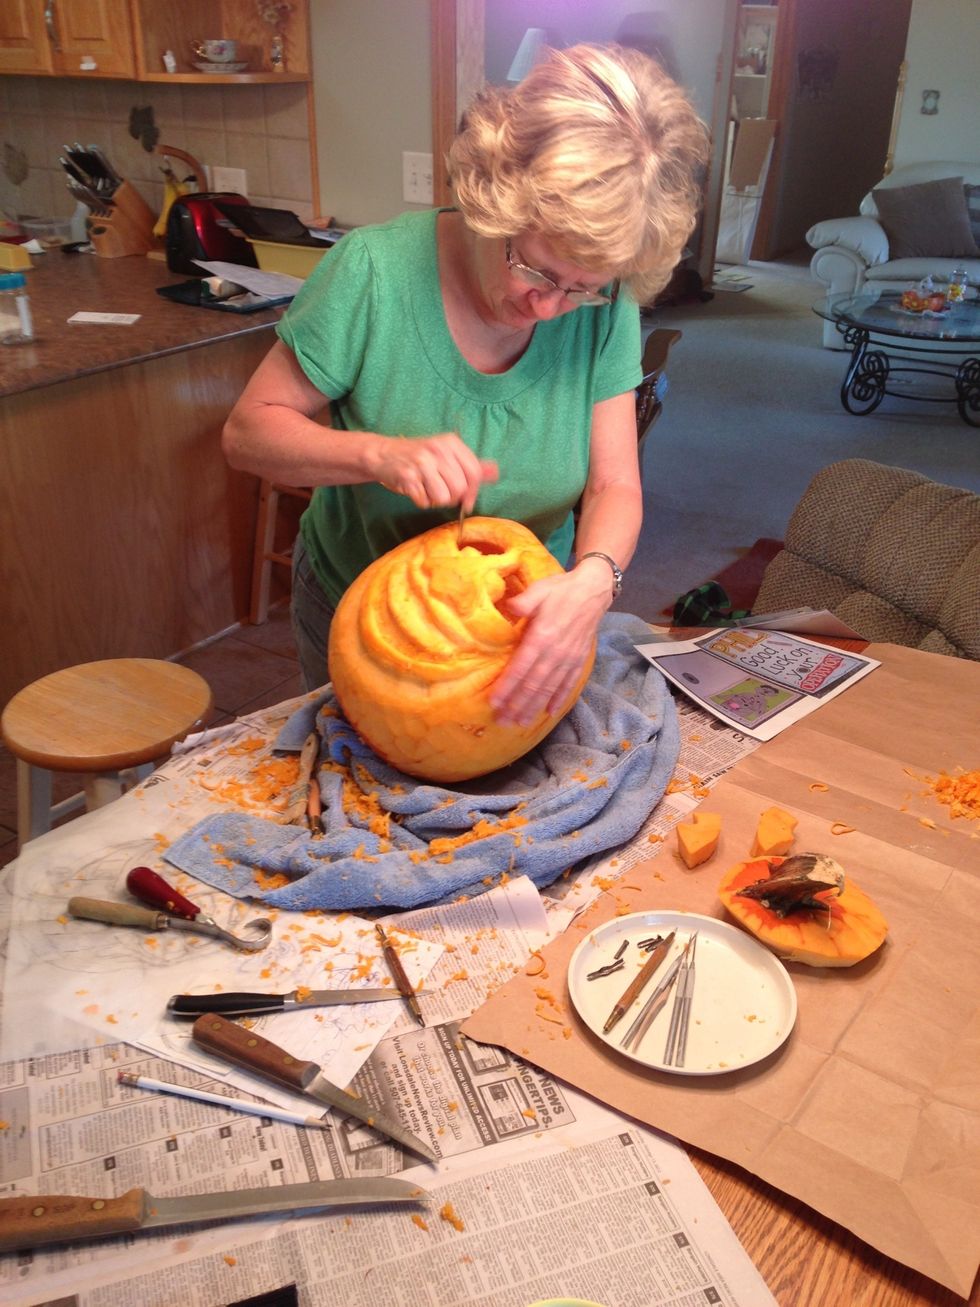
Carving in some guide lines
Clay tool works great!
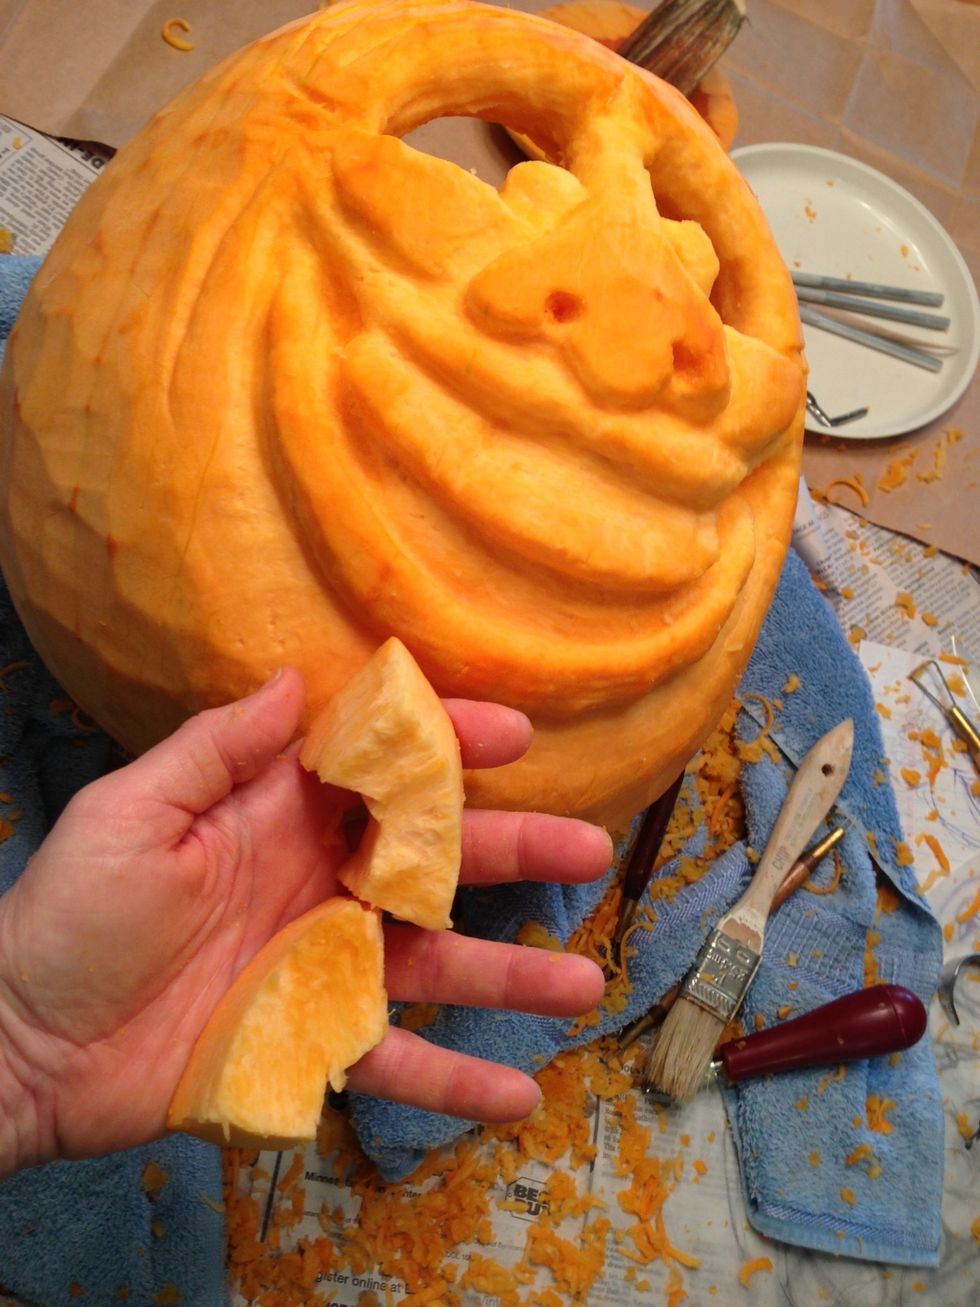
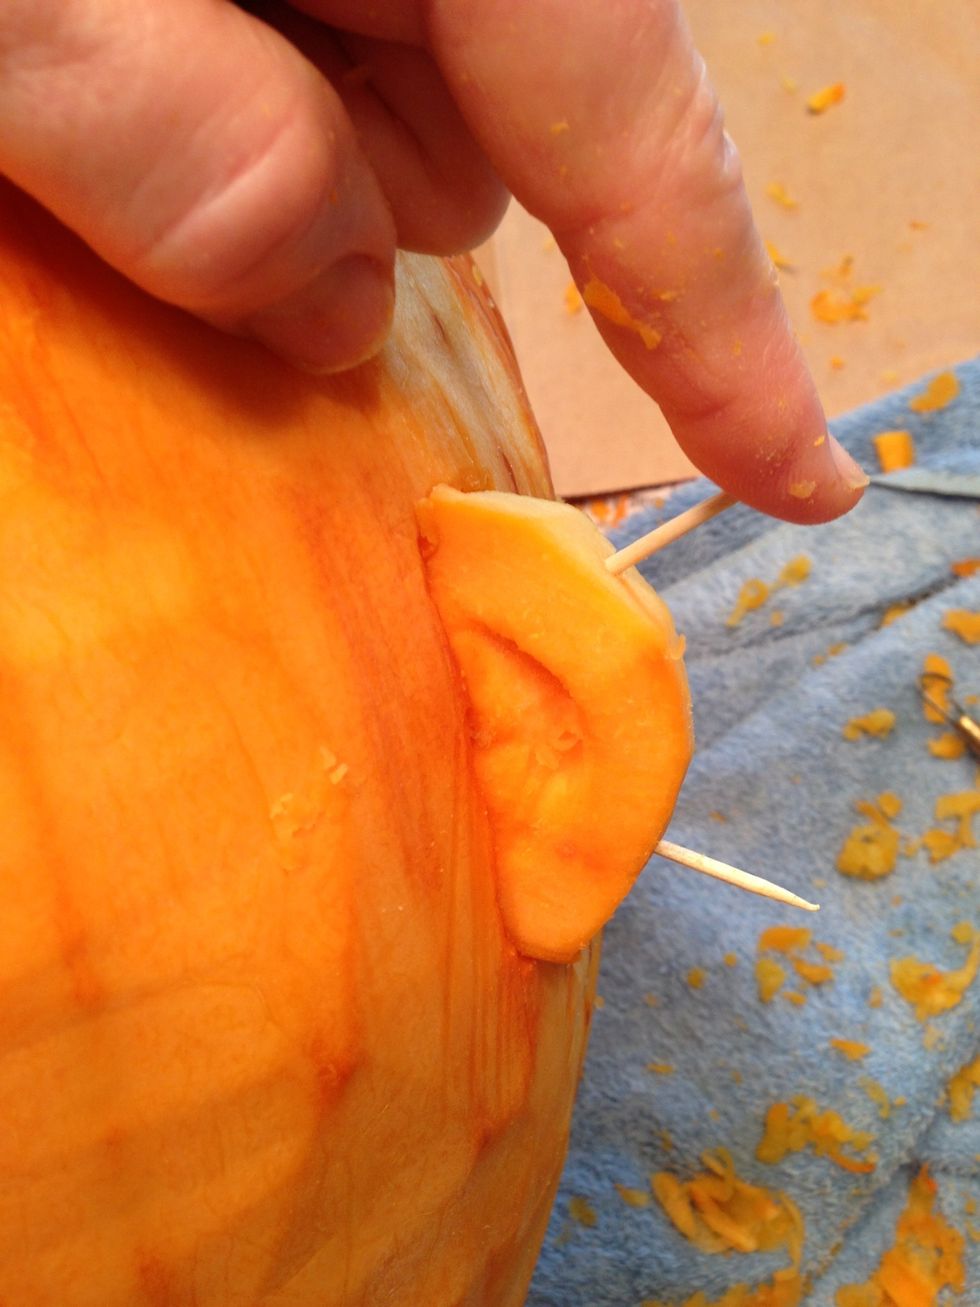
Eye pieces will work for ears and nose tip.
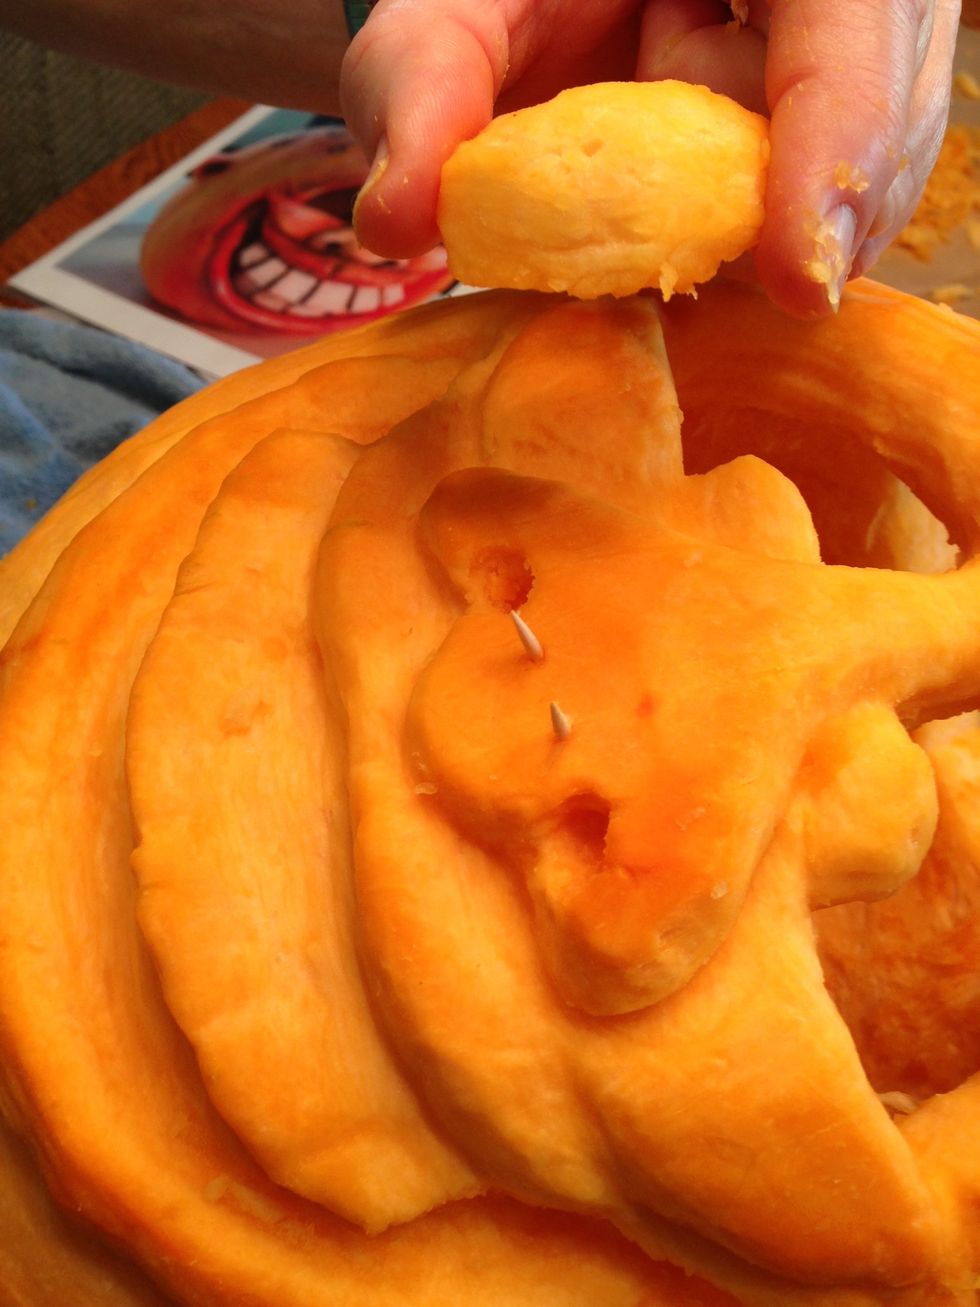
Toothpicks help hold add-ons in place.
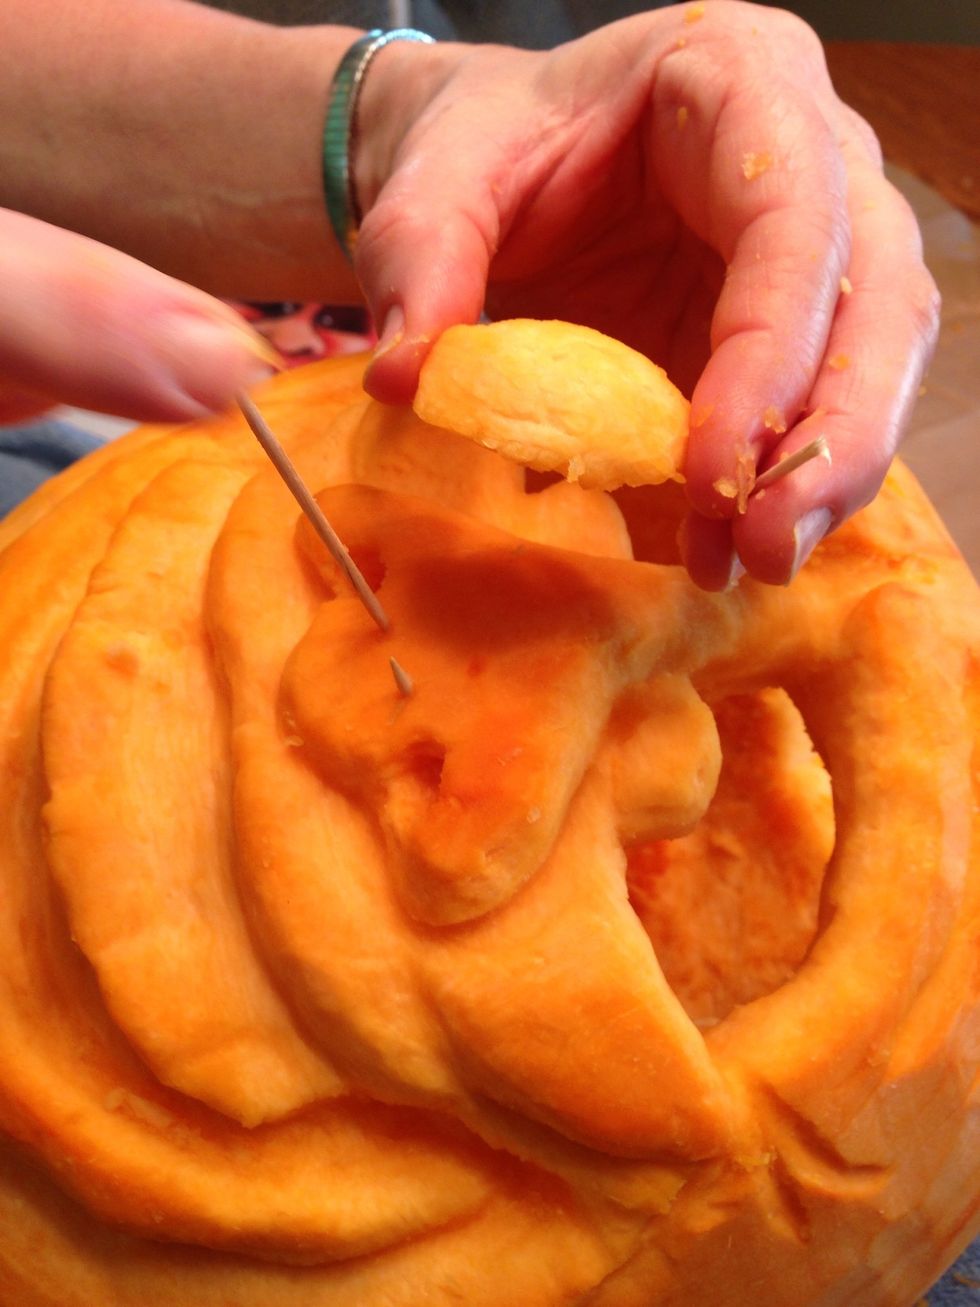
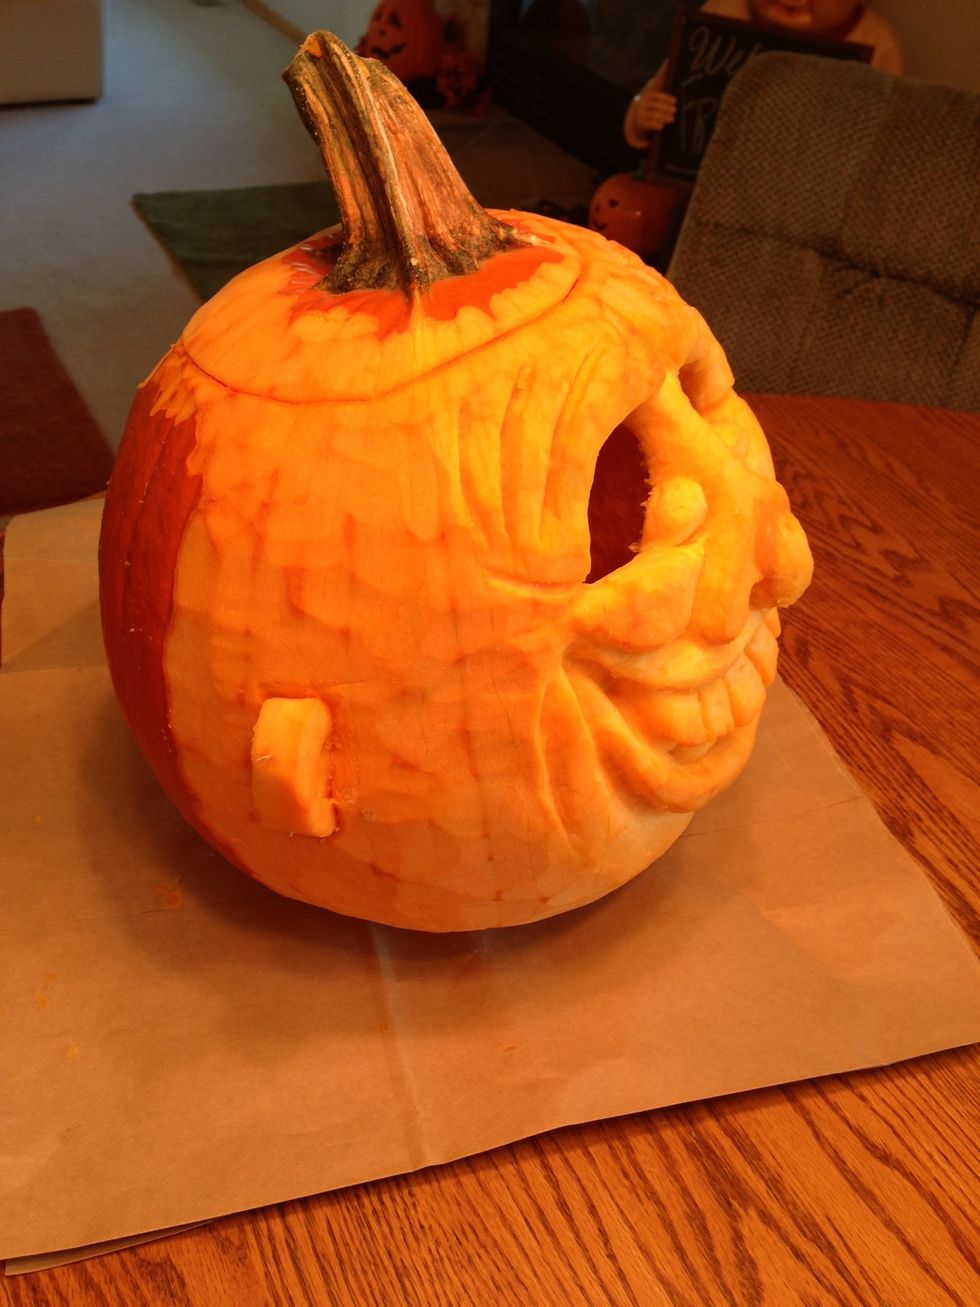
Adding a nose tip. You'll find that pumpkin shavings work as putty.
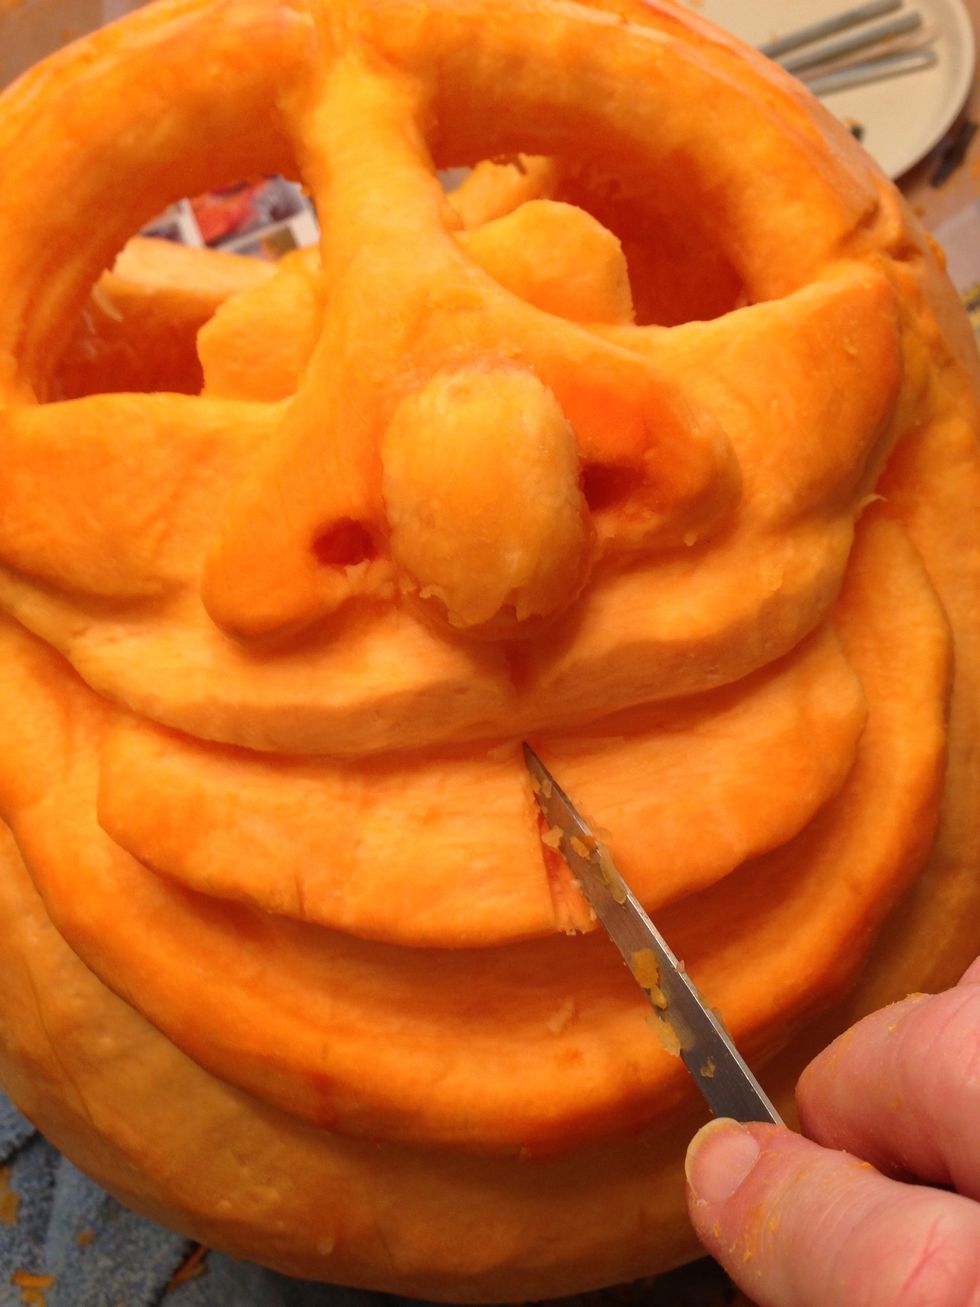
Starting on teeth...
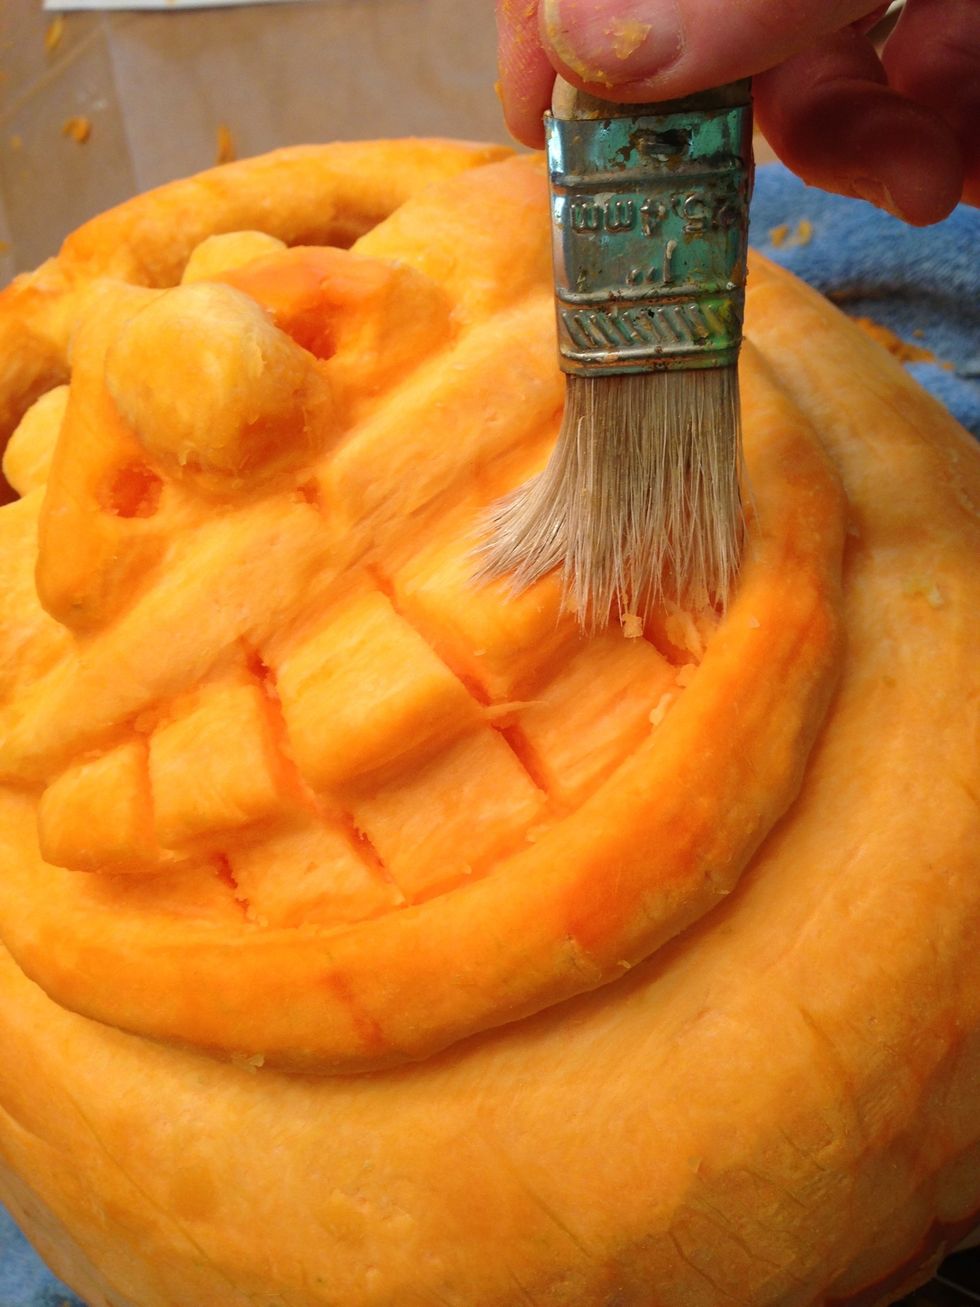
The paint brush helps remove shavings.
Ears...
Again the toothpicks are a great help!

It makes a mess but it's easy clean-up
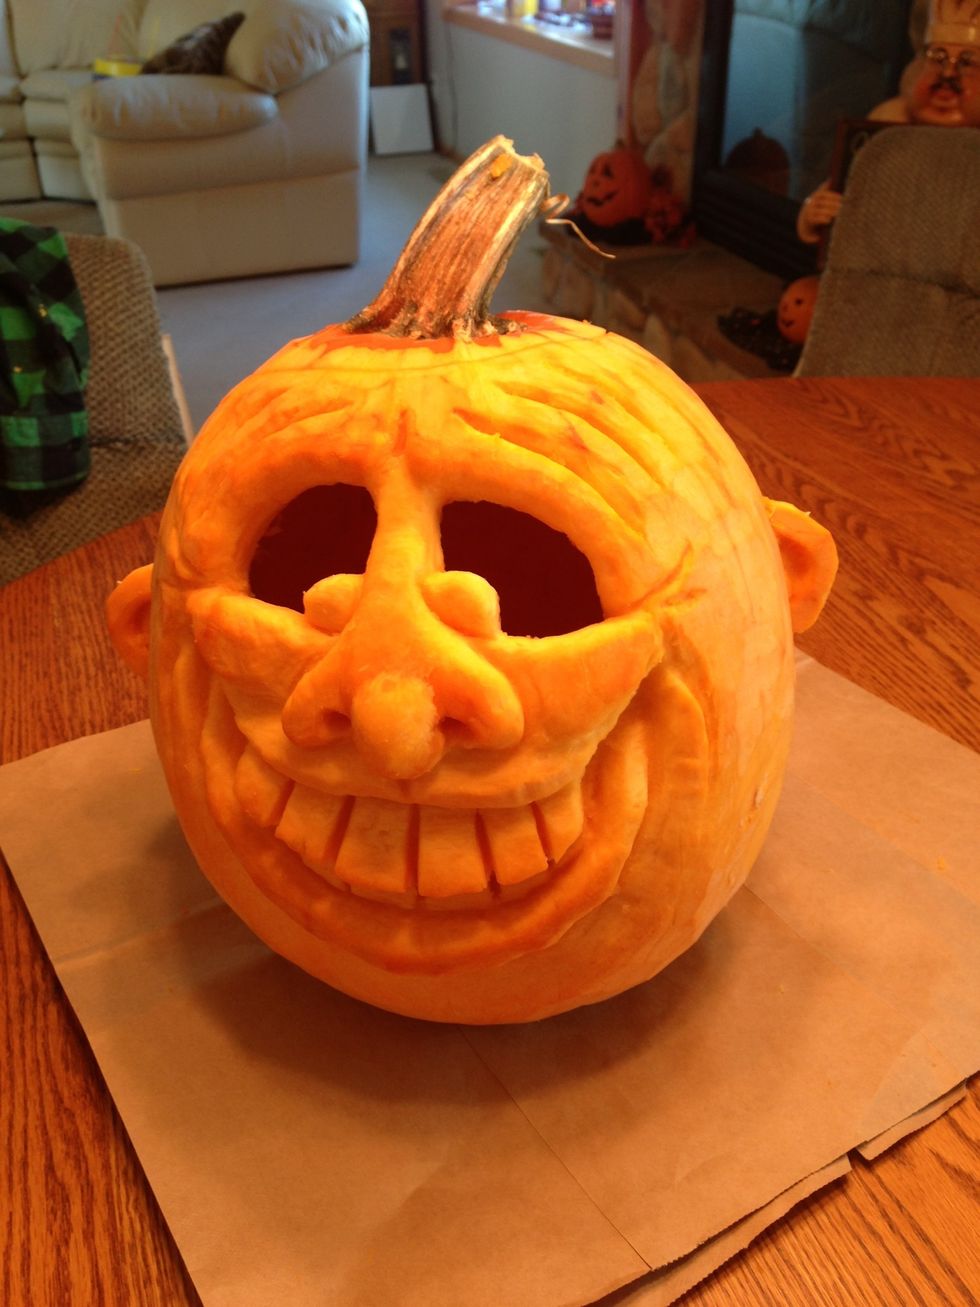
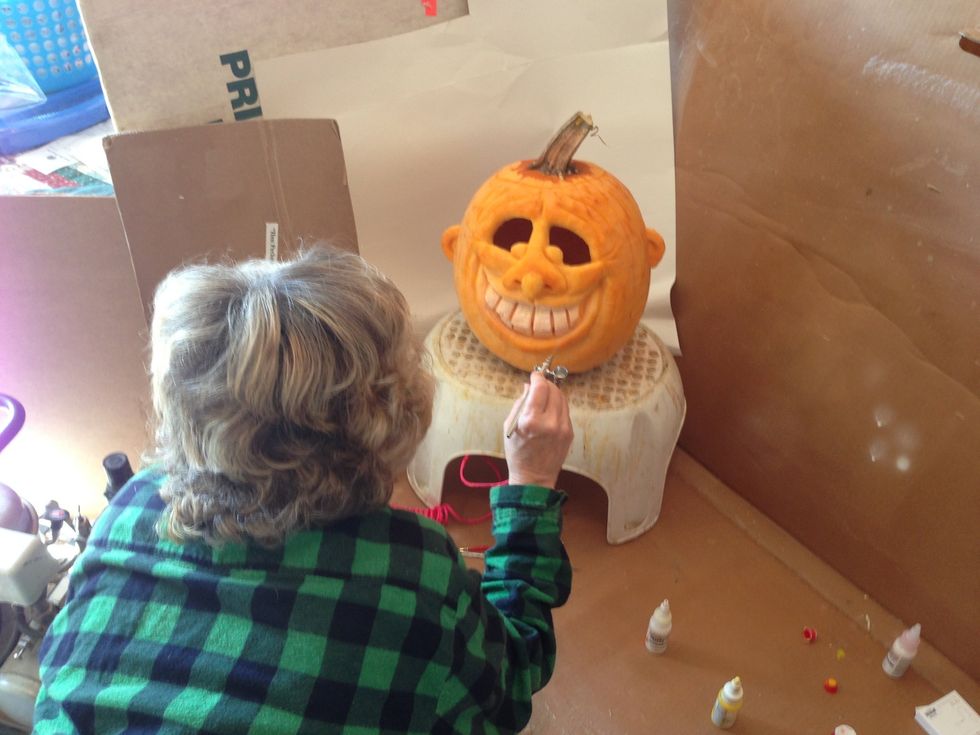
Airbrush white on teeth first

Red next, followed by brown, yellow then black outlining.

The pumpkin is moist and paint is water base so drying will take time.
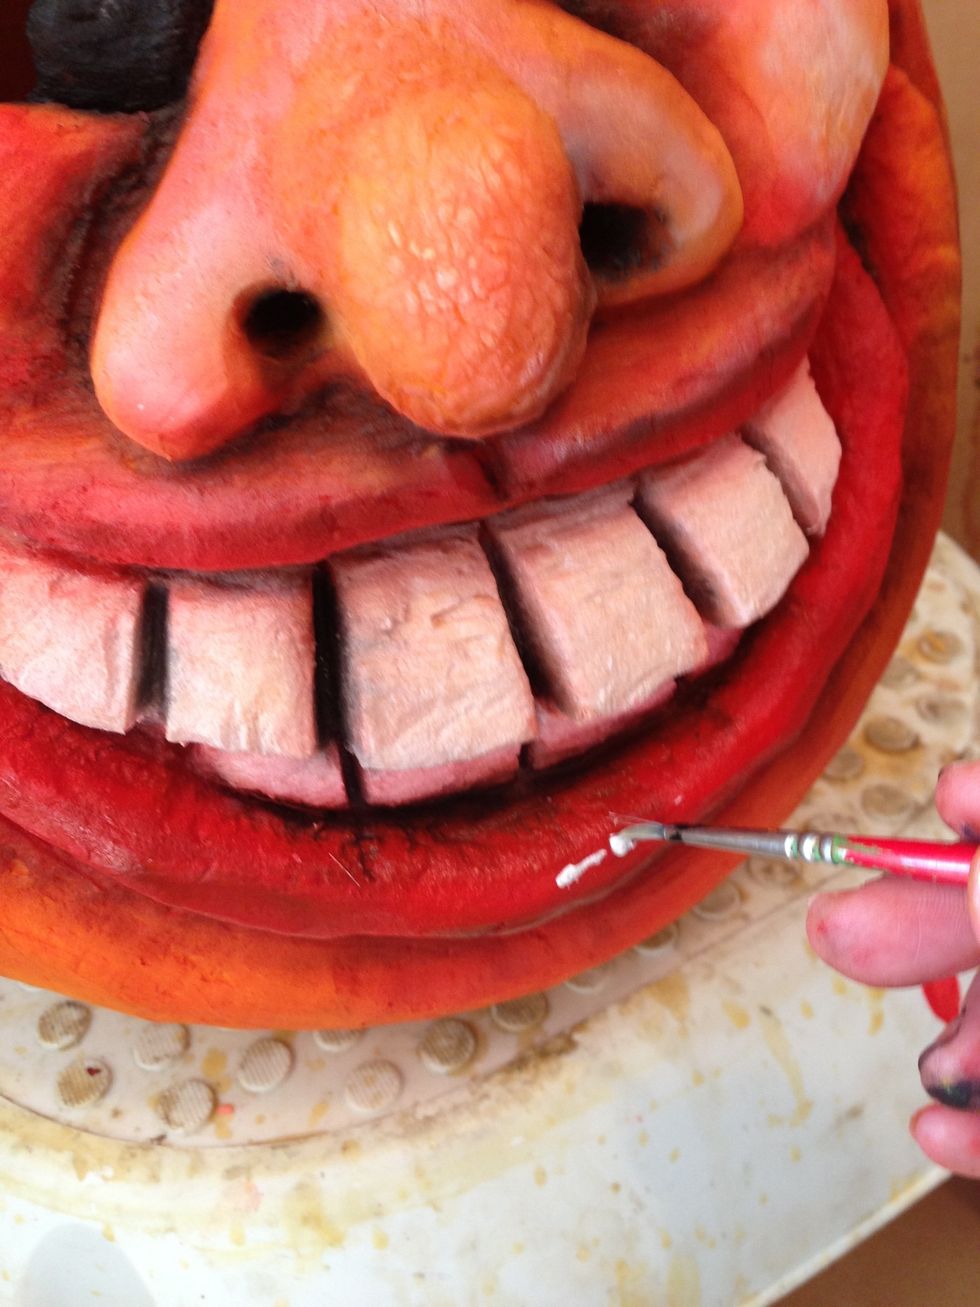
Brushing on some white acrylic to give eyes and lip shine.
The white on the eyes give them a shine.
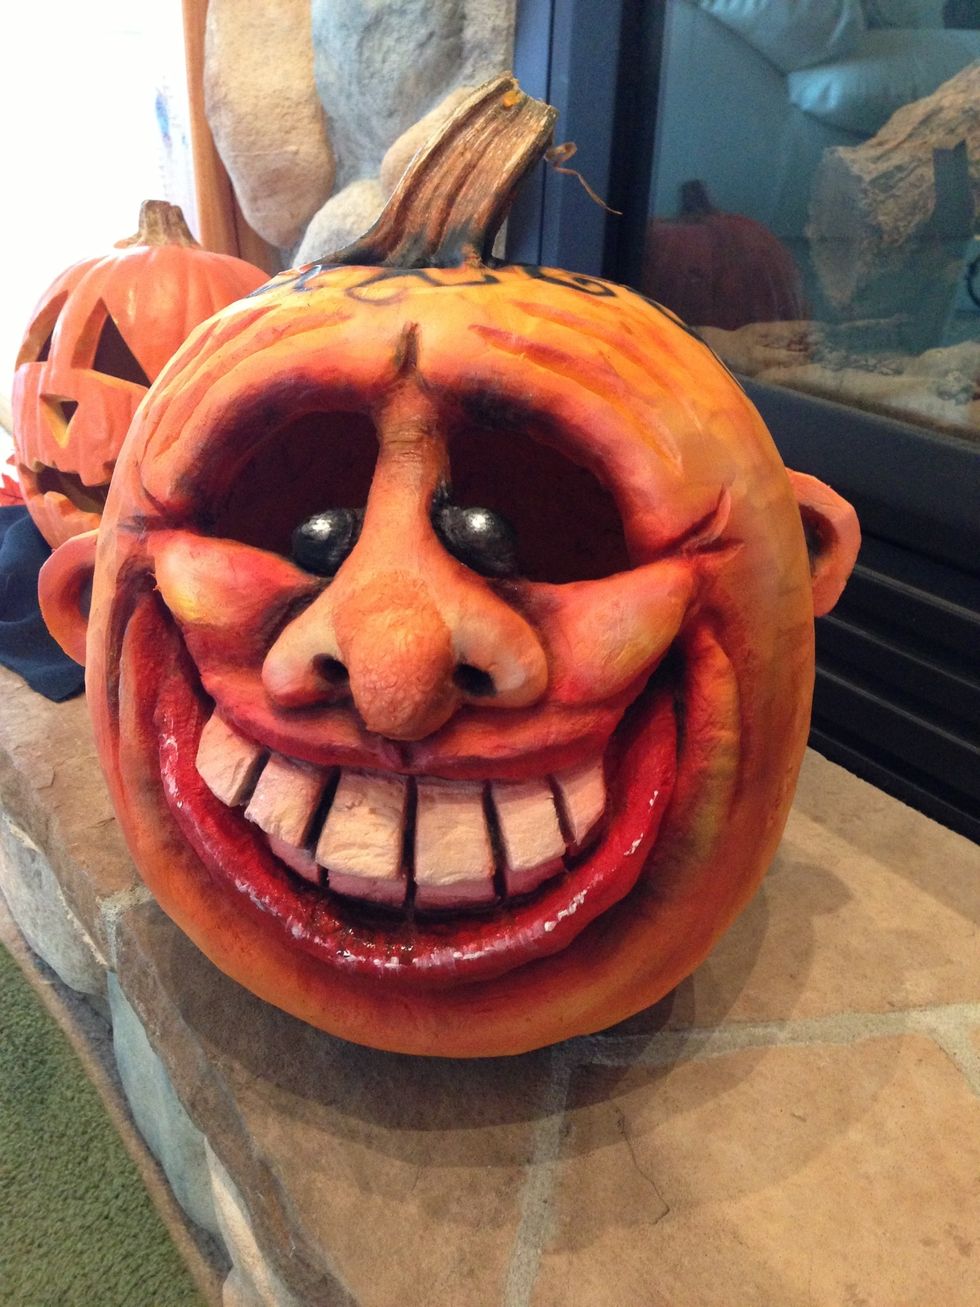
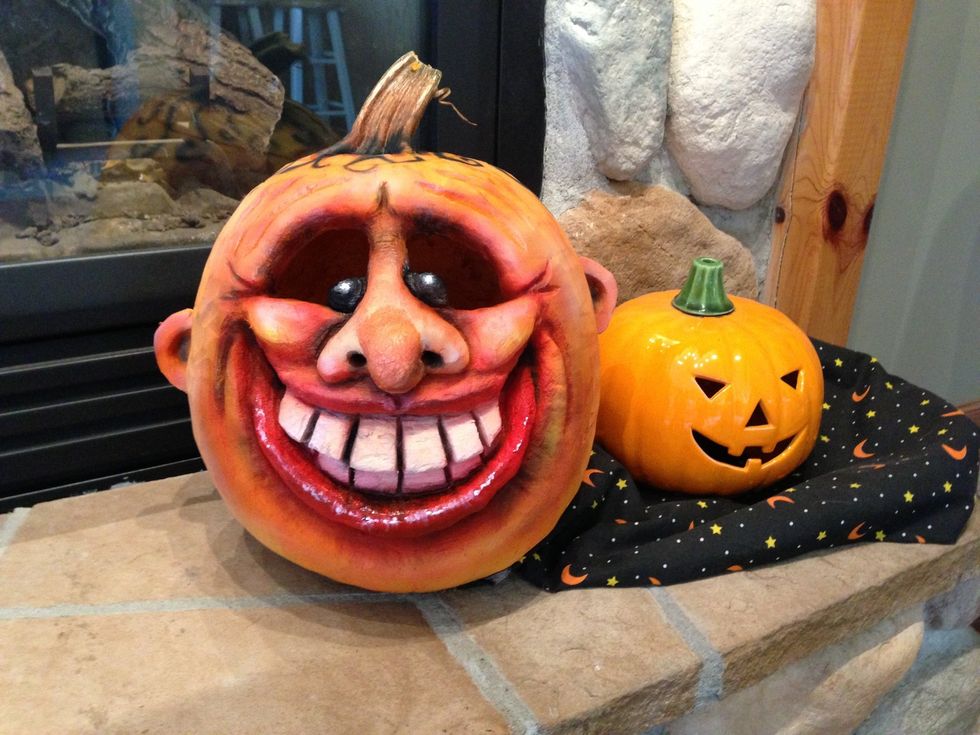
A smile to make YOU smile!